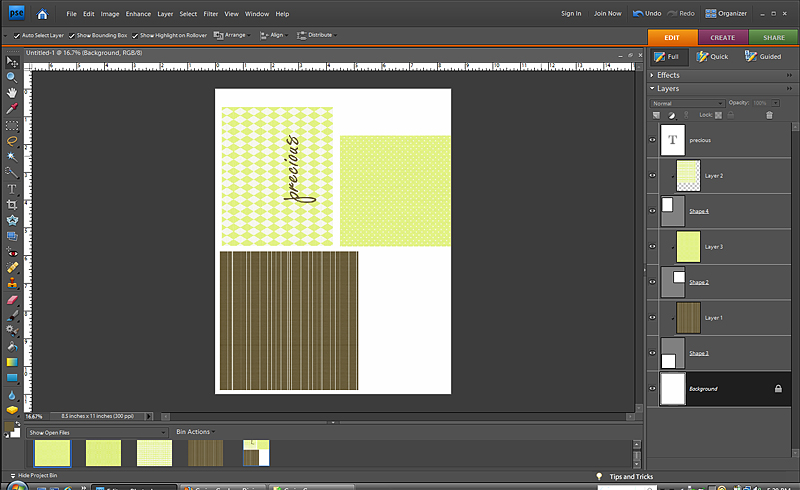
1.Create your cardstock pieces with a program like Photoshop Elements. I created 4×4, 5×5, and 4×5 shapes and clipped the patterened papers to them. I flattened the image and printed it onto white cardstock.
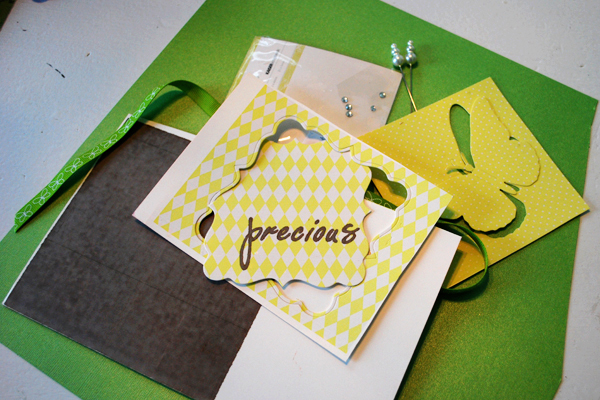
2. Next I trimmed my patterned paper pieces and used my Quickutz Epic
to cut out the butterfly and label shapes from the patterned paper. I
gathered up a few more supplies like green cardstock, butterfly
ribbon, Maya Road stick pins, and some buttons.
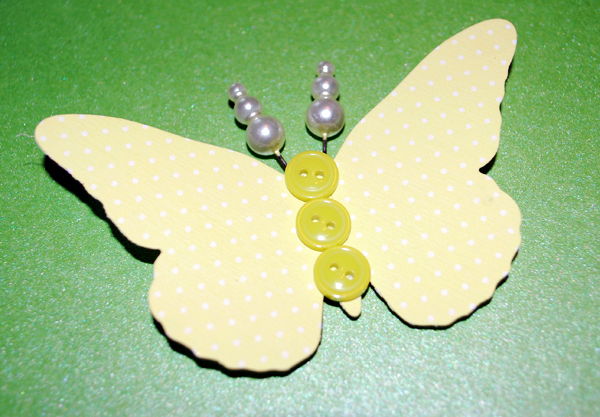
3. I embellished my butterfly by adding 3 tiny buttons to the front,
foam tape to the back, and stick pins pushed into the foam tape for
antennae.
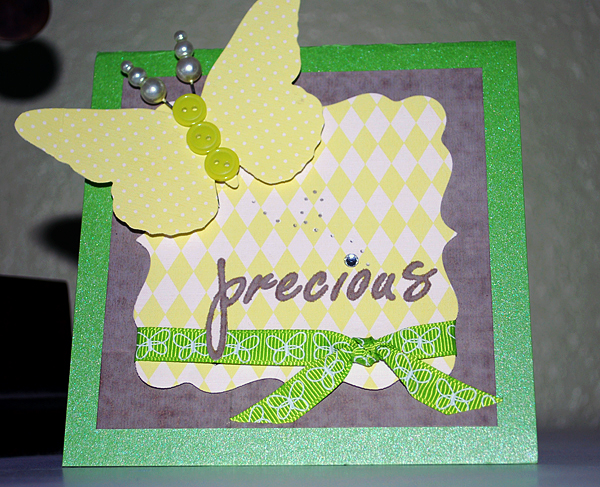
4. I cut my green cardstock to 5×10 inches, folded in half at the top,
and layered on my elements. Brown patterned paper trimmed to a 4.25″
square, then yellow patterned paper that was cut into a label diecut,
and butterfly in the corner. Another embellishment technique I used
was to add a butterfly flight trail with my punch tool and dot the “i”
of precious using a rhinestone.
Now I have the perfect unisex card for my next baby shower! The Basics
papers are so versatile you can create something for most any occasion!


