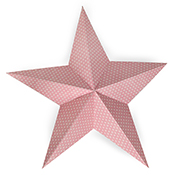
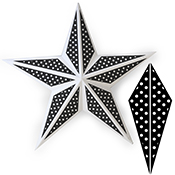
 I’ve had a lot of questions about my Metal Star Accents and in particular if I was going to make a base for this. So here they are! I have a 5 pointed star and a 6 pointed star made completely from paper! You can use the accents on them but will need to resize them to fit your star (The metal star accents were created to be used with a METAL CRAFT STAR that you can purchase from your local craft or scrapbooking store. They will need to be resized to fit on these paper stars.) If you are looking for links to all of these products, I have put them at the end of this post. You can also check out my Silhouette shop for more products like this.
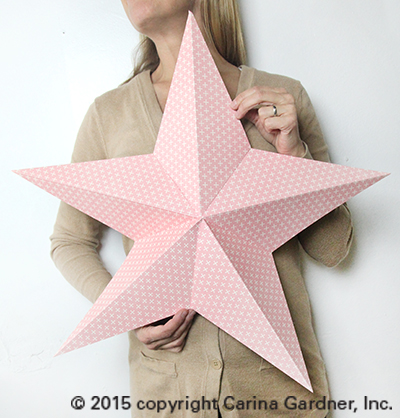
Putting together these paper stars is pretty easy. You can, of course, sized down your star. The photo to the left shows you how large the star is if you cut it at it’s original size in the file. It requires a Cameo (12 x 12 papers) but if you size it down you could make a smaller star on your Portrait.
Here’s how to put it together:
1. Cut out five pieces of the same sized triangle shape on your machine for the 5 pointed star and six pieces of the 6 pointed star.
2. Fold at all the score lines. (Use the photo here as as guide).
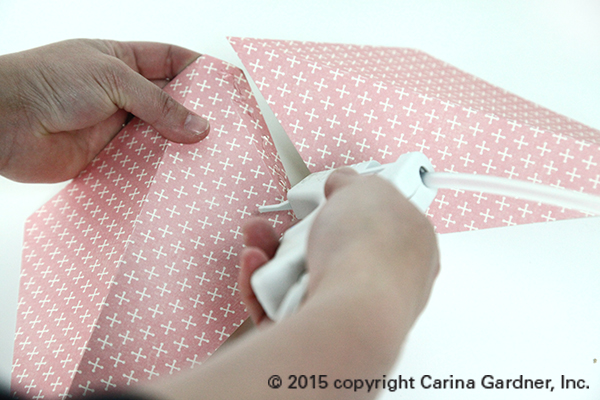
3. Glue the flap of the star and connect it to another point of the star.
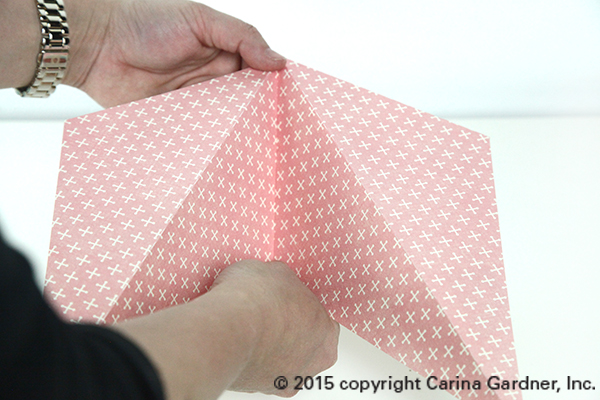
4. Continue adding points to the star until you come to the first point.
Note: If you plan on adding the metal star accents, I would do this at the 2nd step while the star is flat. You can use modge podge for a glossy look or simply use a hot glue gun, pop dots, or a glue stick to put on the metal star accents.
Hope you have fun making these!
Carina

