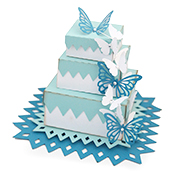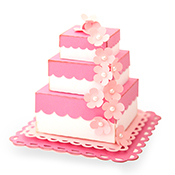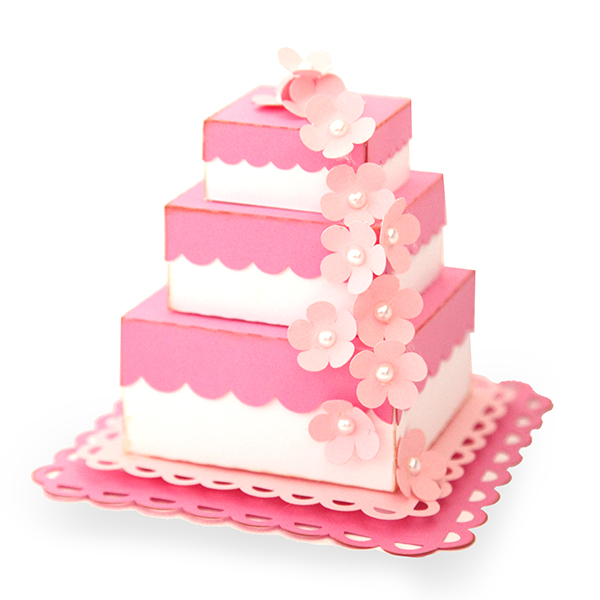
There are lots of weddings happening around me, and I was inspired to make some cake! Some Silhouette Cake of course!
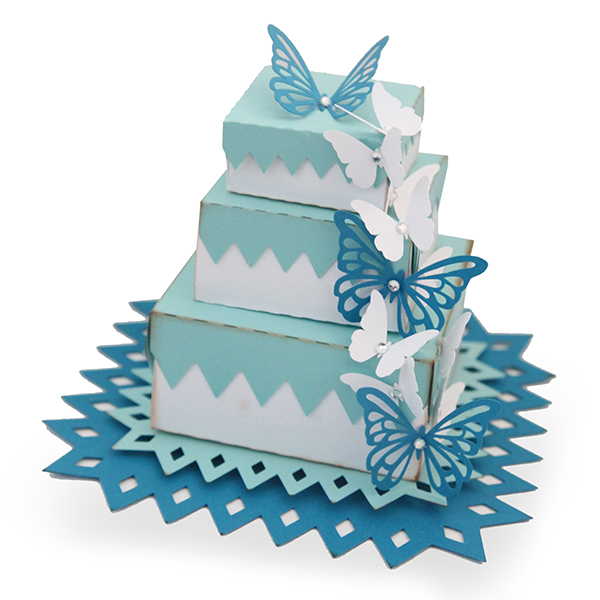
These layered cakes are all put together about the same way (with some slight deviations based on design). You can mix and match the designs (like using the butterflies with the scallop shapes of the flowers) because all of the cakes are made exactly the same size.
The crazy thing is that these are even cuter in real life! I think we might have to leave these out in the office for a while to enjoy them!
Check the bottom of the post for links to specific designs you can find in my Silhouette Shop!
Here’s how you put these sweet treats together:
 1. Cut out all the svg files.
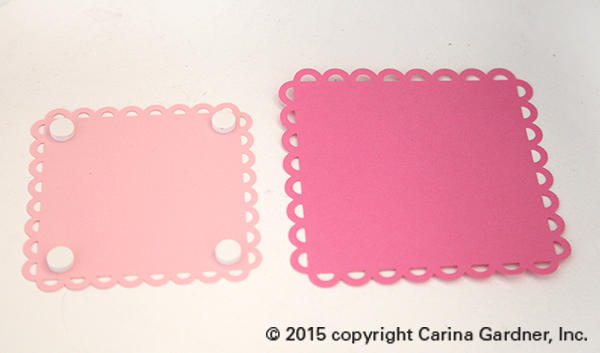
2. Layer with adhesive (or pop dots as shown in my picture) the bottom mats with the small one on top of the larger one.
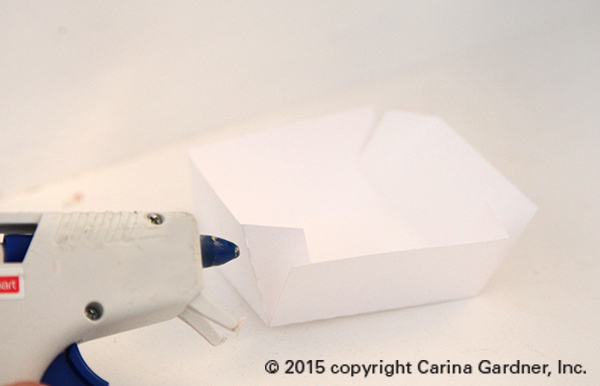
3. Put together the main form of the “cake” by gluing the boxes together. Put adhesive on the glue flaps to form the sides of the box.
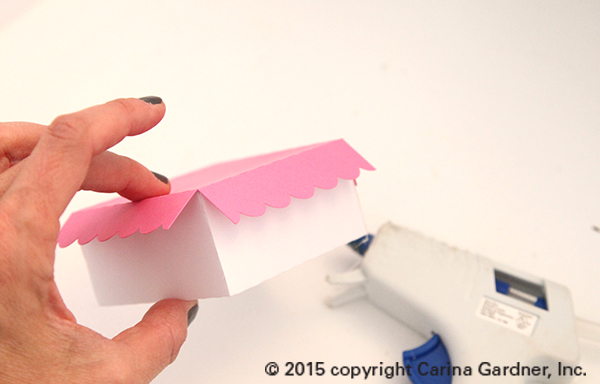
4. Place the matching “top” to the box and glue down the sides.
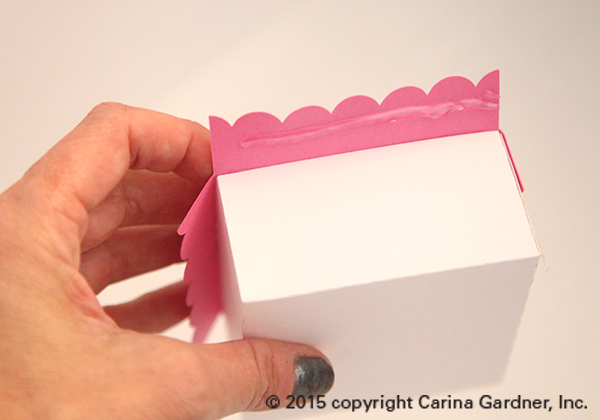
You should have three (or more) boxes finished.
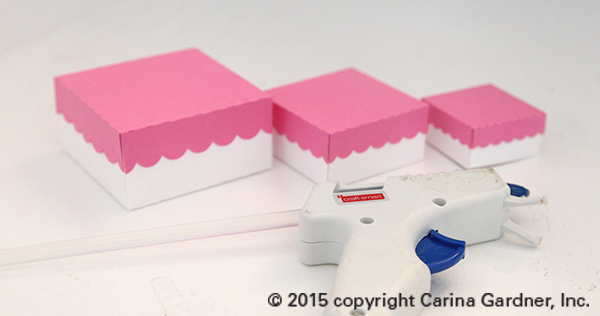
5. Glue the boxes to the mats in order of largest to smallest.
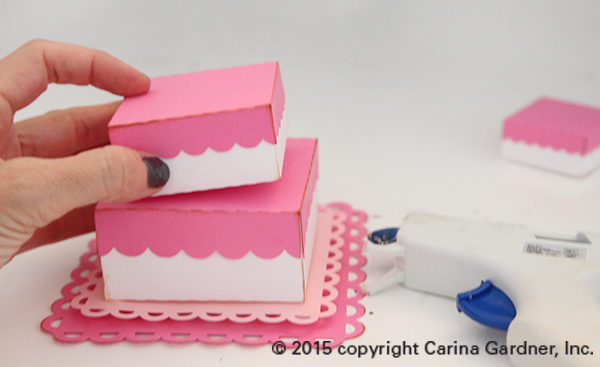
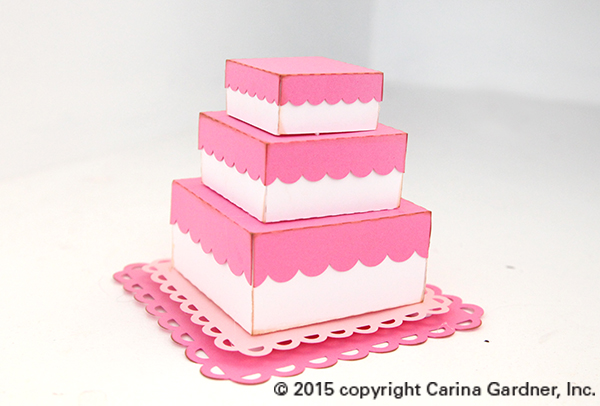
6. Finally, embellish the cake the the decorative items that come with the cake. I like a diagonal design but you can place them any way you want! For the topper, I try to use the biggest item (like the cut out butterfly) or gather together several of the same items (like 4 flowers all together). I used embellishments (like little diamonds or pearls to help accessorize).
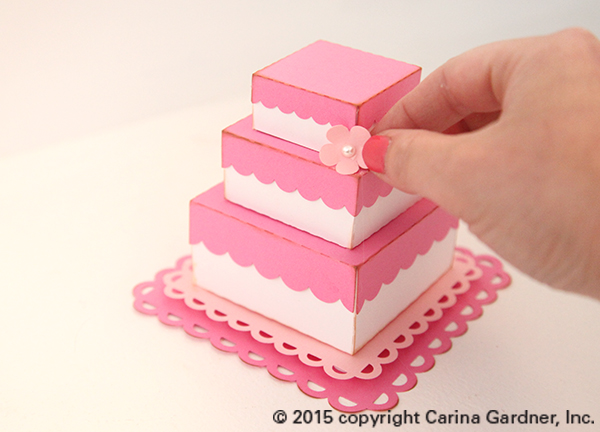
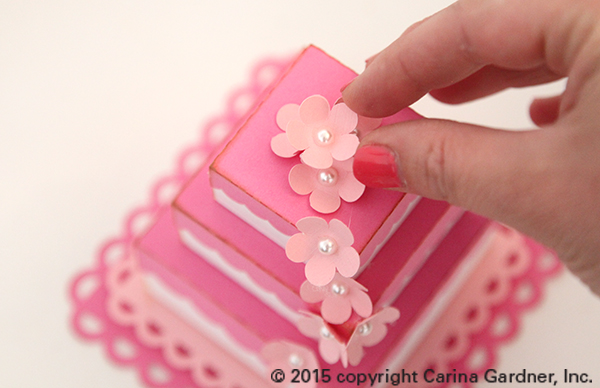
And that’s it! You’ve made a darling layered cake! Hope you had fun making it!
Carina
(Links available as the product becomes available)
