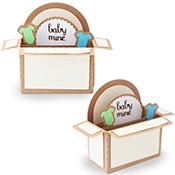
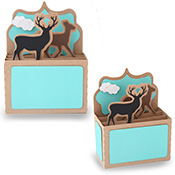
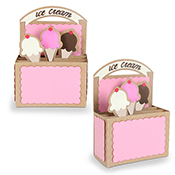
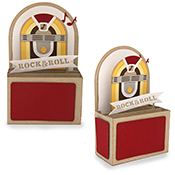
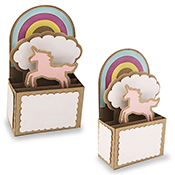
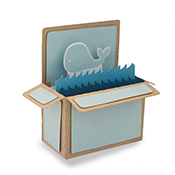
A couple of notes about these boxes. They aren’t true boxes in that they do not have a bottom. Once you have put them together, you should be able to fold them flat. Some of the boxes come with flaps along the edges (like the whale box) and some come without (like the ice cream box).
Here’s how to put it together:
1. Cut out the svg files. Glue accent pieces to the outside of the box. Note that most of these boxes should have a large accent piece on the back of the box AND the inside of the box. Usually you just need to cut the piece twice but on some of the designs the inside is different than the accent piece on the outside.
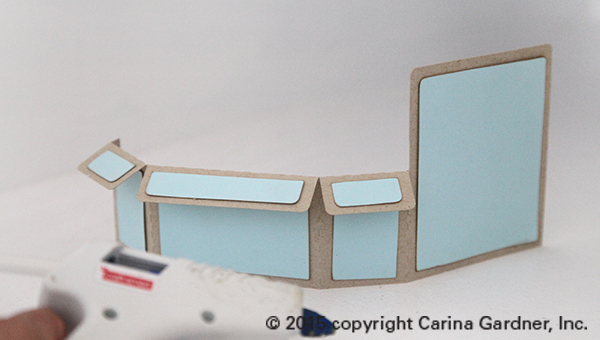
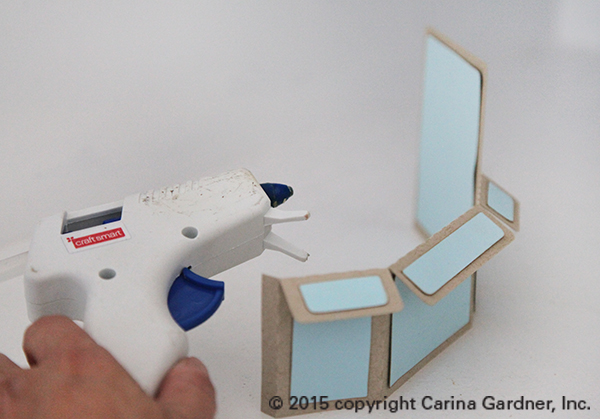
2. Glue the flap on the main piece to the back of the box to create the main box.
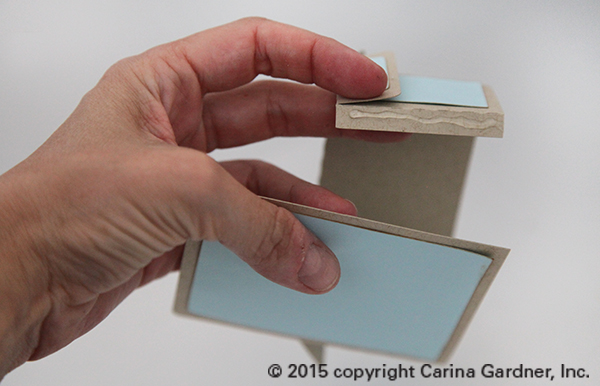
It should look like this:
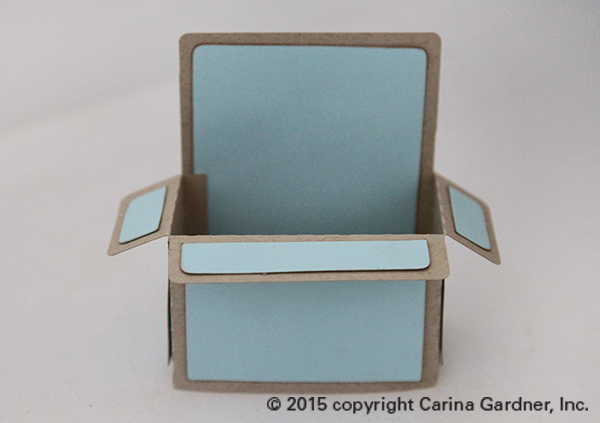
3. Glue on all the accent pieces to the inside pieces (for example, the whale on the back piece shown here). Then fold on glue flap forward and one glue flap backwards.
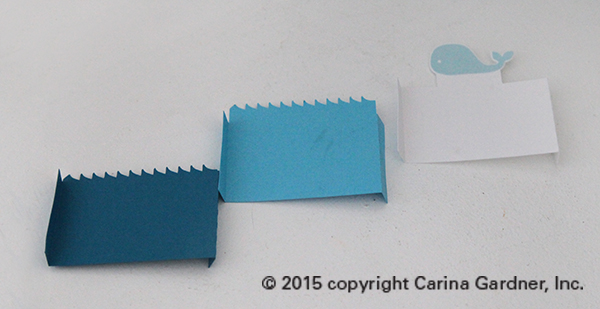
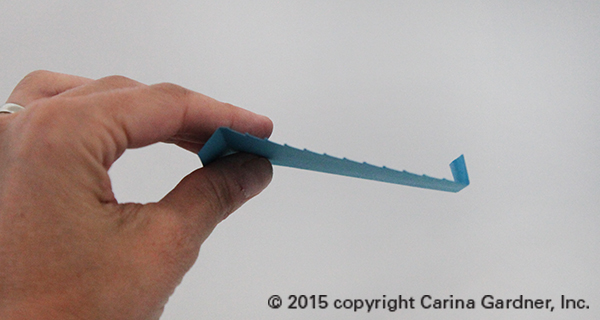
4. Next glue the flaps into the box. Space the different pieces inside evenly. Most of these boxes come with 2-3 inside pieces. You can also fold the box flap to glue down the box pieces. Some of the boxes come with a single inside piece and a couple of little accessories (usually an object on a stick) that you just glue directly to the box.
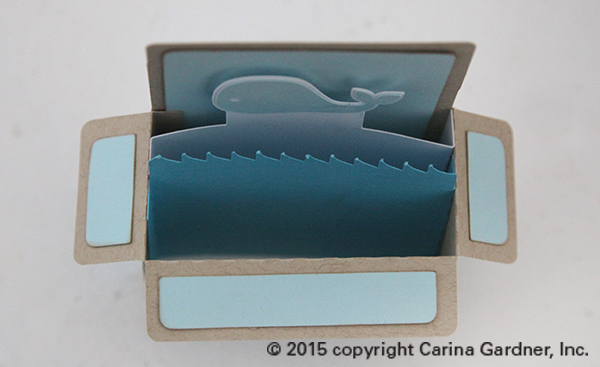
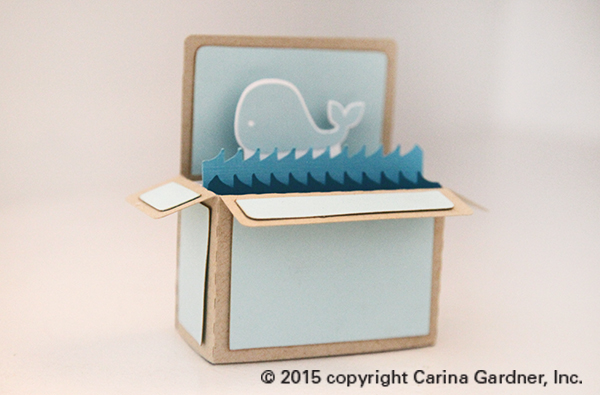
And that’s it! It’s a cute card or fun gift idea!
Hope you have fun making these!
Carina

