If you want to put pictures in the albums, here is some info on the measurements:
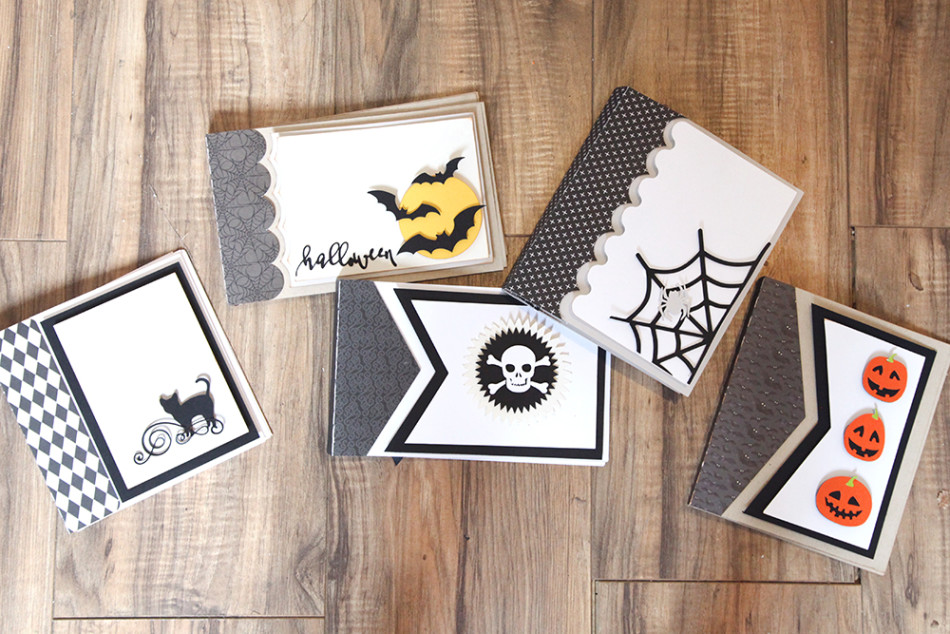
-The skull and cross bone and bat albums are 5 x 8 and fit a horizontal 4 x 6 photo.
-The black cat album is 6 x 6 and fits a square 4 x 4 photo or a 4 in. x 5 in. photo.
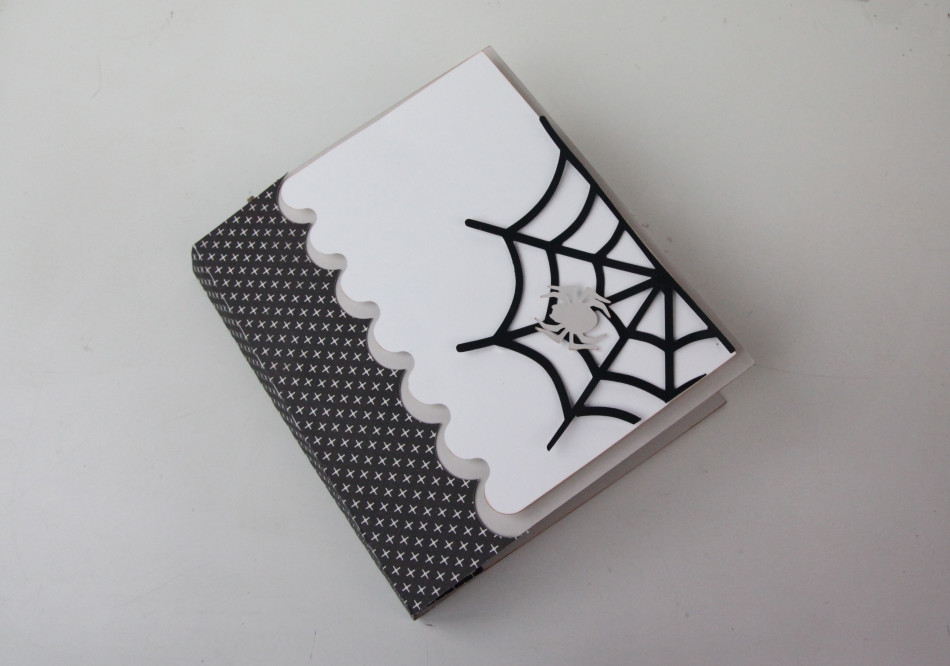
-The pumpkin and spider albums are 6 x 7 and fit a vertical 4 x 6 photo.
Here’s the tutorial on how to put these albums together:
- Cut out all SVGS. We used some fun scrapbook paper for the binding to add some Halloween flare.
- Put together the details on the cover. You can use pop dots to give it some fun dimension.
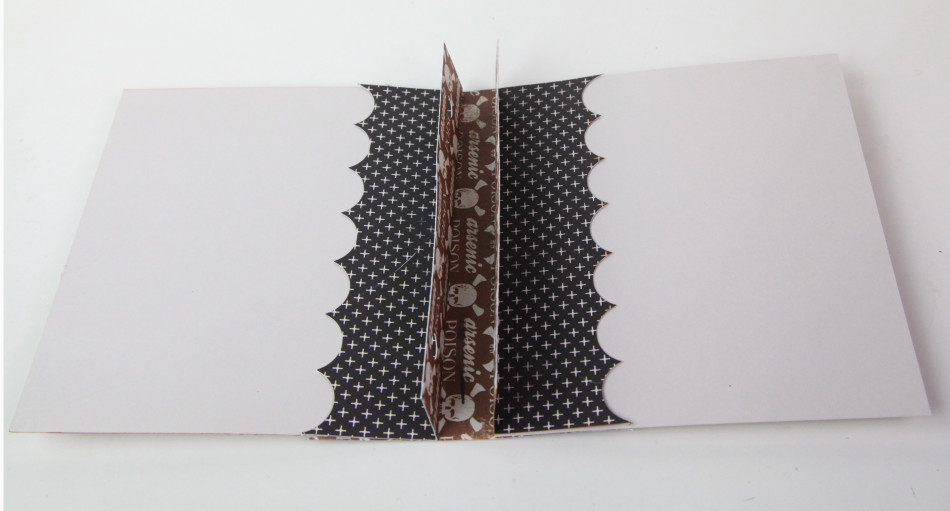
- Next, take the cover and glue it to the binding piece. The edge of the cover should go to the score line.
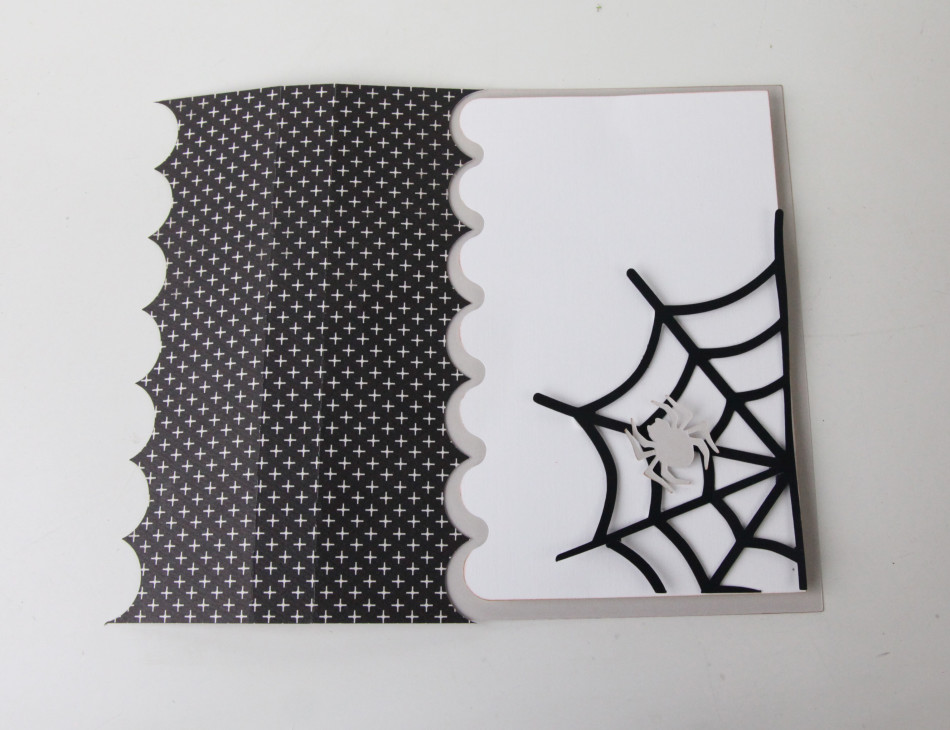
- Next, glue the scalloped half of the inside binding piece to the back side of the cover. The score lines should match. Leave the side with the page holes free so you can use it to attach the pages later.
- Do Steps 3 and 4 again for the back cover.
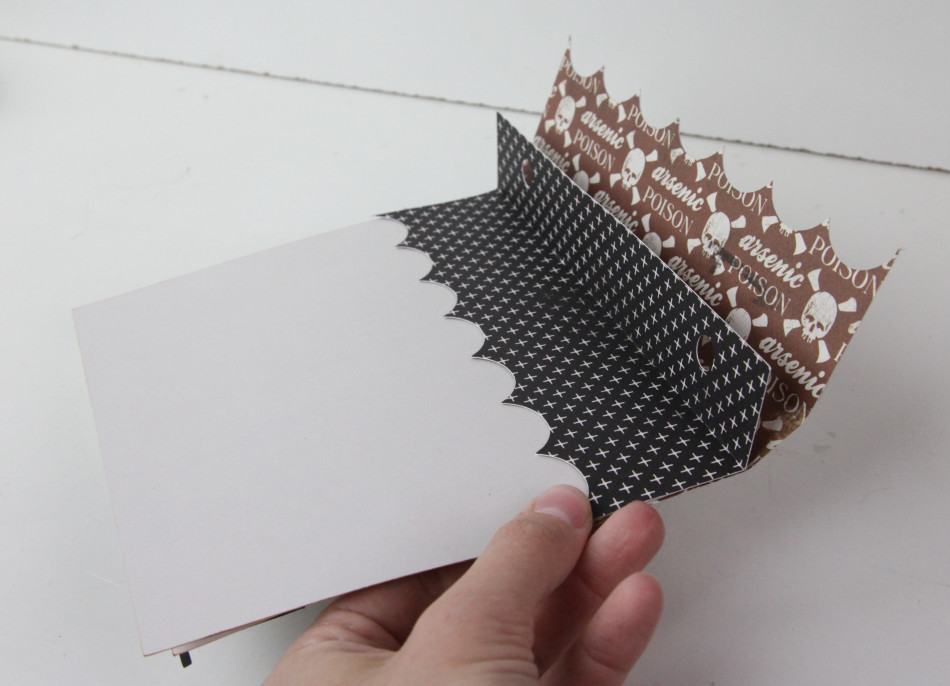
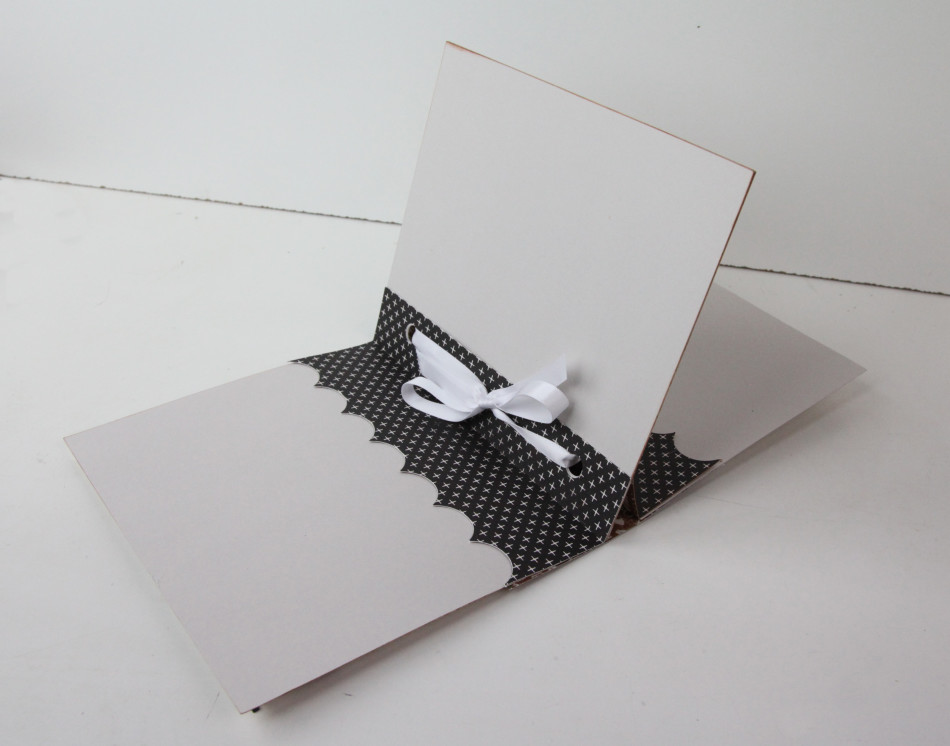
- Now that you have the cover done, take the pages and align the holes together. Use a ribbon to secure them into the holes.
That’s all there is to these adorable Halloween albums! Now you can add your pictures and memories for the 31 days of Halloween!
Happy Crafting!