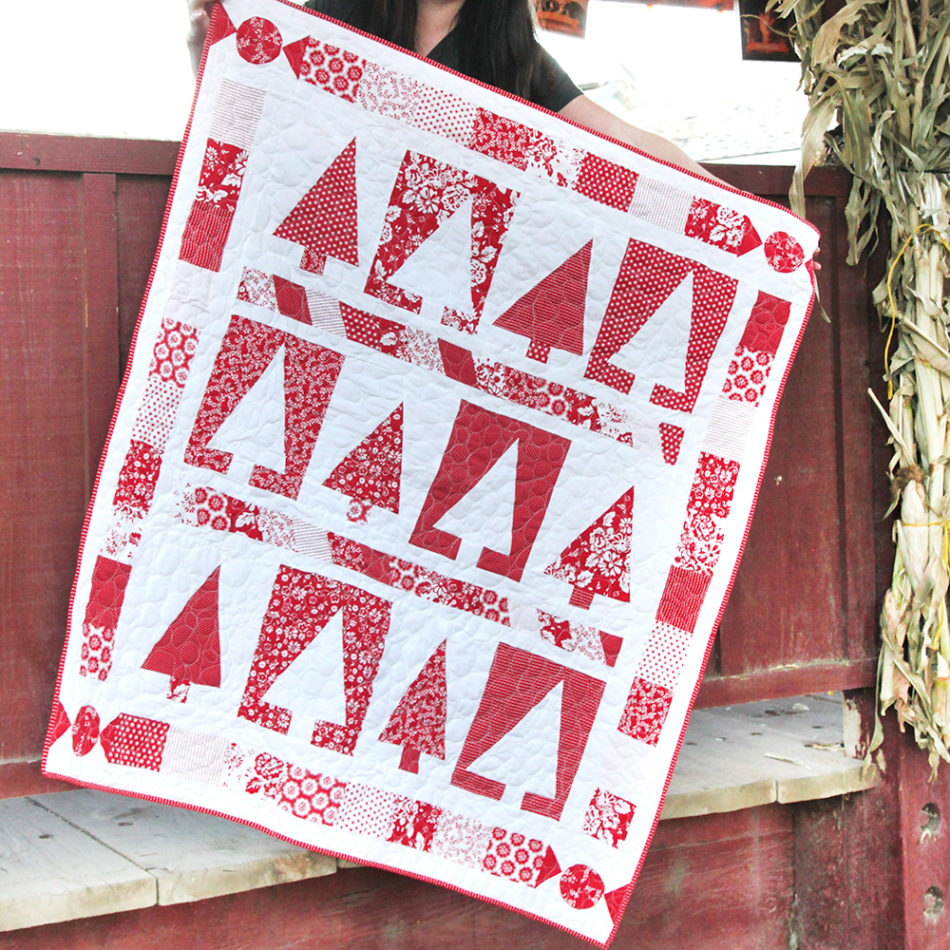
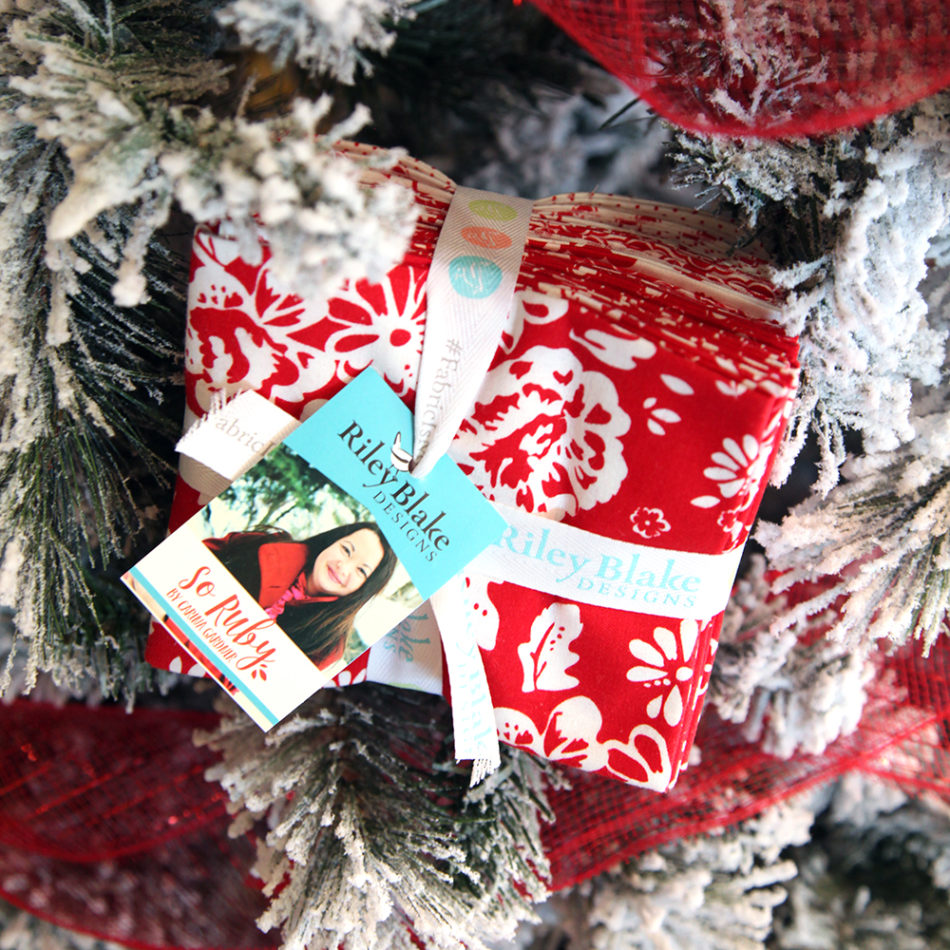
 Hi everyone! To kick off my new line So Ruby, I am hosting a quilt along on instagram! I’ll have 5 days worth of videos starting on November 12th-16th at @carinagardner. And the quilt you will be making is the one shown here!
You will need the following supplies:
+ A fat quarter pack of So Ruby Fabric
+ 1/8 yard of light interfacing
+ 1 1/3 yards of white fabric (Note: technically you can use the WHITE patterned pieces in fat quarter pack for this if you want a more patchwork look!)
+ about 1 1/2 yards backing
We will be making this entire quilt that week, and I really hope this is a fun way to kick off the holiday season! AS you get your supplies or start cutting, tag your posts #carinaquiltalong so I can see what you are up to!
Alright, I know some of you are eager beavers so I have the full set of cutting instructions for you right here! You can get everything cut and ready to go for that week OR you can simply wait until that week and cut as we make the blocks…your choice!
CUT THE FOLLOWING:
Monday, November 12th: Tree Quilt Block
(Total of 12 Tree Blocks)
+ six red (mix and match the fabrics) 10 in. x 10 in. squares
+ six red (matching the fabrics above) 2 in. x 10 in. rectangles
+ six white 10 in. x 10 in. squares
+ six white 2 in. x 10 in. rectangles
+ six red (mix and match the fabrics) 2 in. x 2 in. squares (trunk)
+ six white 2 in. x 2 in. squares (trunk)
Tuesday, November 13th: Candy Cane Stripe
(Total of 2 Candy Cane Stripes)
+ thirty red (mix and match) 2.5 in. x 4.5 in. rectangles
+ four 1.5 in. x WOF white rectangles
Wednesday, November 14th: Peppermint Quilt Block
(Total of 4 Peppermint Blocks)
NOTE: This is an intermediate to advanced block.If you are a beginner, you can skip this block and simply cut out four 6.5 in squares in red fabrics!
+ sixteen red color A 3 in. x 3 in. squares
+ eight red color B 3 in. x 3 in. squares
+ eight white 3 in. x 3 in. squares
+ four white 3.5 in. x 6.5 in. rectangles
+ sixteen white 2 in. x 2 in. squares
+ four 4 in. x 4 in. pieces of fusible interfacing (I used the single sided fusible featherweight)
+ one 3 inch circle template (available for download below)
Thursday, November 15th: Patchwork Borders
(Total of 2 Short Borders and 2 Long Borders)
+ thirty-six red/white So Ruby fabrics cut into 3.5 in. x 4.5 in. rectangles
+ eight 2 in. x WOF white fabric
Friday, November 16th: Putting it all together!
+ Binding – I’m not going over this, but you can patch together binding from your fat quarter pack OR purchase a single fabric. You will need about 1/2 yard if you use the WOF for your binding.

All the videos will be hosted on instagram @carinagardner. Of course you can watch via your computer by simply clicking on this link. There are several videos everyday so make sure you watch them in the correct order! (You will see each video noted as Part 1 of 2, ect.).
The final quilt is about 44 in. x 50 in. If you plan on machine quilting it yourself you will need crib sized batting.
Here is the template you will need to download (It is just a 3 inch circle…if you have a way to measure this at home, you don’t need to download this one!)
CircleTemplate_CarinaGardnerSoRubyQuiltAlong.pdf
Keep an eye on sneak peeks in the coming weeks of the blocks we are sewing!
Hope you join me!
XOXO- Carina
