This is an example lesson from my DIE CUT AND 3D DESIGN TECHNOLOGY Class for the University of Arts & Design. Learn more about this class and applying at www.uad.education.
We currently offer:
- 4 Design Certificates
- A Master of Arts degree
- A Master of Fine Arts degree
Tuition and Academic Catalog published at www.uad.education!
Watch the youtube video here or below (link coming soon)
Let’s Get Started!
Creating a watercolor sticker sheet can be a fantastic way to turn your physical artwork into beautiful, tangible products. In this guide, I’ll walk you through the essentials of designing your own watercolor sticker sheet, including tips for spacing, digitizing, and achieving a cohesive look. Whether you’re a seasoned artist or just exploring stickers for the first time, this process will help you bring your art to life in a unique way.

Step 1: Gather Your Supplies
To start, you’ll need watercolor paints, brushes, watercolor paper, and a paper towel. These basics will be your tools for creating individual designs that work together harmoniously on a sticker sheet. For the example I’ll show you, I created this sticker sheet during a Die Cut and 3D Design Technology class at the University of Arts & Design.
Step 2: Plan Your Design
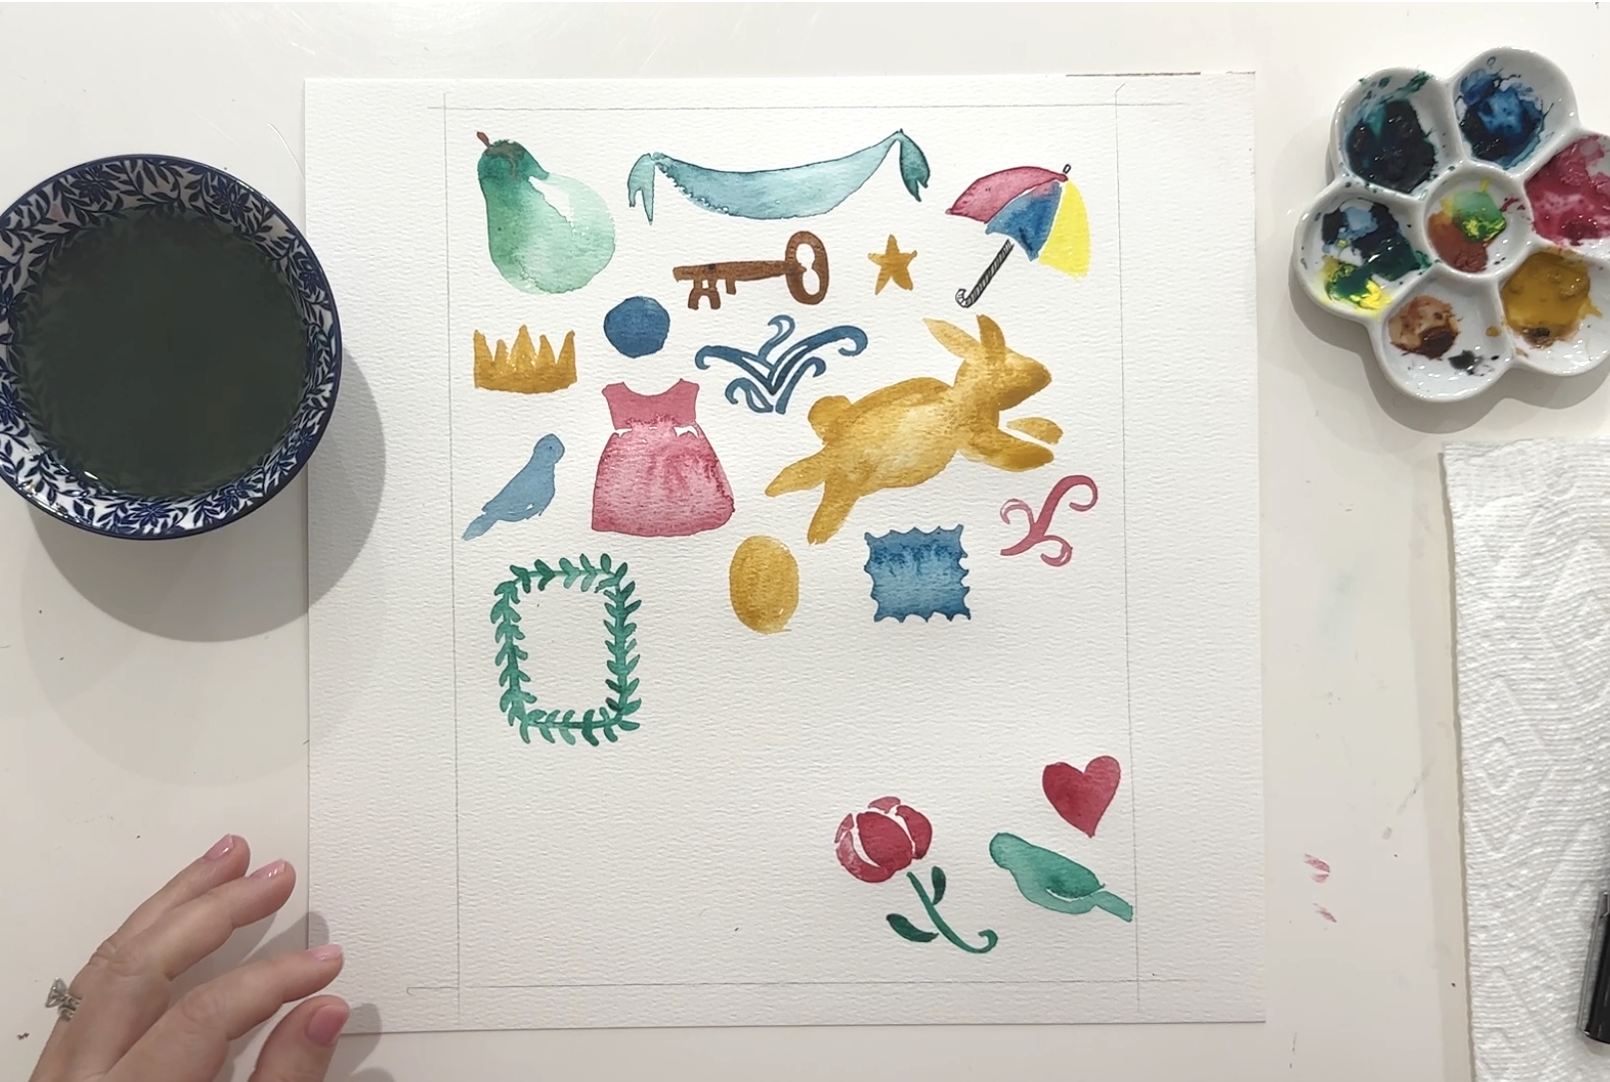
When designing a watercolor sticker sheet, focus on creating isolated images that visually connect. This is where theme and color play a big role. To make the sticker sheet cohesive, keep your color palette consistent and choose designs that share a theme, even if it’s subtle. Think about leaving adequate space between each design, as this will help later when you’re adding die lines in software.

Step 3: Leave Space for Die Lines
Spacing between elements is essential. While it might seem like a minor detail, leaving enough space around each design ensures clean die lines. After scanning, you can always make additional spacing adjustments in Adobe Photoshop or Illustrator if needed.
Step 4: Add Fine Details
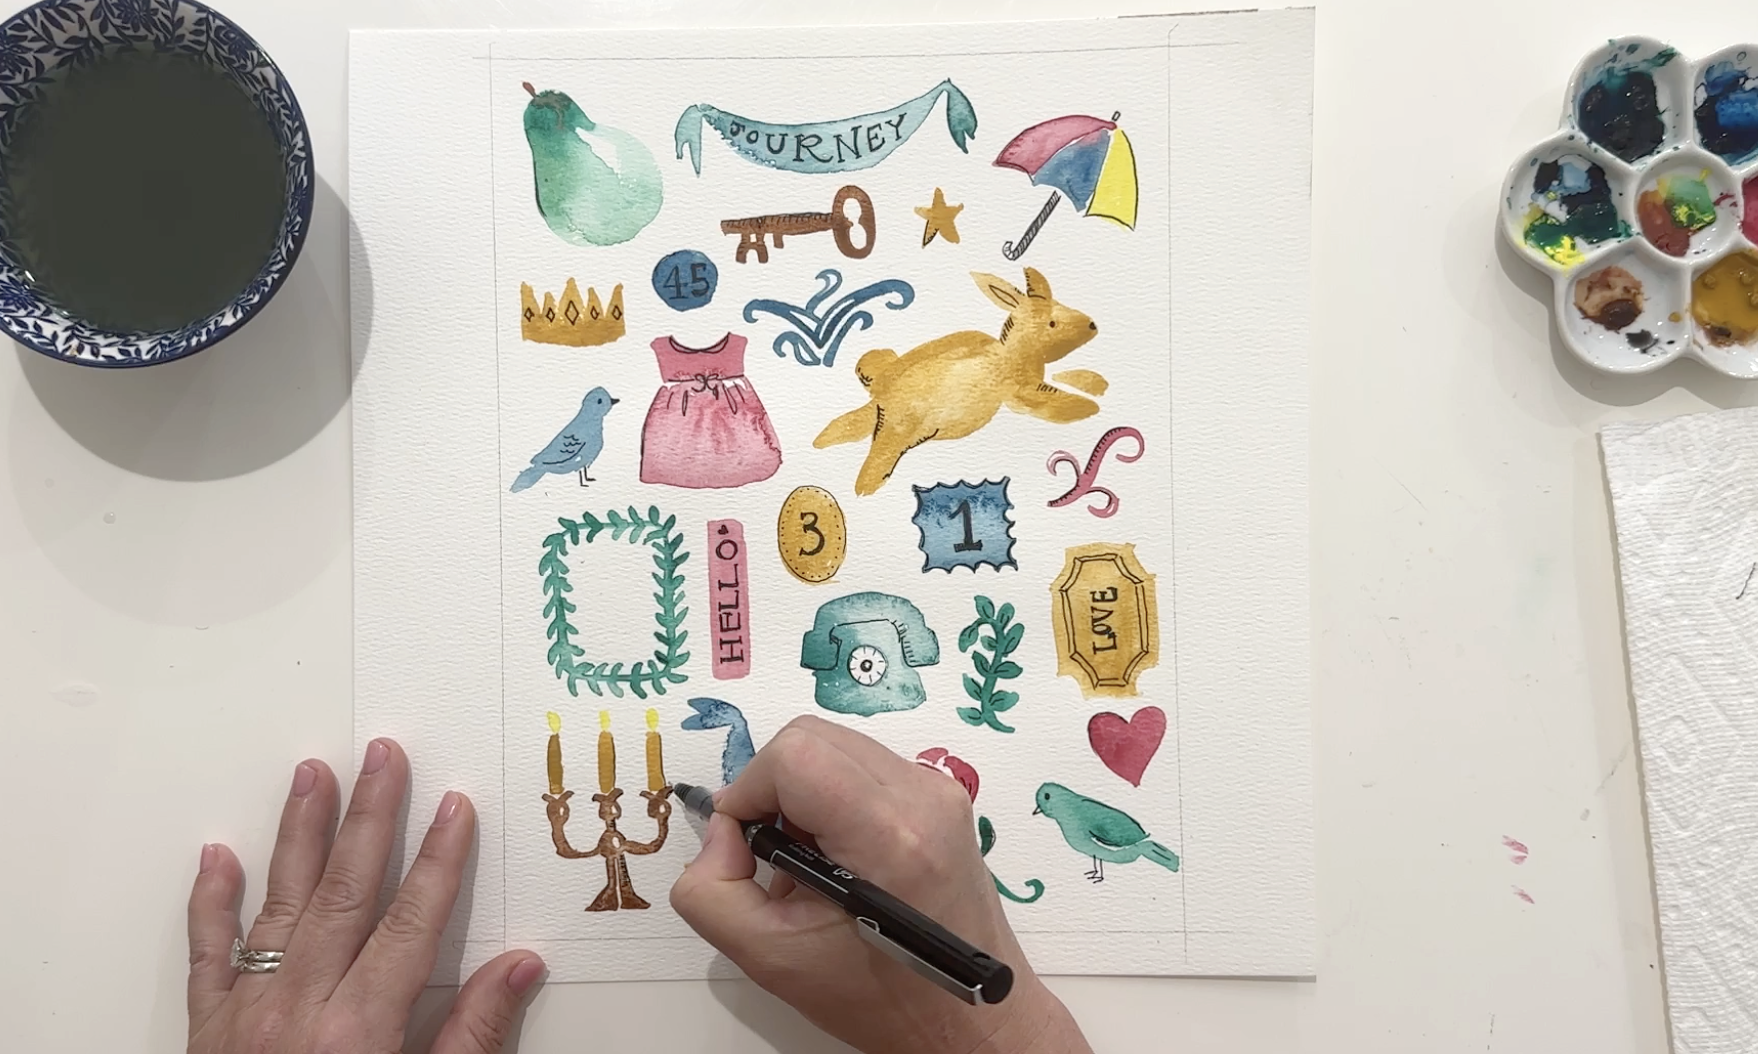
If you want to add pen details, this is the time to do it. Pen lines can add contrast and depth to your stickers, and for certain projects, it’s a fun touch. While some sticker sheets are entirely digital with added fonts or quotes, physical pen work can bring a handmade feel to the final design.

Step 5: Digitize and Refine in Software (not shown in the video)
Once your painting is dry, scan it in to digitize the sticker sheet. I recommend Adobe Photoshop for tweaking spacing and Illustrator for creating die lines. Adjusting the artwork digitally allows for more precision and customization, which is especially helpful if some designs need additional separation or refinement.
Creating watercolor sticker sheets allows you to work in a physical medium while also learning how to digitize art for production. If you’re interested in a more structured approach, my Die Cut and 3D Design Technology course at the University of Arts & Design teaches you how to design specifically for machines like Cricut and Silhouette. For those interested in launching a creative business, check out my Design Bootcamp at designsuitecourses.com/designbootcamp for a comprehensive introduction to building a design business or apply to the University of Arts and Design at www.uad.education.
Designing your own watercolor sticker sheet is a rewarding process that combines artistry with practical design skills. Thanks for following along, and don’t forget to subscribe to my channel for more design tutorials and creative business tips!

