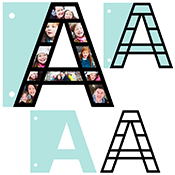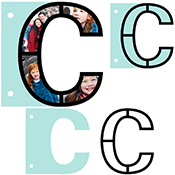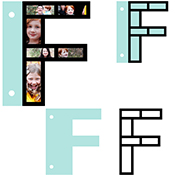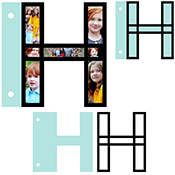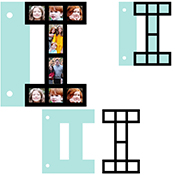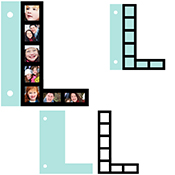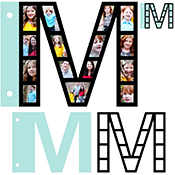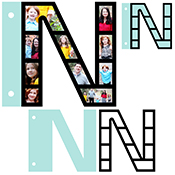
IDEAS AND INSPIRATION
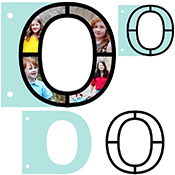
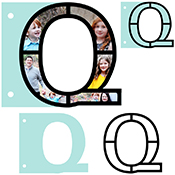
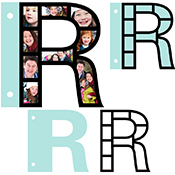
1. Cut a single photo into one letter. Simply lay a large photo behind the letter and trim the photo.
2. Use multiple letters together to create a name (like C-H-A-R-L-I-E) and only put photos of that person in it.
3. Choose a theme like S-U-M-M-E-R and capture favorite moments from the season.
4. Add journaling and/or capture a specific photo shoot or time of year.
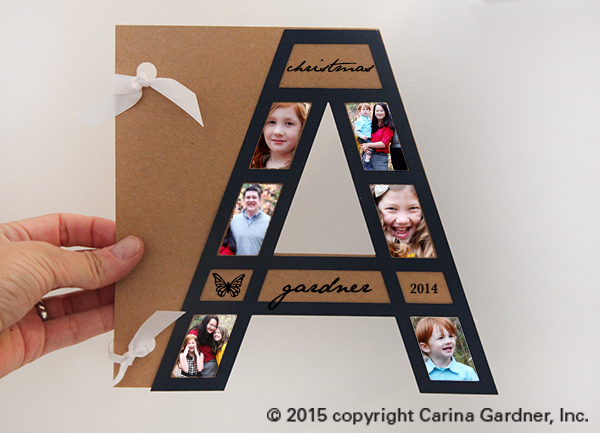
5. Create an alphabet album highlighting each letter. For example, an apple orchard experience with your children all captured in the letter ‘A’ or a swim party in the letter ‘S’.
6. Do a single letter album to highlight a holiday. For example, ‘C’ for Christmas—
7. Or highlight the holiday by spelling out the holiday like E-A-S-T-E-R.
There are so many great ways to use this album for a gift or keepsake. Here’s how you put it together.
TUTORIAL
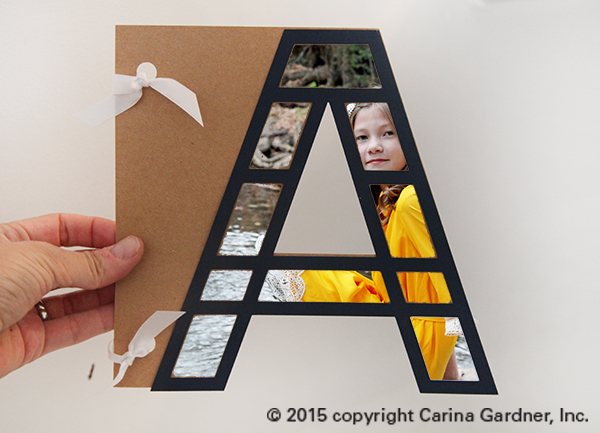
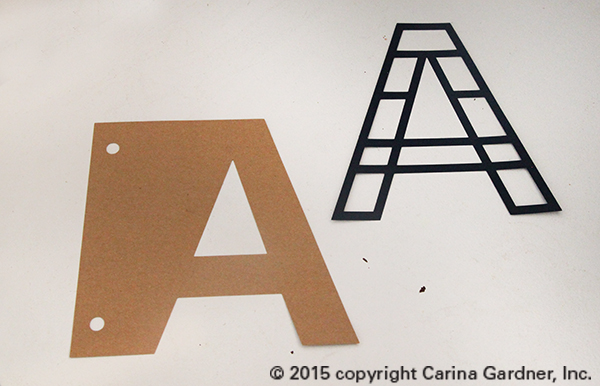
1. Cut out SVG files. You will have two pieces—a front overlay and a back piece with holes for attaching it to other album pieces. (PS All the Alphabet Photo Album pieces go together).
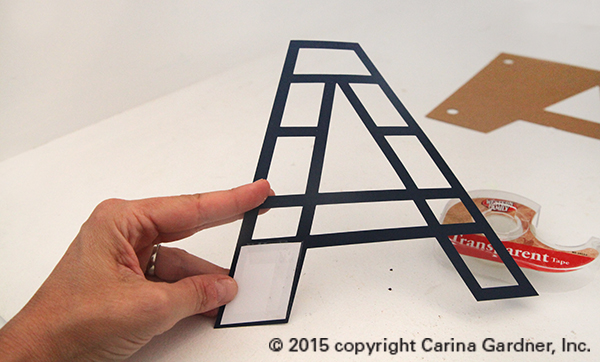
2. Use tape or a glue stick to adhere the photograph to the back of a framed window. I used scotch tape, but you may use whatever adhesive you would like to make your picture stay in place.
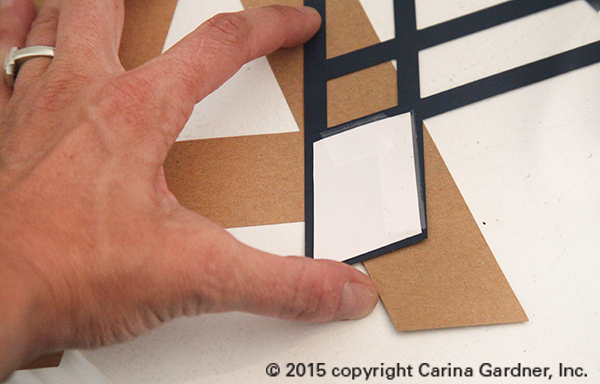
3.Finally, simply place the letter on back piece to create a simple collage of fun photos.
Hope you get to make one of these fun album!
Carina
