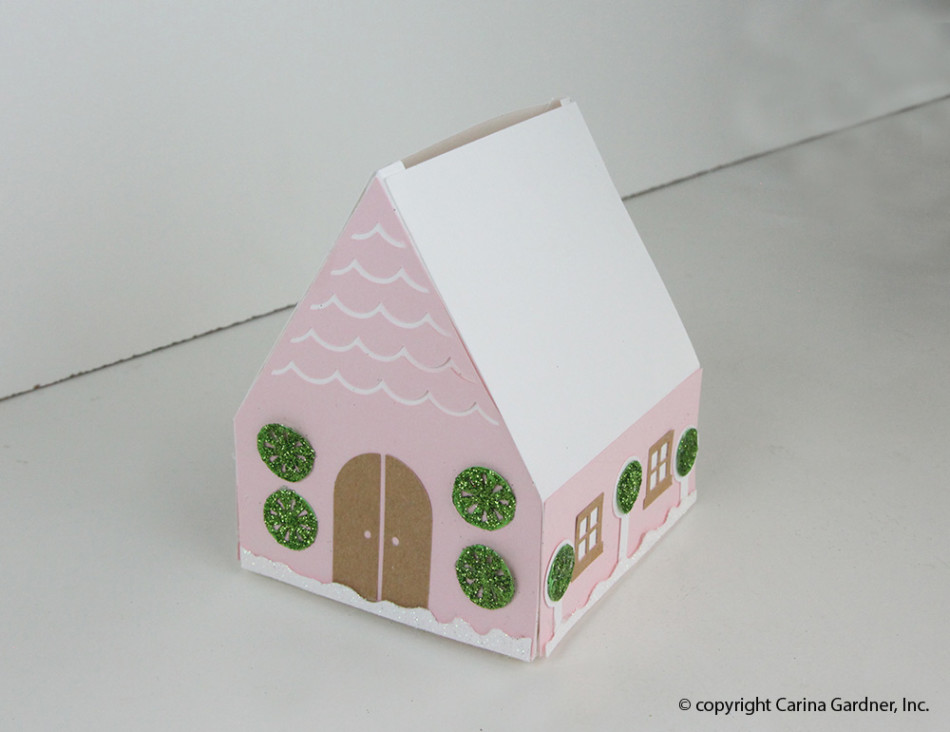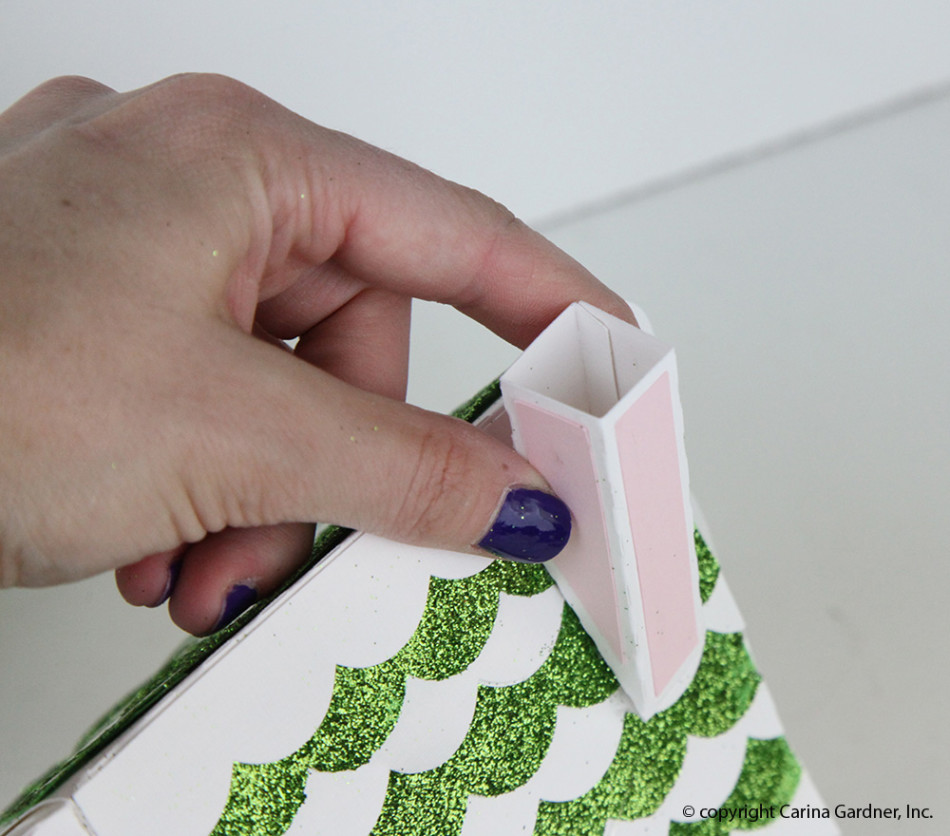
UPDATES FROM CARINA

Silhouette Spotlight – Carina Gardner

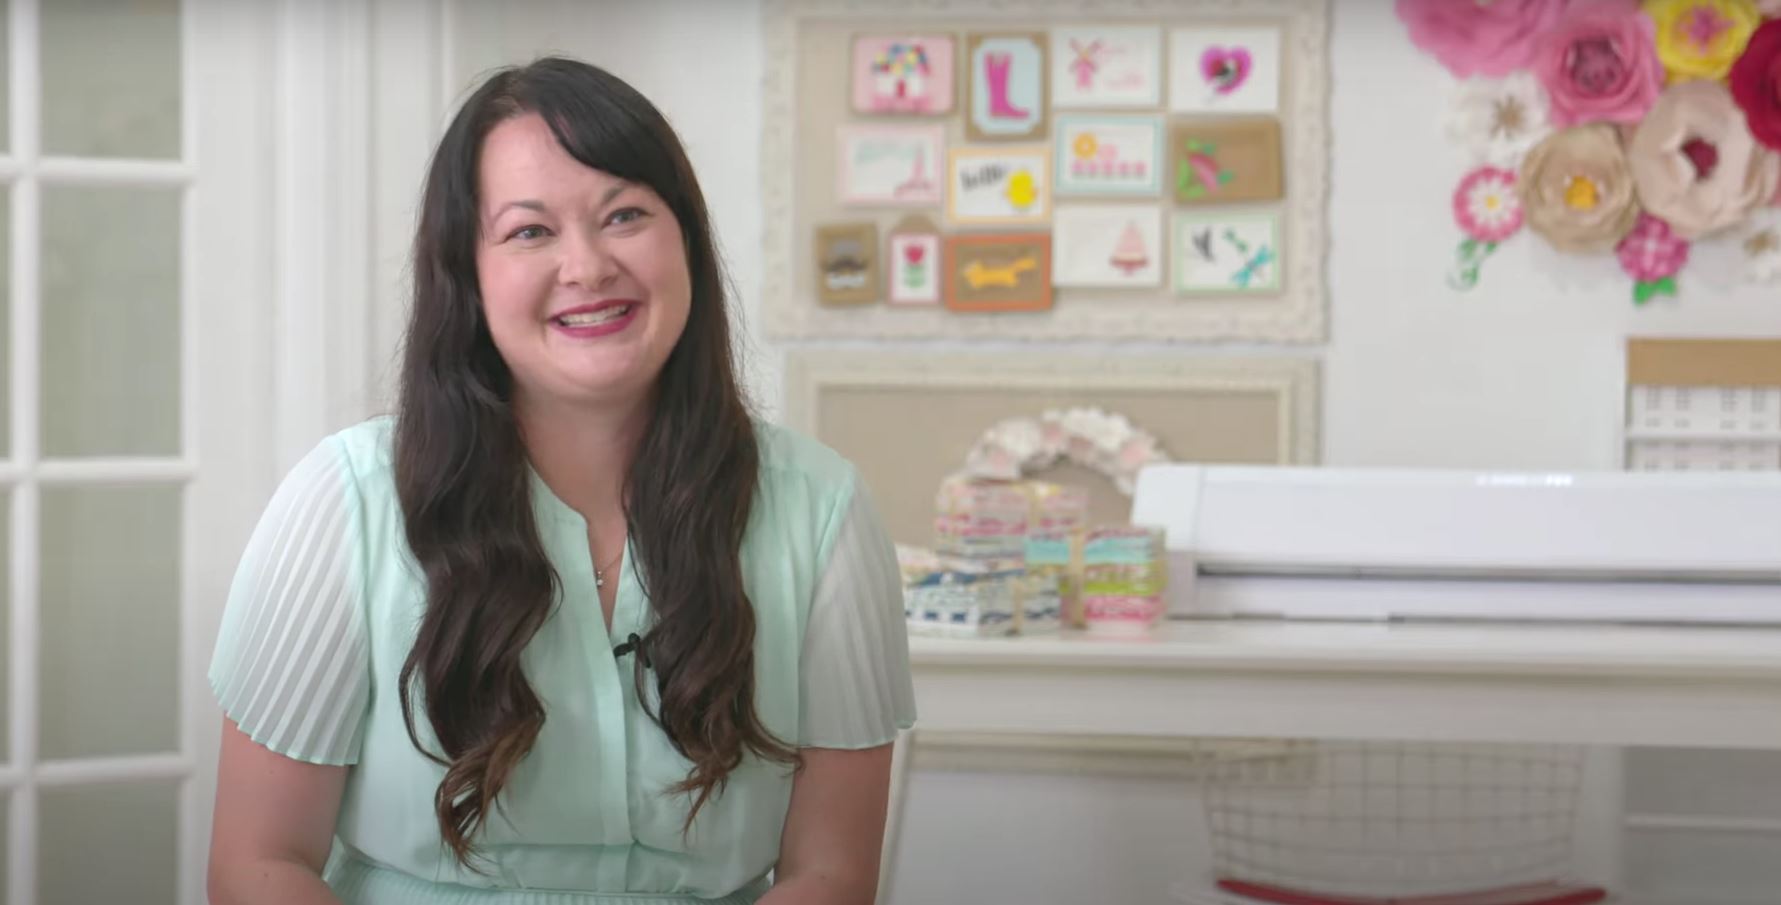
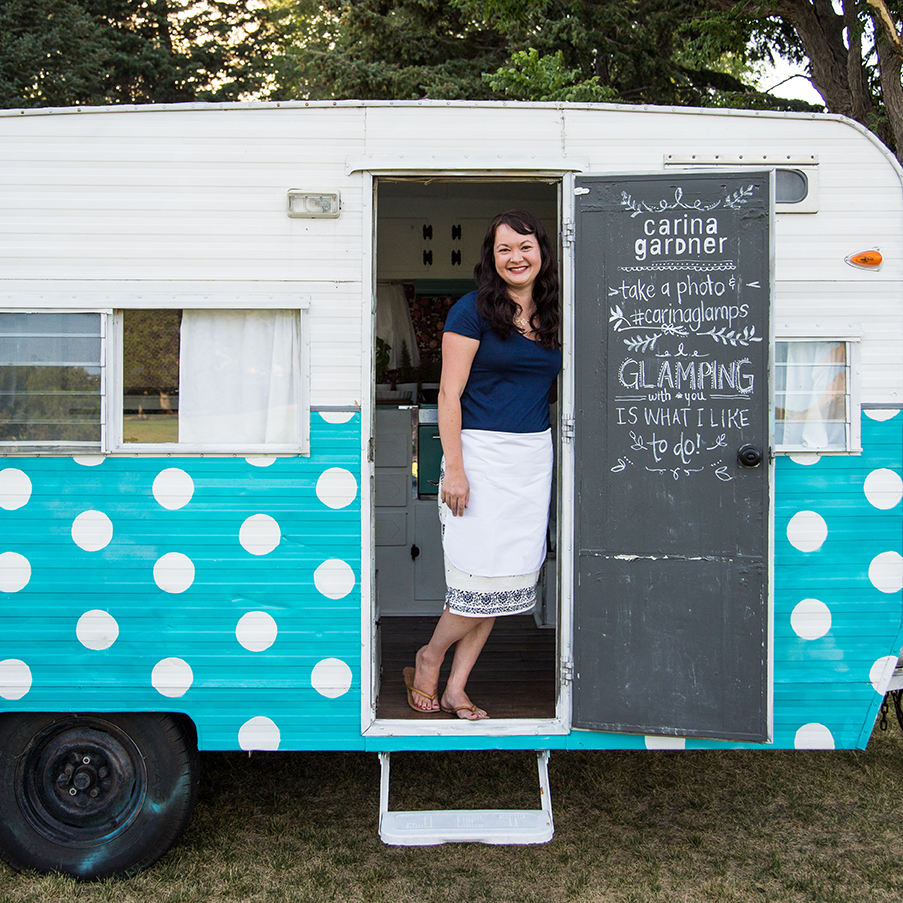
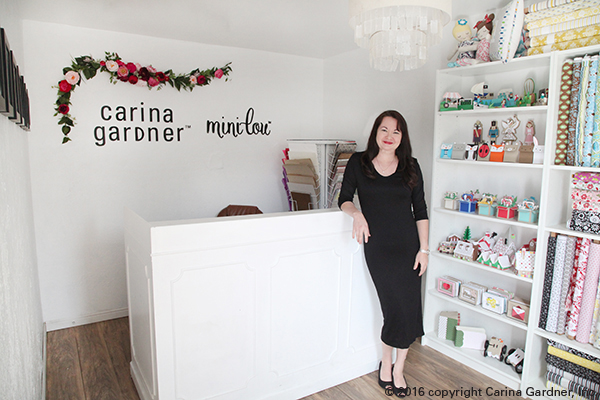
Photo of Carina Gardner, designer and Silhouette professional


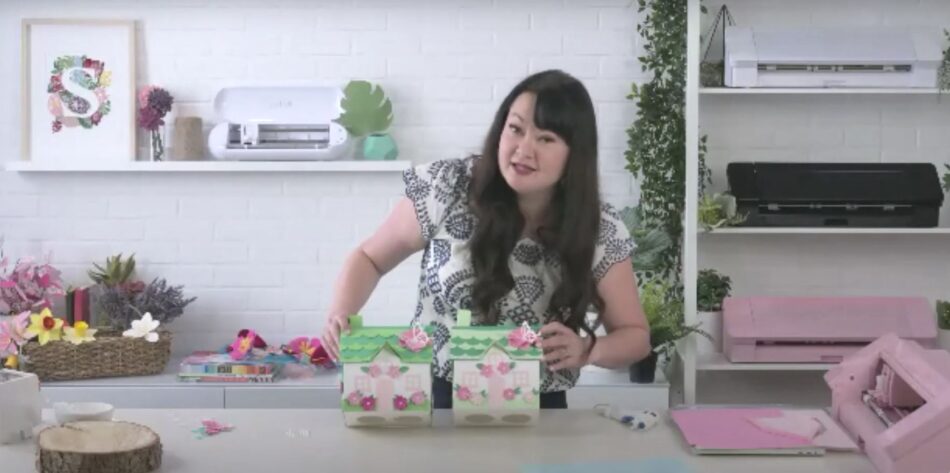
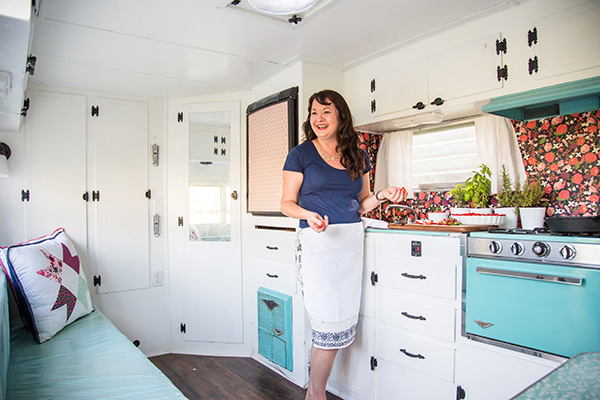
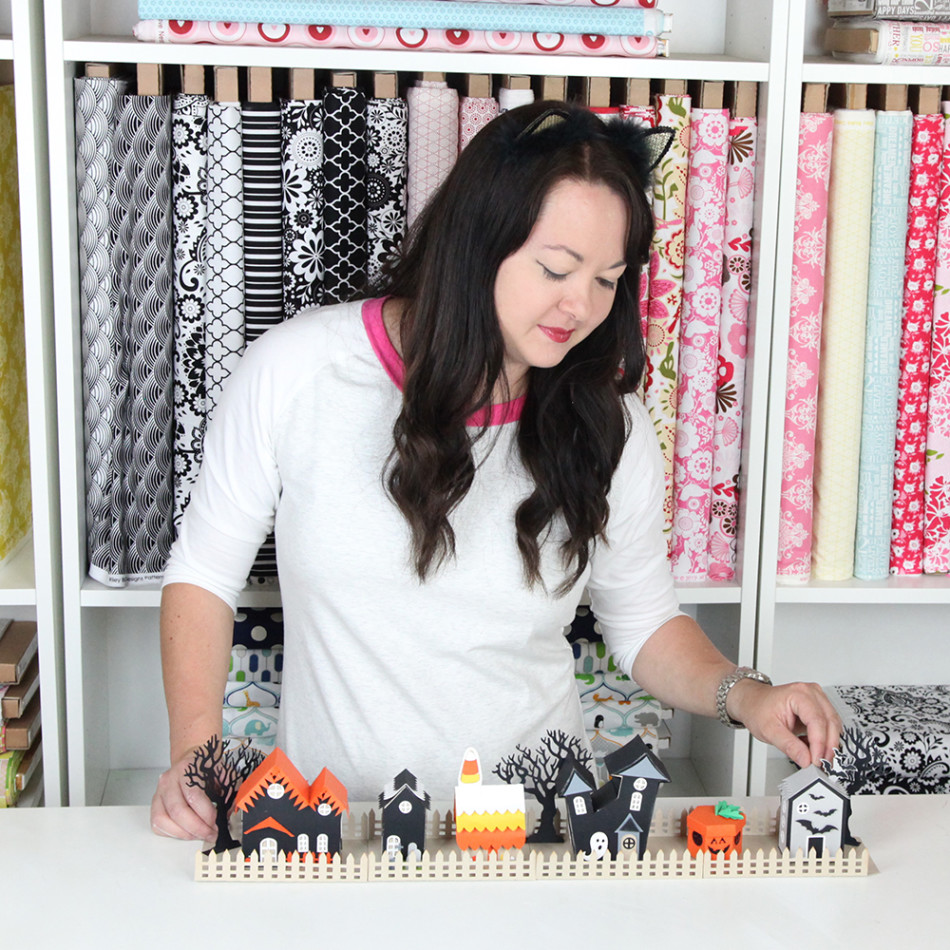
This was a fun spotlight I did for Silhouette. I’m featuring the Pro as a project in my studio. Hope you enjoy!

Find my designs in my Silhouette Shop at https://www.silhouettedesignstore.com/artists/252689.

XOXO,

Carina

Silhouette Design Store JOANN Stores

Silhouette Spotlight – Carina Gardner Read More »

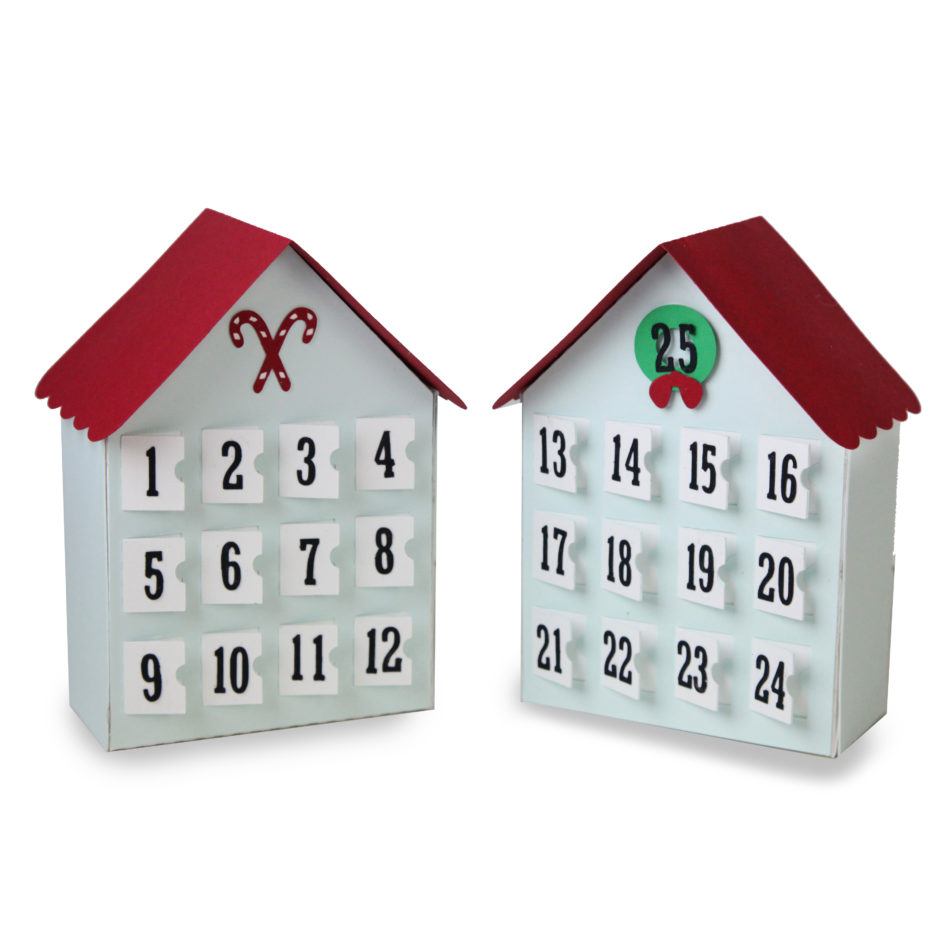
Online Class: 12 Days of Cardmaking: Christmas Advent Folded Card with Silhouette | Michaels


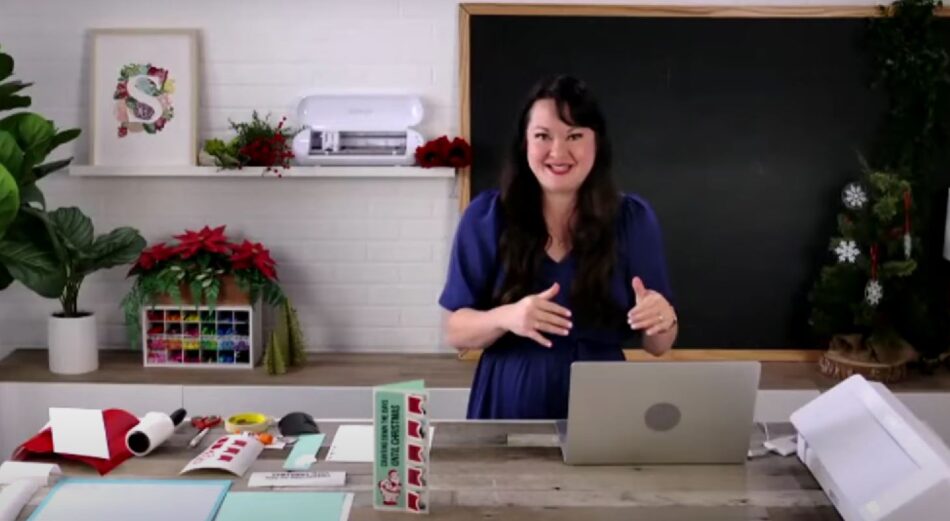
Carina shows you how to make this project with Silhouette America and Michaels! Files available in her Silhouette Shop at https://www.silhouettedesignstore.com/artists/252689.

Originally done live on November 12, 2021.

Silhouette Design Store JOANN Stores

Online Class: 12 Days of Cardmaking: Christmas Advent Folded Card with Silhouette | Michaels Read More »

Girls Trips – Las Vegas with the Elms Crew!

A couple of weeks ago I met up with 7 of my girlfriends from college. I love this group of ladies and they make me want to be better. I thought you might enjoy my quick reel from the trip (so you can get a taste of what we do on trips) along with a message about working hard and playing hard. I’m ALWAYS a big fan of working hard and playing hard. That’s why you’ll find me designing like a mad woman, hanging out with my family, and vacationing with friends. Enjoy! Carina

Silhouette Design Store JOANN Stores

Girls Trips – Las Vegas with the Elms Crew! Read More »

House Update – Planting and Painting

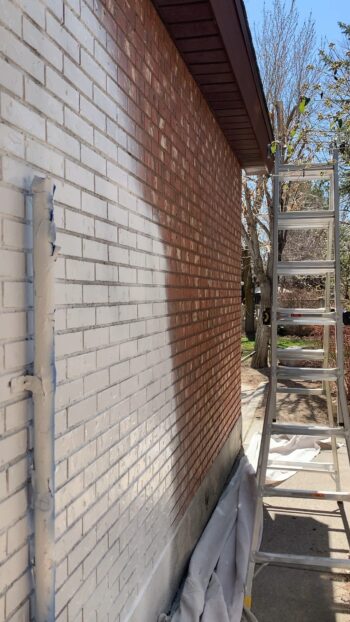
The last couple of weeks I finished painting the exterior of my house and planting a good portion of my garden. Not everything is done, but I made some great progress. I thought I’d post all the videos in one place for you to check out!

Silhouette Design Store JOANN Stores

House Update – Planting and Painting Read More »

Week 1 – Exterior House Make Over | Painting Brick

I rarely post my personal projects but since I moved into a new house  9 months ago I started posting to my instastories some of my renovations. I decided I better start documenting them on my blog as well. Partially for myself and for anyone else considering these types of projects.

First off, I’m just an amateur having a good time making changes to my house. I’m not afraid of a little work. That being said, I definitely underestimated what it would take to paint my house.

If you have painted brick before, comment below. You can also see all my in process videos on my instagram feeds (in particular at @carinagardnerdesigns).

Here’s a little video I put together that will help you see what I did on weekend one. Josh helped me do a lot of the top of the house (I’m scared of heights), but I did get up there to hand paint a few areas.

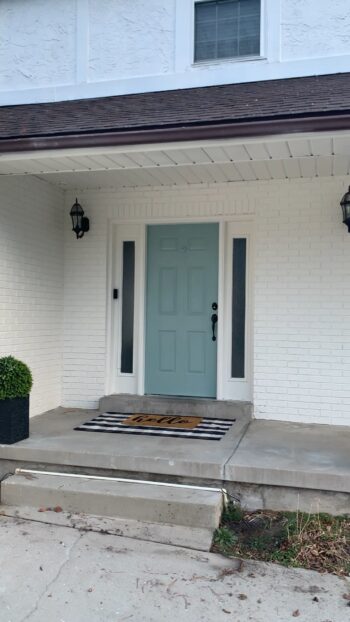
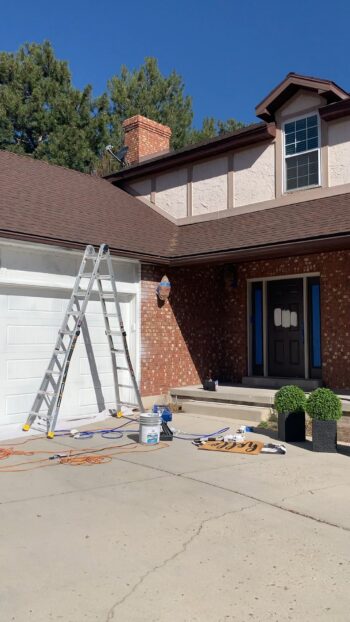
Here is a before picture of my house.

The brick needed washing and cleaning. It wasn’t too hard with a pressure washer. However, the stucco had old iyy stuck to it and it was a beast to work with. I spent 8 hours cleaning the back of my house from a ladder. I couldn’t reach the ivy on the back side of the house. I”ll be using a boom lift on week 2 to get to that.

I love the look of ivy, but now that I have had to clean it off, I won’t let it grow on this house!

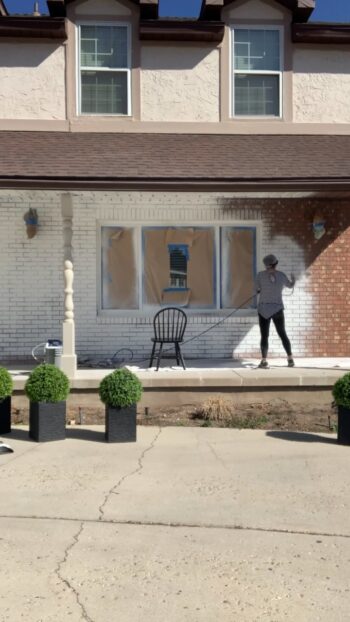
The brick needed primer first, which I put on after 2 prep days. I bought my sprayer from Home Depot (This is NOT a sponsored post, BTW). I ended up with Magnum 5X, which was about $350. I highly recommend this for brick. I originally thought I was going to just roll it (ya, that wasn’t going to work).

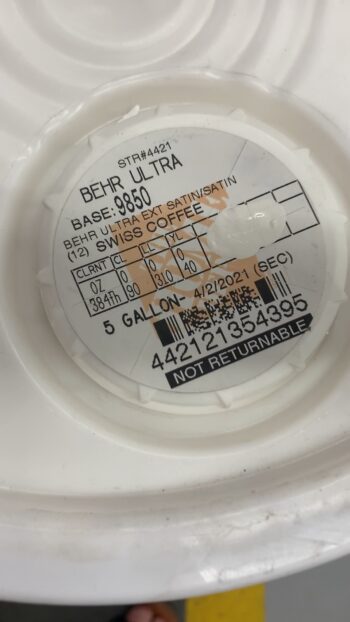
As for paint color, I was trying to decide between alabaster, white dove, and swiss coffee. I went with swiss coffee because of my dark brown roof. Jury’s still out on whether I chose the right white. I thought I wanted it warm but I’m not sure that I love the way it looks at all points in the day. If you are looking for a truer white, I would recommend white dove. If you like this creamier look, check out swiss coffee.

I ended up painting about 2-3 coats of the swiss coffee on the front of the house and most of the bottom of the house.

I decided a few months ago on a blue on my front door. I simply taped paint chips on the door and looked at it at different points in the day.

Feel free to comment below whether you have painted stucco and brick before!

I’ll post before and after pictures in a week when I finish the house!

Here are some of the things I have left to do:

    1. Columns Redone
    2. Paint the backdoor
    3. Prep and clean up of the back side of the house
    4. Paint the top of the house
  1. Clean up of the eaves and rain gutters

So that was a quick look at week 1. Hope you enjoyed this!


Silhouette Design Store JOANN Stores

Week 1 – Exterior House Make Over | Painting Brick Read More »

Fun Home Projects in 15 seconds – Movie Room in a Day and Wreath Project

I’ve been making a lot of content but it has been hard for me to keep up with posting them here on the blog so I have a few 15 second videos for you in this one post. These are originally posted with Reels at either @carinagardner or @carinagardnerpapercrafts on instagram.

Hope these light videos are fun for you to watch! Watch them in real time on my instagram feed! And of course you should join my VIP groups for free! Tuesdays – free die cut file, Wednesdays – free design tutorial, Thursdays – are sewing pattern! http://eepurl.com/dN2RcY

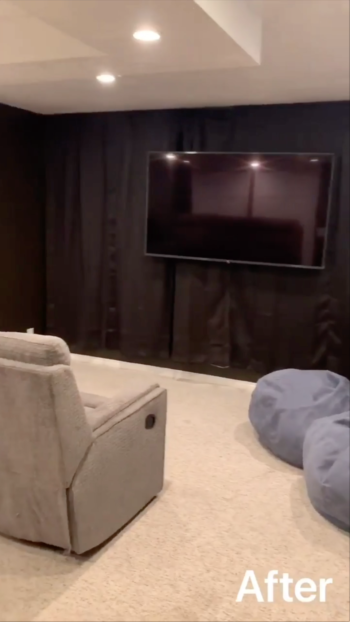
I put together our movie room in one day and our family loves it so much! It’s not a big room but it works out perfectly for a small movie room.

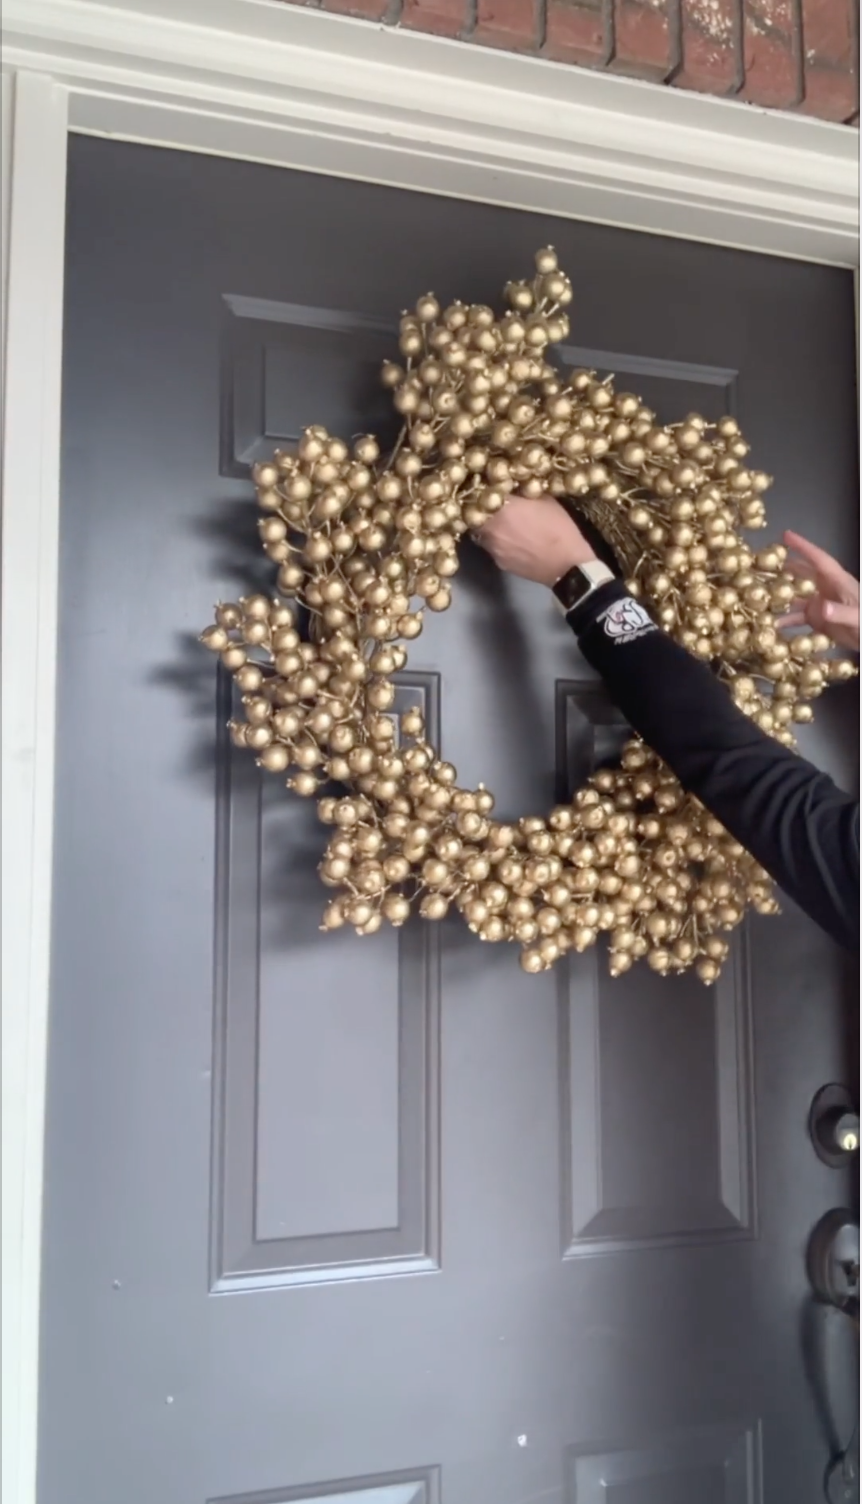
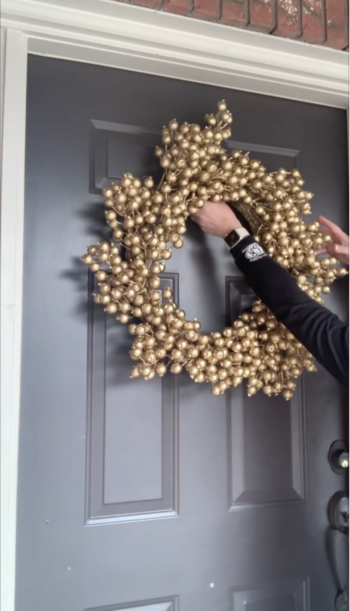
I had a wreath that was looking pretty discolored so I added gold!

Silhouette Design Store JOANN Stores

Fun Home Projects in 15 seconds – Movie Room in a Day and Wreath Project Read More »

ModBee Fall 2020

Fall ModBee is here and in a world were we all social distance, an online quilting bee is my happy place! This time we have prerecorded classes and I’m thrilled because I was able to give you views of my desk as I sew! This time I am teaching my Scrappy Squares quilt. The pattern comes with the course and I show you a smaller version where I make the border like the middle of the quilt (I love it!).

If you want to register, user code EARLYBIRD for a discount here: https://www.eventbrite.co.uk/e/mod-bee-fall-edition-2020-a-modern-online-quilting-conference-tickets-121041314831?fbclid=IwAR2HUfpK7LgAlEih6m2Sf2Dzy12cXG7hE5Ii-wCmvSjBQ85fzNH86BEyEMQ

ModBee will be held from Oct 22-24, 2020 with access to all the classes via a Facebook private group. I hope you have fun! can’t wait to see you there!

Silhouette Design Store JOANN Stores

ModBee Fall 2020 Read More »

Ultimate Paper Cherry Blossom Temple – Silhouette and Cricut Project

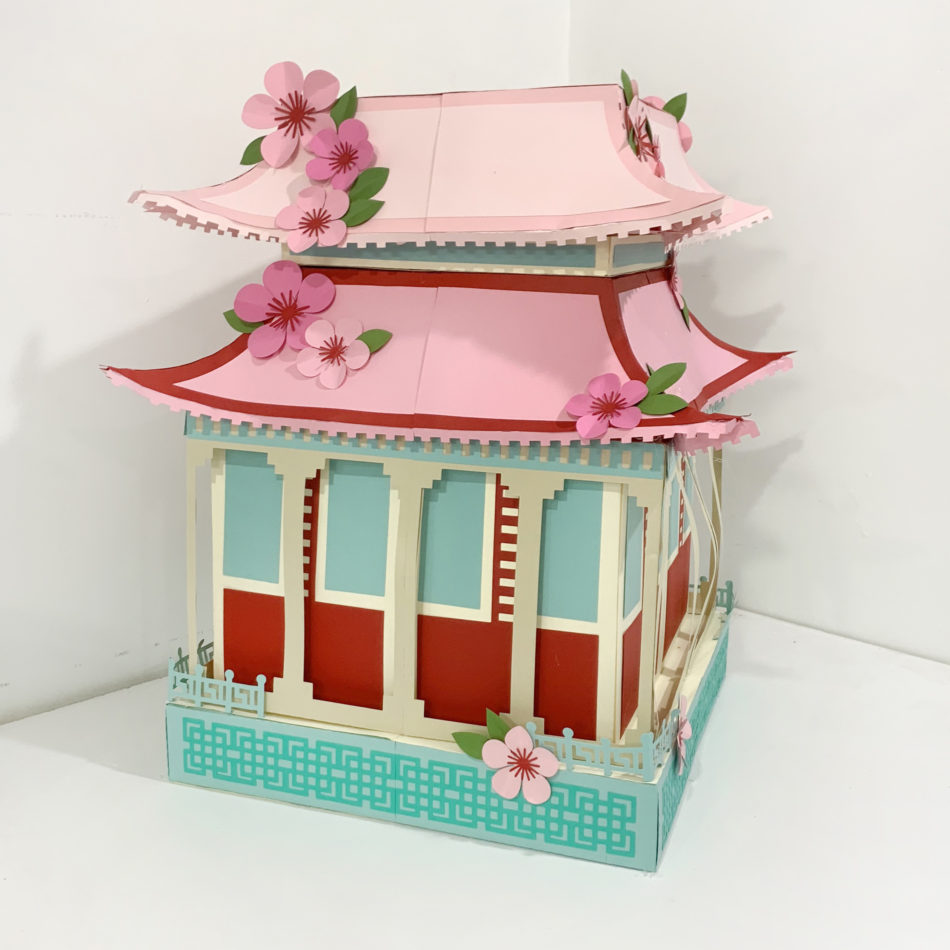
I have a new Ultimate Paper Project for you! Here’s how to make my new Cherry Blossom Temple. This project is the biggest I have tried to tackle yet!

I think what I like most about this project is the colors. I went with pinks , red and blue for my main colors. The full project ended up 21 inches tall with a 15 in x 15 in base! The coolest Chinese New Year centerpiece, don’t you think? You can grab the files for this project here: https://carinagardnershop.myshopify.com/collections/ultimate-paper/products/the-ultimate-paper-cherry-blossom-temple

To join my VIP group for free, go here: http://eepurl.com/dN2RcY. I regularly RESEND files so be sure to sign up so that you are getting all my free tutorials!

Silhouette Design Store JOANN Stores

Ultimate Paper Cherry Blossom Temple – Silhouette and Cricut Project Read More »

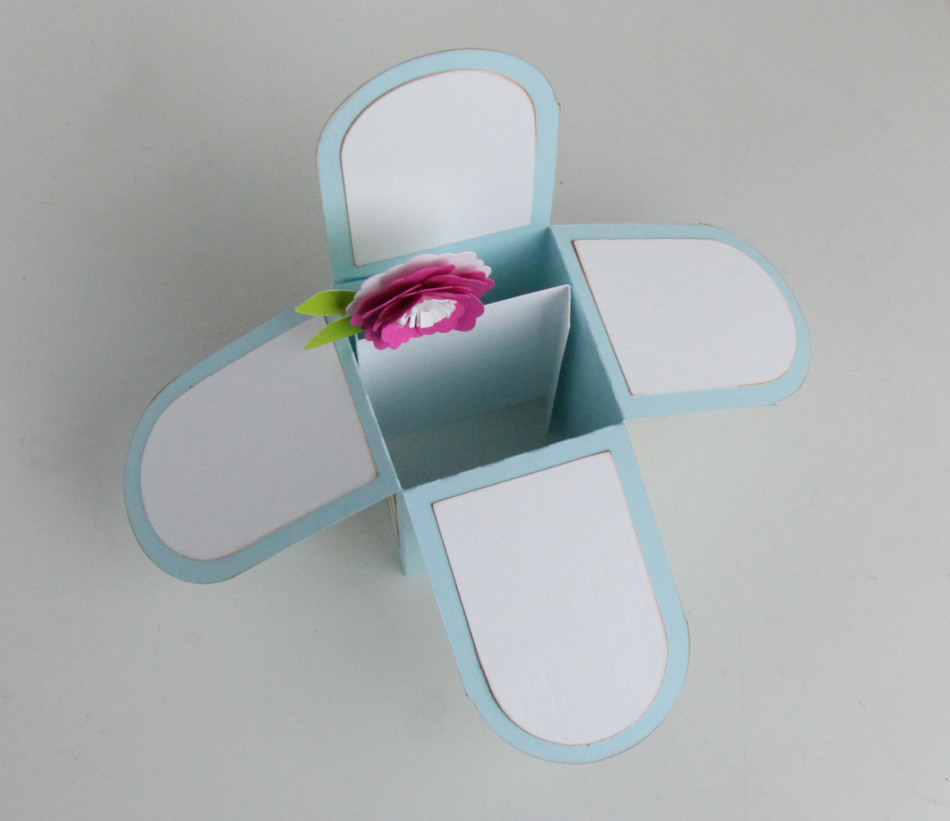
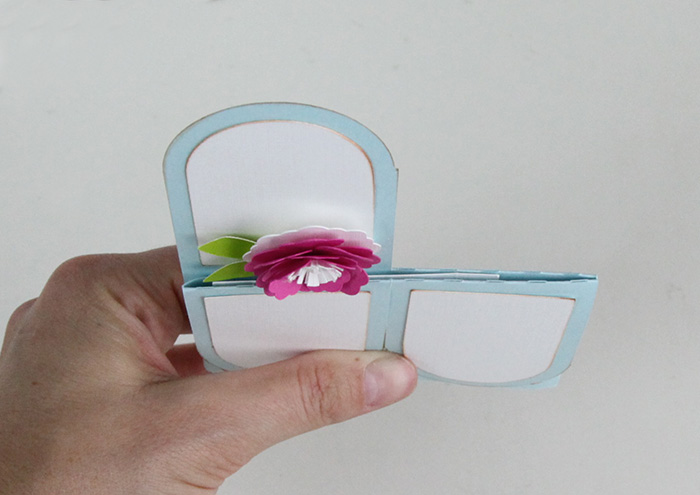
How to Put Together an Accordion Card with Your Silhouette Machine – LIVE

I sent this little freebie to the Silhouette VIP Group! To join my VIP group for free, go here: http://eepurl.com/dN2RcY. I regularly RESEND files so be sure to sign up so that you are getting all my free tutorials!

LIVE VIDEO SCHEDULE

Tuesdays Silhouette Projects 10am MST
instagram @carinagardnerpapercrafts
facebook https://www.facebook.com/carina.gardner.designs/

Tuesdays MiniLou 10:30am MST
instagram @miniloukids
facebook https://www.facebook.com/miniloukids/

Thursdays Fabric Projects 10am MST
instagram @carinagardner
facebook https://www.facebook.com/carina.gardner.designs/

Silhouette Design Store JOANN Stores

How to Put Together an Accordion Card with Your Silhouette Machine – LIVE Read More »

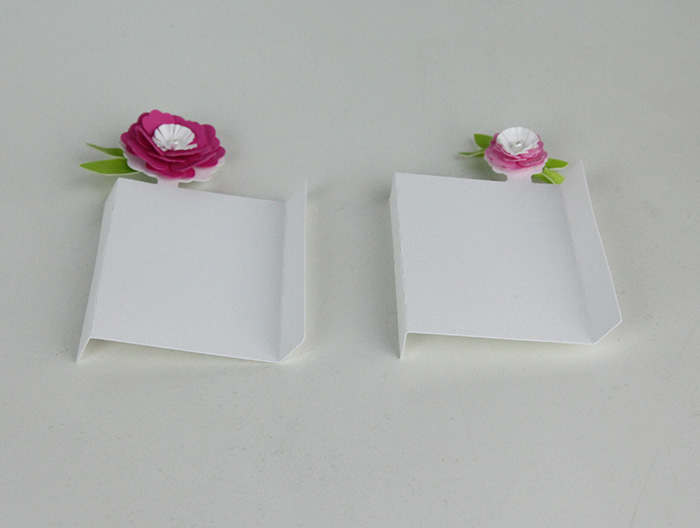
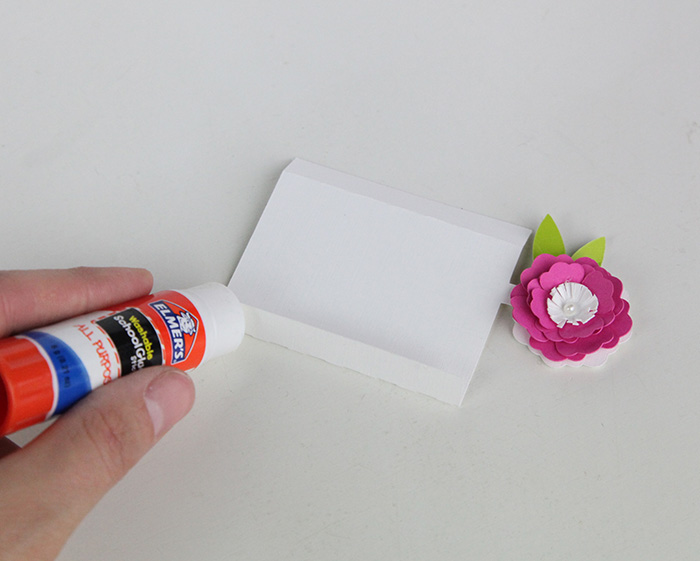
How to Put Together an Accent Flower – From LIVE

Today I show you how to put together one of my accent flowers on my LIVE video series. This file was sent to my Silhouette VIP Group today. To join my VIP group for free, go here: https://myshopify.us17.list-manage.com/subscribe?u=d82f0f4c88f040243118a39a6&id=f899f563cc

To purchase this file from my Silhouette Shop, go here: https://www.silhouettedesignstore.com/designs?search=288918&sortby=relevance&submitted_search=true

LIVE VIDEO SCHEDULE

Tuesdays Silhouette Projects 10am MST
instagram @carinagardnerpapercrafts
facebook https://www.facebook.com/carina.gardner.designs/

Tuesdays MiniLou 10:30am MST
instagram @miniloukids
facebook https://www.facebook.com/miniloukids/

Thursdays Fabric Projects 10am MST
instagram @carinagardner
facebook https://www.facebook.com/carina.gardner.designs/


Silhouette Design Store JOANN Stores

How to Put Together an Accent Flower – From LIVE Read More »

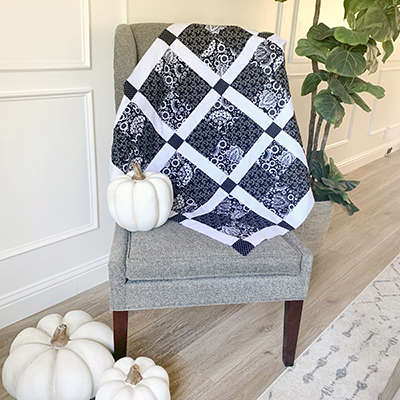
Strawberry and Leaf Quilt Tutorial

Hi guys! The last month I have been making a Strawberry and Leaf Quilt. Guess what? It’s done! Well, almost. I’m going to machine quilt it and bind it this weekend. Here’s my Live Video on putting it together. I’ve also linked the blocks as well below!

Want to get PDFs for all my projects? You have to become one of my Fabric VIPS! It’s free and you can join here: JOIN VIP.

This video on putting it together was done during my Fabric Live Video (Live video times below).

Tuesdays Silhouette Projects 10am MST
instagram @carinagardnerpapercrafts
facebook https://www.facebook.com/carina.gardner.designs/

Tuesdays MiniLou 11am MST
instagram @miniloukids
facebook https://www.facebook.com/miniloukids/

Thursdays Fabric Projects 10am MST
instagram @carinagardner
facebook https://www.facebook.com/carina.gardner.designs/

Strawberry Quilt Block

Leaf Quilt Block

Silhouette Design Store JOANN Stores

Strawberry and Leaf Quilt Tutorial Read More »

Easter Village Tutorial Using Your Silhouette Cameo

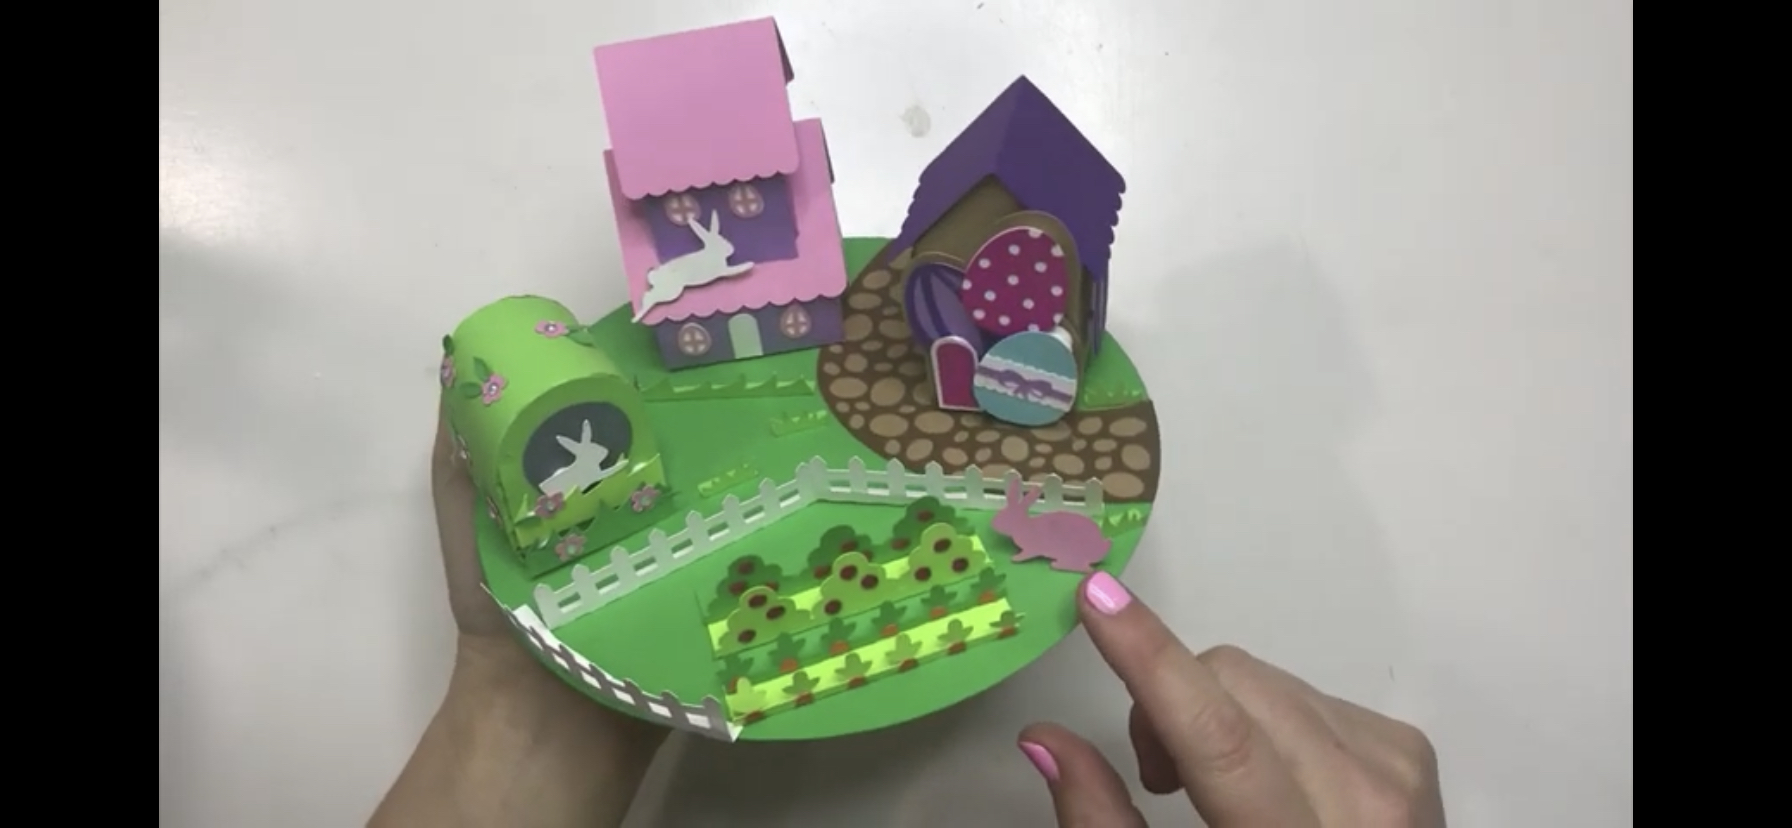
Mini Paper Easter Village

Today’s tutorial on my YouTube channel walks us through how to make my Mini Table Top Easter Village!

The Mini Easter Village is perfect for putting on a cake plate or as a centerpiece to decorate for the holiday. It adds decorative flair to any Easter display. First, you can give little bunnies adorable places to live. Then, choose from two houses or a bunny den that lovingly overlook the cute Easter garden in this colorful vignette.

Next, which bunny will live in the house decorated with Easter eggs? And which bunny will get the double-decker house with the round windows? Which will dwell in the little domed den that matches perfectly with the nature around it?

But, oh no! The bunnies will surely eat the garden! Finally, adding the picket fence is the perfect finishing touch to keep the leafy greens safe! But will it be enough?

Like this project? Find more Easter paper projects in our Easter Round Up blog post!

This tutorial will teach you,

  • how to add dimension to your silhouette designs using pop dots
  • how to build more complex structures using your silhouette machine.

The Mini Table Top Easter Village is a festive way to celebrate the Easter season!

The pieces to the Mini Easter Village can be found at my Silhouette store at the following links:

Easter Egg House: https://www.silhouettedesignstore.com/designs/D-288368
Spring Cottage: https://www.silhouettedesignstore.com/designs/D-288375
Rabbit Hole: https://www.silhouettedesignstore.com/designs/D-288553
Rabbit: https://www.silhouettedesignstore.com/designs/D-288373
Grass: https://www.silhouettedesignstore.com/designs/D-288372
Fence: https://www.silhouettedesignstore.com/designs/D-288369
Garden Bed: https://www.silhouettedesignstore.com/designs/D-288371
Garden Base: https://www.silhouettedesignstore.com/designs/D-288370

You can automatically subscribe to the channel here for the latest tutorials!

Silhouette Design Store JOANN Stores

Easter Village Tutorial Using Your Silhouette Cameo Read More »

Round Up of My Favorite Silhouette Christmas Projects

Over the years I have had a lot of different projects for Christmas. Here are some of my favorites that I hope you love too!

Double House Advent Calendar

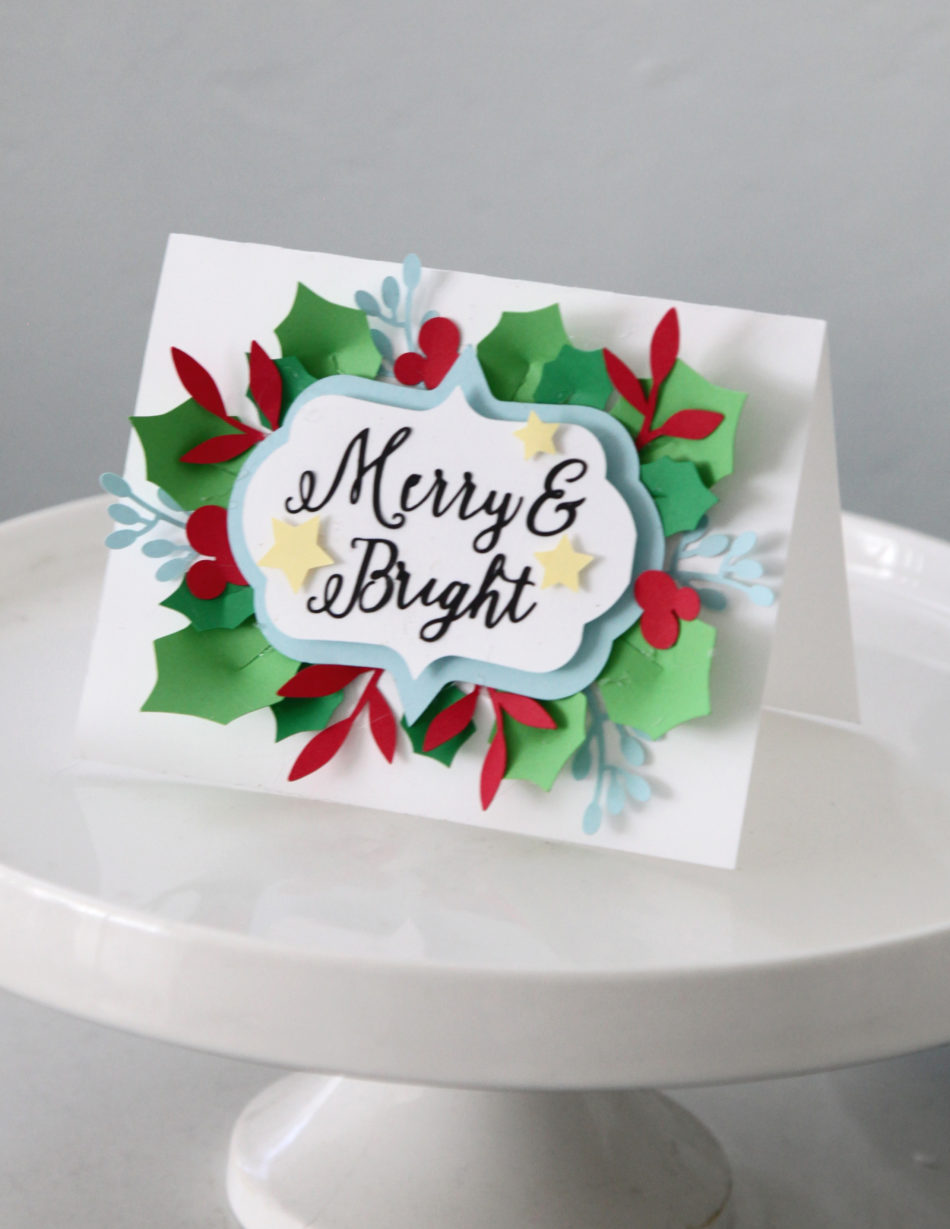
The Merry and Bright Card

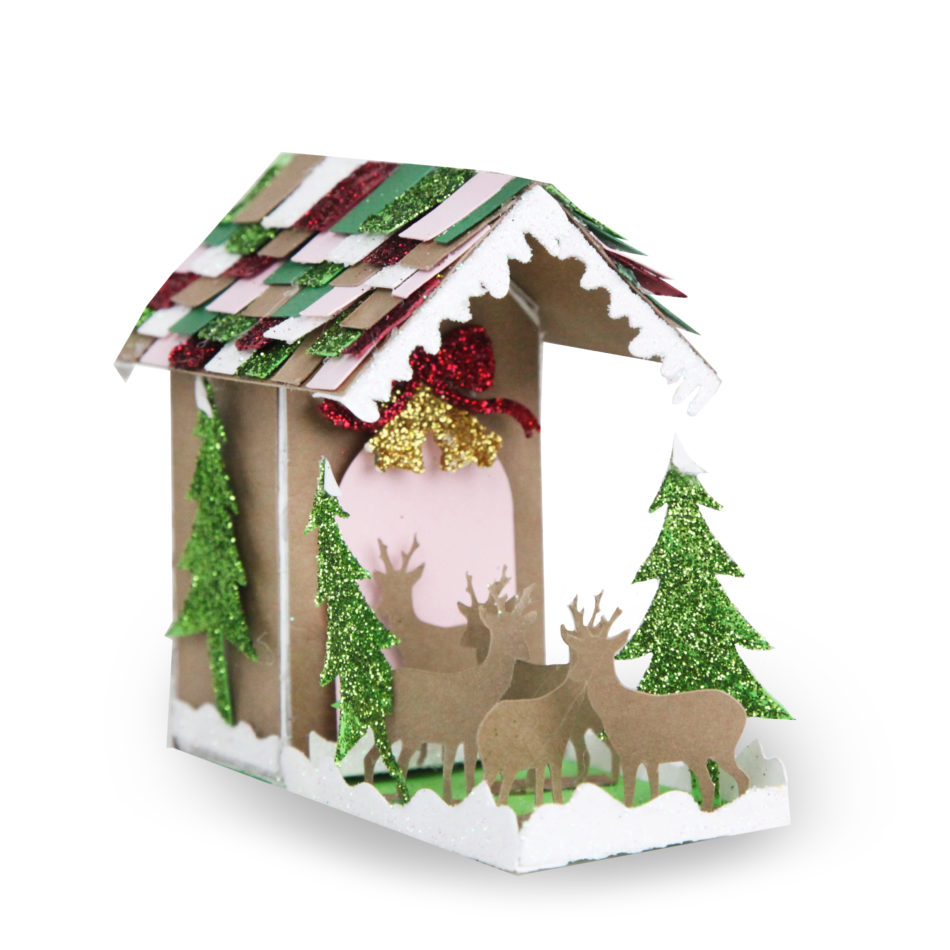
Santa’s Glitter Village – Reindeer Stables

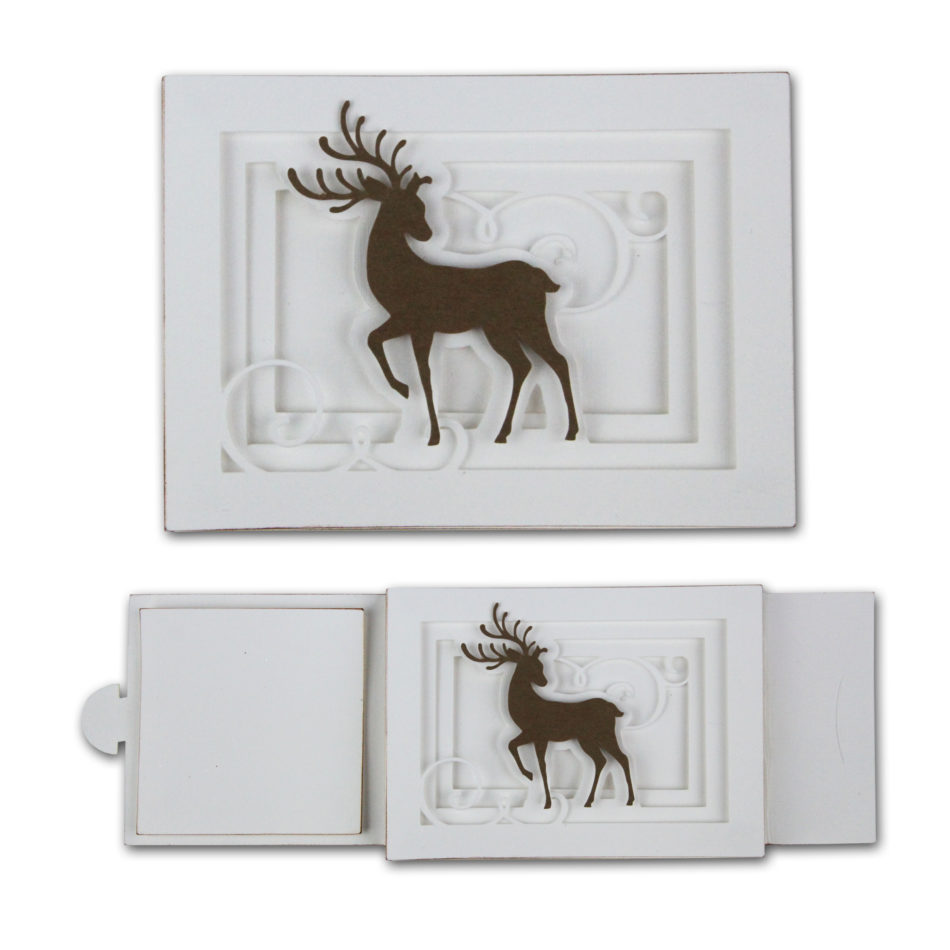
Deer Sliding Shadow Card

Nativity Shadow Box – Mary, Joseph, and Baby Jesus Set

25 Days of Christmas French Fold Album

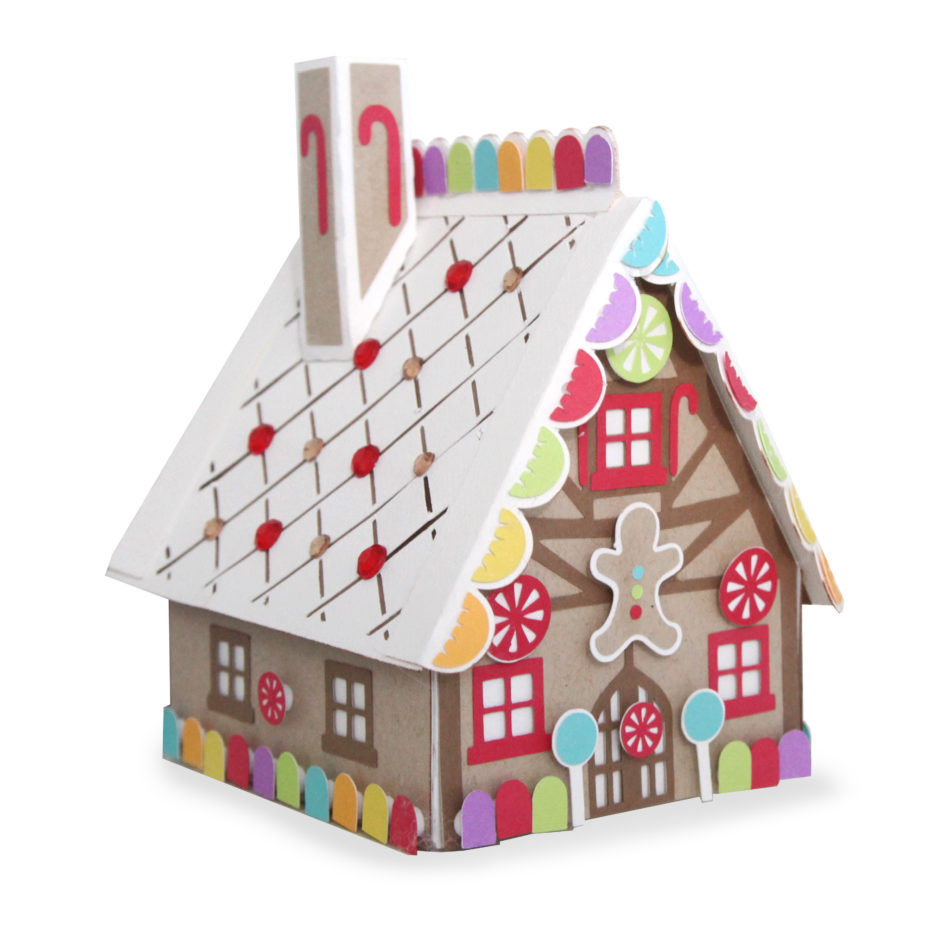
Christmas Village – Gingerbread House

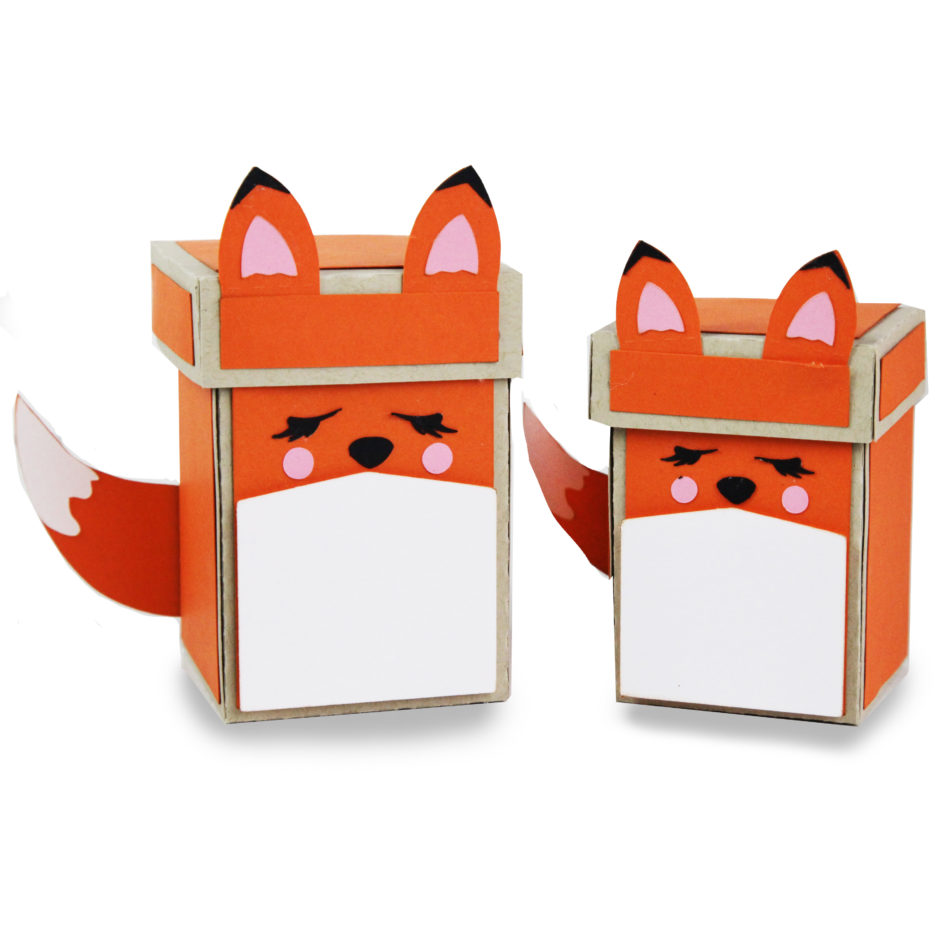
Fox Nesting Boxes

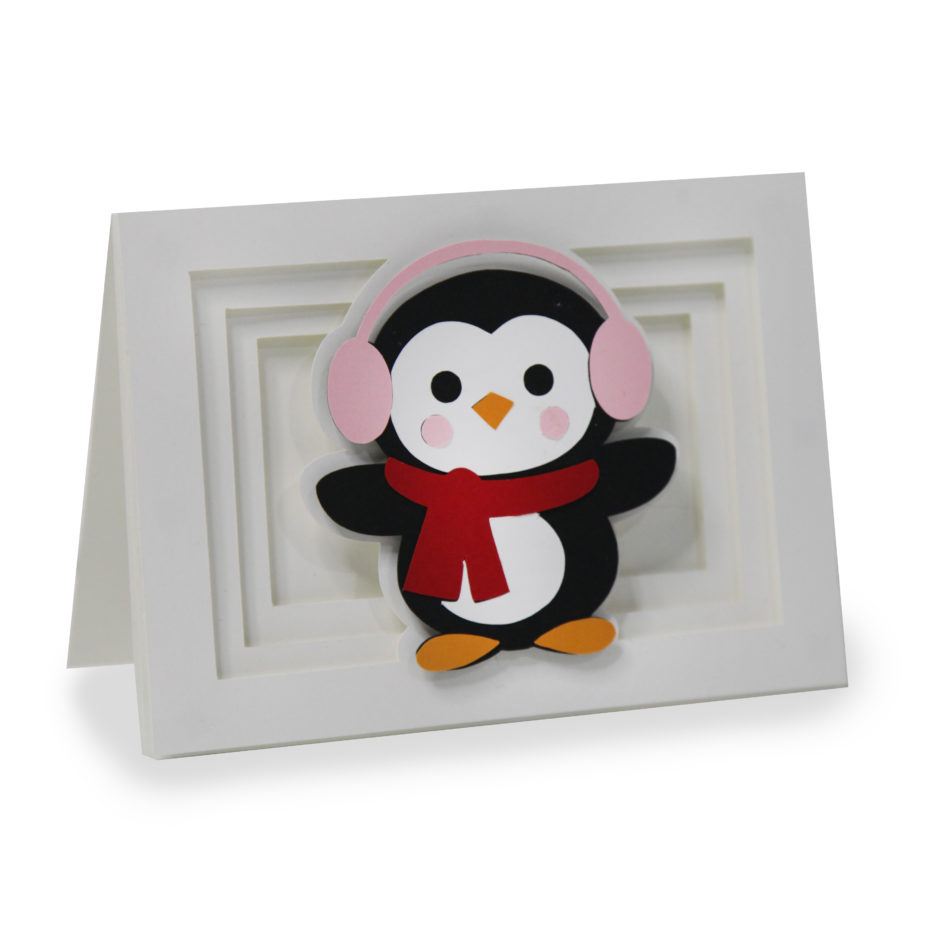
Snowy Penguin Shadow Box Card

This is just a small sampling of the Christmas stuff in the shop! Be sure to check out what is now here:

https://www.silhouettedesignstore.com/view-artist/252689

Carina

Silhouette Design Store JOANN Stores

Round Up of My Favorite Silhouette Christmas Projects Read More »

Glow in the Dark Skeleton Shelf Sitters

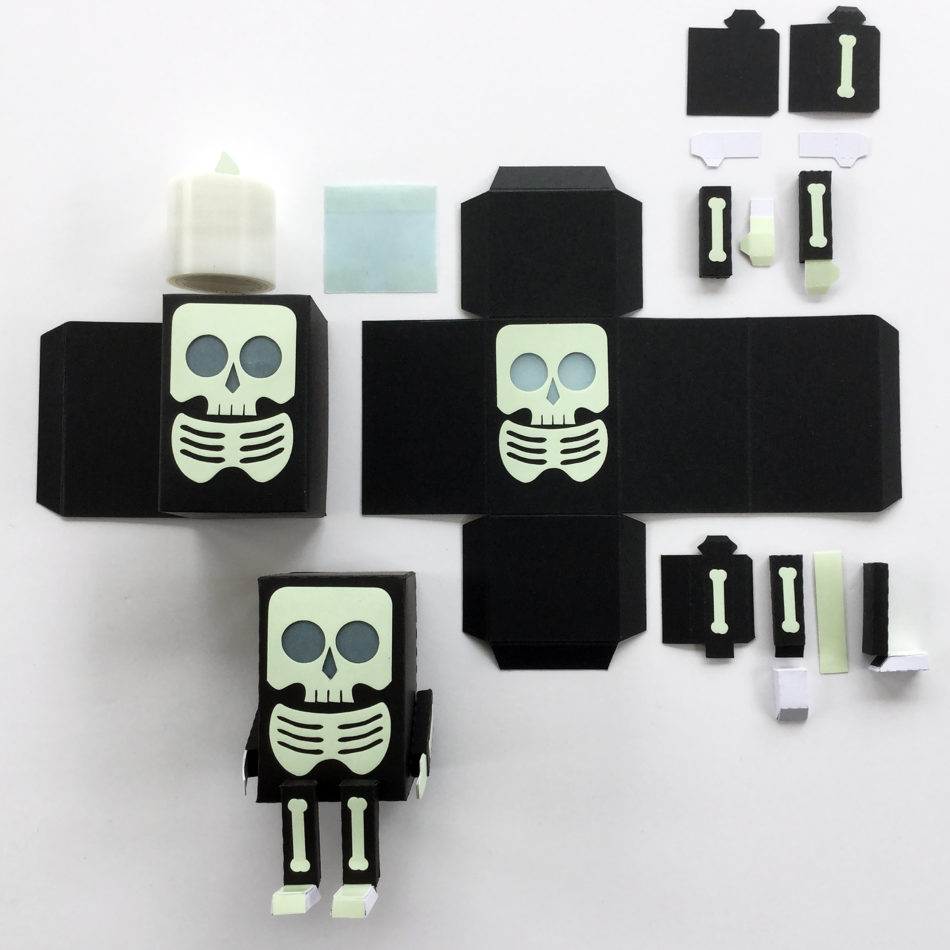
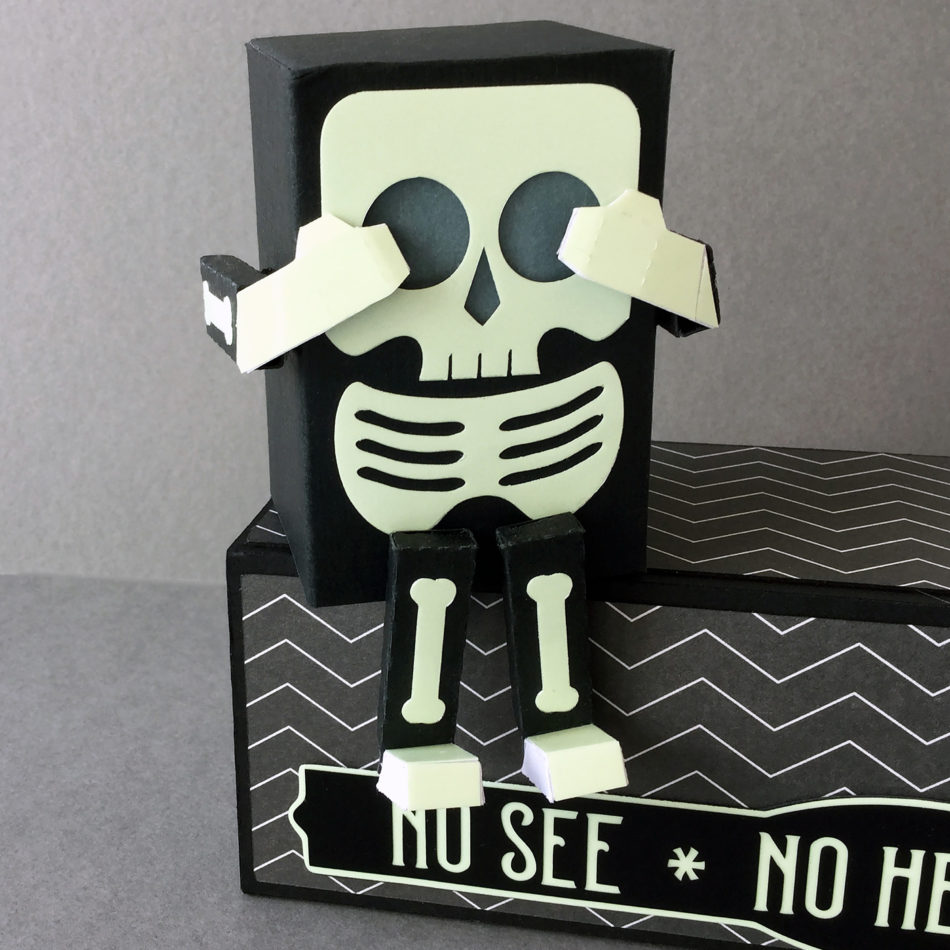
I LOVE halloween, and it is the perfect opportunity to use our cutting machines to make the most fun and unique items to decorate our homes! This mini skeleton shelf sitter is such a cute halloween make, and by adding the bones cut from glow-in-the-dark paper, a square of vellum behind the eyes, and popping a LED tea light inside, it becomes a little spooky too!

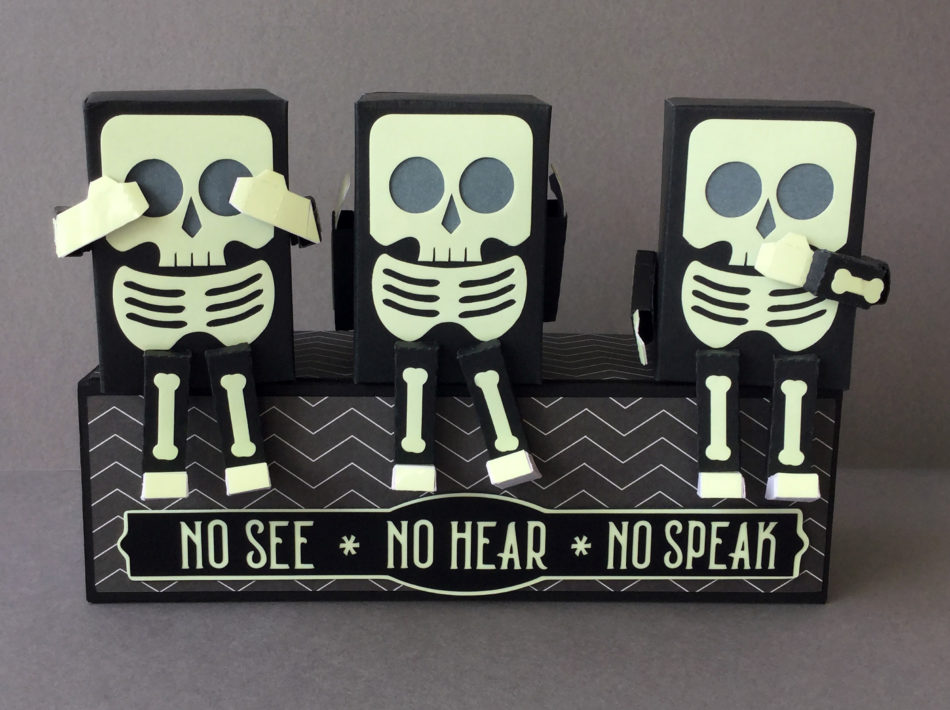
As I was putting the first one together I had the idea that three skeletons in a row could become a take on the three wise monkeys; the three wise skellies! Just a little manipulation to the placement and construction of the hands and arms and the were transformed into ‘see no evil’, ‘hear no evil’, and ‘speak no evil’ skeletons! To achieve the different arm configurations, I simply cut a few extra pieces and played around with them until I like the positioning.

Originally designed to sit directly on a shelf, I mounted them onto a single box. It is an enlarged version of one of the I Love America boxes, stretched until it was big enough for the skeletons to sit comfortably side by side. I then added a sign in black vinyl layered on glow-in-the-dark-paper in the lovely CG Posh font, and a stretched label from the CG Pretty Shapes Dingbat set.

The finished group can sit anywhere in the house: shelf, mantle, or just about any piece of furniture. For an even more fun idea, the boxes could be mounted directly to the wall with removable picture fixings. I think they look best after dark. What do you think?

All the cut files used are by Carina Garner and Mini Lou from the Silhouette Design Store:

Skeleton Mini Monster Shelf Sitter #147446  https://www.silhouettedesignstore.com/view-shape/147446

I Heart America Boxes #139478 https://www.silhouettedesignstore.com/view-shape/139478

CG Posh Font #238033 https://www.silhouettedesignstore.com/view-shape/238033

CG Pretty Shapes Dingbat  #250024 https://www.silhouettedesignstore.com/view-shape/250024

My name is Janet Packer, a passionate papercrafter from Aberdeen, Scotland. My background is in education and technical instruction and I love to share crafting techniques, new products, and design sources. My craft blog, Crafting Quine, is brimming with ideas for card making, paper craft and home decor, many using the Silhouette Cameo.  You’ll find hints and tips galore, as well as step-by-step project instructions, and crafting inspiration with a thrifty bias. For updates and pretty crafting pics follow me on Instagram.


Silhouette Design Store JOANN Stores

Glow in the Dark Skeleton Shelf Sitters Read More »

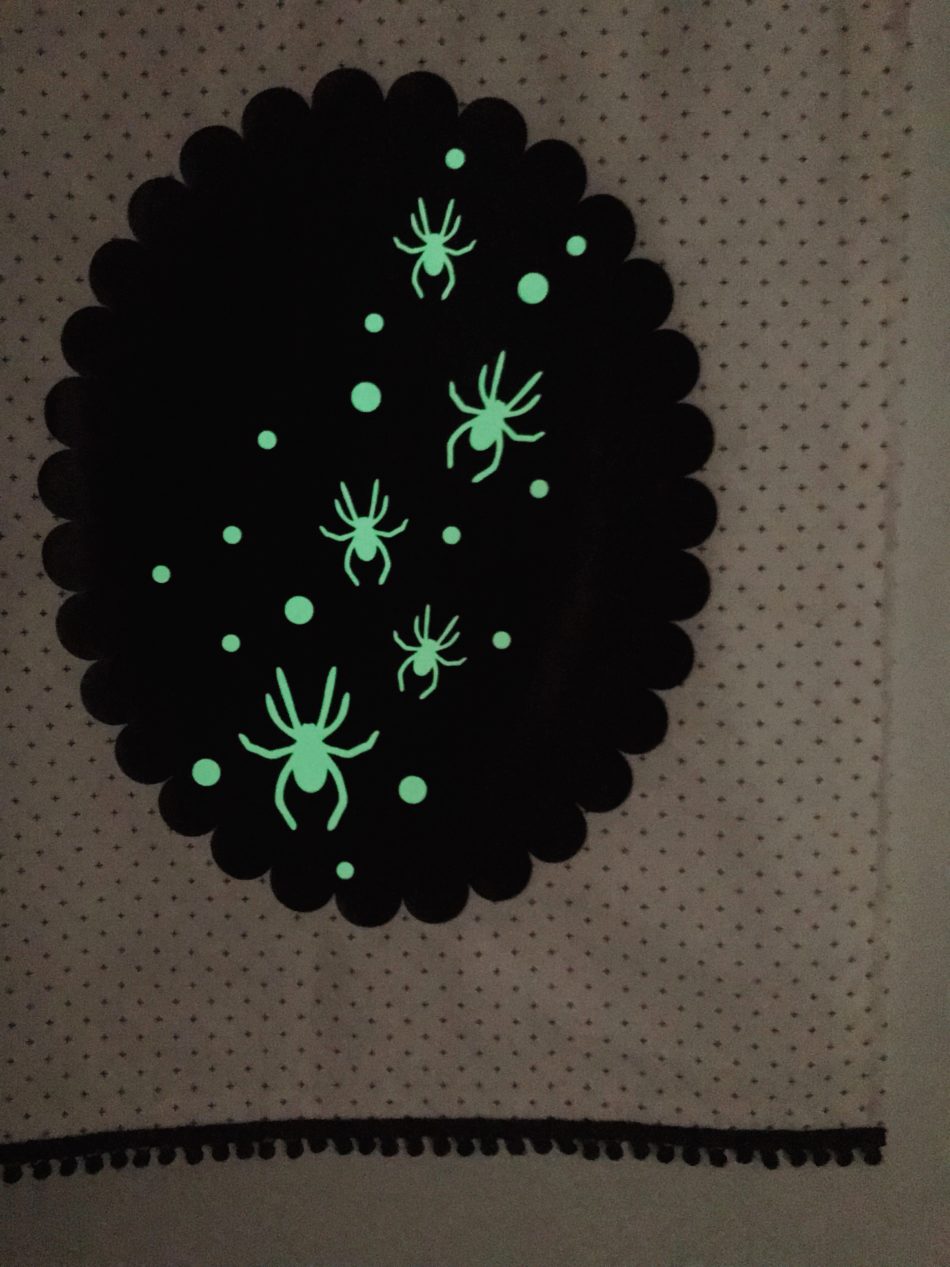
Halloween Spider Scallop Decor

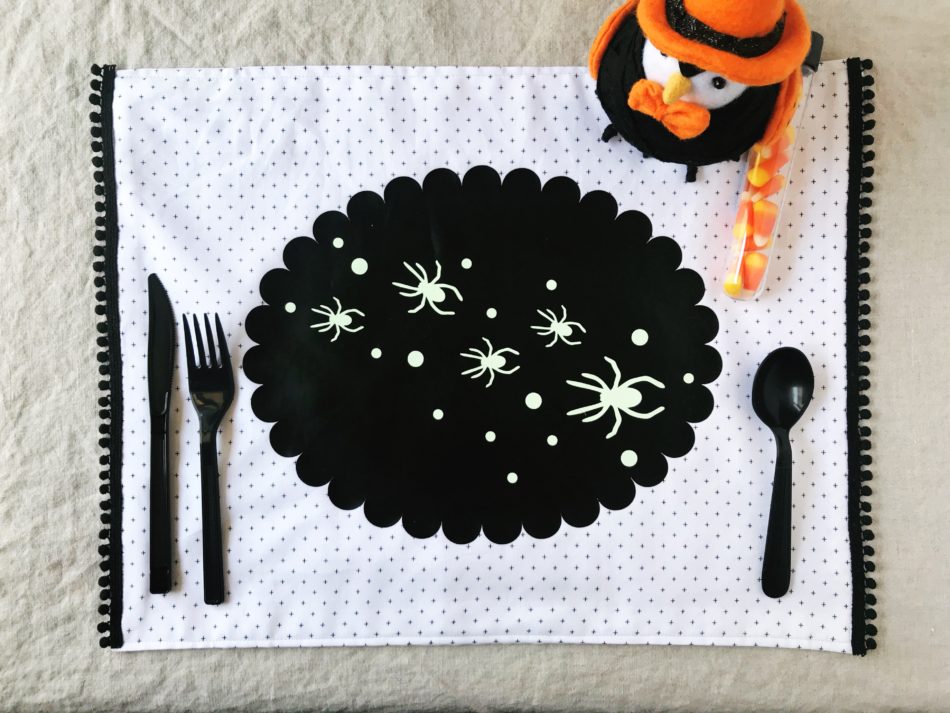
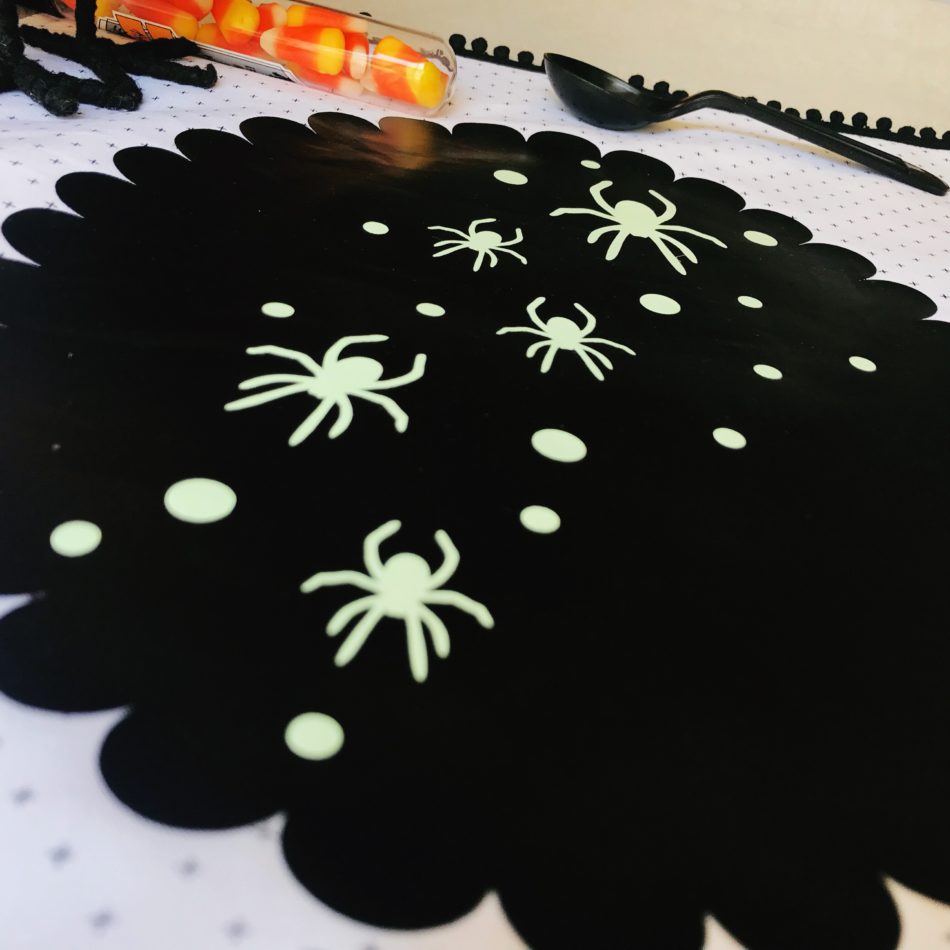
As soon as summer ends, I get right into fall decorating mode because Halloween is my favorite holiday of the year! First on my decorating to-do is our dining room tablescape and I’m so thrilled how well this DIY placemat project turned out!

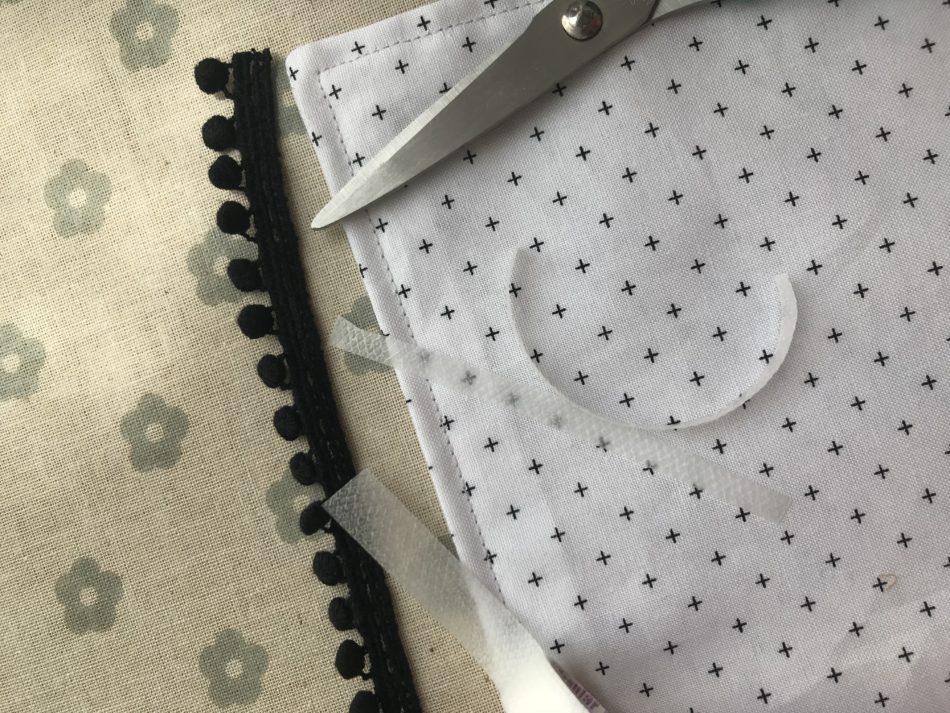
Now I’ll just need to make a whole set! Making the fabric placemat was the hardest part but that’s because I am a sewing newbie. My favorite part of this project was adding glow-in-the-dark heat transfer vinyl for the dots and spiders! Anything glow-in-the-dark screams Halloween, right?

Hello from Southern California! I’m Christine, the gal behind Studio Xtine, where I share fun project tutorials, free printables, and a tiny glimpse of my favorite things like donuts, tacos, and more donuts. Ingrained in me is a deep desire and joy to create, which is why I love my Silhouette machines! When I’m not crafting, you can find me, my hubby, and my two munchkins hiking, devouring poke bowls, and strapping on a GoPro for our adventures.

Blog – http://studioxtine.com/
Instagram – www.instagram.com/studio_xtine/
Pinterest – www.pinterest.com/queenstine/

Silhouette Design Store JOANN Stores

Halloween Spider Scallop Decor Read More »

Succulent Inspired Bridal Shower Made with the Silhouette Cameo

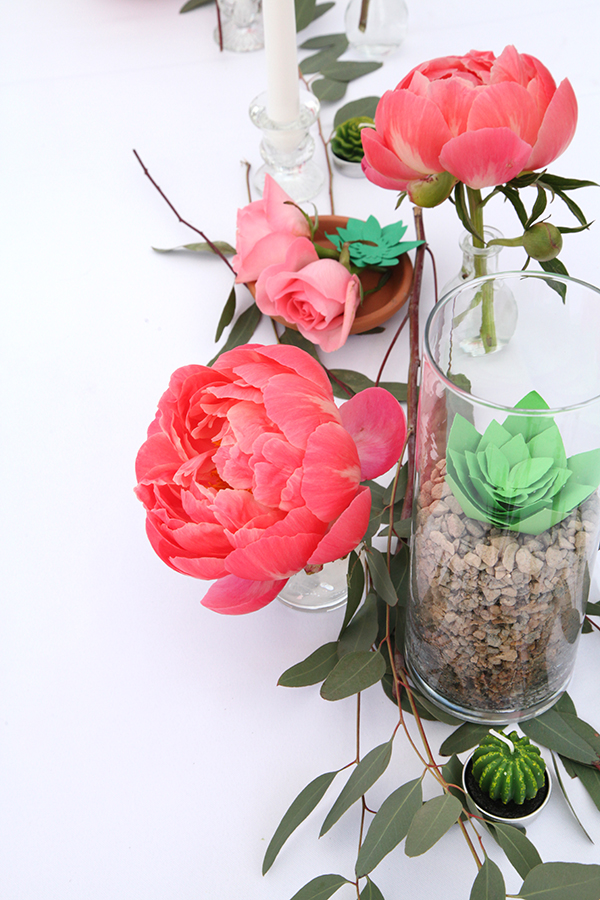
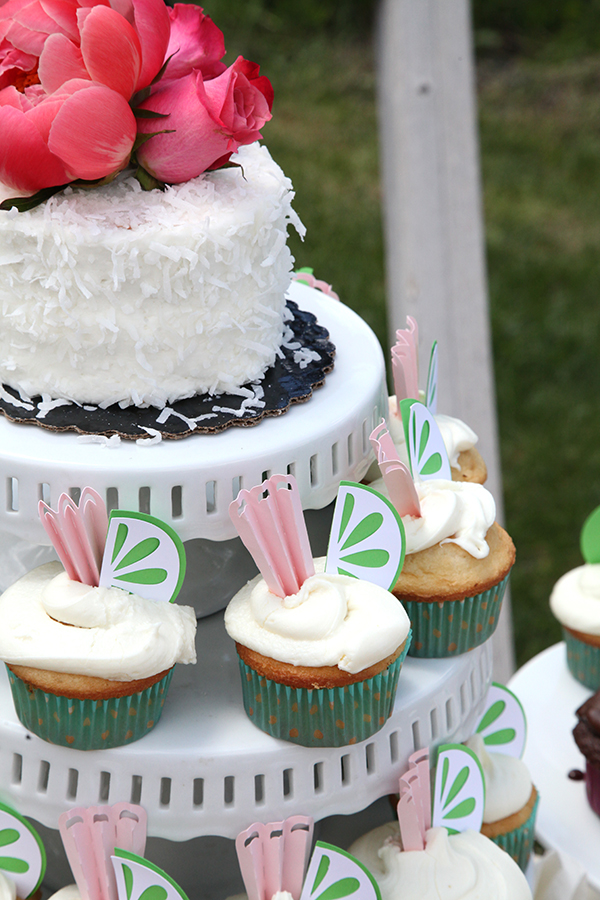
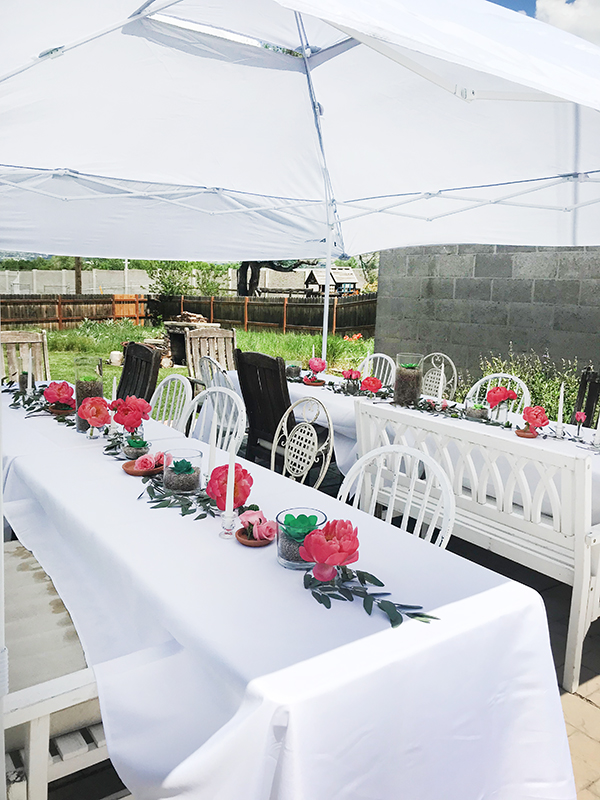
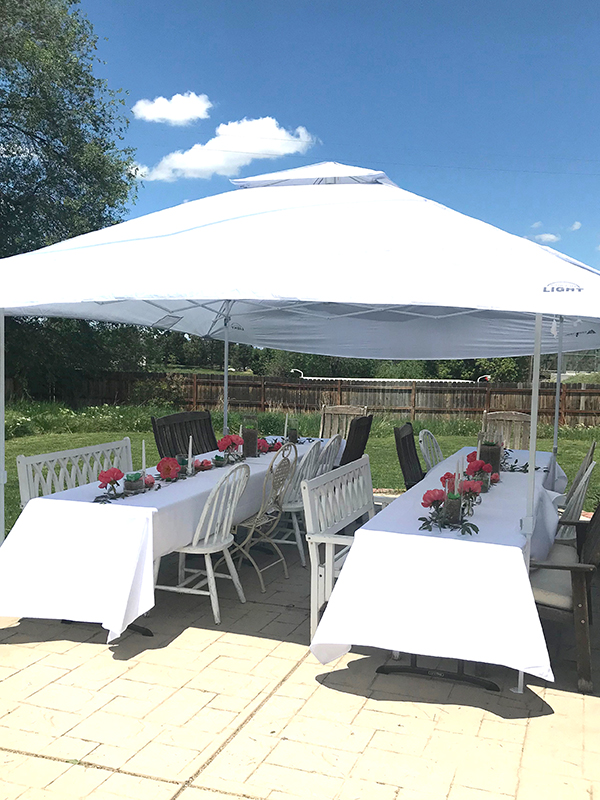
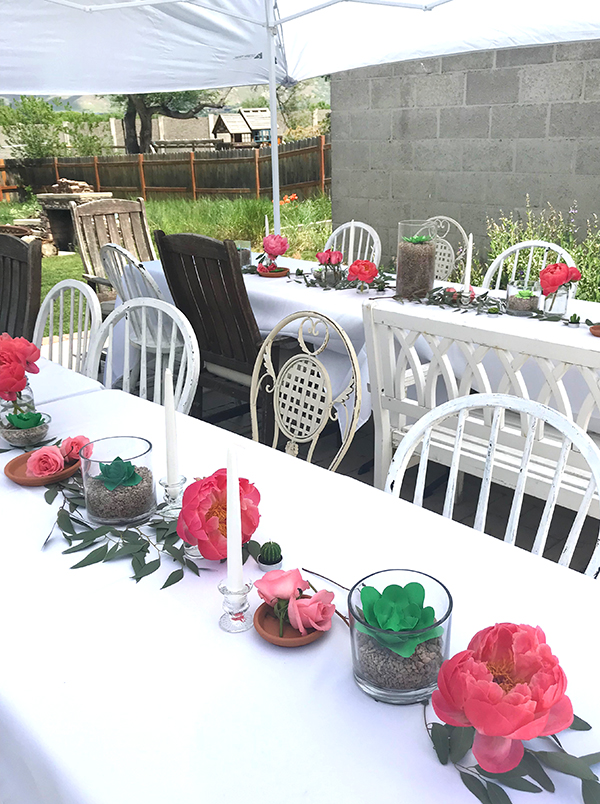
This last weekend I hosted a bridal shower for my sister-in-law. It was a fun get together and I spent the week getting together some fun pieces for the shower!

All of the paper pieces can be found in my Silhouette Shop. There are a lot of different party pieces here so I hope you are inspired by the table scapes and decor!

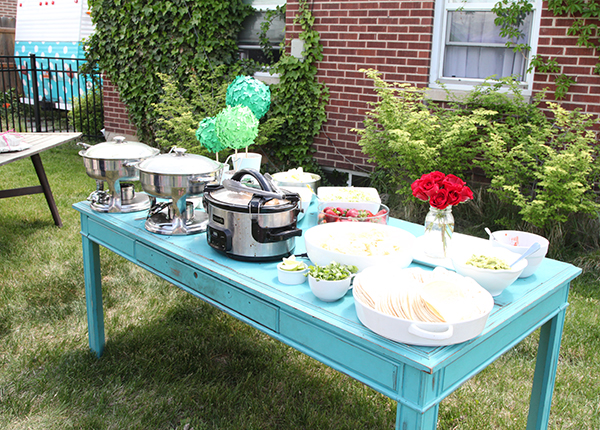
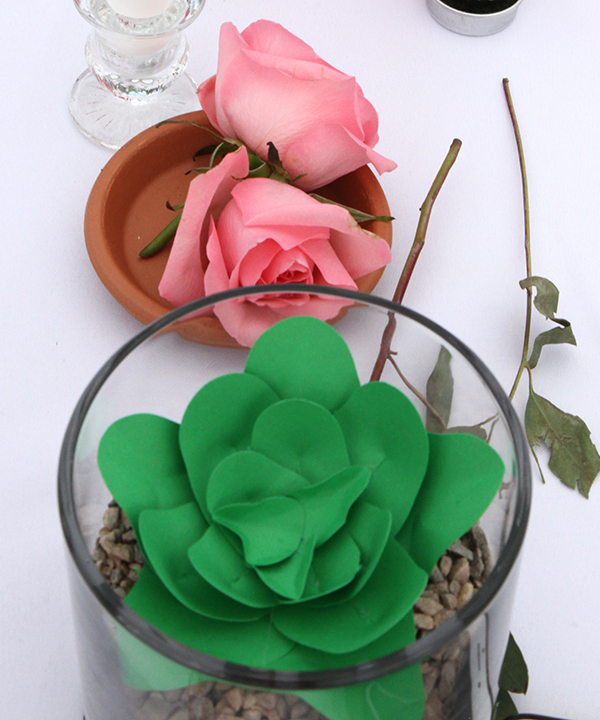
Clearly, I was inspired by succulents for this party. The actual starting point though was the taco bar. Because there was a Mexican theme in the food, I wanted to carry through a bit of “desert” into the decor.

(The taco bar included copycat recipes from Cafe Rio for their shredded chicken, black beans, and rice. I also included guacamole, cilantro, limes, chips, tortillas, and salsa.)

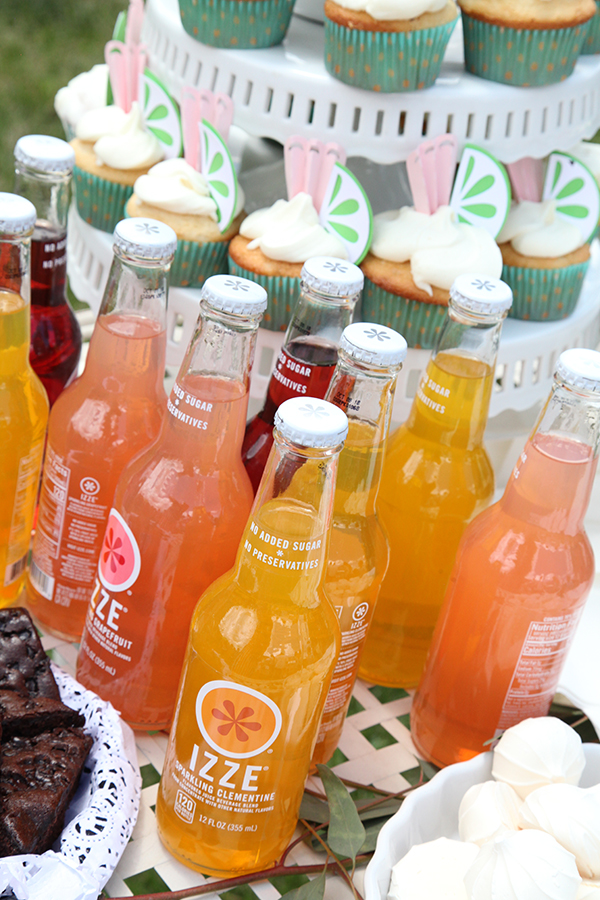
I stuck to bottled drinks and water to keep things simple.

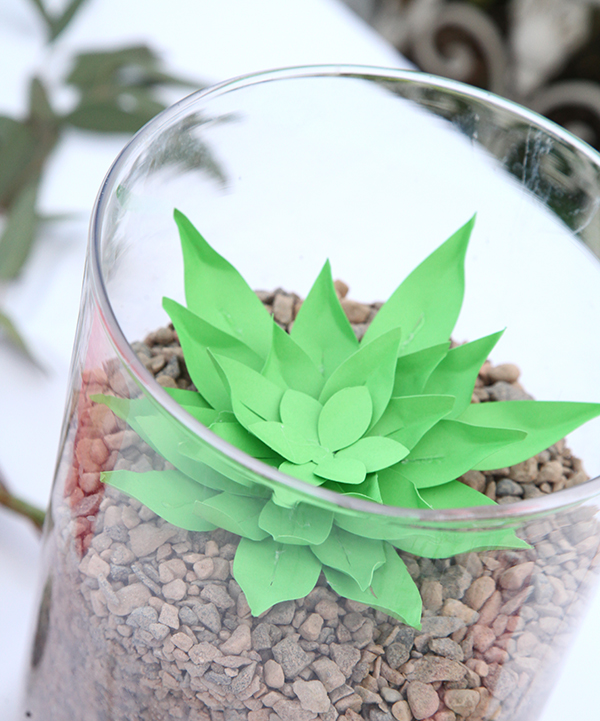
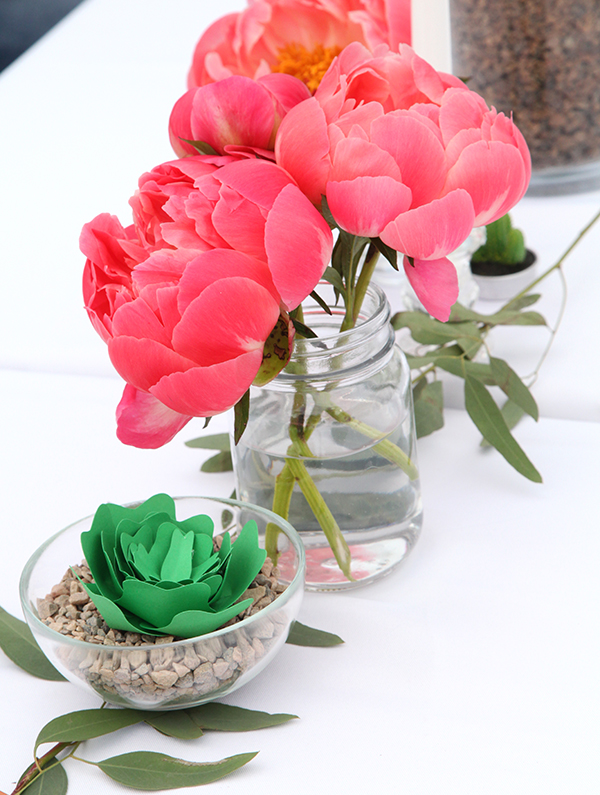
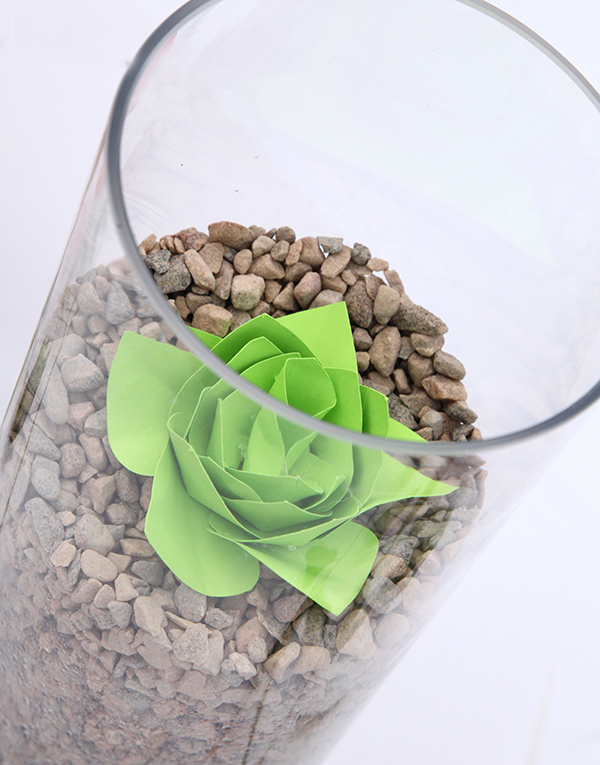
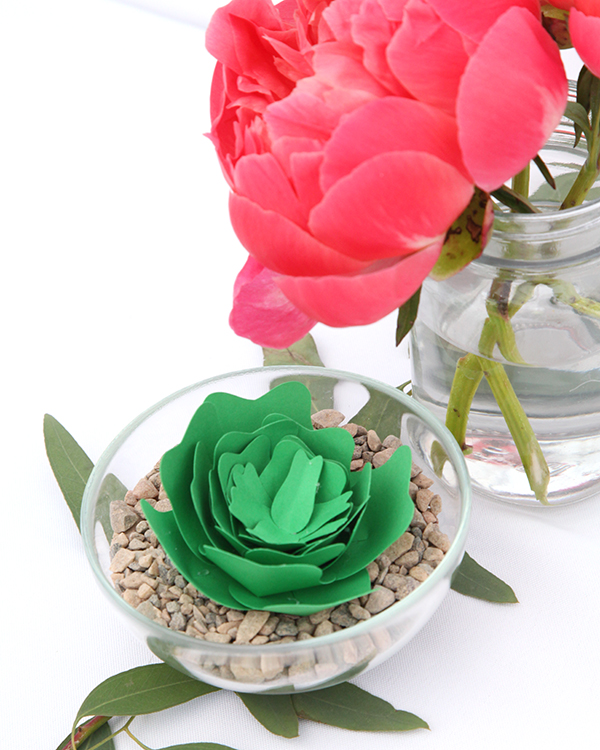
I have instructions on how to put together my basic succulent in a video at the end of this post. You can also go directly to my youtube channel for it.  You can subscribe directly to the channel by clicking here.

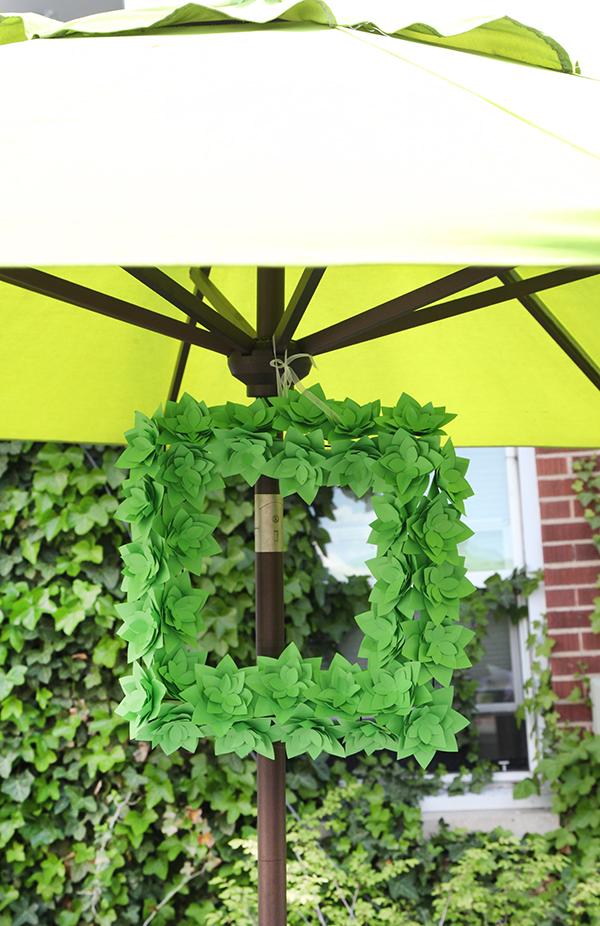
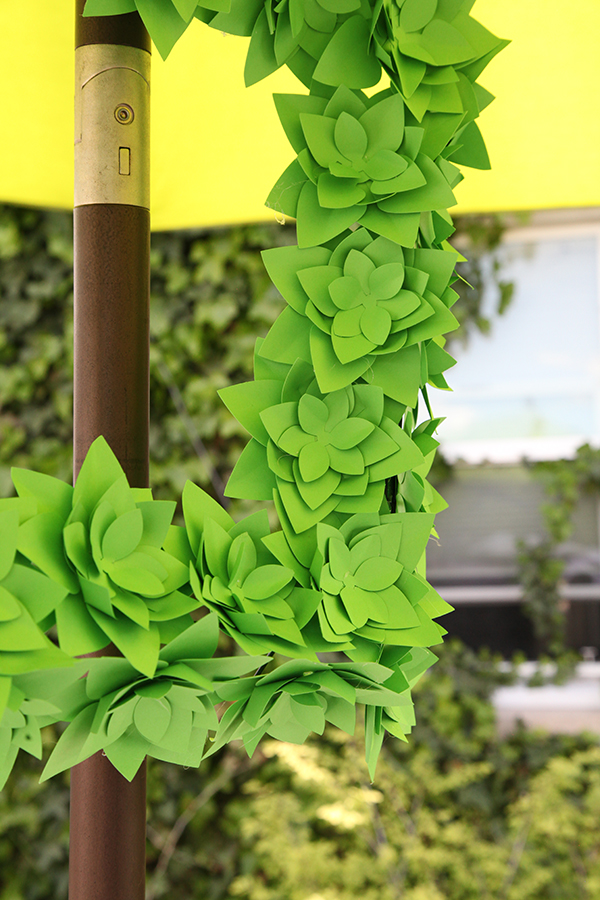
One of my favorite projects was this Succulent Wreath! I show you the wire wreath base and an in progress shot in the tutorial video below.

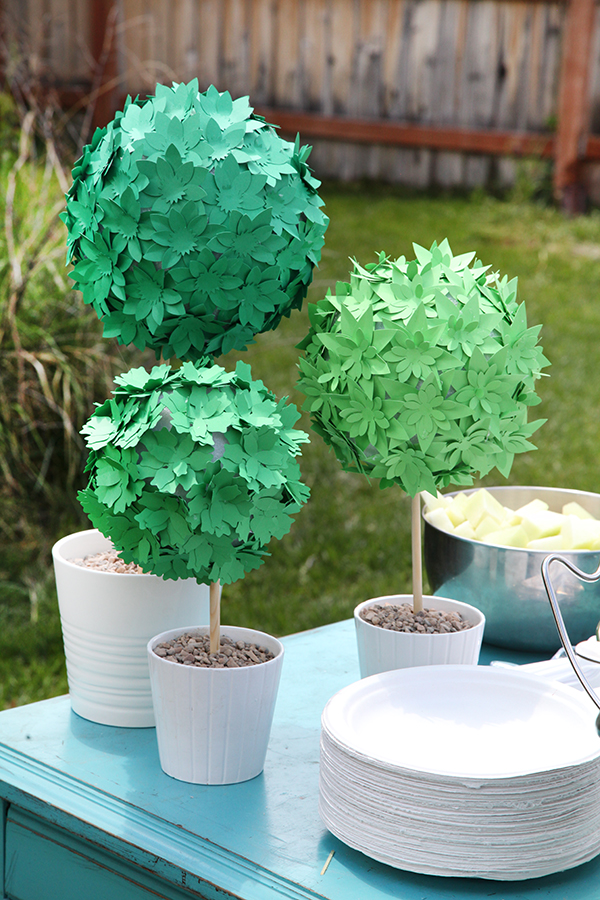
I also love how the topiaries turned out!

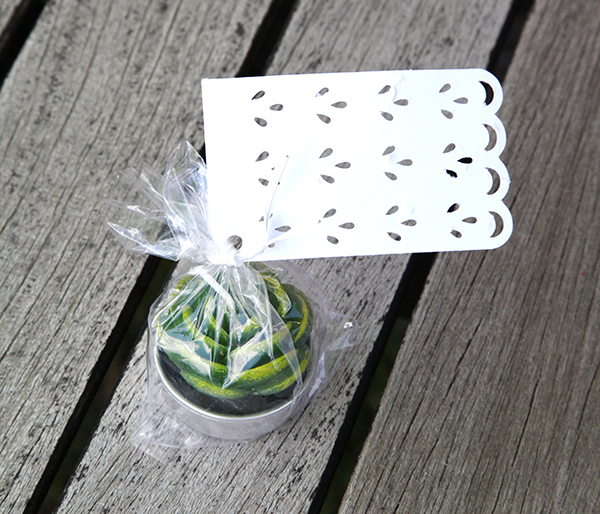
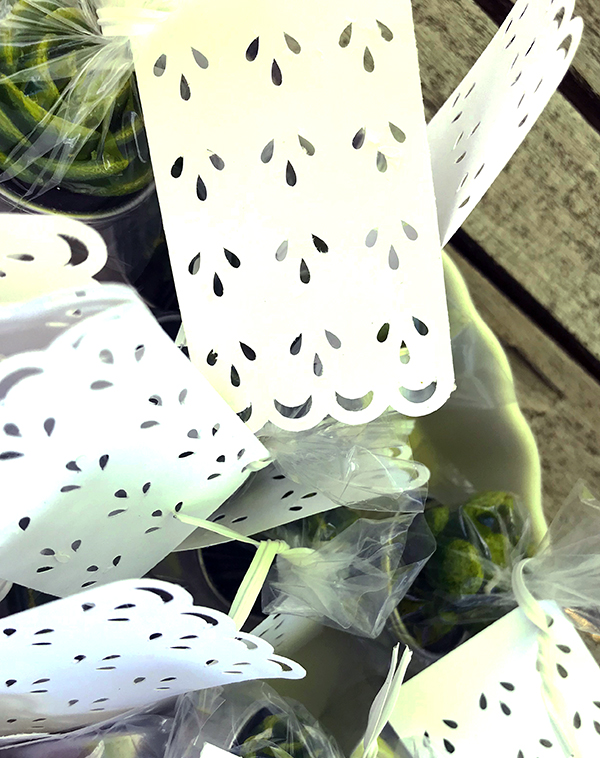
Below: Lacy Favor Cards for the gift!

Inspired to watch the video to see how to make these? I also included a few shots from the event as it was going on! I hope you are inspired for your next party!

XOXO, Carina

Silhouette Design Store JOANN Stores

Succulent Inspired Bridal Shower Made with the Silhouette Cameo Read More »

Eek Boo Shriek Blog Tour THIS WEEK!

I’m thrilled to announce the Eek Boo Shriek Blog Tour going on this week! Drop by each of these blogs to see all the fabulous things they are doing with my latest fabric line! What’s more is that on FRIDAY, you should drop back here for fun new announcement! 


Check out these blogs this week:

Monday,  July 31 http://thats-sew-kari.blogspot.com/

Tuesday, August 1 https://materialgirlquilts.wordpress.com/

Wednesday, August 2 http://redgeraniumcottage.typepad.com/daisycottagequilting/

Thursday, August 3 http://www.orchidowlquilts.com 

Friday, August 4 Back here at https://carinagardner.com/ AND

http://shequiltsalot.com/

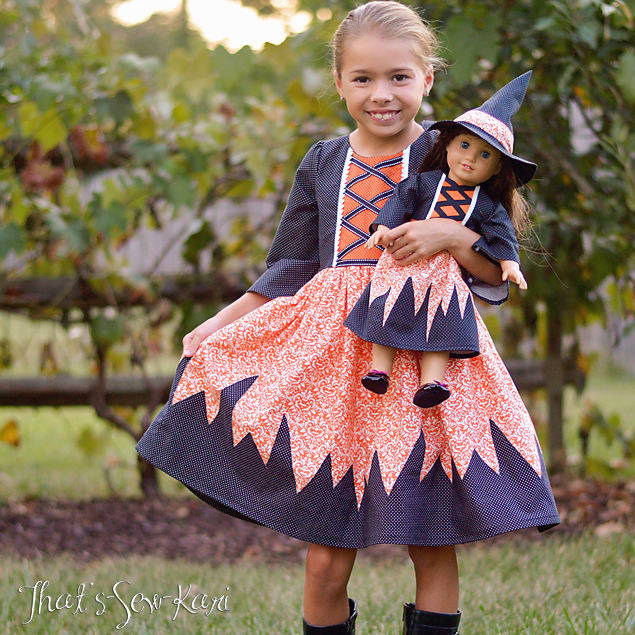
(photo from That’s Sew Kari! It’s her big girl dress so gorgeous?!)

XOXO,

Carina

Silhouette Design Store JOANN Stores

Eek Boo Shriek Blog Tour THIS WEEK! Read More »

Introduction to Eek Boo Shriek – Video with Carina!

Hey you! Did you know that starting last week, I’m uploading a fabric related video EVERY week on Thursdays to my Youtube Channel. You can subscribe by just clicking on THIS LINK.

Last week, I showed you guys how to put together my Eek Boo Shriek 18 inch doll panel. This week I’m introducing you to the rest of the line. Take a look!

XOXO- Carina

Silhouette Design Store JOANN Stores

Introduction to Eek Boo Shriek – Video with Carina! Read More »

Eek Boo Shriek’s 18 inch Doll Panel Instructions for Riley Blake Designs

My new fabric line has started shipping, and I’ve gotten requests for the downloadable instructions (with illustrations) for the new 18 inch doll panel. So here it is!

DOWNLOAD THE 18 INCH WITCH DOLL PANEL

I also decided to make a video of this one because I wanted to walk you through how I make this panel. I hope you enjoy! Make sure and subscribe to my youtube channel for more great sewing projects!

Happy sewing!
Carina

Silhouette Design Store JOANN Stores

Eek Boo Shriek’s 18 inch Doll Panel Instructions for Riley Blake Designs Read More »

Round up of 5 Springtime Silhouette Cameo Cuttables!

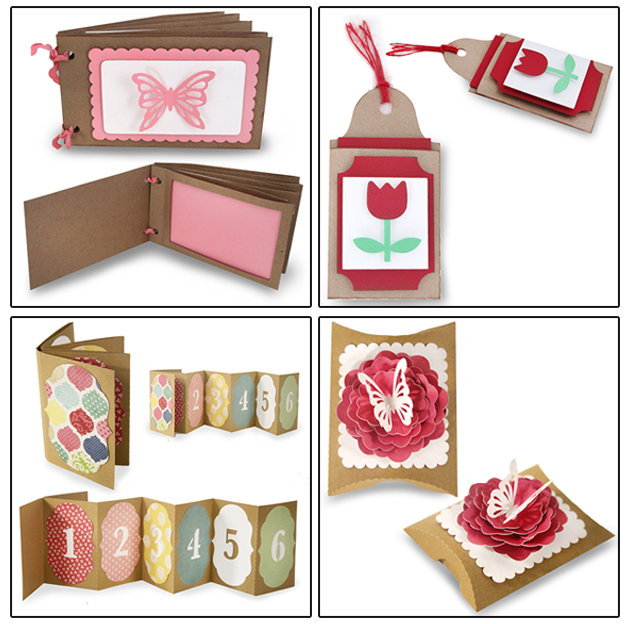
Sometimes I forget to tell you about projects I’m doing or have loved that are amazing! So here’s a ROUND UP of some favorite SPRINGTIME projects that you can get from my Silhouette Shop.

1. ​​Accordion Number Album Design ID #75919 https://www.silhouettedesignstore.com/view-shape/75919

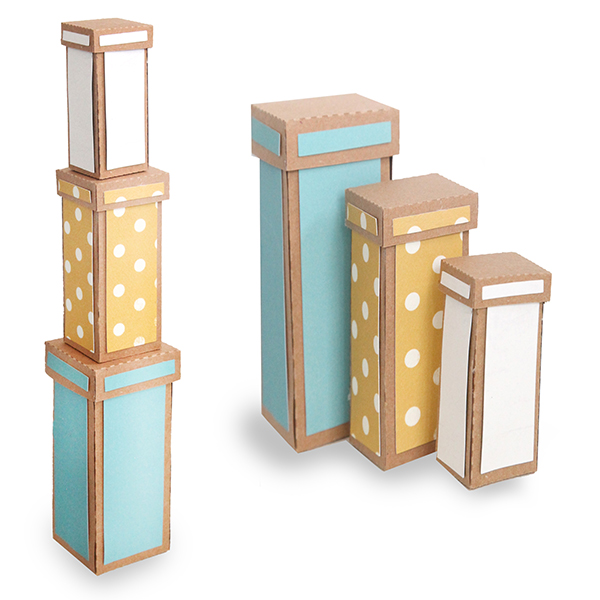
2. 3 Stacked Skinny Square Boxes Design ID #76544 https://www.silhouettedesignstore.com/view-shape/76544

3. Butterfly Perched on a Flower Pillowbox Design ID #76289 https://www.silhouettedesignstore.com/view-shape/76289

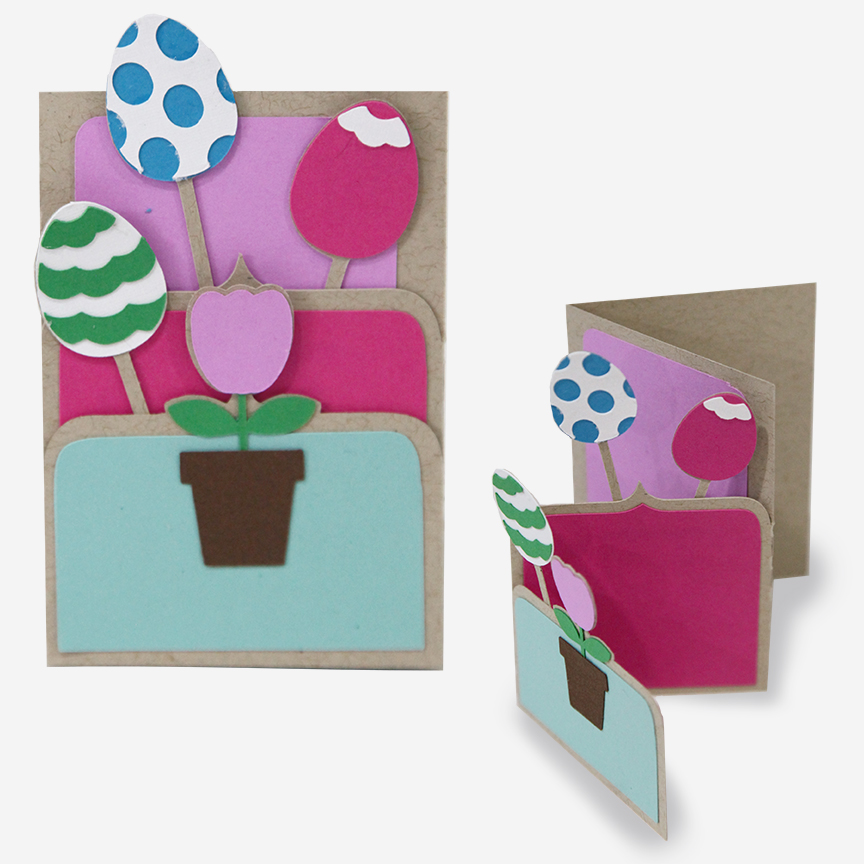
4. Layered tulip gift card Tag Design ID #77394 https://www.silhouettedesignstore.com/view-shape/77394

5. 4 x6 Window Photo Pocket Album Design ID #77713 https://www.silhouettedesignstore.com/view-shape/77713


​Hope you have some fun with these! I also have a fun bonus for you! Use coupon code SPRINGTIME30 for 30% off diecuts from my shop through May 1st!

XOXO- Carina


Silhouette Design Store JOANN Stores

Round up of 5 Springtime Silhouette Cameo Cuttables! Read More »

2.25 in. x 3.25 in. Layered Cards and Envelopes on Silhouette

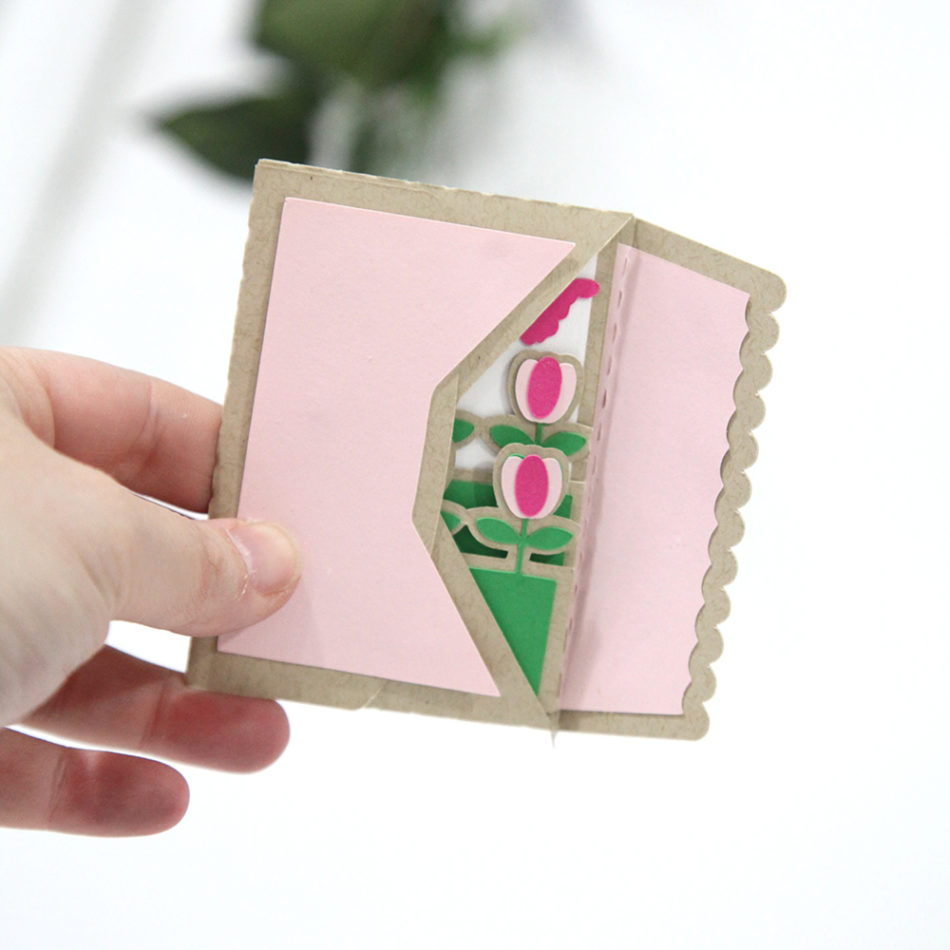
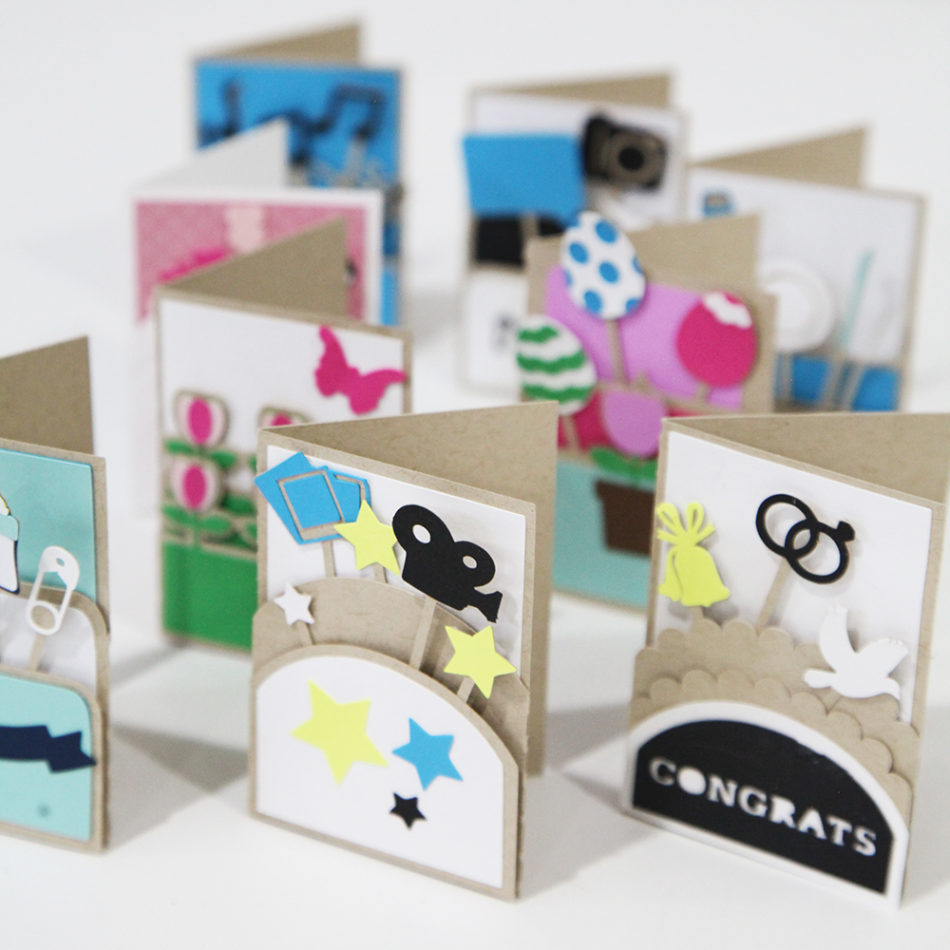
This week my Silhouette release continues with 2.25 in. x 3.25 in. cards. I’m really loving this size! This week the cards are “layered.” I cover a lot of different themes—wedding, baby, spring to name a few.  These Layered Cards are the same size as my Accordion Shadow Box Cards that were released last week. Because of this, I also have envelopes that match up to these cards.

I also have two videos below that will help you make these cards and envelopes. Please subscribe to the youtube channel if you are interested in these tutorials. Many times I am putting up these videos the week before the products are released so you can see what is coming out (your very own sneak peek!)


If you get one of each (layered card or accordion card + an envelope), you will find that it’s a very nice tight fit. Don’t use pop dots because the card will not fit. I may have an envelope come out that allows for a thicker card (tell me on instagram @carinagardnerpapercrafts if you want something like that!).

Happy Crafting!

Carina


Silhouette Design Store JOANN Stores

2.25 in. x 3.25 in. Layered Cards and Envelopes on Silhouette Read More »

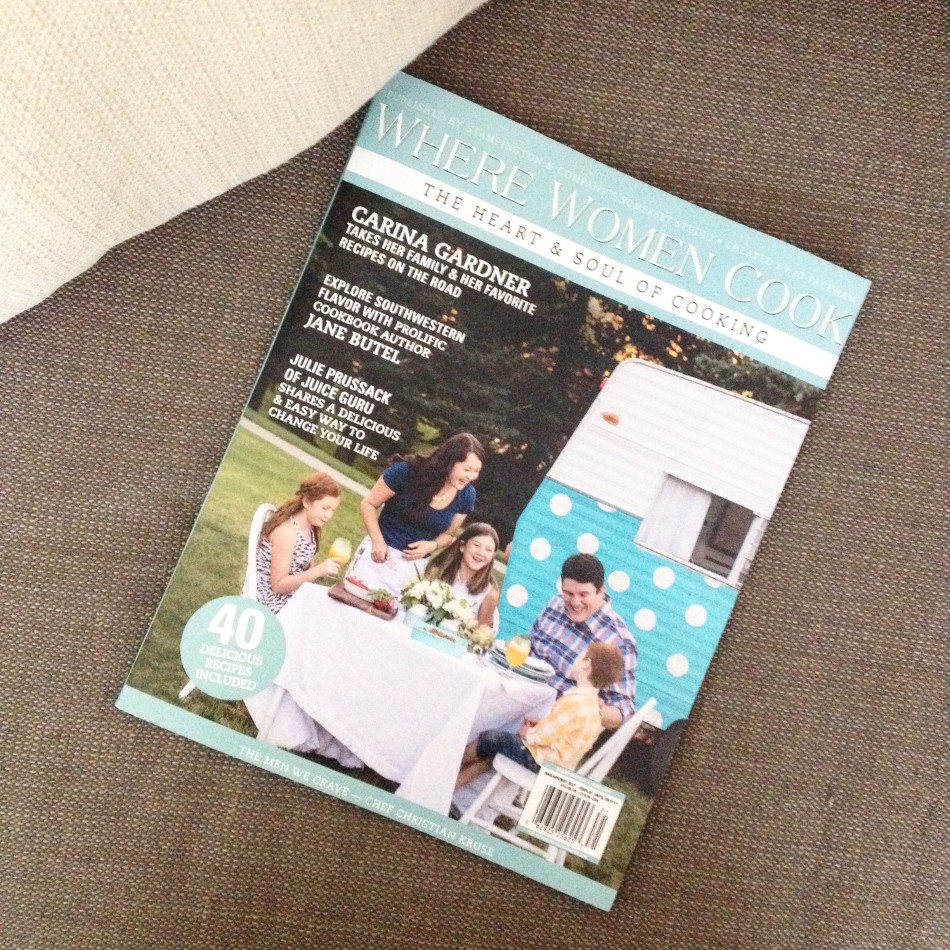
Carina Gardner & Where Women Cook Magazine Article Spring 2017

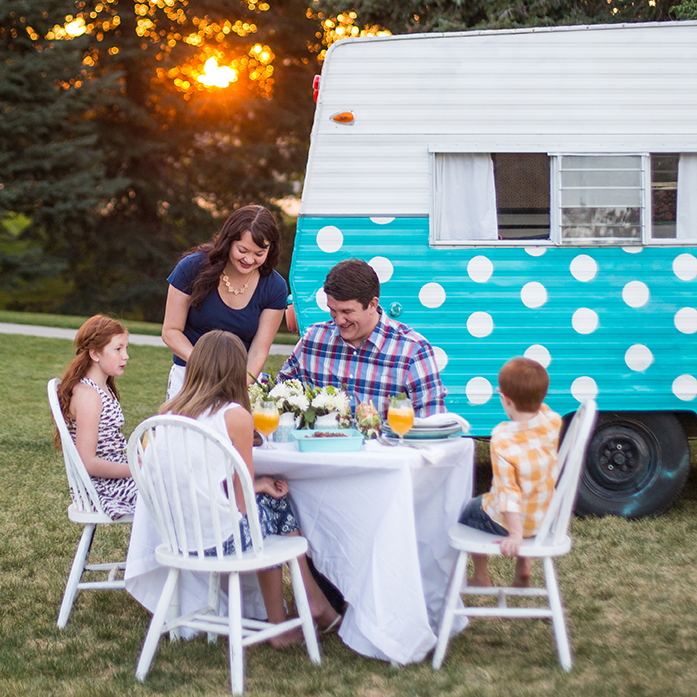
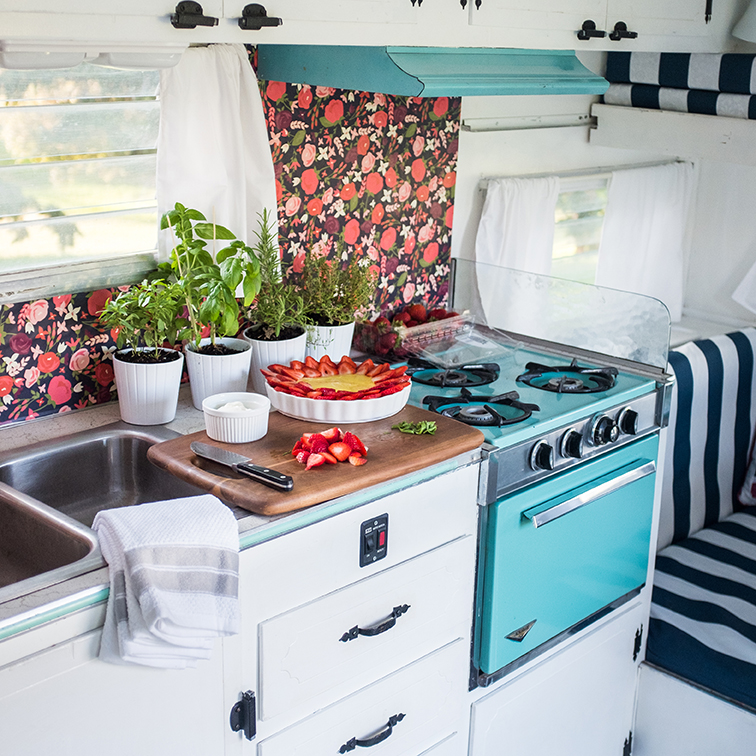
IMG_9256 2Last July, I prepared several recipes and met up with photographer Justin Hackworth and editor-in-chief of Where Women Cook Magazine Jo Packham to take photos in my 1968 Jet Airway.

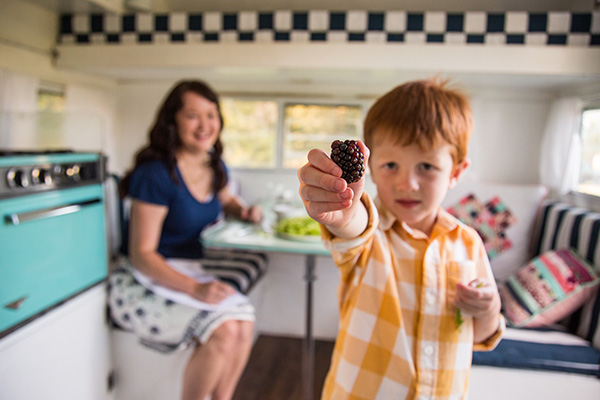
It’s now March. When I received the copy of the magazine I was completely surprised to see my family on the front cover! Well, surprised is an understatement. Delighted and giddy describes it better! My mom was in town helping me sew my most recent book (Sweetly Stitched Quilts available in Kindle and PDF format), and she saw how excited I was. Actually, she might have seen me jump right out of my chair in my office, lol.

There are so many wonderful recipes in this issue! I’m excited to try them out. There are also some gorgeous photos. Because so many photos I loved from the shoot didn’t make it into the issue I thought I would share a few here. Also be sure to check out the hastag #carinaglamps on instagram for more glamper goodness.

If you want to see more of my glamper renovation, check it out here.

Utah wedding and portrait photography

Utah wedding and portrait photography
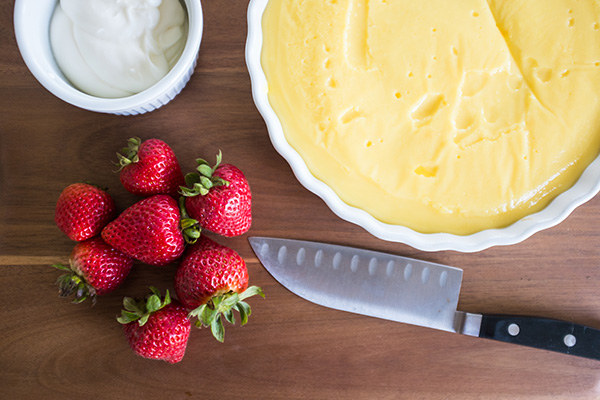
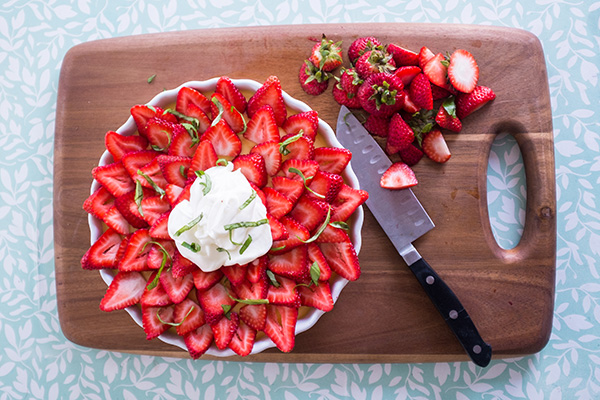
Strawberry Basil Pie…available in Where Women Cook Spring 2017 as well as my new book Sweetly Stitched Quilts. 


Utah wedding and portrait photography

Utah wedding and portrait photography

Utah wedding and portrait photography

wherewomencookmag_blogpost

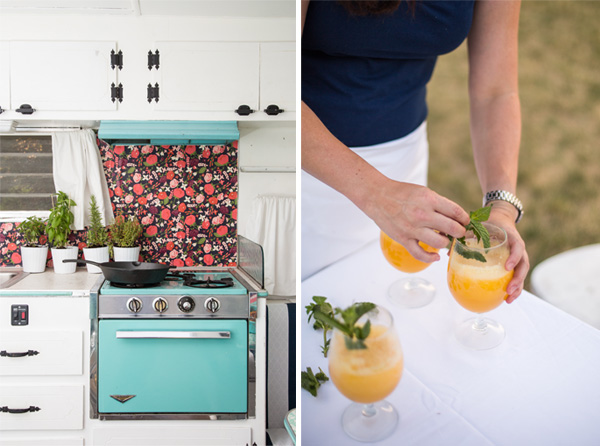
This Peach Fizzy Drink didn’t make it into the magazine but is in my book.

Utah wedding and portrait photography
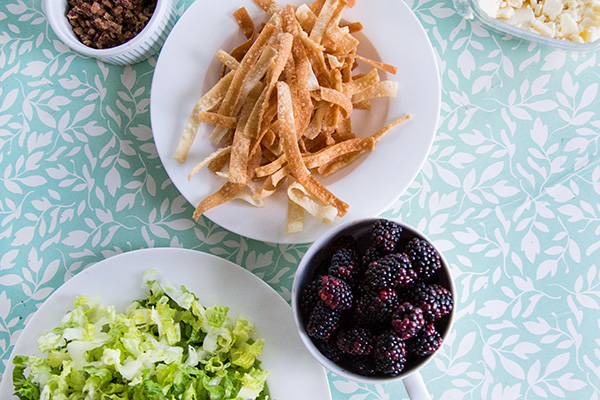
This is for my wonton blackberry salad.

Utah wedding and portrait photography

Get your issue of this magazine here or at your local craft or grocery store.

XOXO-Carina

Silhouette Design Store JOANN Stores

Carina Gardner & Where Women Cook Magazine Article Spring 2017 Read More »

Kids Pencil Valentine Cards

IMG_7052_1web
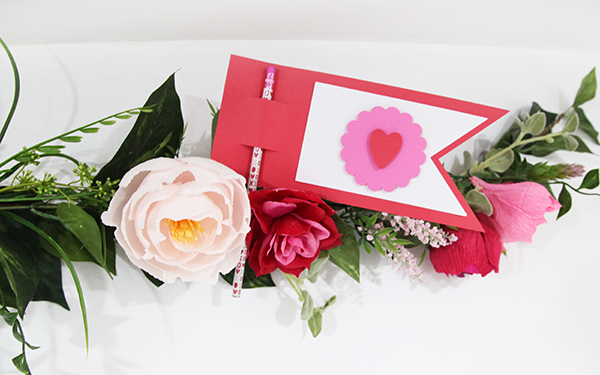
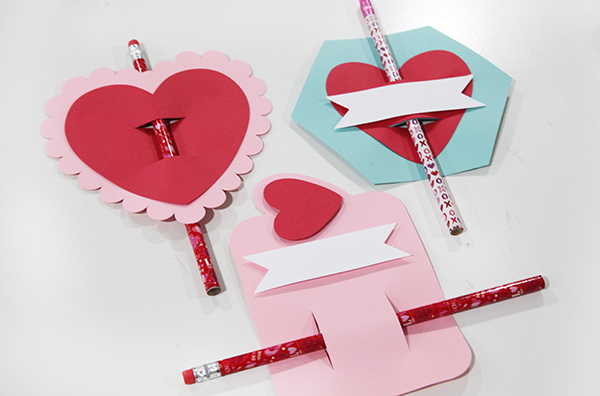
IMG_8715_webThis week is the last one I’ll be releasing Valentine’s so I’m going out with a bang!  I also decided to double dip. These pencil cards are not only my final Valentine’s release but are also Felicity’s class gifts. She’s going to write on each of them, and I’m sure we’ll add a few quotes like “I’m write for you.”

You can find them in my Silhouette shop here.

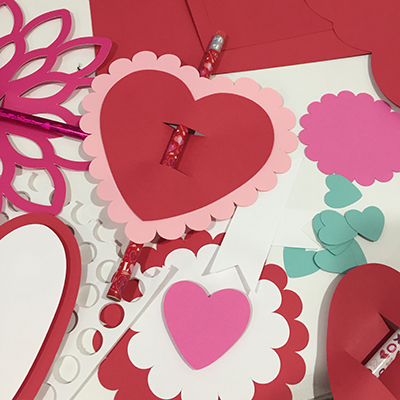
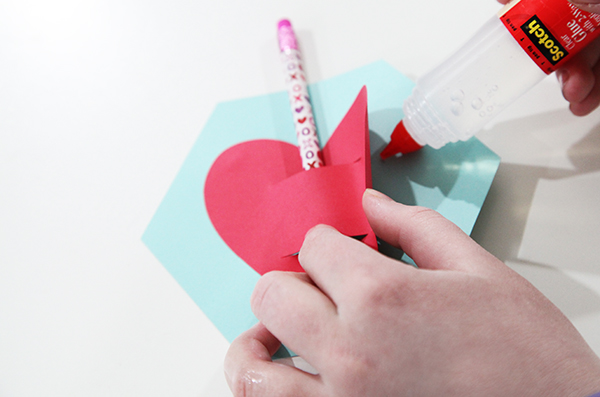
TIP 1: When you are putting these together, I recommend putting your pencil through the slits FIRST and then gluing your pieces into place (see photo below).

There are several designs were two or more papers have slits that match up. Use the slits as your guides. Place the pencil through the slits first and then pull open the edges of the top paper to glue it into place.

TIP 2: I LOVE pop dots with these designs! And glitter. And stamping ink on the edges. I kept them all simple on purpose. So you can jazz them up or use them as a kid activity.

TIP 3: Add a printable. Simply use whatever word processing software you use and write up a cute phrase in a cute font. Print, cut and attach to these Valentine’s cards!

IMG_6996_1web

And in case you missed it (haha), I’ve been releasing Valentine’s for the last month. In fact, we have been releasing Valentine’s for both CGInc. and MiniLou for the past several weeks. You can check both shops here:

Carina Gardner Silhouette Shop

MiniLou Silhouette Shop

IMG_7059_1web

Happy crafting!
Carina


Silhouette Design Store JOANN Stores

Kids Pencil Valentine Cards Read More »

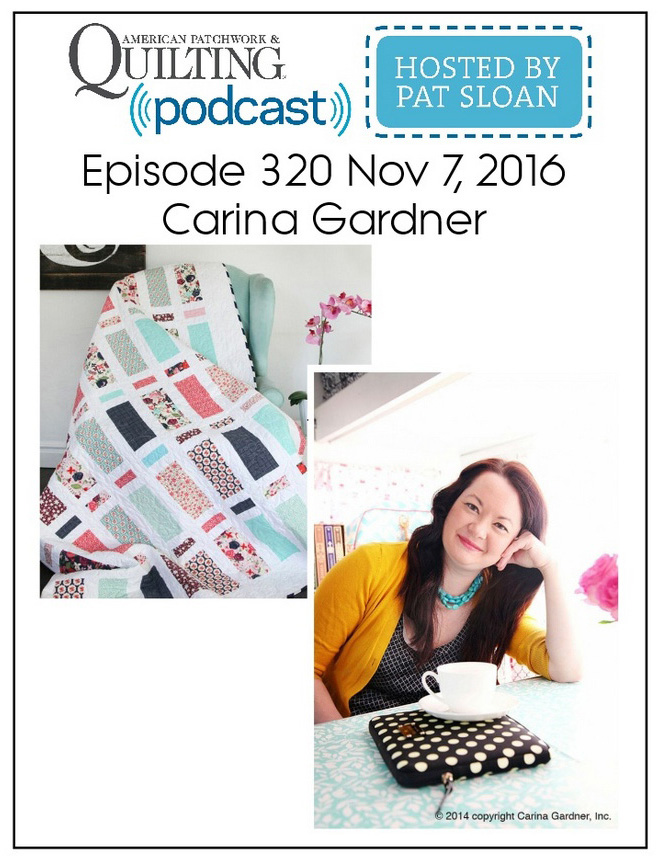
Interview on American Patchwork & Quilting Radio – Episode #320

american-patchwork-quilting-pocast-episode-320-carina-gardnerYesterday I was thrilled (aka nervous!) to be on American Patchwork & Quilting Radio with Pat Sloan. I didn’t get to hear the episode until late last night, but if you are the least bit interested in what I have to say about Barbie doll sewing, Posy Garden, how I got into fabric, and my glamper, go check it out here:

http://blog.patsloan.com/radio-shows/

Choose Episode 320:).

XOXO-Carina


Silhouette Design Store JOANN Stores

Interview on American Patchwork & Quilting Radio – Episode #320 Read More »

Santa’s Glitter Village SVG Tutorial for Silhouette

img_5692_edited_web

I’m SO excited about the new village I designed this year for Christmas! It’s called Santa’s Glitter Village and you can download all of it from my Silhouette shop! You can add it to any pieces you have from my original Christmas Village or build these separately! There is even a cool download showing you how I made the snowy centerpiece the either village is made on. You can use that for this village too!
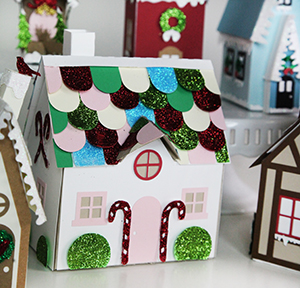
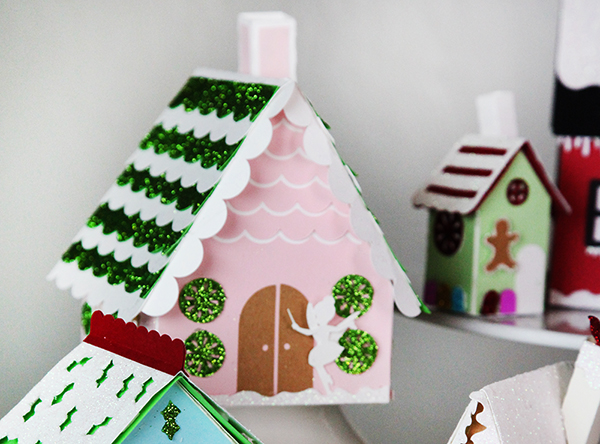
img_5710_1webThis year it is all about GLITTER! I have a great tutorial for you on how you can put together below. I do NOT have individual tutorials on these houses because many of them are made THE SAME. The tutorial I have below is for the Sugar Plum Fairy’s House and most of the buildings are built in this way. There are also extra instructions below for pieces I thought you might like a little extra help with. So scroll on down to see if there is something there that will help you!

This year, the Santa Glitter Village includes: Santa’s Cottage, Candy Cane Place, a Chapel, Elf Dwelling, Reindeer Stables, Santa’s Tower, Snow Bird House, Sugar Plum Fairy’s House, Tiny Mistletoe House, and the Winter House. Many of these come with openings at the bottom for an electric tea light (or two). The smaller houses do not because a tea light would not fit:).

You can find ALL my tutorials on my main Silhouette landing page here: https://carinagardner.com/silhouette/. I noticed that when I went back to look at previous projects in the Silhouette store, that some of the links are broken. That landing page is your end all for ALL of my tutorials. You can also watch many tutorials I have filmed on my YOUTUBE channel.

I hope you have a wonderful time building Santa’s Glitter Village! Every piece is unique and sweet! I think I’m placing mine on my piano this year.

Happy crafting!

XOXO-Carina
img_5700_1web


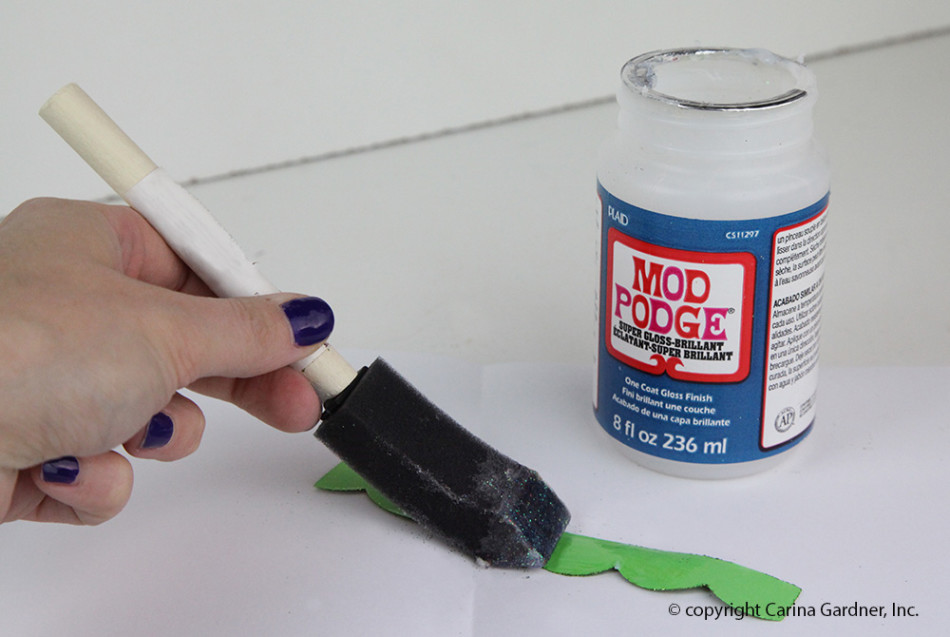
Supplies

-Glitter (we used fine glitter, but you could use more course glitter)

-Mod Podge (we used gloss, but you could use any kind)

-foam brush

-1 piece of copy paper

-SVG card cutouts

Instructions

Note:  These instructions work for all of the houses in Santa’s Glitter Village.  At the end of the tutorial there are instructions on how to put a few of the more intricate pieces together.

1.  Cut out all SVGs provided in the file.

2.  Before putting the house together, decide which pieces you want to glitter.  I did mine on the green scallop pieces of roof, peppermint swirls, and snow.

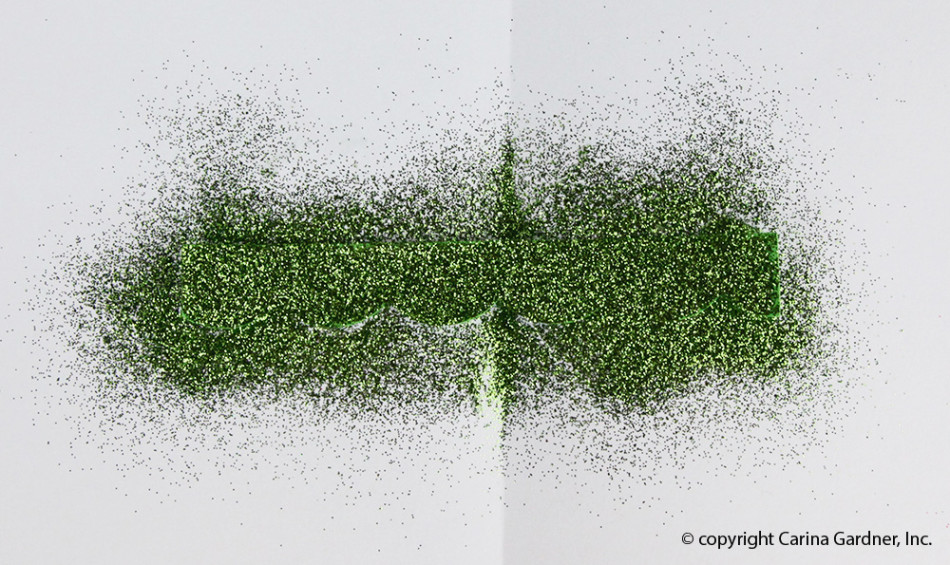
3.  Once you have all of the glitter pieces and supplies, take a piece of copy paper and fold it in half (this makes it easier to put the extra glitter back in the jar later).  This paper will be your working surface to catch the extra glitter and Mod Podge.

4.  Next, take your foam brush and dip it in Mod Podge.  Cover any area you want glittered with a thin layer of Mod Podge.  Put the copy paper underneath to contain any Mod Podge and glitter that goes over the edge.
img_5560_web-copy

5. After the whole piece is covered in Mod Podge, take the glitter and sprinkle it over the area the Mod Podge covers.  Be very generous with the glitter so it covers everything.  Remember, you will be able to put the extra back in the container so make sure everything is covered well.
img_5564_web

6. To make sure the glitter to stays in place better, use your finger to tap the glitter lightly.  This make sure more glitter adheres to the Mod Podge.img_5569_web
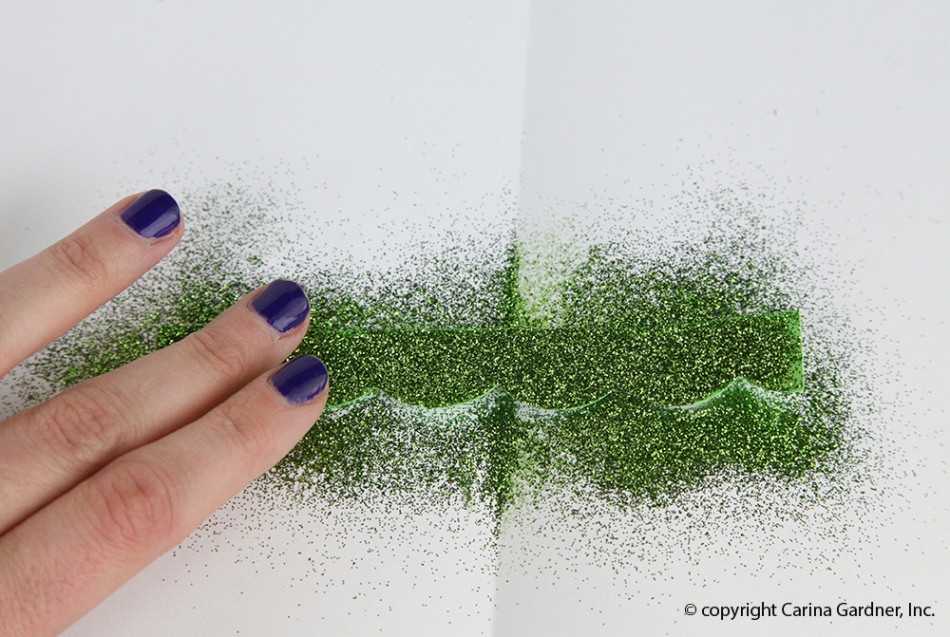
7.  Wait for the Mod Podge to dry a few minutes, and tap off the excess glitter.

Tip:  If you are worried about the glitter transferring too much, you can put another layer of Mod Podge on top.  If you use gloss Mod Podge, the glitter wont lose it’s sparkle.

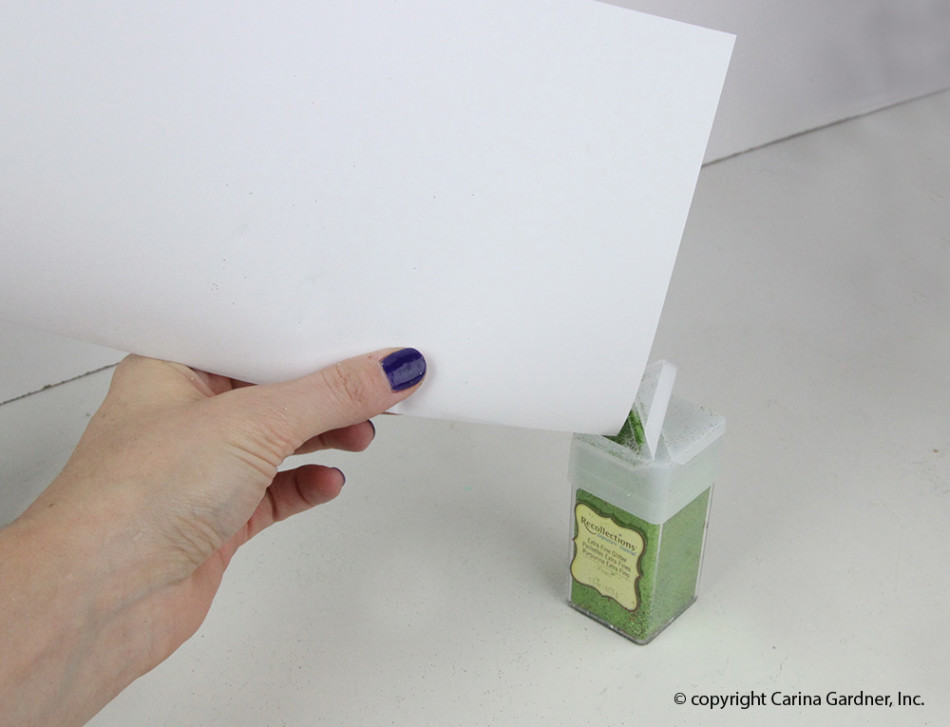
8.  Once you’re done with the glitter, fold the copy paper with the glitter on the inside and pour the excess back into the container.img_5573_web
9.  You’re done with the glitter, now onto how to put together the rest of the house!

10.  To put the house together, first, take the facades and glue all of the embellishments to them.

11.  Next, glue the facades to the side and front pieces.

12.  Then, glue the tabs of the back and side pieces to the tabs of the bottom.  It should form a “T” shape.
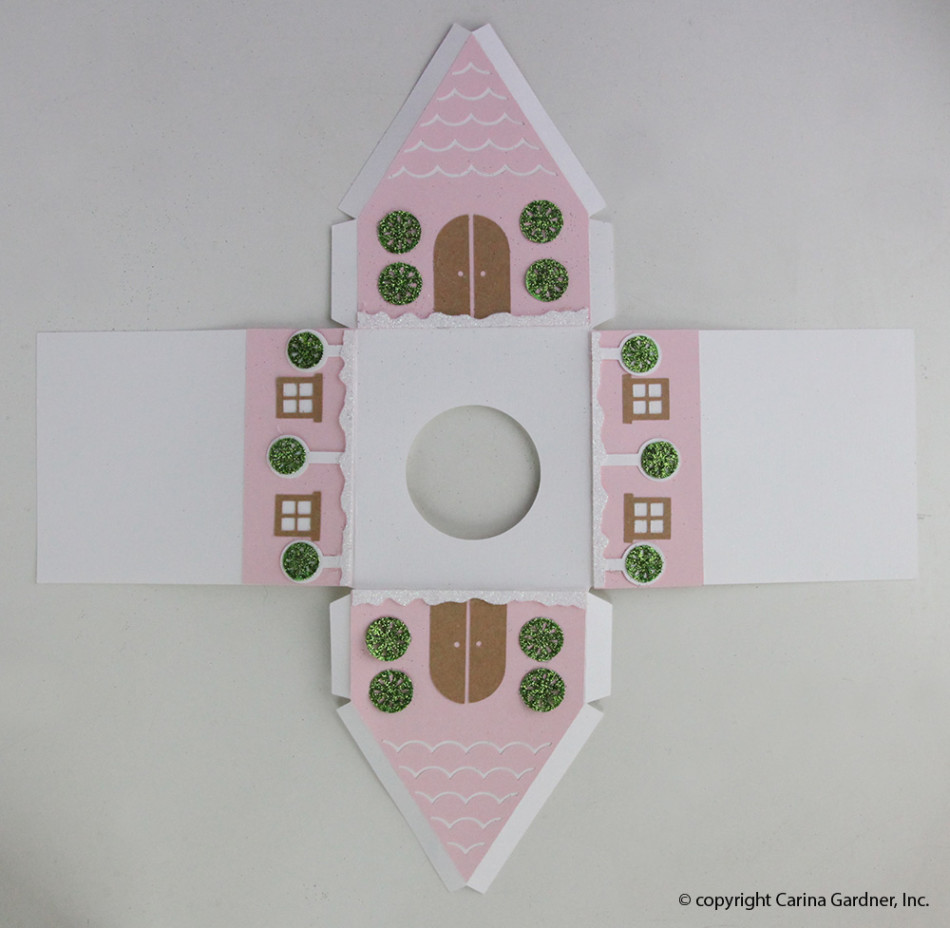
img_5576_web

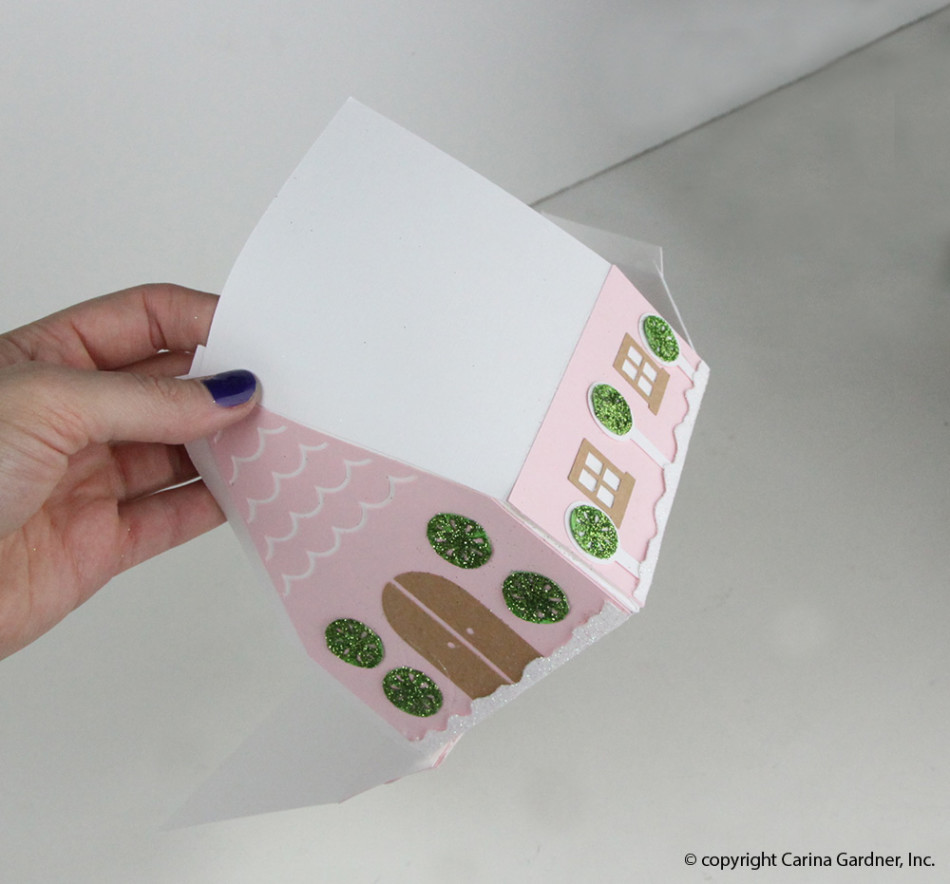
13.  To make the house 3D, hot glue the tab on the side of the front piece to the side piece.  Do this for all of the tabs until you have a house shape.
img_5578_web img_5580_web

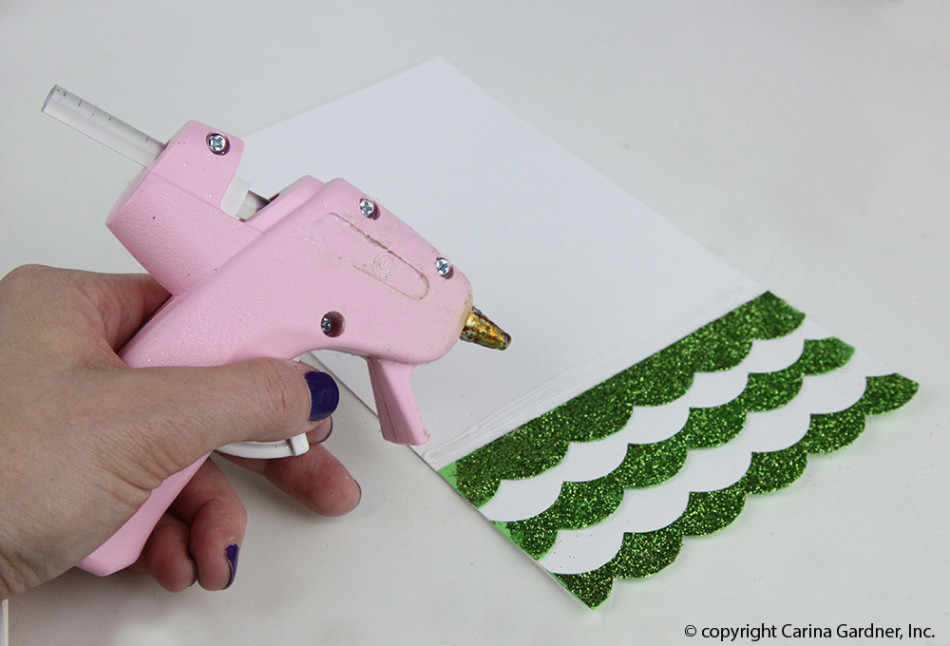
14.  After the house is done, gather your roof pieces.  Hot glue the scallop pieces to the roof piece.  Make sure you overlap each scallop piece and switch off between colors as you glue.  It’s best to estimate your spacing before your start glueing so the scallop pieces cover the roof evenly.img_5586_web
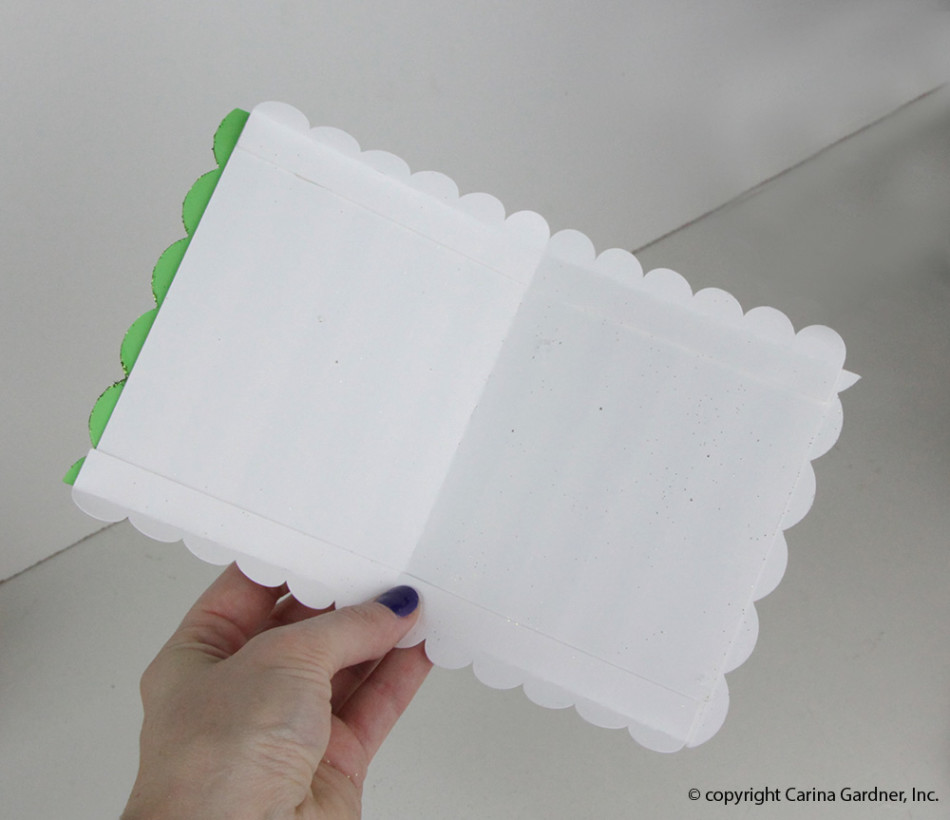
14.  Next, add the long scallop piece to the side of the roof by glueing it on the underside of the roof.
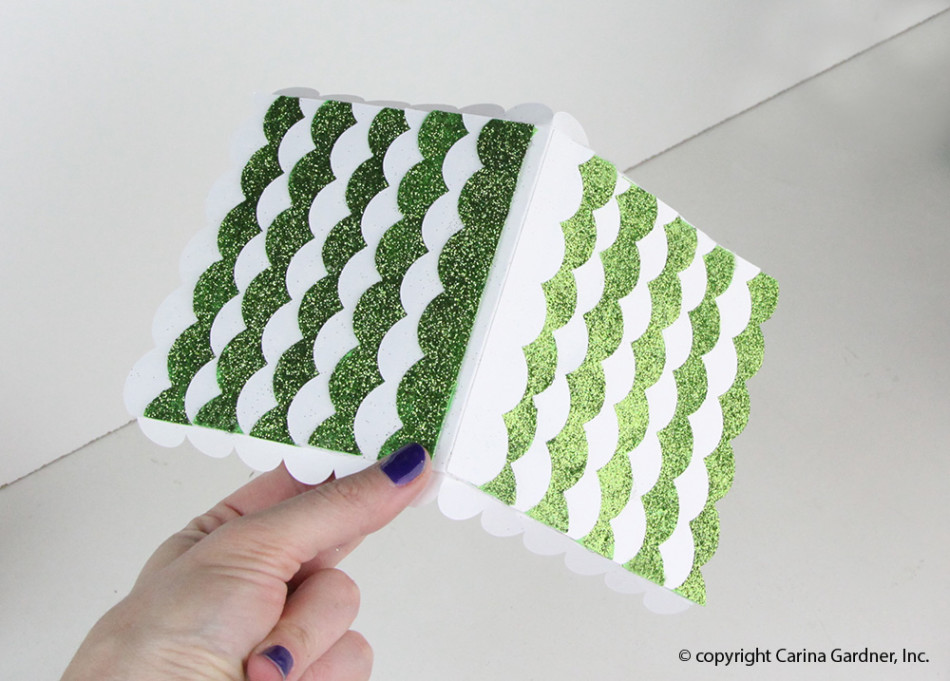
img_5590_web img_5591_web

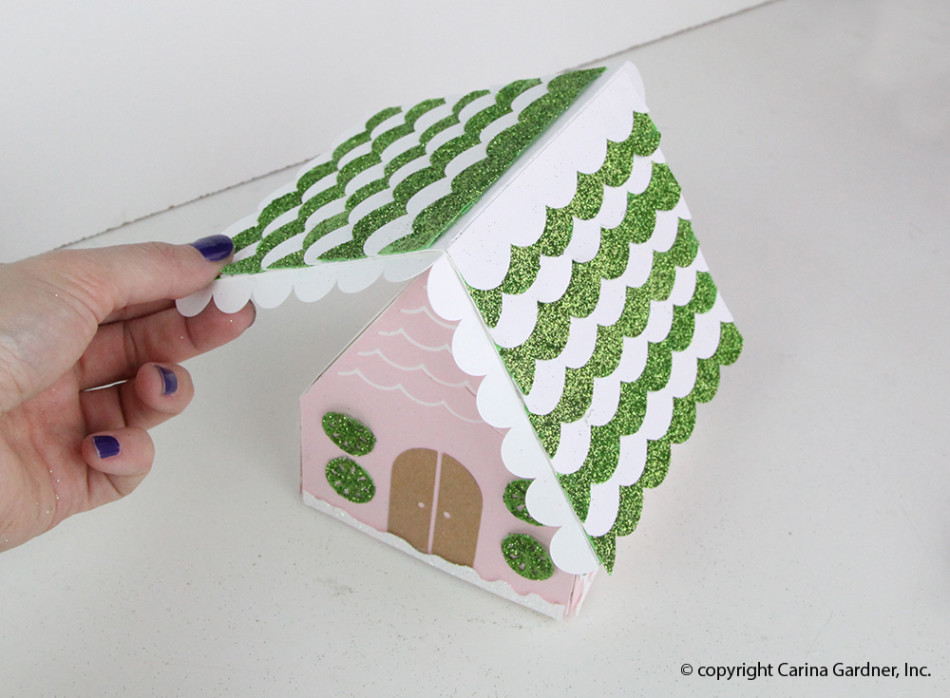
15.  Then add the roof by glueing one side, making sure it’s centered and the top creased is lined up.
16.  The last thing to add is the chimney!  Take the chimney piece and fold it into a box shape.  Then, glue the tabs on the angled side to the roof.img_5596_web img_5597_web
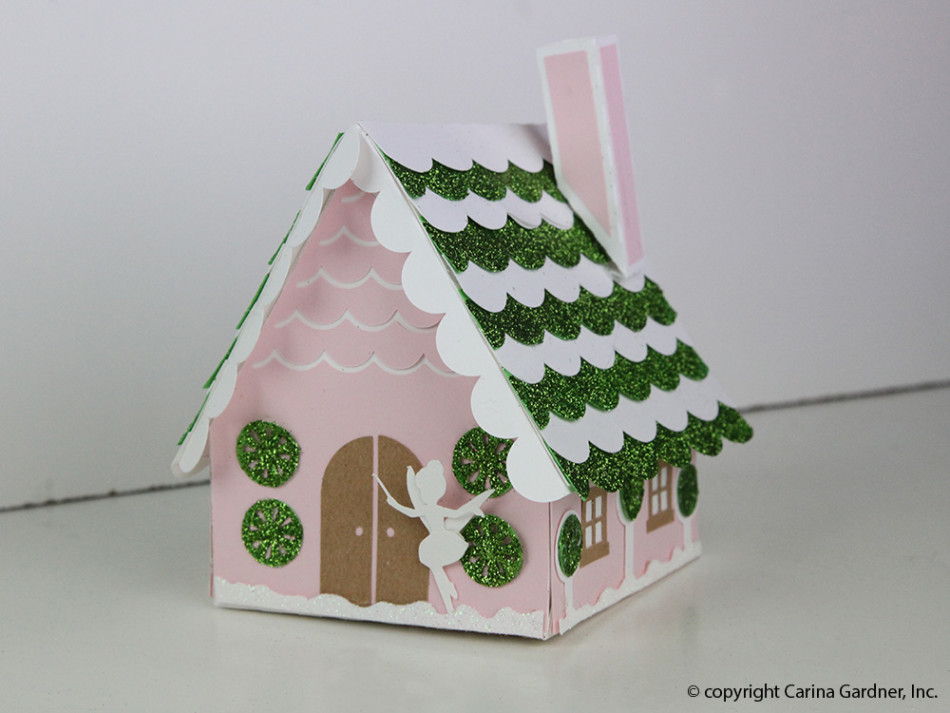
Now you have the most adorable Fairy House for your Glitter Christmas Village!
img_5606_web

Here’s a few more instructions on some of the parts that are specific to each piece.
img_5649_1web

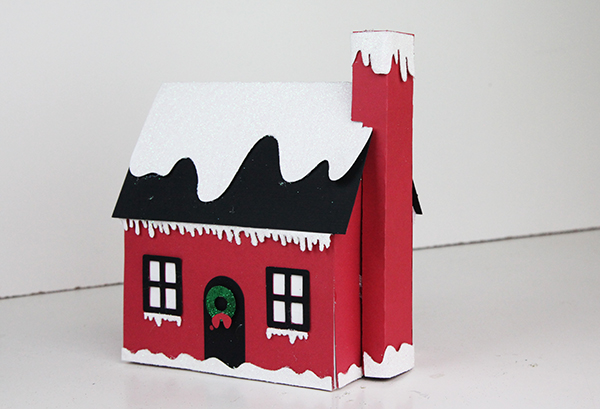
Chimney on Santa’s Cottage:

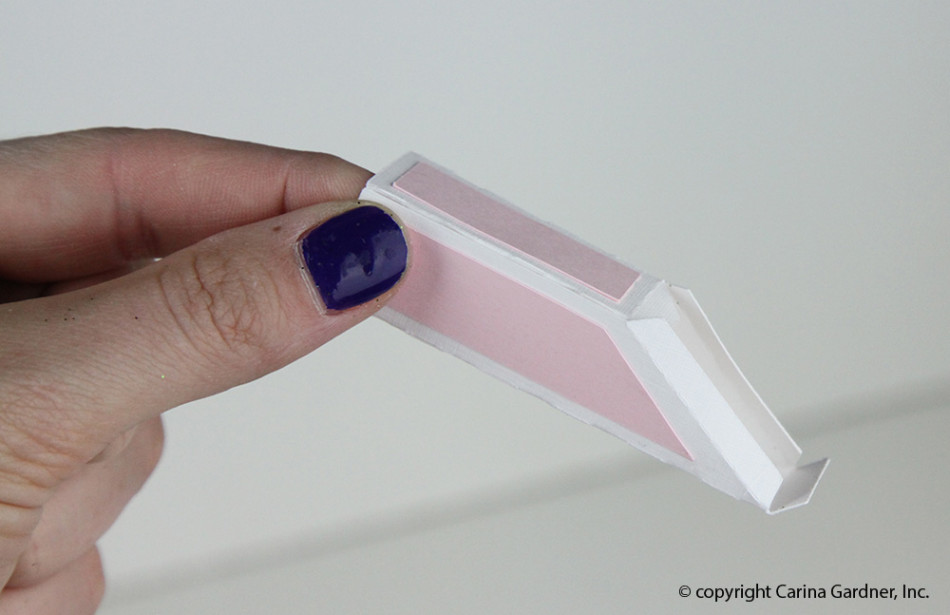
  1.  Start by folding all of the score lines.
  2.  Next, glue the tab on the long side and glue it so it makes a box.
  3.  Then, Glue the tabs on the open part to the house.
img_5627_1web

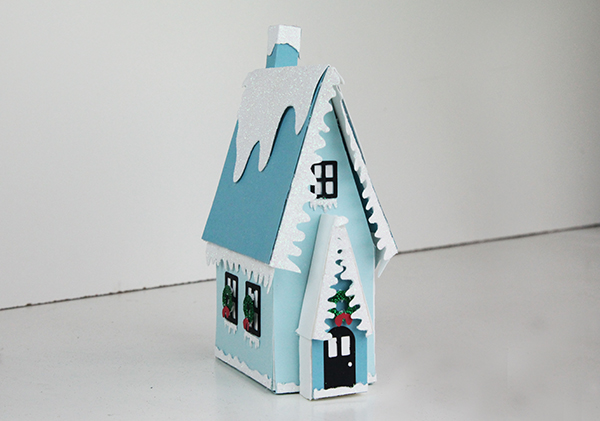
Front Door piece on Chapel:

  1. Start by adding all of the embellishments to the facade.
  2. Then, glue the facade to the front/back piece.
  3. Next, take the long bottom piece and glue the tabs to the front/back piece.
  4. Add the roof/snow like you would for the other houses.
  5. To finish, glue the front door piece to the front of the chapel.
img_5669_1_web

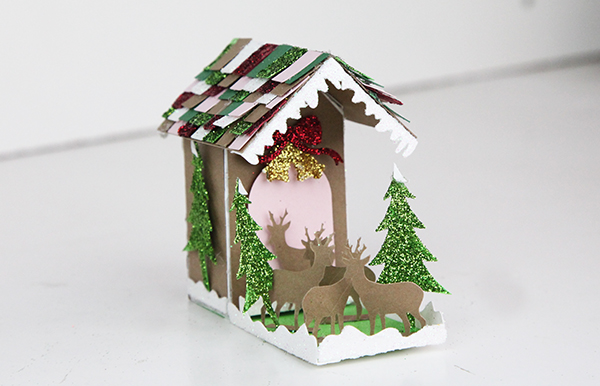
Reindeer Stables:

  1. Start by assembling the house.
  2. Then, take the green piece and glue it to the bottom of the house.  The green piece will cover the entire bottom of the house and then extends into a yard.
  3. Next, glue the reindeer and tree tabs to the yard area.
Silhouette Design Store JOANN Stores

Santa’s Glitter Village SVG Tutorial for Silhouette Read More »

Guest Post from Kelly of Finding Time to Create: Her Adorable Halloween Village

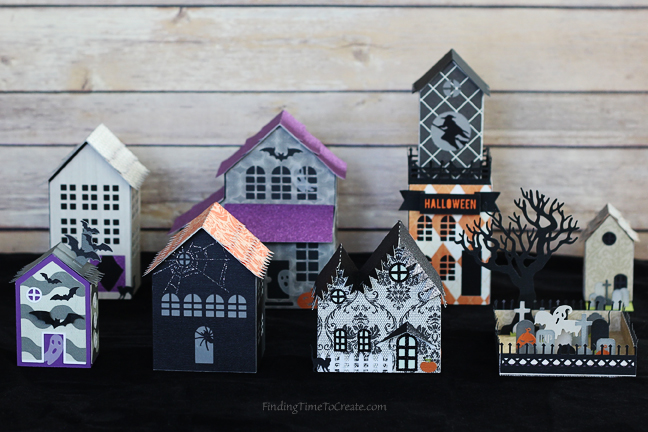
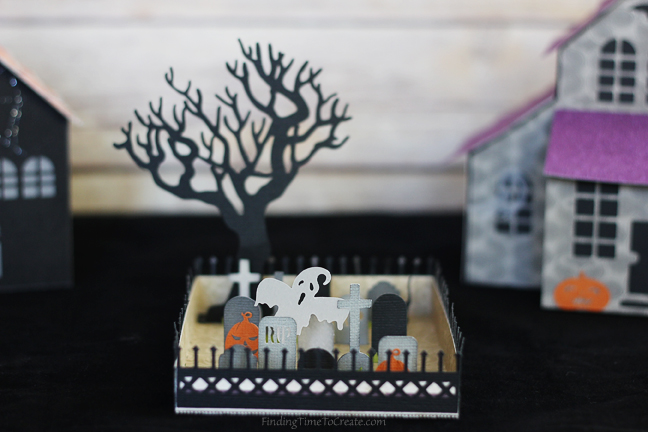
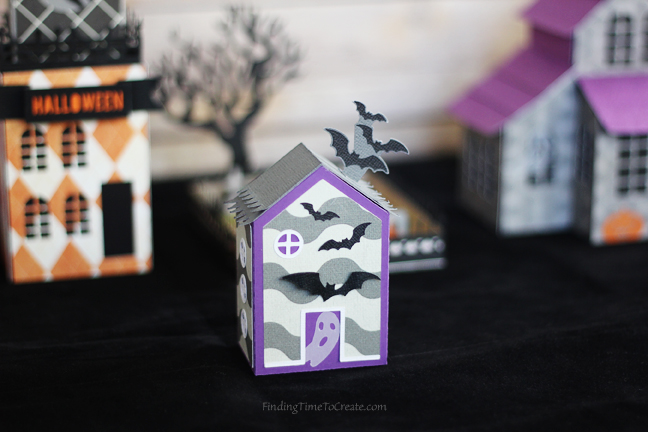
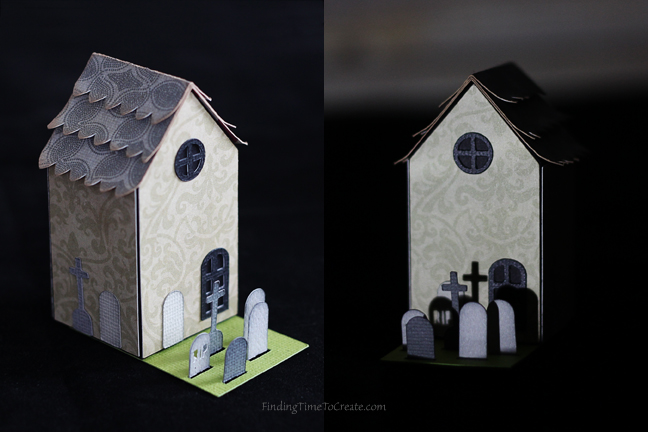
Hello! Kelly here from Finding Time To Create. I absolutely love making paper crafts with my Silhouette CAMEO, so I jumped at the chance to use Carina’s fun Halloween designs this season.

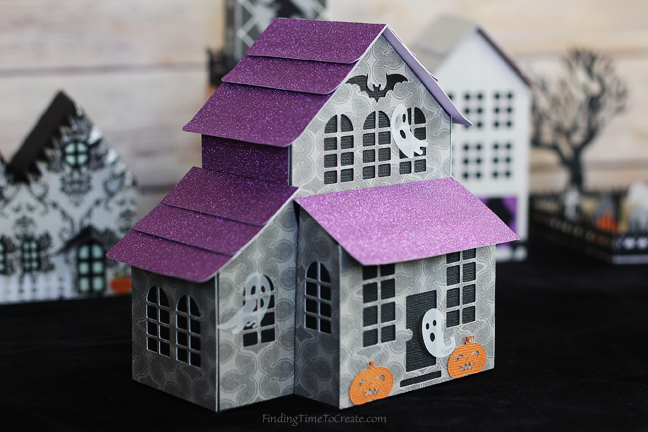
I used designs both from this year’s tiny Halloween village set, and from last year’s Halloween haunted village set. It was fun to mix and match the two sets.

halloween-village-finding-time-to-create

[photo: Halloween Village – Finding Time To Create]

I wanted these to catch your attention in the dark, so I made a couple of the houses with materials that would really pop when it’s dark.

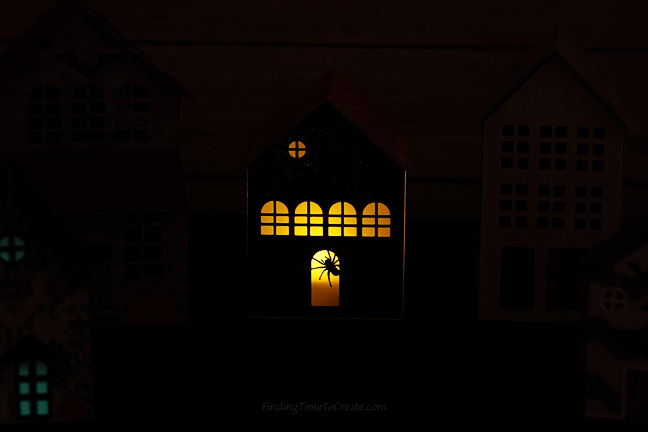
I used vellum as my base for the spider house, which has an opening in the bottom for a battery-operated tea light. That spider on the door looks pretty creepy, don’t you think?

spider-house-night-finding-time-to-create

[photo: Spider house night – Finding Time To Create]

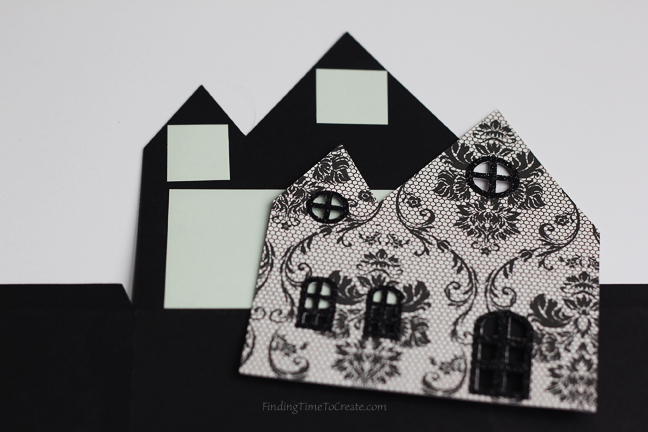
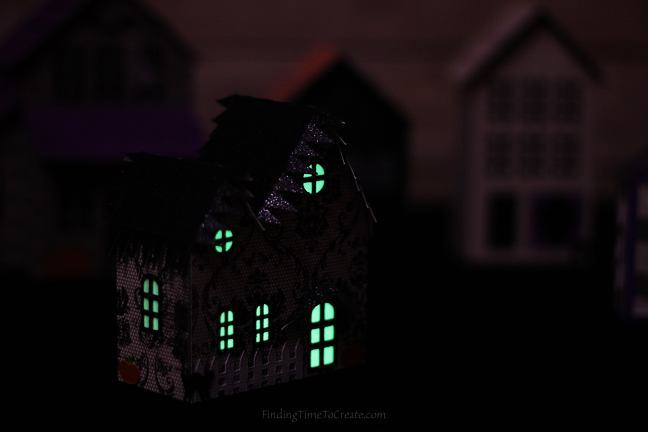
On the tiny village haunted house, I backed the windows with glow-in-the-dark sticker paper. It really makes those windows pop! (This house was my kids’ favorite.)

glow-in-the-dark-sticker-paper-and-glitter-heat-transfer-accents-finding-time-to-create

[photo: Glow in the dark sticker paper and glitter heat transfer accents – Finding Time To Create]

tiny-village-haunted-house-night-finding-time-to-create

[photo: Tiny village haunted house – night – Finding Time To Create]

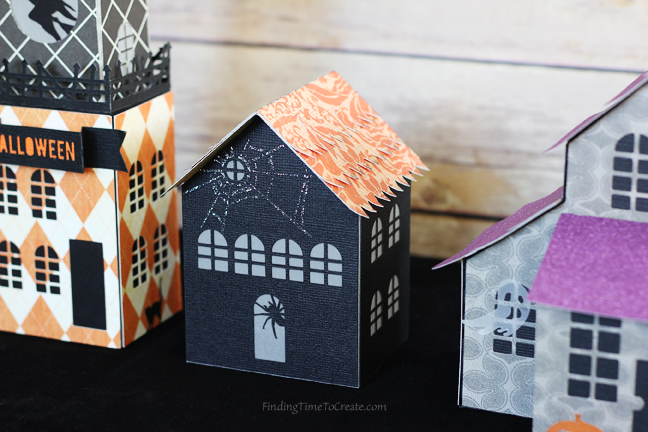
Glitter makes every paper craft better, so I also used glitter paper for some of the rooftops, and glitter heat transfer for the spider web and some window frames.

spider-house-day-finding-time-to-create

[photo: Spider house day – Finding Time To Create]

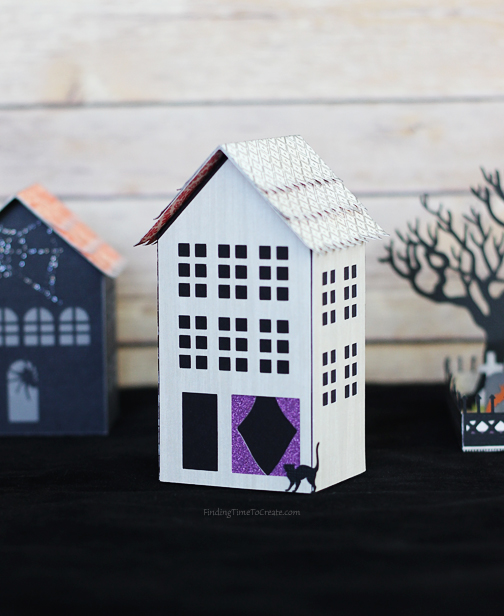
You may also notice I cut all the ghosts from vellum, and added a few cats from the cat house throughout the set.

This was such a fun project to make! Thanks for letting me share it with you!

More pictures:

Halloween haunted village – Spooky cemetery and Tiny Halloween village – Haunted tree

cemetery-finding-time-to-create

[photo: Cemetery – Finding Time To Create]

Bitty bat house

bitty-bat-house-finding-time-to-create

[photo: Bitty bat house – Finding Time To Create]

Halloween haunted village – Cat house

cat-house-finding-time-to-create

[photo: Cat house – Finding Time To Create]

Halloween haunted village – Ghost mansion

haunted-mansion-finding-time-to-create

[photo: Haunted mansion – Finding Time To Create]

Tiny Halloween village – Lil graveyard

lil-graveyard-day-and-night-finding-time-to-create


A huge thank you to Kelly for being on my blog and showing us how she put together her Halloween village! It turned out beautiful!
XOXO-Carina

Silhouette Design Store JOANN Stores

Guest Post from Kelly of Finding Time to Create: Her Adorable Halloween Village Read More »
Box Card SVG Tutorial for Silhouette
img_4897_webThese adorable box card were released in my Silhouette shop this week!  They are so fun to give and receive.  You can write an note on them or give them with a present.  They fold flat and fit in an A2 envelope so you can mail them easily.  They’re pretty simple to put together, and so fun to give!  Below is the tutorial for how to put them together.
There are several designs hitting the store for these so be sure to always search MiniLou and box cards!

Instructions for putting together Foldable Box Cards

1. Cut out all SVGs provided in the file. Glue on all the accessories to the box as indicated in the photo.

img_4875_web

2. Then, to make the core body of the box, fold the box together, and glue the tab on the inside and fold the flaps down.

img_4878_web

3. Next, Take the inserts and fold them into a “Z” shape.  Fold one tab backwards and one tab forward.

img_4882_web

4.  To attach the inserts, use a glue stick for the tabs and place it in the box without sticking the tabs to the sides.  When you are gluing the tabs, make sure to keep it in the “Z” shape, so each tab has glue on the opposite sides of each other.

img_4885_webimg_4886_web

5.  When you have the insert where you want it, fold the box flat so the tabs attach.  Make sure the top and bottom line up as you do this.

img_4887_webimg_4889_web

6.  Next, glue the second tab on the same way.

img_4891_web

7.  Add any embellishments, and you’ve got an adorable card to put in the mail!img_4893_web

Happy Crafting!

Carina

img_4897_web

Silhouette Design Store JOANN Stores

Box Card SVG Tutorial for Silhouette Read More »

Tiny Halloween Village Tutorial for Silhouette

img_4151_instagram_webI know it’s early September but Halloween is around the corner and I know I’m gearing up for some serious decorating. I’m releasing a Tiny Halloween Village, this week on Silhouette. I think you will love it, especially if you did last year’s Halloween Village. Yes, All the pieces in the new set WORK WITH the Halloween village from last year! So mix and match!

This set (as the name suggests) is a little smaller. Why you ask? Because it all fits neatly on 8.5 in. x 11 in. paper! Yep! No sizing down for the Silhouette Portrait users! Hooray!

I have a new video with the tutorial of how to put together each of these new Tiny Halloween pieces here!

Silhouette Design Store JOANN Stores

Tiny Halloween Village Tutorial for Silhouette Read More »

Posy Garden Blog Hop & PreSale of Simply Modern Patchwork Quilts

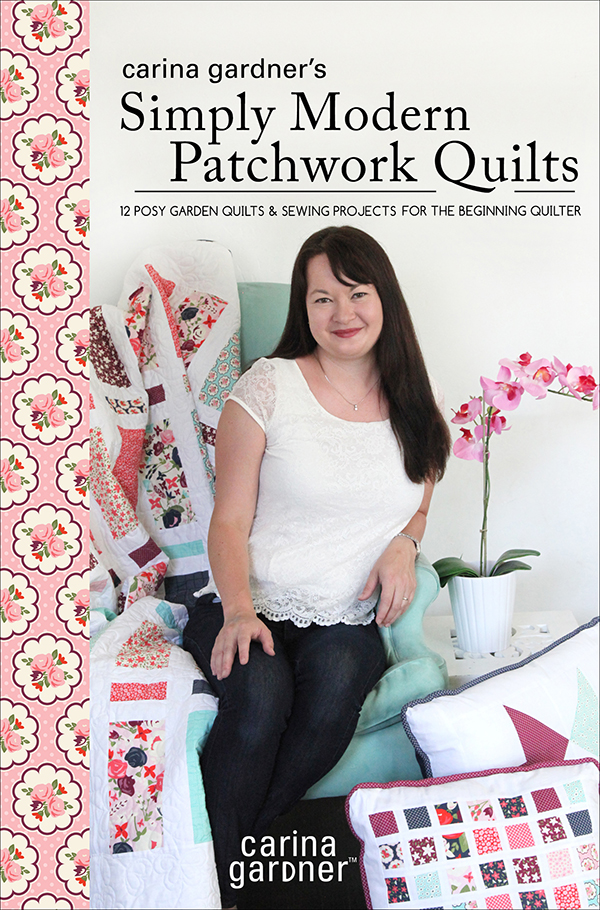
PosyGardenSewingProjects_2_stroke_smToday is the start of our wonderful BlogHop with Riley Blake Designs for my new collection Posy Garden! I can’t wait for you to see all the amazing goodness that is about to be unveiled over the next two weeks! It’s going to be awesome!

Along with that! My new (and first!) eBook called Simply Modern Patchwork Quilts goes on presale today! Eeek! I’m so excited! It will release on August 15th in the Kindle Store on Amazon. I’ll add links here as soon as the presale goes live! I know we are doing a HEFTY discount for the presale so keep your eyes open for it!

***NOTE: It’s on PRESALE NOW! Go to Amazon to purchase it here. The presale price is $4.99. which is 50% off the regular price of $9.99 through AUGUST 15th when it becomes available! That’s less than 50 cents per pattern! Make sure and grab it during the presale period!

There are also four contributing pattern designers to the book including Amy Webb, Amanda Neiderhauser, Christine Cook, and Angie Tackett! These ladies did a fabulous job and I can’t wait for you to see what they have done!

As for the Bloghop, here is the list you are going to want to visit everyday! Come back to this post to link over to these ladies blogs!

I’ll also be reposting their projects over the next two weeks on instagram if you want to follow over there.06_gardenpatchquilt

Okay, here’s the amazing line up!

Monday, August 1st: My Sewing Haven with Carla Peicheff

Tuesday, August 2nd Happy Little Cottage with Debbie Homick

Tuesday, August 2nd The Family Hearth with Bridgette McNay

Wednesday, August 3rd Fort Worth Fabric Studio with Lindsey Weight

Wednesday, August 3rd Happy Quilting Melissa with Melissa Corry

Thursday, August 4th Pretty By Hand with Kristyne Czepuryk

Thursday, August 4th Out of the Blue with Sondra Davison

Friday, August 5th Samelia’s Mom with Anorina Morris

Friday, August 5th Free Time Frolics with Adrienne Woods

Monday, August 8th Flamingo Toes with Bev McCullough

Monday, August 8th Silly Mama Quilts with Brooke Sellmann

Tuesday, August 9th Snickerdoodle Stew with Jessica Stewart

Tuesday, August 9th A Little Patchwork with Ange Hamilton

Wednesday, August 10th Ameroonie Designs with Amy Chappell

Thursday, August 11th One Little Pooh with Tina

Thursday, August 11th Jedi Craft Girl with Amanda Neiderhauser

Friday, August 12th Stitching Revival with Christine Cook

I’m so excited to see all their amazing projects! It’s going to keep myself from sewing all week!

Carina

Psst! If you are in Utah, make sure to come visit me at Elaine’s Quilt shop this weekend on August 6th! I’m teaching a free class in the morning and the Clean Star Quilt in the afternoon. My glamper will also be there to tour all day!


Silhouette Design Store JOANN Stores

Posy Garden Blog Hop & PreSale of Simply Modern Patchwork Quilts Read More »

Posy Garden Mini Quilts for the Glamper

2016-04-28 22.38.56_instagram_webThis little thing called Quilt Market has taken over my life. For the next two weeks, I will be cutting, sewing, tucking, and painting (yes, painting!) to get everything ready for Quilt Market.

For those of you who do not know what Quilt Market is, it is a tradeshow for retailers to purchase the new fabric lines coming out. It is twice a year and this spring, it happens to be in Salt Lake. If you are REALLY curious about what Quilt Market is like, you can check out the video I did of several booths in Portland 2013. Skip through to see the different booths (there are a lot!).

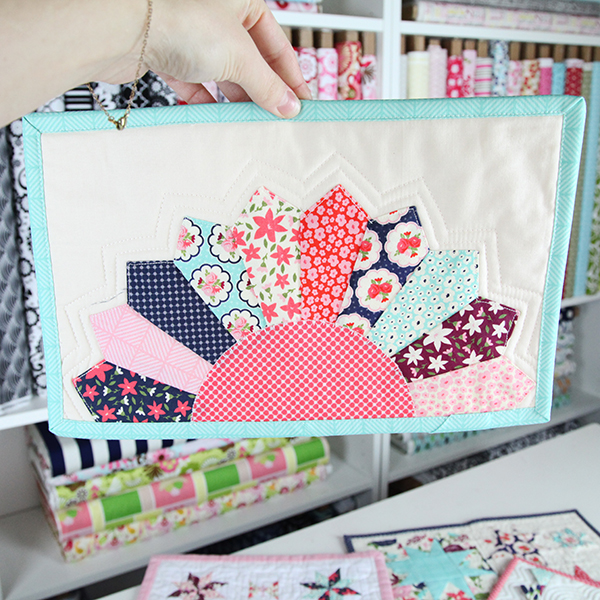
Anyway, I have some sneaky peeks of some of the mini quilts that have been arriving for the glamper.  Because this Quilt Market is in Salt Lake, I have the awesome opportunity to feature the glamper in my booth!

(The photo above is a mini made by Debbie of @HappyLittleCottage1).

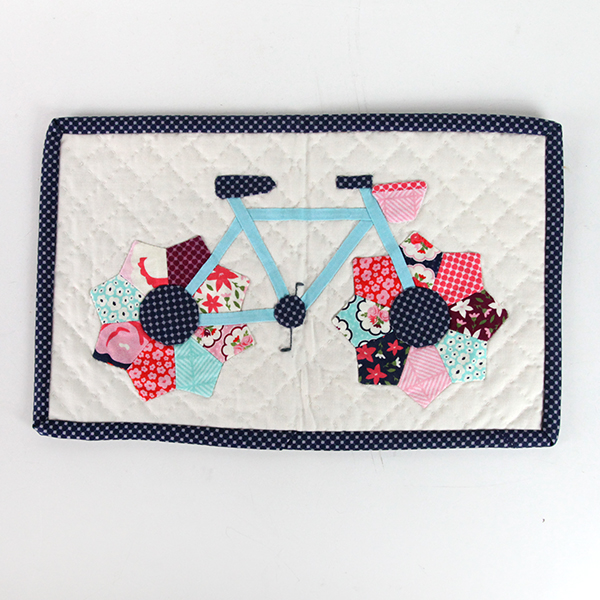
2016-04-28 22.27.41_instagram_web

This darling little bike one is made by Cherilyn of @FarmWifeJournal. All the little hand stitching is SO sweet!

Most of these mini’s will be placed on the cabinets of the glamper for the show. We’ll also use them in a glamper stop we are doing at Elaine’s Quilt Shop a little later in the summer when my new fabric line Posy Garden is released (Right now we are using digital prints and strike offs!).

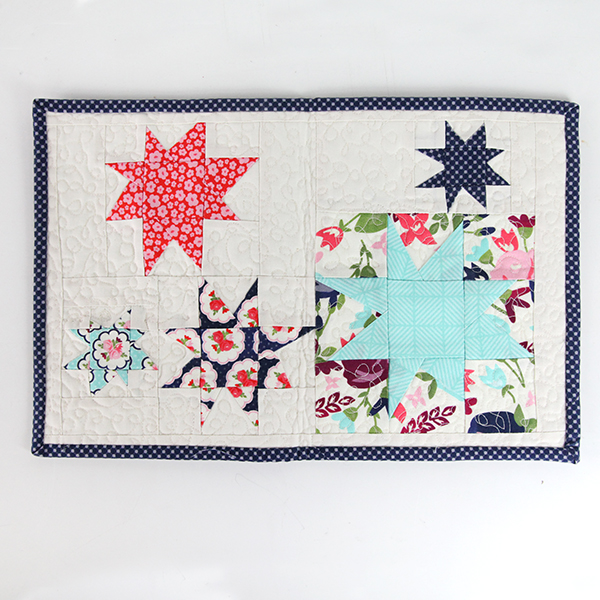
2016-04-28 22.27.31_instagram_web

This one was made by Amy of @AmyLouWhoSews….little twinkling stars! Love!

2016-04-28 22.39.31_instagram_web

The beauty above was made by Angie of @MyStitchStory. Love the little hand sewing of the stems of these flowers.

miniglamper

This little flower mini was made by Amanda of @JediCraftGirl. I love how well this one features all of the fabrics in the Posy Garden fabric collection!

posygarden_stitchingrevival

How about the sweetness (and awesome machine quilting?) done by Christine of @StitchingRevival.

I have a couple more that we haven’t photographed yet, so you’ll just have to wait on those. But what a fabulous sneak peek, right?

Happy Sewing!

Carina


Silhouette Design Store JOANN Stores

Posy Garden Mini Quilts for the Glamper Read More »

Back to Blogging

IMG_1156_1_instagram_webHi guys! A week ago I attended SNAP (which was amazing, BTW) and I was so INSPIRED by all the gorgeous work everyone was doing, that I really sat down and tried to work out what I needed to be doing better. Blogging was a top priority on my list—along with fixing my email newsletter and a million other little things that you tend to let slip when you are busy running two companies and a family.
Because I know myself, I’ve decided to force myself to keep you up-to-date with blogposts twice a week on Tuesdays and Thursdays. Yes, it is not very spontaneous, but I’m finding if I don’t build a system to make it happen, it doesn’t. And I hope you guys will like hearing more about what we are doing at CGInc.

So here I am blogging.

Among my April-New-Year’s-Resolutions (since I have already stopped doing all the ones I made up in January, haha) is to also fix my email list (equally as deficient as the blogging). For those of you who were on my main list, you’ll note that we basically sent out a single monthly newsletter with EVERYTHING new from the month. It was fun and informative but A LOT of information at ONE go. And things ALWAYS got skipped over. It was simply too much stuff.

So the newsletter went on the chopping block.

NOW, if you join the newsletter, you can choose a group. This is so you can only get information on the hobbies you like most that I design for. I am send out a weekly newsletter for the sewing and svg/paper folks and a bi monthly newsletter for the class folks.  My first newsletters for this went out today! Hooray for getting organized!

This has been a long time coming. And what’s more, even if you belonged to the old newsletter list, you will need to resubscribe to these new lists. I sent out an email to everyone allowing them to add themselves to the new lists but if you didn’t get it, you can add yourself below.

You can choose your newsletter type here: GET THE NEWSLETTER & FREE DOWNLOAD.

OKay, so now you’ve heard my spiel on blogging and newsletters. Looking forward to seeing you more often!

Hugs- Carina

Silhouette Design Store JOANN Stores

Back to Blogging Read More »

A Walk Through the Offices of Carina Gardner and MiniLou

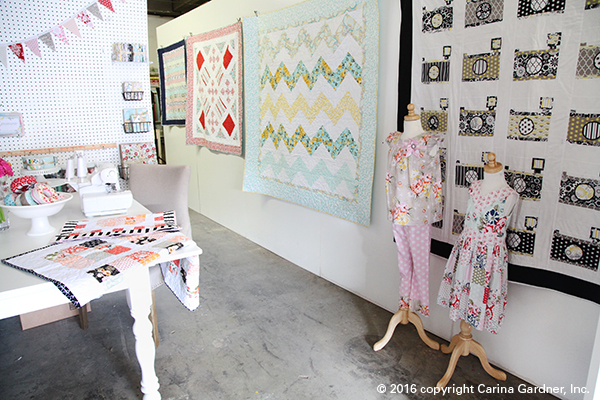
IMG_1390_1_webI’ve been thinking about taking photos of my offices and warehouse for some time now, and am excited to (finally!) give you a walk around the Carina Gardner, Inc. and MiniLou offices!

Here’s some of the backstory: We’ve been in this warehouse/office for a little over a year at this point. Before this, I had two small office spaces near my house, but when I started MiniLou in September 2014, I outgrew the space. Suddenly, I was storing inventory…more than my house or the other little office could handle.

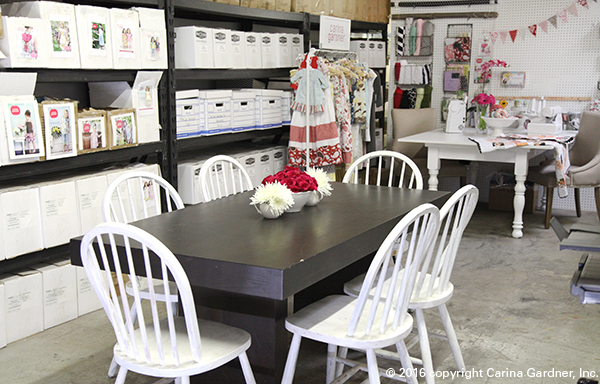
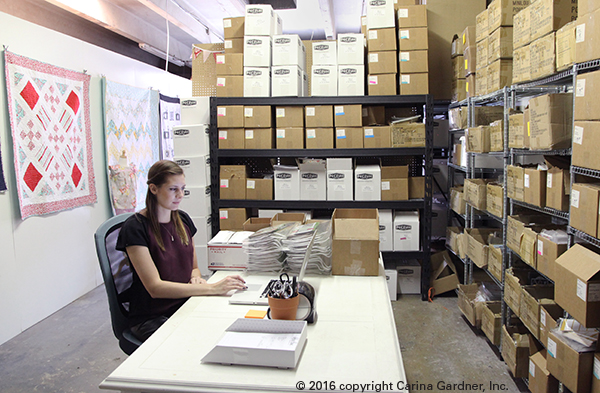
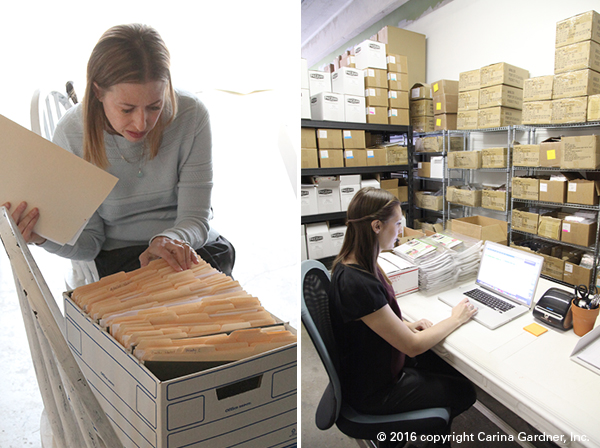
So I moved myself into this 1000 square foot warehouse. When I moved in last February, there was a reception area that I painted and re-floored. Then we built out two more offices in June. Because the space is small (but open!), every bit had to have purpose. Our staff meetings are held in the open warehouse. Videos are made on the back wall while simultaneously storing several of the fabric collections. The sewing table sits next to boxes of coloring books. You get the picture! Every bit of the space is used.

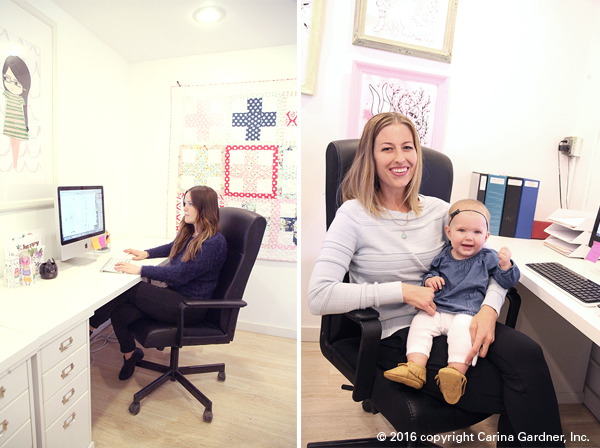
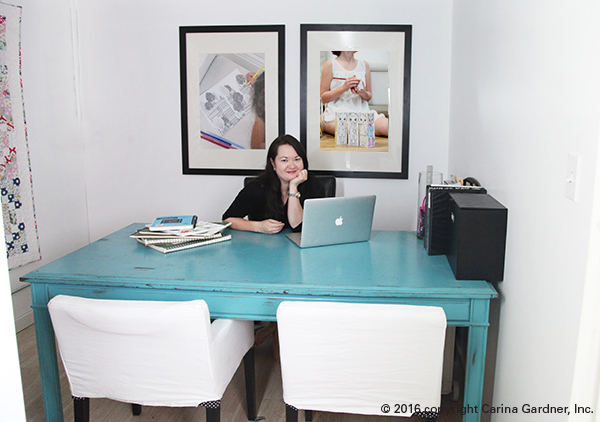
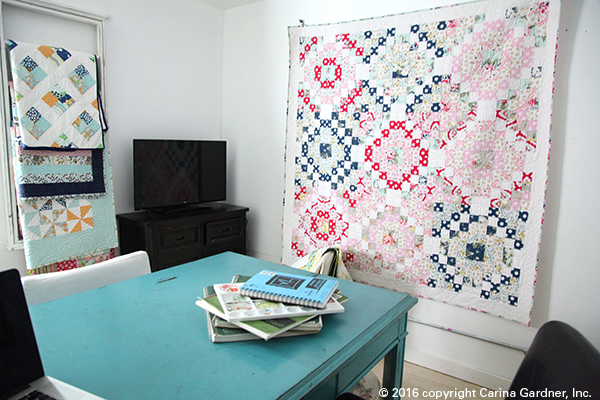
Photo to the left: My office. All the furniture was pulled from my home office to make space in my house for my Charlie-boy. Photo below: Our reception is filled with fabric and diecutting projects. Production Assistant and Fulfillment Manager Holly Christensen mans this area. Flowers on the back wall commissioned from The Lovely Ave.

IMG_0258_1_web

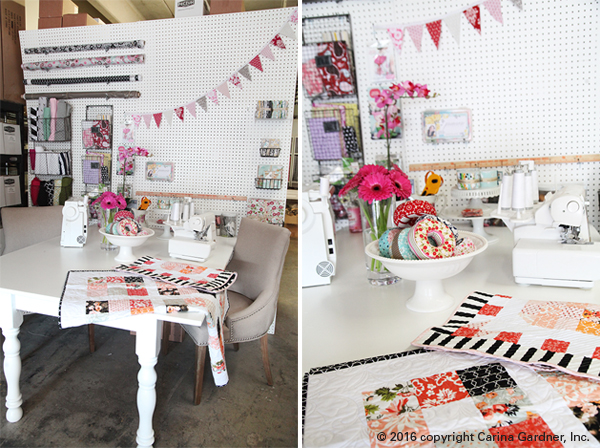
Photo below: More pictures of our reception. It’s a pretty happy place to walk into everyday!

Our reception area has a play area while storing about half of the fabrics we have in the office (the other half is in our video area and the newest lines are all in my office at my house). The opposite wall (not shown) includes a showcase of some of MiniLou’s coloring book covers.

Office_CG_2

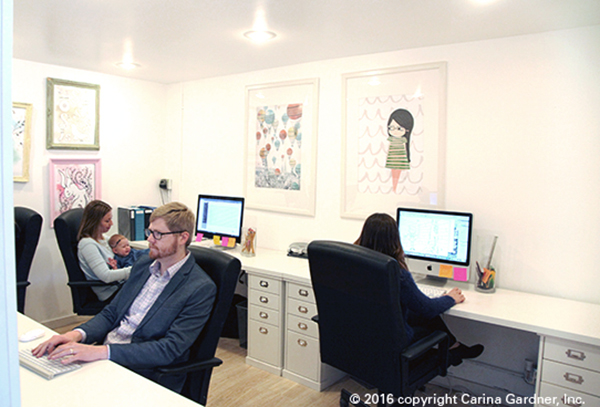
The first office (below) houses most of the team including our sales director, graphic designer, illustrator, and pattern production assistant.

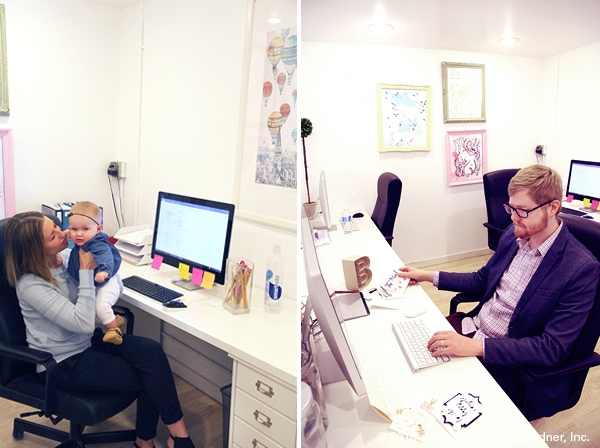
Photos below: Sales Director Dori Kesler sometimes brings baby Ellie to work. Ellie’s pretty use to the drill since she’s been coming since she was born. Graphic Designer Tom Sturzenegger works on our svgs to prep them for release.

Office_CG_4

IMG_0314_1_web

Photo below: Illustrator Jill Johnson works on new artwork for MiniLou. More pictures of baby Ellie! It can’t be helped!

Office_CG_5

Photos below: The sewing area and conference table are in the warehouse. Here Pattern Production Assistant Arianna Phillips and I develop ideas of patterns and sew up samples. The table is spacious so that we can roll out bolts of fabric and quilts. The conference table sometimes also gets overrun with projects.

Office_CG_1

IMG_0910_1_web

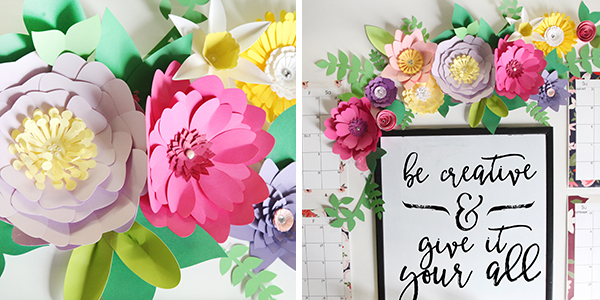
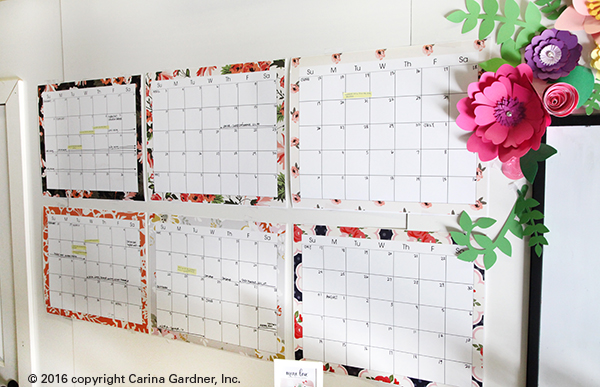
Photos below: These are the flowers from one of the CGInc Silhouette releases. It brightens up some of the stuff you have to have in an office (but maybe are not that pretty) including our fridge, microwave, and printer. The calendars were custom printed with my most recent fabric collections.

square_office_carinagardner

IMG_0886_1_web

Photo below: The back of the warehouse includes Holly’s second desk, the video taping area, and my office.

IMG_0867_1_web

Photo below: Production Assistant and Fulfillment Manager Holly Christensen pulls orders to our MiniLou retailers.

IMG_0692_1_web

Because we are such a small team, everyone works with everyone else in one way or another. I love the synergy that creates as well as the creativity! It’s a great team and I feel lucky to have them all working for ML and CGInc!

Office_CG_3

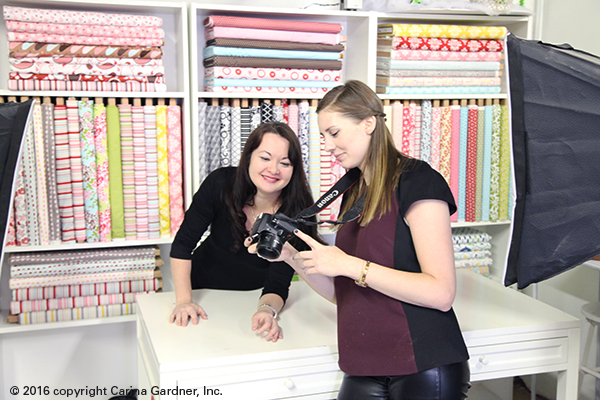
Photo below: We video tape for a class or CGTV episode 2-5 times a month. And all of our photography for our SVG files happens in this area as well! Because what we do is so visual, we spend a lot of time with the cameras.

IMG_0840_1_web

Photos below: My office is really Charlie’s office. I often get kicked out to the conference table because Charlie is in the office most afternoons with me and all day with me twice a week. He’s my buddy and has his own chair, tv, and consistently eats all the candy out of the candy jars in the front (you know, when Tom hasn’t gotten to them first).

IMG_1431_1_web

IMG_1419_1_web

IMG_1424_1 copy

Hope you had fun taking a peek at where we work! I loved showing you our space and how my little companies have grown. Hope you are having a wonderful day!

XOXO, Carina


Silhouette Design Store JOANN Stores

A Walk Through the Offices of Carina Gardner and MiniLou Read More »

Audrey Sewing Pattern Collection Maxi Dress Hack

IMG_1120_1croppedLooking back, I’m not sure I even did a blogpost on the Audrey Sewing Collection that premiered in the shop last month. It’s my first knit collection and includes 4 patterns for Misses and 4 patterns for Girls/Teens. The whole collection makes me pretty happy…easy-to-sew, easy-to-wear clothing.

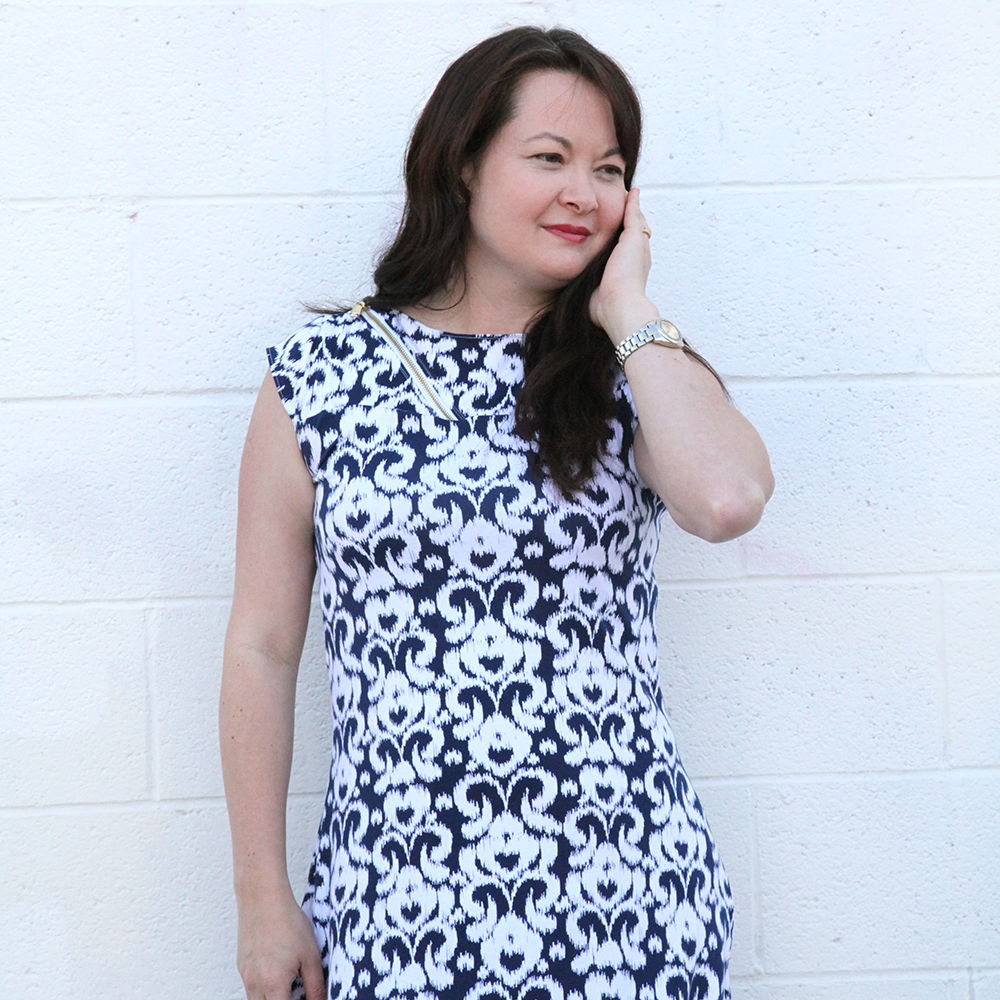
So here’s my first hack with the collection. First of all, I’m a big fan of a summer dress or tunic (hence those lengths throughout the collection). Second, I’m a huge fan of a Maxi! For those of you who have already bought the sewing patterns, you can see that making a maxi seemed out of the question. There are already SO many pieces for you to tape together to make your pattern.

So here’s your hack. Simply add 28 inches of length to the front and back tunic pieces at the bottom. I’d also purchase an extra yard of fabric. Easy right? I don’t get all crazy about straight lines, ect. You just need the length. Longer is always better since you can hem it down.

IMG_1128_1_instagram

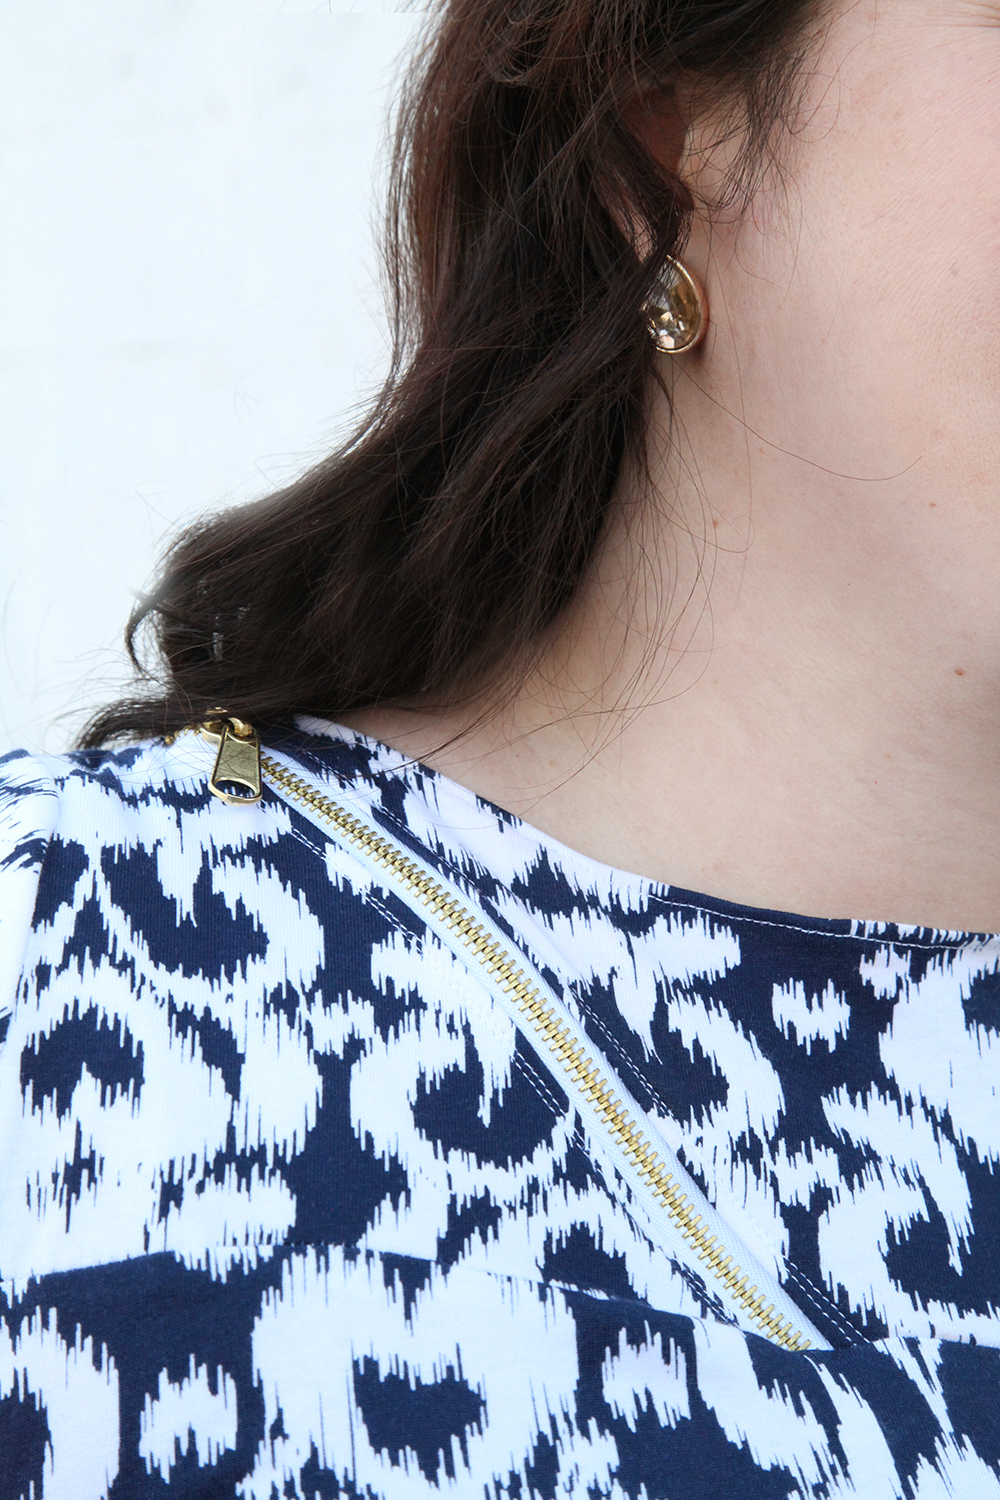
IMG_1151_1_webThe fabric you see pictured is Riley Blake’s new ikat knit in navy. I’ve made the short versions of this pattern before but never the maxi and it took me about an hour and a half to make. I used the Misses Style 3 Pattern and used a gold zipper I got from my local craft store.

We took these pictures near one of my favorite restaurants in Las Vegas (we were there for a toy show for my kids company MiniLou) called Eat. It’s a brunch place and the eggs benedict on the weekends is to die for. Or the cinnamon biscuits. Or the egg truffle sandwich. Or the…well, you get the picture.

You can check out the video where I show you how to put together the Style 3 zipper (It’s easier than it looks!) although I did manage to break 4 stretch needles on the zipper because I wasn’t careful about where I was going.

I like using a stretch interfacing when making this. It holds the zipper and fabric together nicely.

IMG_1125_1_web_instagram

And that’s it! I plan on making this with several of the other Riley Blake knits. Comfortable summer clothing, here I come!

XOXO, Carina

Silhouette Design Store JOANN Stores

Audrey Sewing Pattern Collection Maxi Dress Hack Read More »