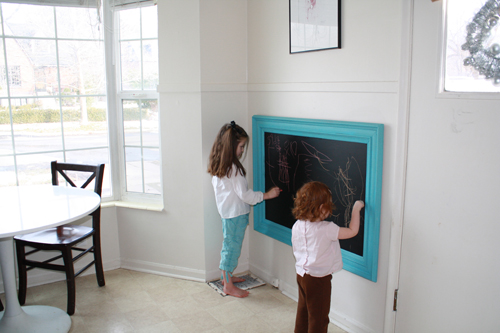
I must admit that domino magazine is the devil. First off, I wouldn’t have gotten the idea to start re-decorating my living room if I hadn’t actually taken a break from working to read the darn magazine. If I hadn’t started thinking about redecorating, I wouldn’t have come up with the idea for a chalkboard project. If I hadn’t come up with the idea for the chalkboard project, I wouldn’t have decided I need to do a few things to update my kitchen too. So here I am, redecorating away! This was my first finished project of the weekend! I’m glad I did it because the girls love it!
Cost (about) $35
Materials
Old Frame (bought at an antique store) ($10)
Large piece of white board ( 4′ x 8′) cut down to 24″ x 36″ ($13 from Lowes)
Staple gun, staples
Paint (2oz bottle of paint or enough to cover surface of the frame) ($3)
Paint Brush | Sponge brush
Roller
Paint Tray
Chalkboard Paint ($13)
Hanging Hardware
Hammer and nails (for hanging)
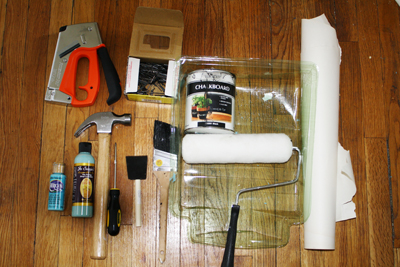
I like to have my kids in the kitchen with me while I cook (they are usually running back and forth between me and the living room). I needed an art area that didn’t require me cleaning up the table so I came up with this framed chalkboard piece. I’m in a rental so I needed a pretty way to display the board (I couldn’t just paint the chalkboard onto the wall), plus, who doesn’t like a pop of color that looks like art?
1. If you bought an older frame or something that had artwork in it, you’ll need to pull out all the staples. My frame was bought from an antique shop for $10 and had a lot of old staples that needed to be pulled.
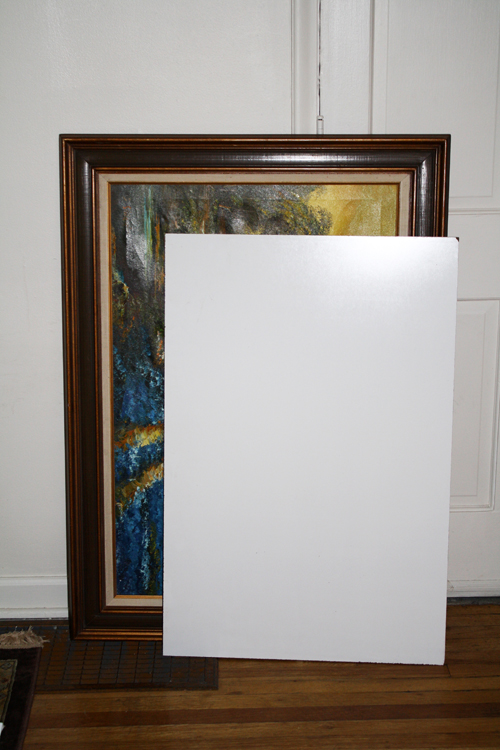
2. Paint the frame the color of your choice (I went with a seafoam blue) with your paint 9I used acrylic) and sponge brush or paint brush. Let dry and cover with a second coat if needed.
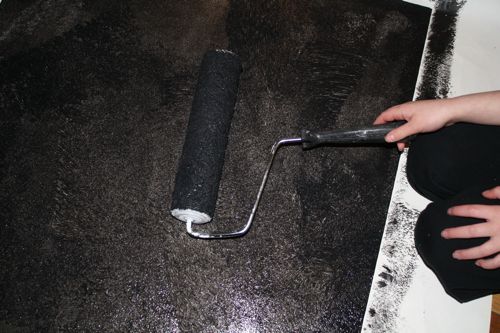
3. Paint the chalkboard paint on the large piece of white board (mine was 24” x 36”). I covered it using the roller to get a smooth finish for the first coat. I let it dry for 24 hours and then rolled on a second coat. I touched up with a paintbrush.
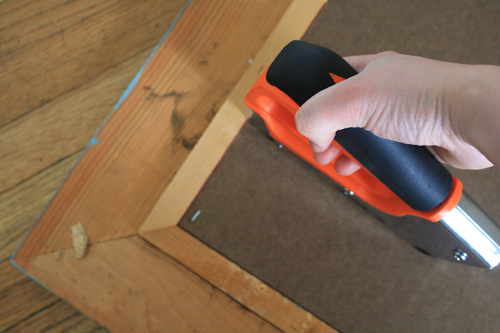
4. After the chalkboard area has dried I stapled the chalkboard piece to the frame using the staple gun.
5. I added hanging hardware to the back (follow your hardware instructions) and hung on my kitchen wall.
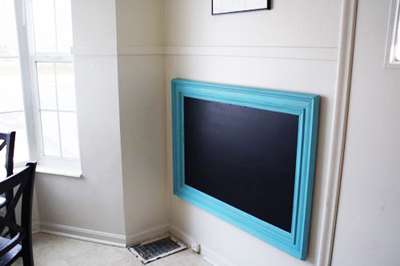
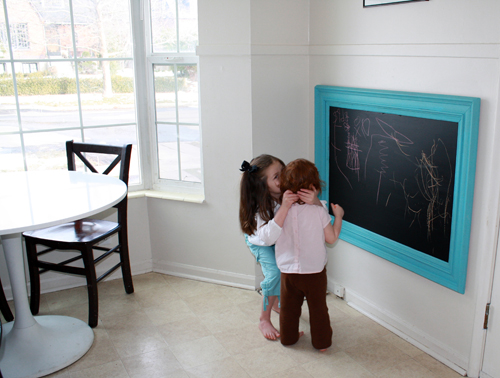
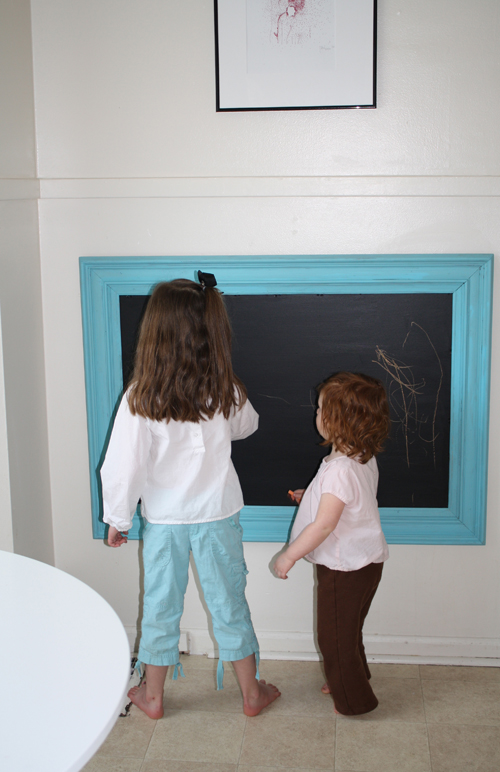
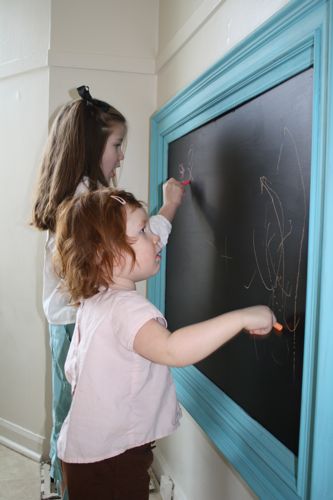
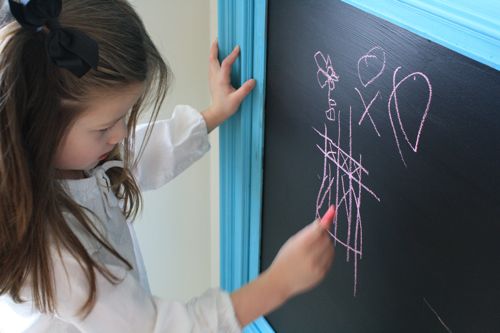
Here’s the finished product. And here’s my girls enjoying it! Yesterday Siri was helping me cook dinner and she would run between me and the stove (I’m taking the picture from the stove/sink area) and was writing down the instructions (coloring little pictures) on the chalkboard as we made dinner. It was SO cute! I especially liked here picture of the strawberry!
Some of my helpful hints
The white board I bought was from Lowes and came in 4” x 8” sheets. I ended up with 2 other HUGE sheets that I just let the kids doodle on until I get around to framing them as well. From this $13 sheet you can basically get 3 great art areas.
I try to find frames at antique stores, thrift shops, and discounts stores like Home Goods and Tuesday Mornings because then I don’t feel bad about the price and painting it!
 [ad]
[ad]
Sooo Sooo CUTE!!! LOVE IT! the color is awesome!
LOVE this idea!!!! And I love the color you chose for the frame! I will def. have to do this for our playroom…. maybe two!