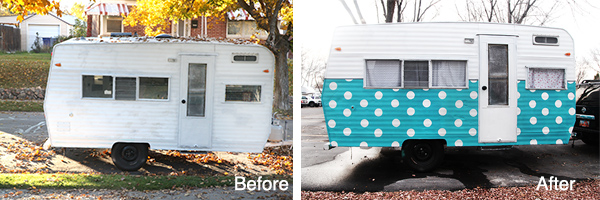
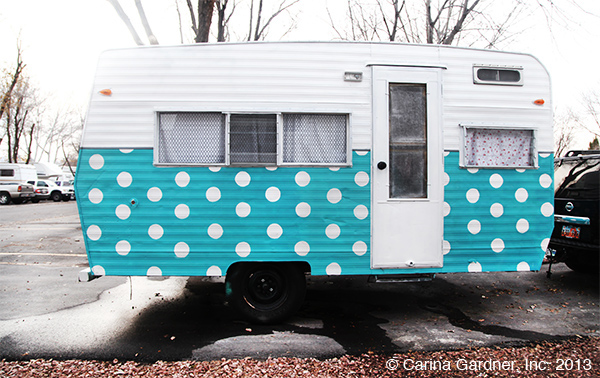
It’s been so busy I haven’t had a chance to post the finished exterior of the glamper! And just in time too! I was watching the weather closely to paint the exterior and parts of the interior.
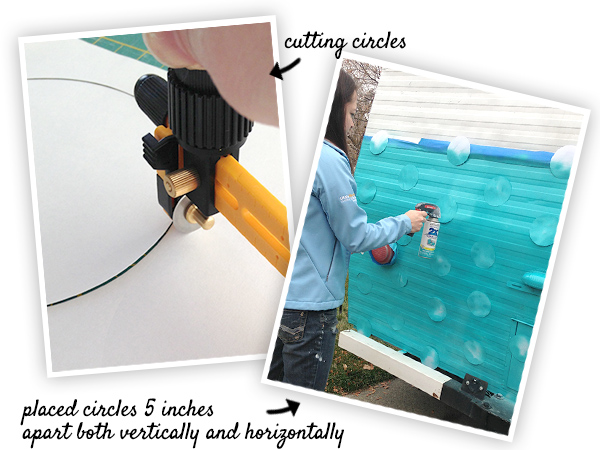
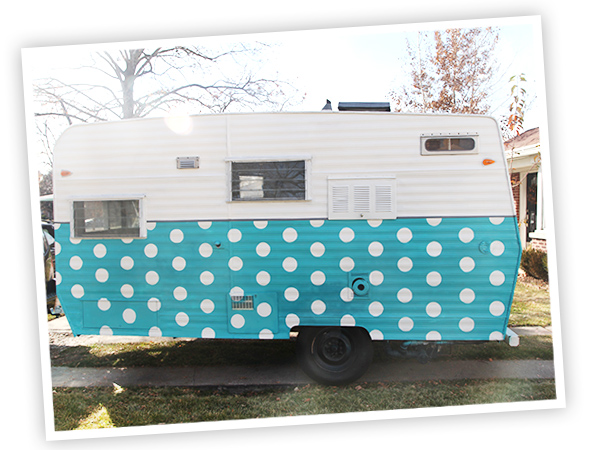
The polka dots turned out to be a bit of a chore. At the end of the day, I’m glad I did it because it gives my glamper such a fun look. To get the polka dots I cut 5 inch circles out with a circle cutter with an 18mm blade. I then spaced them out 5 inches apart both vertically and horizontally. Because I was using a spray, I knew the circles wouldn’t come out “clean”. Once the paint was dry, I just figured that I was going to be able to use a stencil to outfit the edges with my white paint.
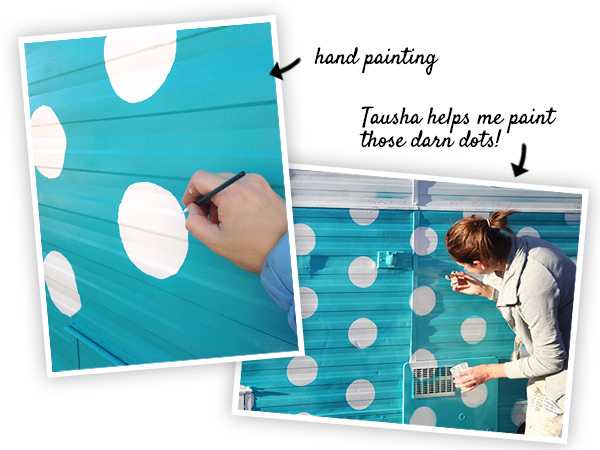
Because of all the crinkles on the glamper, this turned out to be an impossible plan. I ended up hand painting every single dot! Eek! Thankfully I got a little help (see photo below).
I did a touch up coat of white on the top of the glamper and a tiny gray stripe between the top and bottom. It was two days of torment well worth it!
Here’s a quick view of the other side of the glamper:
I’ve also been working hard on the exterior and finally finished painting the bathroom, touch-ups, most of the hardware is in, the fridge installed, tv hardware installed, the cushions all sewn, and most of the curtains finished. I’m still a bit out before I can show you all of it. In fact, I have a hankering to decorate it for Christmas so the first shots of the interior you might see all “Christmas-ed up.”
If you haven’t seen the previous posts on the Glamper, here are some quick links for you:
Glamper Renovation Part 3
Glamper Renovation Part 2
Glamper Renovation Part 1
Carina
