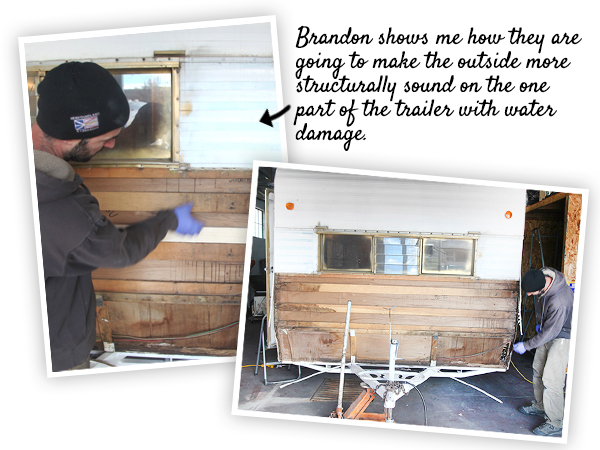
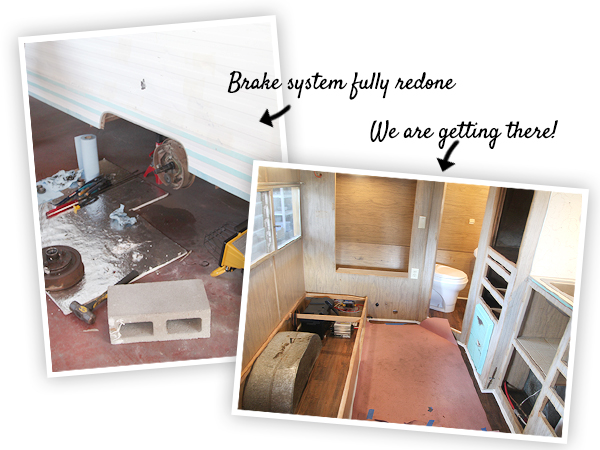
 It’s been a busy couple of weeks with the glamper. Brandon has been working on it nonstop with his team over at Camper Reparadise. The list of things he has taken care of goes on and on. All the electrical was wired, new tanks, brake work, new wood installed with flooring, new water tank and pump, and outside replacement lights to name a few. It’s been amazing to see it come together on my trips to drop off flooring and fixtures.
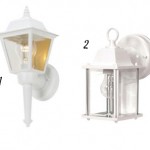
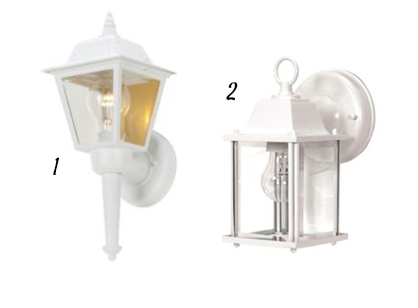
Speaking of lights, lighting has been my nightmare conundrum. I spent several days looking at lights. I finally decided on one from Home Depot (without the long bottom piece) shown to the right (number 1). Turned out that the top part wouldn’t fit in some of the spaces. Then I bought the second light shown to the right (also from Home Depot) and although they fit, we realized that the trailer was set up for lights that each had an individual switch. I was totally heartbroken (because I was in love with the second lights by this point) and in trouble! I looked for a few days and finally settled on a light that I will have to repaint. A facing-down light, white, small, and with a switch is pretty well impossible to find. I couldn’t find a link for the one I found at Home Depot (despite all the online searches I ended up with one I found there!), but I’ll show you it in the final photos.
These lights are for the 120 volt power. I still had to buy lights for the 12 volt battery. Once again, not a chance you will find something cute out there. Thankfully, these lights are sort of hidden so I bought some run-of the-mill lights from the State Trailer Supply in SLC.
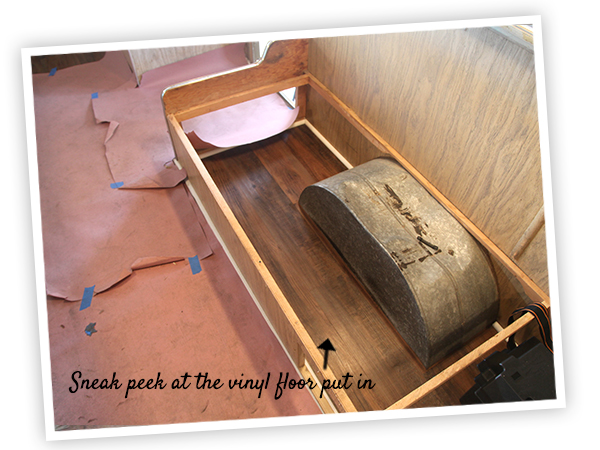
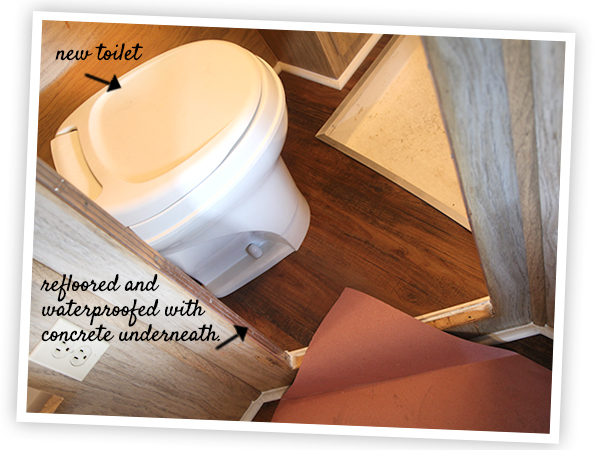
I also learned my lesson with flooring. I purchased regular laminate wood planks at first and then had to return them in favor of vinyl planks. Apparently, they are waterproof and necessary. I purchased mine from my local Lowes. I didn’t have time to special order (the flooring needed to go in before other parts of the trailer could be finished) and Home Depot didn’t have anything dark enough. Brandon suggested we put the flooring under all of the chairs and in the bathroom to keep everything waterproof. After seeing the water damage in the floor before, I was only to happy to have him put it in anywhere he could. He also put down a layer of concrete (I think?) in the bathroom to give it some extra durability.
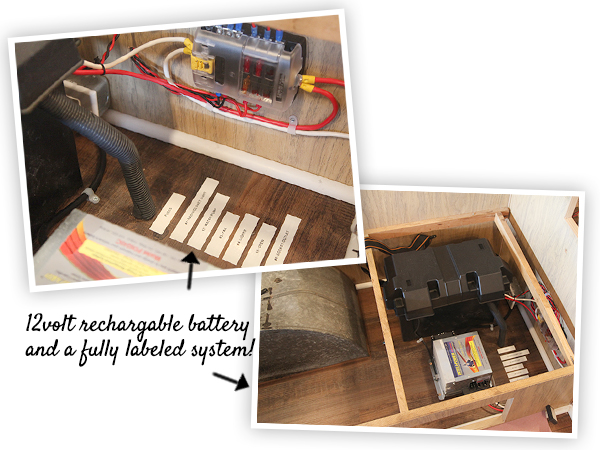
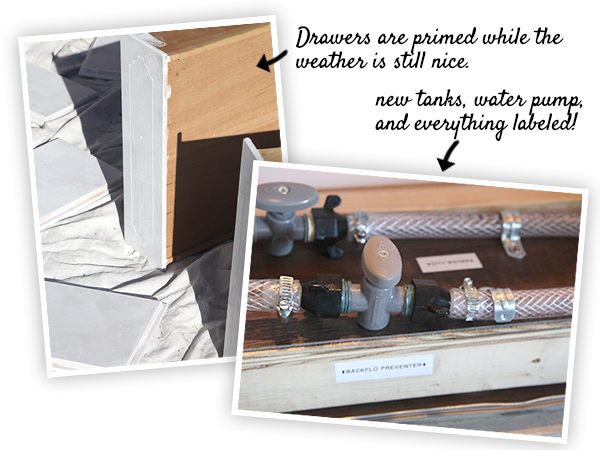
Even though it is such a little thing, I have to share one of my favorite surprises with the camper renovation. See the photo below? That’s of my 12 Volt Battery and everything it is hooked up to. And yes!!!! Those are LABELS next to it. Brandon put labels here and on the entire water system. I was like, seriously? I love it when someone takes pride in their work and really goes the extra mile. It makes you feel like every little thing they are doing is top quality.
The list of stuff that still has to be done is getting shorter although there is still plenty to do (note photo below. Eeek!).
This week, I started getting my part of the glamper/camper renovation underway. I cleaned and primed all the drawers and picked up laminates for the cushions. Brandon still has the trailer so I’m trying to do anything I can while he is still working on it. Here’s my to do list for the coming week:
+ Sew all the cushions
+ Sew all the curtains
+ Finish painting all the drawers
+ Make pillows
+ Choose and order wallpaper
+ Put trim on the built in mirror
+Buy a showerhead
And once I get it, I have to do the following:
+ Some of the windows need to be replaced
+ Prime and paint the interior
+ Wallpaper
+ Prime and paint the exterior
+ Add laminates to the kitchen counter tops and table
+ Tile the shower
Of course, there are lots of other things I need to do, that can wait (like make fabulous quilts and other such niceties), but those will have to wait.
I also wanted to pass on the information for Chad and John who I purchased the trailer from. They have a facebook page that shows the trailers they currently have. I loved working with them, and you shouldn’t be afraid to send them a message if you are interested in a trailer or airstream. They will LOOK for one for you and are super reasonably priced. Plus, the most invaluable part (for me) is they are willing to point you in the direction of people they have used, where to buy parts, ect. Since I was coming into this cold, having these guys walk me through what I needed to do was amazing. John even went with me to the hardware store to buy the hitch to my vehicle. Ya, they are that nice.
Looking forward to the projects ahead!
Carina
PS: Here are the links to Glamper Part 1 and Glamper Part 2.
So fun!!! That glamper is gonna be fab when it’s all done! Can’t wait to see!! =)
Looks great! You’re so lucky to have found people who are honest and helpful. Really, I know, the trailer/camper/RV business is full of scams and crooks!
Are you sure you want to use wallpaper in the camper? Was it wallpapered before? I hope it works out, there is some cute wall paper out there. But I have also seen some wallpaper project horribly go wrong. A camper is not really dry inside there is always condensation, from cooking, people who sleep there, showering, damp weather, wallpaper was for those projects I have seen the wrong choice. I do hope it will work for you.
Christine,
We are going to use the re positionable fabric wallpaper I manufacture. It peels off like a sticker. I suspect we will change it out every other year or so for the fun of it and because of the very reasons you stated!