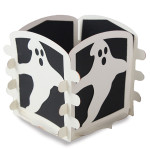
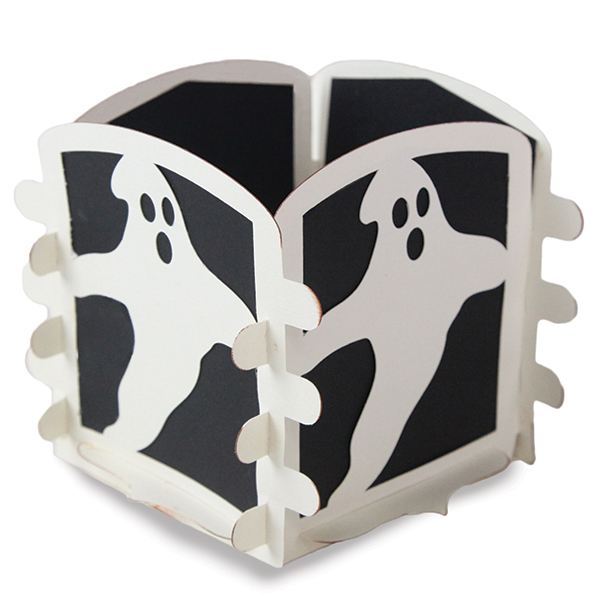
It’s my favorite time of year! That’s probably why I get so excited for all of these Halloween projects. This post is for a tutorial on the Light Up Halloween Crates. You can purchase them from both the Silhouette and Digiplayground shops. (Links to the crates will become available as they go live).
These are incredibly simple to put together. I’m planning on putting in the windows at the house and as centerpieces on my coffee table. You can place an electric tea light in the center (I love the black ones!) for a but of ambiance!
Here are the links to my Silhouette Shop and DigiPlayground Shop.
Here’s how to put it together:
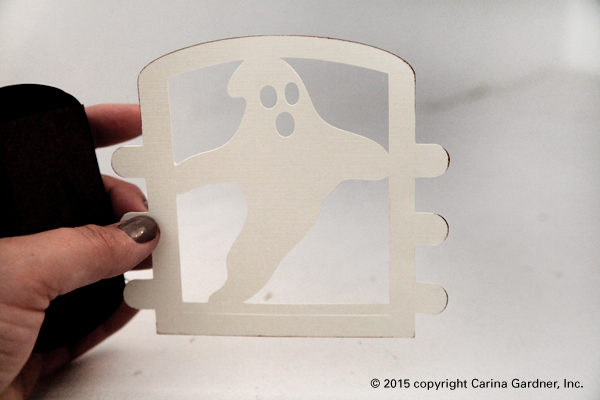
1. Cut out the svg files, cut two of each side piece, four total. Ink the edges of your crate to create some dimension.
2. Glue accent pieces to the inside of the crate side pieces.
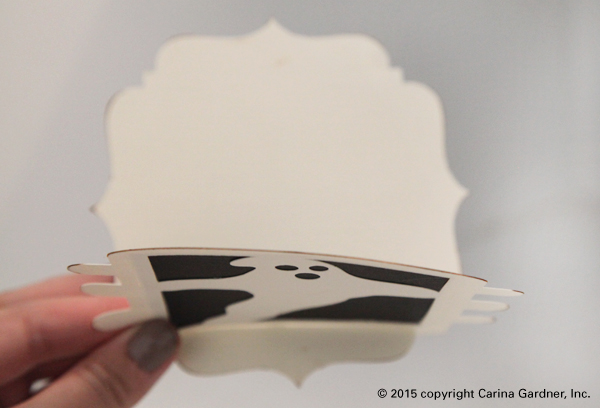
2. Once you have glued on all the accent pieces onto the sides, take the bottom flat geometric piece and slip the pointed edge through the slot at the bottom, just below the ghost.
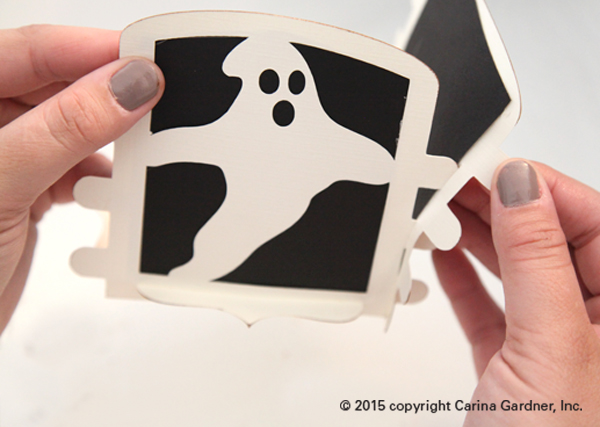
3. Next, grab the opposite side piece and slip the tabs through the slots provided in your first piece. Again, insert bottom pointed edge just below ghost and repeat this step all the way around.
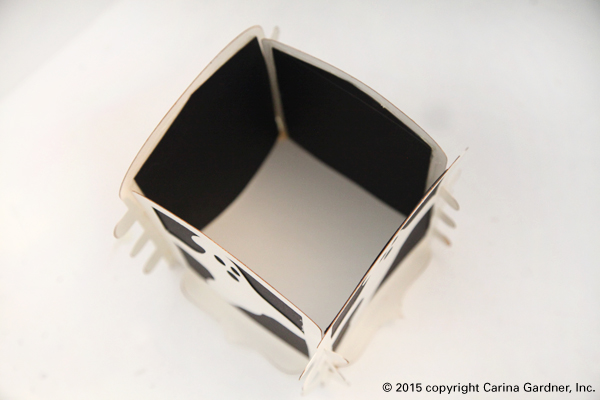
Place a tea light in the center and you are done!
Enjoy,
Carina
One thought on “Halloween Crate Tutorial for Silhouette and Digiplayground”
Comments are closed.