Pocket Albums, Window Album, and Flower Ornament Instructions for Silhouette

squarephotopocketalbumYou’re getting a little bit of everything from my releases this week so scroll on down to the tutorial that applies to you! It’s been a busy spring break, and I’ve been wanting to make some albums since coming back from Park City and St. George. I hope you have fun with these!

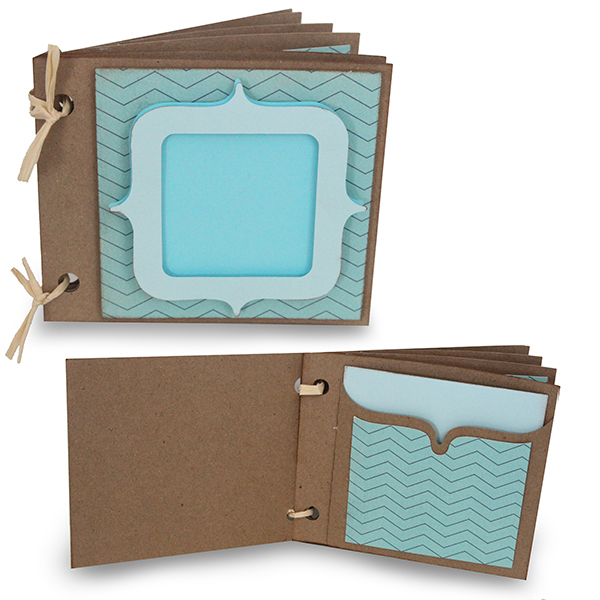
4 INCH SQUARE PHOTO POCKET ALBUM
LINK TO THIS ALBUM >>>
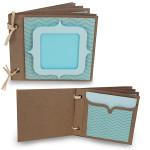
These albums are built for a 4 inch photo. Specifically, I like instagram photos for these pockets but it could even be 4 inch x 6 inch photos you have cut down. You can put a photo or write in a title on the front bracket emblem on the cover page. It’s completely up to you!

1. Cut out all the pieces in the svg file. I used kraft paper for all the main pieces and colored paper for the accent pieces. I cut out two cover pages and several pocket pages.

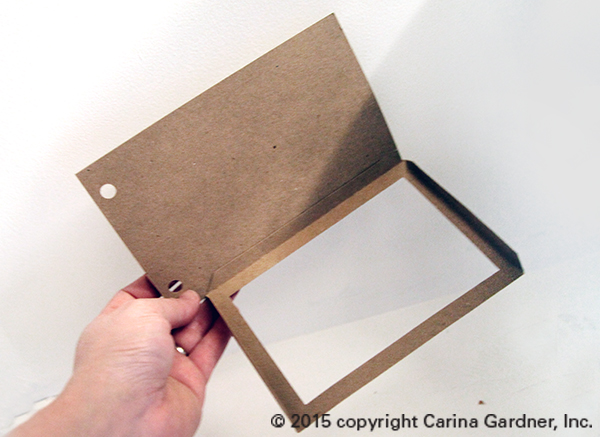
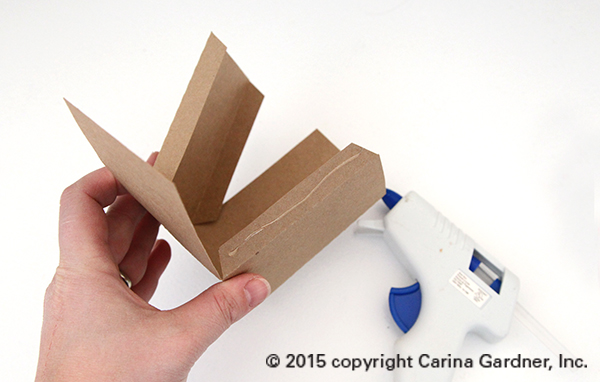
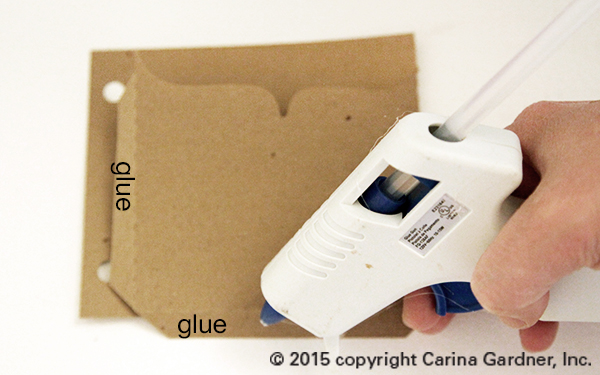
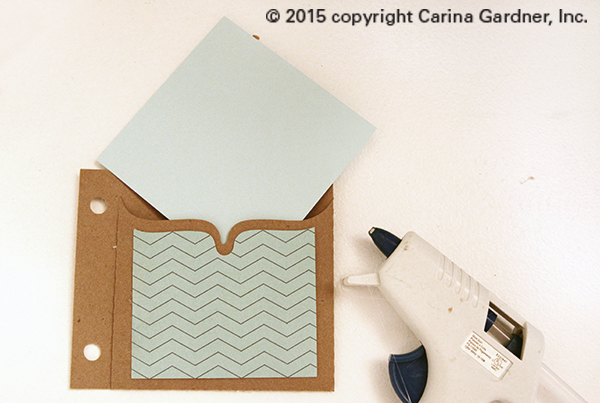
2. Fold along the score lines. Fold over the pieces with the bracket shape to create the pocket. Use glue (I like hot glue or a photo-friendly adhesive) on each of the glue flaps and create the pocket. There are two flaps that need to be glued (see photo below).
IMG_5551_1_web IMG_5554_1_web

3. Glue the accent paper to the front of the pocket and add a journaling card (available with the svg file) or a photo.

4. Create the cover by layering the 4 inch square (the same one used for the pocket inserts), then the bracket without the window, then finally the bracket shape with the window. Place a photo or title between the two bracket pieces if you want. I used pop dots but you can also simply glue everything into place.

5. Use ribbon, O-ring, or twine to put the album together.

4 INCH  x 6 INCH HORIZONTAL PHOTO POCKET ALBUM AND WINDOW ALBUM
LINK TO 4×6 HORIZONTAL PHOTO POCKET ALBUM >>>
LINK TO 4×6 WINDOW PHOTO POCKET ALBUM >>>
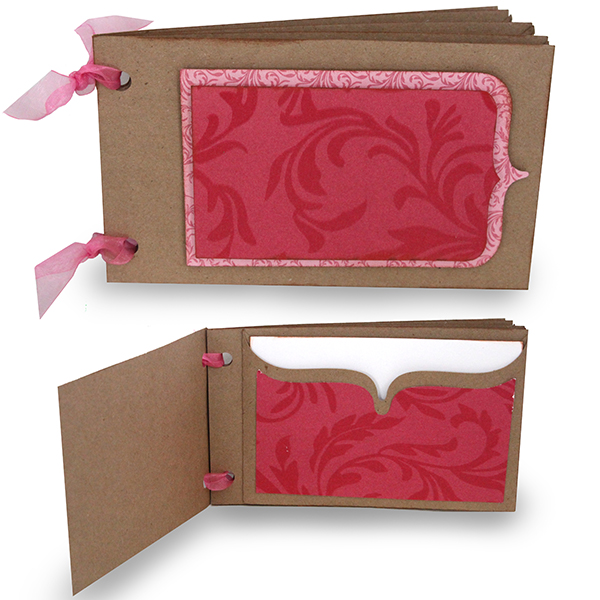
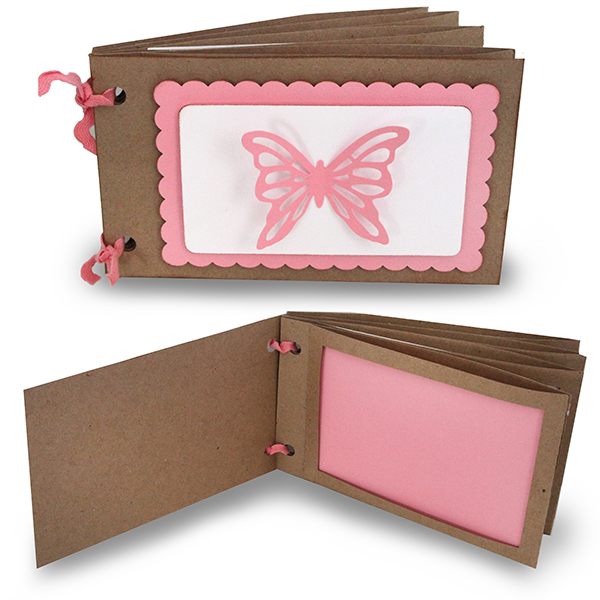
4x6horizontalphotopocketalbum 4x6windowphotopocketalbumThese two albums are meant to fit your 4 x 6 photos and are quick to put together. Because most of us are generally working with 12 inch x 12 inch paper, it was necessary to have a separate pocket piece that you attached to a cover piece to create a “page.” Note that the pockets for the Window Album can be a bit flimsy and I suggest either using heavy stock or cut a piece of transparency or other clear paper to create the window and hold in the photos. I also recommend setting this album under a stack of books once it is glued to make sure the thin areas that create the “window” are study and straight.

These two albums also work together if you wanted some window pockets and some horizontal pockets. So mix and match away!

1. Cut out all the pieces in the svg file. I used kraft paper for all the main pieces and colored paper for the accent pieces. You will need to cut out two cover pages and for each “pocket page” you will need one cover page and one pocket piece.

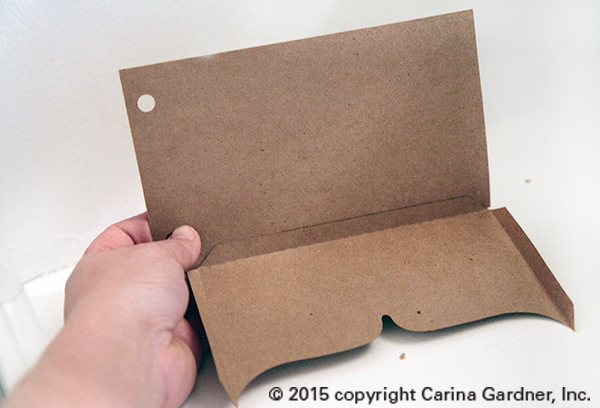
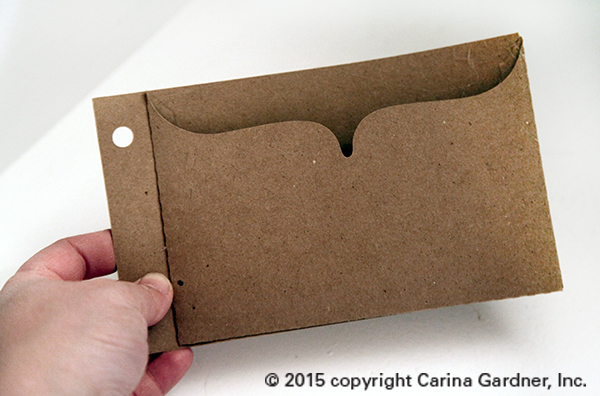
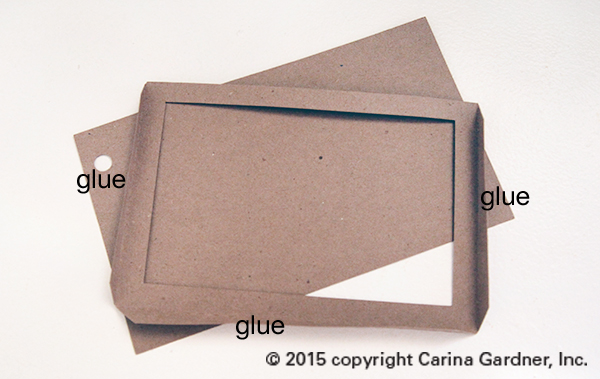
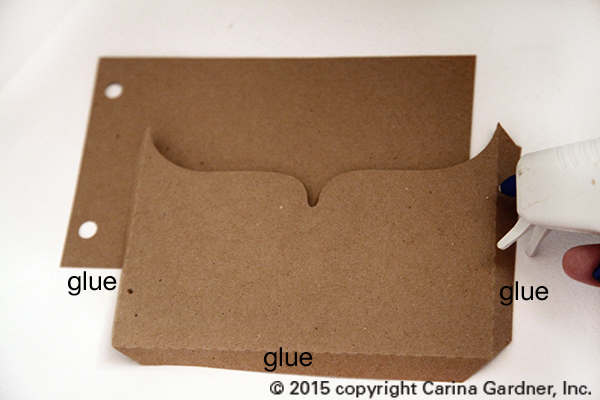
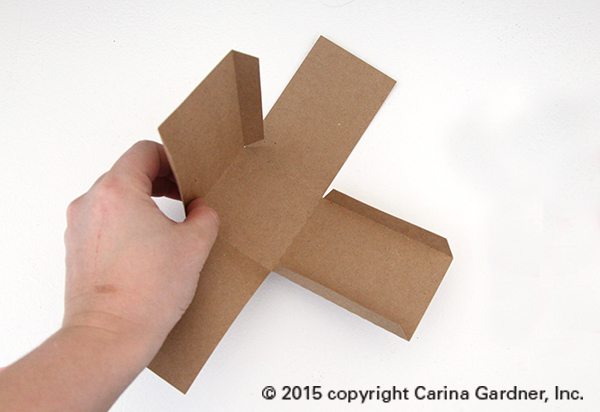
2.  Fold the score lines of the pocket piece. Use glue (hot glue or a photo-friendly adhesive) on each of the glue flaps and create the pocket. There are three flaps that need to be glued (see photos below).

3. Glue the accent paper to the front of the pocket for the Horizontal Album. Add a journaling card (available with the svg file) or a photo.

4. Create the cover by layering the cut outs as shown in the two images.

5. Use ribbon, O-ring, or twine to put the album together.

4X6 Horizontal Album (Glue Flaps)IMG_5555_1_web IMG_5565_1_web
IMG_5559_1_web

4X6 Window Album (Glue Flaps)

IMG_5567_1_web IMG_5572_1_web

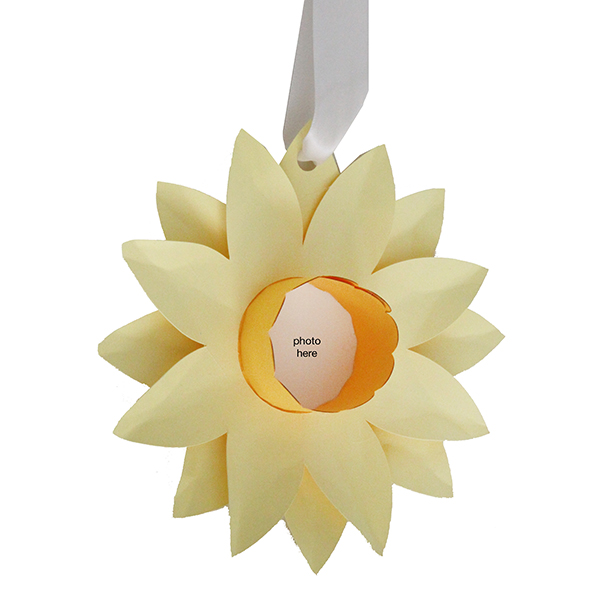
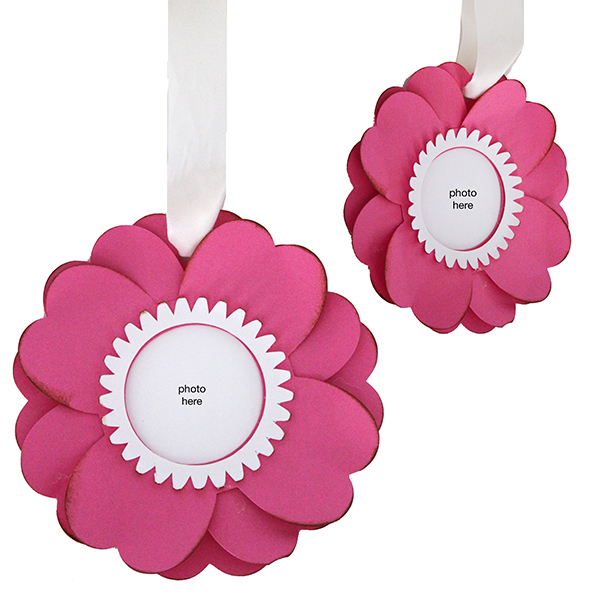
DaffodilOrnamentDAFFODIL FLOWER PHOTO ORNAMENT
LINK TO THIS PROJECT >>>
If you are looking for a cute, quick project, these flower ornaments are so fun. I can see using them for kids projects or fun home decor.

1. Cut out all the pieces in the svg file. This file is only three pieces but if you wanted to layer up the petals more you could.

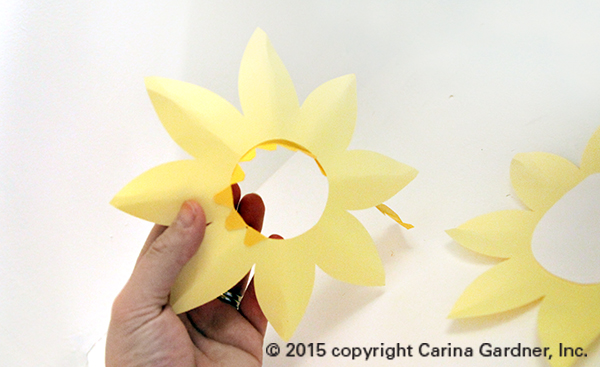
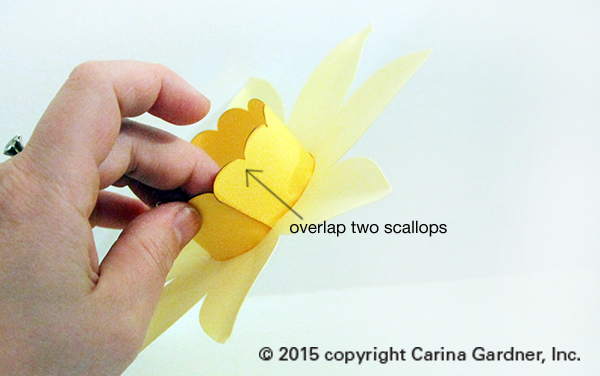
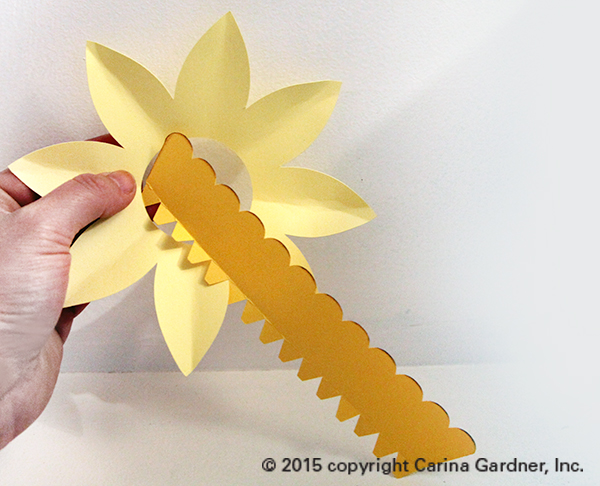
2. Attach the center of the flower (orange) to the yellow petals WITHOUT the ribbon hole, but gluing the tabs to the back of the hole. (See photos below). Two of the “scallops” will overlap once the center is completely done. (See photo below.)

3. Attach a photo between the two yellow petal pieces. Glue the yellow pieces together.

4. Add ribbon or twine to hang.
IMG_5574_1_web IMG_5577_1_web IMG_5579_1_web

SpringtimeFlowerOrnamentSPRINGTIME FLOWER PHOTO ORNAMENT
LINK TO THIS PROJECT >>>
This one is really basic to put together. It also cuts quick on your machine.

1. Cut out all the pieces in the svg file. This file is only four pieces but if you wanted to layer up the petals more you could.

2. Attach a photo to the back flower piece (with the hole for hanging the ornament). Layer and finger press all the petals. Glue them down.

3. Add the short center cut out (shown in white) last.

4. Add ribbon or twine to hang.


Hope you have fun creating these!
—Carina
Silhouette Design Store JOANN Stores

Cute Animal Nesting Boxes for Silhouette

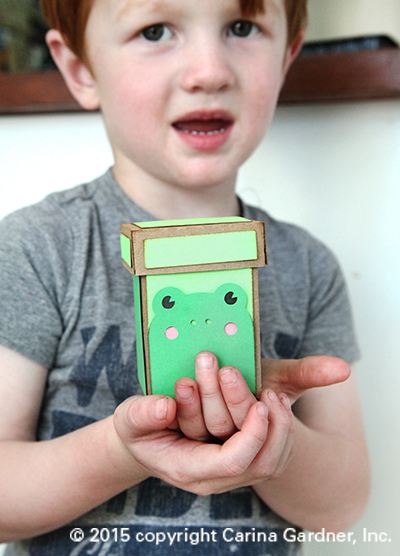
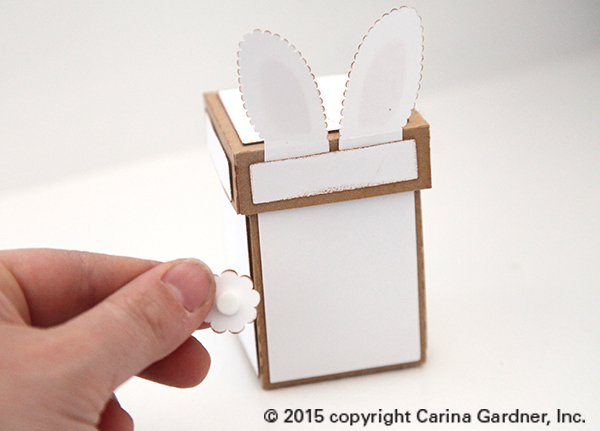
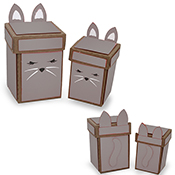
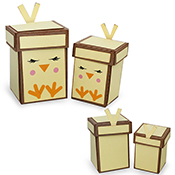
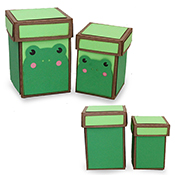
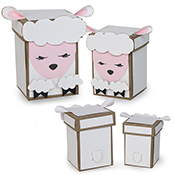
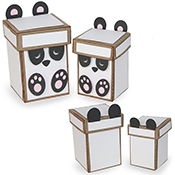
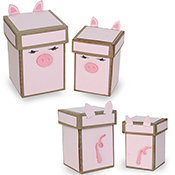
IMG_5153_1_web I know it’s been a lot of Silhouette posts on the blog lately so I promise to have some fabric and scrapbooking posts soon! This week’s releases for Silhouette are these darling little animal nesting boxes and layered gift card tags. Below is the tutorial for putting together these boxes. I create a lot of nesting boxes for my Silhouette Shop and generally they are all put together like the tutorial below.
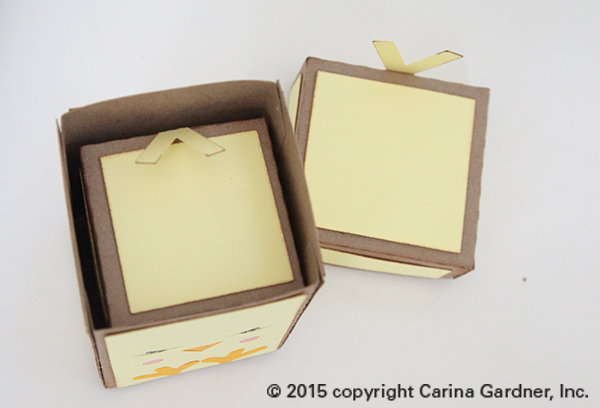
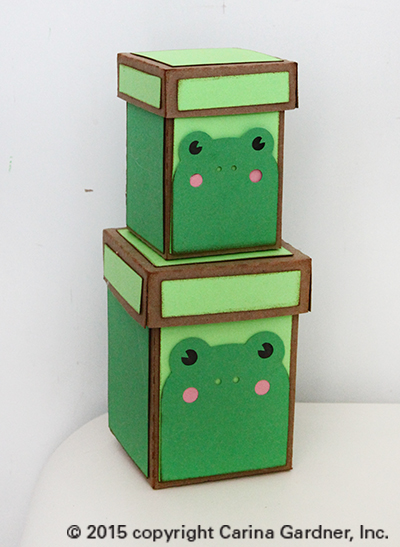
Each svg files set comes with two boxes that nest together (the smaller one fits into the bigger one).

These make darling gifts, easter items, or fun spring decor (filled with candy!) for your home. When I finished making mine, my kids spent quite a bit of time just playing with them and stacking them.

To make these boxes, all you need is kraft paper, solid scrapbooking paper, pop dots (optional), glue (I use a hot glue gun and glue stick), and your cutting machine.

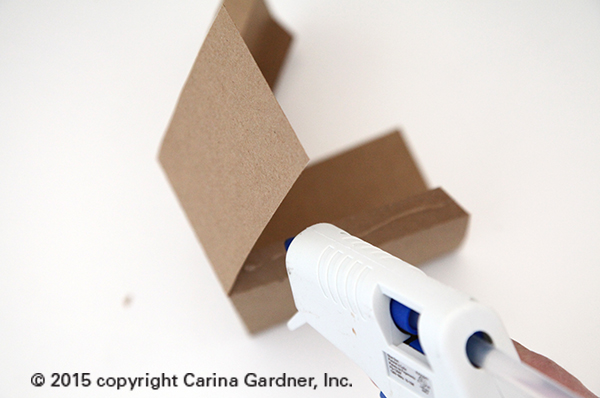
1. Cut out all your pieces on your machine.IMG_5099_1_web

2. Fold all the score lines on the boxes and lids. Put glue on the glue flaps (I used a hot glue gun for this) to put together each box and lid.

IMG_5100_1_web

IMG_5102_1_web

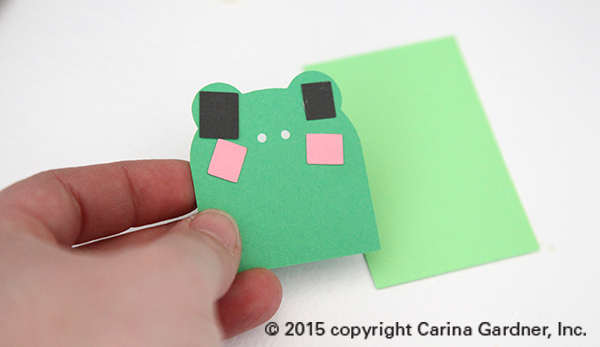
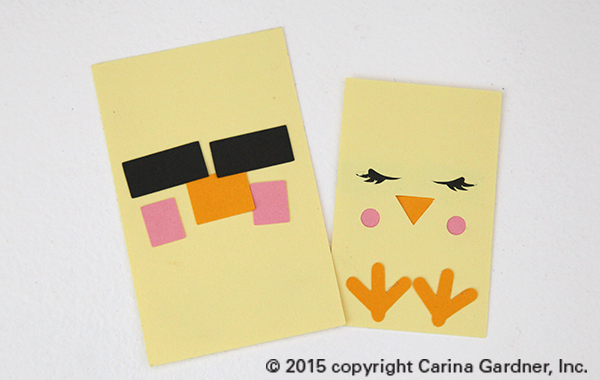
3. Assemble the faces of the animals. Place black squares behind the eyes (all in the svg file), pink behind the cheeks, white behind the whiskers. Use a glue stick for this part. For the frog or any other animal that requires a separate “background”, glue the animal to the background with hot glue. Note: The chick’s feet are placed ON TOP of the face not as the eyes and cheeks are.

IMG_5103_1_webIMG_5104_1_web

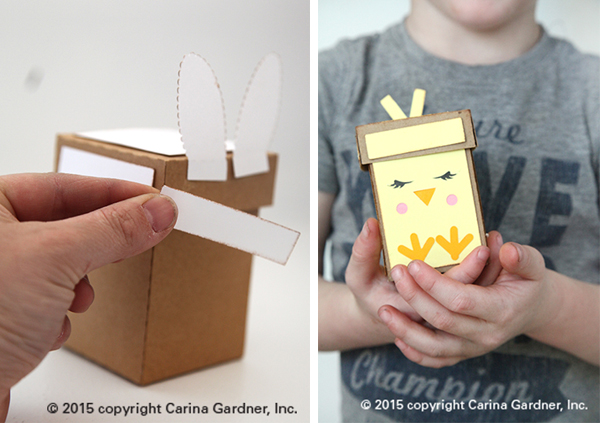
4. Glue the ears or feathers to the top of the lid. Once these are glued on, glue the small strips of paper to the lid to cover the ears and other portions of the lid. Glue the assembled face piece and other accent papers to the box.

IMG_5148_MULTI

5. Add the tail or any other accessories with pop dots or glue.

IMG_5056_1_web

And that’s it! Assembly does take some time but the end result is really darling. Charlie calls each set the ‘baby’ and ‘mommy.’ The animals ‘nest’ together so if you wanted to put a baby bunny in the mommy chick you could. The ears or feather simply fold down (there are score lines) when you place the baby in the mommy.

IMG_5125_1_web

IMG_5112_1_web

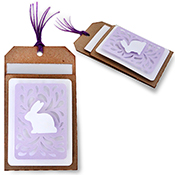
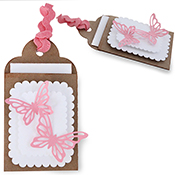
I haven’t included instructions for the layered tags here because there are basic instructions for them in the description (they are simply cut out and adhered together with pop dots or glue).

Hope you are having wonderful spring weather! Craft on!
Carina

(Links will be provided when they become available in the silhouette store on March 30).

____________________________________________________________________________________________

Nesting Animal Boxes

nestingbunnyboxesnestingkittyboxes nestingchickboxes nestingfrogboxesnestinglambboxes nestingpandaboxes nestingpiggyboxes

____________________________________________________________________________________________

Layered Gift Card Tags

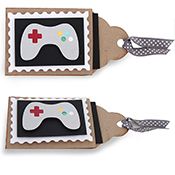
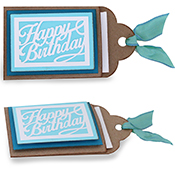
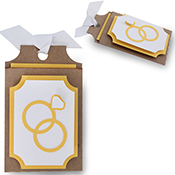
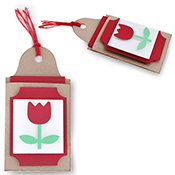
bunnygiftcardtag butterflygiftcardtag gamecontrollergiftcardtag happybirthdaygiftcardtag ringsgiftcardtag tulipgiftcardtag


Silhouette Design Store JOANN Stores

Diecuts 30% off the month of June!

Carina is off on her adventure to China to do press checks on the products for her new company Mini Lou
You can follow her adventures on her Instagram (carinagardner). In the meantime I am taking over the blog while she is away so let’s have some fun!!
Today kicks off our HUGE 30% off diecut sale in the shop. The shop is fully stocked with wonderful goodies. Make sure to hit the NEW DIECUTS section where we have all of Carina’s most current releases from her Silhouette Store.
We are so excited to have Deborah from Craftin Chaos working with us now on our Design Team!  In honor of the big sale Deborah has worked up some fabulous eye candy to get you inspired for the diecut sale!
Here is Deborah to tell you more about her projects:
“My projects were super quick, that being said I am hoping it still will inspire you to create some awesome projects of your own with Carina’s diecut files. I used papers from Carta Bella’s Alphabet Junction for several cards and one I used a digital paper from Carina’s Soaring Summer Paper Set as well as some of Carina’s elements  which are available in her shop at Snap Click Supply.
This first project was super quick to do.  If you have a busy schedule…and who doesn’t, these albums are perfect for capturing the moments you spent with family and friends without devoting the time it takes to create a scrapbook album layout. I love that you can get so many configurations from the pockets giving you so many options.
I used the We R Memory Keepers pockets for mine. The cards are Carina’s My Life 4X6 Travel Card Diecuts and I am loving Carina’s  Garden Picks Set of 5 Diecuts very versatile as you will see two ways I used them.  And you know I made some custom buttons! I used the die cuts from the cards to create a print and cut for the buttons in my silhouette studio


Can you tell where I want to be from my luggage tag?


This  project is one of my favorites. I just love anything with cameras on them or camera related. Instagram is something I just started using recently and I am hooked! I wanted this to be very bold and I love these two colors together. That pop of fuchsia on the front against the bright yellow is just my favorite. I used the Instant Photo Camera Album I added the Flag Shape 17 Diecut  for the sentiment.  I cut a smaller circle for the center to add a fun sentiment to the album.


A nice feature is the slots the file cuts for you to just pop in a cute photo for perfect placement. I added more sentiments to give a little more love to it.

Thanks to Deborah for those awesome projects! We will be featuring more of her creations over the weeks to inspire you.
~Susan


Silhouette Design Store JOANN Stores

So This Is Christmas Cards & Albums

SKcard2
SKcard1I’m pretty horrible about posting all the wonderful things happening at Carta Bella. I guess I just assume that you check into our amazing blog to see what the designers have been creating. I hope you had a chance to check out our October release Wildflower, which is ever so modern and fresh! This month we released my Homemade with Love which is a nostalgic baking/cooking/in-the-kitchen collection. And as always, we are in the midst of preparation for the Winter Show. I think you will love!

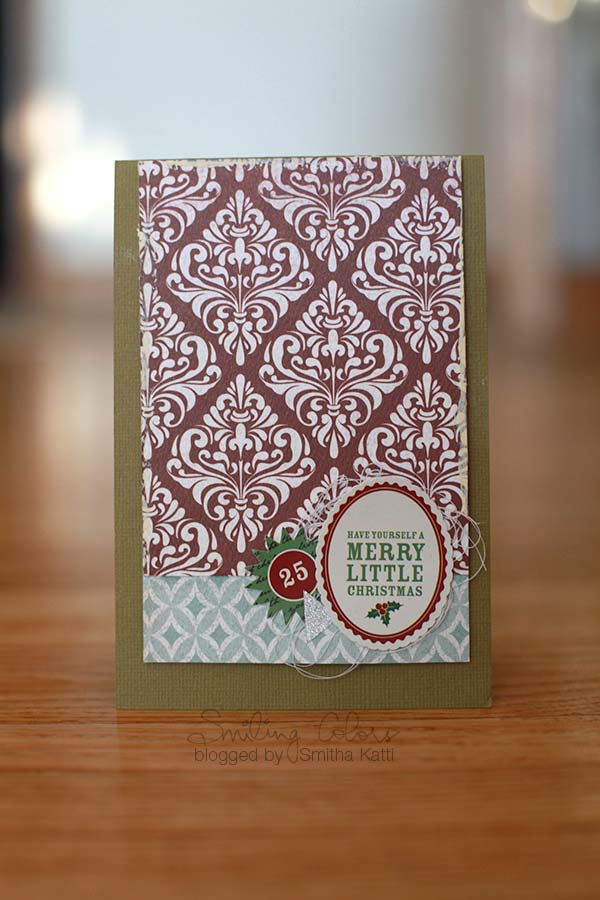
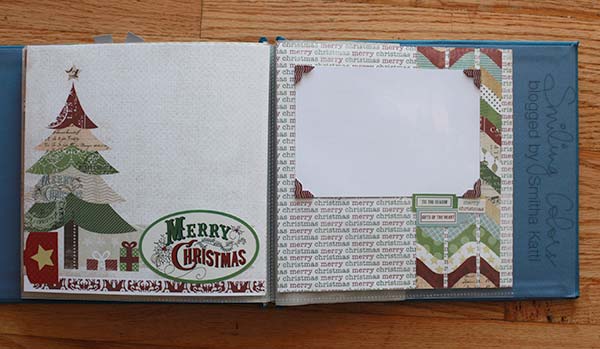
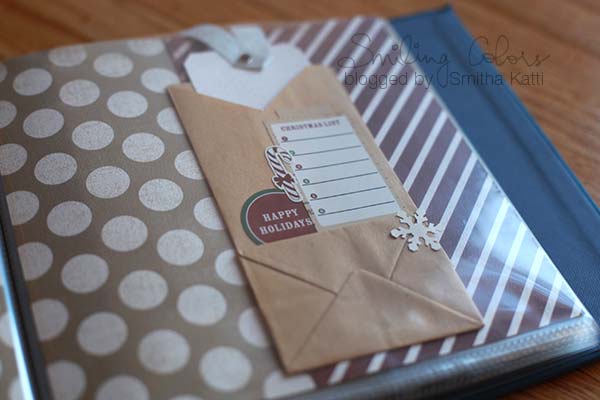
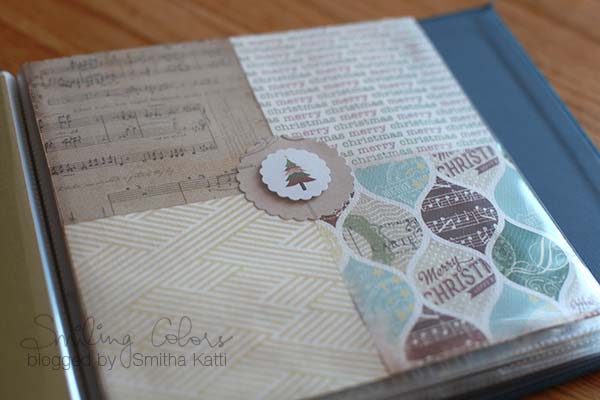
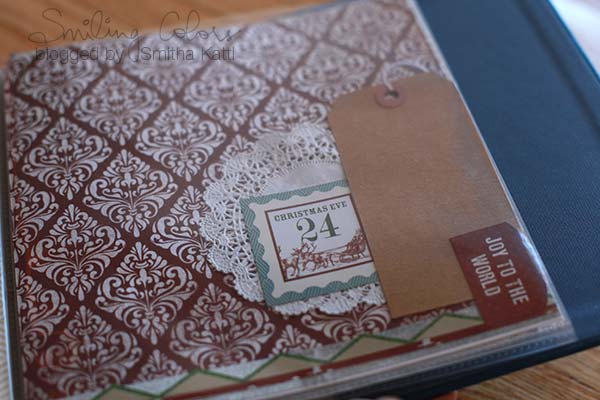
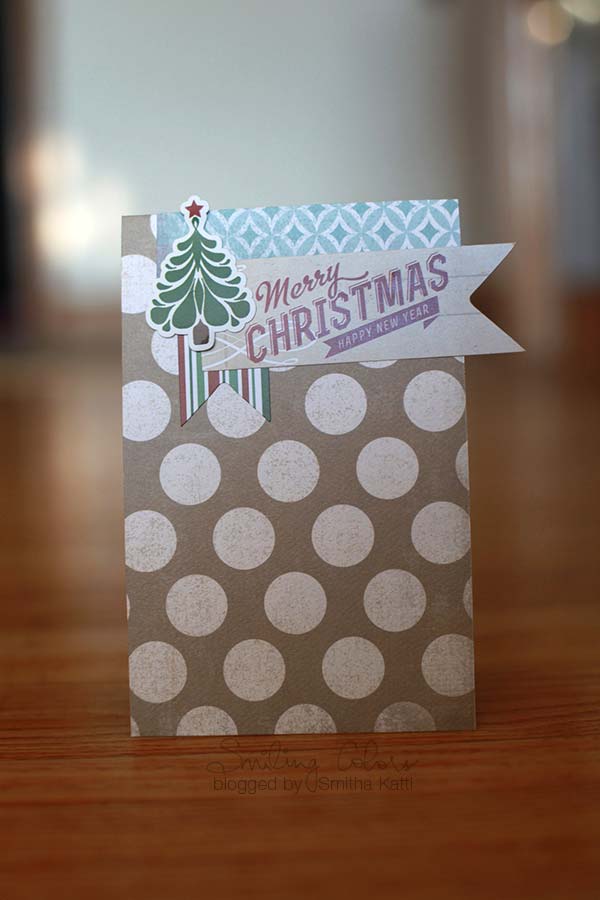
In honor of Christmas (just around the bend), the lovely Smitha Katti of Smiling Colors blog put together some gorgeous projects using my So This is Christmas Collection that I’ve been dying to show you.

Enjoy the eye candy here and just because I can’t help but be completely out of order (wink, wink), I’ll show you what I projects I’ve been putting together for Thanksgiving tomorrow!

All holiday-jumbled-up,

Carina

SK20page10

SK10page3deets

SK13page5deets

SK19page9deets


Silhouette Design Store JOANN Stores

Episode 8: How to Use Sewable Interfacing with your Silhouette Machine

With all the new fabric files hitting my Silhouette Shop, I thought it would be helpful for you to see how I sew with the Sewable Interfacing. I show you a couple of my tricks for sewing with the stuff and how I set up my mat. Enjoy! -Carina

Silhouette Design Store JOANN Stores

The Crafting Chicks Strike Again!

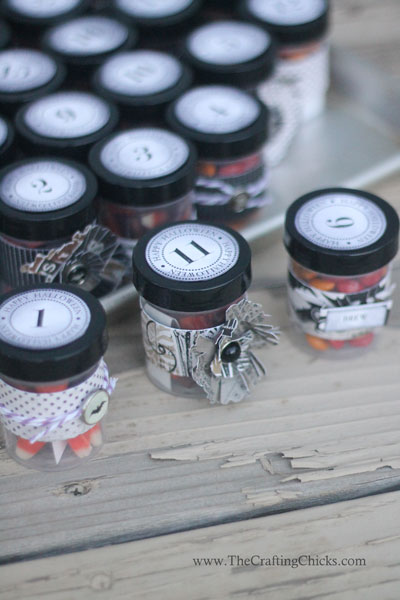
halloween-advent2I met the Crafting Chicks just this last month at Fabric Fest. Talk about a darling group of ladies! I loved the camaraderie they had with each other and the energy they have for new projects! I wouldn’t mind capturing a bit of that energy and bottling it for a deadline (wink, wink…).

If you’ve been on their site recently, you’ll notice a myriad of awesome projects. That includes a darling printable, some easy Halloween decor, and a shout out from Becky who did my Halloween Advent class. Click on the photo to the right (image from craftingchicks.com) to see Becky’s take on the project.

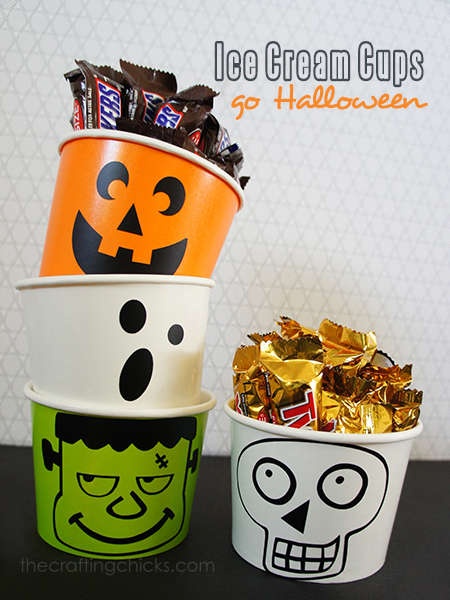
While you are over there, be sure and also check out Nikkala’s Halloween Ice Cream Cups. That background wallpaper sure does look familiar…

I have all sorts of plans of getting my own house spookarific (and I’m sure I will be using some of the Crafting Chicks cute ideas). Unfortunately, things have been a little hectic between the new Deseret Book deadlines, the Carta Bella Winter Show lineup, and all the renovating we are doing on the glamper. I do have an update for you on the glamper, but it will have to wait until tomorrow.

SONY DSCTonight I need to finish out my spring release of dishware at DB. Which reminds me…I have a lot of lovely announcements about new products from me from DB coming up here in the next three weeks. If you get your catalog in the mail, be sure and check out the bracelets, canvas art, and new Christmas dishware. More on that soon…

Carina


Silhouette Design Store JOANN Stores

How to Make A Fabric Flower

In honor of the Create and Make Class beginning NEXT week, I have a little treat for you! Siri and I made a quick little video showing you how to sew together one of the little flowers from the Little Playdate Outfit and Little Love Nest Ruffle Dress Sewing Patterns. It’s a fun video and I think you’ll love how simple the flowers are to make! Enjoy! Carina

Silhouette Design Store JOANN Stores

Evening Blooms Fabric Collection

IMG_2922_web

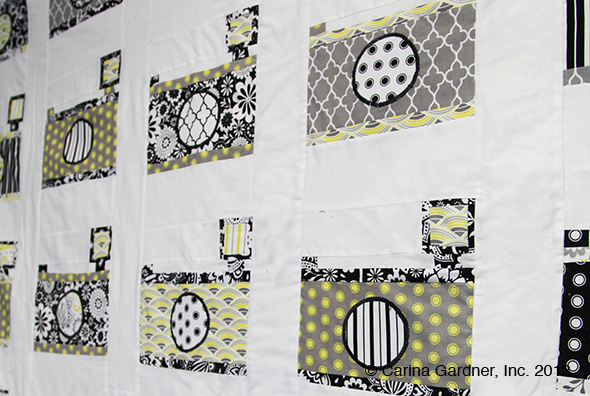
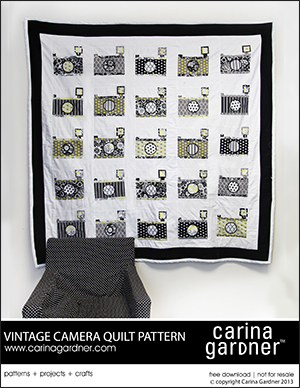
carinagardner2013_cameraquilt_webI just got back from CHA yesterday and am hoping to have photos up of all the scrapbooking goodness up sometime next week. In the meantime, I am so excited to announce that Evening Blooms™ has now hit quilt shops! This is my first black and white line. I also threw in a fun gray and yellow colorway to mix it up a little.

To top it off, I have a free quilt pattern for you! I was inspired by the colorways to create a vintage camera quilt pattern. You can grab the instructions, yardage information, and pattern from the shop here. This pattern is for intermediate quilters (there are a lot of tiny pieces).

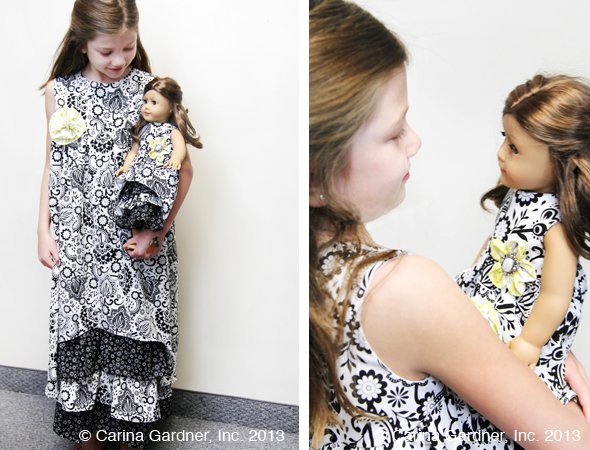
I should have more projects to show you with this fabric line because I am making many of the patterns for Fabric Fest (sneaking up on me!). Below you can see my Siri-girl dressed up in the Love Nest Ruffle Dress with her look-alike doll in the Little Love Nest Ruffle Dress. It’s always refreshing to see the patterns in new fabric!

IMG_2847_web

As always, I have a lookbook for you for this fabric line. Check it out here: https://carinagardner.com/fabric/evening-blooms-fabric/

Carina


Silhouette Design Store JOANN Stores

Photoshoot: Take 1

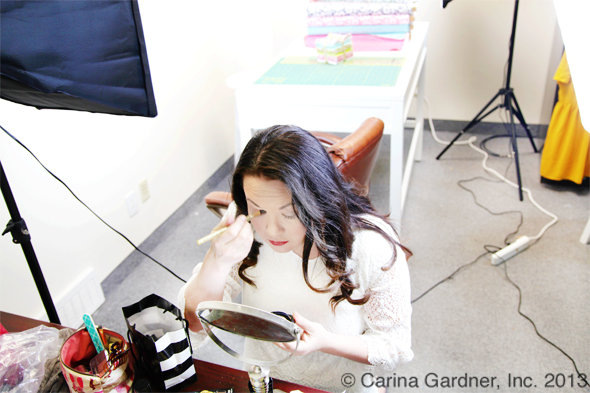
If you have ever wanted to see behind-the-scenes of a CG Photoshoot, look no further than the makeup strewn desk and light cords in the photo above. Things are down to the wire with the new website. We will be spending the coming week trying to finish up photoshoots for all the products. I’m hoping this is the only shoot that involves me and I can be behind the camera for everything else.

I can’t tell you how excited I am for the new site! Fingers crossed we can make it happen. When I look at the week and I see every second filled in, I tell myself to breathe and take it one day at a time.

More pictures to follow!

Carina

PS. Today’s the last day to get entered into the So Noted giveaway on Facebook. Make sure to enter by leaving a comment!


Silhouette Design Store JOANN Stores

Episode 4 All Hallow’s Eve Decor Video

I know it’s only August, but this Halloween video is meant to get you excited about the approaching season. I love fall and adore Halloween. With school starting next week (eek!), fall is just around the corner. I know there’s a lot of sentimentality about new beginnings and freshly sharpened pencils when school starts, but I actually feel that fresh starts CAN happen in the fall. I probably feel it more so this year than others since baby boy will be coming to us the day after school begins (7 days and counting!).

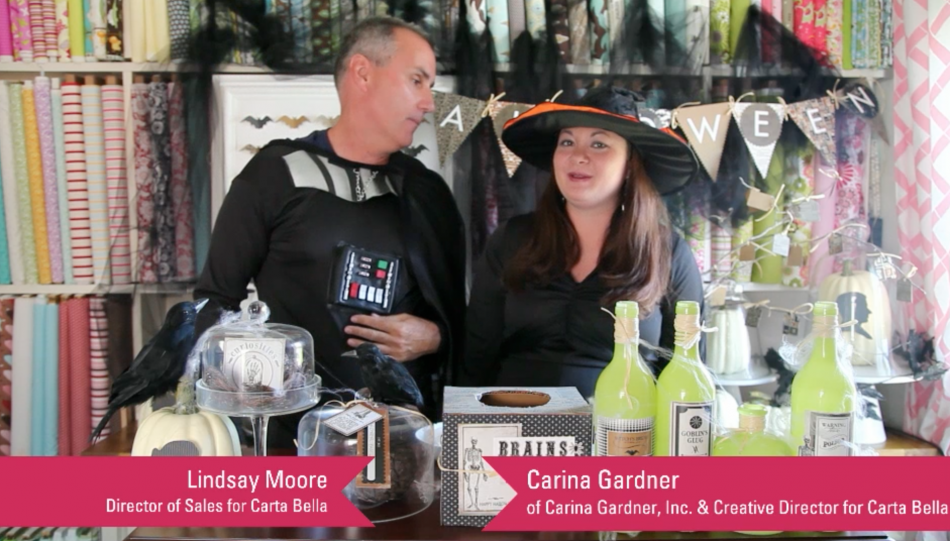
Lindsay Moore, Sales Director for Carta Bella joins me in my studio to introduce the All Hallow’s Eve line. We show you how easy it is to make home decor crafts from this line (Most of it is either just “cut out” and display or “stick” and display!)

We obviously have a good time, and you’ll definitely want to enter to win our Hot-Off-The-Press Giveaway.

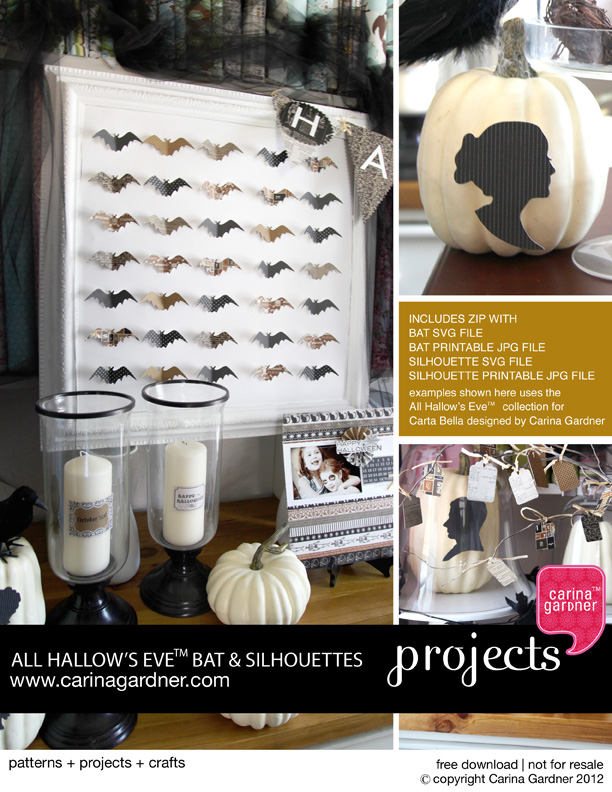
As promised, I also have silhouette files and jpgs of the silhouettes and bats I mention in the video. Download them here: All Hallow’s Eve Projects.

If you are looking for the Bat Wreath I mention in the video, you can find it here: Bat Wreath Post

And finally, here is the video of Lindsay and me dressed up and having a good time:

Silhouette Design Store JOANN Stores

Carina Gardner TV Channel—Episode 2 Paris Girl

I just finished editing Episode 2 for the new CG TV Channel. Today’s episode features guest Lindsay Moore, who is the Director of Sales at Carta Bella Paper. I hope you’ll check out because we show off the Paris Girl Collection for Carta Bella Paper Company and making this darling card (see left).

Watching this video, you’ll see why I love working with Lindsay. He keeps me on my toes and has me laughing through the entire thing (and BTW, So You Think You Can Dance IS better than America Idol…just saying, Lindsay).

We also continue our Hot-Off-The-Press Giveaway. Check it out and see what you have to do to be entered!

As promised, here are the dimensions of the card for your scrapbooking pleasure!

* Main Envelope—5 inch x 12 inch (fold)
* Contrasting Paper—4 inch x 5 inch
* Insert—4 inch x 5 1/2 inch
* Ribbon—3 inches of a satin or grosgrain

Enjoy! —Carina

Silhouette Design Store JOANN Stores

Carina Gardner TV Channel—Free Download and Giveaway

I’m excited to introduce to you a series of videos straight from my studio! Introducing CG TV! I originally got the idea for doing the videos because I wanted to show tutorials on my sewing patterns. The idea eventually was expanded to include all the things I do here in the studio—paper, fabric, digital, hybrid, classes, sewing patterns, as well as projects, interviews, giveaways, and introduction into new designs.

So here it is—Episode 1! I’m excited that my first video introduces the Beautiful Moments™ Collection for Carta Bella Paper. You get a sneak peek into my studio where I film the videos and get to see me grow around the middle every month to boot!

As a kick off to the new videos, there is an awesome new giveaway in this video—so be sure to check it out! The winner will be announced on the Carta Bella Facebook Page on Monday, June 4, 2012.

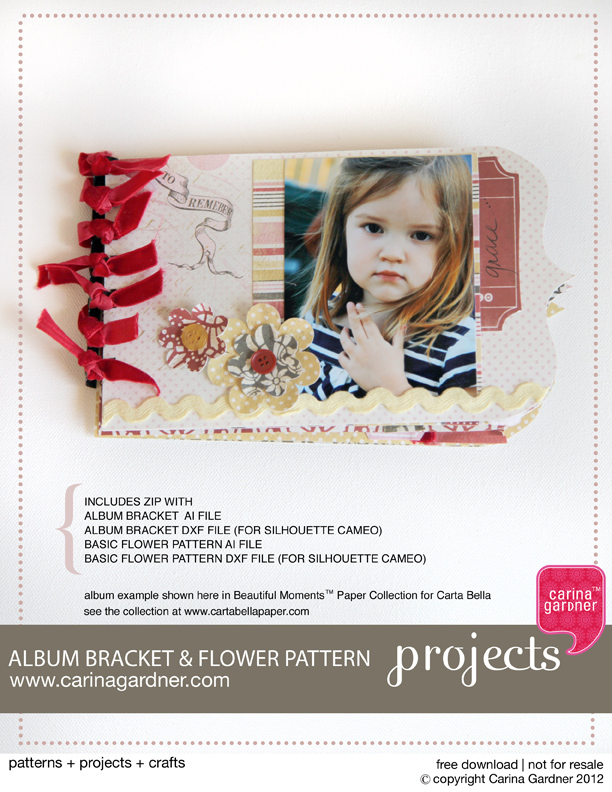
As promised, here is the free download of the album bracket and flowers I show in the video. I’ve included the following in this zip:

ALBUM BRACKET  AI FILE
ALBUM BRACKET DXF FILE (FOR SILHOUETTE CAMEO)
ALBUM BRACKET JPG FILE
BASIC FLOWER PATTERN AI FILE
BASIC FLOWER PATTERN DXF FILE (FOR SILHOUETTE CAMEO)
BASIC FLOWER PATTERN  JPG FILE

Sadly, this project download DOES NOT include instructions for making the album shown here. It simply includes all the fun templates for you to create an album like this one.
Enjoy!

Carina

Silhouette Design Store JOANN Stores

CHA January 2012 Review

Get ready for an image-heavy post! Lots and lots of eye-candy! Here we go!

I really didn’t even plan on going to CHA until the last minute with Designer Workshop being just around the bend. So I was in-and-out in a jiffy (I flew in Saturday morning and left Monday bright and early). However, I still managed to take a plethera a photos. This is easily the longest post I’ve ever done. I tried really hard to tell you whose booth I took the photo at so that you can go check out their new products. So much fabulous stuff at this show!
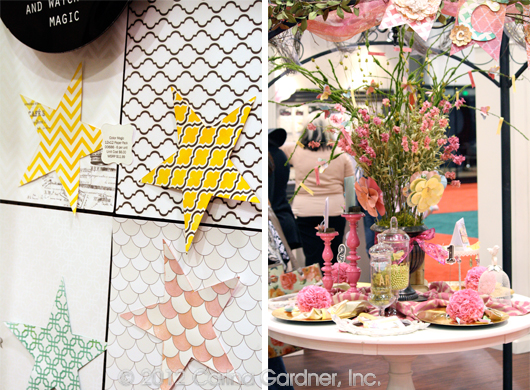
I know some of you are going to ask, so here it is…there are NO products from me at this show. That’s right. But don’t worry. I’ll let you in on the fun in just a few short months.

I spent a good portion of the weekend hanging on with fellow Riley Blake designer Samantha Walker. Love Samantha and love her design work. She has stuff at Creative Imaginations and Spellbinders.

n

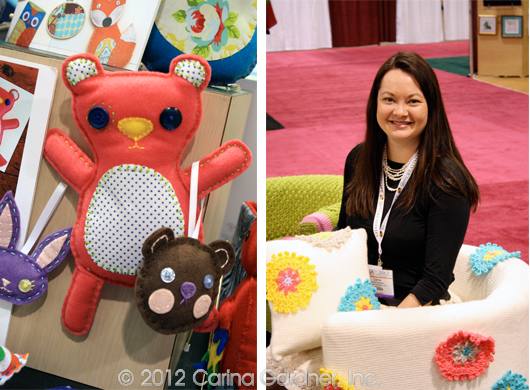
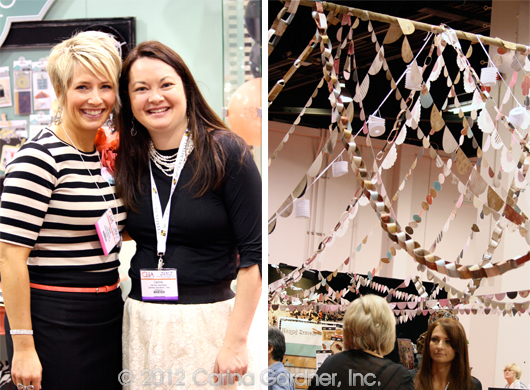
Here’s me happily Hanging out at the Waverly booth of crocheted chairs. We managed to read AFTER I took the picture that you weren’t suppose to sit the chairs. Oops. Sorry Waverly.  The felt bear, monsters (photo below), and puppets (photo 2 below) are from the Kunin Group.

I failed to grab the name of the yarn company that had this adorable crocheted animal photo.

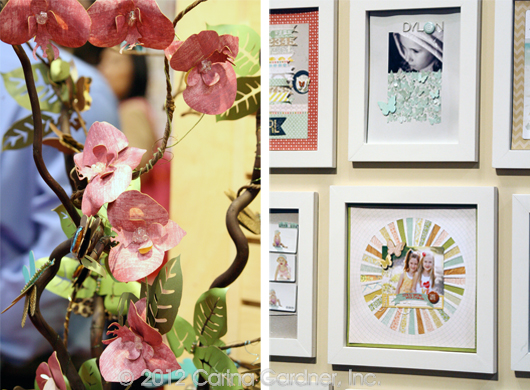
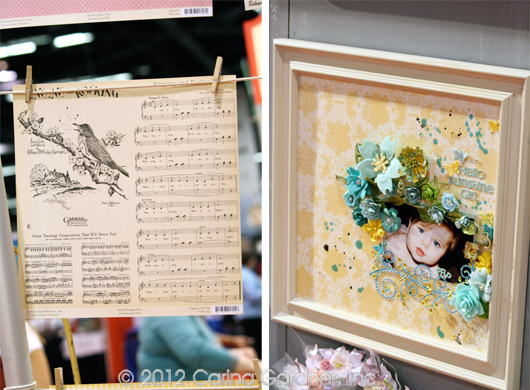
Once again, I dropped the ball on both of these. I usually take a photo of the company logo right after the image but I can’t find any such photo for these two. The paper flowers are gorgeous and I love the white frames and layouts!

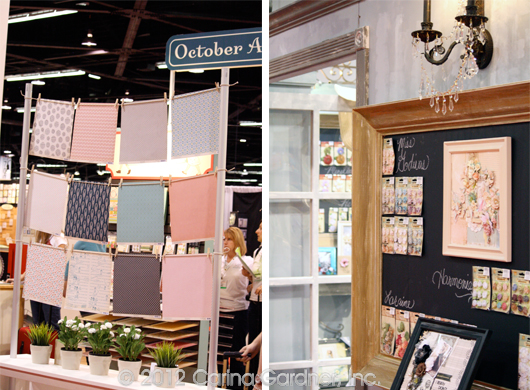
October Afternoon and some Prima.

This is Lori Whitlock, who designs for Echo Park and Riley Blake. It was a blast to finally meet her in person.

Here’s Laurie’s new line This and That. Totally adorable!

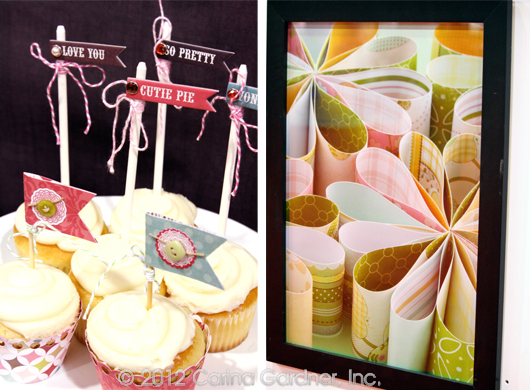
The cupcakes were from Echo Park and the photo of paper flowers from Making Memories.

Lots and lots of accordion flowers at this show.

Paper chains adorned Glitz Design’s booth.

More from Glitz Design and then a fun photo of Heidi Swapp and me.

I can’t rave enough about how awesome Heidi’s products are. I love the embellishments especially the newspaper-y banner pieces. These folders and papers can be colored any color and they have the pattern color resistant. It makes for some amazing layouts.

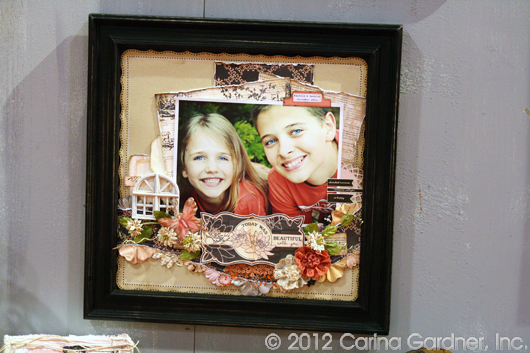
Like this one (love!).

More of Heidi’s products below and a gorgeous table set up by Pink Paislee.

This was the funniest thing I saw at the show. And of course I can’t remember the name of the company. These are CHAIR SOCKS! Aren’t they hysterical?

Sei had some awesome displays.

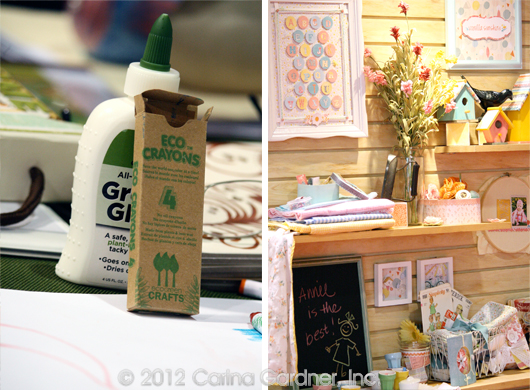
More Sei and crayons & glue from a cool company EcoGreen Crafts. I was really impressed with their kid-friendly products.

Adornit created this darling banner…

and accordion flowers.

I was loving this from Maya Road….wooden spools! I just bought a jar from an antiques shop but I need more for my tradeshow booth at Quilt Market. This may be a way to supplement!

I believe this is Tim Holtz.

More October Afternoon (paper and cute jars below).

Prima

I have so many pictures from this booth but have no idea what company it is. But examples were fabulous!

More accordion flowers. I thought this one was clever though with the use of several papers.

This was Tim Holtz but for a different brand.

DCWV had great paper trees.

This is from Paper Quilt Creations. I thought the concept was really cute.

A little Anna Griffin.

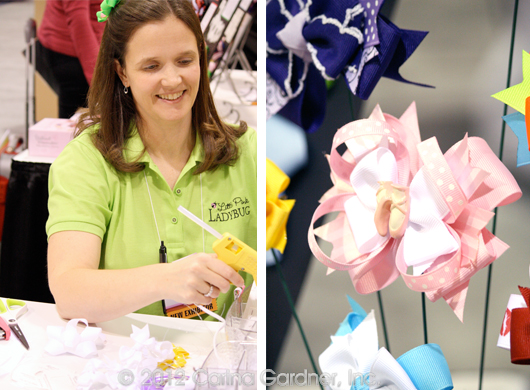
I loved this company—Little Pink Ladybug. They make bow templates that were seriously so impressive! other than being an ultra nice company, I thought the product was pretty amazing. Check them out if you get a chance!

The bird paper is from October Afternoon (love!) and the layout came from somewhere near that booth:).

And that’s all I’ve got! Putting together the blogpost felt longer than the actual time I spent in California. Hope you enjoyed and sorry if you fell in love with a product that I managed to forget who made. A girl can only do so much when surrounded by such awesomeness.

Hope you have a crafty day! Carina


Silhouette Design Store JOANN Stores

Quilted Pillows Using Dainty Blossoms

If you haven’t had a chance to check out the Cutting Corner, you are really missing out. It’s a blog sponsored by Riley Blake Designs with all sorts of free tutorials and patterns. I just found this darling pillow tutorial using my Dainty Blossoms™ fabric line and had to share.

I myself have yet to make it down to the warehouse to pick up my bolts of this new line. I know that it is currently being shipped to stores. Have you seen it yet?

I know I’ve been a bit MIA this January, but ’tis the season for sickness. My family can’t seem to get healthy. So much has gone to the wayside as Flissa has been fighting a week-long fever that also involves strep. We’ve never seen anything this bad and ended up in the ER one night with her. Turns out she is just a kid that can run high fevers (107 degrees!—ya, we were freaked out.). Hoping that everyone starts feeling better before I head out to CHA this weekend…and here’s to hoping I don’t catch anything either!

Silhouette Design Store JOANN Stores

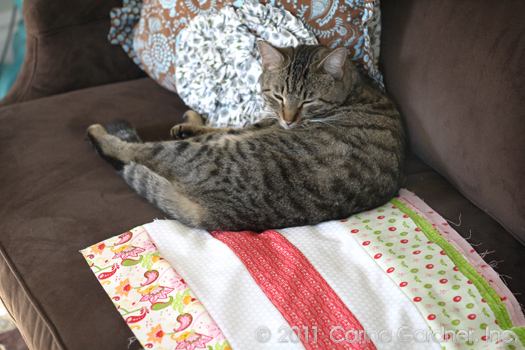
Quilting, Er, Napping Cat

Rosy and I agree about many things.

Sleeping is good. Eating is good. Snuggling is good. Back scratches are really, really good.

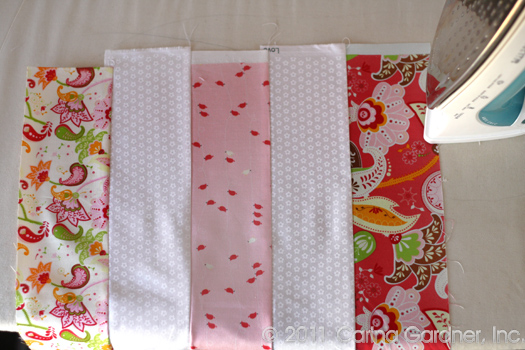
Where we disagree is our take on quilting (and oh! the contention!). Rosy believes half-finished blocks are perfect for napping on. I, personally, like to see the quilt get finished before it is napped on.

I guess we have to disagree about something.

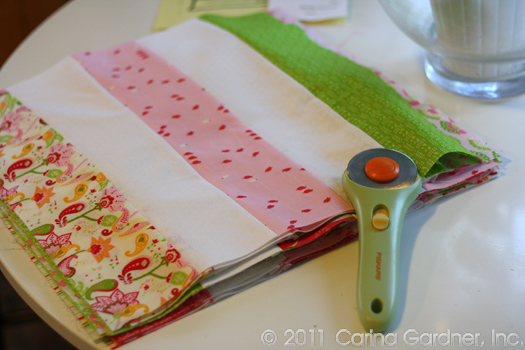
Quilt sent to machine quilter…check.

House completely wrecked…check.

Half packed for Vegas…check.

Siri has new glasses right in time for picture day…check (will show off soon!)

Ready to fall into bed…check!

Silhouette Design Store JOANN Stores