Turn Your 2024 Christmas Cash into Creativity!
Merry Christmas, fellow designers, makers, crafters, and creators! The tree is twinkling, the stockings are stuffed, and now it’s time to treat yourself to something that will keep the creativity alive all year long. Got some Christmas cash burning a hole in your pocket? We’ve got the perfect way to spend it—on YOU and your passion for design, crafting, and creativity! Turn your 2024 Christmas cash into creativity!

Ultimate Creativity Pass
Ready to elevate your creative game in 2025? The Ultimate Creativity Pass is your golden ticket to four incredible virtual events, featuring over 100 presentations from Carina Gardner and other top-notch experts. Whether you’re into design, crafting, or creative business strategies, this pass has everything you need to level up your skills.
What’s included:
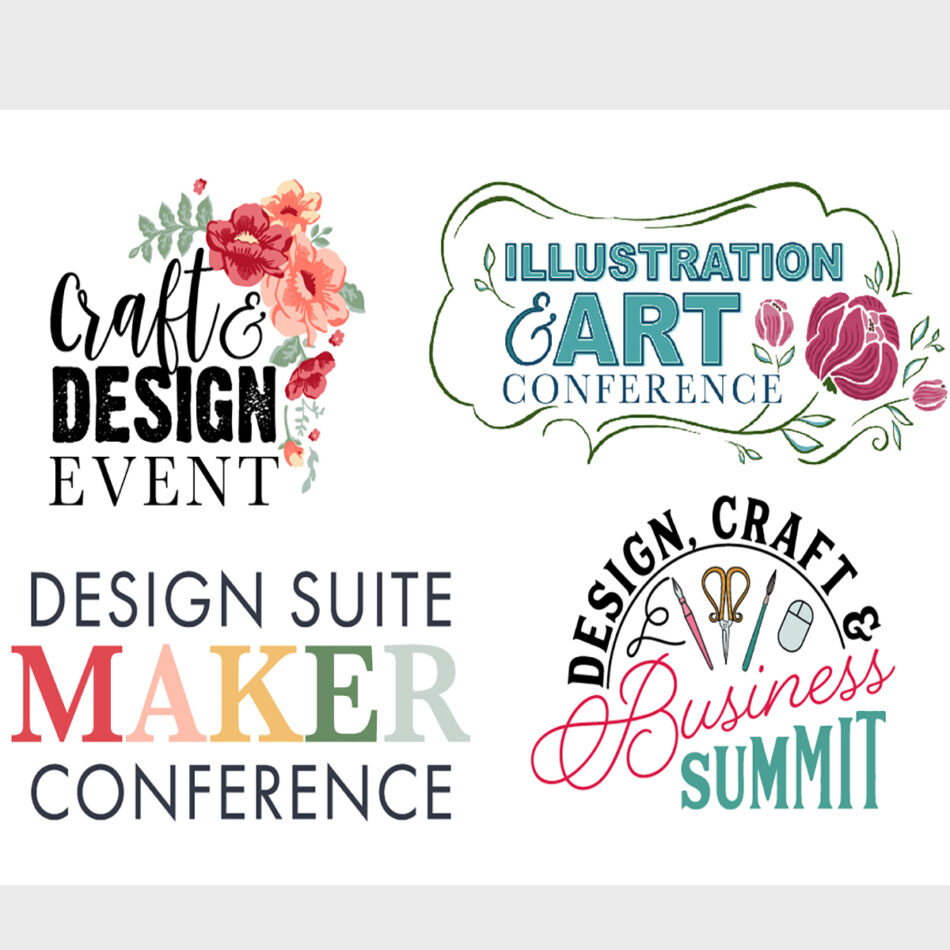
- All Access Pass to the 2024 Illustration and Art Conference
- All Access Pass to the 2024 Craft and Design Event
- All Access Pass to the 2024 Design Suite Maker Conference
- All Access Pass to the 2024 Design, Craft, and Business Summit
Start the new year with a bang by unlocking endless inspiration and practical tips to fuel your projects. Whether you’re a hobbyist or a pro, this bundle will take your crafting to a whole new level.
Get yours here today: Ultimate Creativity Pass
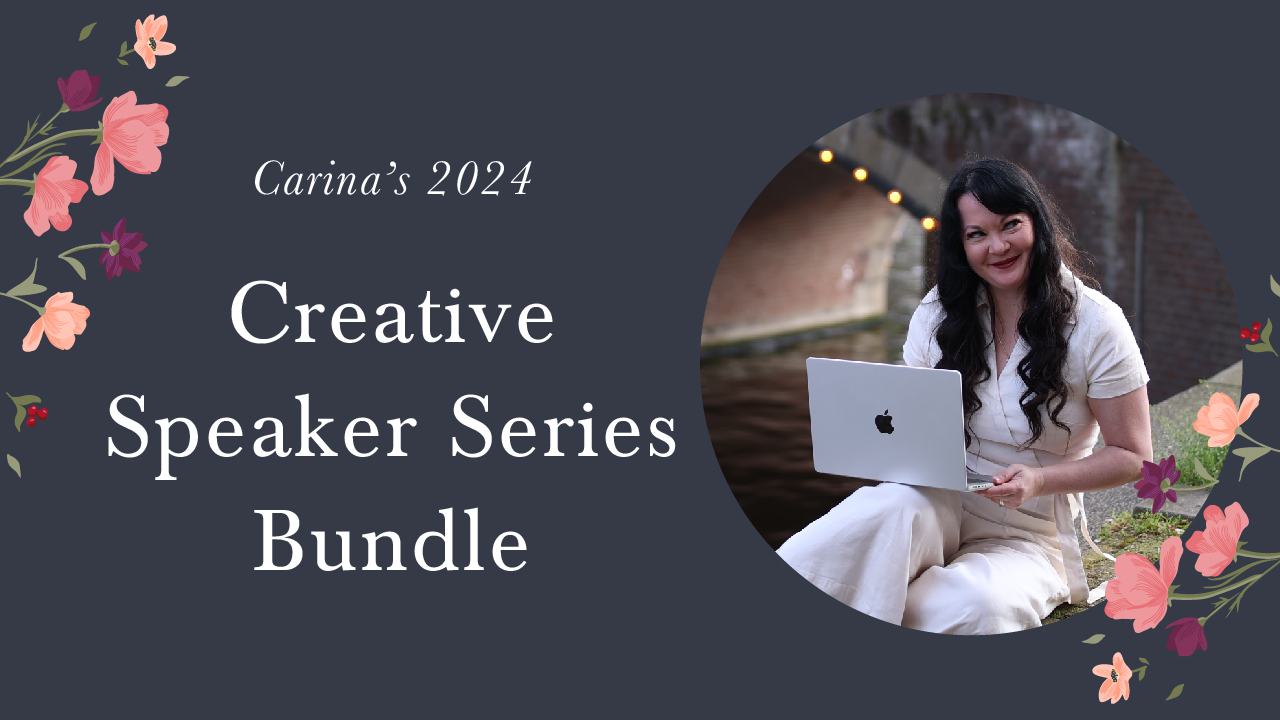
Carina’s 2024 Creative Speaker Series Bundle
For those who love Carina’s teaching (and let’s be real, who doesn’t?), the 2024 Creative Speaker Series Bundle is a must-have! This collection of 10 presentations showcases Carina’s top talks from 2024, brimming with creative inspiration, practical advice, and entrepreneurial wisdom to help grow your business or hobby.
Dive into design strategies, entrepreneurship insights, and exclusive tips from Carina herself. This isn’t just a series—it’s a creative journey you don’t want to miss!
Enroll here today: 2024 Creative Speaker Series Bundle
Illustrator Unlocked
Always wanted to master Adobe Illustrator? Now’s your chance with Illustrator Unlocked, the perfect course for beginners or anyone looking to sharpen their skills. With tutorials under 12 minutes each, it’s easy to fit into your holiday season (and beyond). Soon, you’ll be designing like a pro!
You can register here: Illustrator Unlocked
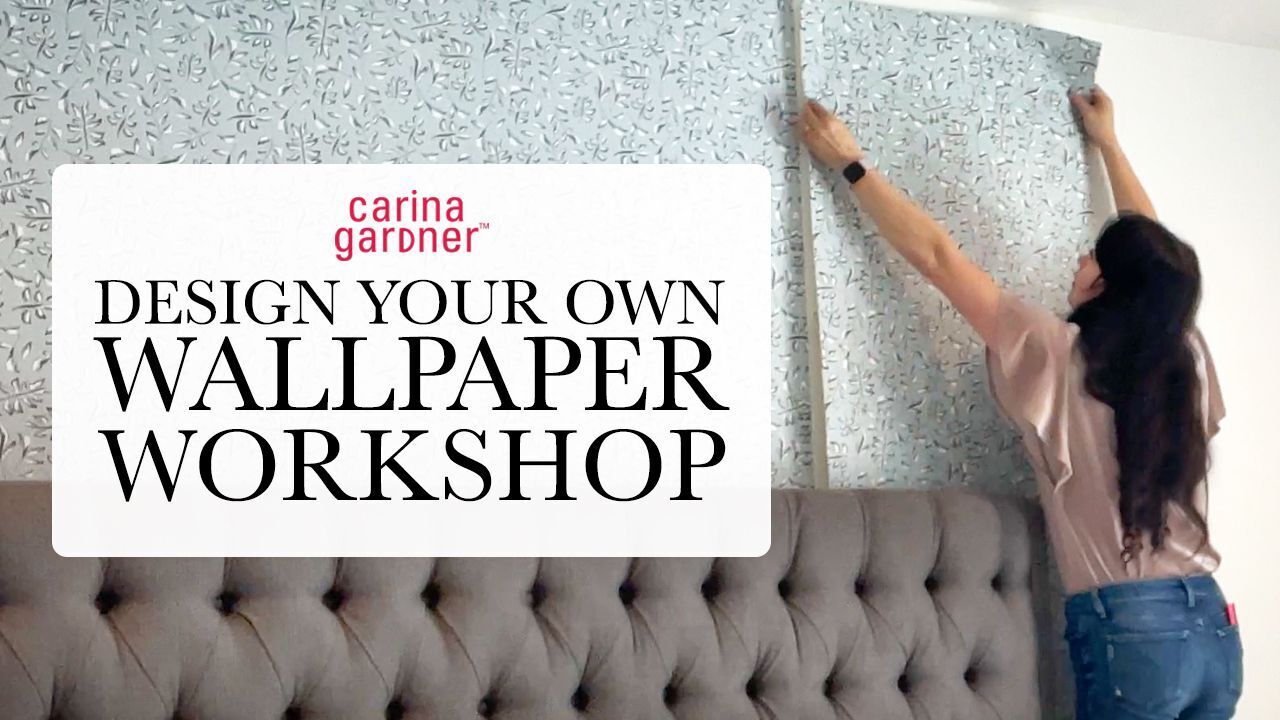
4 Workshops That Pack a Punch
Looking for a shorter, but equally inspiring, creative boost? Our 2024 workshops are designed to deliver three hours of action-packed learning and fun in each session. Whether you’re into planning, die cuts, stickers, or wallpapers, we’ve got you covered. Here’s what’s on the menu:
Planner Workshop: Plan, design, and organize your creative projects like a pro!
Register for the Planner Workshop
Die Cut Workshop: Master the art of creating intricate and beautiful die cuts cards for any occasion.
Register for the Die Cut Workshop
Sticker Spark Workshop: Make your sticker designs pop with unique ideas and techniques.
Register for the Sticker Spark Workshop
Wallpaper Workshop: Design eye-catching wallpapers that will transform any space into a masterpiece.
Register for the Wallpaper Workshop
There’s no better time to invest in yourself! Turn your 2024 Christmas cash into creativity and kick off 2025 with fresh inspiration, new skills and endless possibilities!
Turn Your 2024 Christmas Cash into Creativity! Read More »


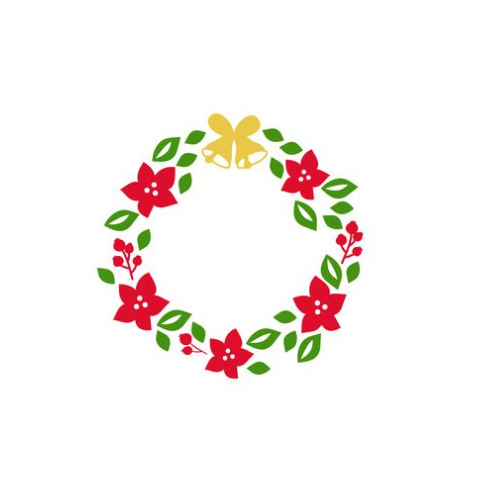

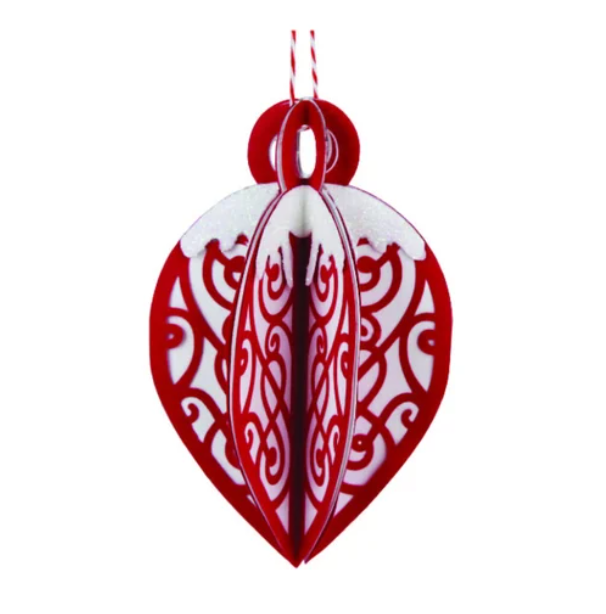
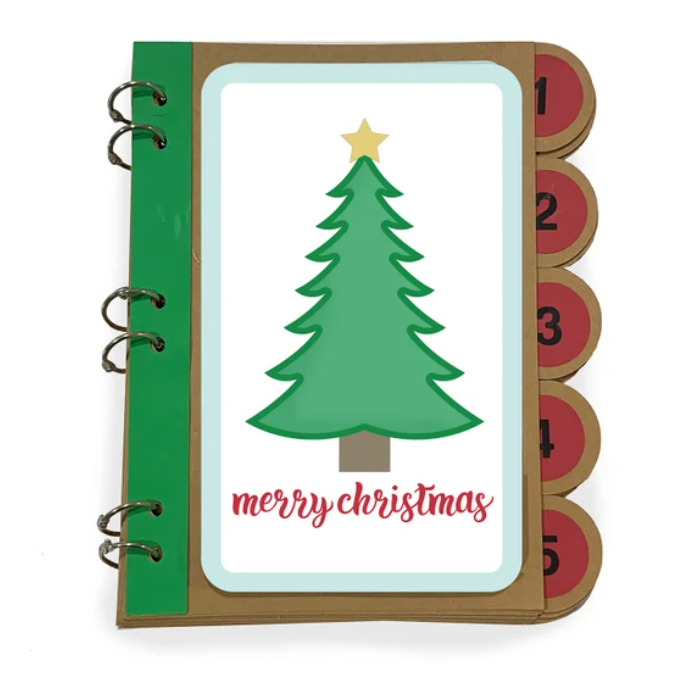
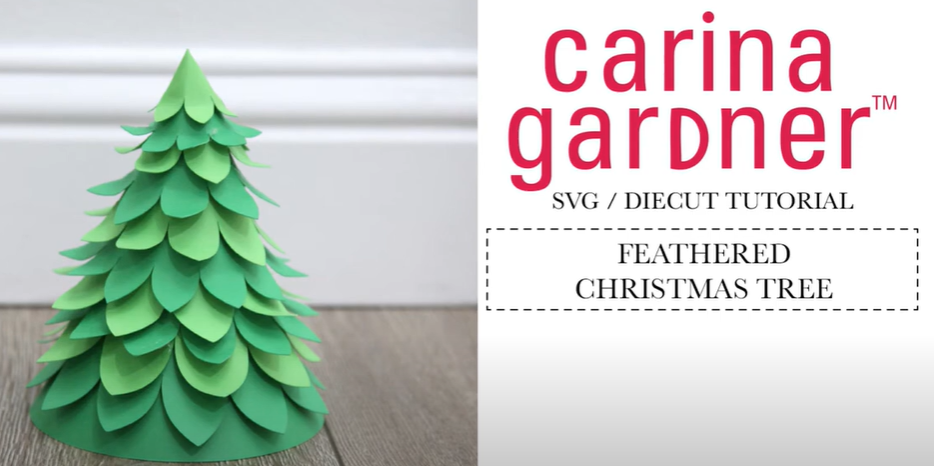

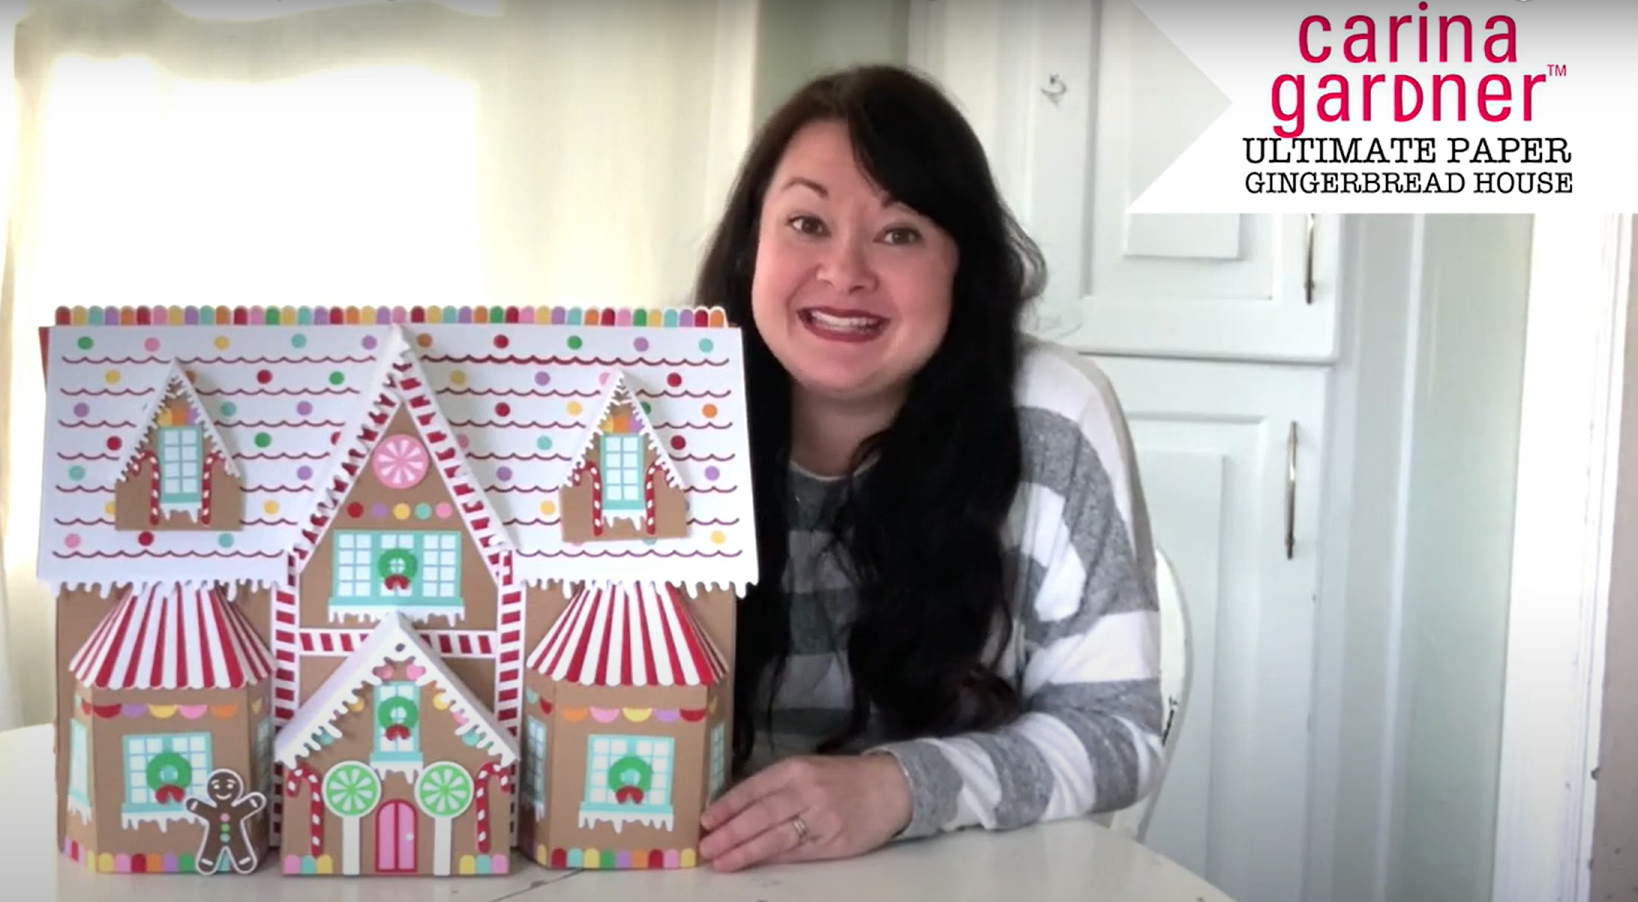


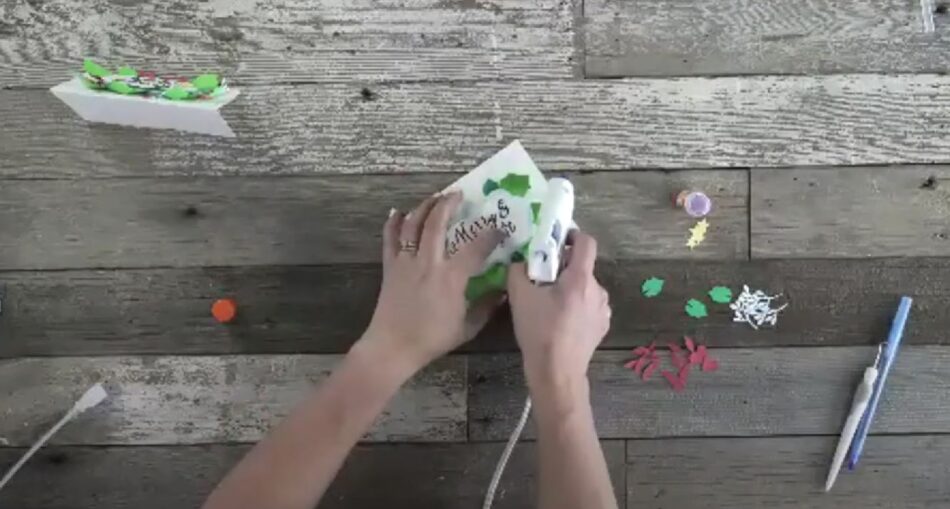
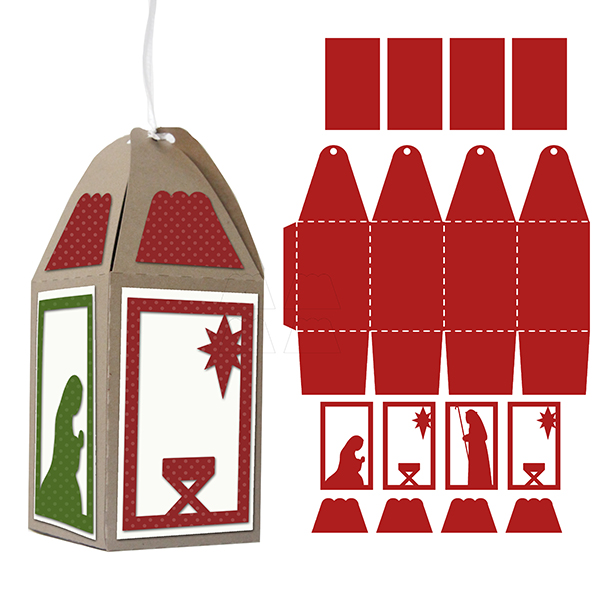
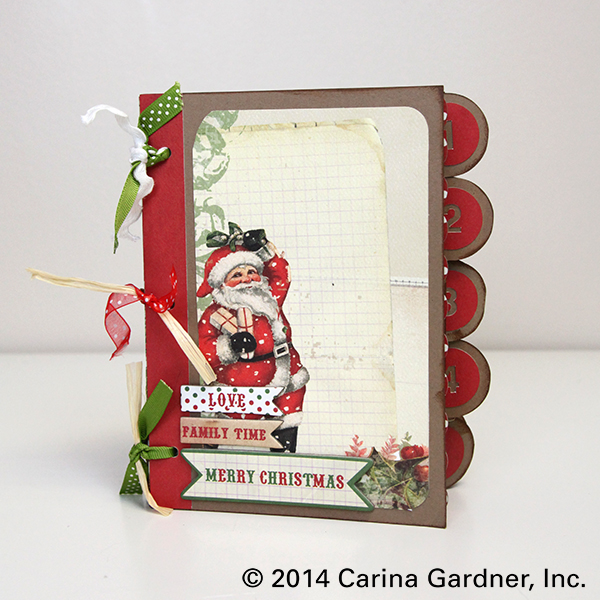
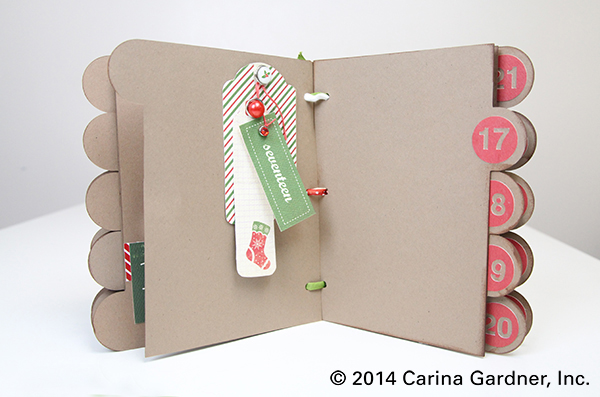
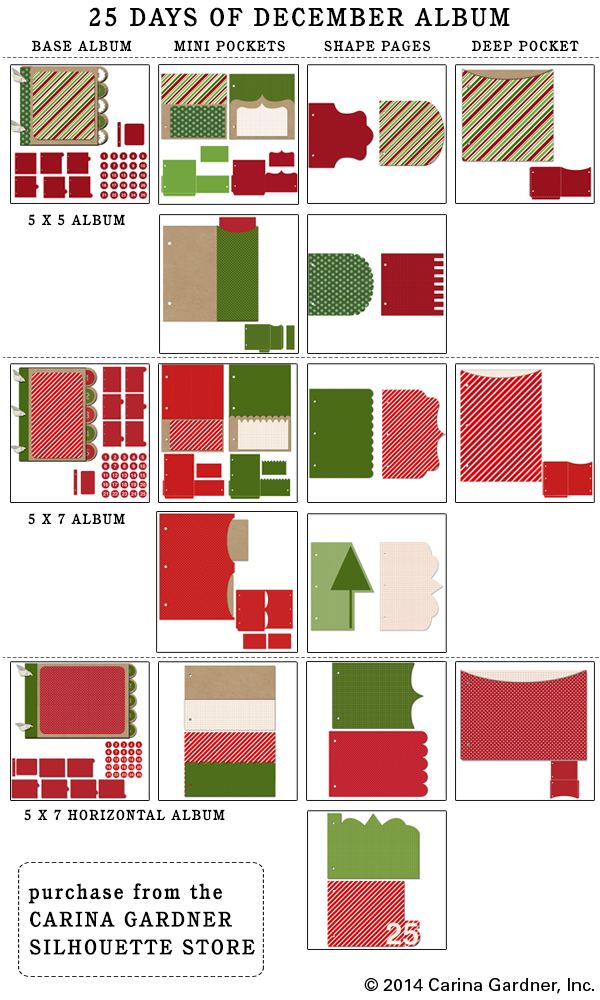
 I’m excited to show you what’s new in my shop! This new video is part of this week’s new releases. You can visit my new products here:
 I’m excited to show you what’s new in my shop! This new video is part of this week’s new releases. You can visit my new products here:

 \
\
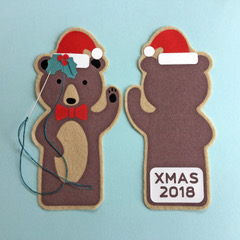
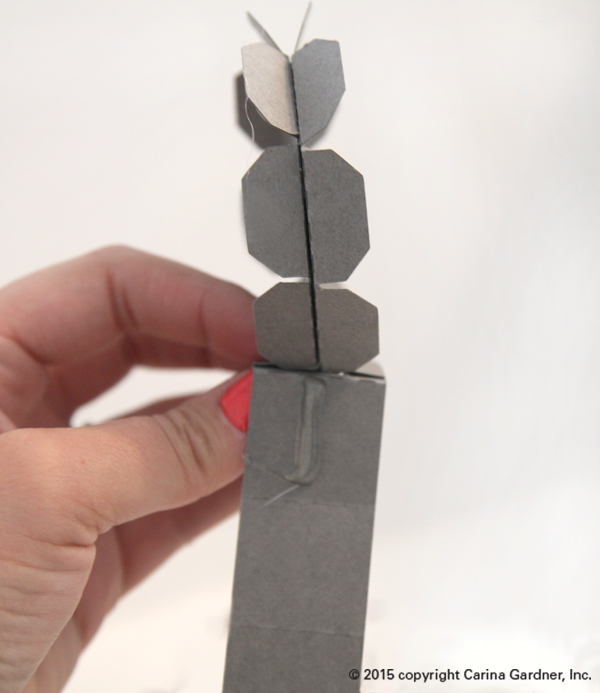
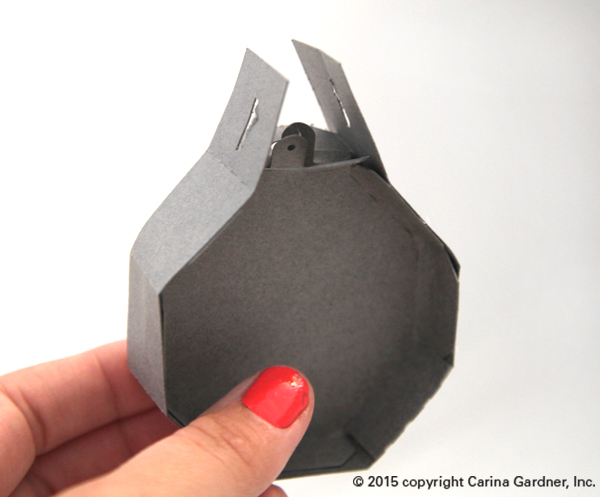
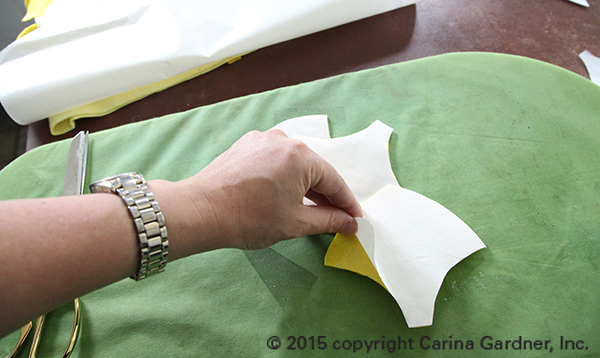
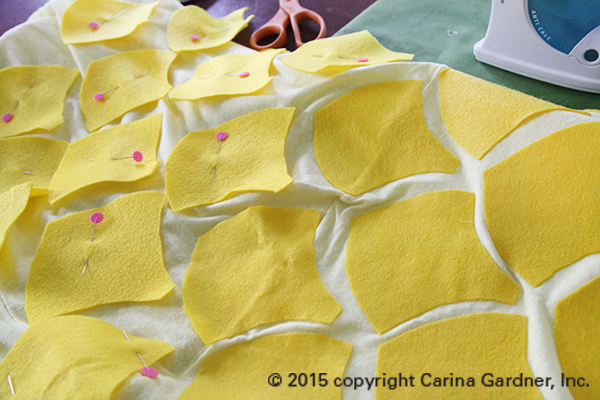
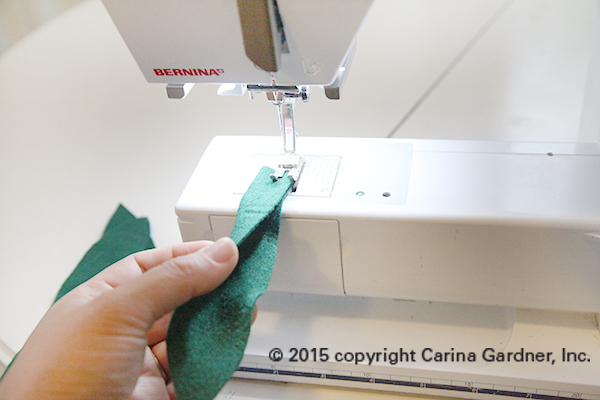
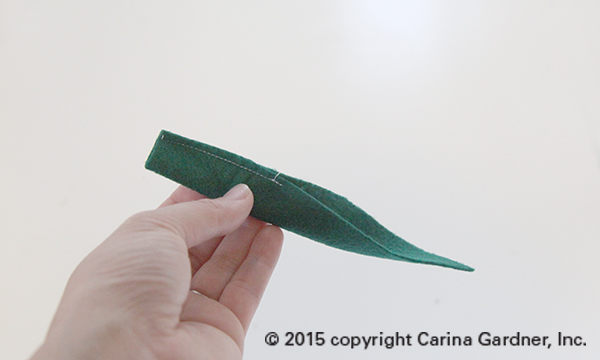
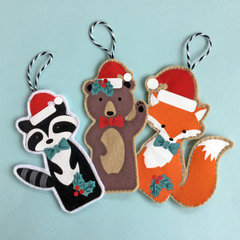 I love making Christmas decorations that can be used year after year, adding to our collection of family heirloom decor. These finger puppet files are intended to be made from paper, but with the simple addition of an offset, and omission of the finger holes, each cute creature can be cut from felt and flock heat transfer vinyl to make lasting tree ornaments. The fox, bear and racoon have been decorated with Christmas accessories taken from the dingbat file shown (letters e,x and z) and cut from fuzzy textured heat transfer. Once the decorations have been fused and the figures padded with a little wadding, they have been sewn by hand to make them perfect for decorating our holiday tree.

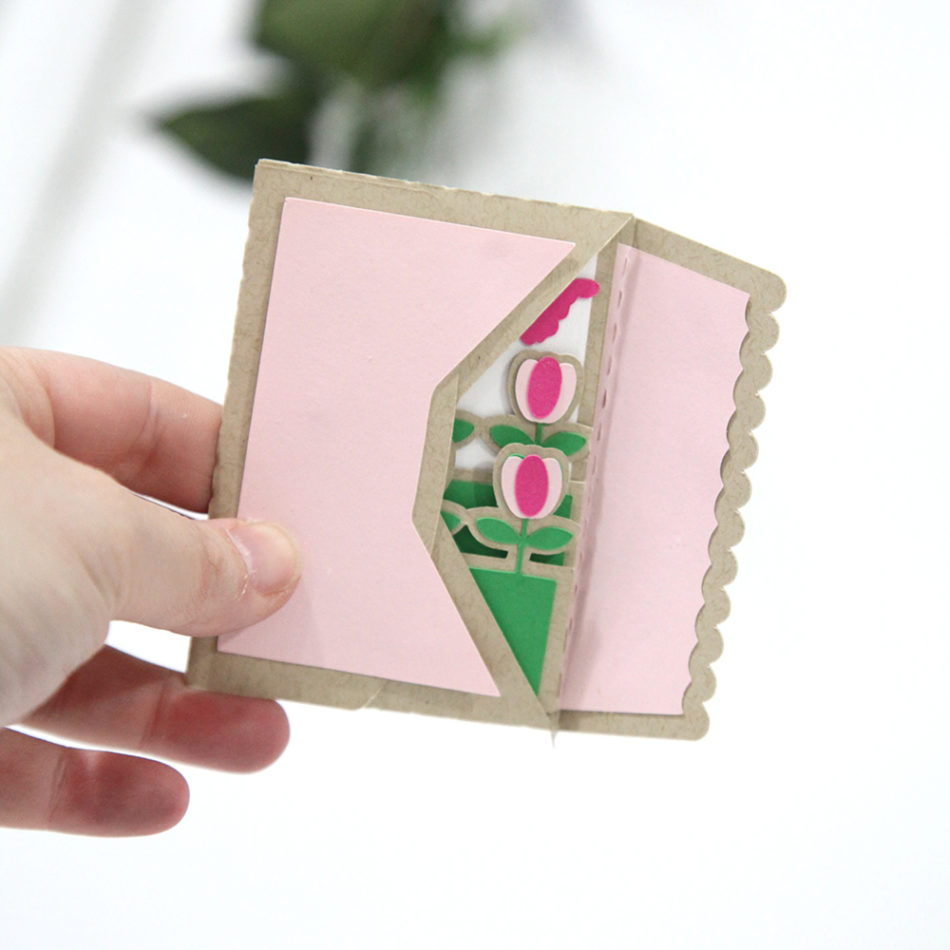 If you get one of each (layered card or accordion card + an envelope), you will find that it’s a very nice tight fit. Don’t use pop dots because the card will not fit. I may have an envelope come out that allows for a thicker card (tell me on
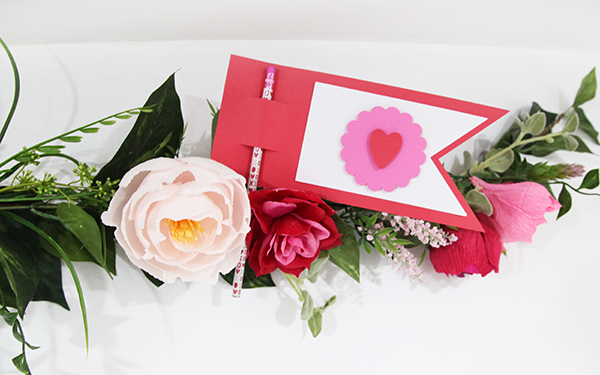
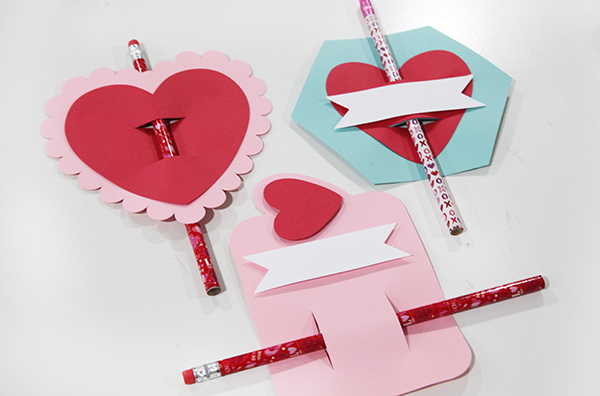
 This week is the last one I’ll be releasing Valentine’s so I’m going out with a bang! I also decided to double dip. These pencil cards are not only my final Valentine’s release but are also Felicity’s class gifts. She’s going to write on each of them, and I’m sure we’ll add a few quotes like “I’m write for you.”
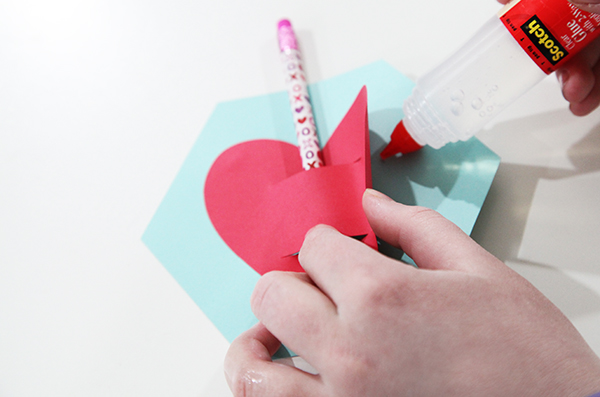
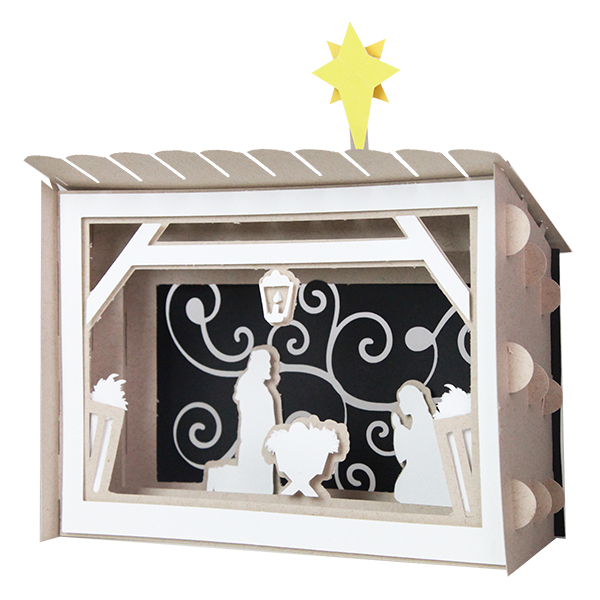

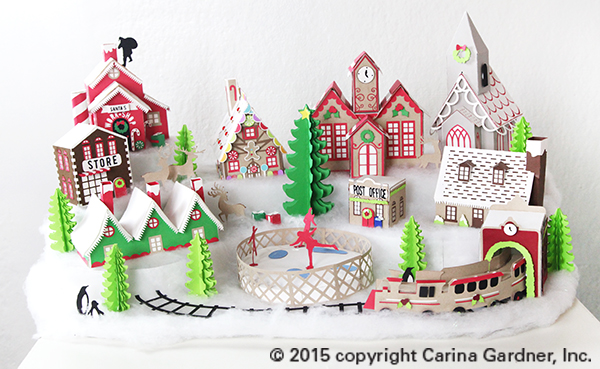
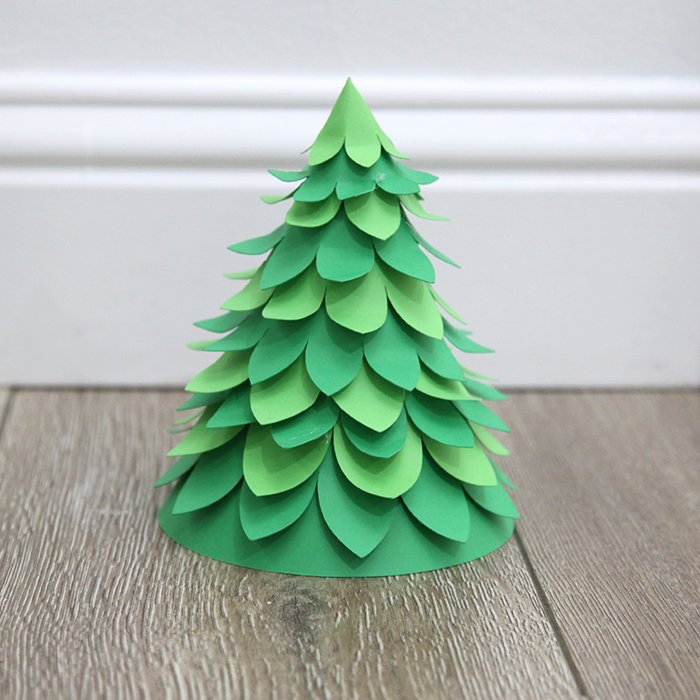
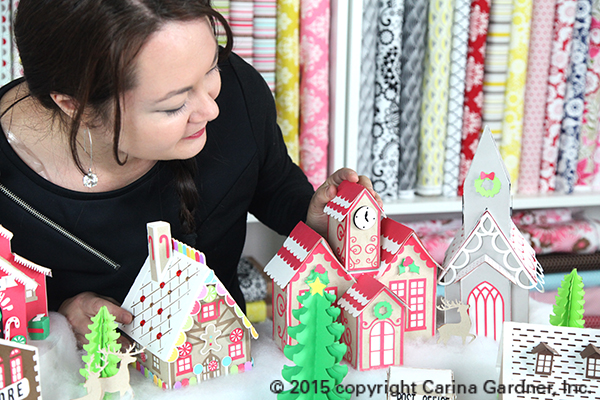
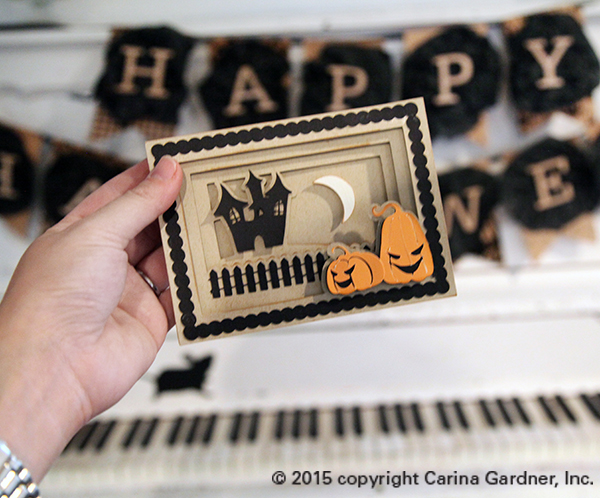
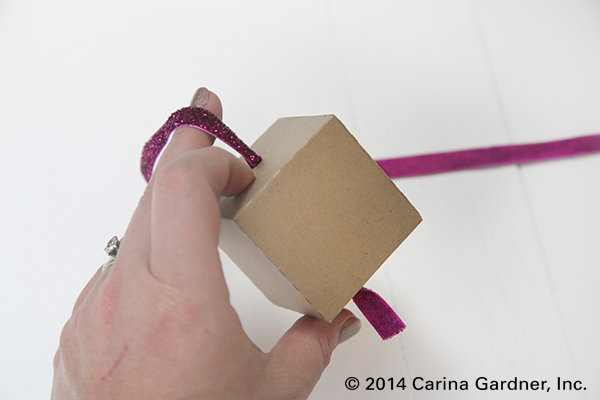
 The second way I would display it is on a mantle or coffee table. I love mine on top of our white piano. The best part is at night when we put electric tealights underneath and the entire thing lights up (picture of this below!).
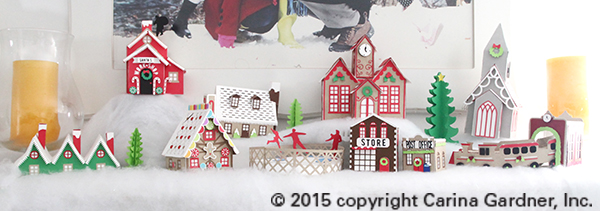
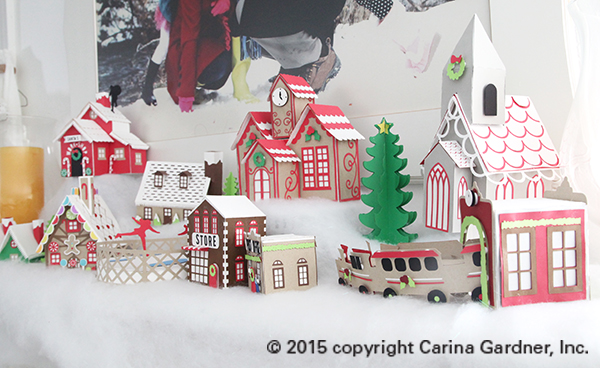
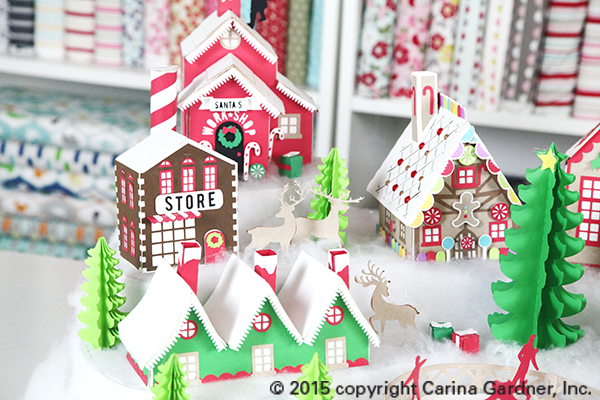

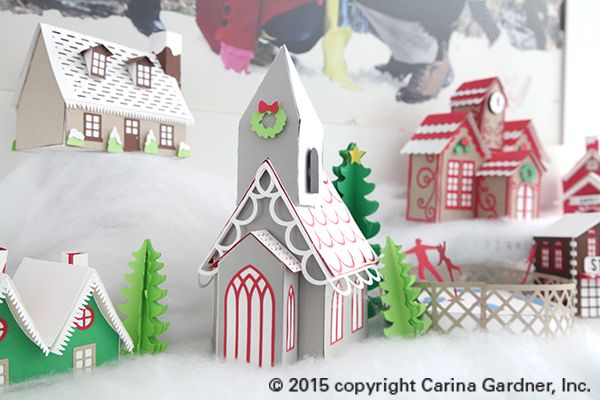
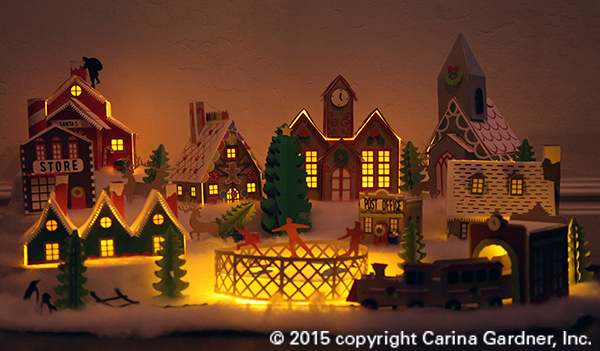
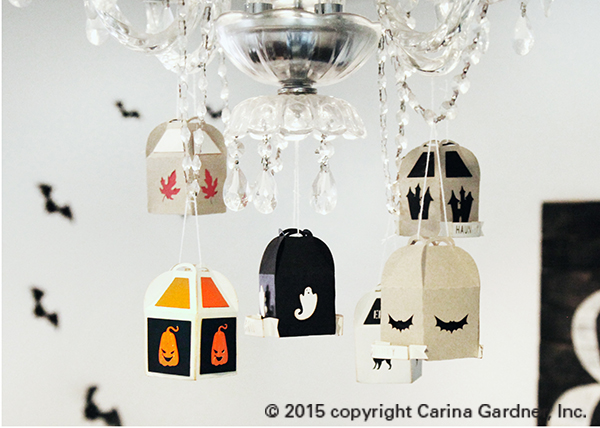
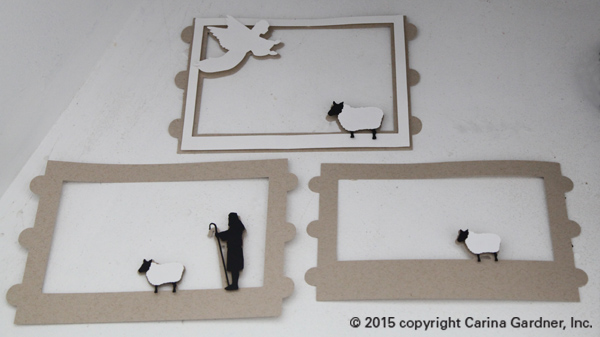
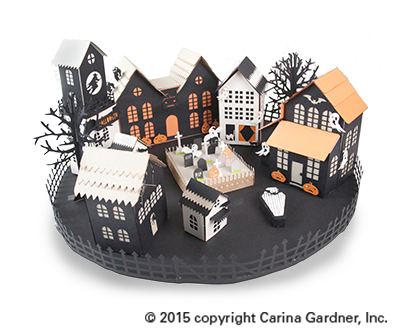 house glow! If you want ALL the larger houses to glow, make sure you use, orange, white, cream, or transparent paper (like vellum) for the bases of your houses. Several of my houses (shown here) use a black or kraft paper base. These do not show the light nearly as well as the lighter based houses.
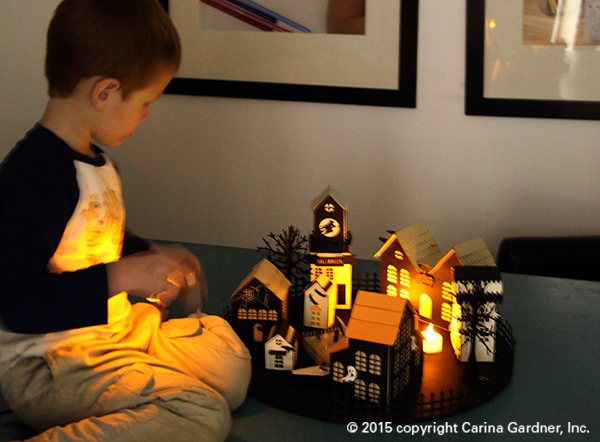


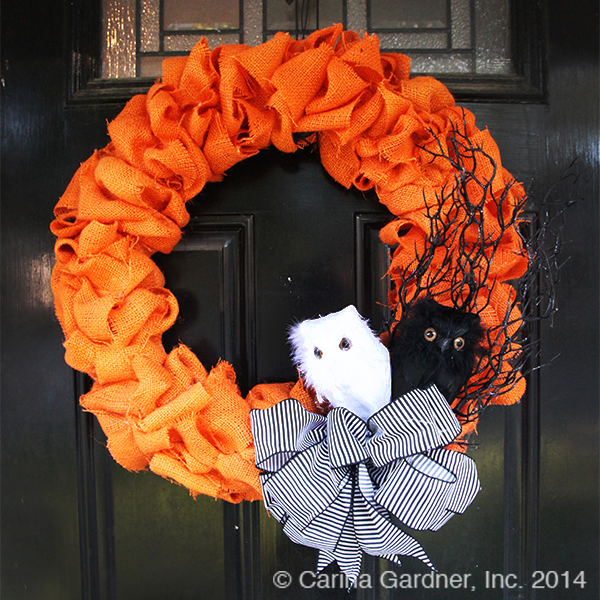
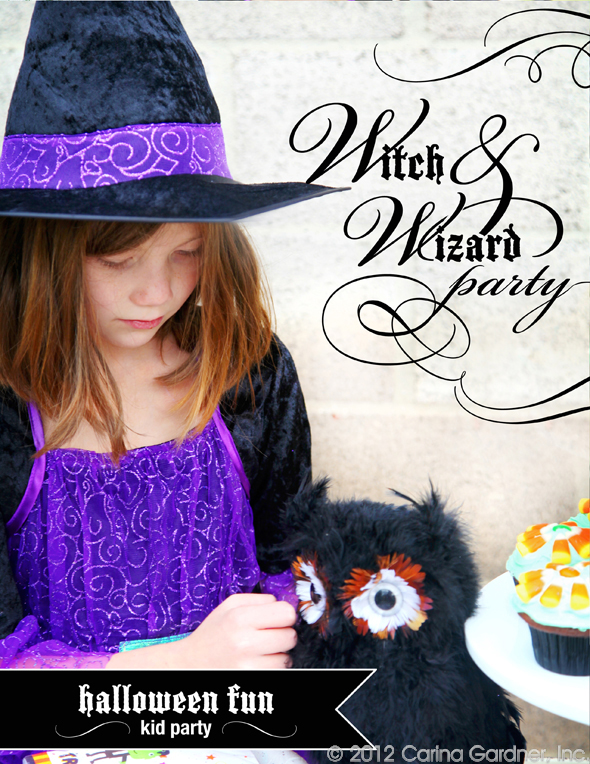
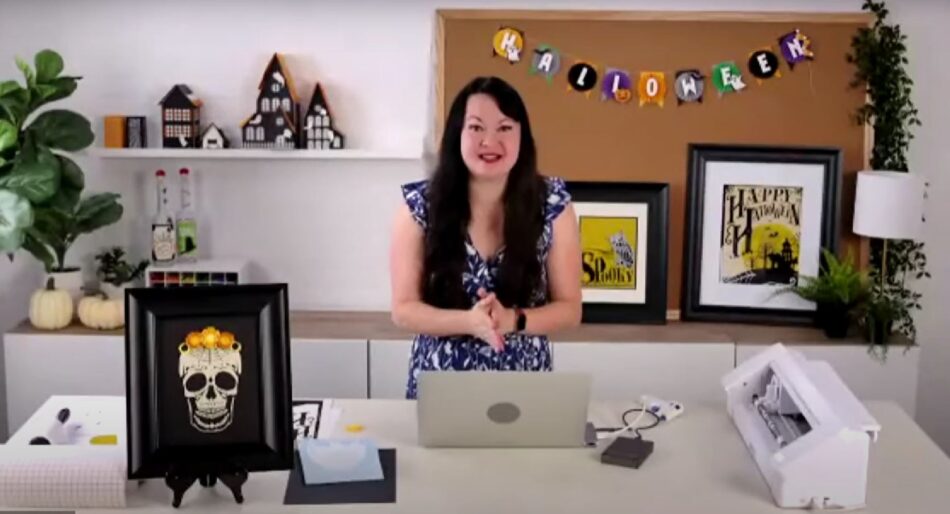
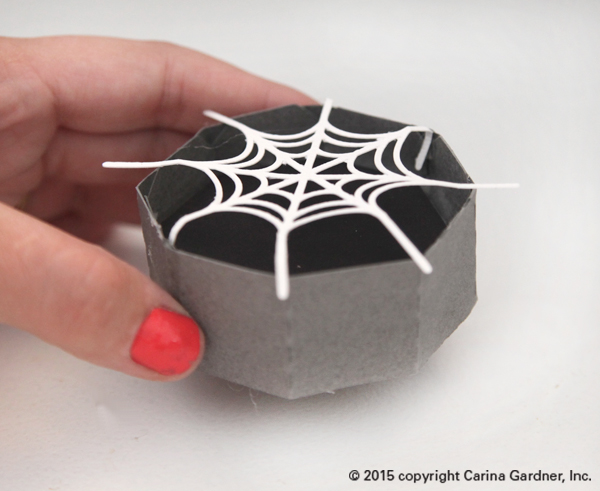
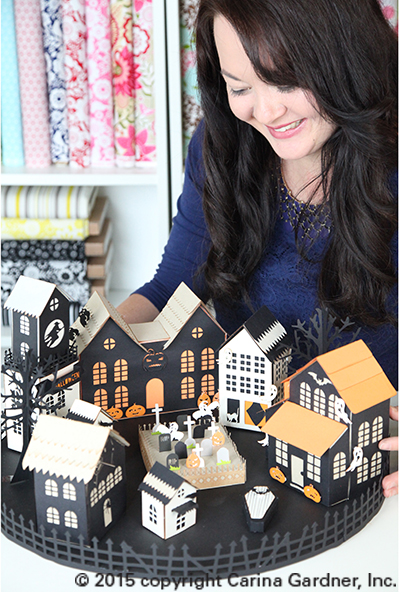
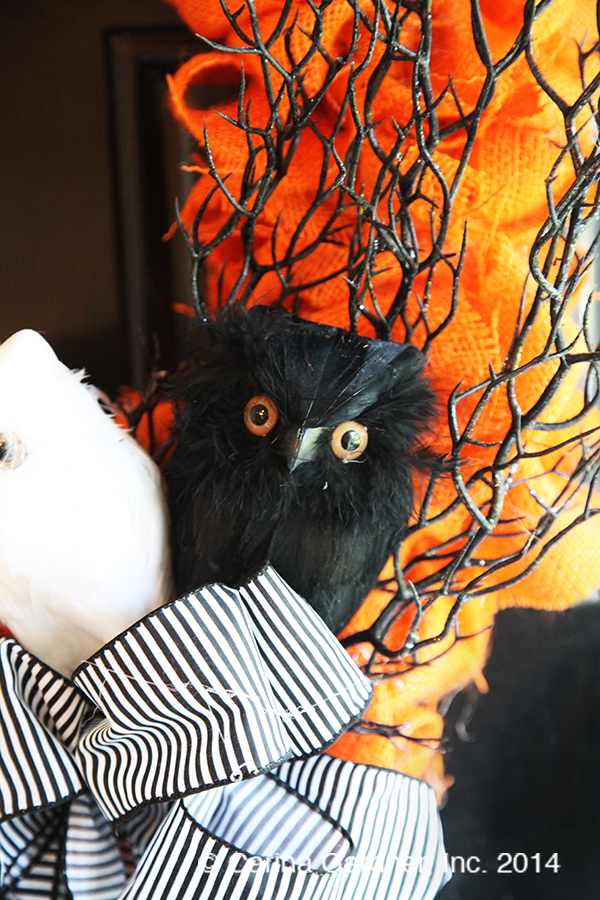 I love Halloween. Just look through the archives of this site, and the love is evident. Two days ago, my next door neighbor Sara said she wanted to make some Halloween wreaths. I was along for the ride and decided to take advantage of the burlap craze to make a new wreath for my door. The end result was the wreath you see above. My kids are obsessed with the owls and I’m obsessed with the way the orange pops on my black door. Win-win!
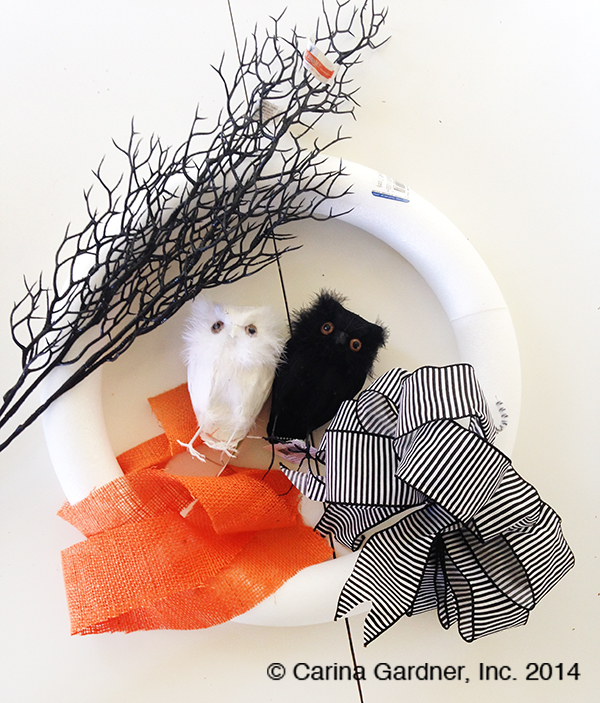
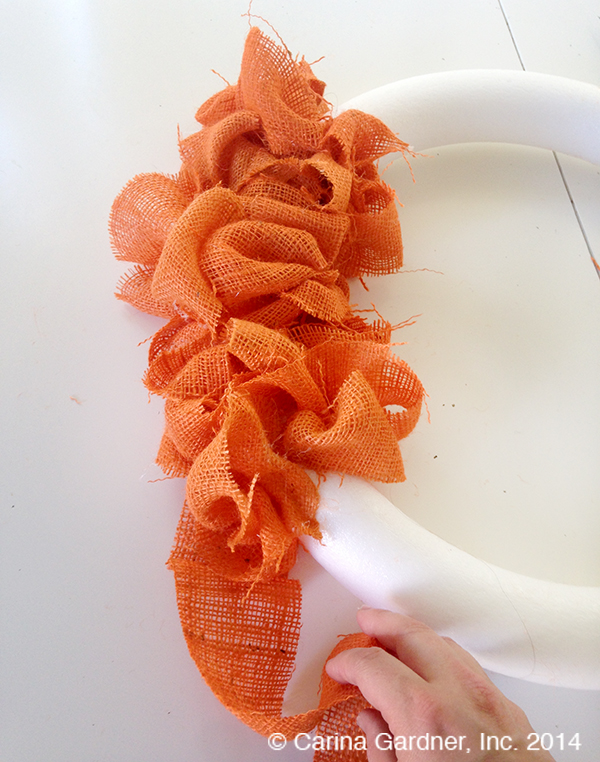 Hot gluing the burlap to the wreath was the longest part of the process. All I did was glue down one end of a burlap strip to the wreath form, make a loop, twist it a little, and glue the next part down. If you buy a wire wreath, you can use a method like this
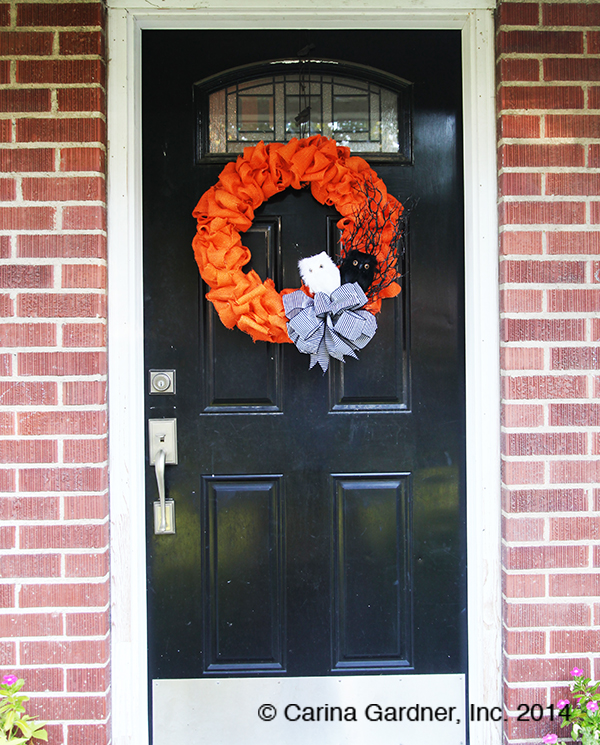 Free Halloween banner download that I hung on my piano:
 I’m pretty horrible about posting all the wonderful things happening at
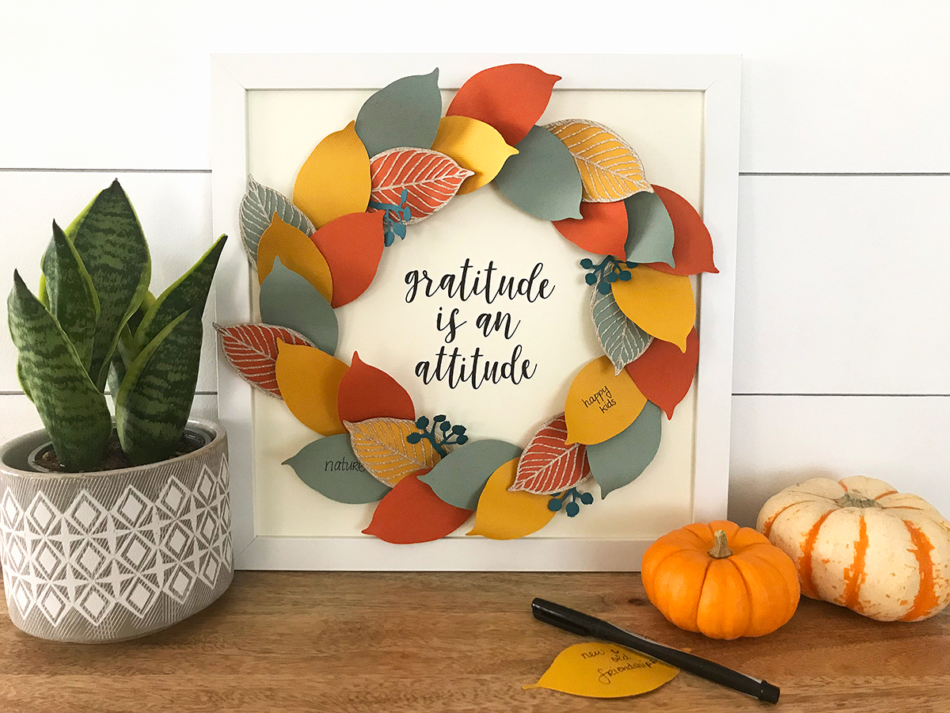
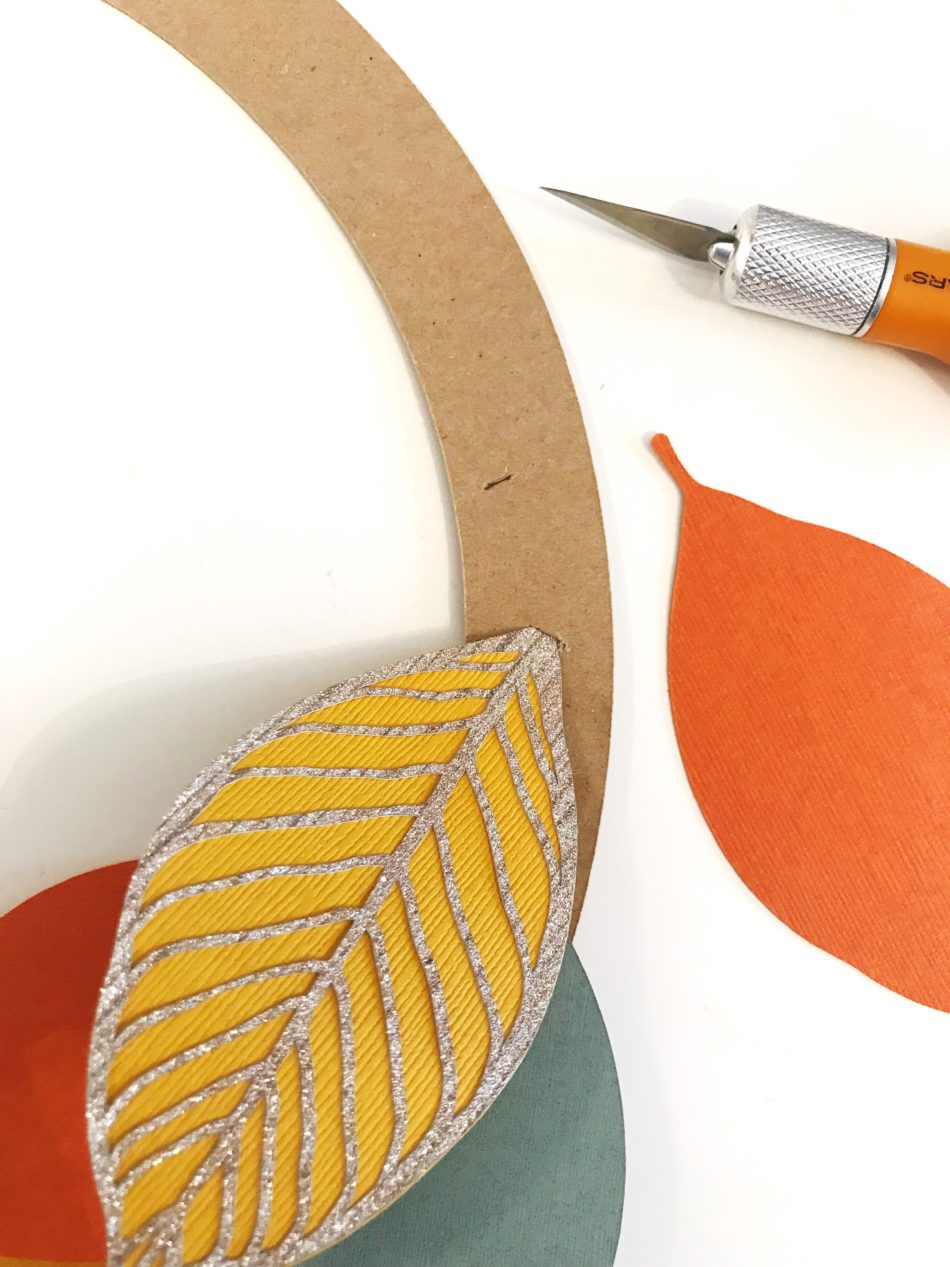
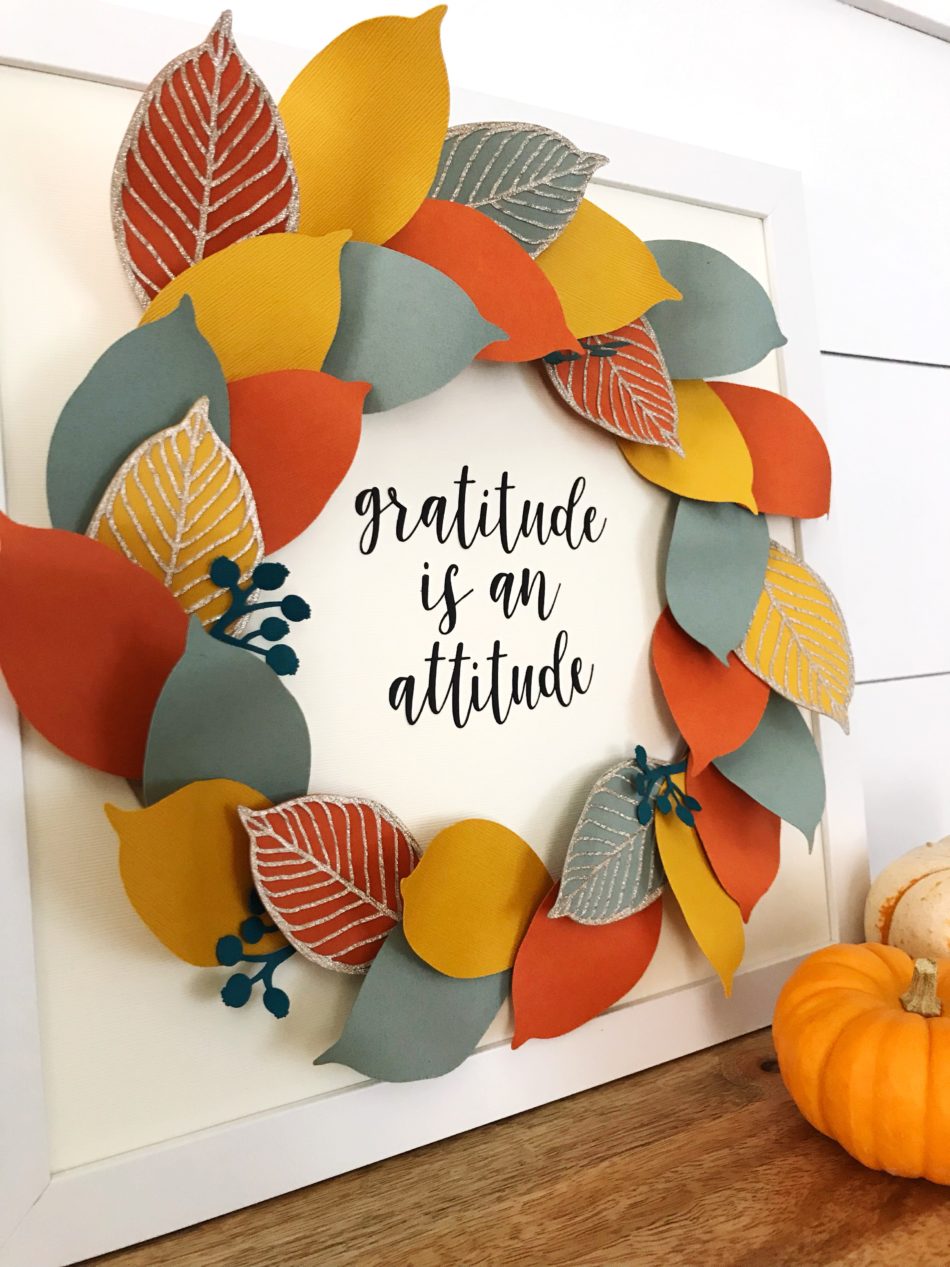
 And last but not least, I have a new darling line of Canvas Art! Lots of good stuff going on here!