Easter Birdie Nests—Kid Edible Project

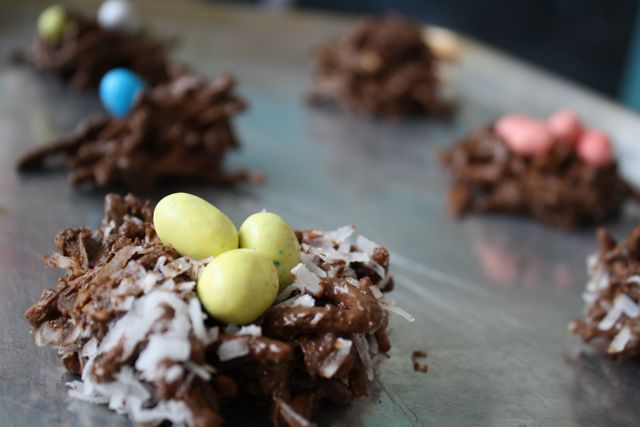
We made these edible easter nests that Siri is obsessed with it. I guarantee they’ll be a hit with your kids too! Plus they are easy!

img_2107

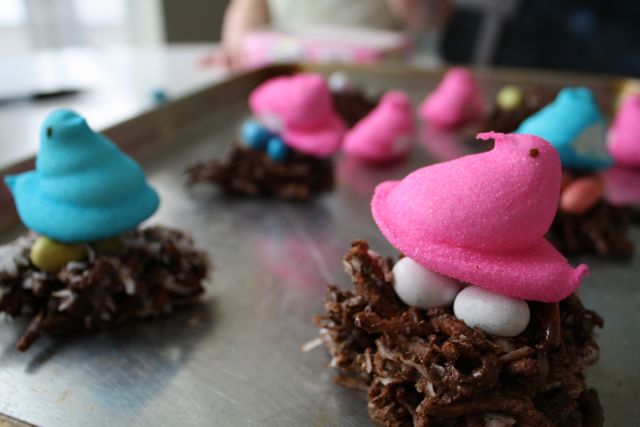
Add a peep birdie for extra sweetness!

img_2111

All you need is:

Chow Mein Crunch Noodles

Chocolate Chips (We like milk—it’s naughtier)

Shredded Sweetened Coconut (optional…I like it, the kids don’t)

jelly bean eggs or whopper eggs

Peeps chicks

Heat up a pan and melt the chocolate chips. Add the chow mein noodles and mix gently. I usually heap half into spoonfuls on a plate or tray and then mix the coconut in for the rest. Let your kids add the eggs and peeps. Easy Peasy! 

img_2119 

[ad]

Silhouette Design Store JOANN Stores

Photoshop Tutorial: Silhouettes

My first Photoshop tutorial! It is created using a fabulous program called Jing. This photoshop tutorial was created in a swf file , so hopefully you will be able to watch it…you may need to download the latest version of Flash to watch it. I sort of zoom through the tutorial because I only had 5 minutes to show everything (the limit on jing).

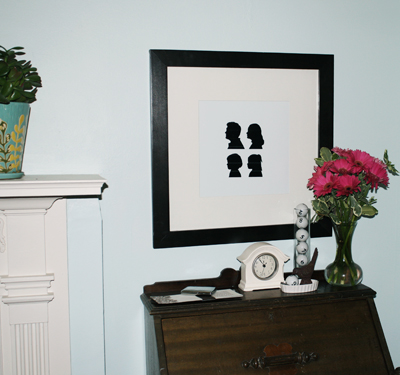
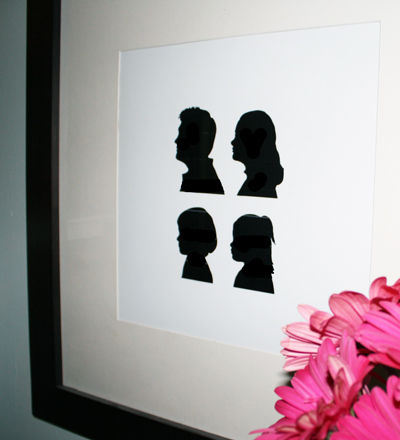
Here’s the project: creating a family silhouette art piece for your living room. I show you how to create this silhouette in photoshop and then take it into Illustrator for clean up. I’d suggest the tutorial for intermediate users, but if you are a beginner, it wouldn’t hurt you to watch it! You can pause it as you work on your own. 

I created my first silhouette of Siri when she was 2 years old. I thought it was a great way to document the subtle changes in my little girl. I have the screenprint of that piece in my living room. I love silhouettes and my original idea was to hang individual tiny portraits of each member of the family. However, do you know how HARD it is to find a decent oval frame? So I decided to go with the square frame and put all of us (my husband, Josh, myself, and two daughters) into one piece. Inexpensive art, always a plus!
img_19411

img_19471

Want to watch a larger version of this video? Click here.


[ad]

Silhouette Design Store JOANN Stores

Easy Cake Decorator

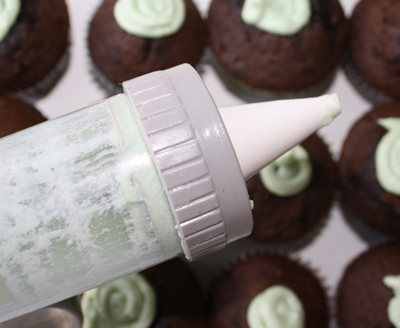
As part of Heather Bailey’s March of Tools, I am trying to remember tools in my life that I can’t live without…especially when I recently use them. While I spend most of my “tool time” with my computer and other technical gadgets (and will be posting more and tutorials on them soon;), I decided to throw this wrench in the works. My first gadget for the March of tools is my dumbed-down cake decorator. I decided to feature it because I have been using it a lot lately (a lot for me anyway!). Siri, Flissa, and I made cupcakes today for an early St. Patrick’s Day.

marchoftools1 

I like the idea of using multiple tips, but truthfully, if I’m making cupcakes for preschool or a birthday, I’m probably going to use the same three tips that I know how to use. This little instrument makes life pretty easy with clean up AND decorating. I believe I got it from Michael’s about 6 years ago. I’ve been using it ever since!

So there it is! My first featured tool. Not very clever, but a great tool nonetheless! (Plus the first one I’ve had time to take a photograph of.) 

[ad]

Silhouette Design Store JOANN Stores

Adding Color to My Life and Another Frame Project

As many of you know, I live in rental that we aren’t suppose to paint. So a lot of my tricks to decorating are things that are “movable.” Well, last week I got the okay to paint the living room and kitchen! What a dream! I’m not done accessorizing and I’ve pulled everything down from the walls. I have a million little projects to work on for this home and I’ll be sure to post them here!

Okay, so here’s the before:
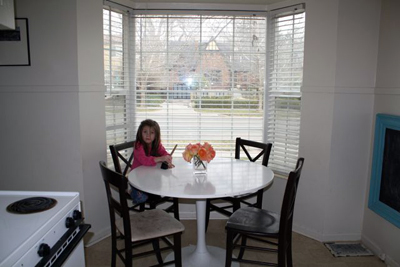
img_1273So this is my kitchen. Very big, I know.
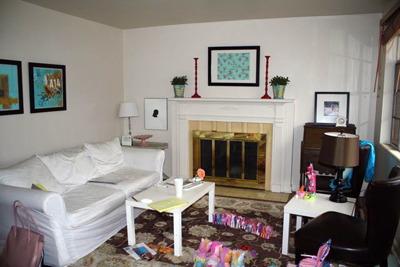
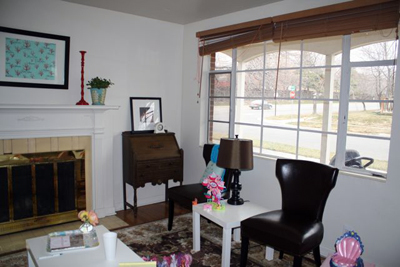
img_1275My Living Room…there was a pony parade going on!
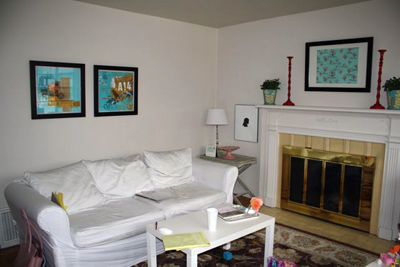
img_1276img_1277

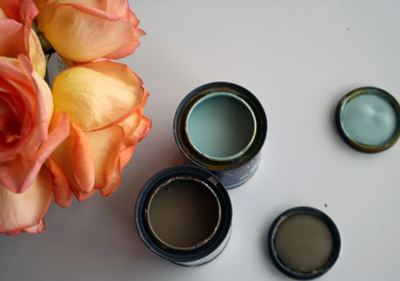
Here are the colors I chose:

img_1281

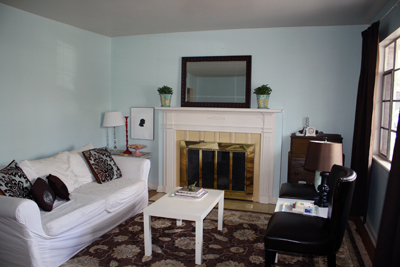
I actually tried out the taupe and knew it was just right…but the tiffany was a little dark for my taste. My finally color ended up being the shade lighter than this color, which wasn’t exactly right, but will do for now. It needs just a hint of green.
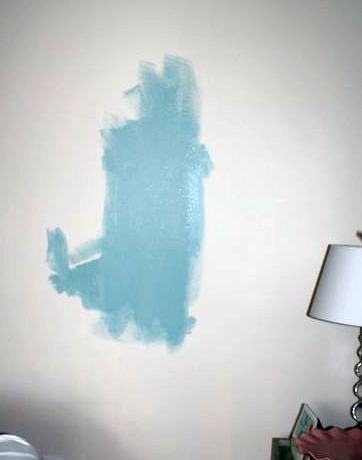
img_1287

This is the shade darker…glad I tried it before buying the gallon! And the final results! TA DA! Ummm, I love color! It changes the entire space…notice I haven’t changed a lot else (I DID pick up the ponies, but they’ll be back!:)
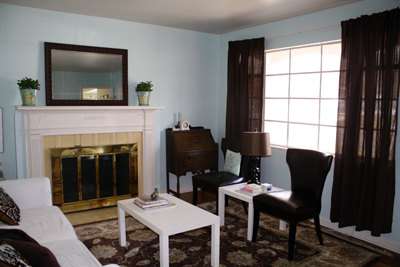
img_1428

img_1437

img_1441

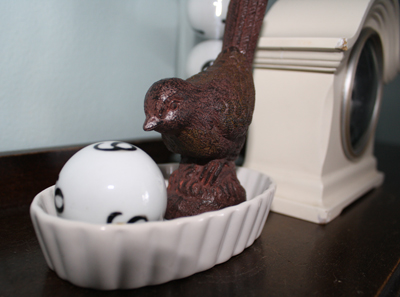
Darling little bird and number balls found at Thai Pan Trading! $2 for the bird and $1.50 for the balls!
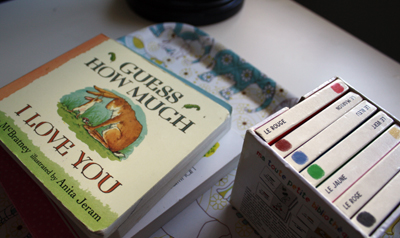
img_1442I once saw this on a show…the kids books stayed in the room on a tray. Heaven knows that our kid books are ALWAYS in this room, so it seemed right to sort of “organize” them by putting them on a tray.
img_1443

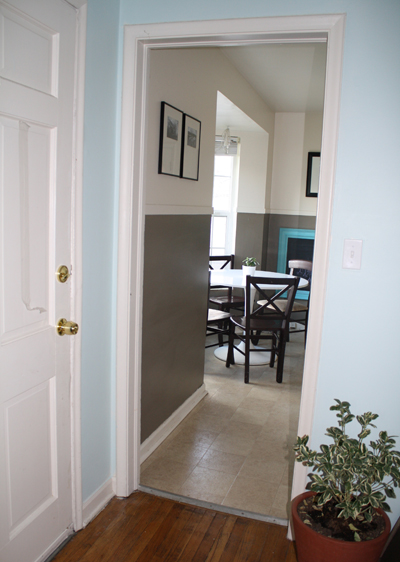
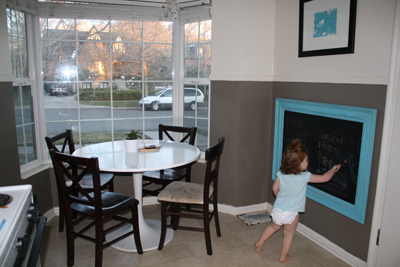
I only painted the bottom half of the kitchen taupe. High contrast heaven!
 

img_1465

I’ve already have a dozen more projects for all these rooms. I have curtains…but I’m not sure if we are going to be able to hang them in here because of the plaster in the wall…it makes it hard to drill!

MY FRAME PROJECT—Painting the frame, take 2

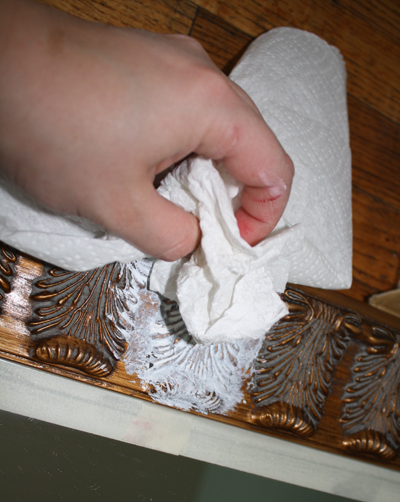
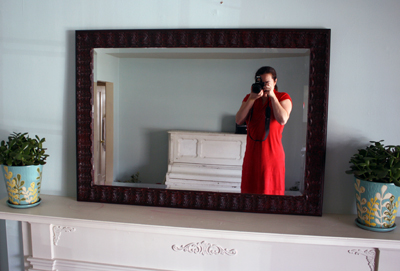
Okay, back to the living room…notice that great focal point frame (and nothing else on the wall? hehee…)? I found that at Home Goods on clearance and painted it. ‘Painted it’ is an understatement because I actually worked on it THREE times because I could get the color right. I thought I wanted it to be white. It didn’t work. I mean, NOT AT ALL. It looked terrible (By the way, that frame WILL get hung…just haven’t gotten round to it yet). Then, I decided to be bold and paint it red.Also a bad idea…but not as bad as the white. The THIRD time I painted it brown, but left some of the red peeping through (just a tiny bit). It was exactly what I needed. I want it to be a focal point and it had to compete with the curtains.

Here’s how the frame started out. Gold, ugh, not for me. I love how ornate it is though!
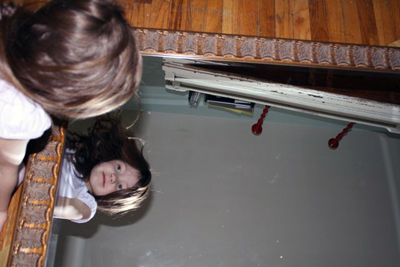
img_1294

img_1300Here’s the white phase, which leads very nicely into the red and brown phases.
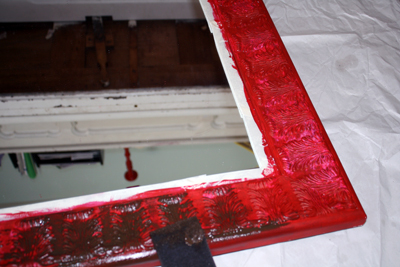
img_1427While the red phase looks COMPLETELY scary here, I’m glad I did it because it acts as an undertone for the brown and gives it dimension. It’s not FLAT.
img_1435

The final un-hung frame. I’ve been a busy gir1. I’m about to fall asleep writing this! I’m off to bed early tonight! And remember to check tomorrow! I have an interview with Holly Jones and a great giveaway from her super darling store My Cute Stamps!

[ad]

Silhouette Design Store JOANN Stores

My New Mini-Office Space & Free Tag Download

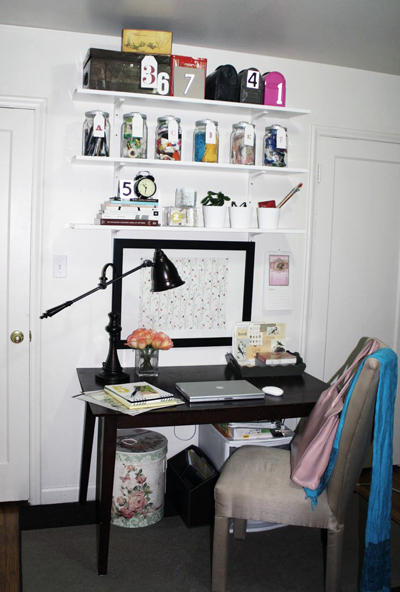
I have to call it a space because that is what it is. It’s not a room. It’s not a studio. It’s a space. A 4 feet x 6 feet bit of space to be exact (if you count all of the rug). It located in my bedroom (something I don’t recommend, but under current circumstances could not be helped) and it was a strain to get a vertical shot of the thing! But here it is, in all it’s mini-glory!

overall11

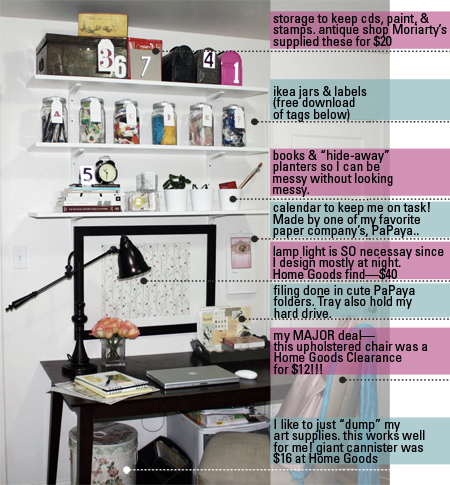
Basically, I tried to use things I already had around the house. I supplemented it with stuff from Ikea, Antique Shops, and Home Goods (for my budget). I tried really hard to stick to the basics—storage and lighting. I added the numbers because I was inspired by a page in a Pottery Barn decorating book. I REALLY wish I could paint the wall to give everything a nice pop…but since I can’t paint, I’ll try to bring in color other ways (for example, I’d love to paint that wood table I have that is acting as my desk).

overall21

My big bargain buy was a total accident! I got that new chair for $12 down from $150 at Home Goods. It’s a great basic color and I can see recovering it in the near future. I’m also in love with the lamp!

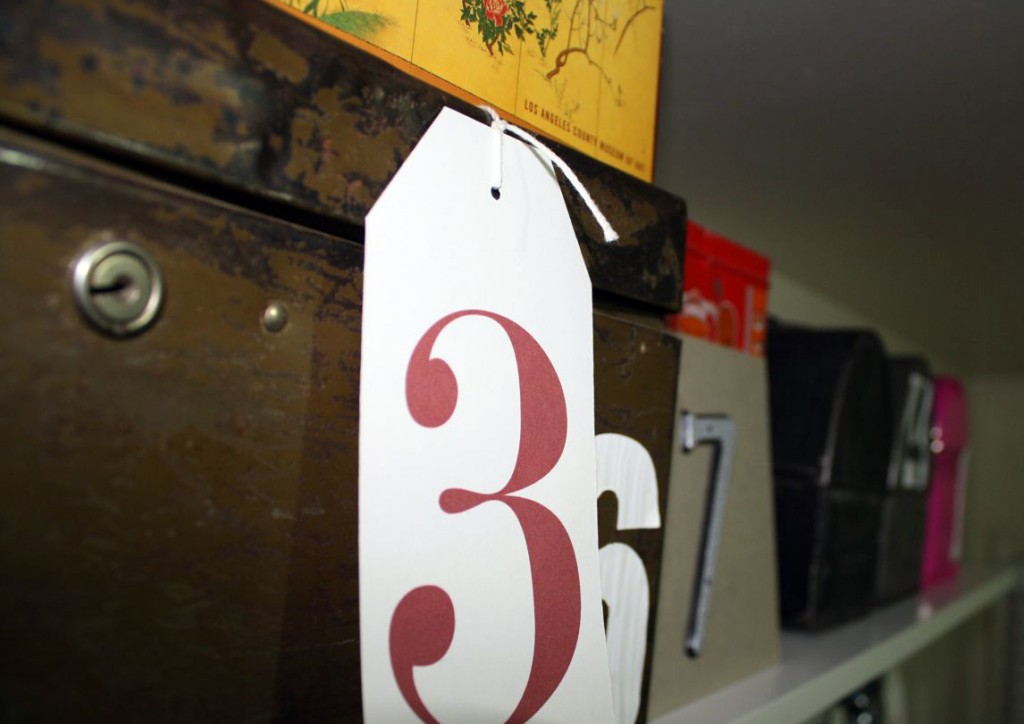
This is the top view of the shelves. I bought the shelves from Ikea. Since I have so little space, I worked my way up to utilize space.

topshelf1

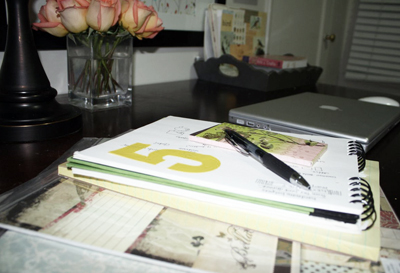
My desktop…lots of sketching, facebooking, and designing happen here.

tabletop1

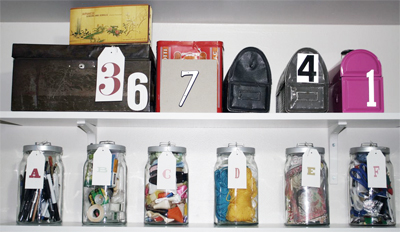
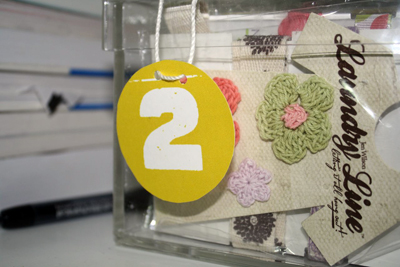
Here was my “number” inspiration to help tie things together a bit. It makes it all a little more graphic:). I printed numbers, used sign stickers, and house numbers.I need a seriously big number to put on the wall but haven’t found one yet.

topview2

51

acrylicbox1

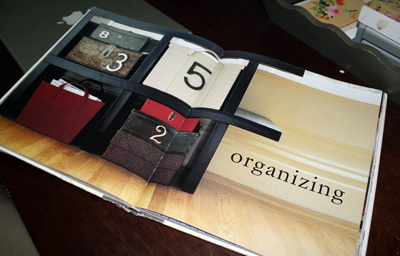
Here’s the inspiration for the numbers: A Pottery Barn decorating book.

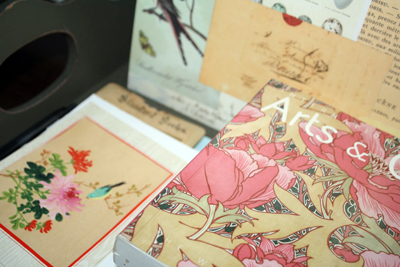
inspirationpottey1My tray on the desk keeps me “organized”. Well, sort of, I just dump things in it. It makes the desk less cluttered. It also holds my ugly hard drive (hidden under my Arts & Crafts book!).
tray1

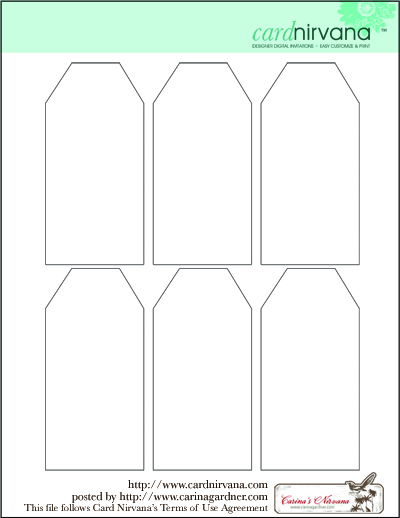
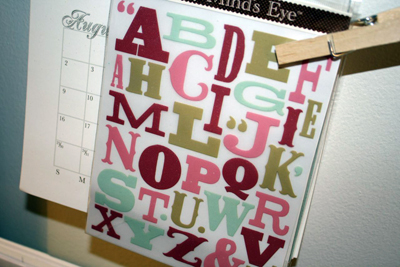
Here are my easy-peasy tags for my jars. I used My Minds Eye Rub-On Alphas and printed out the tags from these templates I made. You can download them here:

Tag Templates Download

cardnirvana_tags_freebie_4shared_sm1

They are the same tag, set up for print-ready.

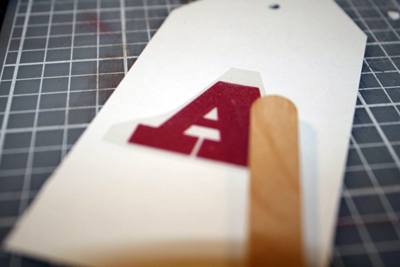
These are the My Minds Eye RubOns.

img_11551

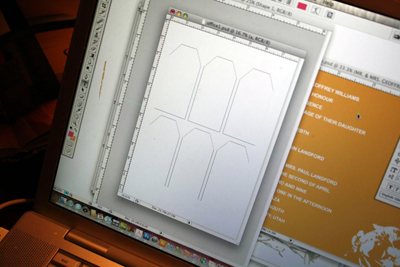
Setting it up on my computer:

img_11561

img_11621I love the rubons because they are so simple and really take all the work out of this project.
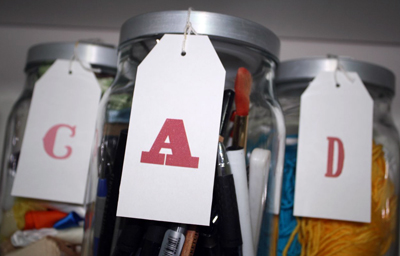
c1

jars1

Hope you enjoyed! I’m sure I”ll be changing this minispace as I find more “stuff.” I especially want to add more color. Have a great Saturday!

[ad]

Silhouette Design Store JOANN Stores

I’m on Apartment Therapy! Give me a Thumbs Up!!!

I just found out that my project (posted below) was selected for the kids division for the etsy/apartment therapy contest!!!!! I am SO thrilled! Please go give me a thumbs up!

http://www.ohdeedoh.com/ohdeedoh/february-jumpstart-2009-entries/how-to-kids-art-area-s-february-jumpstart-project-2009-076878

Thanks for the support!!!!


[ad]

Silhouette Design Store JOANN Stores

Frame it! My Kids’ New Chalkboard for the Kitchen!

I must admit that domino magazine is the devil. First off, I wouldn’t have gotten the idea to start re-decorating my living room if I hadn’t actually taken a break from working to read the darn magazine. If I hadn’t started thinking about redecorating, I wouldn’t have come up with the idea for a chalkboard project. If I hadn’t come up with the idea for the chalkboard project, I wouldn’t have decided I need to do a few things to update my kitchen too. So here I am, redecorating away! This was my first finished project of the weekend! I’m glad I did it because the girls love it! 

Cost (about) $35

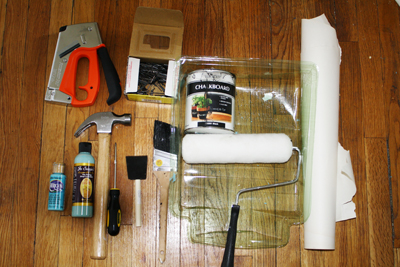
Materials

Old Frame (bought at an antique store) ($10)

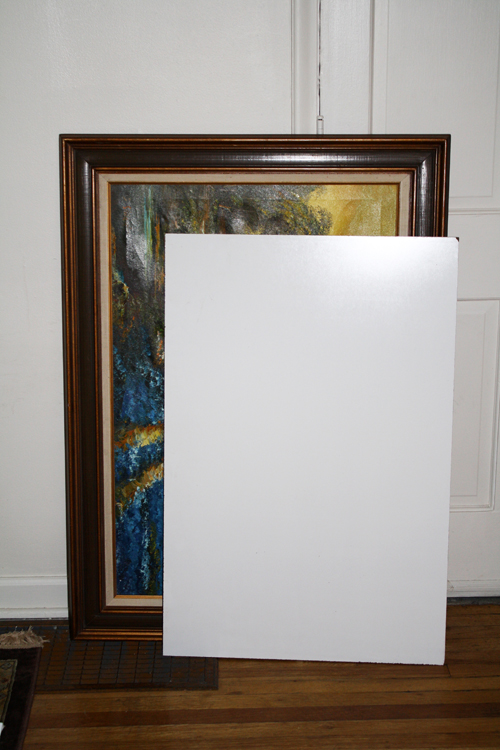
Large piece of white board ( 4′ x 8′) cut down to 24″ x 36″ ($13 from Lowes)

Staple gun, staples

Paint (2oz bottle of paint or enough to cover surface of the frame) ($3)

Paint Brush | Sponge brush

Roller

Paint Tray

Chalkboard Paint ($13)

Hanging Hardware

Hammer and nails (for hanging)

carinagardner_tools_sm

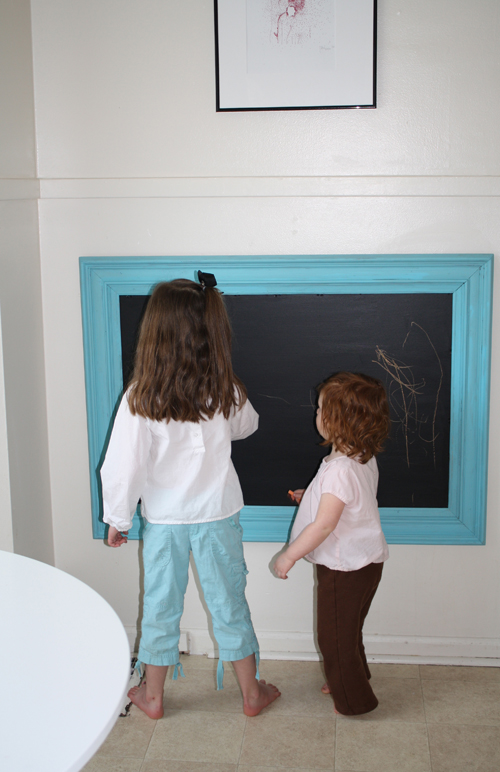
I like to have my kids in the kitchen with me while I cook (they are usually running back and forth between me and the living room). I needed an art area that didn’t require me cleaning up the table so I came up with this framed chalkboard piece. I’m in a rental so I needed a pretty way to display the board (I couldn’t just paint the chalkboard onto the wall), plus, who doesn’t like a pop of color that looks like art?

1. If you bought an older frame or something that had artwork in it, you’ll need to pull out all the staples. My frame was bought from an antique shop for $10 and had a lot of old staples that needed to be pulled.

carinagardner_before_sm

2. Paint the frame the color of your choice (I went with a seafoam blue) with your paint 9I used acrylic) and sponge brush or paint brush. Let dry and cover with a second coat if needed.

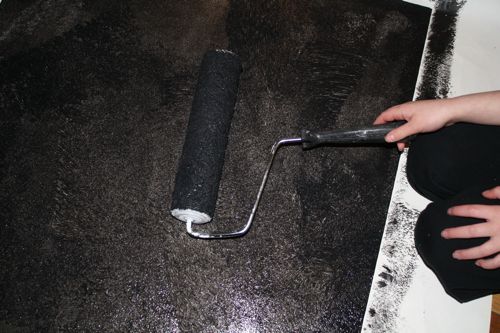
3. Paint the chalkboard paint on the large piece of white board (mine was 24” x 36”). I covered it using the roller to get a smooth finish for the first coat. I let it dry for 24 hours and then rolled on a second coat. I touched up with a paintbrush.

img_0748_sm

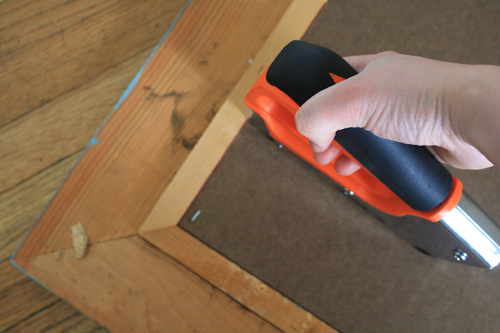
4. After the chalkboard area has dried I stapled the chalkboard piece to the frame using the staple gun.

carinagardner_inprogress_sm

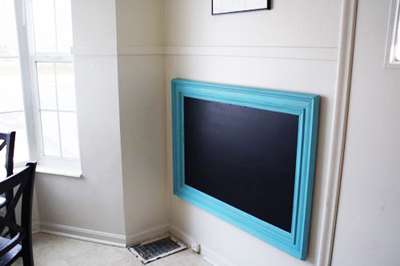
5. I added hanging hardware to the back (follow your hardware instructions) and hung on my kitchen wall.

withoutkids1 

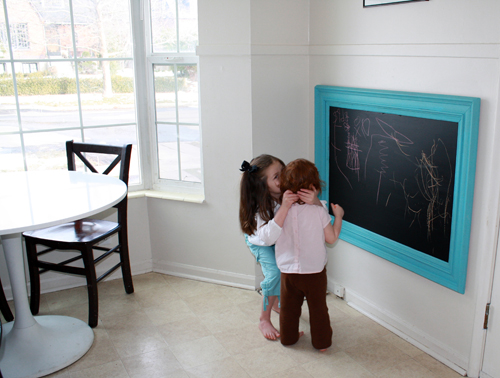
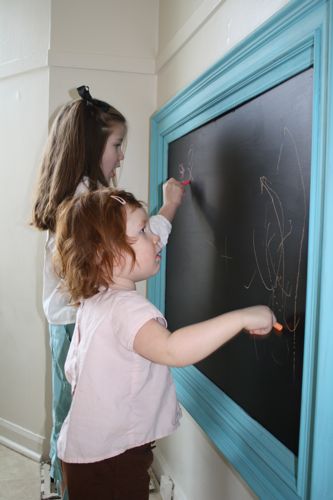
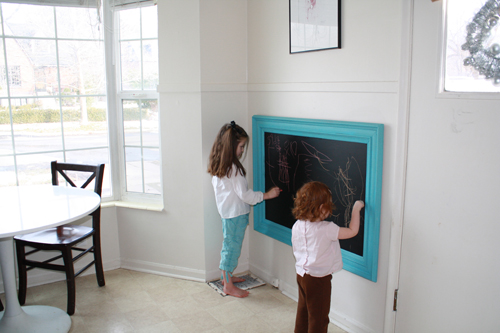
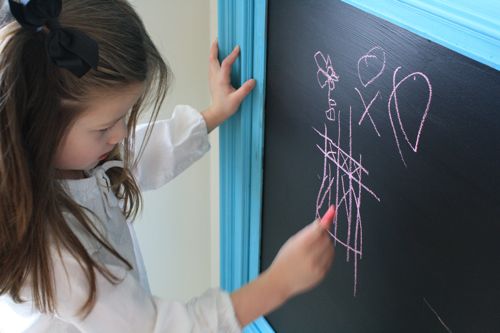
Here’s the finished product. And here’s my girls enjoying it! Yesterday Siri was helping me cook dinner and she would run between me and the stove (I’m taking the picture from the stove/sink area) and was writing down the instructions (coloring little pictures) on the chalkboard as we made dinner. It was SO cute! I especially liked here picture of the strawberry!


carinagardner_finished1_sm

carinagardner_finished2_sm

Some of my helpful hints

The white board I bought was from Lowes and came in 4” x 8” sheets. I ended up with 2 other HUGE sheets that I just let the kids doodle on until I get around to framing them as well. From this $13 sheet you can basically get 3 great art areas.

 I try to find frames at antique stores, thrift shops, and discounts stores like Home Goods and Tuesday Mornings because then I don’t feel bad about the price and painting it!

img_0773_sm

img_0788_sm

img_0777_sm[ad]


Silhouette Design Store JOANN Stores

My First Artists Date: Antique Shopping

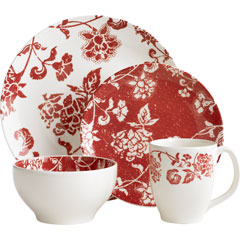
I FINALLY got around to doing my first artists date. I decided to get myself to an antique store for a project I’ve been meaning to do. I also quickly dropped by Pier 1 to take a look at their sale. Okay, before I go any further and show you what I bought, I need to defend my decision to do an artists date that looks ALOT like aimless shopping:). As a working mother, I never actually leave the house on an errand that is SPECIFICALLY to make my house prettier WITHOUT my kids. Well, at least not since I moved to Salt Lake. I’ve sort of just been getting by in our rental house. However, I’ve been feeling a very strong urge to decorate my living room and kitchen the last few days. I had a couple of projects in mind and I needed to get the materials cheap. one thing I knew I wanted was a very large frame. I also wanted  to check out the local antique store. So, I found a place called Moriarty’s Antiques. I managed to arrive Saturday morning at 10:30am and it didn’t open until 11:00am. Pier 1 was just around the corner so I popped in for a second. They were having a serious sale (a reason I hardly wander out of my house during the January through March months! I ended up buying the red plate in this set:

2257834I only saw the little red salad plate, which I bought all 12 they had in store (now that I see the whole set, I wish they had the bowl in the store too! I would have grabbed that baby up!). I have a set of Crate and Barrel white dishes and this red plate is the perfect accent! How much did I get those darling little plates for? $1.50 a piece… $18 later I’m a happy girl! 

At 11:00am, I was headed to the antique shop where I meandered for an hour. Oh happy, meanderings!!!! I love this artists date thing. I just love antique stores because you can really find unique and loved items that have so many uses…I like finding some new use for these old items! I ended up buying a monster frame that was hideous for only $10!!!! And I’ll show it to you soon (I promise) because ever since I bought it, I have been dolling it up for a fantastic kids/kitchen project.

So I would consider my first artists date a total success. I just like giving myself the chance to see something different and new. And I’m addicted now! I can’t wait for the next one!

[ad] 

Silhouette Design Store JOANN Stores

Quick Fix—Kitchen alcove

My quick fix today is a little project for those of us who need “temporary” fixes. Our home is rented and we can’t paint (yes, a totally nightmare for a designer!), so I have to come up with creative ways to deal with the eggshell white. I’m always to infuse color and I do this by choosing colors, patterns, and textures that I like, but are pretty easy to re-arrange or recover.

My quick fix today may not apply to your kitchen, but I think you could use this technique on anything…a bathroom cupboard, inner door of an armoire, inside of a closet. I’m using fabric, but you could use vintage wallpaper or wrapping paper (you’ll see I use wrapping paper as my pattern).

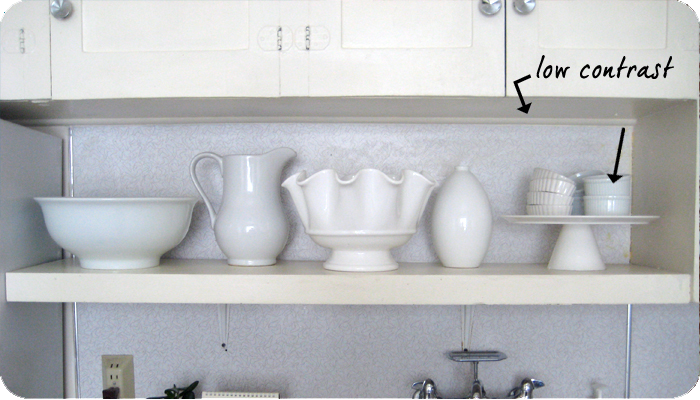
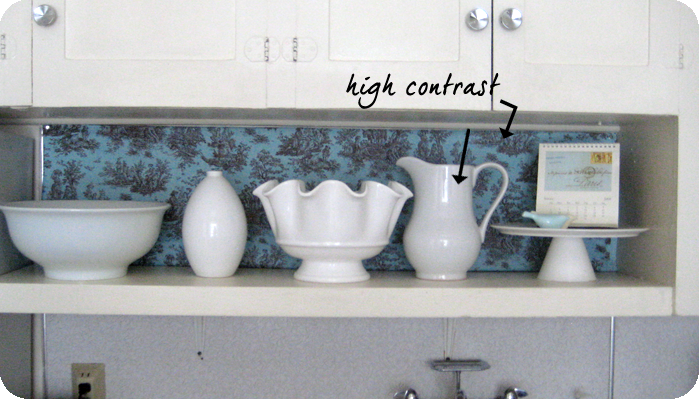
So here is my dilemma, I have this alcove in my kitchen that I display some of my bigger porcelain bowls. The vinyl pattern on the back is hideous, and there is hardly any contrast between it and the white dishes.
quickfixfabric1
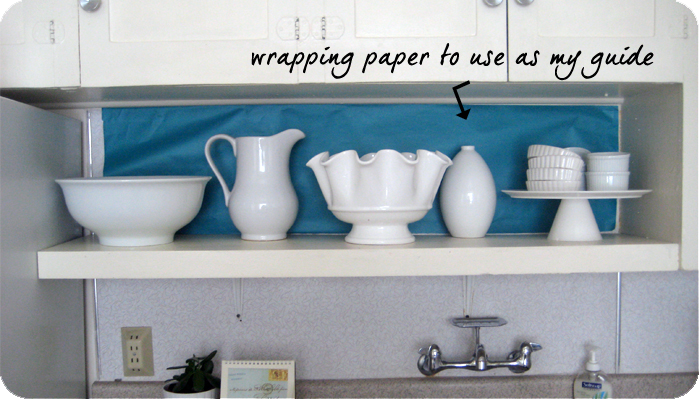
So I decided to cover the back to create a high contrast between the dishes and the wall. I uses some wrapping paper to create my pattern. Just cut and fit to the size of the place you plan to cover.
quickfixfabric2
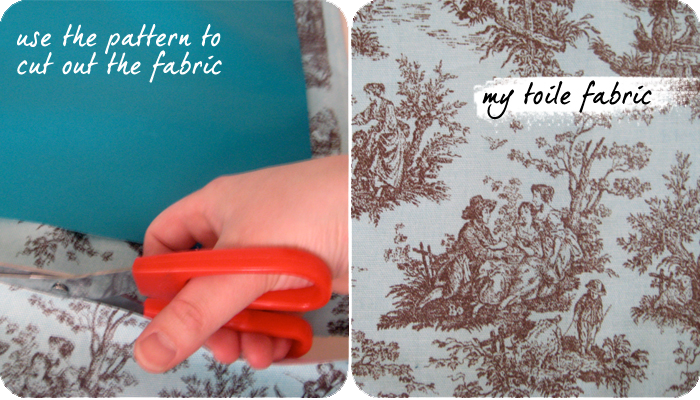
I cut around the pattern with the fabric I had chosen. I left about an inch of space around the pattern as I cut. I loved this blue and chocolate toile. I picked it up for about $5 in a discount fabric store while with Jen in San Francisco. I bought half a yard to fit my space.
quickfixfabric3
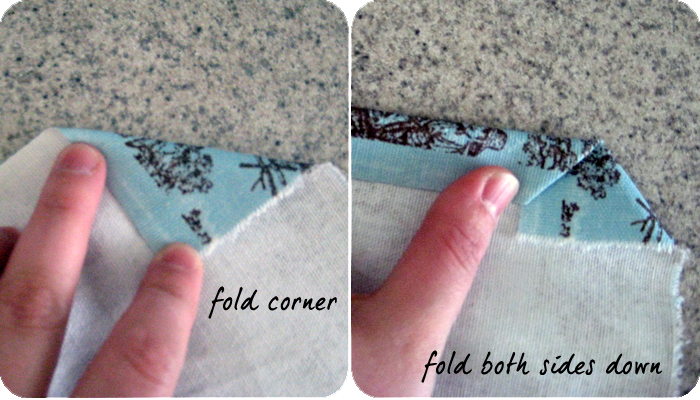
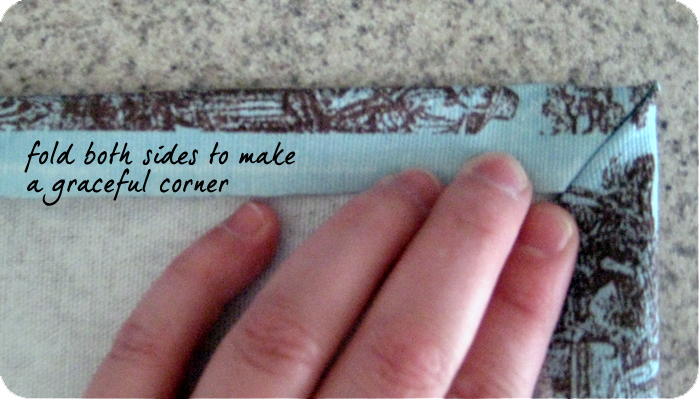
Here’s how I folded the corners. You could use masking tape to hold them down as you pinned it to the wall. i was too lazy though and just held it in place as I pinned.
quickfixfabric4
quickfixfabric5
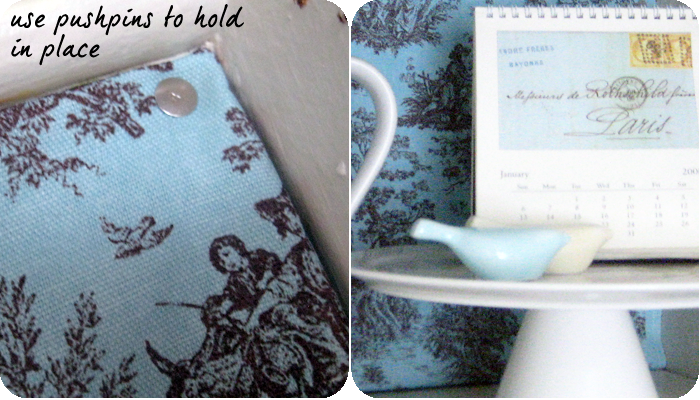
I just used thumbtacks to put these on.
quickfixfabric6
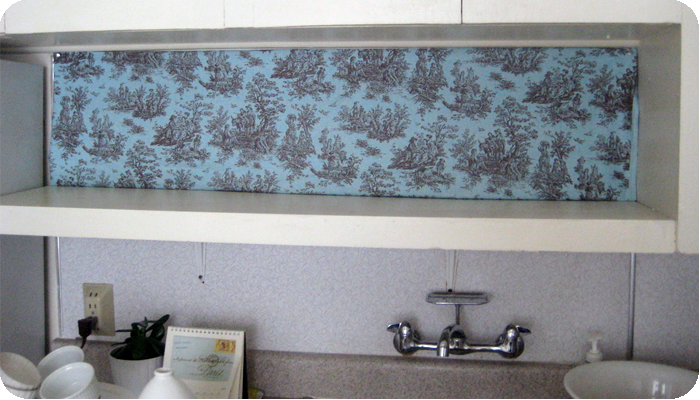
And there it is. Completely removable when I need to move and easy to get on. I did this with my two little girls in the kitchen and it took about 15 minutes. Plus, I can change it if I get sick of it!
quickfixfabric7
quickfixfabric8

Silhouette Design Store JOANN Stores

Quick Fix: Bathroom Shelf

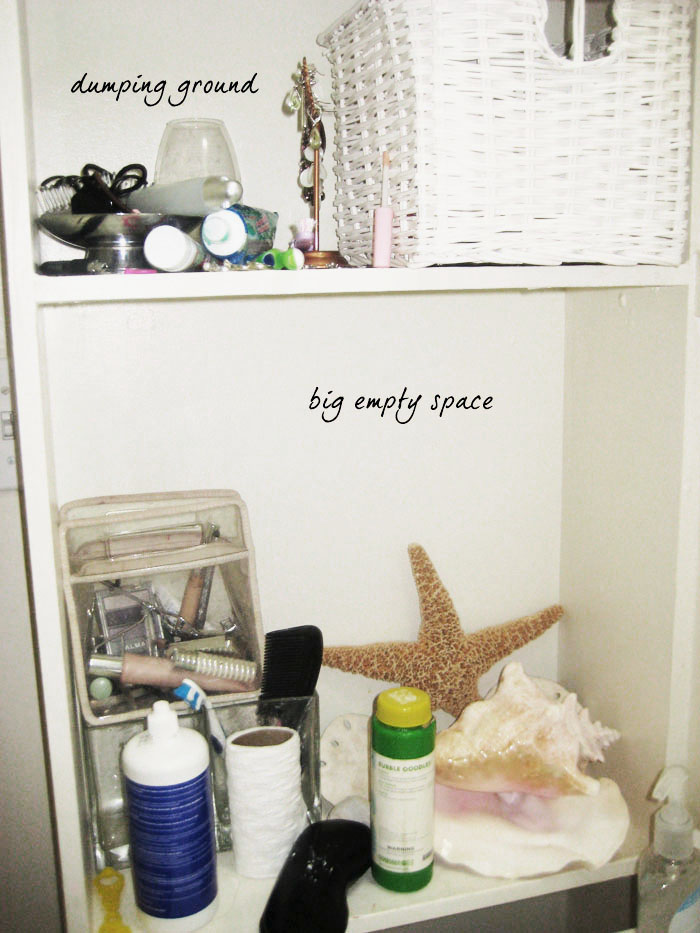
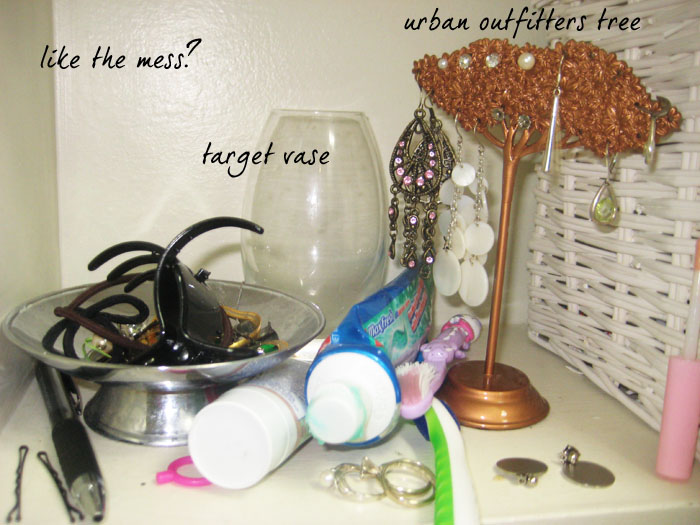
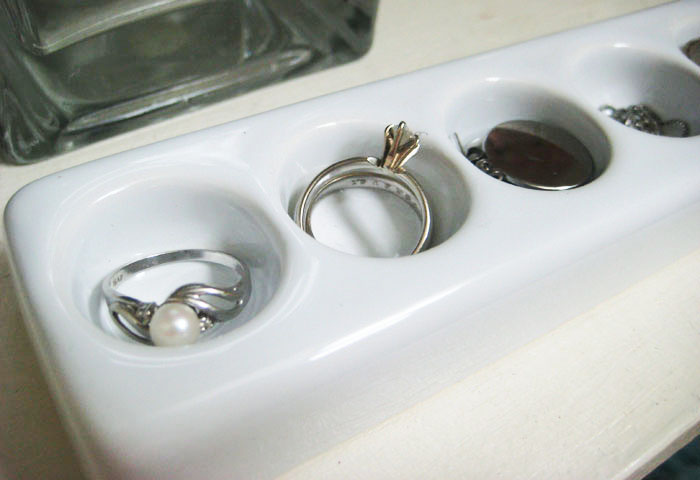
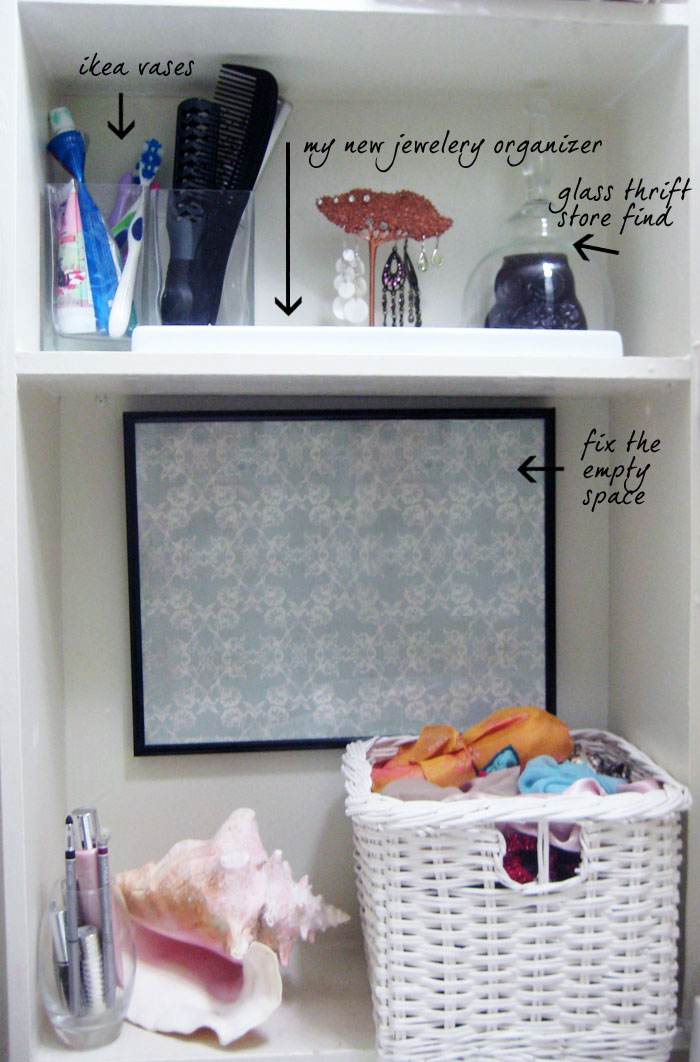
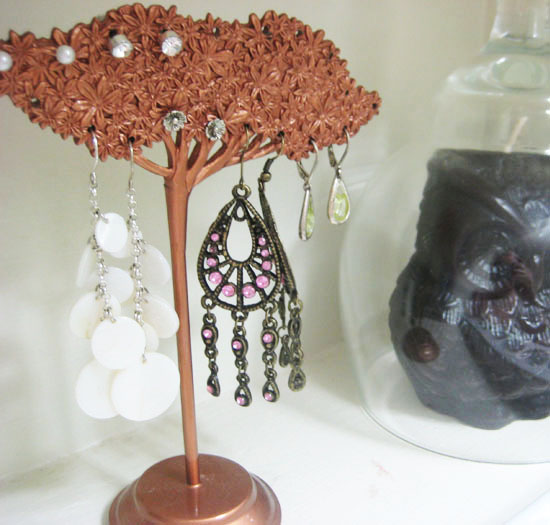
Here’s my quick fix of the day! I bought this olive dish from EQ3 while in San Francisco with Jen. I think it must be sold out on the website, but it is 75% off in stores so if you are near one you should check it out. I knew I wouldn’t use it as an olive dish. I decided to use it for my “quick fix” and use it as a jewelry organizer. I have these open shelves in my bathroom that tend to get pretty messy…well see for yourself! With two girls, there are a lot of hair accessories and “stuff” floating around.

busyshelves

messysmall

Here’s my EQ3 find.
eq3

And here’s how I used it.
pockets

cleaned-up1

ism_2

frame

Just a little more cleaned up and easier to find things than before. Easy breezy!

Silhouette Design Store JOANN Stores

Quick Fix for My Tote Bag

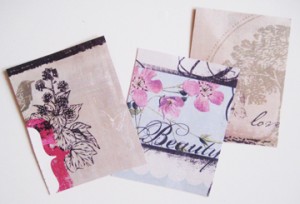
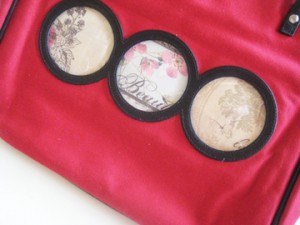
So I mentioned that I needed to fill those pockets up before I went on my trip tomorrow…so here was my quick fix! I decided to use scrapbook paper! The great thing about scrapbook paper is that you don’t have to use it for scrapbooking (I hardly ever do). I love all the other uses I seem to find for it! I just cut three squares of My Minds Eye paper to fit in these holes…project finished!

carinasbag2

carinasbag32

carinasbag1

Silhouette Design Store JOANN Stores

All about RED

I was in a very serious RED mood yesterday. The girls and I went into DownEast home and look at the two goodies I got!

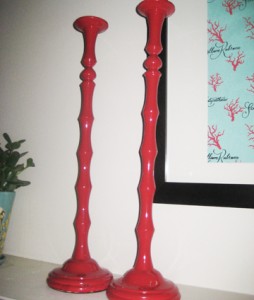
candlestick2

I am in LOVE with these candlesticks which are currently on my mantle…they accent the Anthopology planters which are blue, gold, and green and match the print which is blue and red. The best part? they were clearanced at $7.99 a piece! Hooray!!!

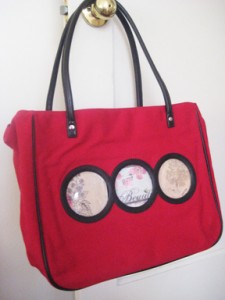
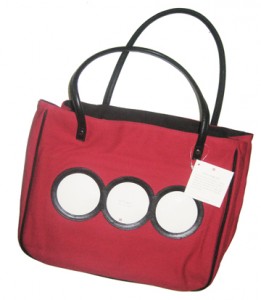
I also picked up this…not my usual choice…I don’t like photos in “wear” but I thought I would maybe do a cool project with this. Plus, it is a super-roomy tote. Discount: $14.99 at DownEast Home. It’s made by RedEnvelope.

redenvelopebag

For a bag that will fit my laptop and all my “junk,” can’t beat the price!!! In fact, I need to figure out what I’m going to do to it soon because I’m going to take it with me to San Fransico tomorrow! It’s the perfect airplane bag!

I actually ended up buying a red shirt last night too…LOVING red!

Silhouette Design Store JOANN Stores