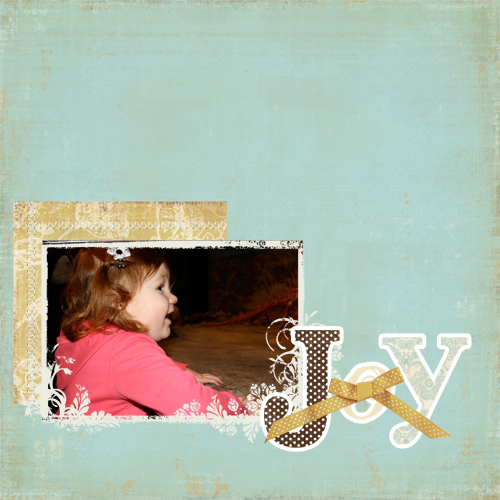
More of Bella Bella 2 at Two Peas in a Bucket

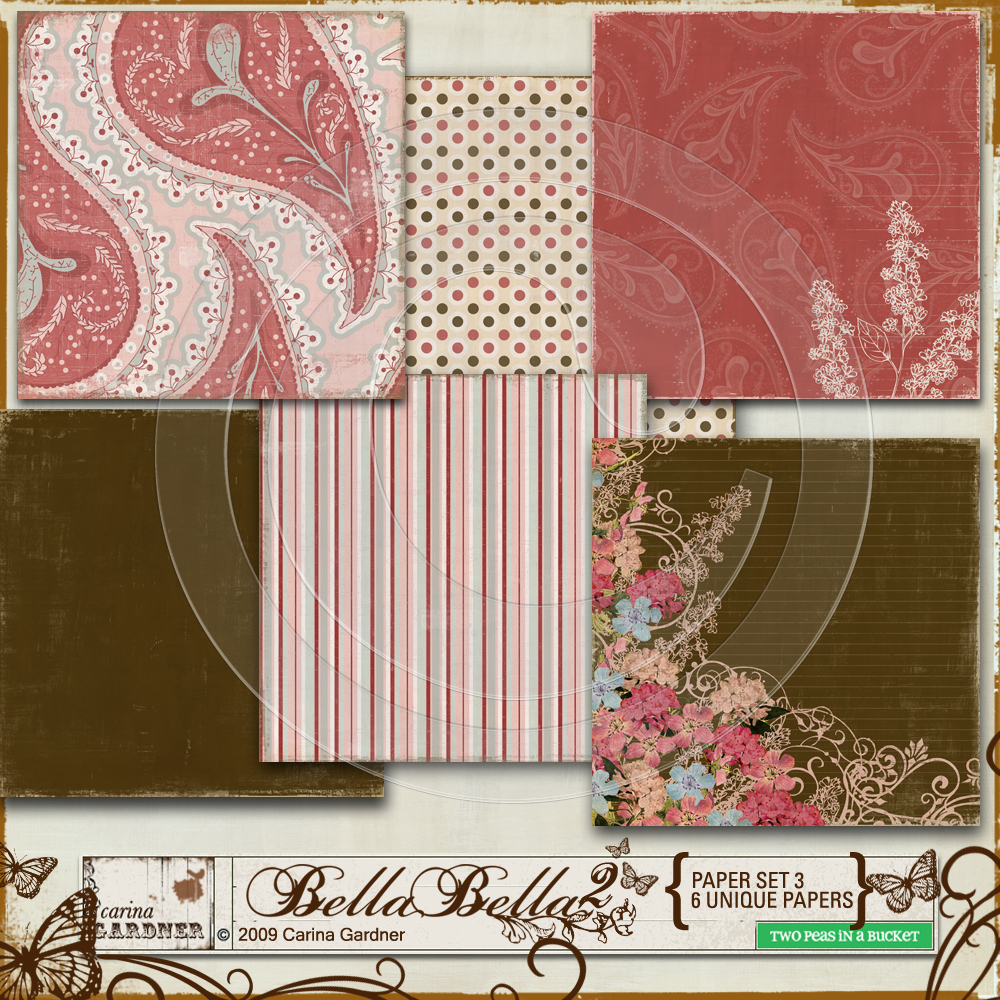
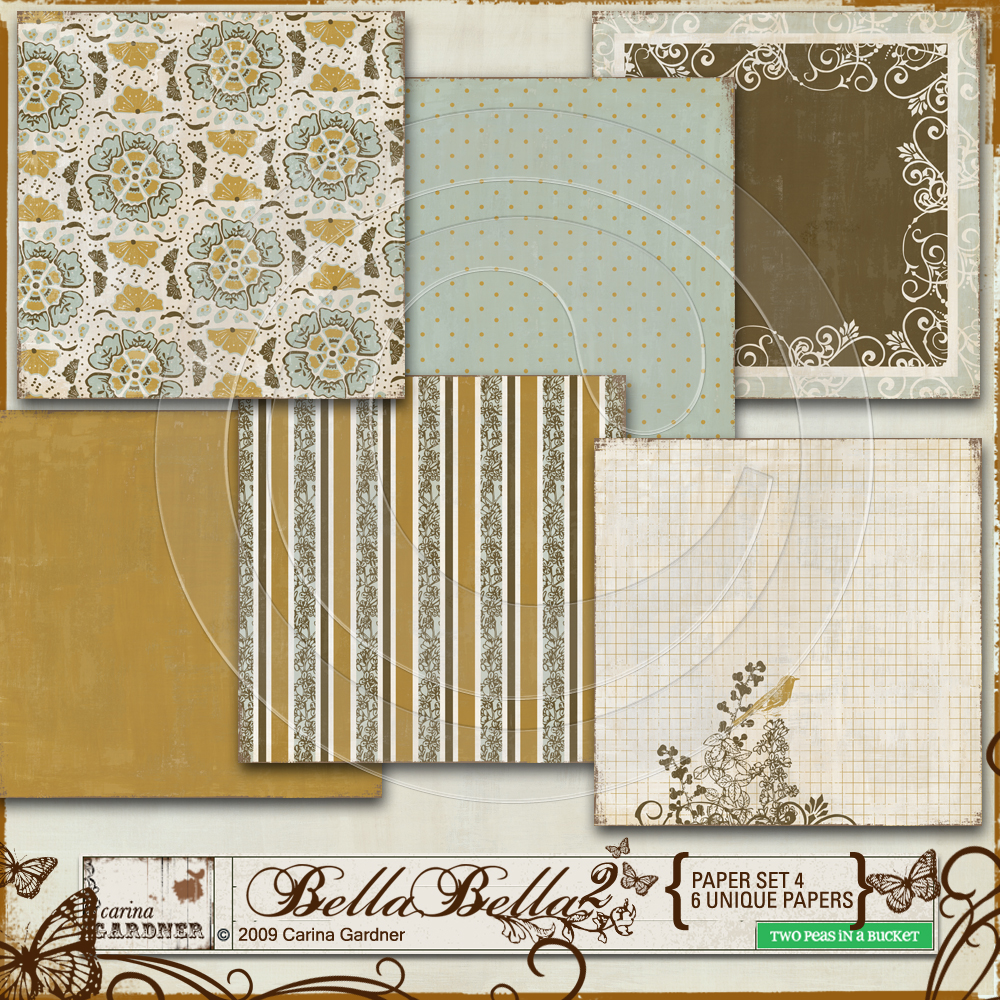
Tuesday! It’s basically turned into my most anticipated day because it’s so fun to see all the new designs at 2Peas! Mine this week is the continuation of Bella Bella 2 (you’ll see paper packs and albums from this line continually released over the next month!)

To see the entire collection so far, click on the flickr slideshow to the right. There are brand new releases along with everything in the entire line (you can get it all at Two Peas in a Bucket!)

Link to entire digital Bella Bella Collection (1 & 2)

Link to paper Bella Bella Collection-Bellezo Paper Pack & French Flea Market Pack at 2Peas (You can also find these at your local scrapbooking store.

This weeks releases:

carinagardner_2ps_bellabellaset3prev

carinagardner_2ps_bellabellaset4prev

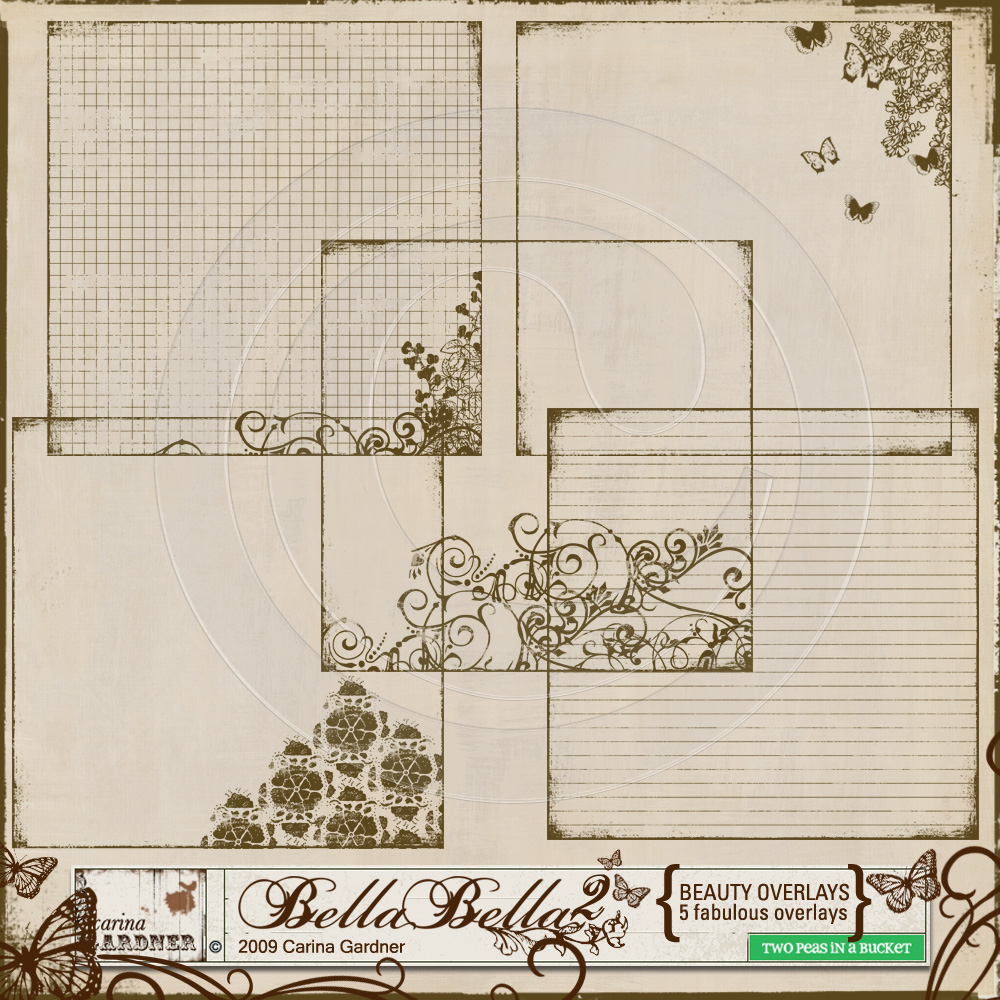
carinagardner_2ps_bellabella_beautyoverlaysprev

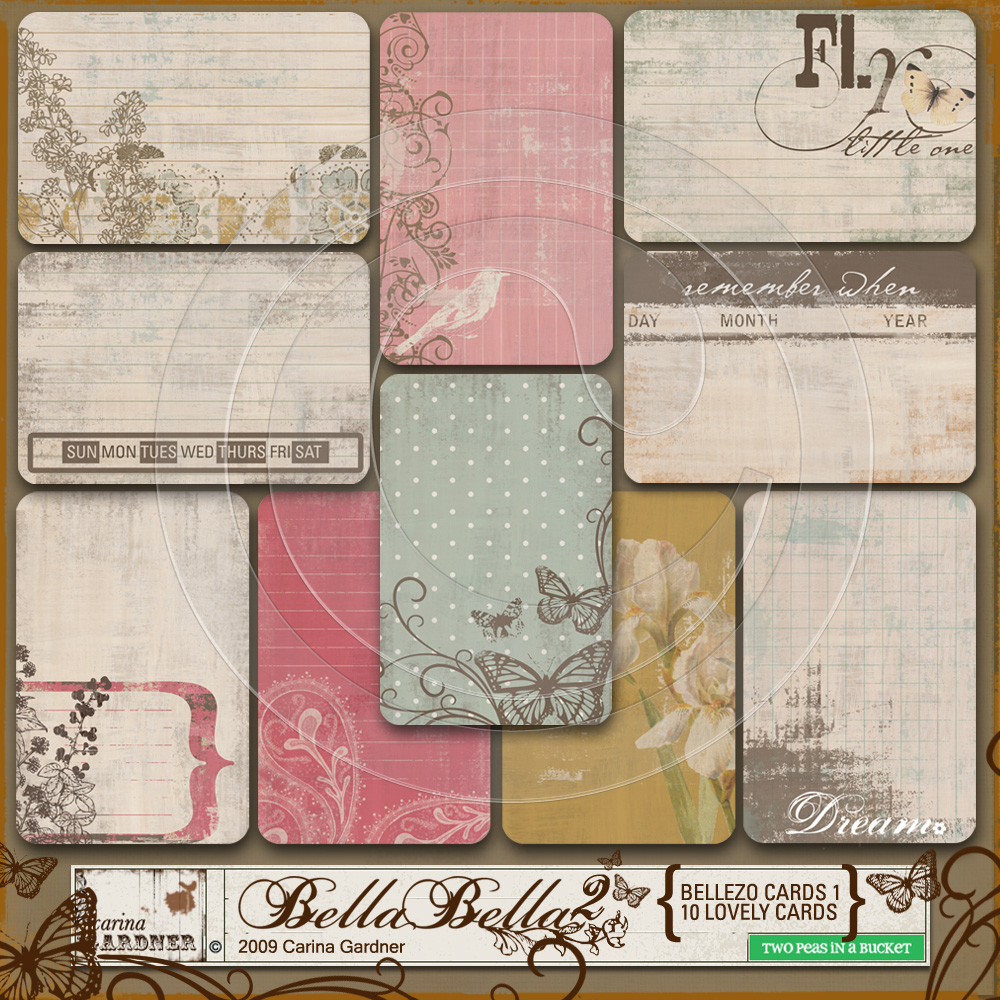
carinagardner_2ps_bellabella_bellezocards1prev

[ad]

Silhouette Design Store JOANN Stores

Bella Bella: Find it in Paper, in Digital, and at Two Peas in a Bucket

So I didn’t plan on posting twice today but as I was browsing 2Peas, I noticed that my PAPER line Bella Bella from My Minds Eye is on sale there now!!!!!! To top it off, I’m have a 15% off sale coupon at 2Peas with my digital products which includes the digital release of some of my new Bella Bella 2 line. 

Melanie, the Community Manager at 2Peas also just featured one of Bella Bella’s packs on here blog. Check it out here. I’m in seventh heaven right now!!!!!

147169_200x200 147190_200x200

[ad]

Silhouette Design Store JOANN Stores

My Disappointment | Domino Magazine Will No Longer Be Published

I was just on the Domino Magazine website and what do I find on the front page? That they will no longer creating this fabulous magazine. It’s right about now that I am SO glad I saved most of my issues (I told you they’d come in handy, husband!). I loved this magazine because it always showcased beautiful “stuff” with a sophisticated flair. My favorite thing about this magazine was that they told you where they bought everything and how much it costed. Do you know how invaluable that is? I don’t know how many time I’ve been reading a Martha Stewart or Dwell maggy and LOVE something but can’t find it on the web ANYWHERE! It’s maddening. So this is my sad farewell to Domino! You will be missed!

[ad]

Silhouette Design Store JOANN Stores

I’m on Apartment Therapy! Give me a Thumbs Up!!!

I just found out that my project (posted below) was selected for the kids division for the etsy/apartment therapy contest!!!!! I am SO thrilled! Please go give me a thumbs up!

http://www.ohdeedoh.com/ohdeedoh/february-jumpstart-2009-entries/how-to-kids-art-area-s-february-jumpstart-project-2009-076878

Thanks for the support!!!!


[ad]

Silhouette Design Store JOANN Stores

Frame it! My Kids’ New Chalkboard for the Kitchen!

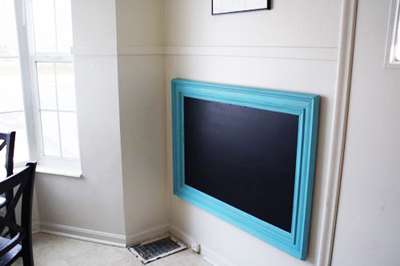
I must admit that domino magazine is the devil. First off, I wouldn’t have gotten the idea to start re-decorating my living room if I hadn’t actually taken a break from working to read the darn magazine. If I hadn’t started thinking about redecorating, I wouldn’t have come up with the idea for a chalkboard project. If I hadn’t come up with the idea for the chalkboard project, I wouldn’t have decided I need to do a few things to update my kitchen too. So here I am, redecorating away! This was my first finished project of the weekend! I’m glad I did it because the girls love it! 

Cost (about) $35

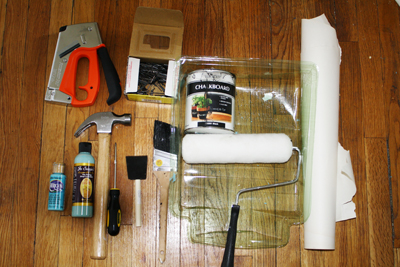
Materials

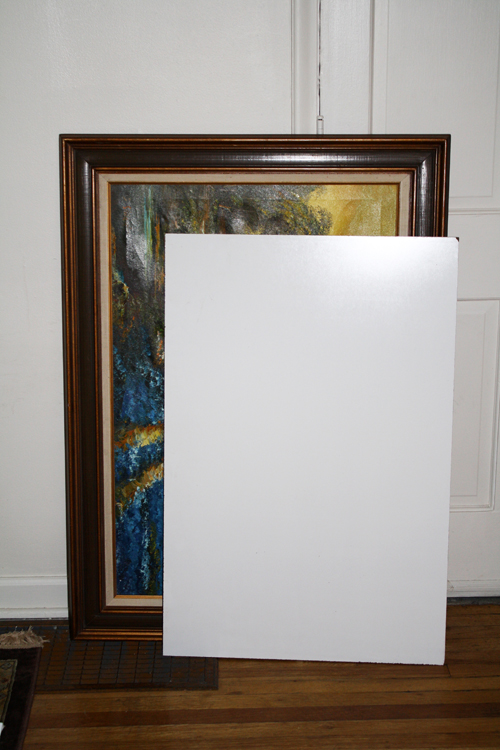
Old Frame (bought at an antique store) ($10)

Large piece of white board ( 4′ x 8′) cut down to 24″ x 36″ ($13 from Lowes)

Staple gun, staples

Paint (2oz bottle of paint or enough to cover surface of the frame) ($3)

Paint Brush | Sponge brush

Roller

Paint Tray

Chalkboard Paint ($13)

Hanging Hardware

Hammer and nails (for hanging)

carinagardner_tools_sm

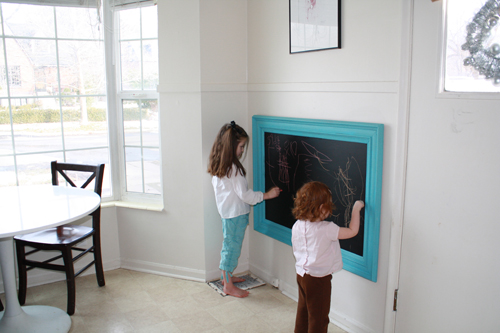
I like to have my kids in the kitchen with me while I cook (they are usually running back and forth between me and the living room). I needed an art area that didn’t require me cleaning up the table so I came up with this framed chalkboard piece. I’m in a rental so I needed a pretty way to display the board (I couldn’t just paint the chalkboard onto the wall), plus, who doesn’t like a pop of color that looks like art?

1. If you bought an older frame or something that had artwork in it, you’ll need to pull out all the staples. My frame was bought from an antique shop for $10 and had a lot of old staples that needed to be pulled.

carinagardner_before_sm

2. Paint the frame the color of your choice (I went with a seafoam blue) with your paint 9I used acrylic) and sponge brush or paint brush. Let dry and cover with a second coat if needed.

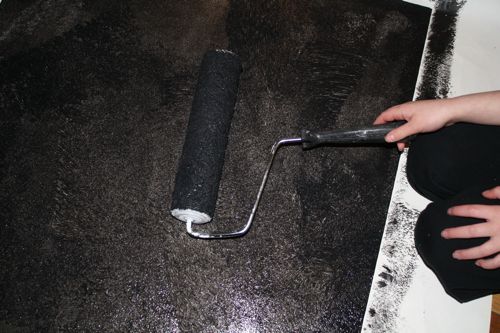
3. Paint the chalkboard paint on the large piece of white board (mine was 24” x 36”). I covered it using the roller to get a smooth finish for the first coat. I let it dry for 24 hours and then rolled on a second coat. I touched up with a paintbrush.

img_0748_sm

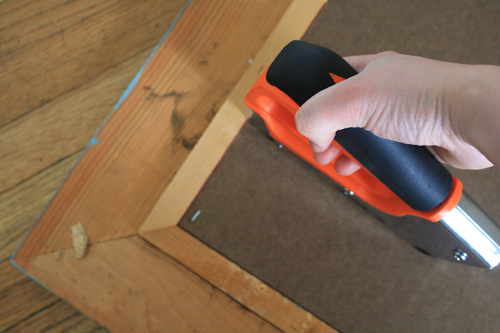
4. After the chalkboard area has dried I stapled the chalkboard piece to the frame using the staple gun.

carinagardner_inprogress_sm

5. I added hanging hardware to the back (follow your hardware instructions) and hung on my kitchen wall.

withoutkids1 

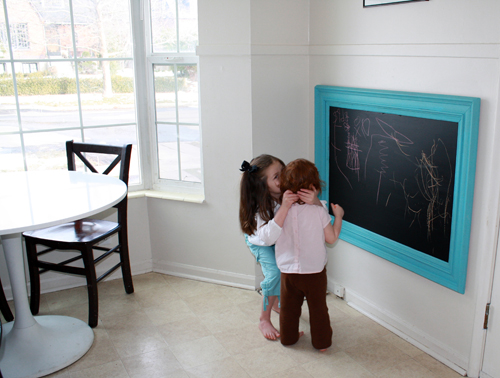
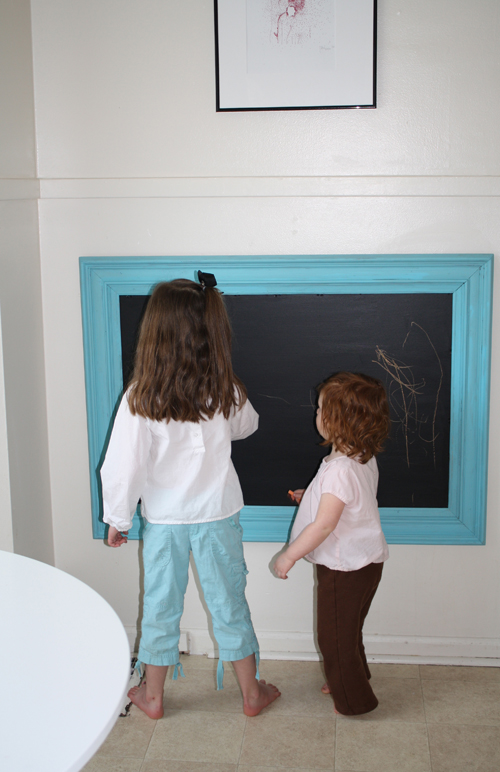
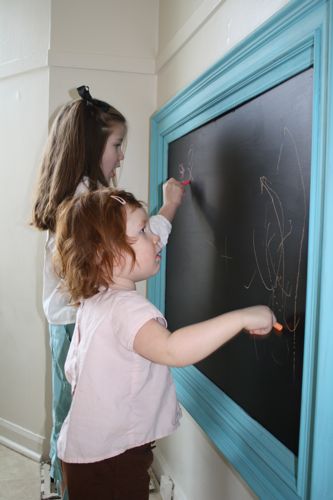
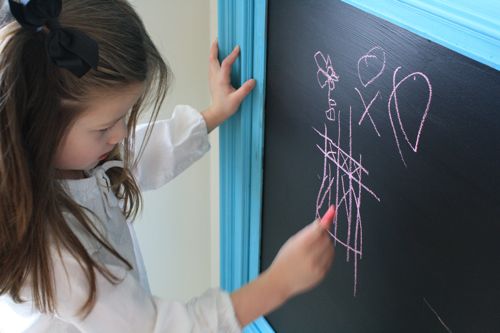
Here’s the finished product. And here’s my girls enjoying it! Yesterday Siri was helping me cook dinner and she would run between me and the stove (I’m taking the picture from the stove/sink area) and was writing down the instructions (coloring little pictures) on the chalkboard as we made dinner. It was SO cute! I especially liked here picture of the strawberry!


carinagardner_finished1_sm

carinagardner_finished2_sm

Some of my helpful hints

The white board I bought was from Lowes and came in 4” x 8” sheets. I ended up with 2 other HUGE sheets that I just let the kids doodle on until I get around to framing them as well. From this $13 sheet you can basically get 3 great art areas.

 I try to find frames at antique stores, thrift shops, and discounts stores like Home Goods and Tuesday Mornings because then I don’t feel bad about the price and painting it!

img_0773_sm

img_0788_sm

img_0777_sm[ad]


Silhouette Design Store JOANN Stores

My First Artists Date: Antique Shopping

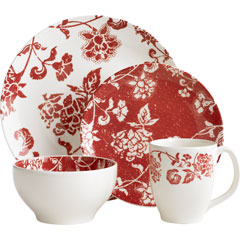
I FINALLY got around to doing my first artists date. I decided to get myself to an antique store for a project I’ve been meaning to do. I also quickly dropped by Pier 1 to take a look at their sale. Okay, before I go any further and show you what I bought, I need to defend my decision to do an artists date that looks ALOT like aimless shopping:). As a working mother, I never actually leave the house on an errand that is SPECIFICALLY to make my house prettier WITHOUT my kids. Well, at least not since I moved to Salt Lake. I’ve sort of just been getting by in our rental house. However, I’ve been feeling a very strong urge to decorate my living room and kitchen the last few days. I had a couple of projects in mind and I needed to get the materials cheap. one thing I knew I wanted was a very large frame. I also wanted  to check out the local antique store. So, I found a place called Moriarty’s Antiques. I managed to arrive Saturday morning at 10:30am and it didn’t open until 11:00am. Pier 1 was just around the corner so I popped in for a second. They were having a serious sale (a reason I hardly wander out of my house during the January through March months! I ended up buying the red plate in this set:

2257834I only saw the little red salad plate, which I bought all 12 they had in store (now that I see the whole set, I wish they had the bowl in the store too! I would have grabbed that baby up!). I have a set of Crate and Barrel white dishes and this red plate is the perfect accent! How much did I get those darling little plates for? $1.50 a piece… $18 later I’m a happy girl! 

At 11:00am, I was headed to the antique shop where I meandered for an hour. Oh happy, meanderings!!!! I love this artists date thing. I just love antique stores because you can really find unique and loved items that have so many uses…I like finding some new use for these old items! I ended up buying a monster frame that was hideous for only $10!!!! And I’ll show it to you soon (I promise) because ever since I bought it, I have been dolling it up for a fantastic kids/kitchen project.

So I would consider my first artists date a total success. I just like giving myself the chance to see something different and new. And I’m addicted now! I can’t wait for the next one!

[ad] 

Silhouette Design Store JOANN Stores

Discount on My Digital Scrapbooking Products at Two Peas in a Bucket!

I’m having my first ever sale at Two Peas in a Bucket! My entire store  (all 87 products!) will be 15% off from Tuesday, February 17th until Monday, February 23rd. This will include my first 3 products being released from the Bella Bella 2 line (To see the Bella Bella 2 line, just click on the flickr video to the right. Products come out on different weeks during February – March, so check back and see the new products as they are added!)! Enjoy! 


carina gardner's discount at two peas in a bucket

[ad]

Silhouette Design Store JOANN Stores

Why the Empty Space?

I have been meaning to write on this topic for sometime, but have kept putting it off. So here it is, a look at empty space and why designers love it and others do not. I started thinking about this because I was doing a project for work and had created this beautiful front cover for a program. The design only covered about one third of the area and was situated in the bottom left corner of the page. The design was sent back to me with a HUGE logo to cover the top portion of the program to “get rid of the empty space.”

So my question is, Why are people afraid of empty space? I have heard some of the following remarks: it’s boring, it doesn’t look like much time was spent on it, it’s too simple, or it makes it more interesting if it is all covered up.

It’s interesting that these are some of the reasons why “empty space” is a problem. First of all, empty space, or negative space or white space, as a designer would call it, is really important all on its own. Negative space allows us to focus in on what is important and to draw contrast between the foreground and background. The important thing is to make good use of your negative space

What do I mean by this? I mean, make your “empty space” count. Make it important. You do this by really creating an interesting shape with your background or doing things in the design that makes the foreground that much more important. 

I think the use of negative space and this question of “use of empty space” brings up the question of what a designer’s responsibilities are. Is our only job to to make things look pretty? I hope not. When I first got into design I felt like it was the perfect marriage between marketing and art. As far as I’m concerned, designers are organizers. We take visual information and organize it in a way that it is easy to understand visually. That’s why negative space is so important. We need it to help organize the different elements that need to co-exist and give accurate information.

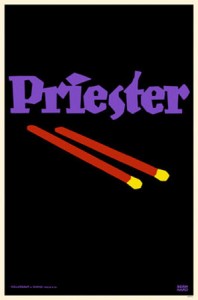
One way to do this is to simplify your designs. Probably the most famous example of a designer who decided to simplify his design is Lucian Bernhard. This German designer entered a competition for Priester matches and started out with a design with multiple layers of information and imagery. He stripped away everything until all he had left was the brand name and image of the product. 
mp5712priester-matches-posters

He won the competition because the poster clearly showed off the product and brand name. As a designer, that’s our job. To create focal point, the area where the eye rests or concentrates, that is strong and lets the audience know right away what the message is.

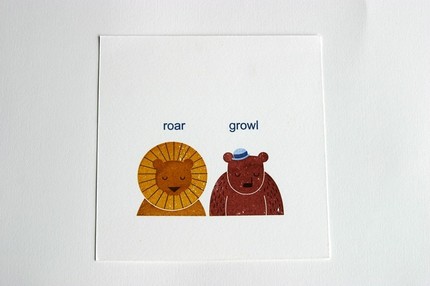
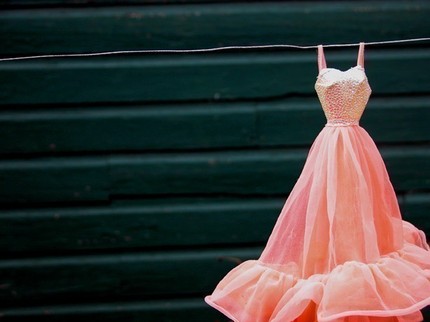
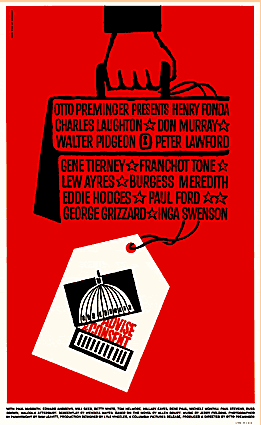
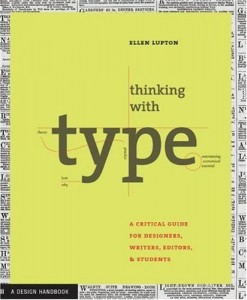
Here are a few examples negative space used well. Look at them and think very carefully about what your eyes is drawn to. Is there a logically way that you automatically look at this? Are you reading it left to right? Top to bottom? Or does the designer push you another way. 

Saul Bass (famous for his movie poster)
 

saulbass

KidsHaus RoarGrowl

growl-roar

Milton Glaser’s Bob Dylan Poster

dylan_poster

Michelle Brusgaard Photograph

mb_dress

Ellen Lupton’s Thinking with Type Cover
thinkingwithtype

BluLima’s Let Them Eat Cake Screenprint Poster
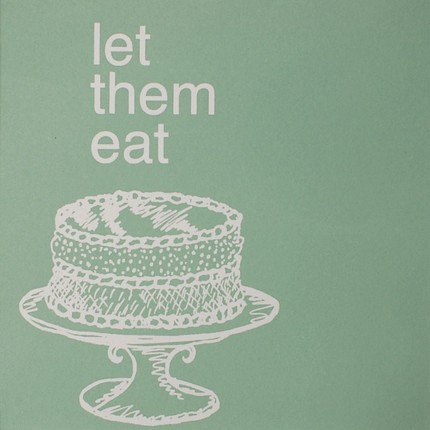
letthemeatcake

These are just a few examples to get you thinking about negative space. One thing to be aware of is that negative space doesn’t have to be completely solid…it can be a pattern, texture…as long as it acts as the background. I just got a Nordstroms catalog in the mail that does this very thing. Lots of little watercolored silhouettes make up the background and add interest to the cover without taking away from the foreground image.
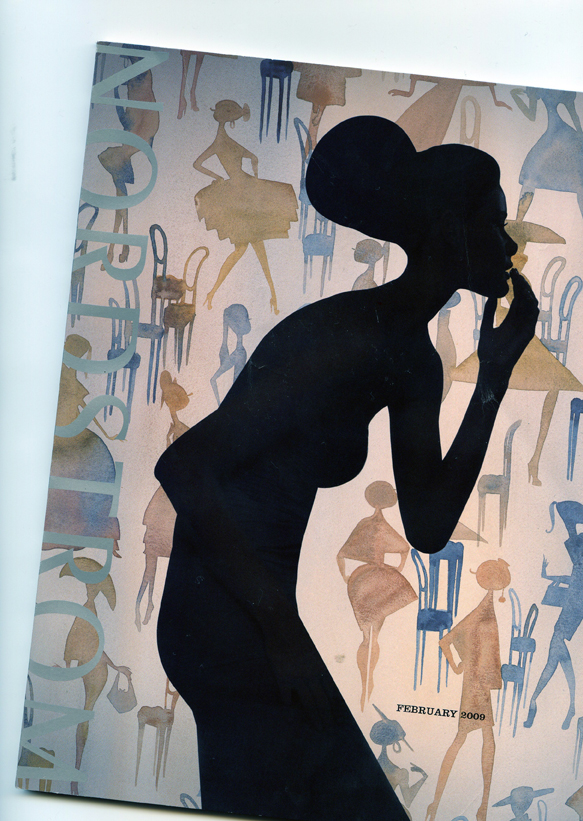
nordstroms

Here’s an article that explains how to use negative space in your artwork. They show some truly minimalist work where negative space is the main event. Check out the image with the -1. See how the use of texture still acts as negative space? Visit Tutorial 9.
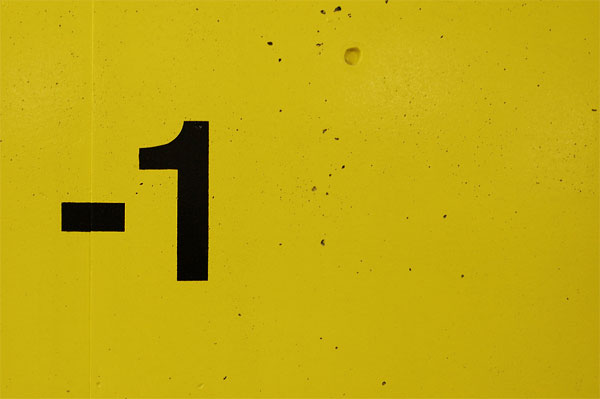
negative1


Resources that you should check out!

Here’s a short article from a web designer who has a similar perspective on use of negative space. I like his short story and advice. Check out MyIntervals.

[ad]

Silhouette Design Store JOANN Stores

Valentine Gifts for Preschoolers

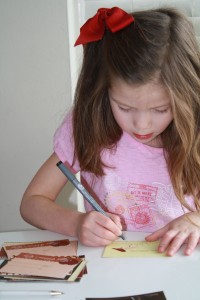
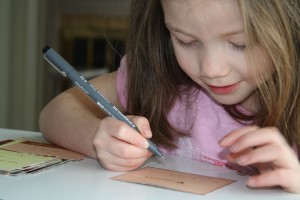
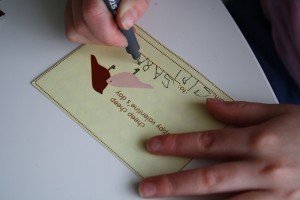
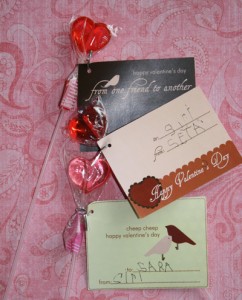
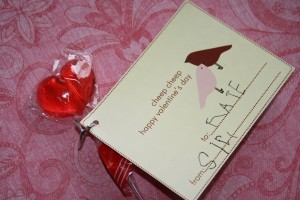
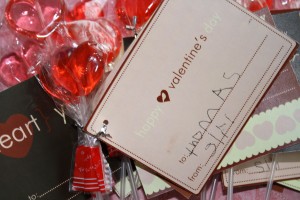
I posted my valentine freebie from card nirvana earlier, and we actually used  them today for Siri’s preschool class! I printed them out back and front, Siri wrote in all her schoolmates names. We then attached the heart lollipops to the cards by punching a little hole in the corner. Fast and sweet…just the way it should be!

img_0654

img_0647

img_0656

img_0661

img_0665

img_0669

A note about the chocolate cards—we used a white gel pen to write on them! You can write on them with black ink, but it’s a little hard to read.

Want to grab these free cards? Grab them here from Card Nirvana, my digital invitation store!

**The Card Nirvana download is no longer available! You can now download them directly from this link:

https://carinagardner.com/valentineskiddiecard.zip

[ad]
Silhouette Design Store JOANN Stores

Kitchen 123: Valentine Project and Heart Freebie

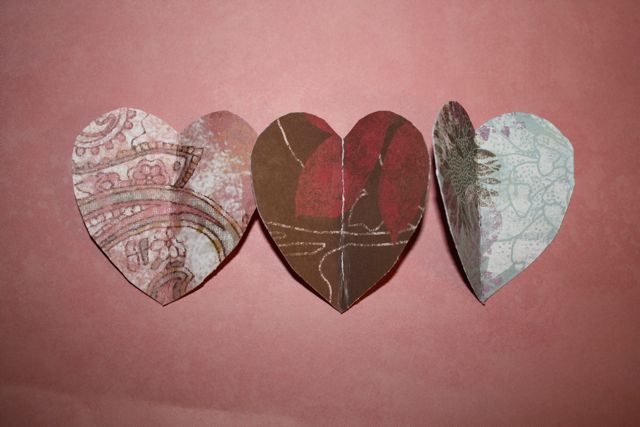
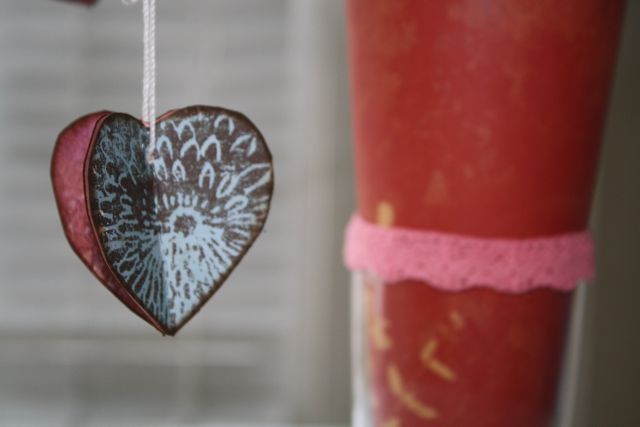
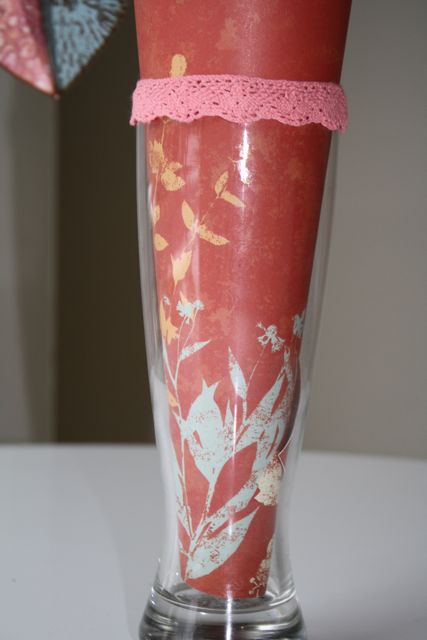
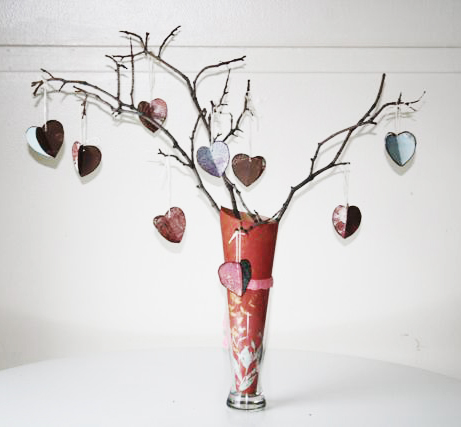
As Valentine’s day is approaching, I decided to be festive and actually do a project. You know, one where I am not on the computer. Ya, that doesn’t happen a lot. lol. If you want to make this heart tree, it’s SO easy and really inexpensive. Use any paper you like…my paper is the Bohemia line from My Minds Eye. I made 9 little “heart trios” as I call them, but you can make any number you like. So here’s the project: I took branches from outside and placed them in a vase. I used a piece of scrapbook paper, rolled it, and stuffed it in the vase. Then I put on these little heart trios. Here’s how to make them:

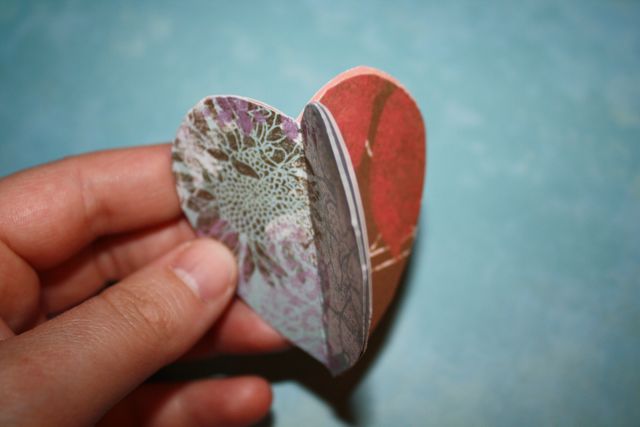
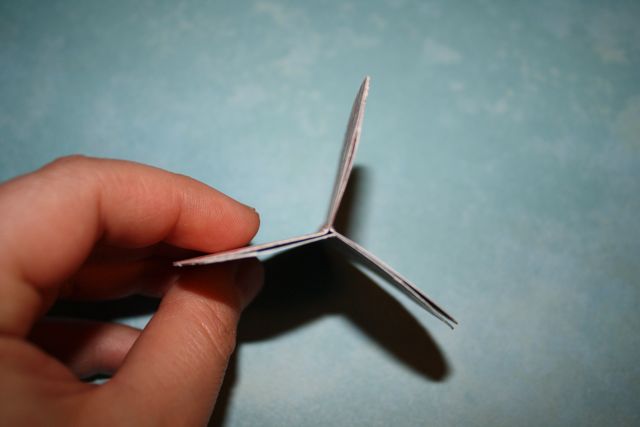
First, download my heart freebie here. Print is out as your template. Then you are going to want to cute out hearts from 3 different types of papers. I actually folded my heart template in half and folded the scrapbook paper too so my hearts were symmetrical. Then you want to glue stick three of the hearts together so they look like so:

img_0573

img_0572

img_0569

I then punched a little hole in each of these with a “baby” hole puncher. and hung then on string. I think ribbon would be cute too, but at the moment I don’t have ribbon thin enough for this project. So string it was!

img_0586

img_0597

I did tie a little crochet lace around the top of the vase. I love how graphic this paper is because it feels so organic. I’d also suggest painting the branches white. I didn’t because I like the natural feeling of the branches, but I think that it could be a cute alternative.

img_0600

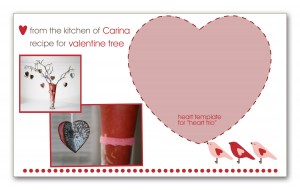
Here’s my Kitchen 123 Recipe card I made to file away this project (See the recipe card post).

carinagardner_2ps_kitchen123_holidaytabs_recipecard_valentine_ex

Grab the heart template freebie at my 4shared link: Heart Freebie Template

[ad]
Silhouette Design Store JOANN Stores

Kitchen 1 2 3: New recipe card sets coming to 2Peas…See How I Used Them

My kitchen recipes has been a sore spot for, well, forever. I usually keep everything in a plastic bag or pushed into the cook books I love the most. Not exactly contusive for say, actually, FINDING a recipe. And I really do have tons of free floating recipes…things I have ripped out of magazines, recipes friends have written on napkins for me, my grandmother-in-law’s pie crust recipe. They are just floating around the house…not the least bit usable until I think of one and dig it out.

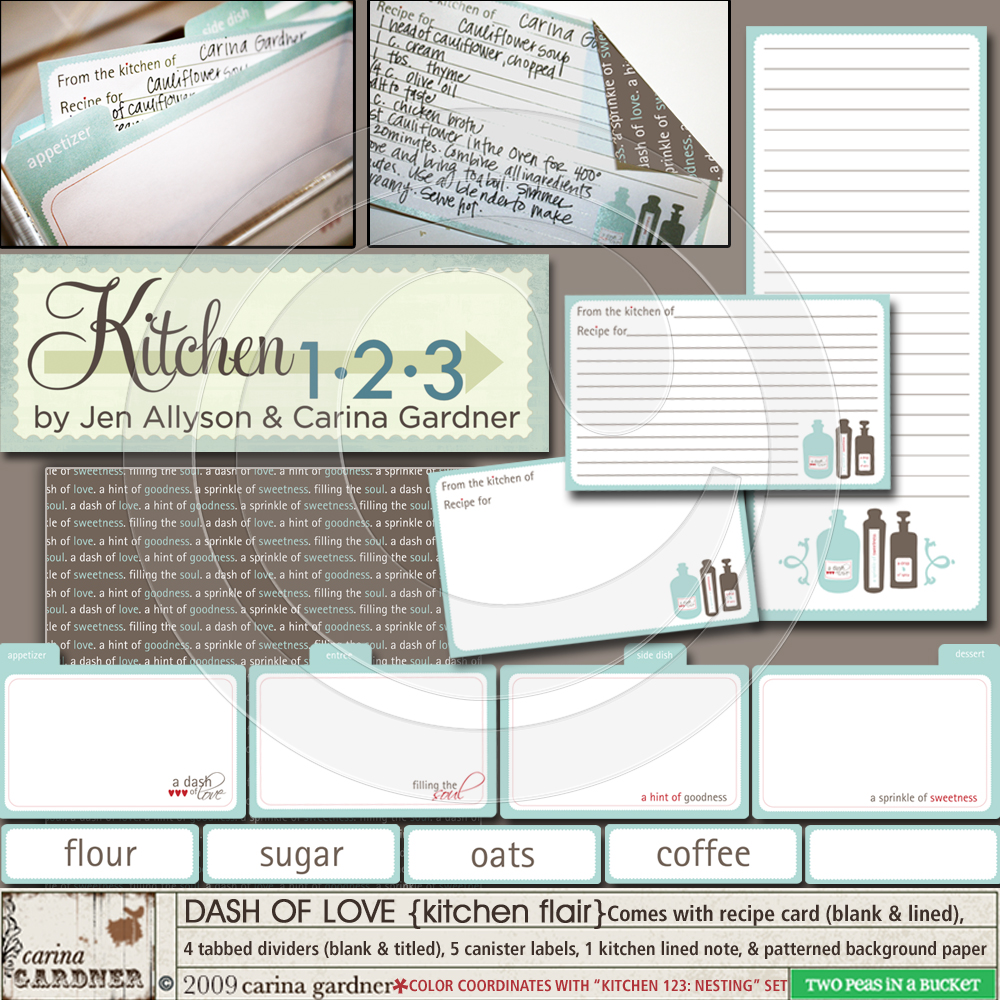
So almost more for me than anyone else, I created a line with Jen Allyson at 2Peas that will be released on Tuesday (Feb 10) called Kitchen 123. It is a recipe organization system. I created 2 different types of tab systems and a holiday tab set that I plan on using for more than just kitchen recipes, but for projects too. I’ll post my valentine’s day project so you can see! But for now, here’s how I used the recipe cards:

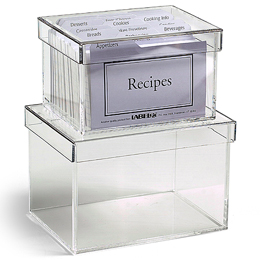
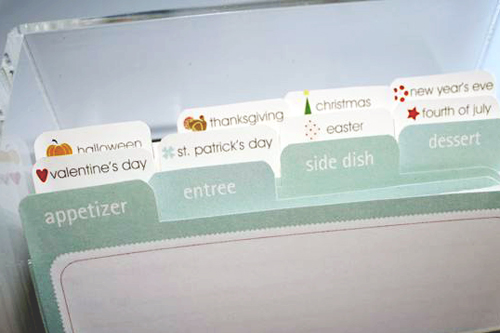
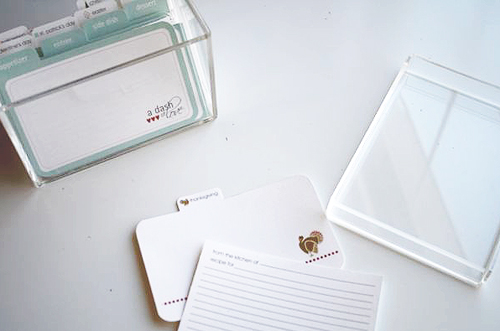
First, you need to find a good “box.” I know if I do this, then it will make it special. I think it would be cool to make the box a project itself. If you do this, post a link in the comments to you photo or blog post on it! I decided to go with something really clean that would show off the design. I got this box from the Container Store. These were MADE to put something pretty in!

20042


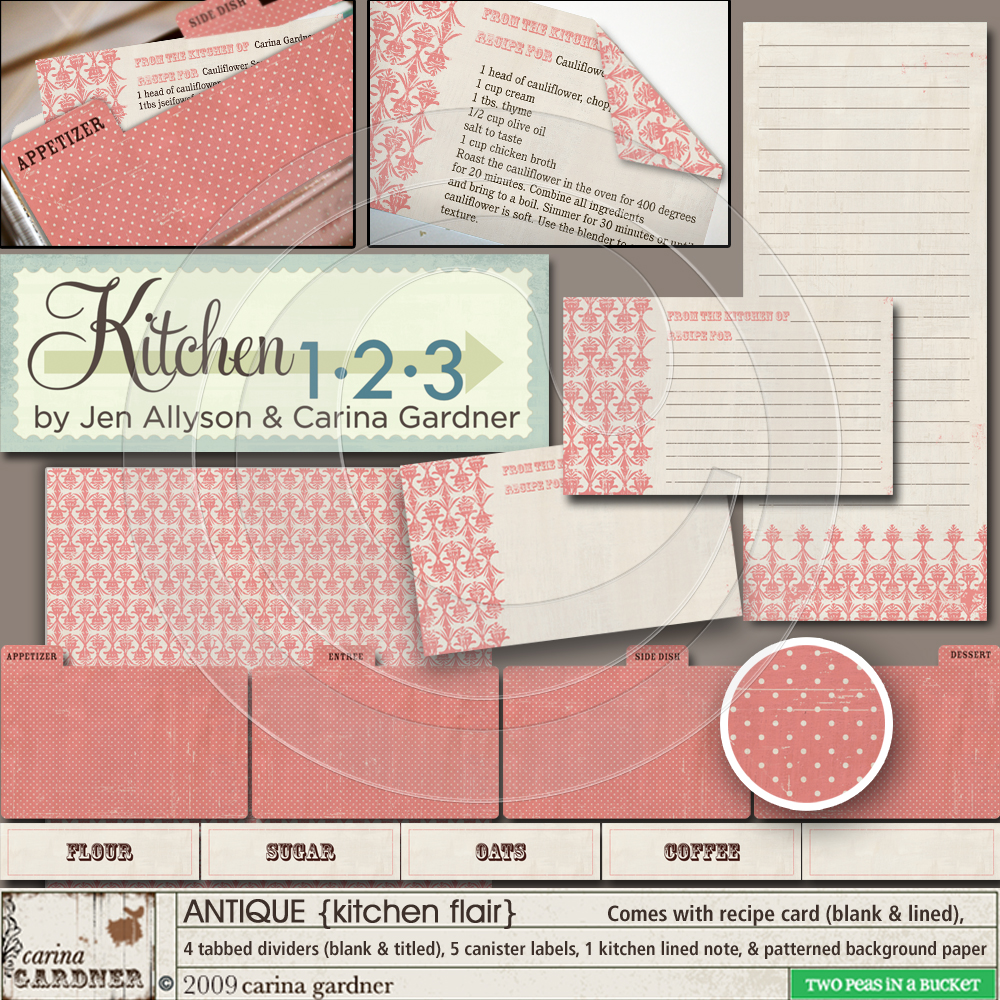
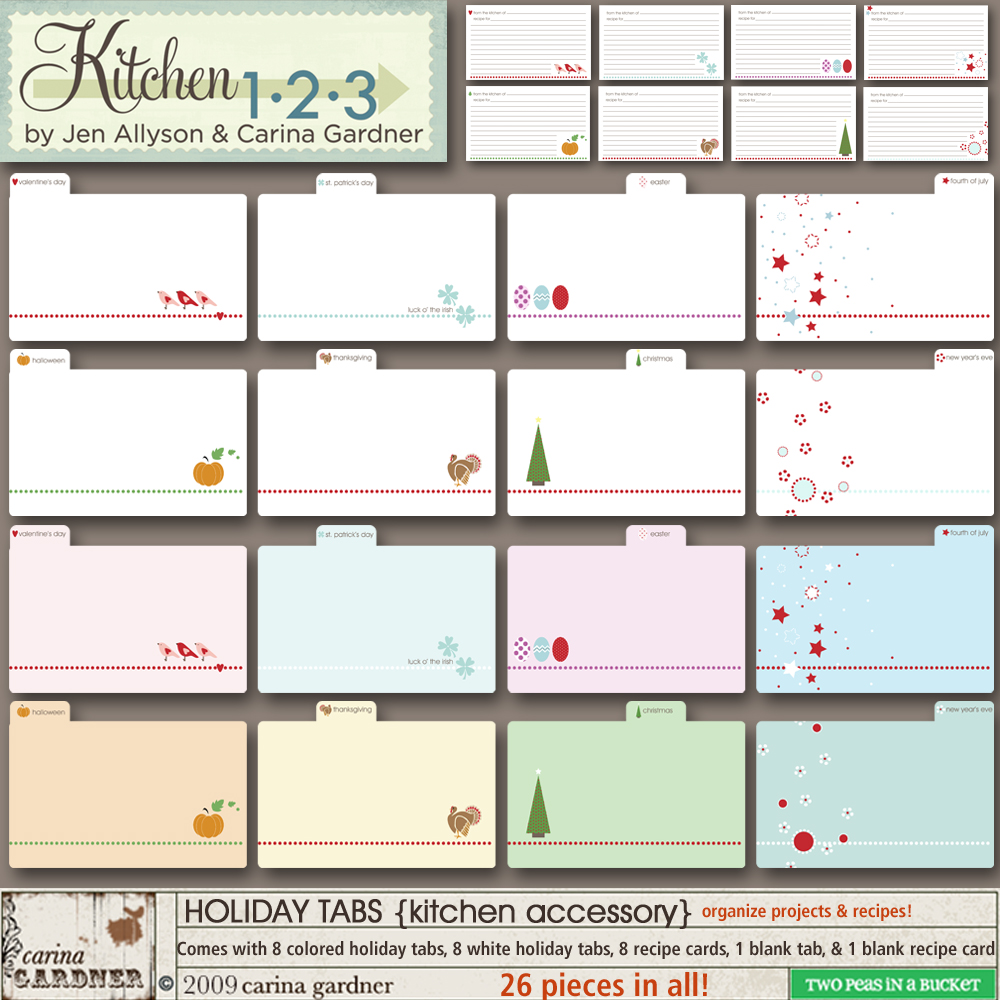
Here are my previews of the recipe sets I did along with the photos I took of the box I put together for me. I’m sure as I add cards to it that it will change and grow. But the best part? I plan to keep most of the cards digitally so if one gets oil or water on it, no problem! Just re-print! I did print extra cards with lines though so I could have one handy to write up a recipe. I don’t know how many times I’ve had someone over (or I’ve been over someone else house) and I asked for the recipe. They it would get written on a piece of paper and, inevitably, end up in my plastic sack!

carinagardner_2ps_kitchen123_adashofloveprev

carinagardner_2ps_kitchen123_antiqueprev

carinagardner_2ps_kitchen123_holidaytabprev

The last one it my favorite! I plan on using it for projects AND recipes! I’m totally making a post on 2peas to get people to give me their holiday projects and recipes!

recipecardbox

recipecard1valentinecards

Silhouette Design Store JOANN Stores

Valentine’s Releases at Two Peas in a Bucket

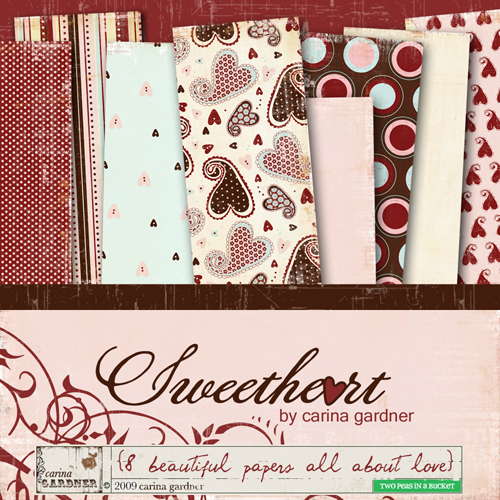
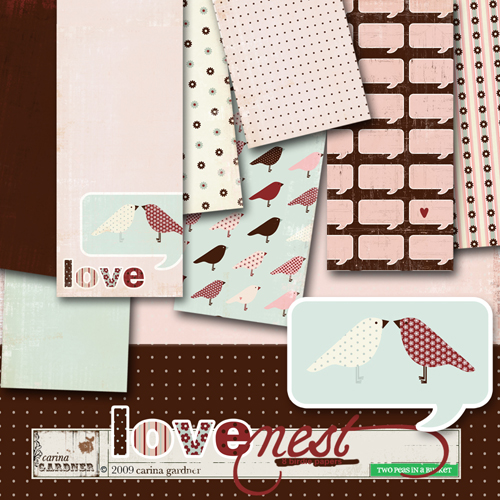
You may have already seen these two valentine paper packs that I released at Two Peas in a Bucket this week, but in case, you haven’t, here they are:

carinagardner_2ps_sweetheartprev_sm

carinagardner_2ps_lovenestprev_sm

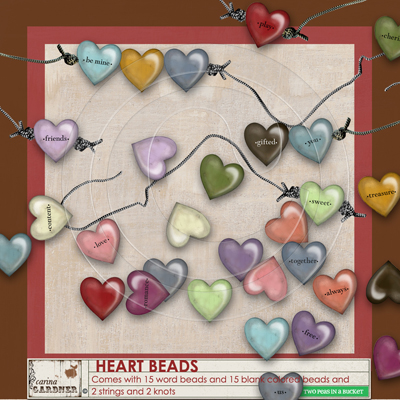
This coming week, you’ll also see this fun Valentine’s release from me (Released Feb 10th).

carinagardner_2ps_heartbeadsprev_sm

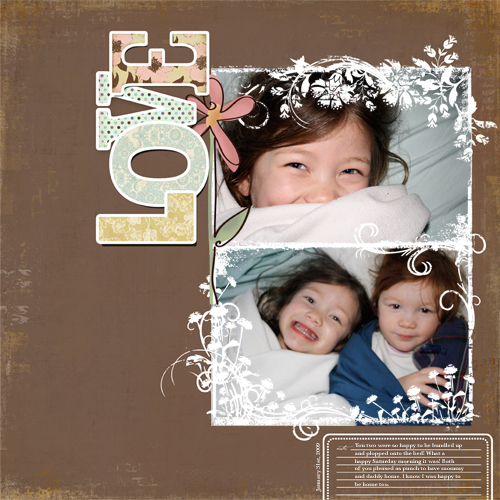
I love holidays and it was fun to put together this stuff for I {heart} you day! Here is the layout I did using the Sweetheart paper pack, Love Nest paper pack, Heart Beads, and the Paris & Co. French Frameups.

carinagardner_2ps_lovenest_sirilayout_sm

This is my little girl, Siri. Seriously, this picture makes me smile so much!
[ad]
Silhouette Design Store JOANN Stores

Second Day of Morning Pages

So this is just a quick entry about the morning pages I’m doing for the Artist’s Way. Today was the second day of doing them. It was VERY hard to get myself to do them. The first day it was exciting and fun to do them (and therapeutic). But this morning, well, this morning I had to get up at 6am to do them. I think most of my sentences said, “I’m so tired. Going to back to sleep for a second.” I am glad I did them. I think they helped.

Silhouette Design Store JOANN Stores

A Couple of My Digital Scrapbooking Layouts

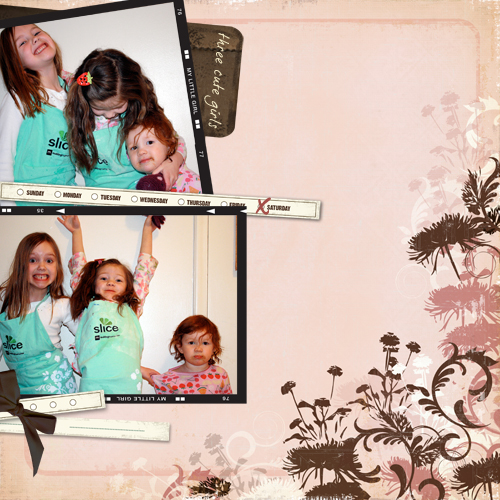
Here are a couple of layouts I did using my Paris and Co. Collection at 2Peas. These layouts will also be on sale on Feb 10th with the Paris and Co. 12 x 12 Album! I used the French Frame Ups, Mixed Up Alpha, Princess Papers, Lazy Days Doodles, French Solids, Lil Traveling Journal Bits, Ribbon Stash, Elementary 2 Stitching, Journaling Stamps, Elementary 2 Card Board Cutouts, Elementary 2 elegant alpha brushes.

carinagardner_2ps_parisco_album12x12_9_sirifliss_sm

carinagardner_2ps_parisco_album12x12_2_csf_sm

carinagardner_2ps_parisco_album12x12_1_sm1

Silhouette Design Store JOANN Stores