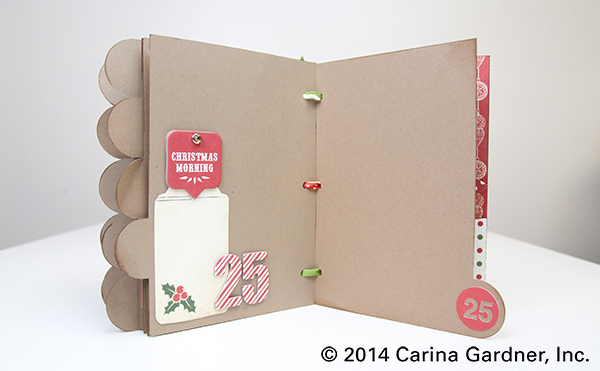
Open When Envelopes—Last Minute Meaningful Homemade Gifts
Last week I came out with a brand new series of envelopes called OPEN WHEN. It’s a wonderful meaningful gift, and I am making a set of envelopes with box for Josh for Christmas. If you want to see the instructions and everything in the series, go here: https://carinagardner.com/silhouette/carinas-open-when-series/. If you want to look at the current printables for this series, go here: http://www.carinagardnershop.com/index.php?option=com_virtuemart&page=shop.browse&category_id=56&Itemid=2
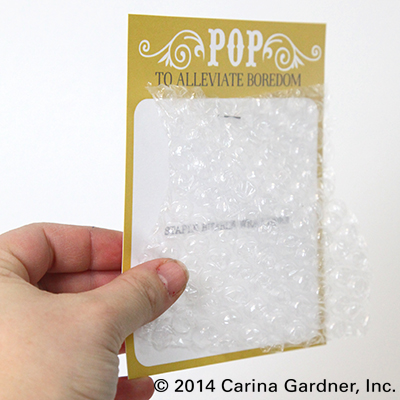
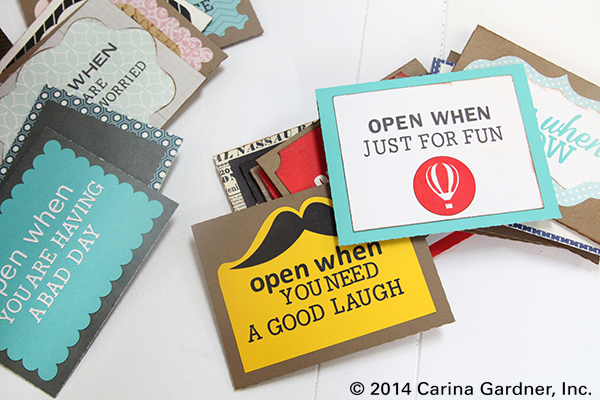
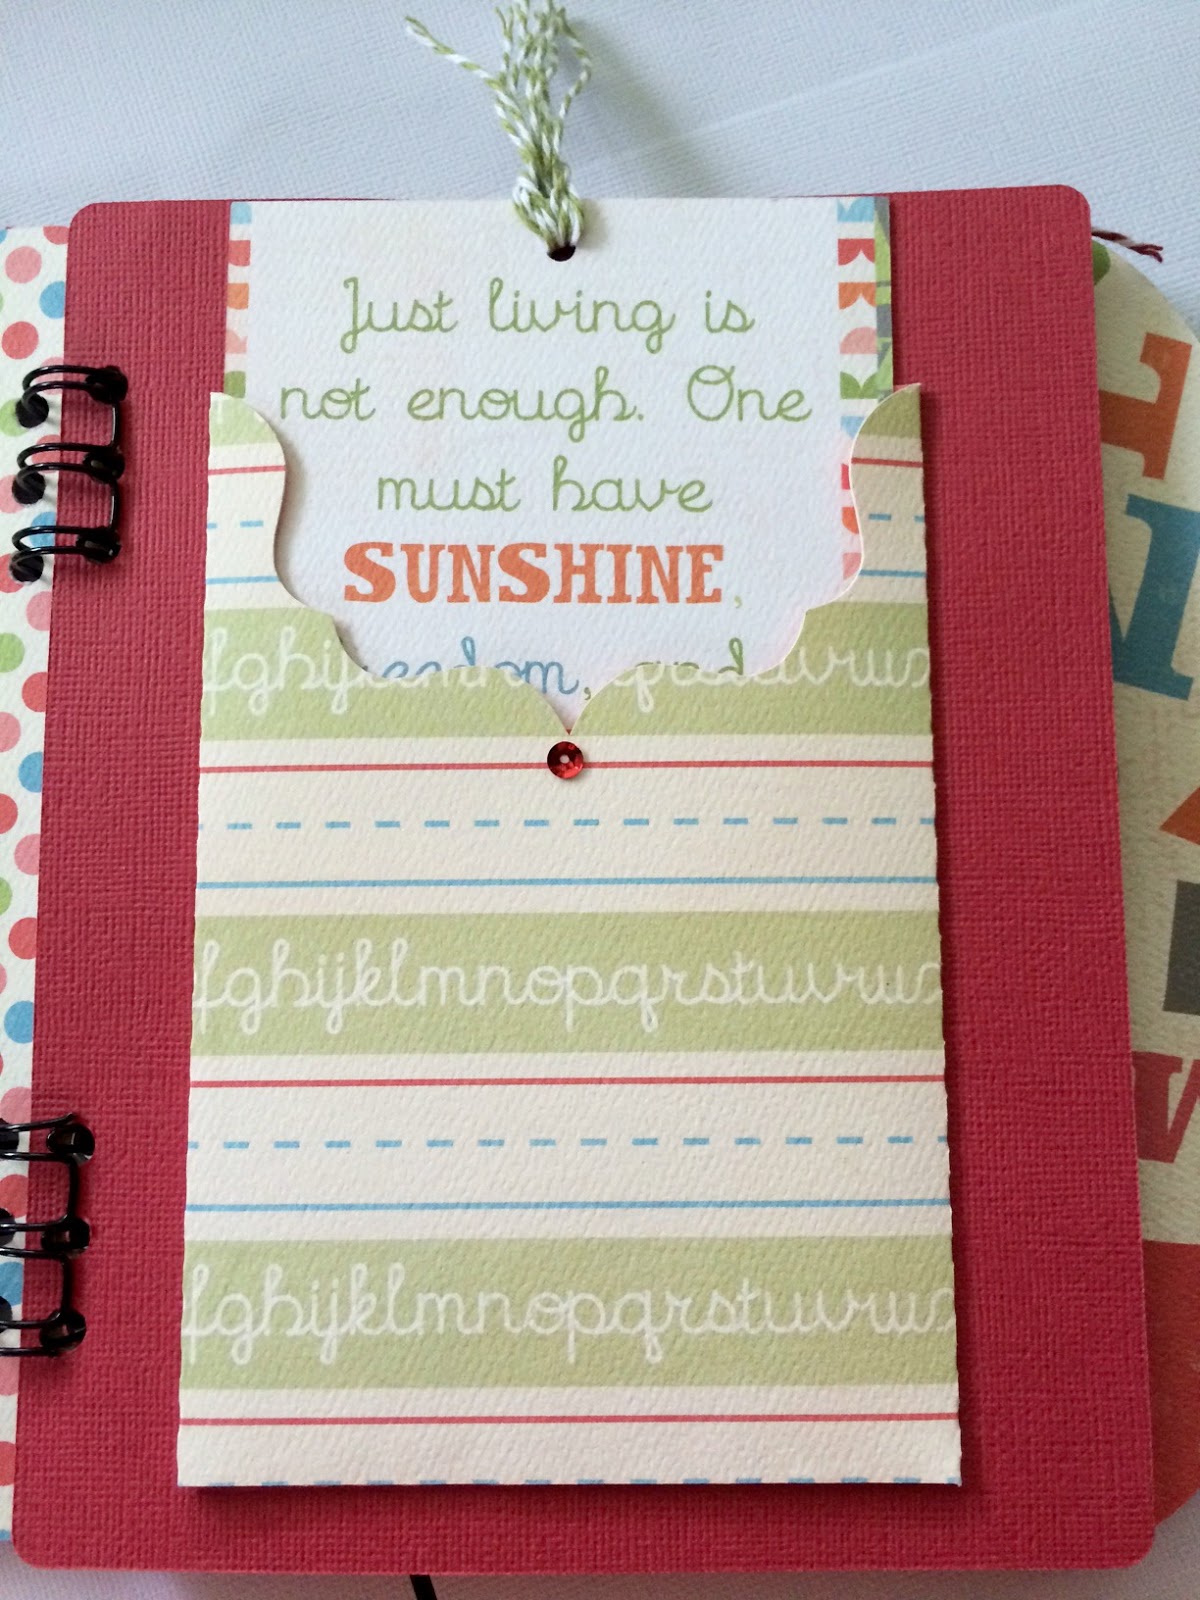
(Photo to the left is one of the printables from the Open When: You Are Bored. You just staple onto the card a piece of bubble wrap.)
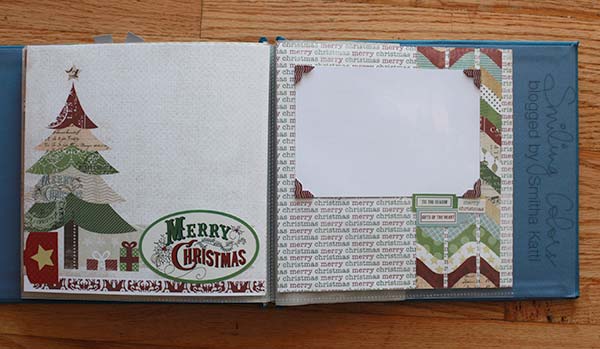
This post is just to show you a few examples of what I am doing (although to be honest, I’m not done yet). I love that you can make a set of envelopes for someone and put A LOT into the envelope or just a note. Really, the most important part (in my opinion) is the hand written note. Every single one of the envelopes I’m making for Josh includes a note and a photo. I also included some of the printables, a treat, and anything else I think will be fun for him to open.
 You’ll notice that I have included label printables in the shop. That’s because I know that not all of you have a diecutting machine. To be honest, the labels are a lot easier (and quicker) to use if you are throwing together this project (last minute, right?). The labels can be put on any A2 sized envelope and you can just fill them. It’s the perfect last minute solution!
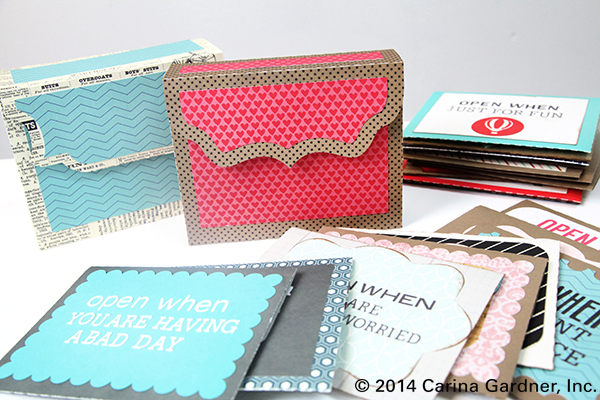
(Photo to the right is from the Open When: You Are Happy printable set. The svg file from for the envelope can be found here.)
The Open When projects I’ve seen usually are given in sets of 10. But I think you should be able to include as little or as many envelopes as you want. You could even coordinate them and give more envelopes out during the year (for example, Christmas 5 envelopes, Valentine’s 5 envelopes, and your anniversary 5 envelopes).
For Josh, I selected 10 envelopes and am using my basic 10 envelope box. I love the prompts in the printables I’m hoping they will help me think of things that are special to just the two of us (and by the way, each of the descriptions in the printables have suggestions for other things you can put in your envelope).
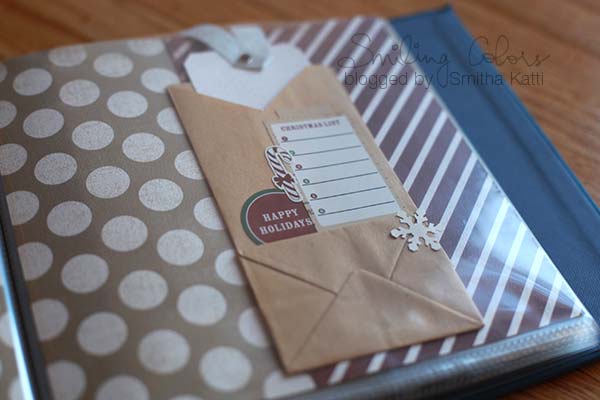
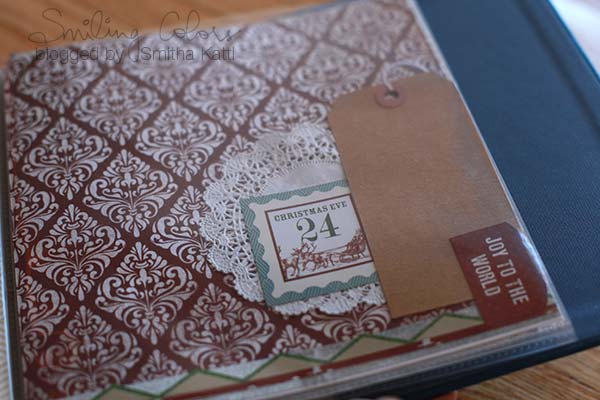
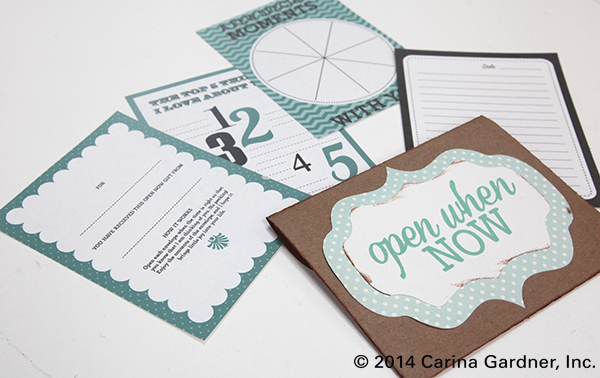
Every “Open Now” gift should have an “Open Now” Envelope. Truthfully, I designed the printables (shown below) so that I could use all of the cards in any of the envelopes. It’s sort of “basic pack.” I’m planning on throwing some funny photos of the two of us from 2014 into this envelope—kind of as a way to celebrate the year. The “pie chart” card I’m going to write all of the things we did in 2014.
I’m so in love with my printable set for “Open When: You Can’t Fall Asleep.” One card allows you to staple a piece of dried lavendar to it (or any other scent you want). The silly cutouts are more of a joke then something the person has to do, but I like adding the popcycle sticks in the envelope just in case they do end up cutting out the animals.

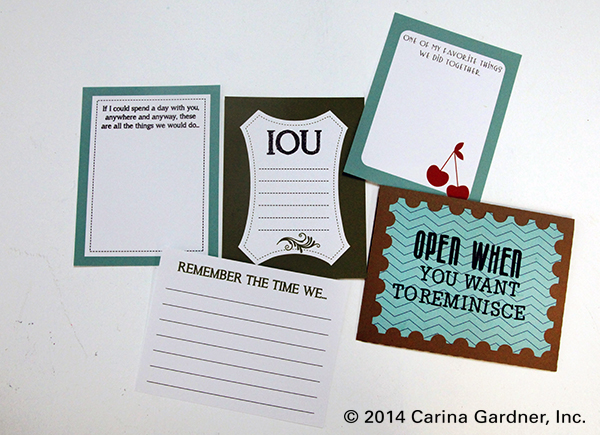
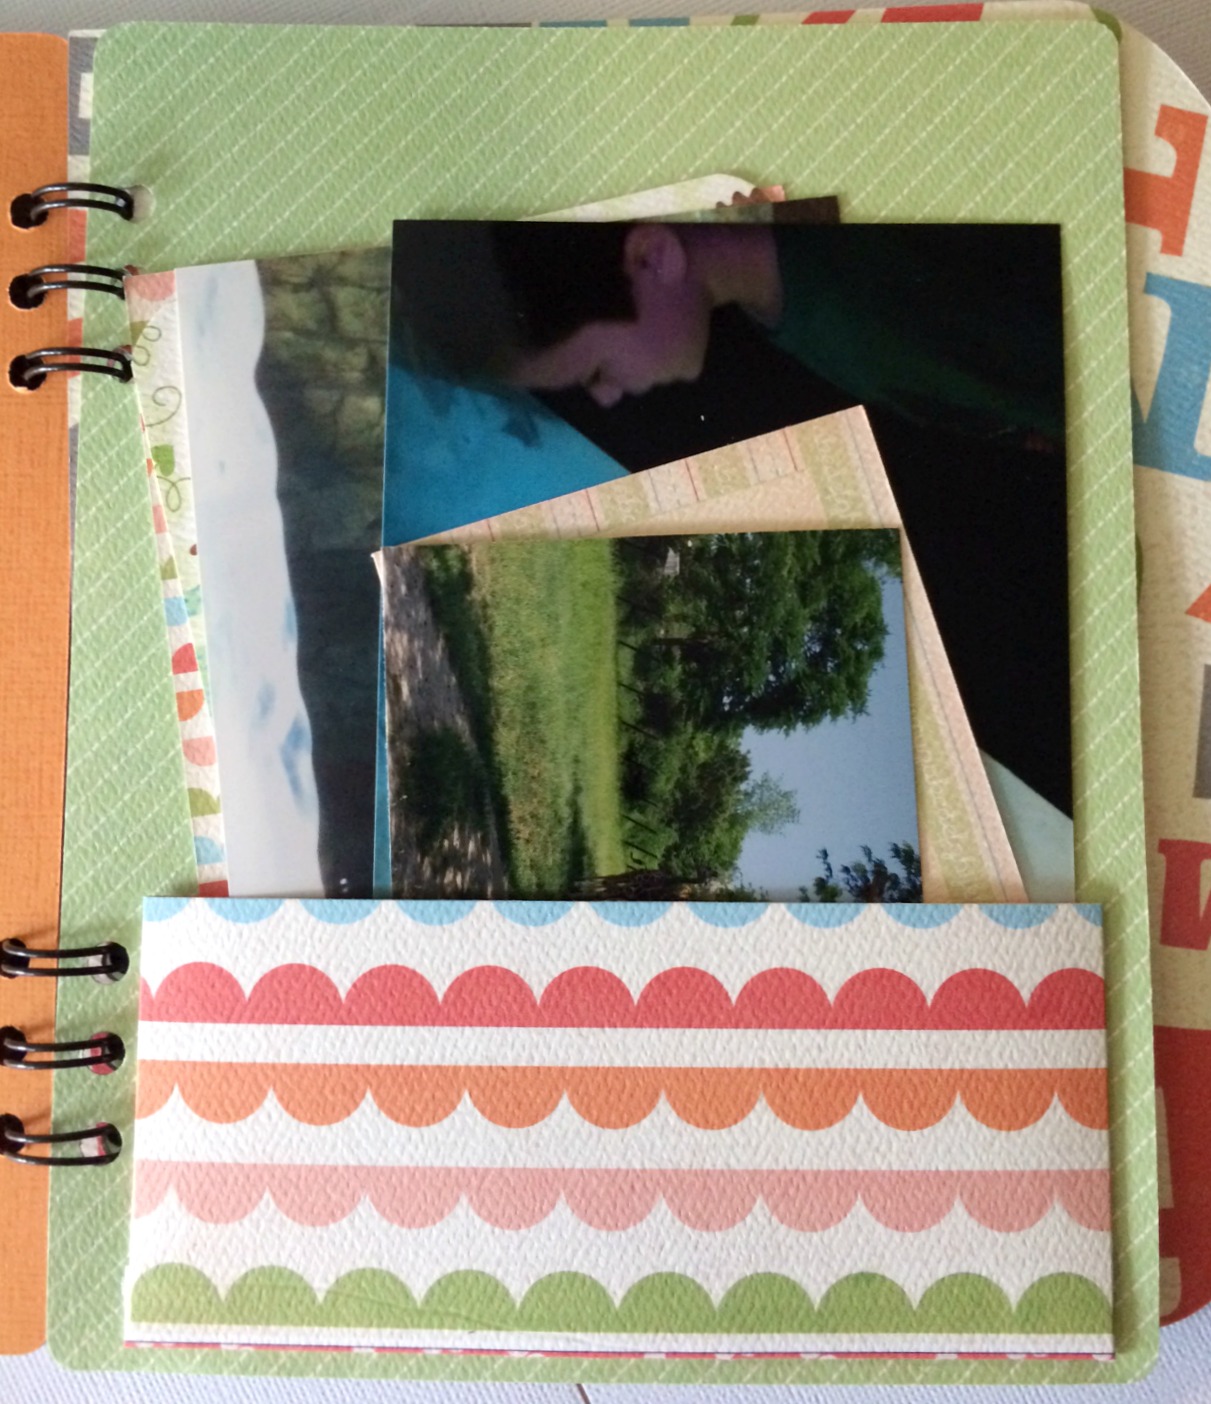
The “Open When: You Want to Reminisce” is going to be the most fun to put together for Josh. I’m using all the printables as prompts but spending most of my time gathering up photos and things that we did together for the last 14 years.
You’ll notice that I’m slowly adding printables to the shop as I make them for myself. If you decide to do this project (for Christmas, a birthday, Valentine’s, and Anniversary, or whenever!), make sure and check my Silhouette instruction page because it has updated links to all the envelopes, boxes, and printables that go to this collection to see what is new!
Hope you are being creative and having a great time doing it this holiday season! Merry Christmas and Happy New Year!
Carina
Open When Envelopes—Last Minute Meaningful Homemade Gifts Read More »


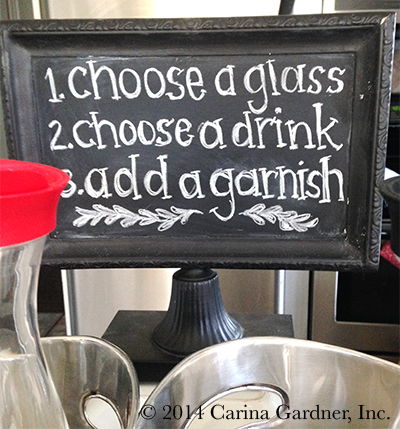 Here are the Mocktail recipes:
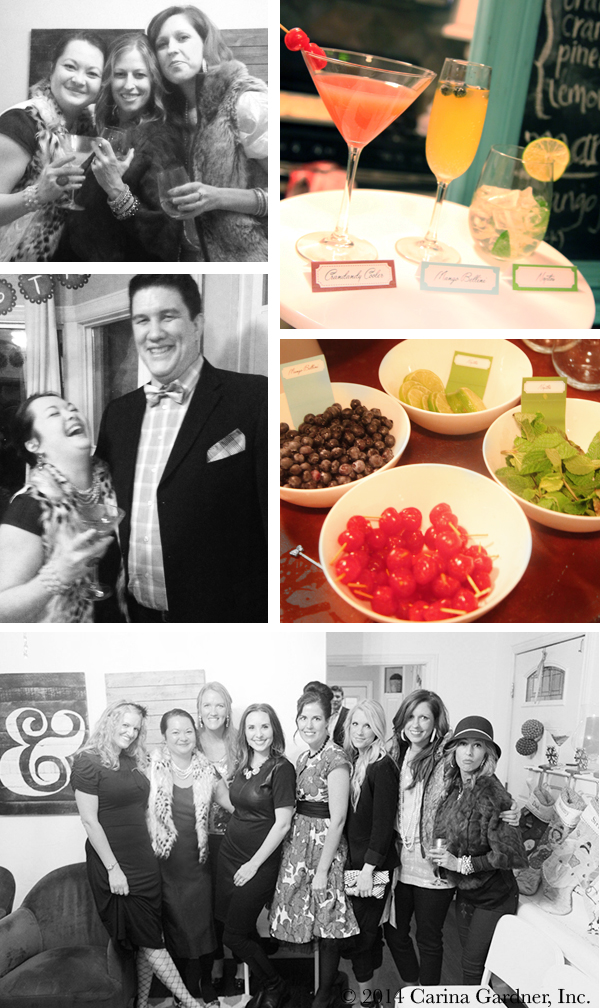


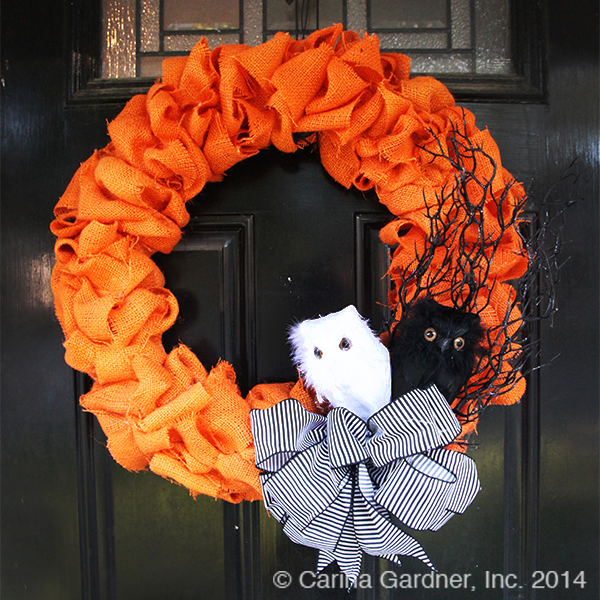
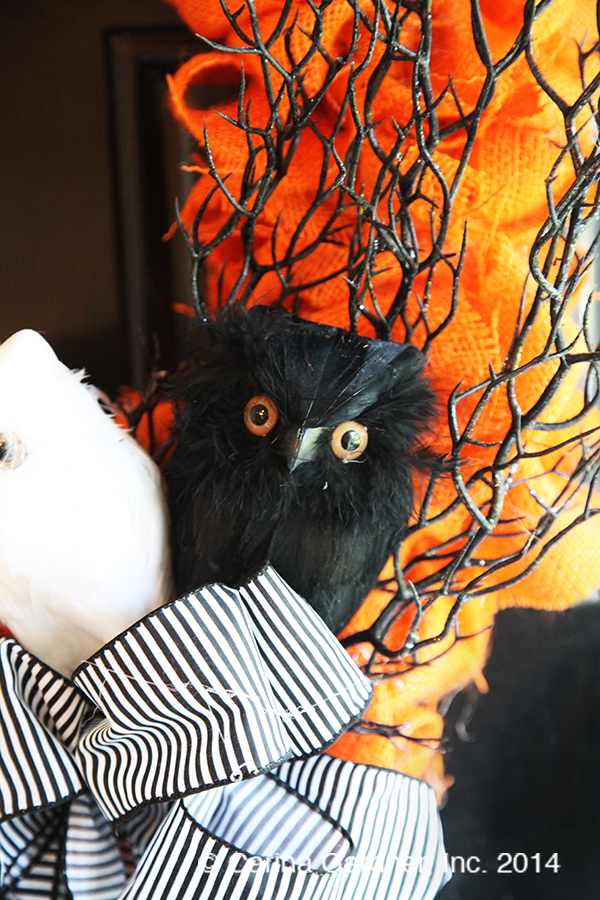 I love Halloween. Just look through the archives of this site, and the love is evident. Two days ago, my next door neighbor Sara said she wanted to make some Halloween wreaths. I was along for the ride and decided to take advantage of the burlap craze to make a new wreath for my door. The end result was the wreath you see above. My kids are obsessed with the owls and I’m obsessed with the way the orange pops on my black door. Win-win!
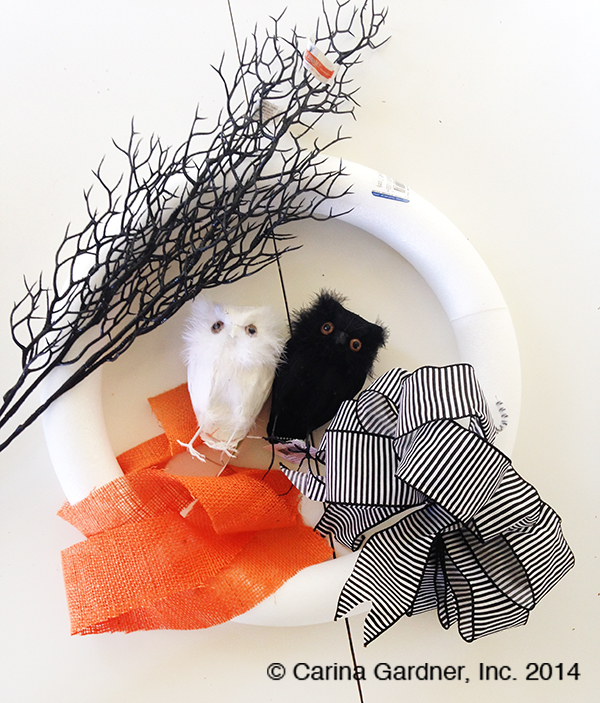
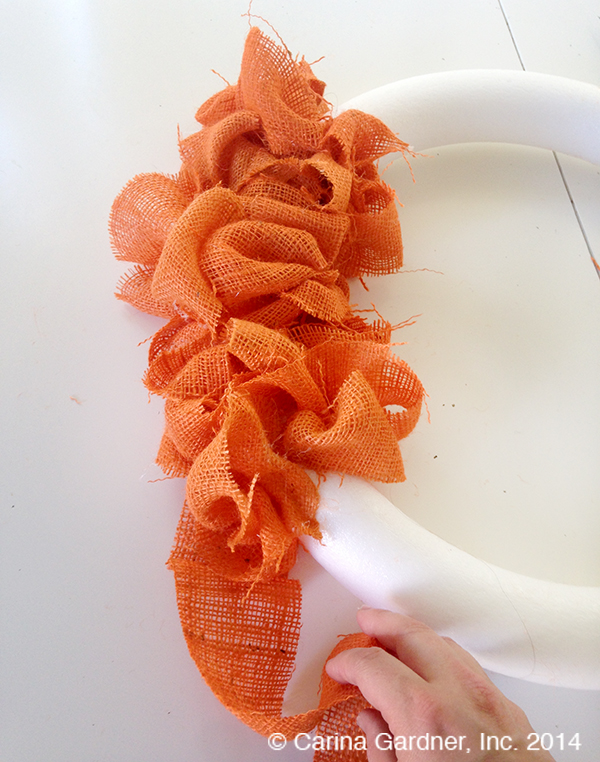 Hot gluing the burlap to the wreath was the longest part of the process. All I did was glue down one end of a burlap strip to the wreath form, make a loop, twist it a little, and glue the next part down. If you buy a wire wreath, you can use a method like this
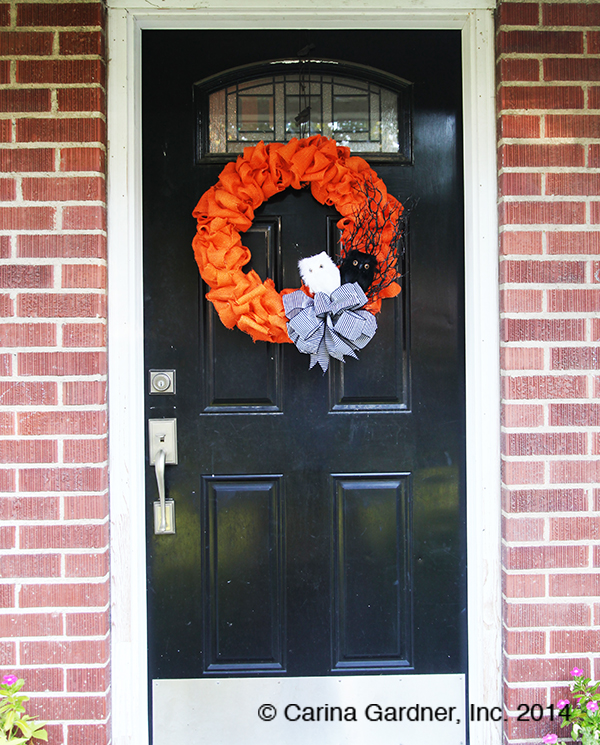 Free Halloween banner download that I hung on my piano:
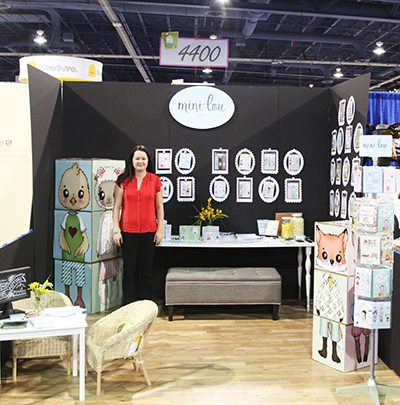

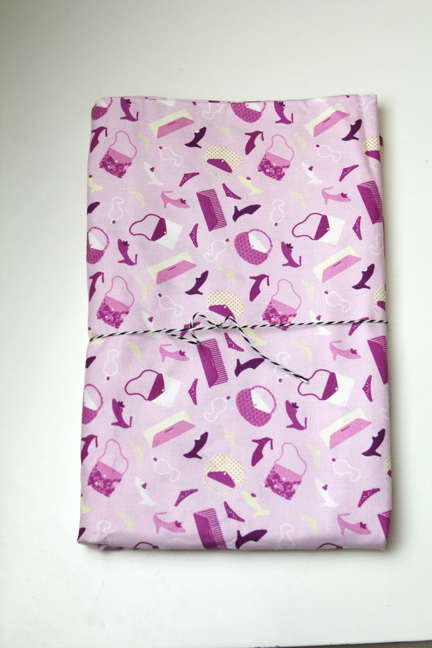
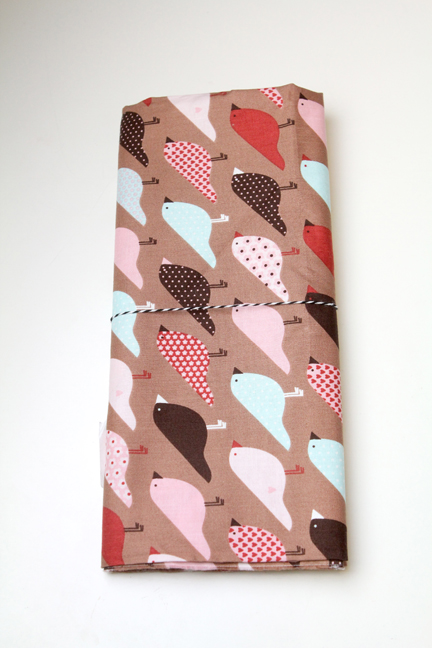
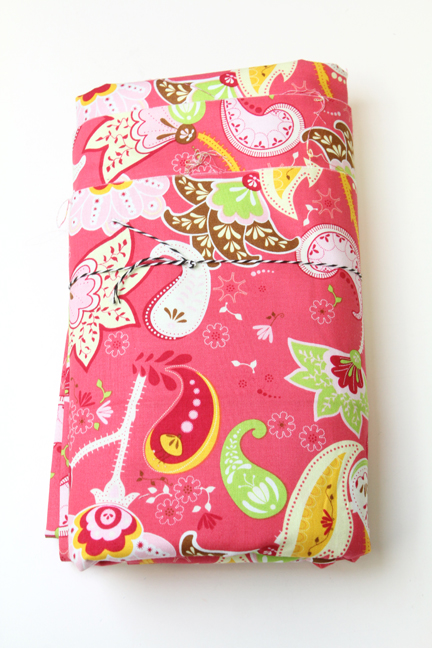
 PINFEATHERS PINK BIRD ON A WIRE 1 1/4 yards, $2 per yard = $2.50 + shipping ($5)
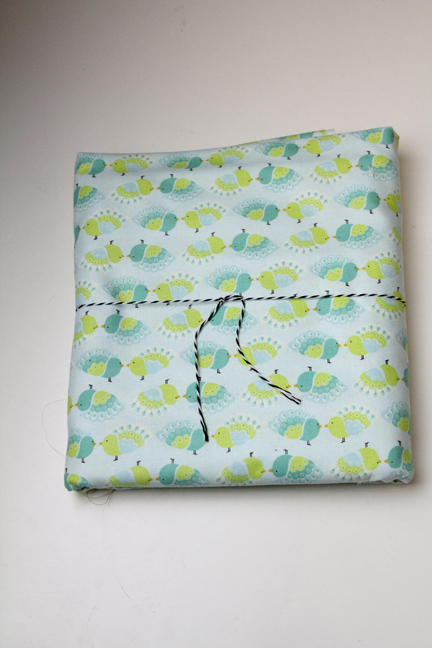

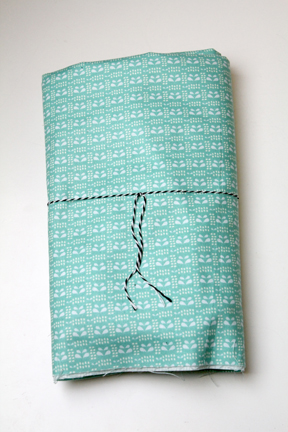
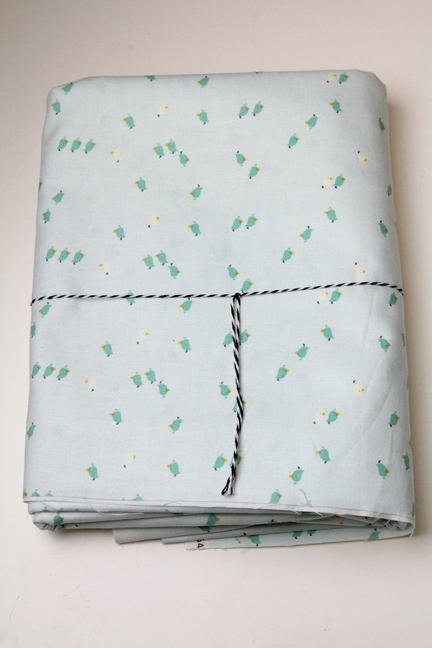
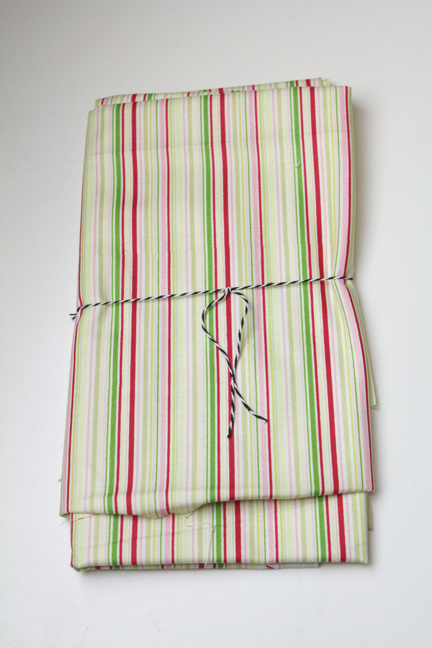
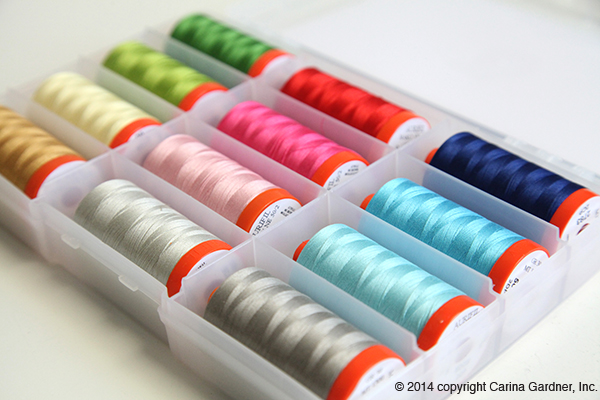
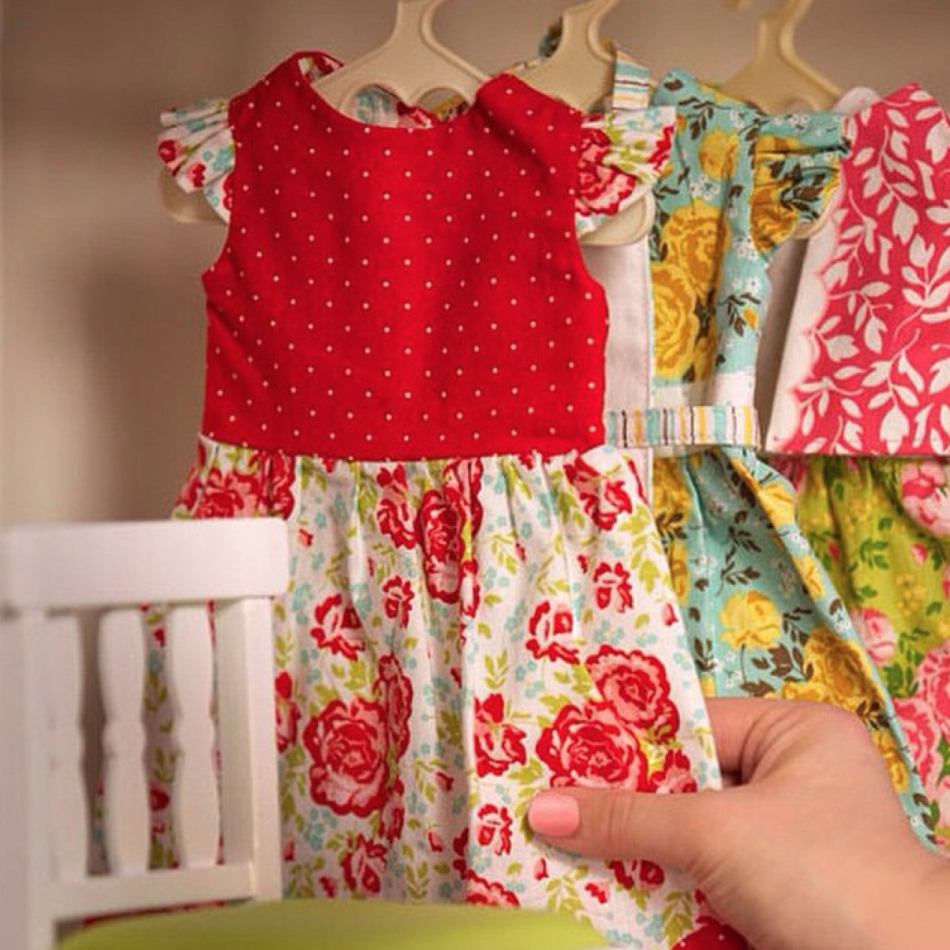
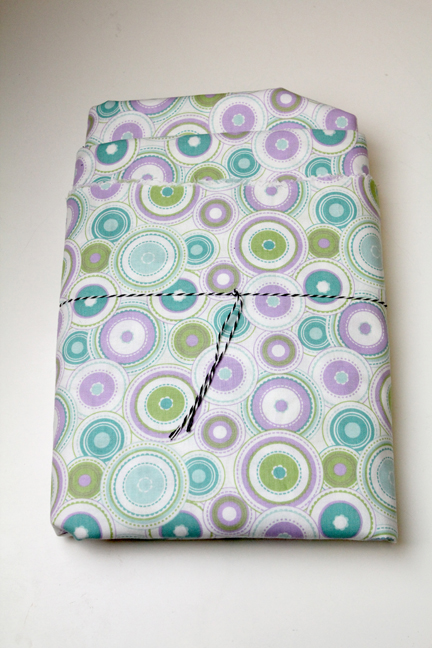
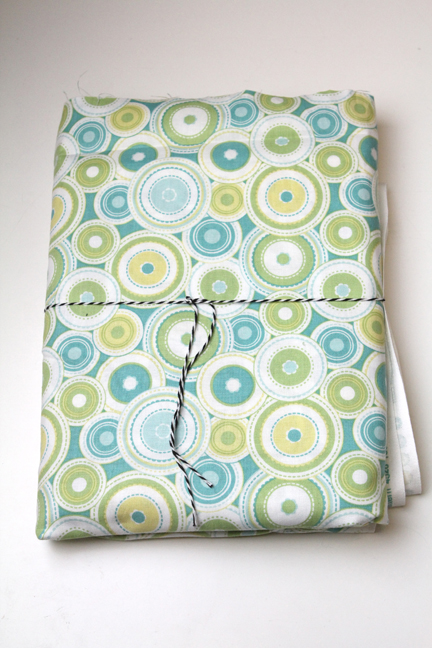
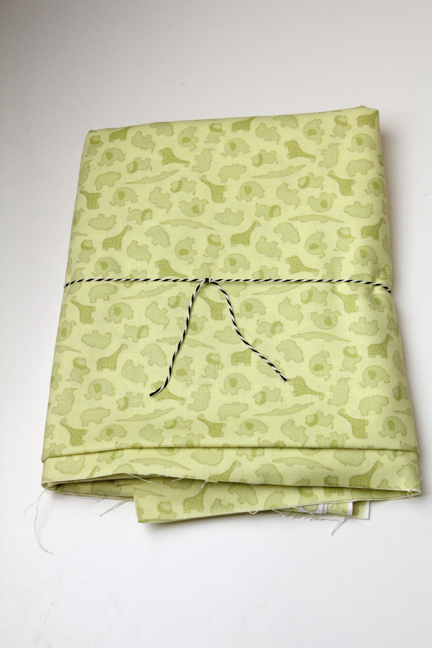
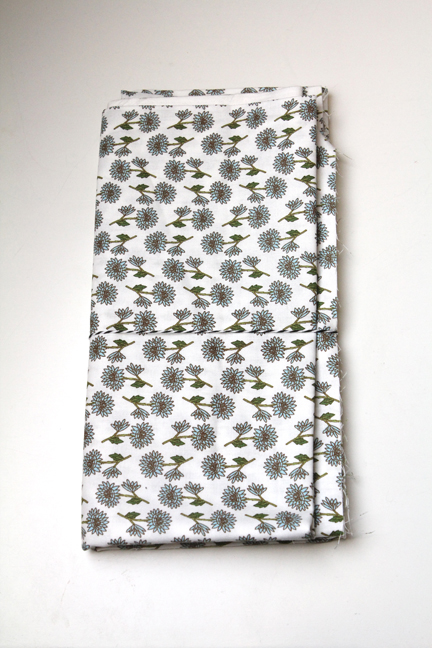
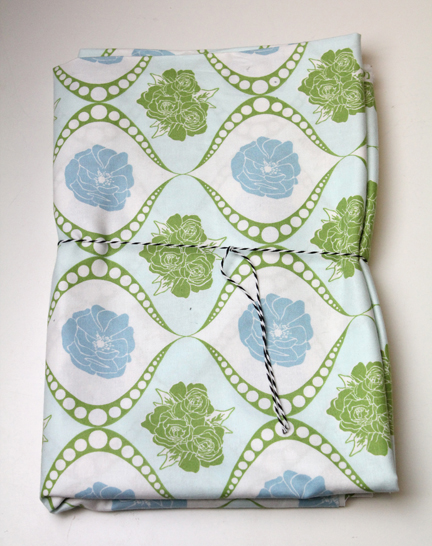
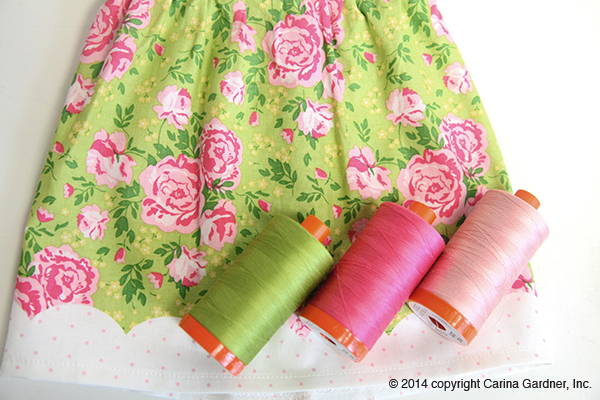
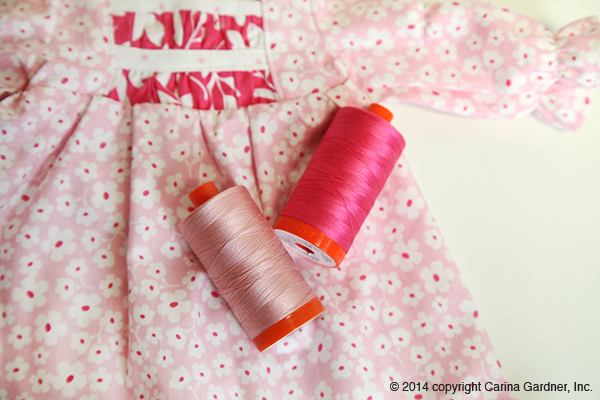
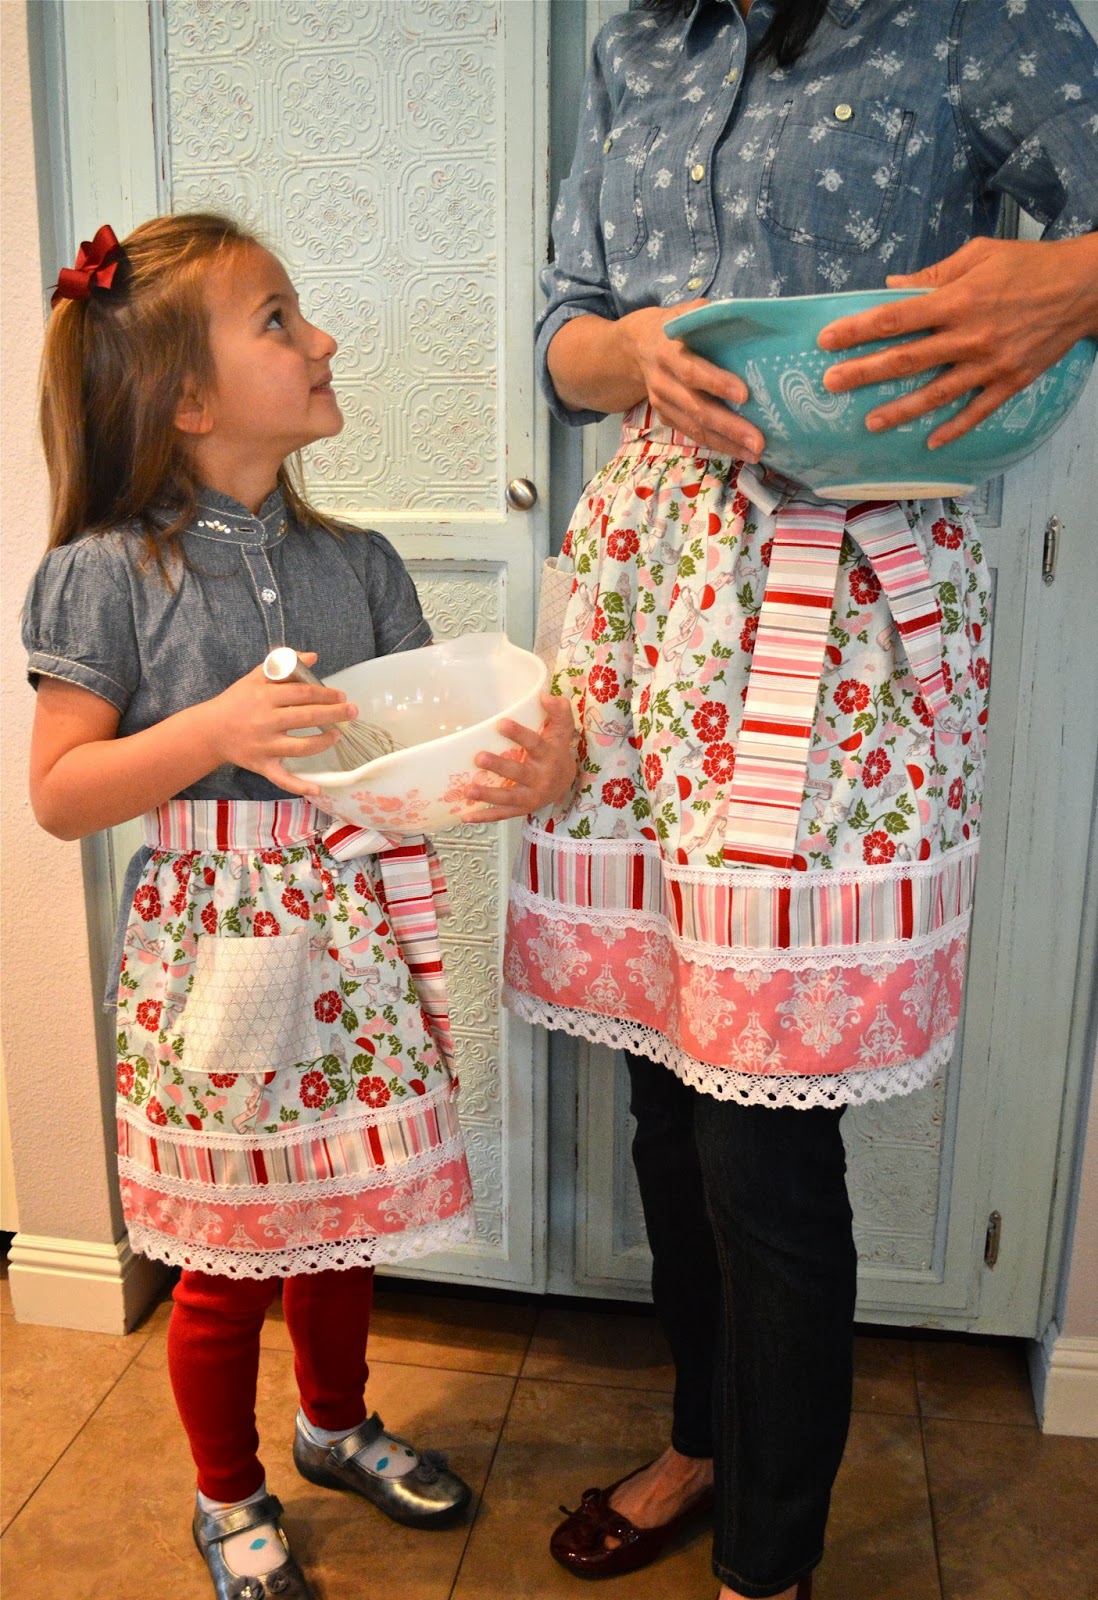
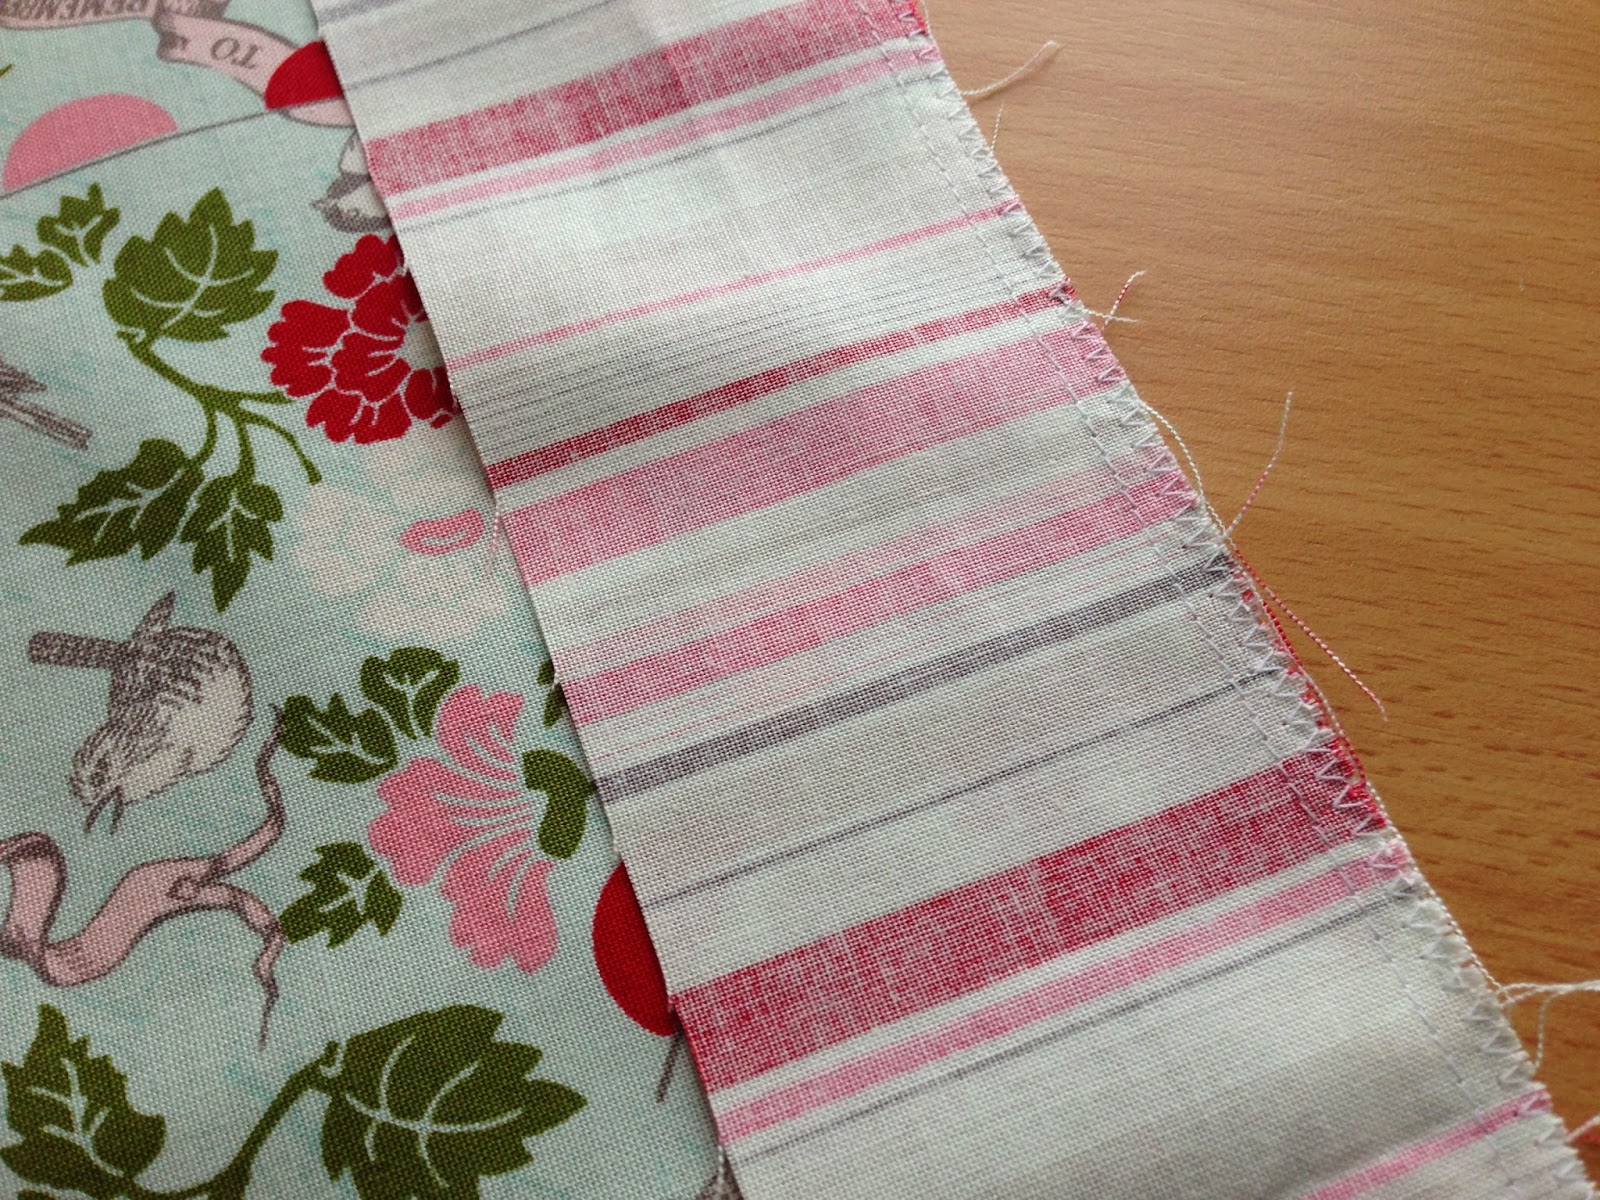
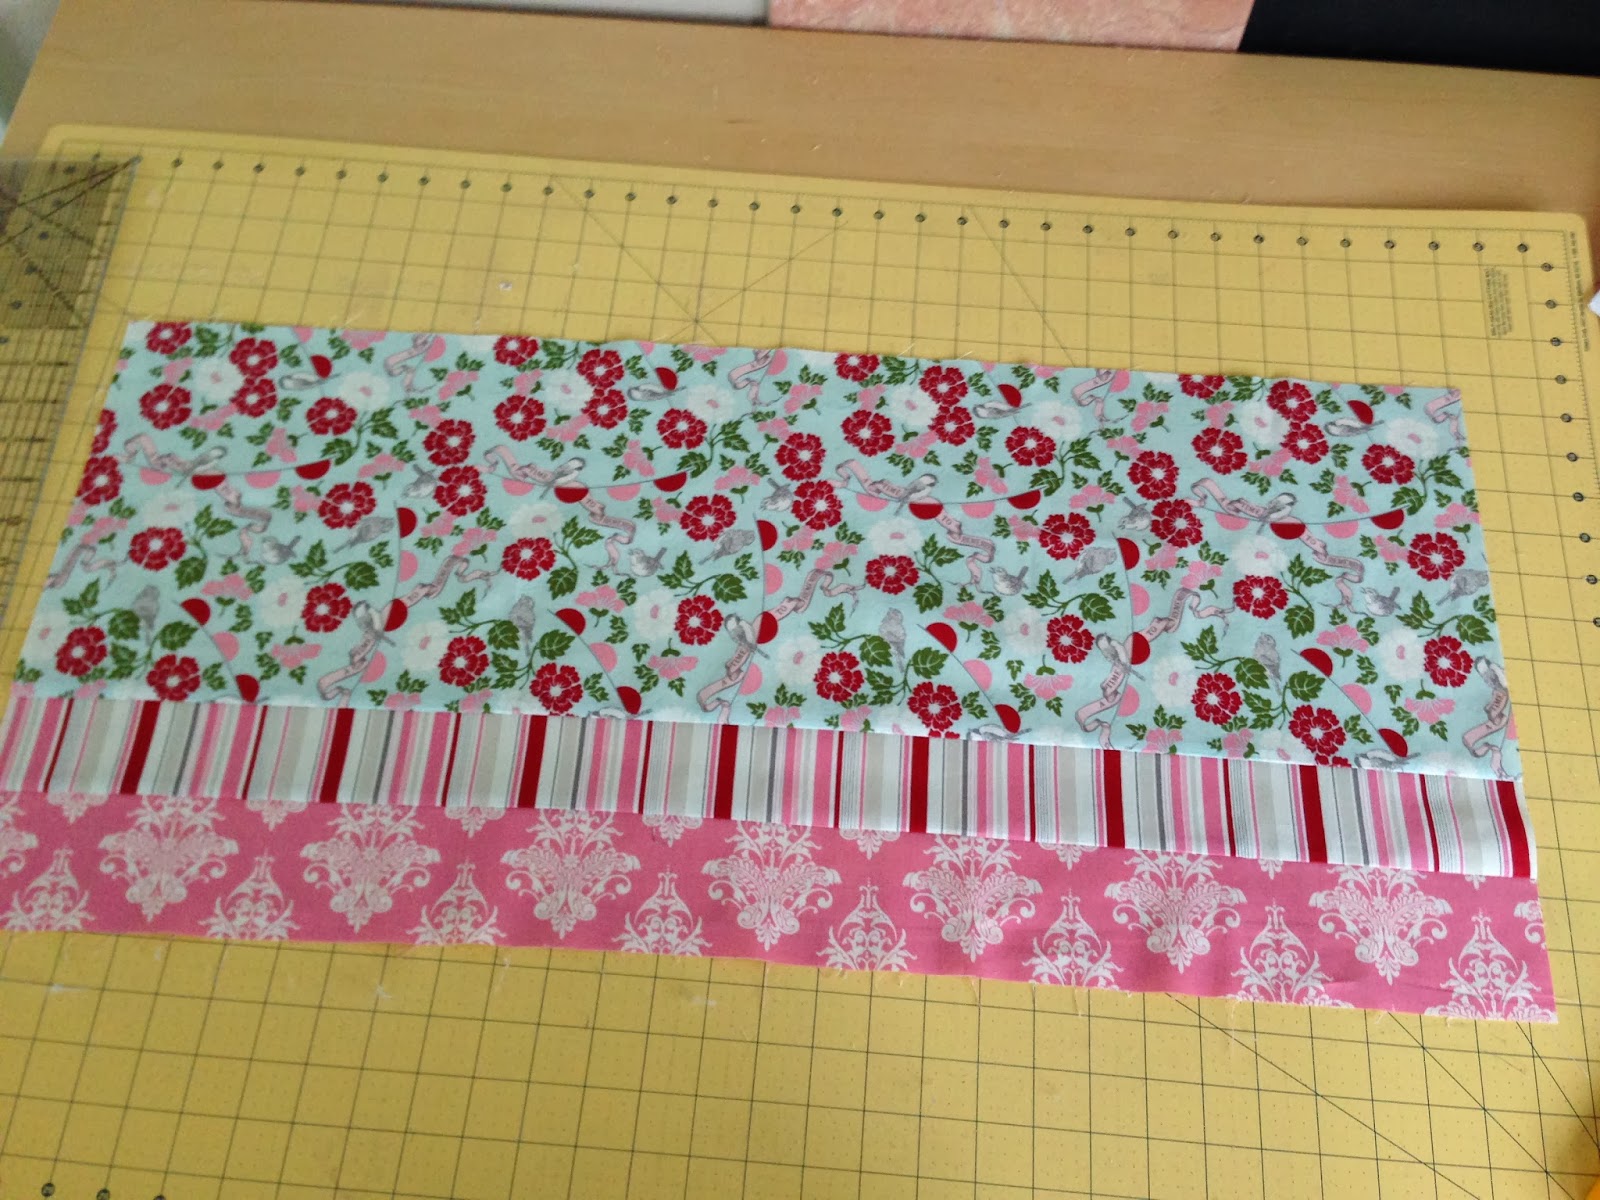
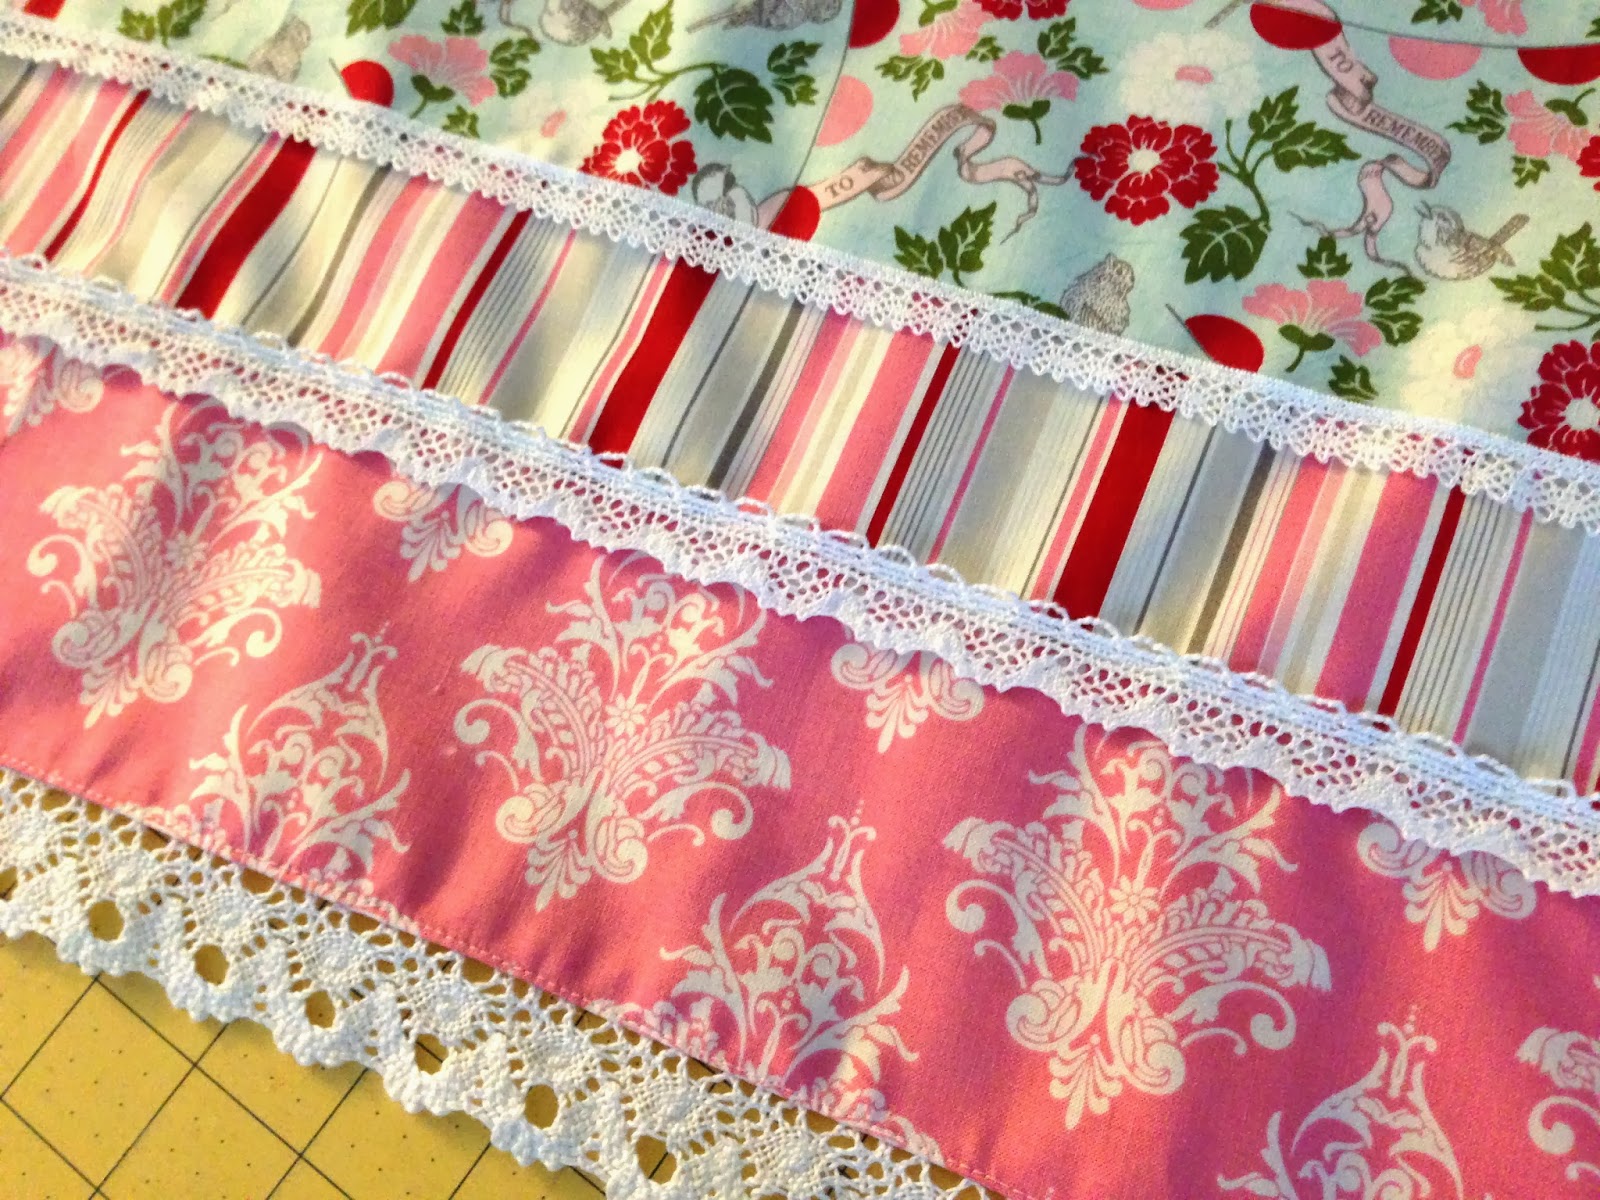
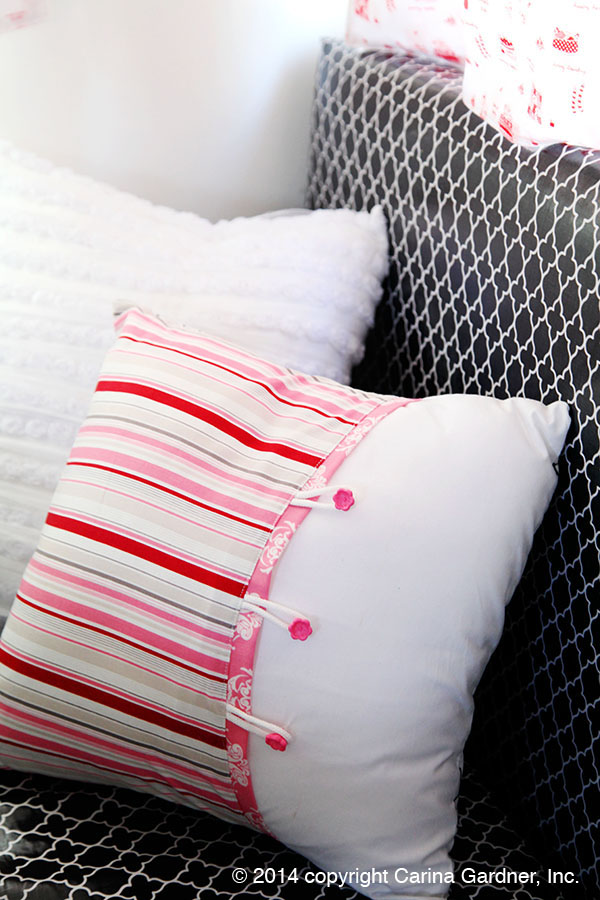
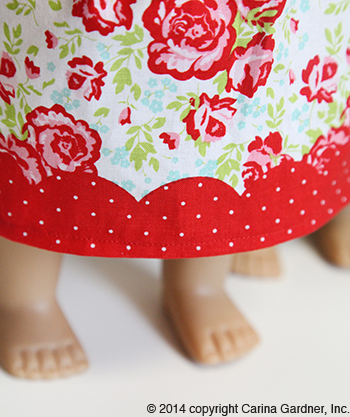 You’ll notice that I have chosen several variations of blue, red, and green. I find that these are my go to colors and the shades help me choose the exact color I need for a project (Photo to the left is the Red 2265 from my collection sewn on the hem of the doll panel for my
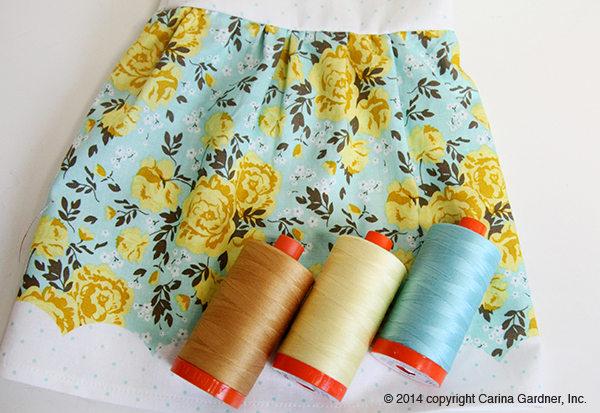


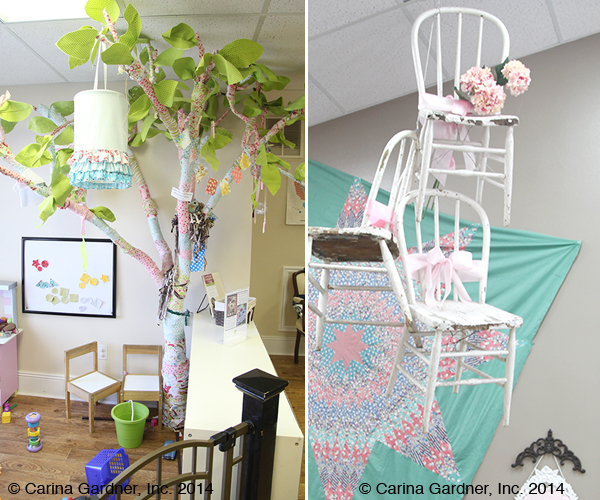
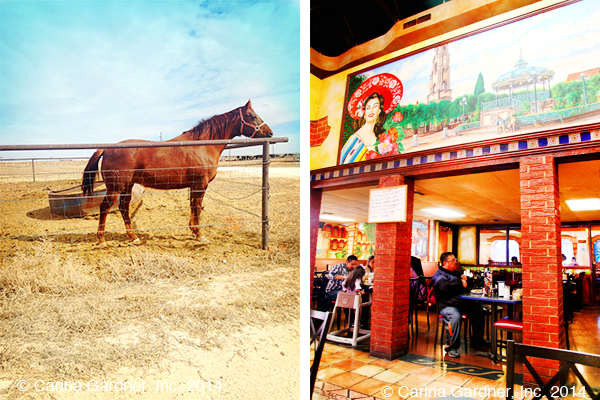
 So there it is in a nutshell. It was a wonderful business/pleasure trip and it especially made me excited for
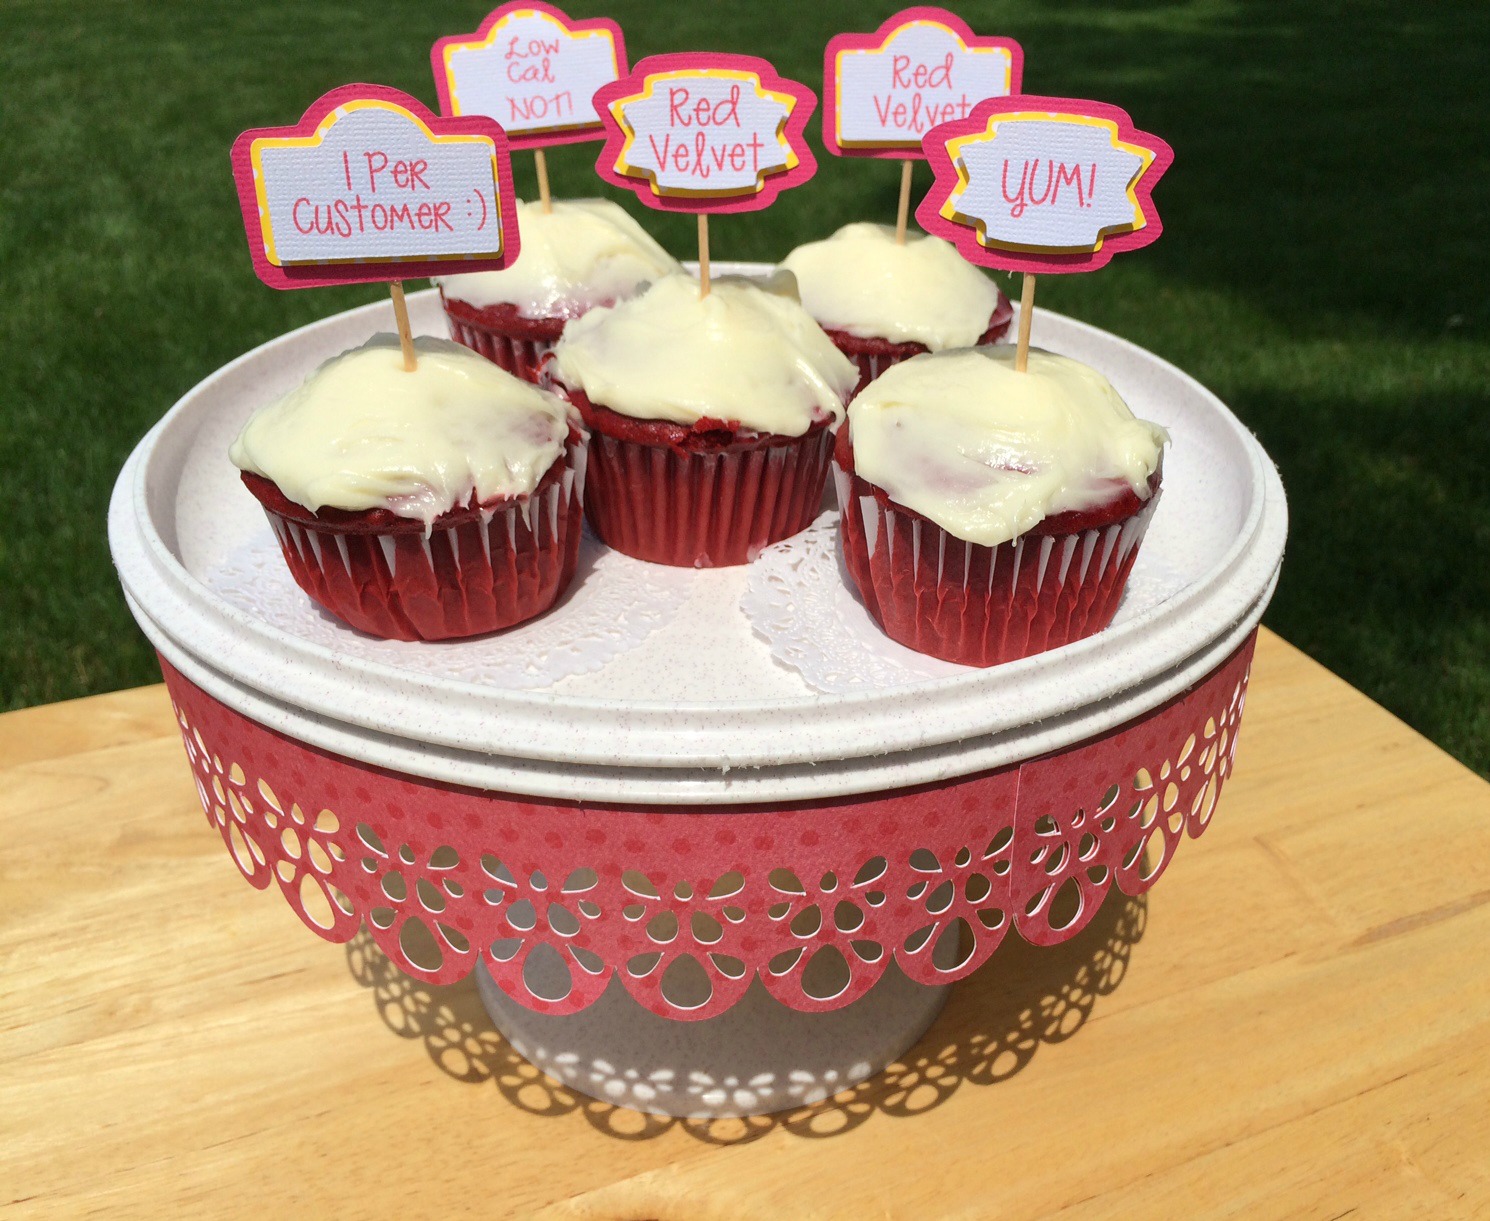


 The
The  For now, I’m kicked into high gear to finish out the last few remaining items that need to be taken care of. You’ll notice my extra emphasis on

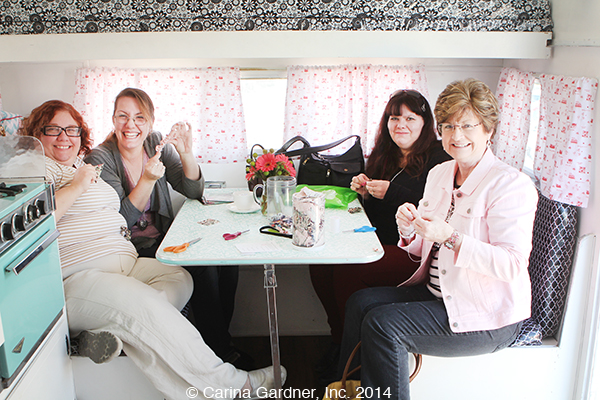
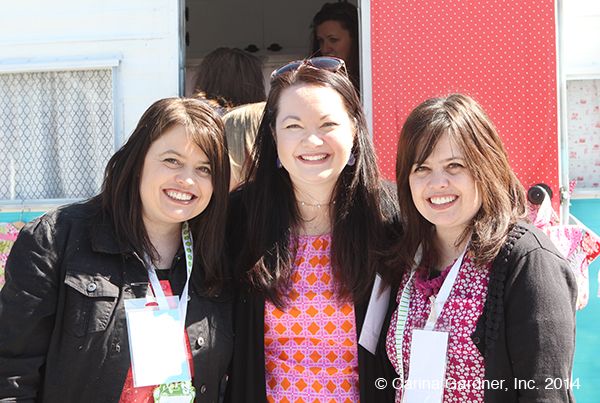
 I’m back from our
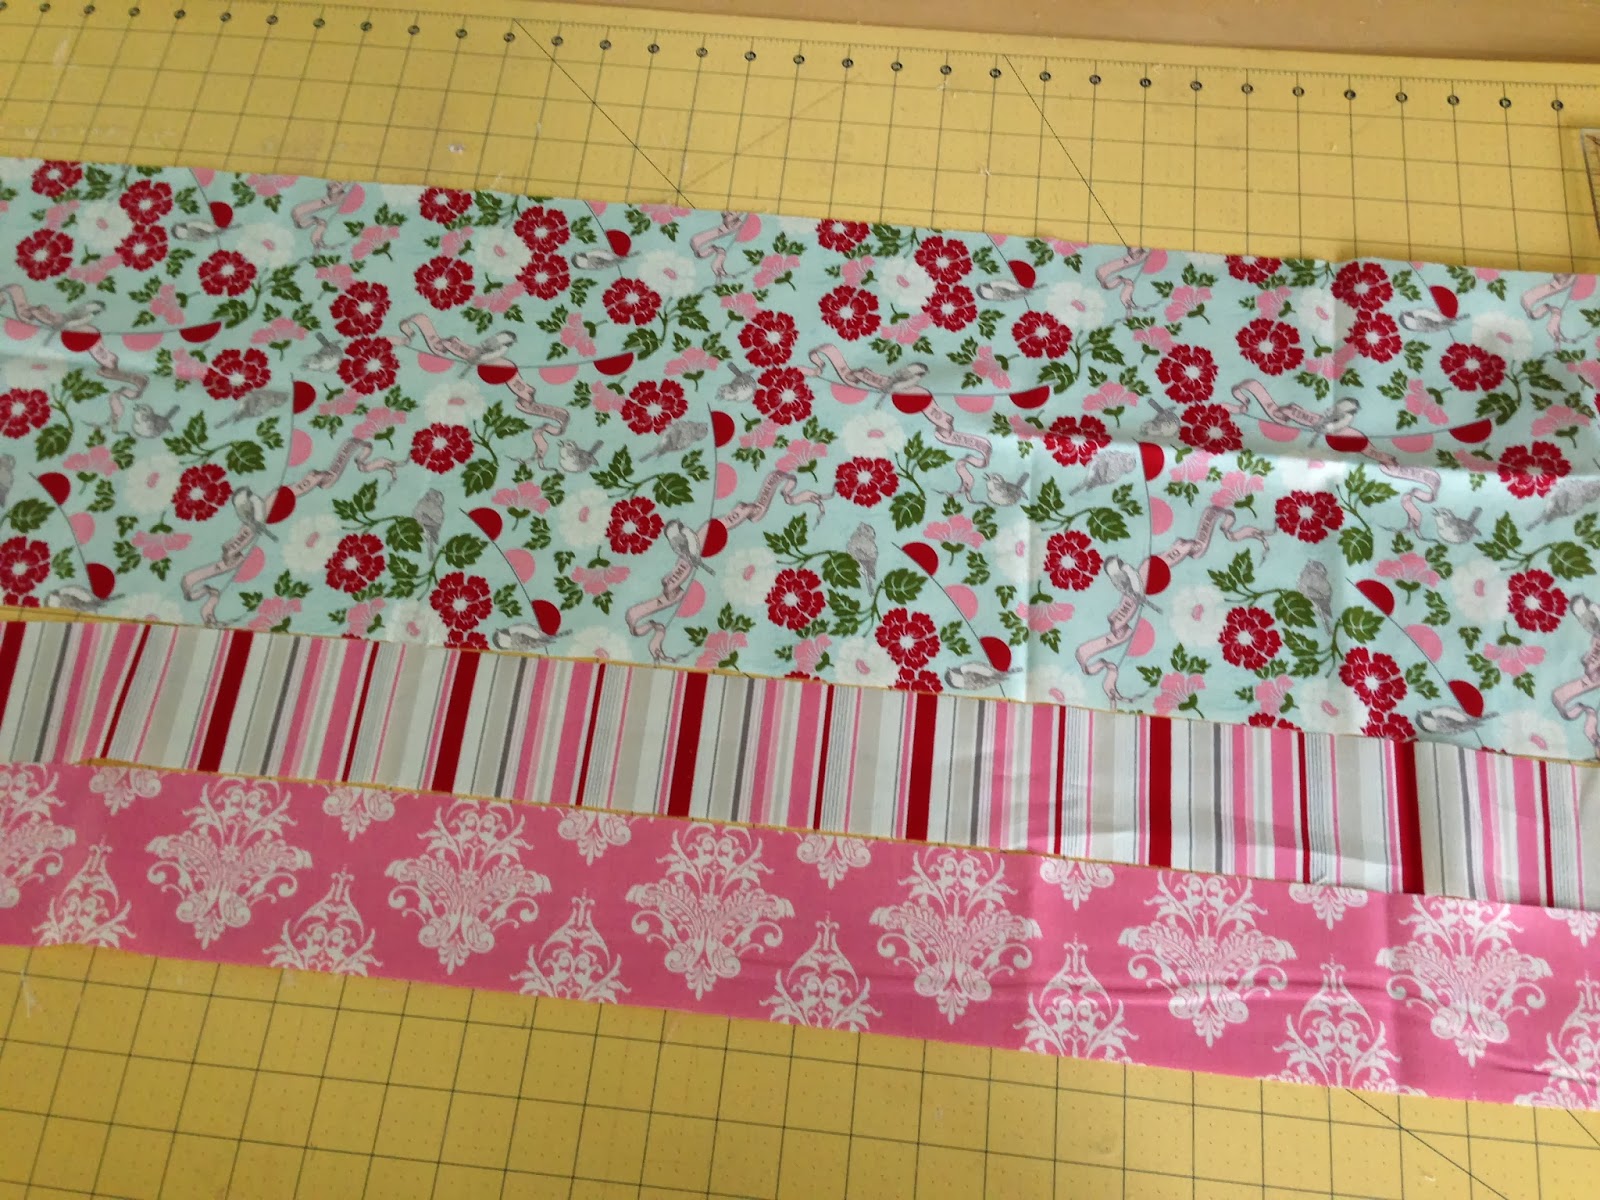


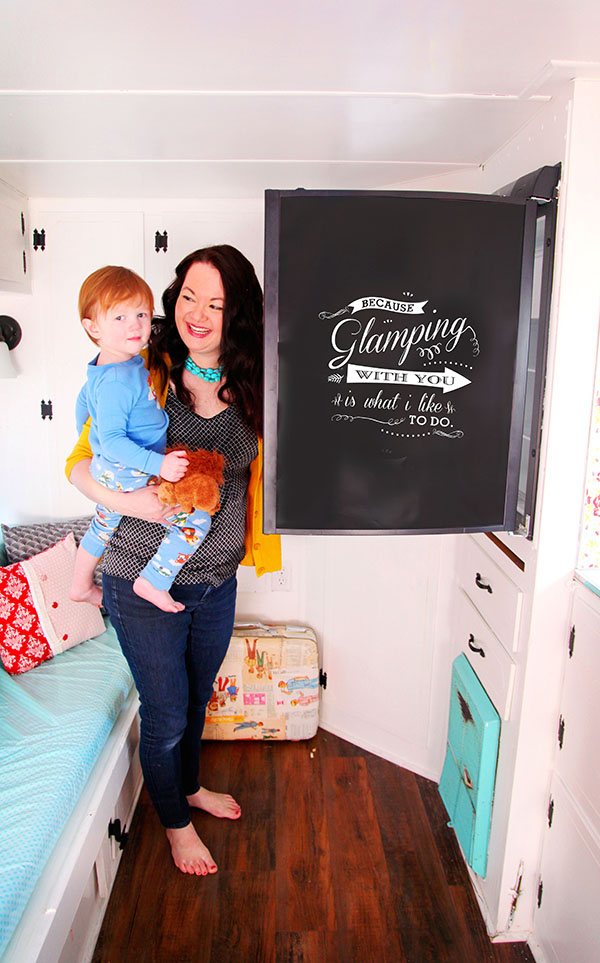
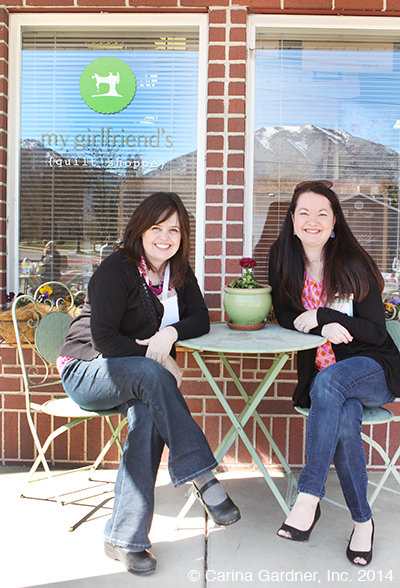
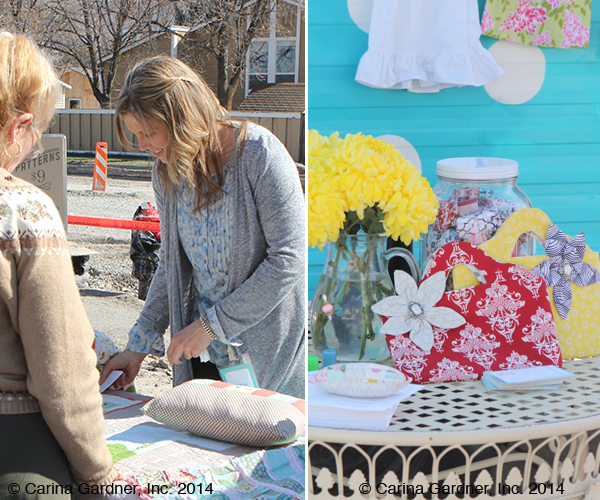
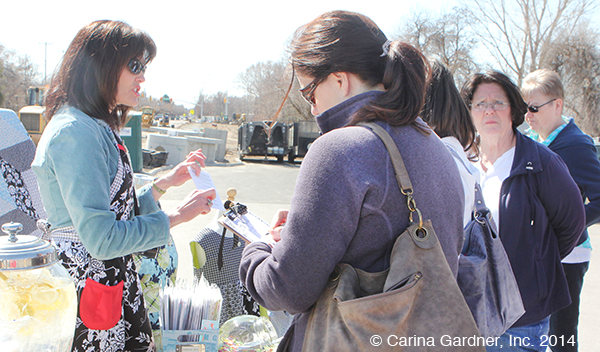

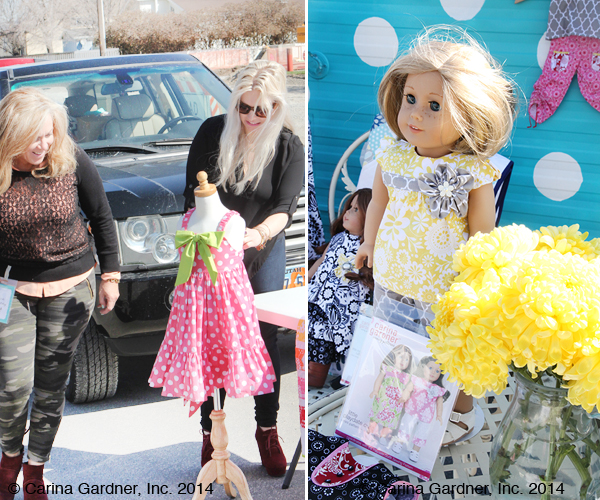
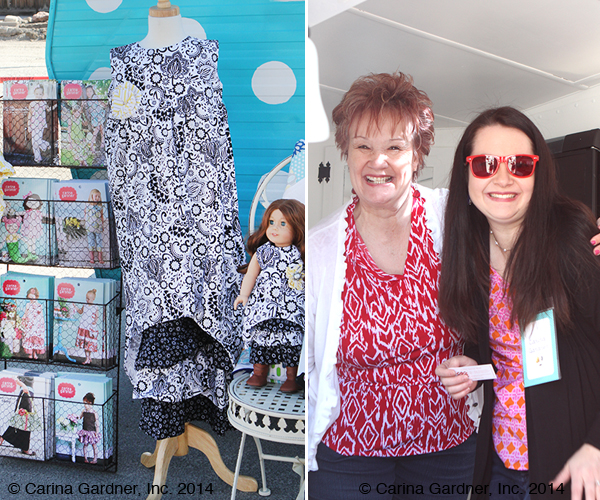

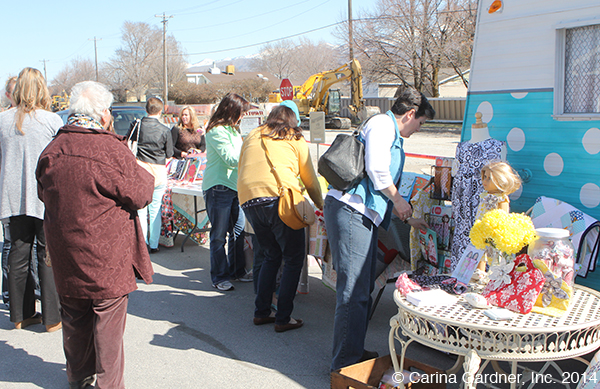
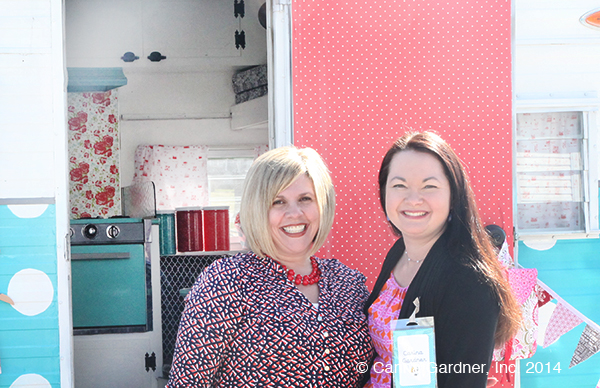

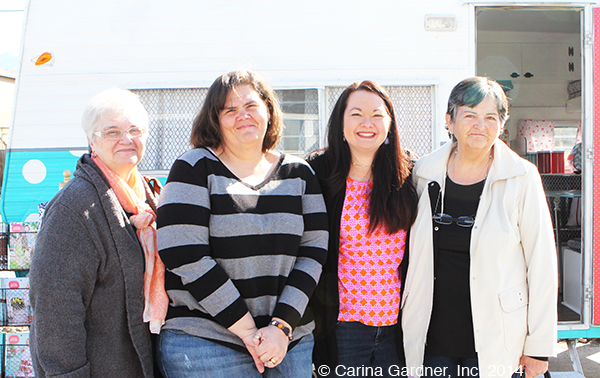


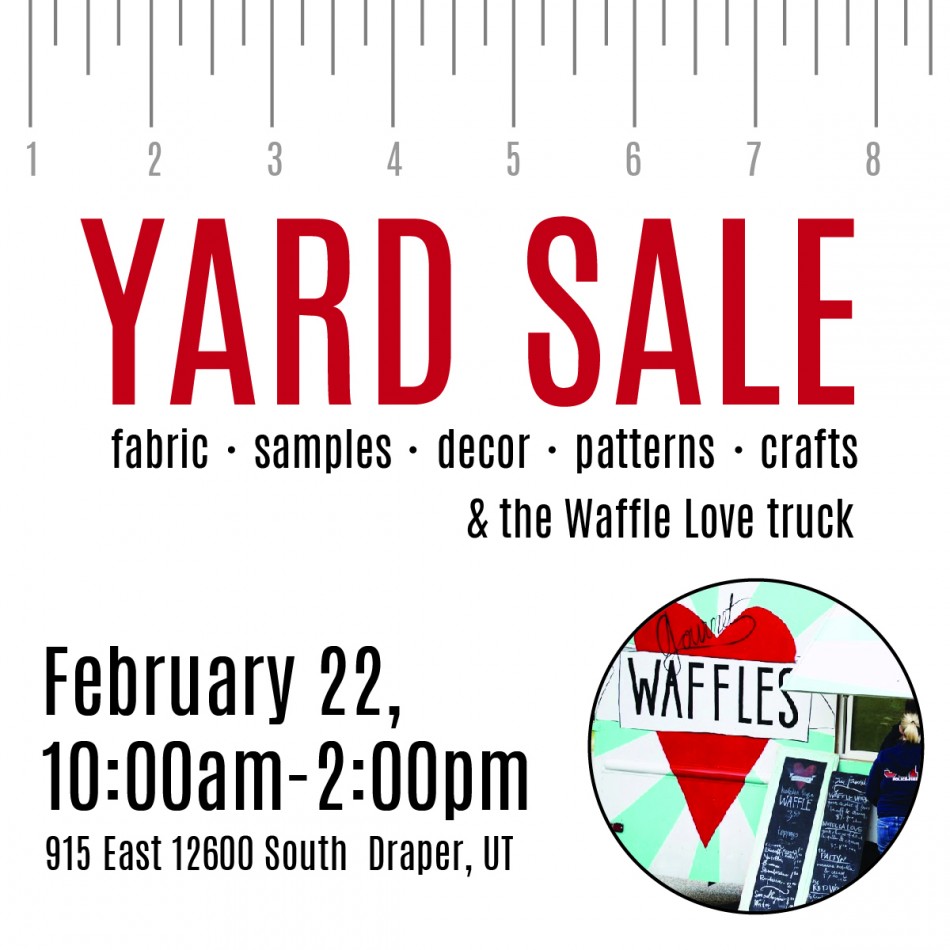
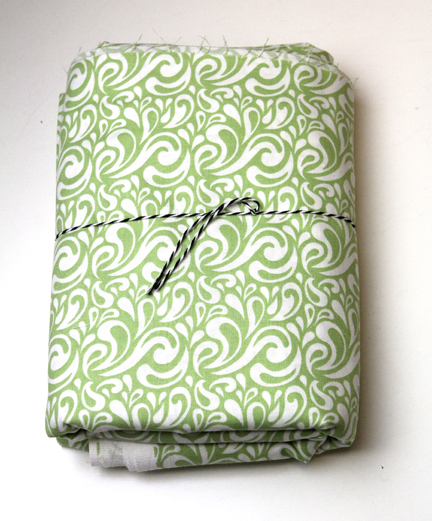
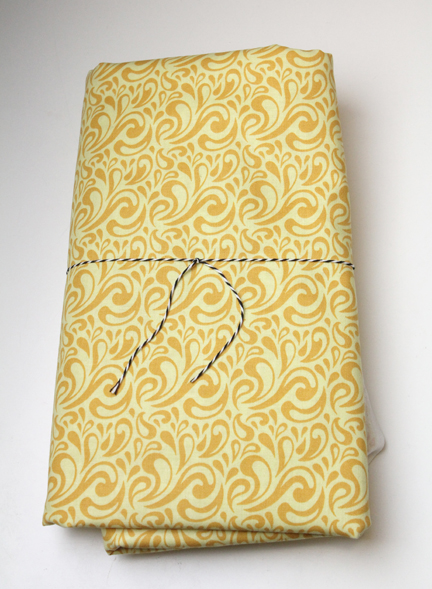
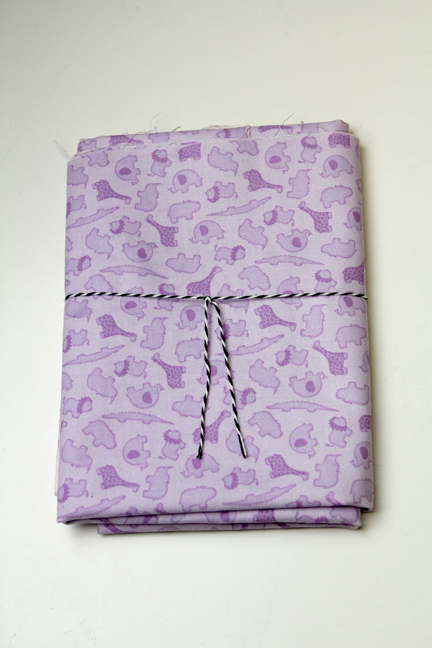
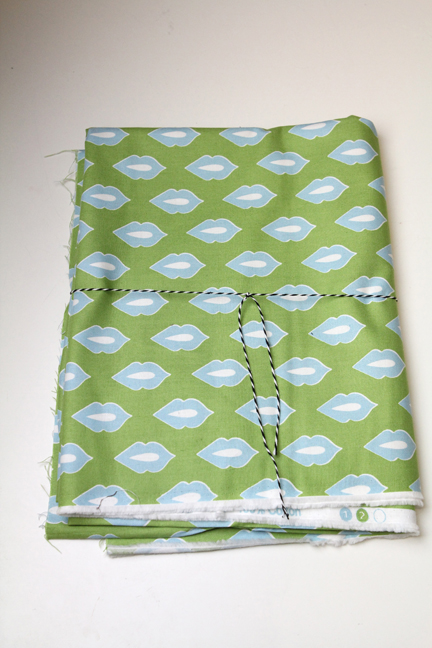
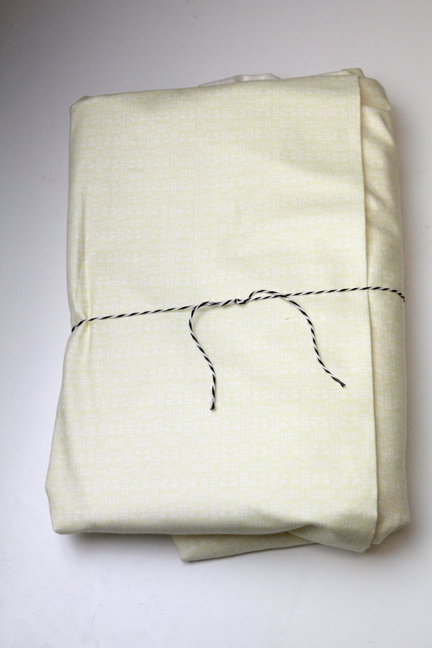
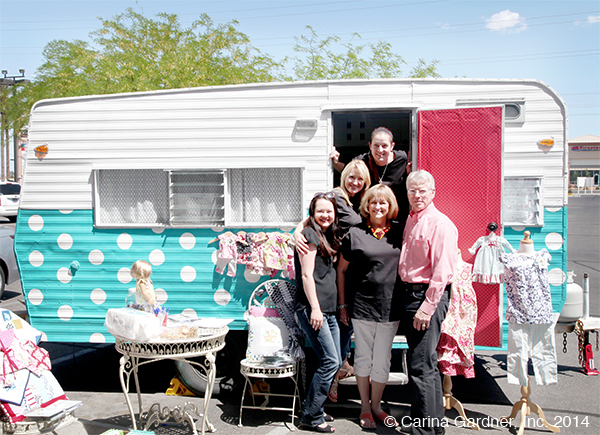
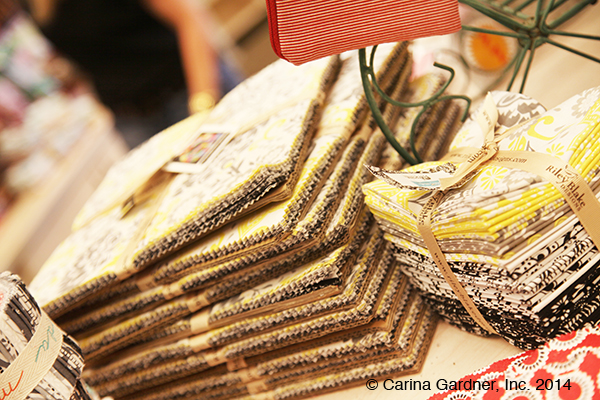
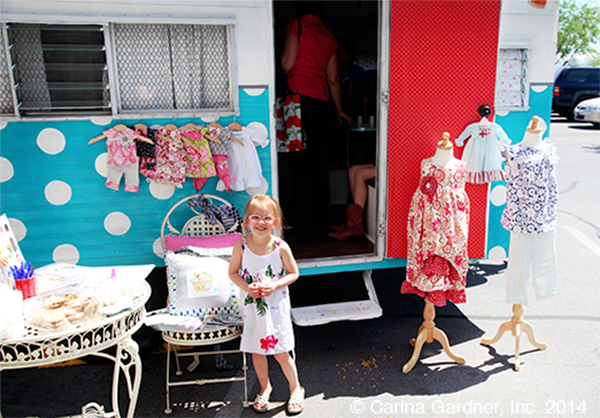
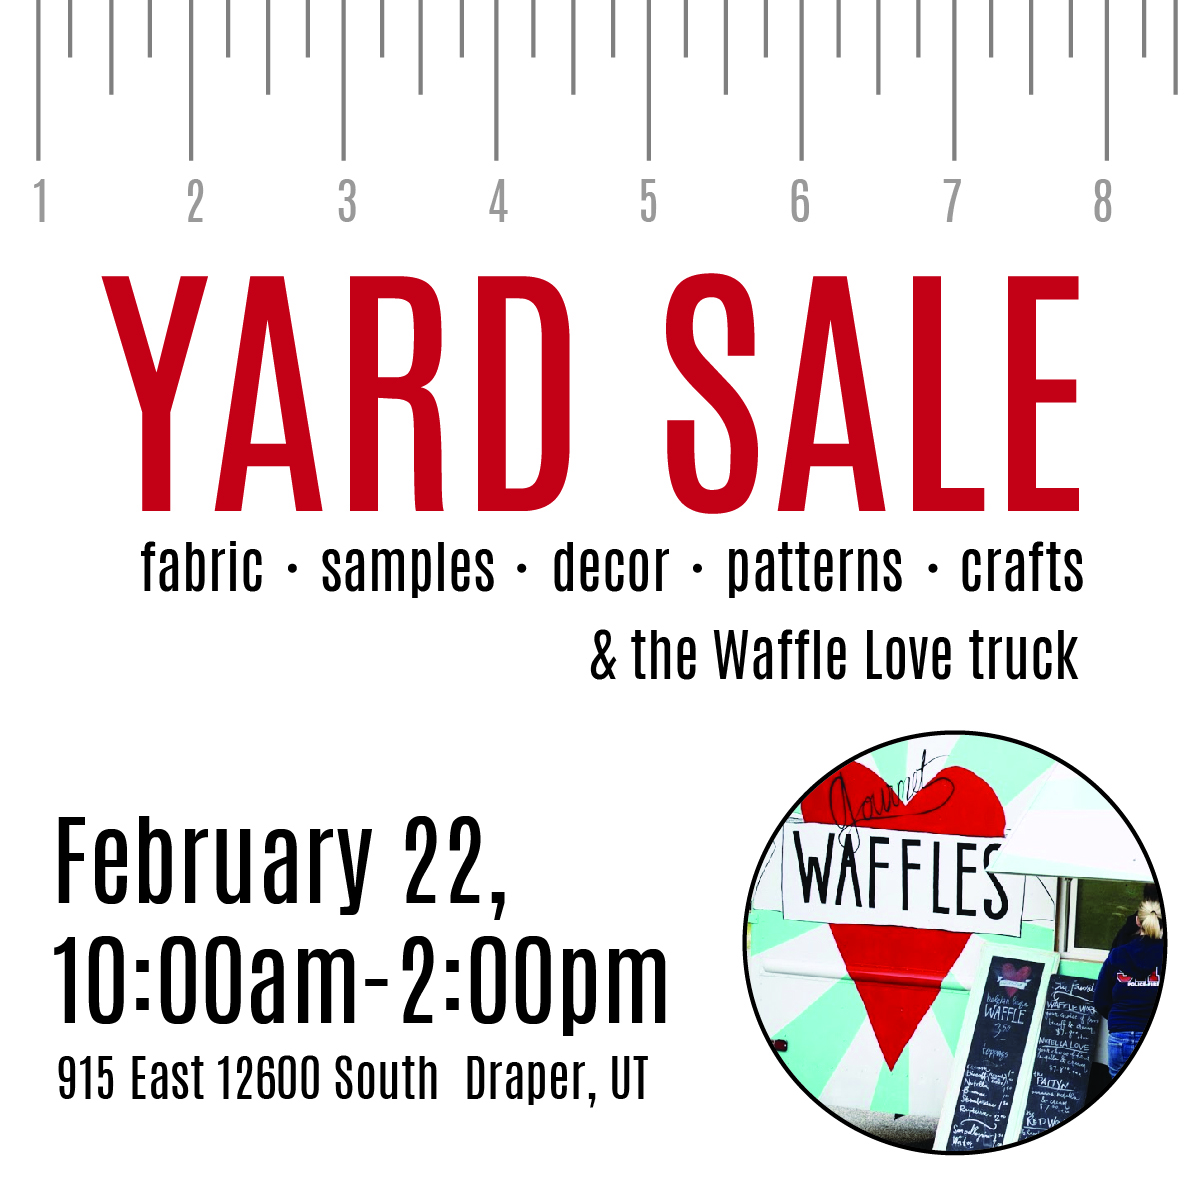 Susan and I have been getting ready for this “destash” sale this week. I’ve been needing to clear out some of the stuff from our warehouse for several months now. I hope you have a chance to come and grab some of the good stuff. And when I say sale, I really mean it. All of our cuts of fabric are highly discounted. Most are from past lines (all the way back to Coquette!) that you will never be able to purchase or find. Containers, home decor, samples, fabric, sewing patterns, and precuts are heavily discounted from products I have made over the last 5 years. You’ll notice it’s only a 3 hour sale so hurry in to get the best stuff!


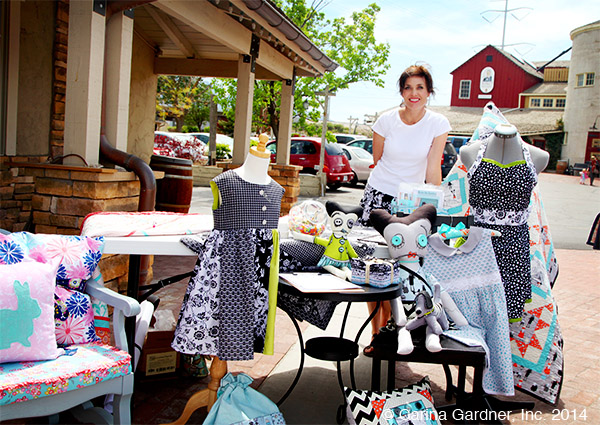
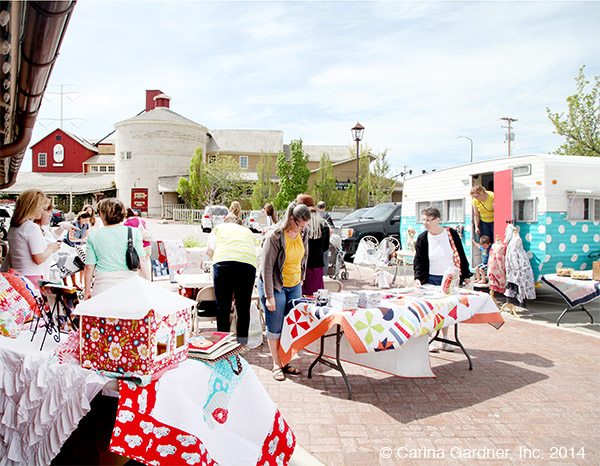
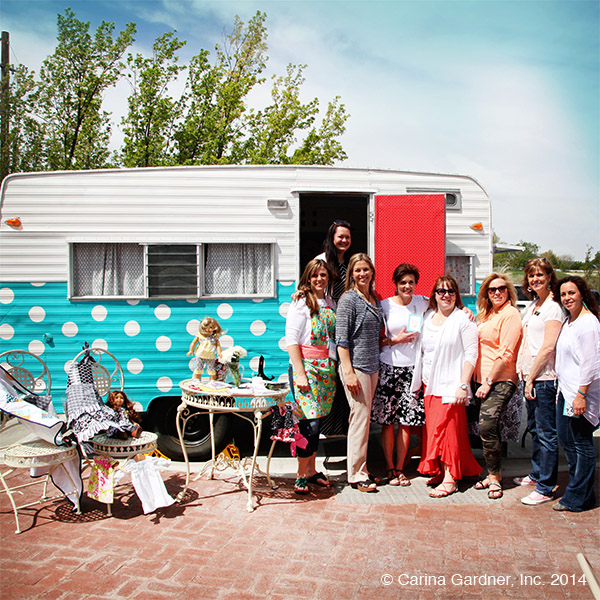
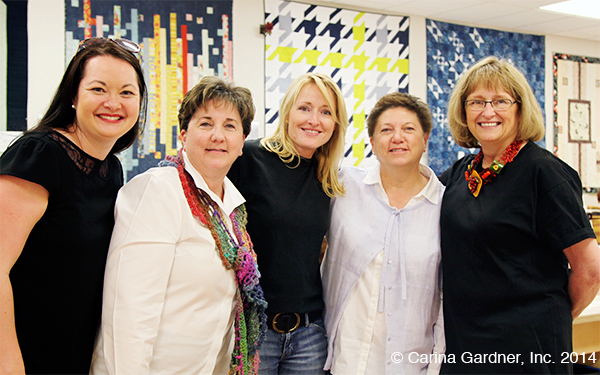
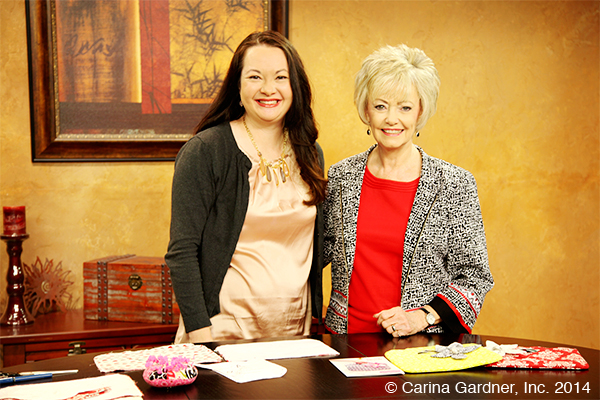
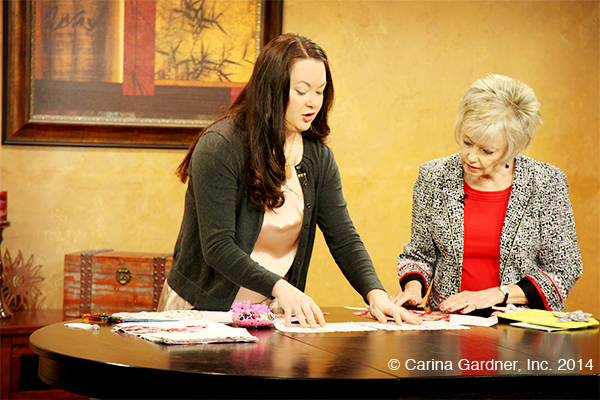
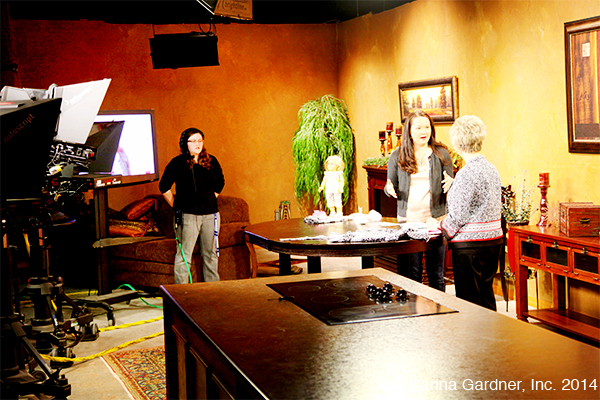
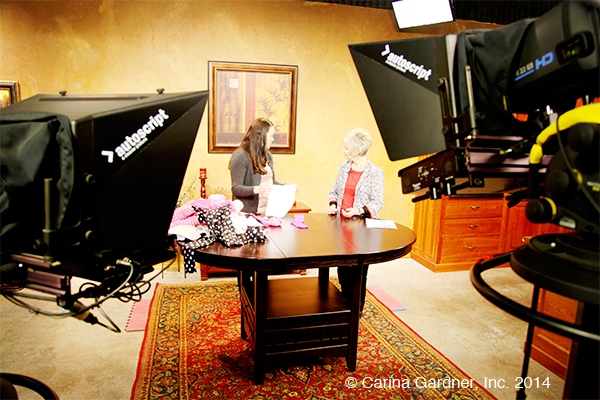
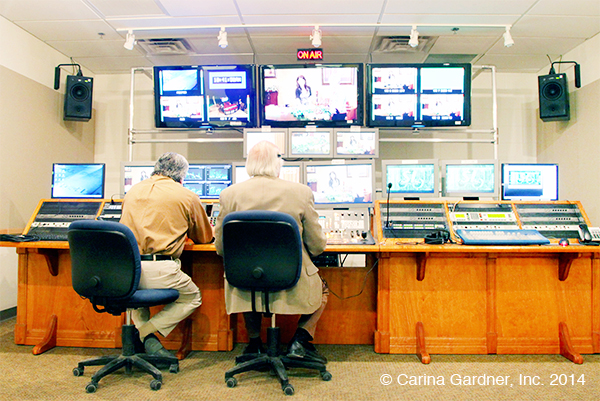
 I’m pretty horrible about posting all the wonderful things happening at