Episode 13: Halloween Haunted Mansion for Silhouette and DigiPlayground.com

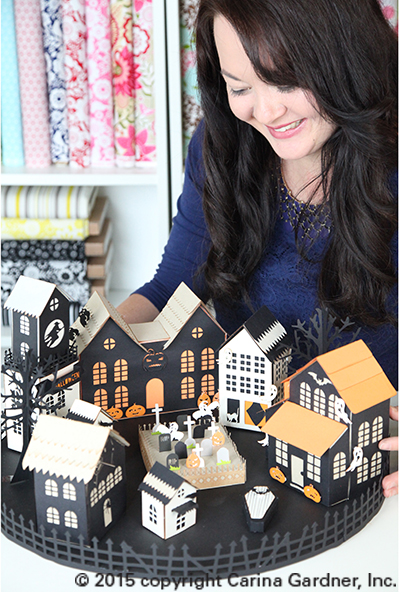
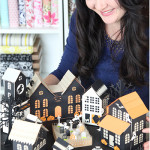
IMG_7894_webThis idea has been in the works for several weeks now. I’m so thrilled to finally be able to present my Halloween Haunted Village! This is made completely from SVGS files that you can purchase from my Silhouette Online Shop or DigiPlayground.com (for other cutting machines).

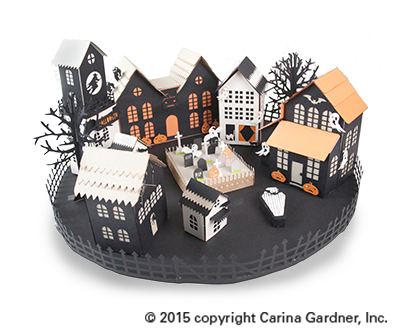
There are several pieces to this village. You can mix and match or purchase the entire village. Here are the pieces you can buy in this set (links for purchase available 9/21/15):

Pumpkin Mansion
Ghost Mansion
Spider House
Witch Tower
Haunted Tree
Haunted Fence
Coffin
Cat House
Tiny Bat House
Tiny Crow House
Cemetary

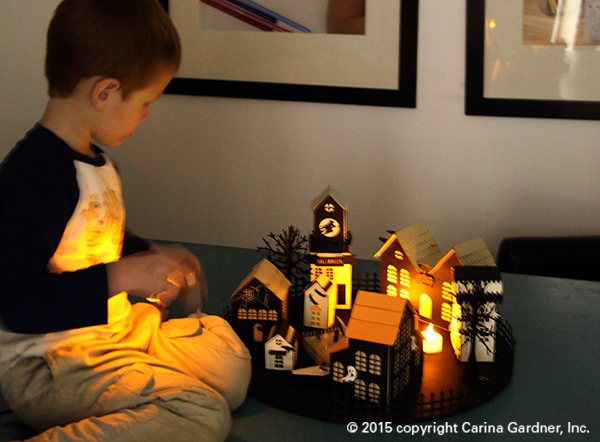
Most of these pieces (in particular the larger pieces) have a circular opening at the bottom so you can place an electric tealight. I can’t describe how awesome this village looks when all the lights are off and the tea lights make these IMG_7899_1_webhouse glow! If you want ALL the larger houses to glow, make sure you use, orange, white, cream, or transparent paper (like vellum) for the bases of your houses. Several of my houses (shown here) use a black or kraft paper base. These do not show the light nearly as well as the lighter based houses.

My kids were thrilled with this set! Charlie ended up playing in my office for most of the afternoon with the lights off, moving around the pieces and tea lights in this set!

IMG_7943_1_web

Of course, this set has a lot of working parts so there is a video on how to assemble it! I cover several of the pieces that I feel will help you. I hope you enjoy it!

Carina

Silhouette Design Store JOANN Stores

Carina Gardner SVG Files Now at DigiPlayground.com!

DPG-re-grand-opening2

I just got back from a quick vacay with the kids before school begins next week (You can see me taking a leap from a rope swing on my facebook page here). When I opened my email, I found this gem (the image to the left). So the time has come to make a big announcement…

For all of you out there with digital diecutting machines (but not a Silhouette), you can now get my SVG files for YOUR machine at DigiPlayground.com! I have been working on this for the last couple of months and there are files up there ready to go!

Every week, we are working on getting new files up so be sure to check back often. I have a 900 + back log of silhouette files that we are reshaping for your digital diecutting machines and all of them will be available at DigiPlayground. So you will see a mix of new and old going up every week.

Annnddd…to top it off there is a 40% off sale going on NOW through the end of the week (ends August 23, 2015). Take advantage and stock up on some goodies!

Happy cutting!

Carina

PS. Psst, exciting news about MiniLou! SVGs for KIDS ONLY projects and activities are coming soon here: http://digiplayground.com/MiniLou/

Silhouette Design Store JOANN Stores

Episode 12: Circus Party Train Album Tutorial for Silhouette

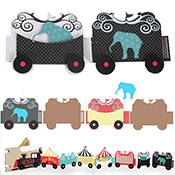
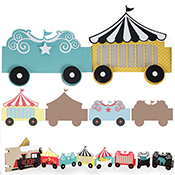
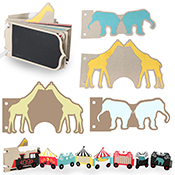
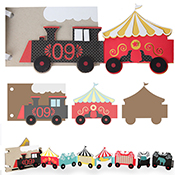
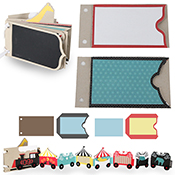
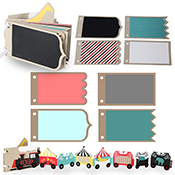
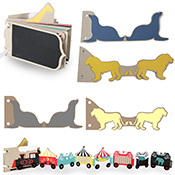
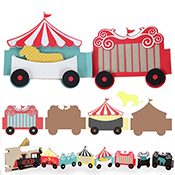
I’m so excited to share with you my Circus Party Train Album. As suggested, it is an accordion train that fits nicely into a single album. This album is made using my Circus Party papers that I designed for Carta Bella. The album can be purchased from my Silhouette Shop. I hope you enjoy!

Carina

(links will be available soon)

CircusPartyTrainAlbumCaboose CircusPartyTrainAlbumCage CircusPartyTrainAlbumElephant CircusPartyTrainAlbumEngine CircusPartyTrainAlbumEnvelopes CircusPartyTrainAlbumEssentials CircusPartyTrainAlbumLion CircusPartyTrainAlbumPocket

Silhouette Design Store JOANN Stores

Pen Pal Letters—Silhouette and Digital Scrapbooking Tutorial

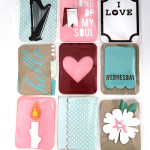
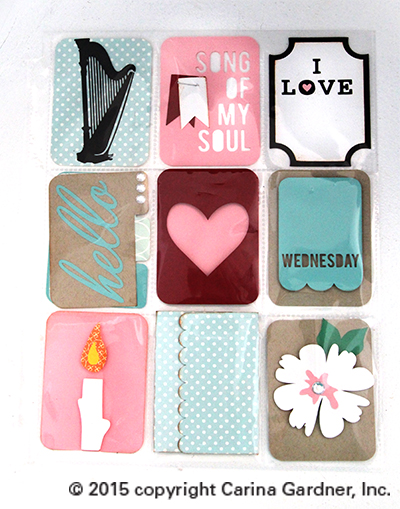
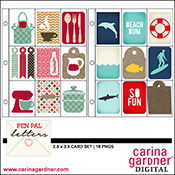
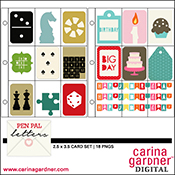
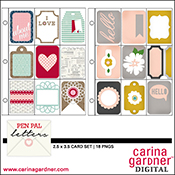
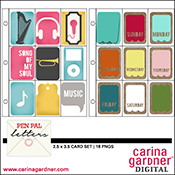
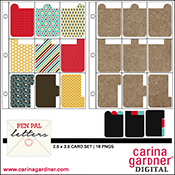
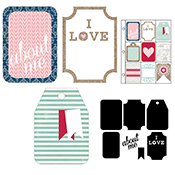
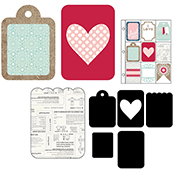
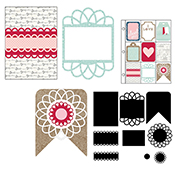
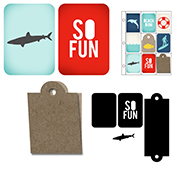
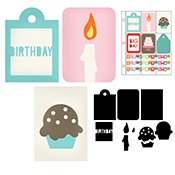
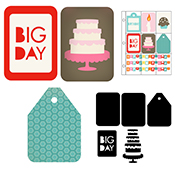
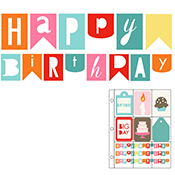
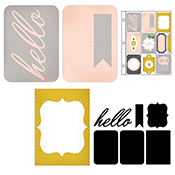
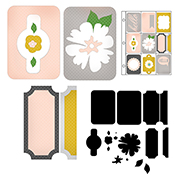
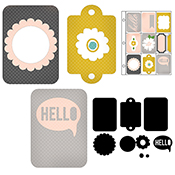
IMG_7136_1webI was recently introduced to these amazing letters that you place in Artist Trading Card Page Protectors. The idea was introduced by Janette Lane, and I have been so inspired by what she is doing. Creating these little works of art means quite a bit of scrapbooking paper, washi tape, ephemera, and other little bits and goodies. I have been wanting to make some of these letters for my girls (letters to them when they are older), and created a number of silhouette and digital scrapbooking files so that I can make them. Links for all the current products I have that relate to these kinds of letters are below (in both my silhouette and digital scrapbooking shop).

Be sure you check out Janette and what she is doing because it is truly inspiring!

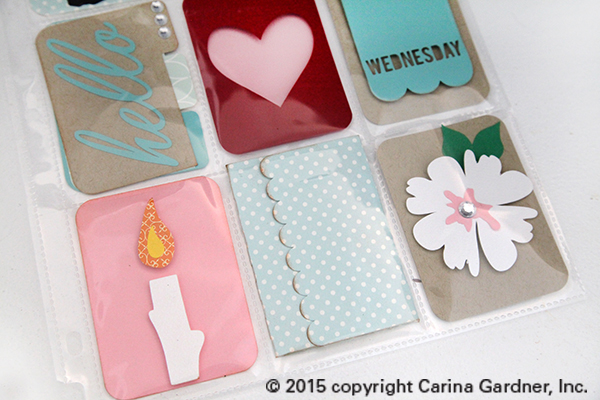
The image above and to the left I did for my daughter Siri who is a harpist. You’ll notice the envelope at the bottom that I plan on putting her letter in. I’ll also write a few things I love about her on the “I love” card from the starter set. I’ll add a few stories about her growing up on the tabbed set.

I think I’ll hide it away for her 18th birthday. It will be a treat for both of us!

IMG_7117_web

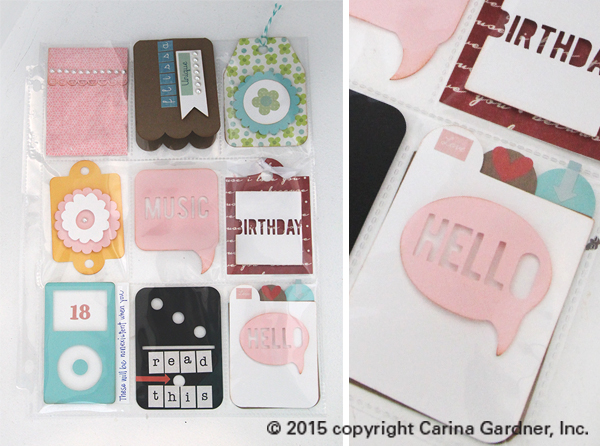
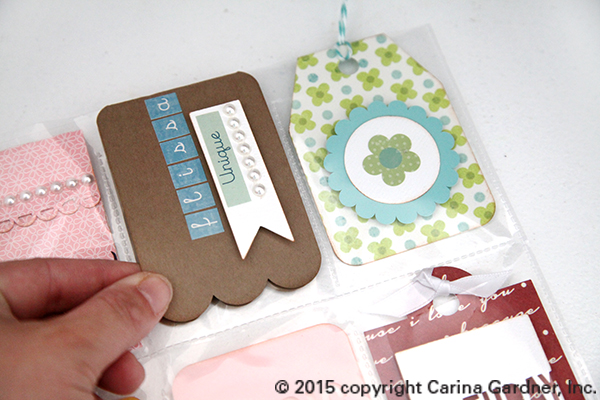
The one below I made for Felicity for her 18th birthday. The envelope is in the left hand corner and I am loving this little fold over scalloped tab I am using in the center top to write a little story about her now. I’m hoping she loves the silly ipod in the bottom left hand corner and the tabbed pieces in the right hand corner (I might throw a few fun pictures in there for her).

IMG_7138_1web

My take on the Pen Pal Letters is simply another way to document bits of our lives for my kids. I love the way Janette is using them to build a fun community and create something beautiful!

IMG_7119_web

Happy pen pal-ing!

Carina

Please note: some products not released yet and links are not available.

DIGITAL SCRAPBOOKING PRODUCTS:

CarinaGardner_penpal_bakingbeachprev copy CarinaGardner_penpal_birthdaygamesprev copy CarinaGardner_penpal_fullprev CarinaGardner_penpal_hellostarterprev copy CarinaGardner_penpal_musicdaysprev copy CarinaGardner_penpal_tabbedprev copy

__________________________________________________________________________________________

SILHOUETTE PRODUCTS:

(link to all the silhouette Pen Pal Letters here)

penpal2.5x3.5letters_verticalenvelopespenpal2.5x3.5letters_horizontalenvelopespenpal2.5x3.5letters_starterpack1penpal2.5x3.5letters_starterpack2penpal2.5x3.5letters_starterpack3penpal2.5x3.5letters_bakingpack1 penpal2.5x3.5letters_bakingpack2 penpal2.5x3.5letters_bakingpack3

penpal2.5x3.5letters_beach1 penpal2.5x3.5letters_beach2 penpal2.5x3.5letters_beach3 penpal2.5x3.5letters_birthday1 penpal2.5x3.5letters_birthday2 penpal2.5x3.5letters_birthday3penpal2.5x3.5letters_days1 penpal2.5x3.5letters_days2 penpal2.5x3.5letters_days3 penpal2.5x3.5letters_games penpal2.5x3.5letters_games2 penpal2.5x3.5letters_games3 penpal2.5x3.5letters_tabbed_h penpal2.5x3.5letters_tabbed_v01penpal2.5x3.5letters_hellopack1 01penpal2.5x3.5letters_hellopack2 01penpal2.5x3.5letters_hellopack3

Silhouette Design Store JOANN Stores

Alphabet Photo Album Tutorial for Silhouette

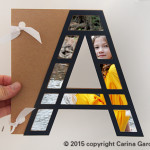
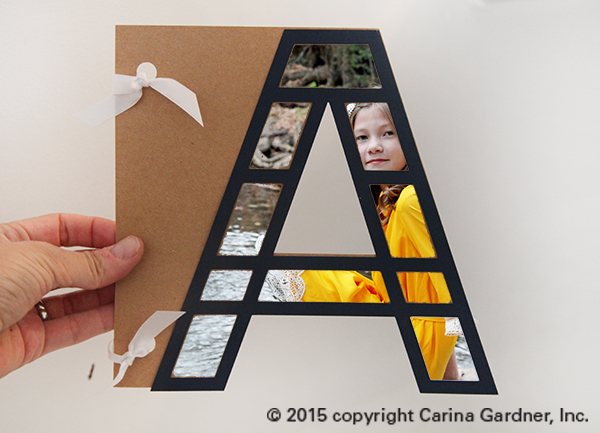
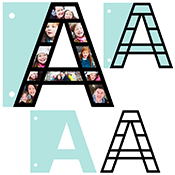
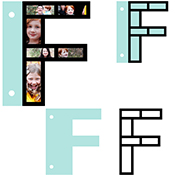
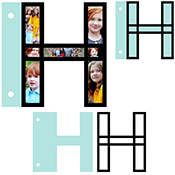
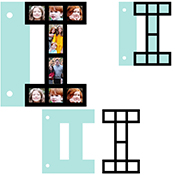
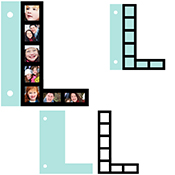
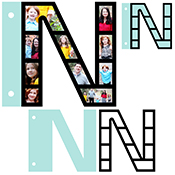
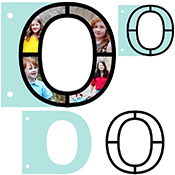
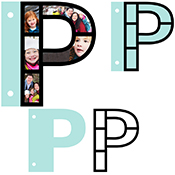
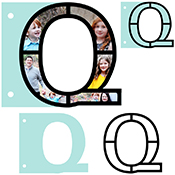
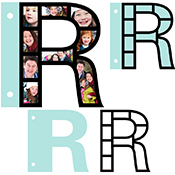
I’m so excited about my Alphabet Photo Album series that can be purchased from Silhouette. There are so any ways to use this album. Tutorial below along with a few ideas for using this album!

IMG_6845_1_web

IDEAS AND INSPIRATION

1. Cut a single photo into one letter. Simply lay a large photo behind the letter and trim the photo.

2. Use multiple letters together to create a name (like C-H-A-R-L-I-E) and only put photos of that person in it.

3. Choose a theme like S-U-M-M-E-R and capture favorite moments from the season.

4. Add journaling and/or capture a specific photo shoot or time of year.

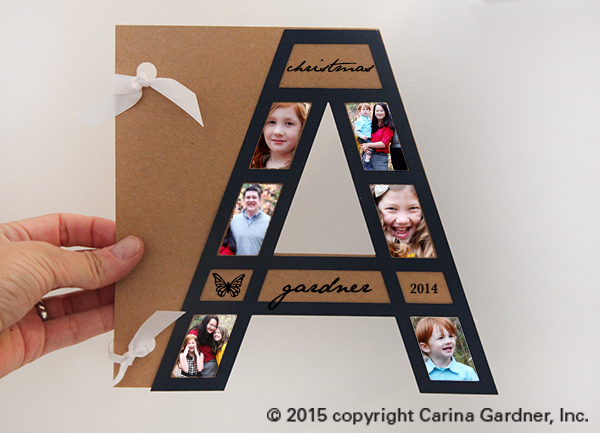
IMG_6845_1_web1

5. Create an alphabet album highlighting each letter. For example, an apple orchard experience with your children all captured in the letter ‘A’ or a swim party in the letter ‘S’.

6. Do a single letter album to highlight a holiday. For example, ‘C’ for Christmas—

7. Or highlight the holiday by spelling out the holiday like E-A-S-T-E-R.

There are so many great ways to use this album for a gift or keepsake. Here’s how you put it together.

TUTORIAL

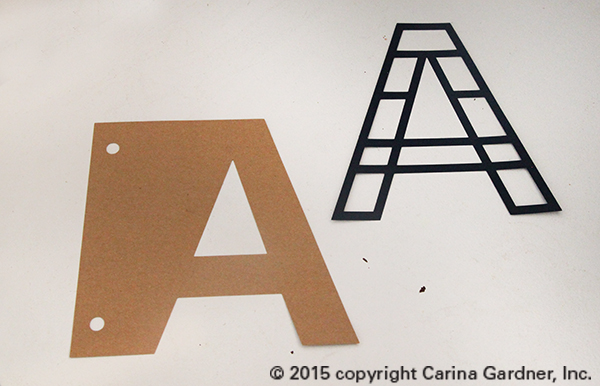
1. Cut  out SVG files. You will have two pieces—a front overlay and a back piece with holes for attaching it to other album pieces. (PS All the Alphabet Photo Album pieces go together).

IMG_6837_1_web

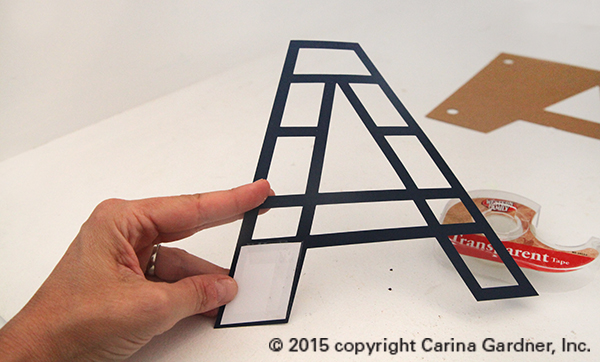
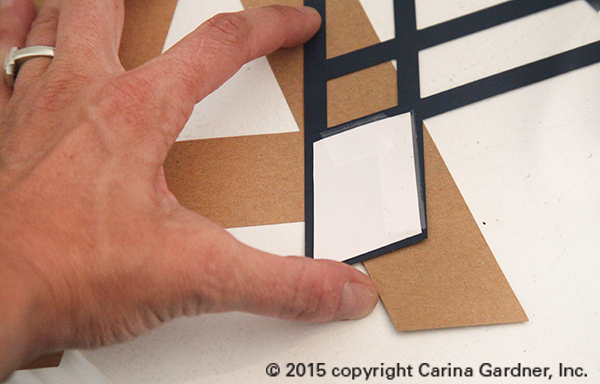
2. Use tape or a glue stick to adhere the photograph to the back of a framed window. I used scotch tape, but you may use whatever adhesive you would like to make  your picture stay in place.

IMG_6839_1_web

IMG_6840_1_web

3.Finally, simply place the letter on back piece to create a simple collage of fun photos.

Hope you get to make one of these fun album!

Carina

A_AlbumB_AlbumC_AlbumD_AlbumE_AlbumF_AlbumG_AlbumH_AlbumI_AlbumJ_AlbumK_AlbumL_AlbumM_AlbumN_AlbumO_AlbumP_AlbumQ_AlbumR_Album

S_Album

T_Album

U_Album

V_Album

W_Album

X_Album

Y_Album

Z_Album


Silhouette Design Store JOANN Stores

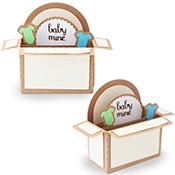
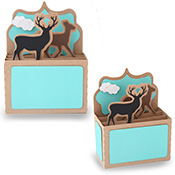
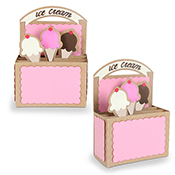
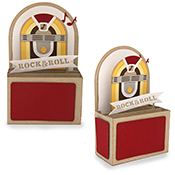
Rectangle Card Boxes Tutorial for Silhouette

I’ve been adding quite a few of these box cards to my silhouette shop recently. They aren’t hard to put together but there are a few steps. Each of my boxes are different so you will need to make adjustments to this tutorial based on the type of box you have purchased.

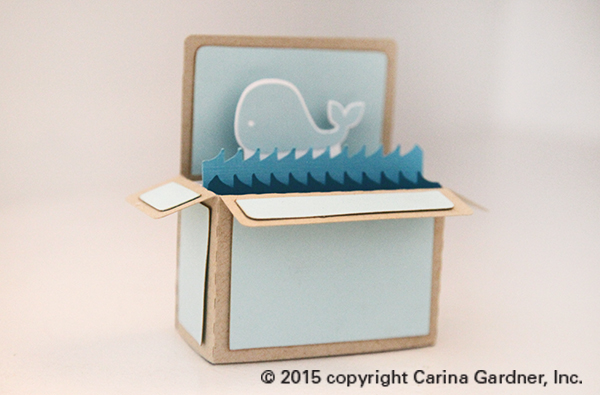
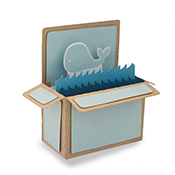
A couple of notes about these boxes. They aren’t true boxes in that they do not have a bottom. Once you have put them together, you should be able to fold them flat. Some of the boxes come with flaps along the edges (like the whale box) and some come without (like the ice cream box).

Here’s how to put it together:

1. Cut out the svg files. Glue accent pieces to the outside of the box. Note that most of these boxes should have a large accent piece on the back of the box AND the inside of the box. Usually you just need to cut the piece twice but on some of the designs the inside is different than the accent piece on the outside.

IMG_6811_1_web

IMG_6812_1web

2. Glue the flap on the main piece to the back of the box to create the main box.

IMG_6814_1_web

It should look like this:

IMG_6817_1_web

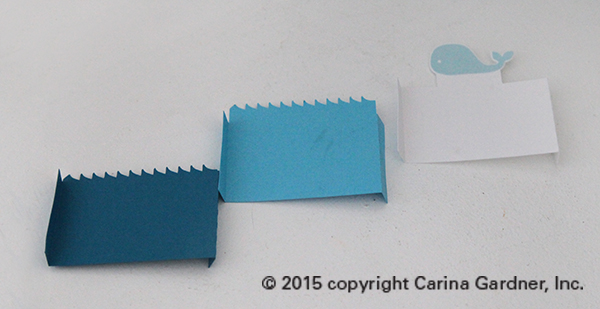
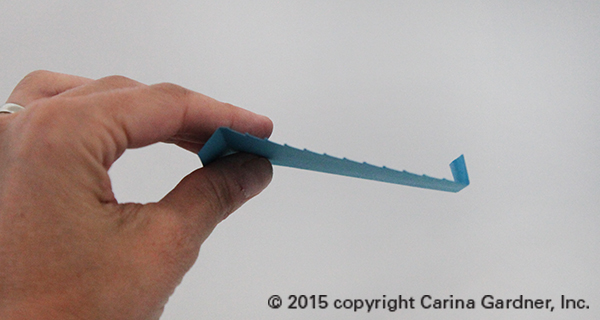
3. Glue on all the accent pieces to the inside pieces (for example, the whale on the back piece shown here). Then fold on glue flap forward and one glue flap backwards.

IMG_6818_1_web

IMG_6819_web

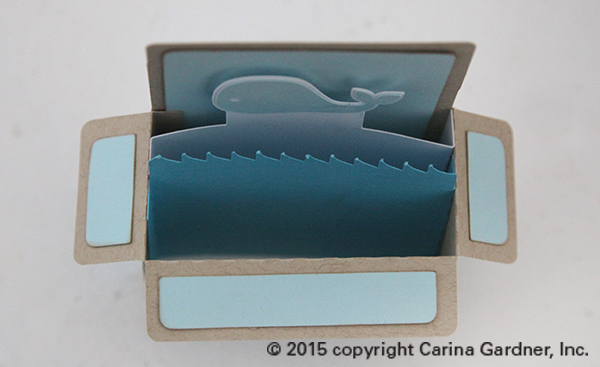
4. Next glue the flaps into the box. Space the different pieces inside evenly. Most of these boxes come with 2-3 inside pieces. You can also fold the box flap to glue down the box pieces. Some of the boxes come with a single inside piece and a couple of little accessories (usually an object on a stick) that you just glue directly to the box.

IMG_6821_1_web


IMG_6823_1web

And that’s it! It’s a cute card or fun gift idea!

Hope you have fun making these!

Carina

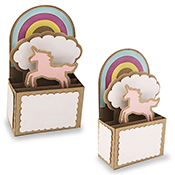
DS-9.3W-CG-babyboxcard DS-9.3W-CG-deerboxcard DS-9.3W-CG-icecreamboxcard
DS-9.3W-CG-jukeboxcard
DS-9.3W-CG-unicornboxcard
DS-9.3W-CG-whaleboxcard1

Silhouette Design Store JOANN Stores

Filled Basket Silhouette Tutorial

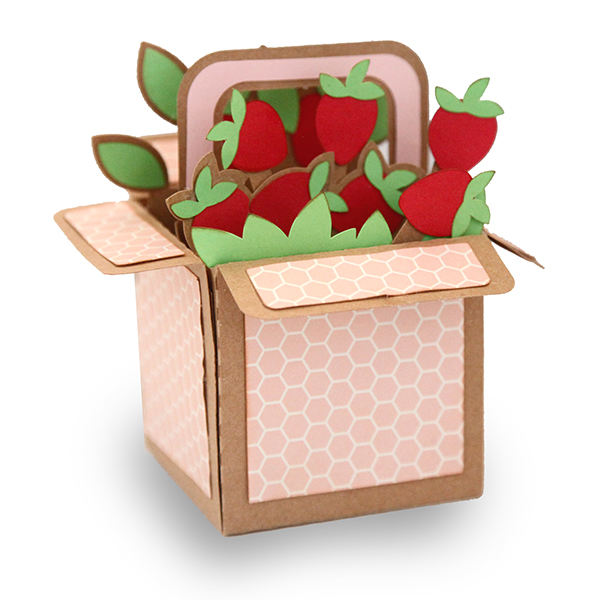
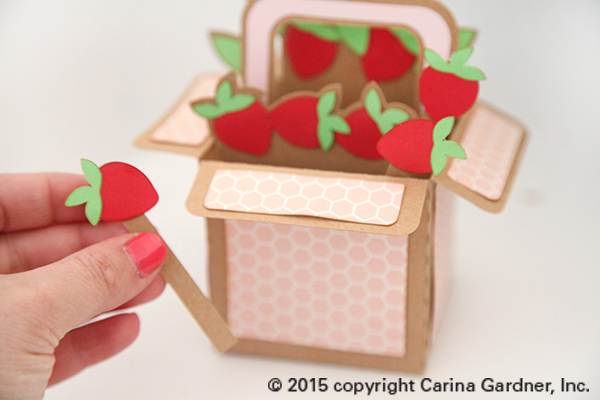
DS-16.5W-CG-strawberrybox

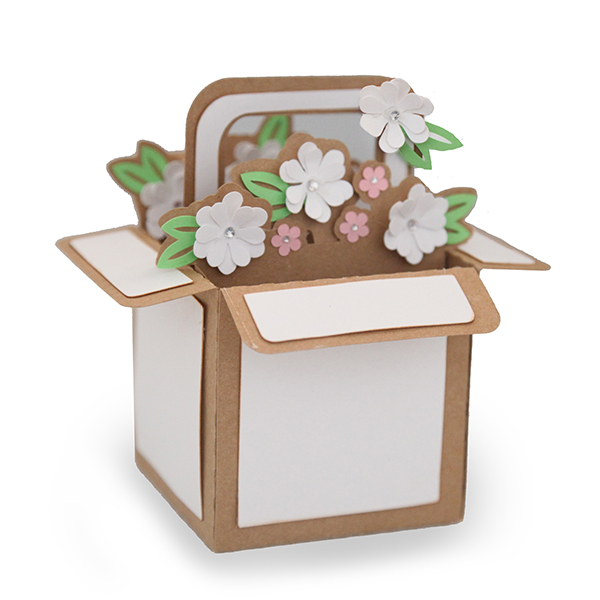
I probably redesigned this basket a half a dozen times but I think it was worth it! The end result just makes me smile!

These little baskets are 3D and take a bit of time (and creativity) to put together. Stick a little gift card in it for a friend or use it for home decor! These baskets DO NOT fold flat (they have a full bottom on them).

I hope you get a chance to make one of these darling little baskets! You can fill them as “full” as you want with the addition of little “bits” that can be glued in the front or back. You also have the option of making this front and back (by gluing the accessories —like flowers or strawberries) to the front and back of each piece).

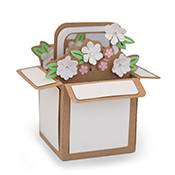
DS-16.5W-CG-flowerbasket

Here’s how to put these together:

1. Cut out the svg files.

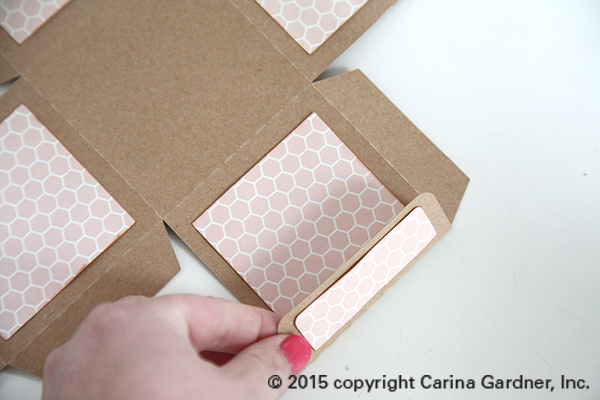
2. Glue the accent pieces to the main box. This includes the side squares and the “lid” accent pieces.IMG_6380_web

2. Next glue down all the embellishments (like the strawberries or flowers) to the inside pieces (shown below in kraft paper). You can pop dot them but because mine was full, I chose to simply glue them down. Add any embellishments (like diamonds to the centers of the flowers) at this point. Note: You can finger press anything at this point to add dimension. You’ll see that with the flowers, I chose to only glue the centers and finger press the petals to give the flowers more depth.

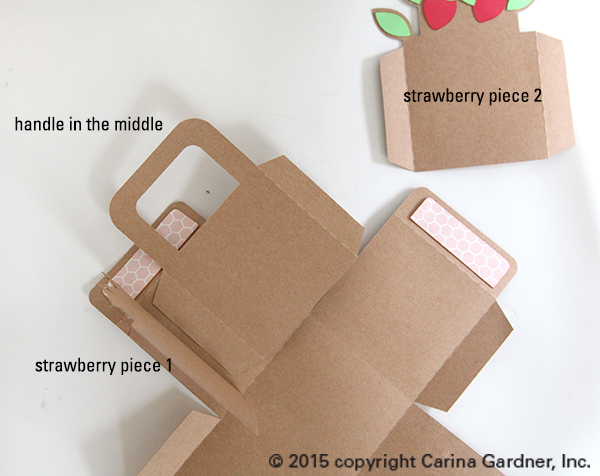
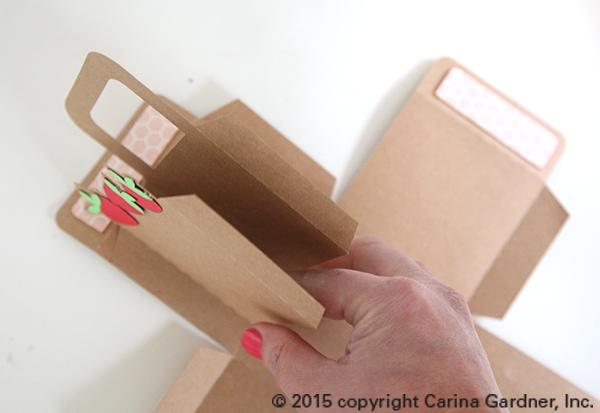
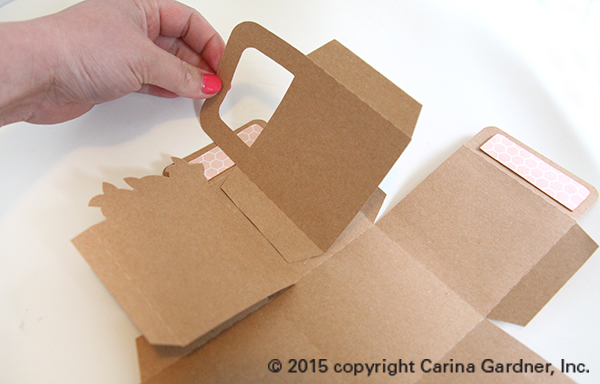
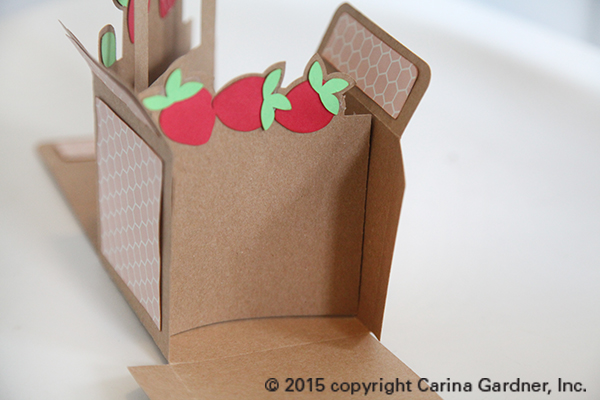
3. Next, you’ll need to glue in the tabs. You can see I got a little picture crazy with this because it’s a little hard to explain. I like gluing in the center piece (with the handle) first. I fold one tab forward and one tab backwards. You can see in the photo below, I glue that handle piece to the center of one of the sides of my box.

IMG_6382_web

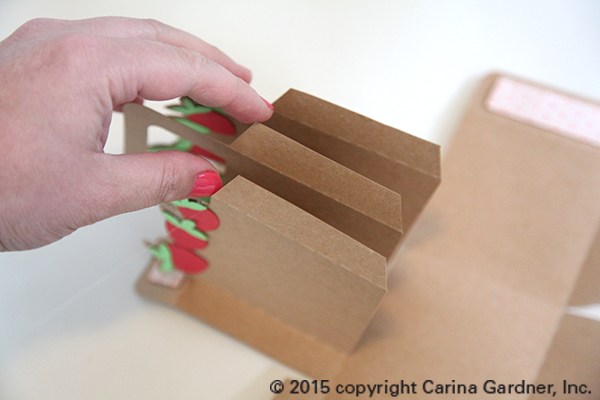
I then glue the front piece on (as shown below). I glue the flap going forward like the handle piece.

IMG_6383_web IMG_6385_web

I then glue the back piece on. You’ll notice that I try to evenly space them.

IMG_6386_web

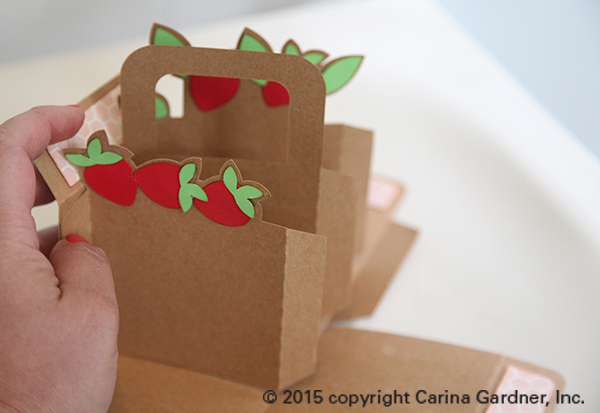
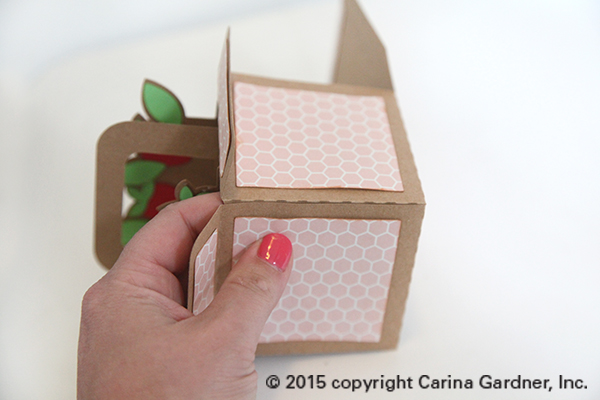
Fold up the box and see how you are doing on your spacing. This will also help you gauge where to glue the opposite side flaps on.

IMG_6391_web

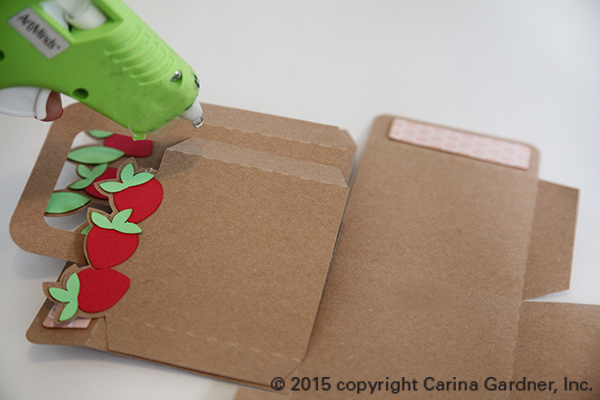
4. Glue the inside pieces to the opposite side of the box. I like to just glue one of the flaps first. I started with the first inside piece (you can see in the photo below). I placed hot glue on it (you can use any kind of adhesive you want) and then positioned it to the opposite side of the box.IMG_6392_web

It should look like the photo below.

IMG_6394_web

I finish gluing the other two flaps onto the opposite side of the box.

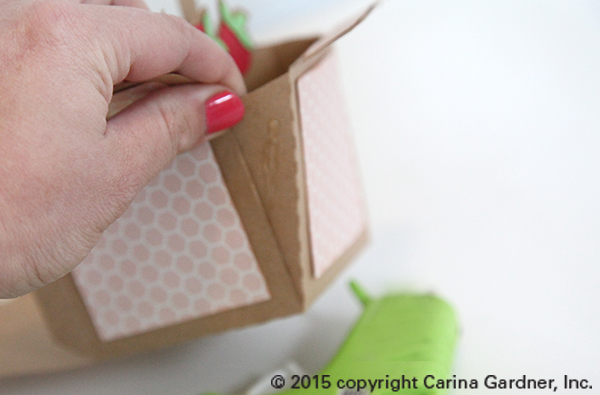
5. Once I have all the middle pieces positioned, I then glue the rest of the box together.

IMG_6401_web

IMG_6402_web

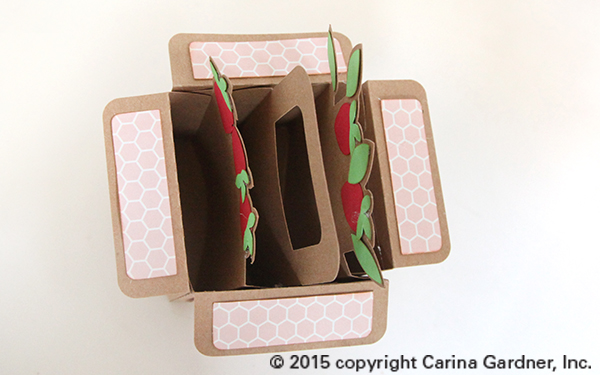
From the top, it will look like this (see photo below).

IMG_6408_web

6. There may be several accent pieces in the file you have. For example, there are “strawberries on a stick” in the strawberry basket file as well as some greenery. I placed the strawberries randomly in the box and glued them to the front of the box and behind the inside pieces. I glued the greenery to the front of the box. For the flowers, I simply added some flowers to parts of the box to give it a more “full” look.

IMG_6412_web

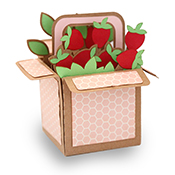
DS-16.5W-CG-strawberrybox

The point is to add some depth to the boxes contents.

Hope you have fun making one!

Carina

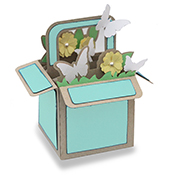
DS-16.5W-CG-flowerbasket DS-16.5W-CG-strawberrybox DS-16.5W-CG-butterflybasket1

Silhouette Design Store JOANN Stores

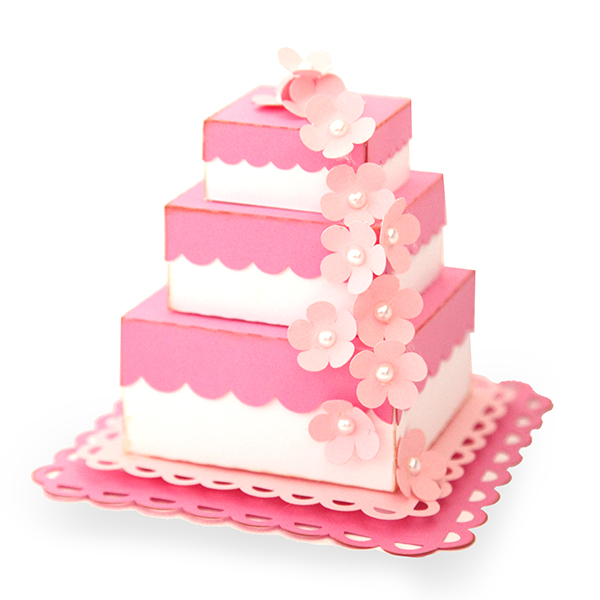
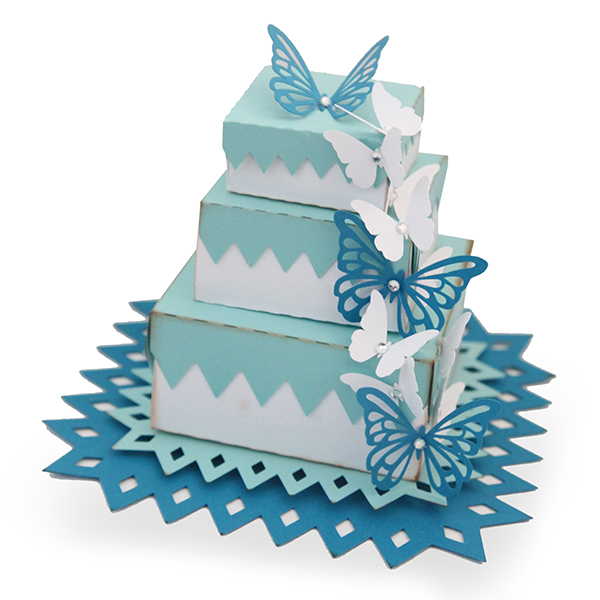
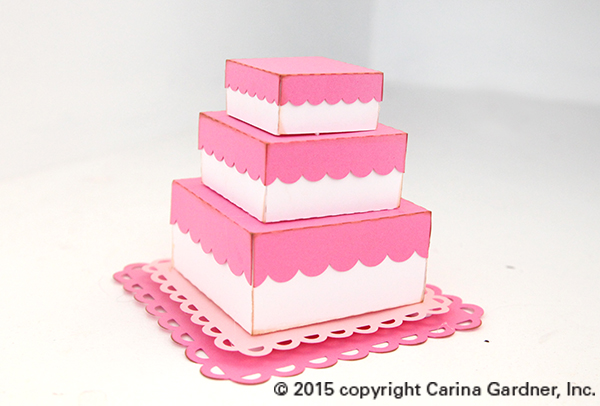
Layered Cake Tutorial for Silhouette

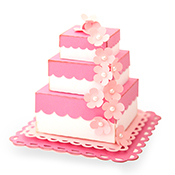
DS-15.6W-CG-layeredweddingcake

There are lots of weddings happening around me, and I was inspired to make some cake! Some Silhouette Cake of course!

These layered cakes are all put together about the same way (with some slight deviations based on design). You can mix and match the designs (like using the butterflies with the scallop shapes of the flowers) because all of the cakes are made exactly the same size.

The crazy thing is that these are even cuter in real life! I think we might have to leave these out in the office for a while to enjoy them!

Check the bottom of the post for links to specific designs you can find in my Silhouette Shop!

Here’s how you put these sweet treats together:

DS-15.6W-CG-butterflylayeredweddingcake1. Cut out all the svg files.

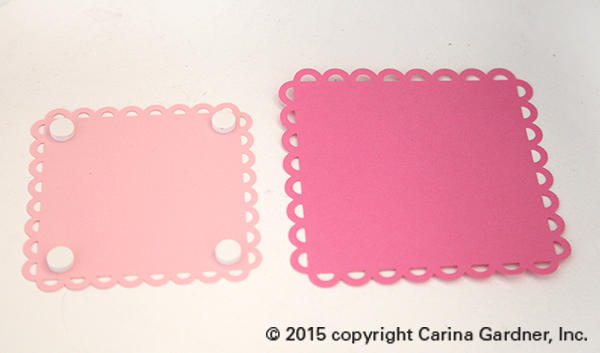
2. Layer with adhesive (or pop dots as shown in my picture) the bottom mats with the small one on top of the larger one.

IMG_6421_web

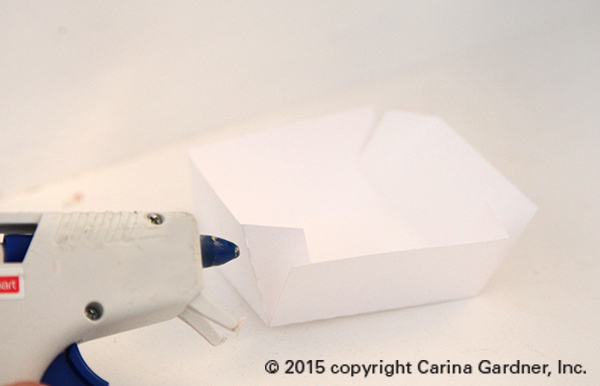
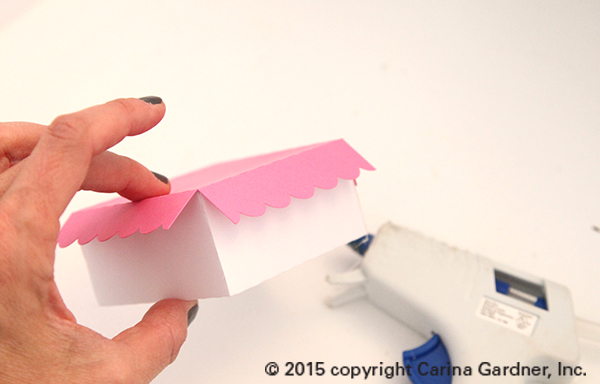
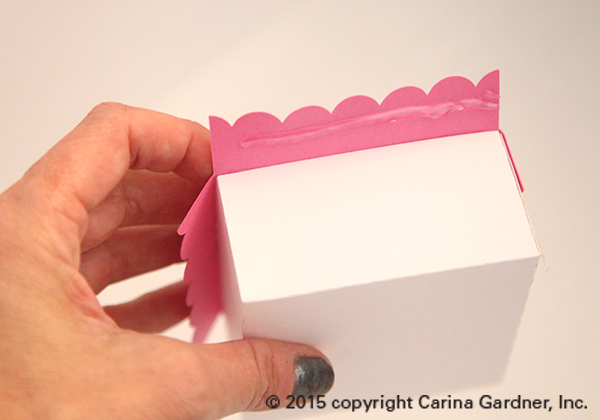
3. Put together the main form of the “cake” by gluing the boxes together. Put adhesive on the glue flaps to form the sides of the box.

IMG_6428_web

4. Place the matching “top” to the box and glue down the sides.

IMG_6431_web IMG_6433_web

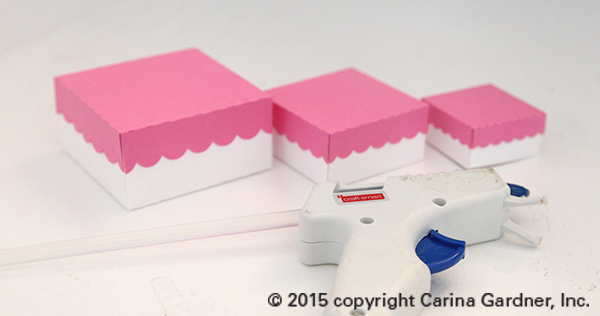
You should have three (or more) boxes finished.

IMG_6437_web

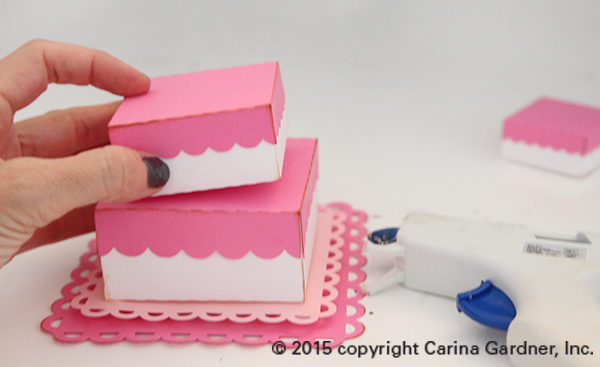
5. Glue the boxes to the mats in order of largest to smallest.

IMG_6439_web IMG_6440_web

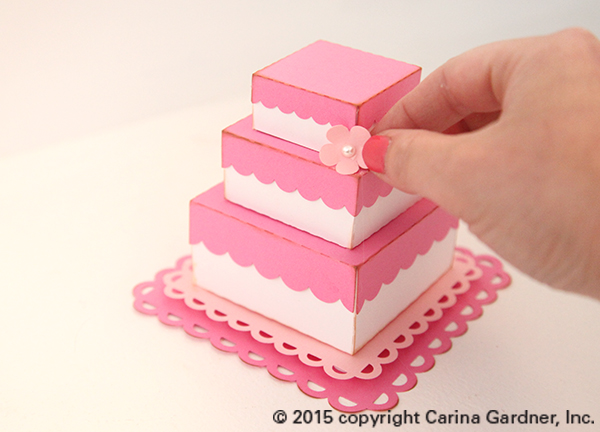
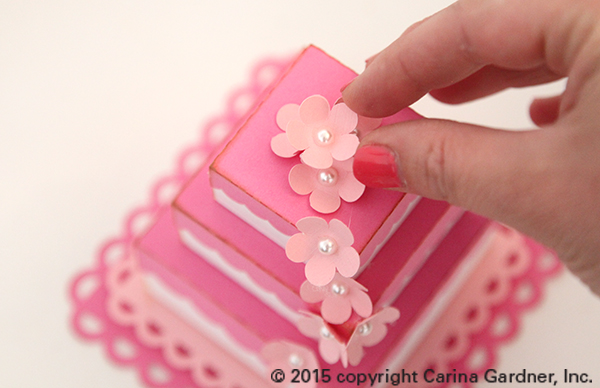
6. Finally, embellish the cake the the decorative items that come with the cake. I like a diagonal design but you can place them any way you want! For the topper, I try to use the biggest item (like the cut out butterfly) or gather together several of the same items (like 4 flowers all together). I used embellishments (like little diamonds or pearls to help accessorize).

IMG_6443_web IMG_6446_web

And that’s it! You’ve made a darling layered cake! Hope you had fun making it!

Carina

(Links available as the product becomes available)

DS-15.6W-CG-butterflylayeredweddingcake DS-15.6W-CG-layeredweddingcake

Silhouette Design Store JOANN Stores

Mobile Tutorial for Silhouette

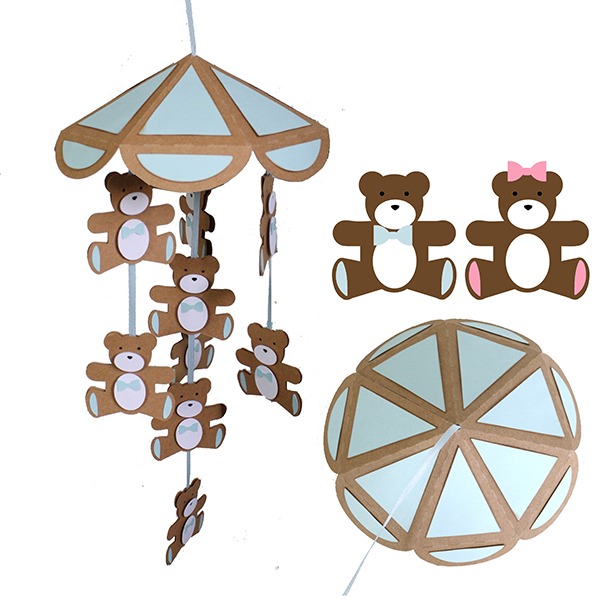
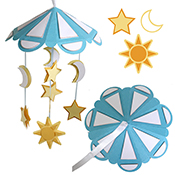
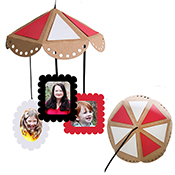
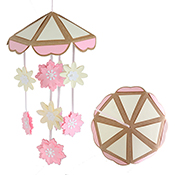
teddybearmobileThis week among my Silhouette releases are mobiles. They do take some time to put together but they are really cute and make the cutest party and home decor items!

I use a lot of solid papers for this project and was loving my hot glue gun because it made putting it altogether quick. The “umbrella” piece at the top can be used for more than just the mobile (size down for umbrella drinks or other party items).

Here’s how to put this together:

1. Cut out the pieces as shown in the file.

2. Glue all the accent pieces to the top of the “umbrella”. (Note you can do this between Steps 4 and 5 as I show in the photos as well.)

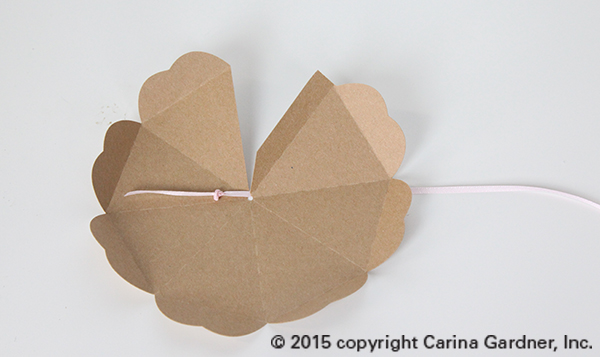
3. Fold on the scorelines of the “umbrella” and place a ribbon with a knot on the end of it in the center hole. If you want to place hanging icons from the center ribbon, leave a long tail.

IMG_6255_web

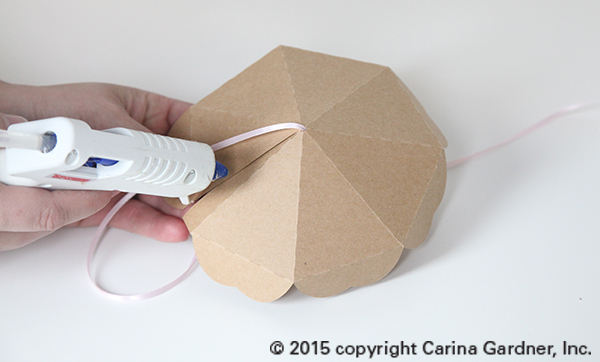
4. Glue the flap of the “umbrella” together with the ribbon in the center.

IMG_6258_web

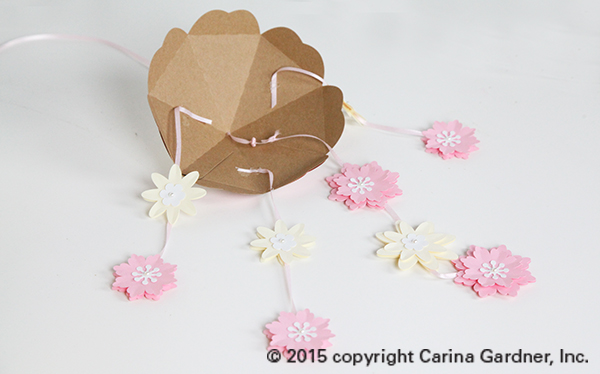
5. Put together the “object” you will be placing on the mobile. For example, if you have the teddy bears, assemble each teddy bear individually. If you have the floral mobile, you can finger press the petals and make each flower individually. For my mobiles, I had 4 ribbons—the center ribbon, and three shorter ribbons. On each of the short ribbons, I hung two objects each. For the center, I hung 3 objects. So that is a total of  9 objects, right? But you have to DOUBLE that number, because you will want to make each object DOUBLE-SIDED since they will be floating. So I cut out 18 objects in total for each of my mobiles. Feel free to change up the number and size of your objects. (e.g. the scallop frame mobile only uses 3 frames so I only cut out 6 pieces in total).

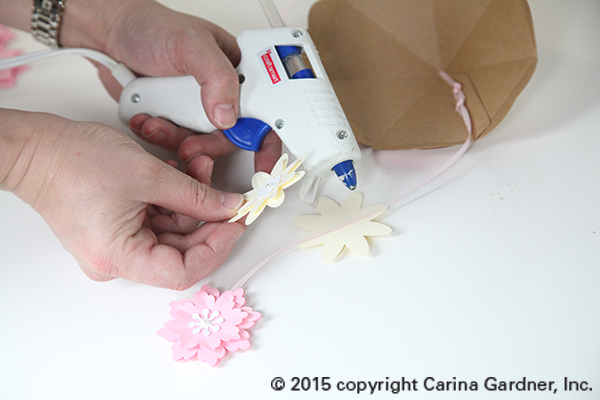
If you left a long tail for the center ribbon, you can add you objects directly to that center ribbon. If you did not, you can always easily knot another piece of ribbon to the center knot. Place two or three objects on this center ribbon and space carefully. Glue one side of the object onto the ribbon first, then sandwich the ribbon by adding a second object.

IMG_6262_web

6. Add the other ribbons with either tape or hot glue. Be sure to space them into thirds if you are using three more ribbons. Add objects to these ribbons as well.

IMG_6304_1_web

And that’s it! It’s a lot of cutting and gluing but makes for an awesome project! Hope you have fun making these!


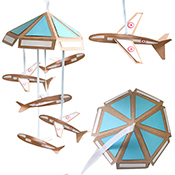
***NEW: Tutorial for putting together the airplane in the Airplane Mobile

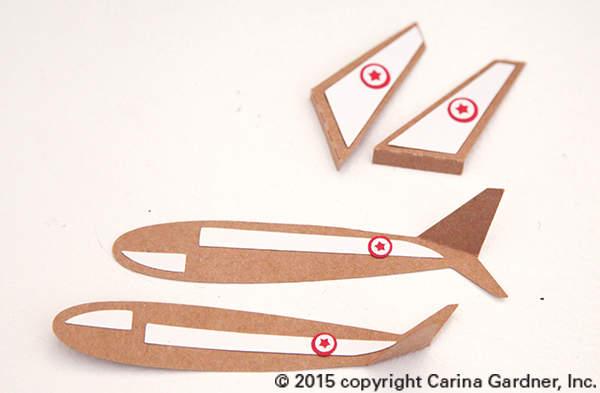
I added this little tutorial because putting together the airplane (while not complicated) is a little hard to see in the photos. So here is how you put these together.

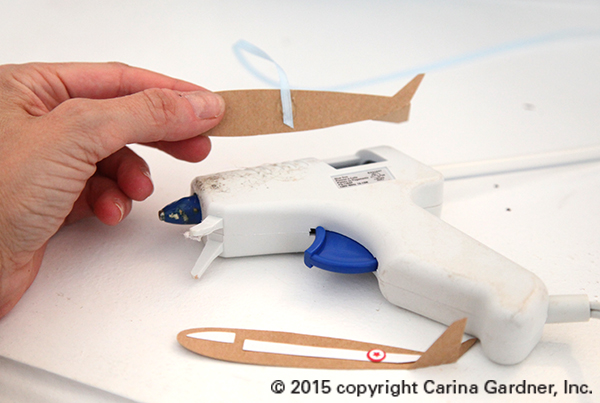
1. After cutting out all the pieces, you will want to add all the accent pieces as MIRROR IMAGES. Then fold the tail wings out. You can see that the tails on both cut out pieces are folded out to opposite sides. You need to put everything on as a mirror image so that you have accent pieces on BOTH sides of the airplane.

IMG_6499_web

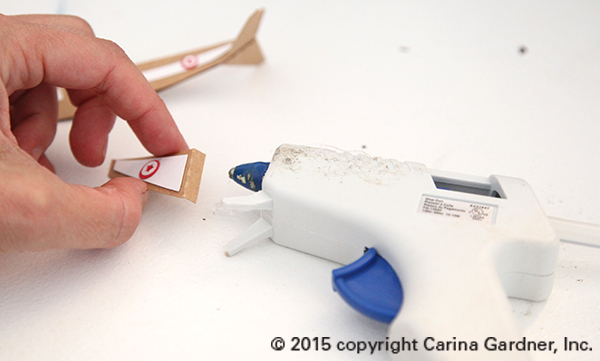
2. To place the planes on the ribbon, you will sandwich the ribbon between the two planes. Glue together the sides without the accent pieces.

IMG_6503_web

3. You can add the wings at this point (with the ribbon sandwiched between the two planes) or you can do this before you add the plane to the ribbon.

IMG_6506_web

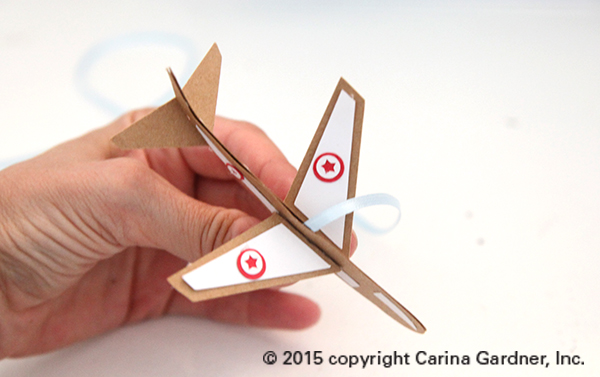
Here’s a final look at the airplane from the top view.

IMG_6507_web

Hopefully this helps you put together the airplane mobile!

Carina

PS. Other goings on at CGInc and ML : MiniLou Kickstarter Video, MiniLou Online Shop Opening, Release of my CartaBella line Circus Party

Links to my mobiles in the Silhouette Store

teddybearmobile sunstarmoonmobile scallopframemobile floralmobileairplanemobile_1

Silhouette Design Store JOANN Stores

Vellum Top Boxes for Silhouette

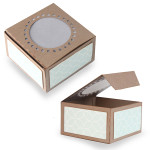
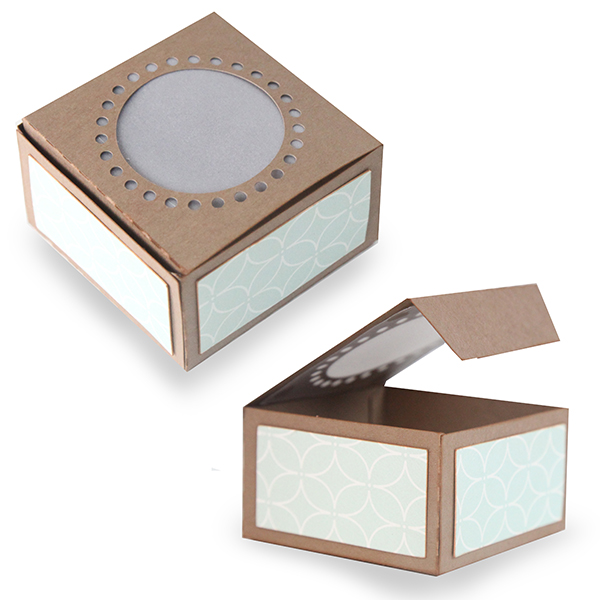
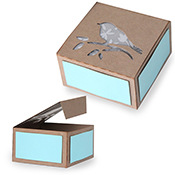
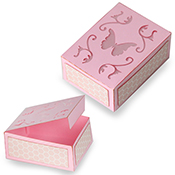
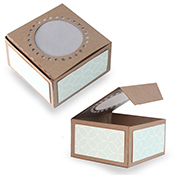
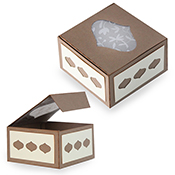
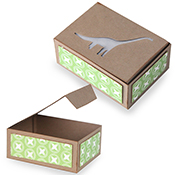
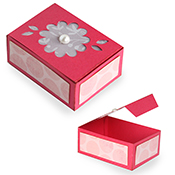
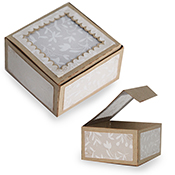
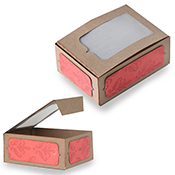
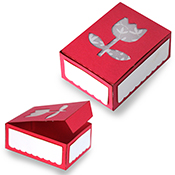
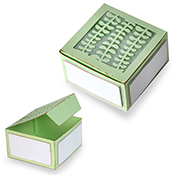
vellumtopcircleopeningboxThis week I made a bunch of these darling little vellum topped boxes. They make the cutest favor boxes and gift items. You can purchase them from the Silhouette Shop here.

All the boxes that work with this tutorial (and links!) are down at the bottom of this post.

Here’s how to put together these boxes:


_____________________________________________________________________________________

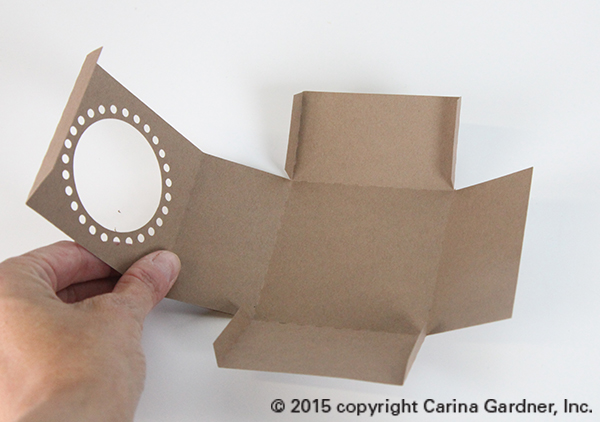
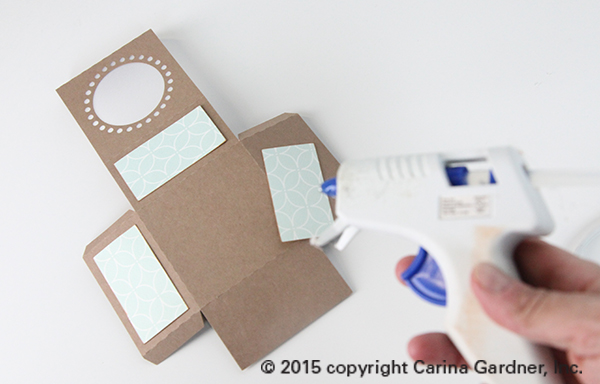
1. Cut out on Silhouette files. The main body of the box is shown in kraft paper. I used plain velum to go underneath the circle cut out on top, and a patterned blue paper for the accent panels.

2. Fold scored lines on the box. This creates a visual image of where your accent panels should be placed.

IMG_6224_web

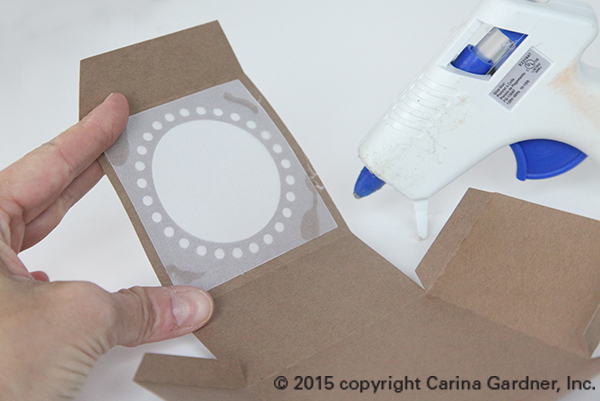
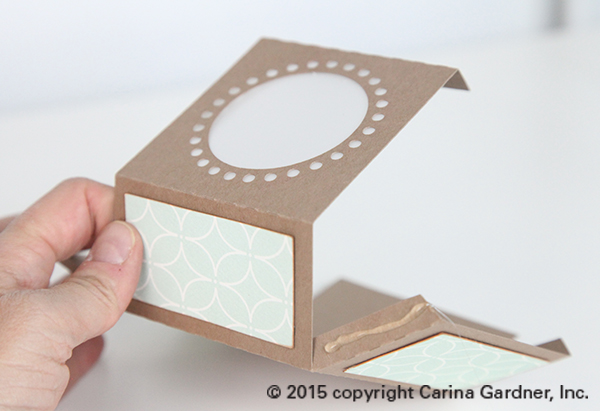
3. Glue vellum or transparent paper to the INSIDE of your folds into the opening on the top to create a “peek-a-boo” window.

IMG_6227_web

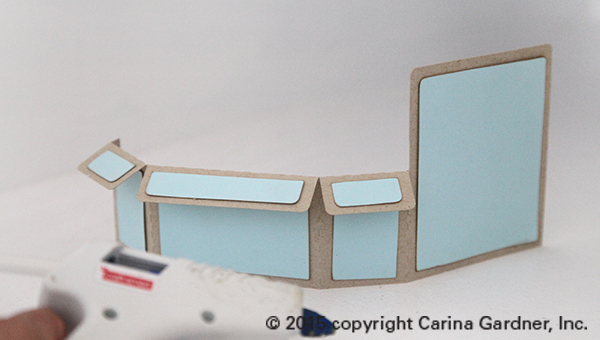
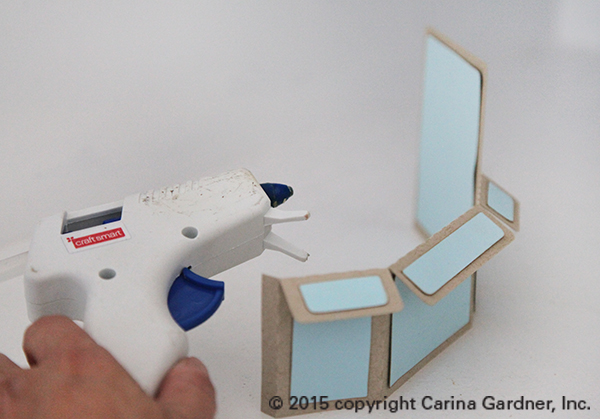
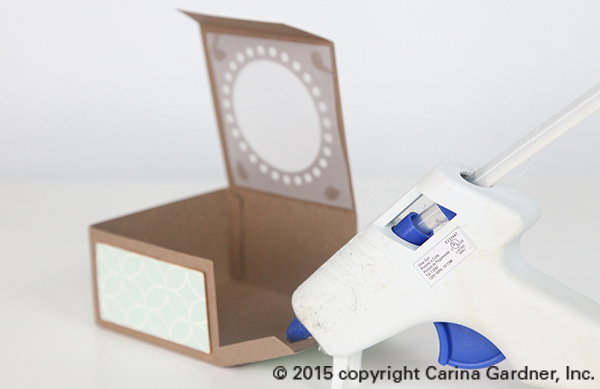
4. Glue accent papers into place using adhesive. I used a glue gun to put it together quickly. A glue stick or glue dots would also work great.

IMG_6230_web

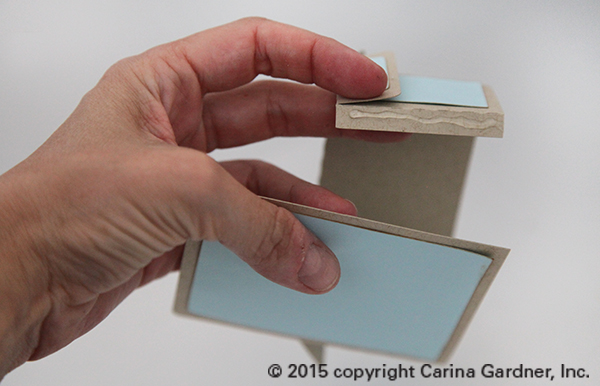
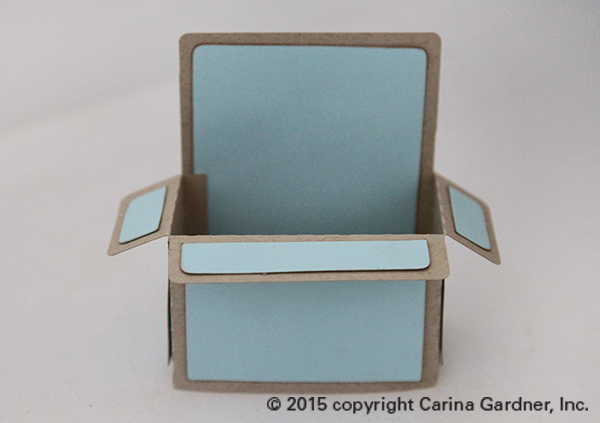
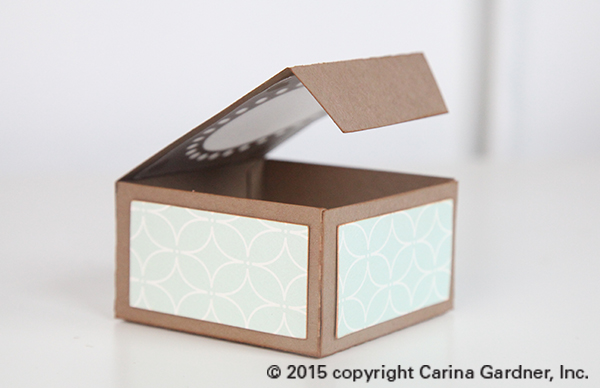
5. Finally, put glue on the flaps and attach the sides of the box to finish the box.

IMG_6242_web IMG_6246_web IMG_6252_web

And that’s it! It’s the best little party, wedding, or birthday favor box or treat box!

Happy crafting!
Carina

vellumtopbirdbox vellumtopbutterflybox vellumtopcircleopeningbox vellumtopdewbox vellumtopdinosaurbox vellumtopfloralopeningbox vellumtopscallopbox vellumtopsinglebracketbox vellumtoptulipbox vellumtopvinebox

Silhouette Design Store JOANN Stores

Folding Flap Sliding Box Tutorial for Silhouette

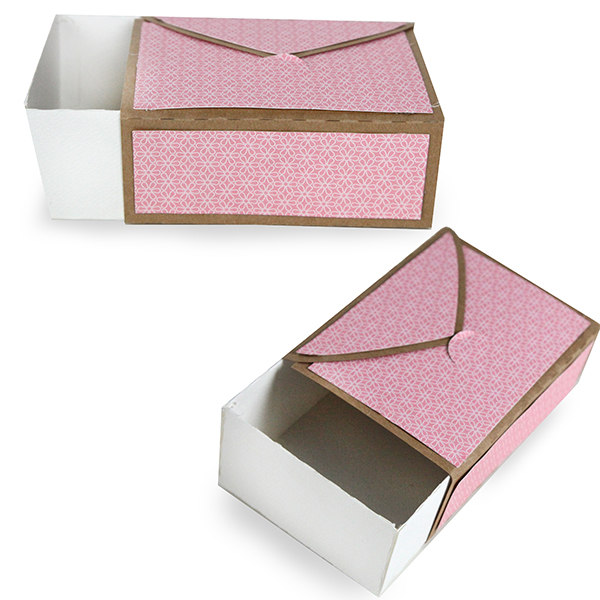
FoldingFlapSlidingBox

I know so many of my posts these days are Silhouette tutorials. I hope that they are so helpful for those of you that are “making” with your machines.

This cute little box is created with an “envelope” folding flap. Here’s how to put it together.

1. Cut out the silhouette files.  The main body of the box I cut out in white and the flap in kraft paper. The accent papers are in pink.

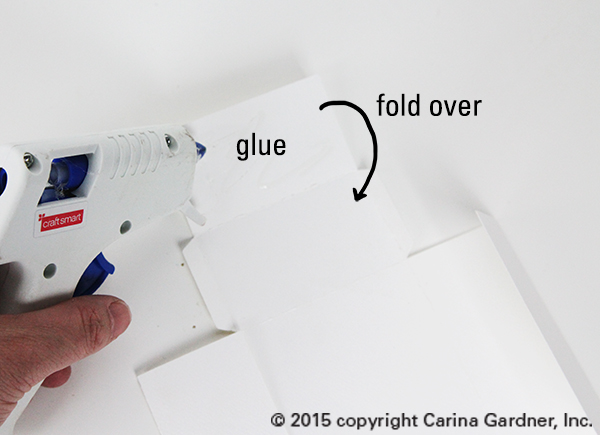
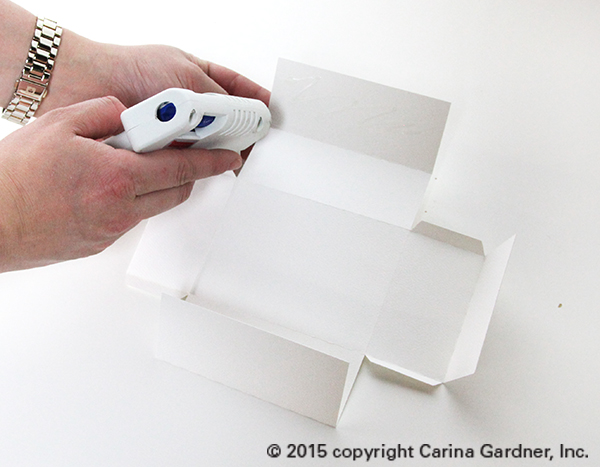
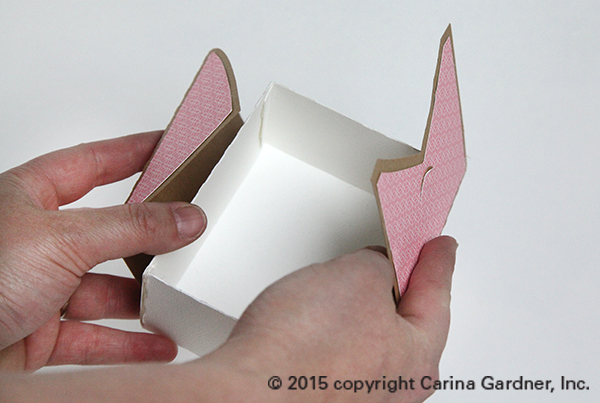
2.This box is double enforced—that is, I created it so that the sides of the box are stronger by doubling up the paper. So you have to fold all the score lines on the box and then glue down the extra flaps. Do this to all four flaps.

IMG_5866_web

IMG_5862_web

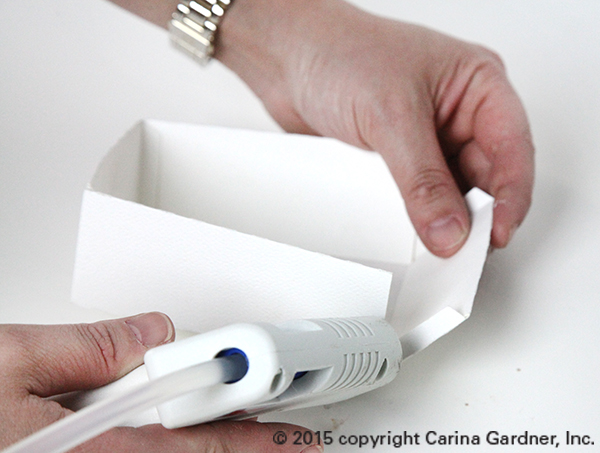
3. Then put glue on the glue flaps and attach the sides of the box together to finish the box.

IMG_5871_web

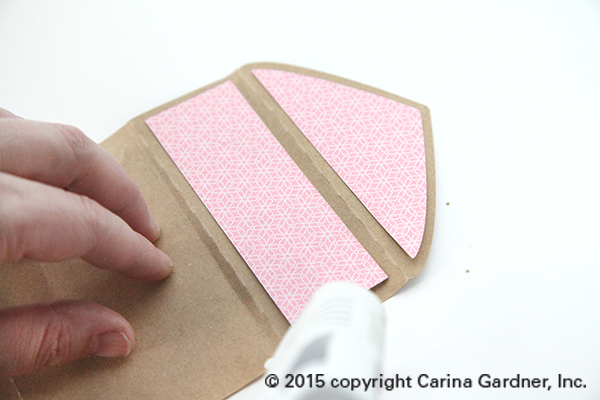
4. To create the flap, glue down the accent pieces to the main flap. Be sure to match up the small, half circle notches on the accent paper and the flap.

IMG_5898_web

5. Fold the flap around the box and attach using the notch. You can use a clear sticker or use the notch to hold the flap together.

IMG_5899_web

And that’s it! There so many uses for this cute box from favor boxes, small gifts, or even as a card.

Happy creating!

Carina

Silhouette Design Store JOANN Stores

Star Decor Instructions for Silhouette

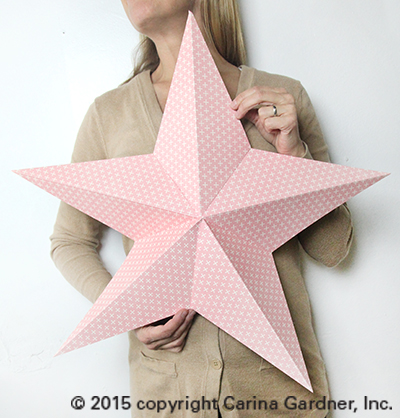
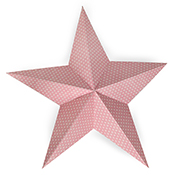
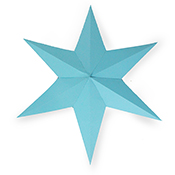
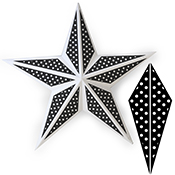
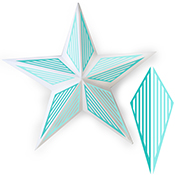
IMG_5921_webI’ve had a lot of questions about my Metal Star Accents and in particular if I was going to make a base for this. So here they are! I have a 5 pointed star and a 6 pointed star made completely from paper! You can use the accents on them but will need to resize them to fit your star (The metal star accents were created to be used with a METAL CRAFT STAR that you can purchase from your local craft or scrapbooking store. They will need to be resized to fit on these paper stars.) If you are looking for links to all of these products, I have put them at the end of this post. You can also check out my Silhouette shop for more products like this.

Putting together these paper stars is pretty easy. You can, of course, sized down your star. The photo to the left shows you how large the star is if you cut it at it’s original size in the file. It requires a Cameo (12 x 12 papers) but if you size it down you could make a smaller star on your Portrait.

Here’s how to put it together:

1. Cut out five pieces of the same sized triangle shape on your machine for the 5 pointed star and six pieces of the 6 pointed star.

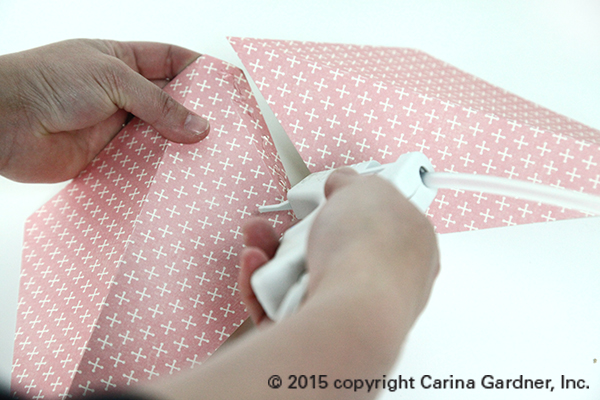
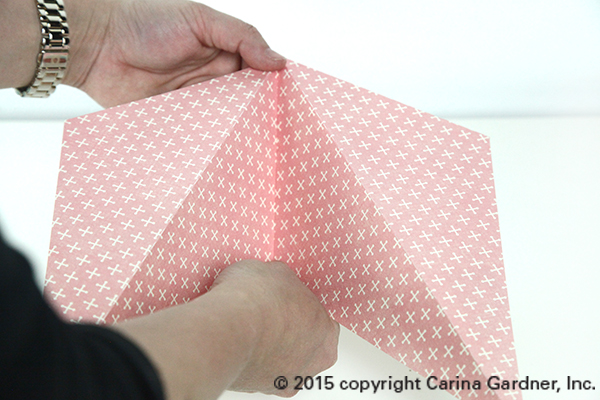
2. Fold at all the score lines. (Use the photo here as as guide).

IMG_5901_web

3. Glue the flap of the star and connect it to another point of the star.

IMG_5908_web

4. Continue adding points to the star until you come to the first point.

Note: If you plan on adding the metal star accents, I would do this at the 2nd step while the star is flat. You can use modge podge for a glossy look or simply use a hot glue gun, pop dots, or a glue stick to put on the metal star accents.

Hope you have fun making these!
Carina

5metalstardecorbottom_NEW 6metalstardecorbottom butterflymetalstardecor flowermetalstardecor happybirthdaymetalstardecor polkadotmetalstardecor rosemetalstardecor starmetalstardecor stripemetalstardecor  swirlmetalstardecor

fallmetalstardecor

Silhouette Design Store JOANN Stores

Travel Stories Album for Silhouette

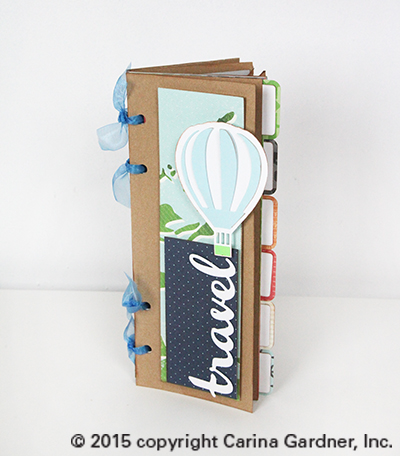
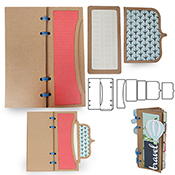
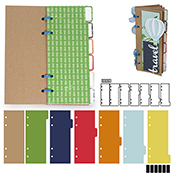
Watch the Travel Stories Album video for an introduction into my Carta Bella Paper line and how to put together the album using SVG files from my Silhouette Shop! The final size of this album is about 5.5 inches x 11 inches (with a few things pocking out like tabs and pages).

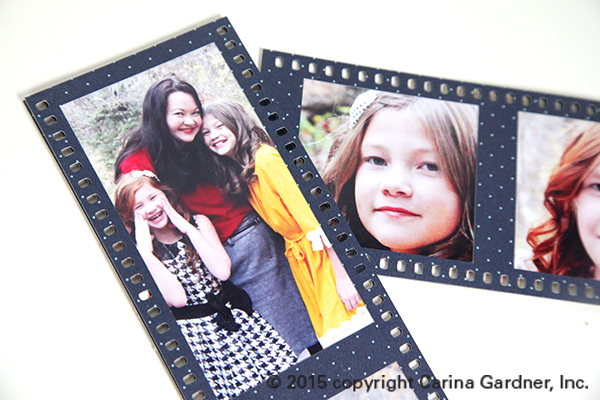
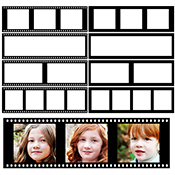
I am so excited about this album especially because I love some of the little add ons. In particular, I adore the filmstrips that go in this collection and plan on using them not just for the album but for lots of other projects.

IMG_5760_1_web

IMG_5764_1_webI hope you get a chance to play about with this paper line and/or the silhouette files! I also hope you have a GREAT excuse to make an album (aka, an amazing summer adventure perhaps?).

Happy Crafting!

Carina

____________________________________________________________________________

TravelStoriesDeepPocketAlbum   TravelStoriesHalfPocketwithLayeredBracketNotes TravelStoriesHotAirBalloonLayoutAlbum TravelStoriesPhotoFilmStrips TravelStoriesSidePocketAlbum TravelStoriesTabbedAlbum

Silhouette Design Store JOANN Stores

3D Intricate Cutout Boxes for Silhouette

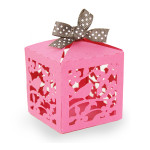
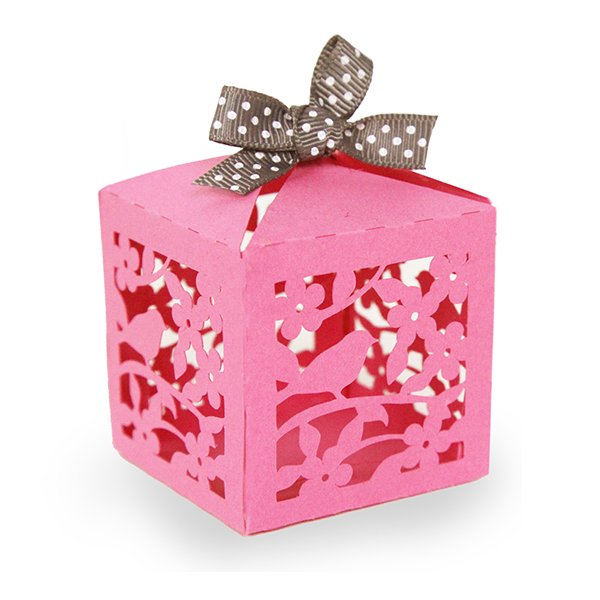
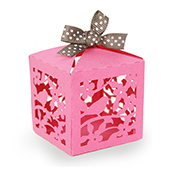
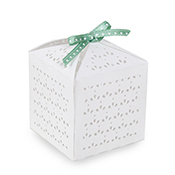
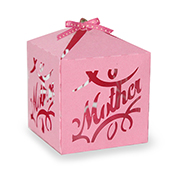
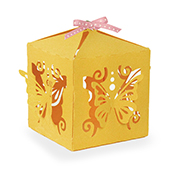
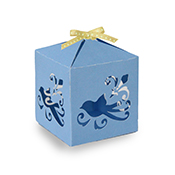
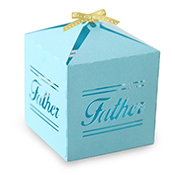
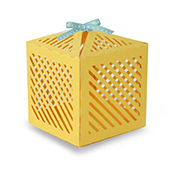
3dlatticebirdboxThese little intricately cut out boxes are one of my favorite projects right now! I can imagine them hanging in some overhead branches for a party or as little electric candle holders on a table. Any way you decide to use these, you will love the effect!

Here is the quick tutorial (and tips) for putting these intricate cutout boxes together.

1. Cut out the silhouette file.  The main body of the box is about 2 inches deep, wide and tall. It fits on an 8.5 inch x 11 inch paper.

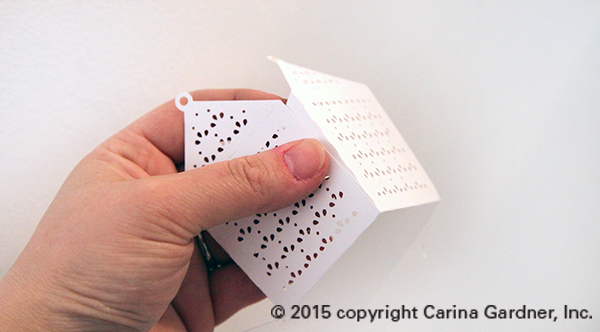
2. Fold all the score lines and glue all the flaps to create the main body of the box.

IMG_5768_1_web

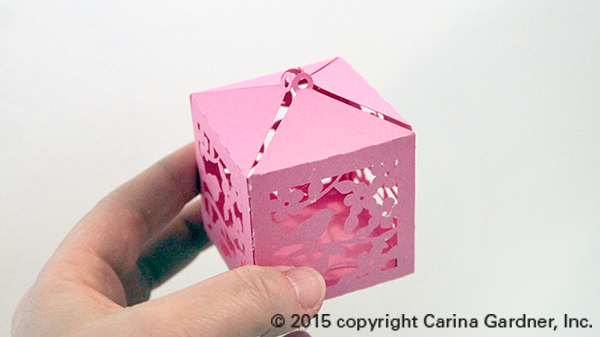
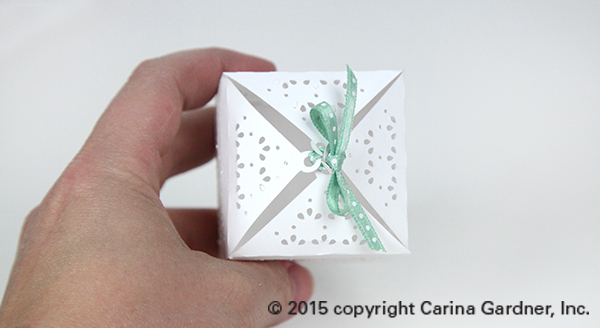
3. Fold up all the “circle” pieces at the top of the box. For dimension, you can finger press the triangle piece at the top to give it some curvature. You can also create a straight box by folding all the triangle pieces flat and putting a ribbon through all the pieces at once. However, if you want the box to have dimension, “sew” the ribbon through each of the holes individually. Hint, fold UP the circles at the top. There will be slight gaps between the triangles once the ribbon is tied on.

IMG_5770_1_web

IMG_5785_1_web

Other notes: This box can be scaled larger or smaller. Cut at a slower speed on your machine for to catch all the fine details. A sticker mat will also help the cutting process on these!

Hope you have fun making these!
Carina
(for all my silhouette designs, visit my silhouette store at http://www.silhouettedesignstore.com/?page=view-artist&artist_id=252689).

3dlatticebirdbox3dlacybox 3dmotherbox

3dbutterflybox 3ddecorativebox 3dfatherbox 3dstripesbox

Silhouette Design Store JOANN Stores

Pocket Albums, Window Album, and Flower Ornament Instructions for Silhouette

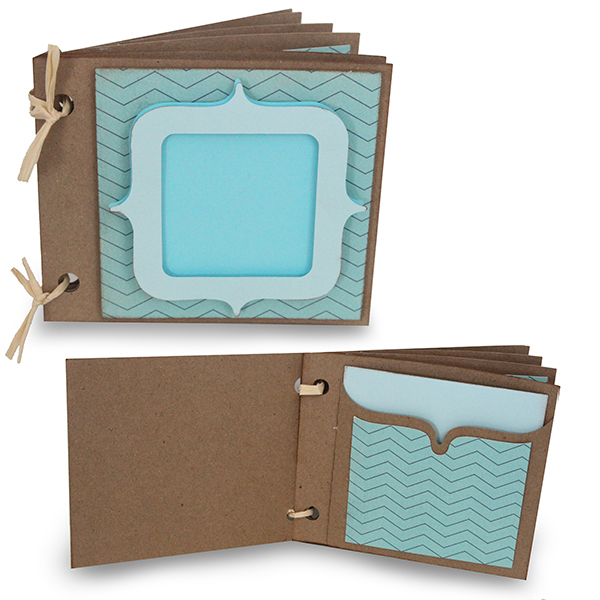
squarephotopocketalbumYou’re getting a little bit of everything from my releases this week so scroll on down to the tutorial that applies to you! It’s been a busy spring break, and I’ve been wanting to make some albums since coming back from Park City and St. George. I hope you have fun with these!

4 INCH SQUARE PHOTO POCKET ALBUM
LINK TO THIS ALBUM >>>
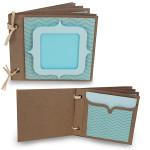
These albums are built for a 4 inch photo. Specifically, I like instagram photos for these pockets but it could even be 4 inch x 6 inch photos you have cut down. You can put a photo or write in a title on the front bracket emblem on the cover page. It’s completely up to you!

1. Cut out all the pieces in the svg file. I used kraft paper for all the main pieces and colored paper for the accent pieces. I cut out two cover pages and several pocket pages.

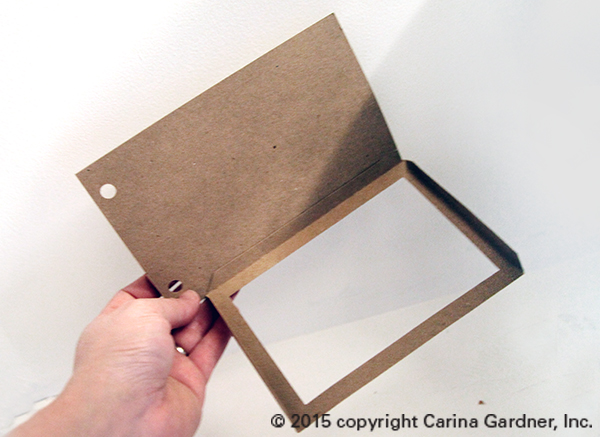
2. Fold along the score lines. Fold over the pieces with the bracket shape to create the pocket. Use glue (I like hot glue or a photo-friendly adhesive) on each of the glue flaps and create the pocket. There are two flaps that need to be glued (see photo below).
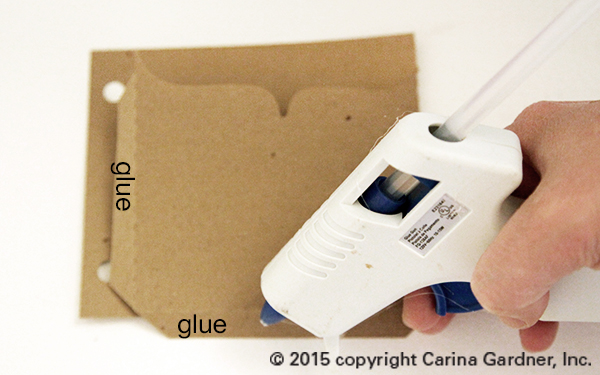
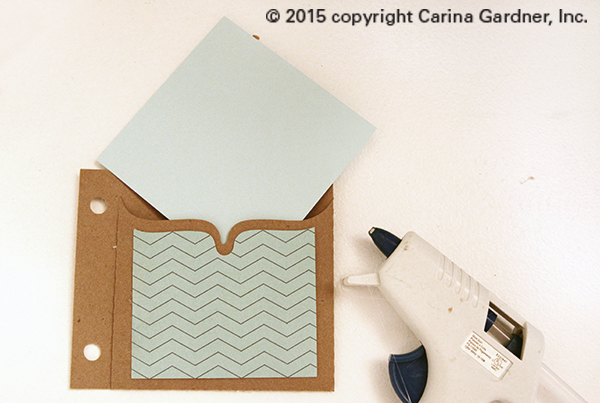
IMG_5551_1_web IMG_5554_1_web

3. Glue the accent paper to the front of the pocket and add a journaling card (available with the svg file) or a photo.

4. Create the cover by layering the 4 inch square (the same one used for the pocket inserts), then the bracket without the window, then finally the bracket shape with the window. Place a photo or title between the two bracket pieces if you want. I used pop dots but you can also simply glue everything into place.

5. Use ribbon, O-ring, or twine to put the album together.

4 INCH  x 6 INCH HORIZONTAL PHOTO POCKET ALBUM AND WINDOW ALBUM
LINK TO 4×6 HORIZONTAL PHOTO POCKET ALBUM >>>
LINK TO 4×6 WINDOW PHOTO POCKET ALBUM >>>
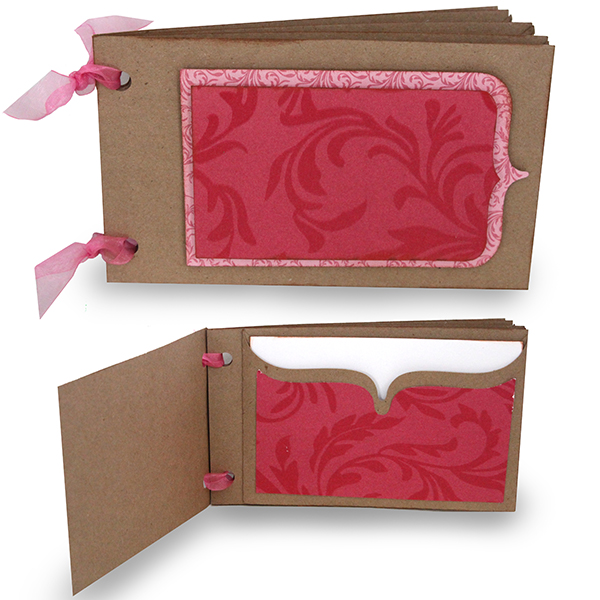
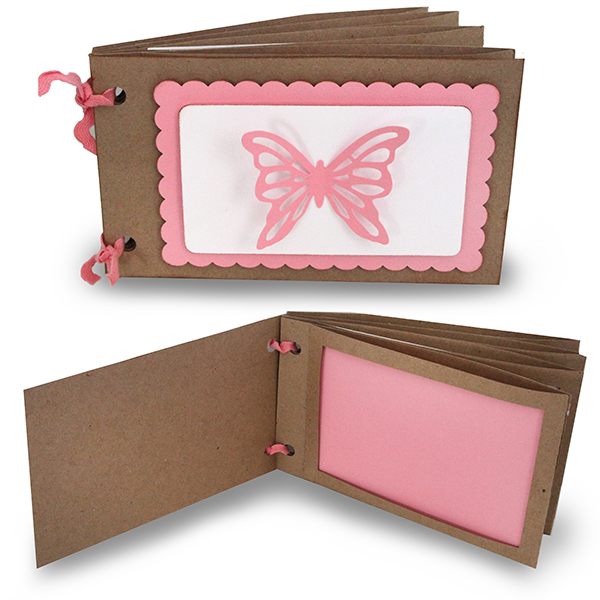
4x6horizontalphotopocketalbum 4x6windowphotopocketalbumThese two albums are meant to fit your 4 x 6 photos and are quick to put together. Because most of us are generally working with 12 inch x 12 inch paper, it was necessary to have a separate pocket piece that you attached to a cover piece to create a “page.” Note that the pockets for the Window Album can be a bit flimsy and I suggest either using heavy stock or cut a piece of transparency or other clear paper to create the window and hold in the photos. I also recommend setting this album under a stack of books once it is glued to make sure the thin areas that create the “window” are study and straight.

These two albums also work together if you wanted some window pockets and some horizontal pockets. So mix and match away!

1. Cut out all the pieces in the svg file. I used kraft paper for all the main pieces and colored paper for the accent pieces. You will need to cut out two cover pages and for each “pocket page” you will need one cover page and one pocket piece.

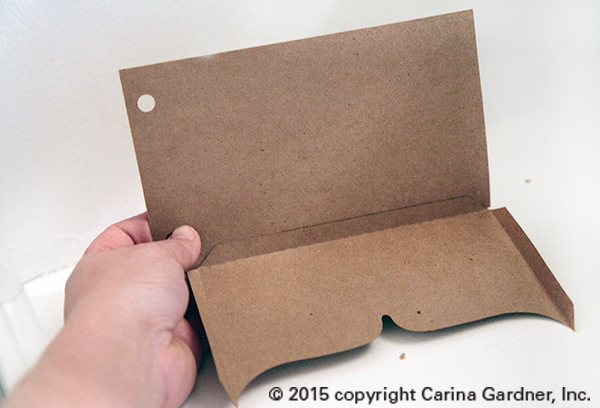
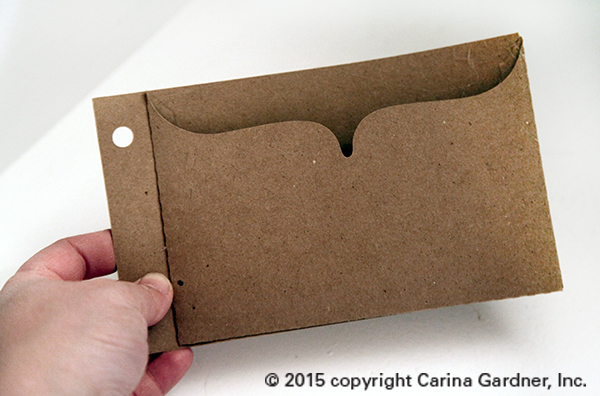
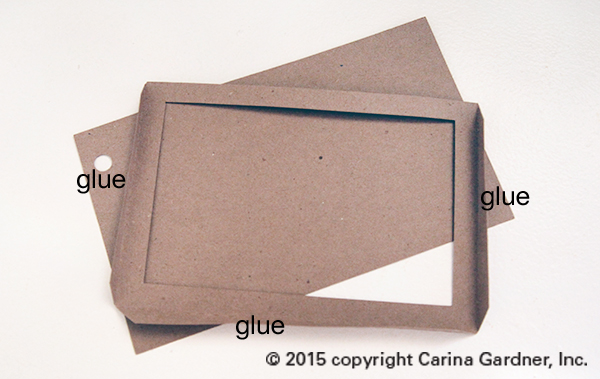
2.  Fold the score lines of the pocket piece. Use glue (hot glue or a photo-friendly adhesive) on each of the glue flaps and create the pocket. There are three flaps that need to be glued (see photos below).

3. Glue the accent paper to the front of the pocket for the Horizontal Album. Add a journaling card (available with the svg file) or a photo.

4. Create the cover by layering the cut outs as shown in the two images.

5. Use ribbon, O-ring, or twine to put the album together.

4X6 Horizontal Album (Glue Flaps)IMG_5555_1_web IMG_5565_1_web
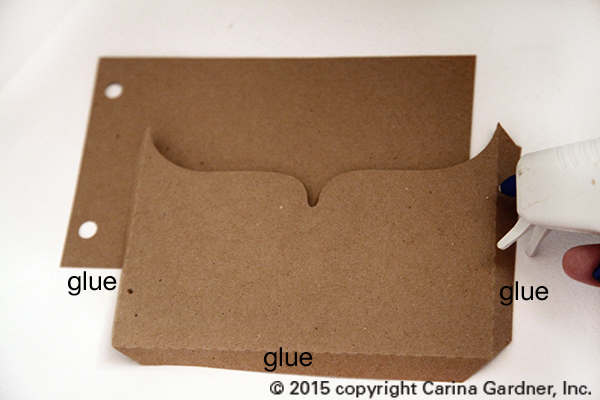
IMG_5559_1_web

4X6 Window Album (Glue Flaps)

IMG_5567_1_web IMG_5572_1_web

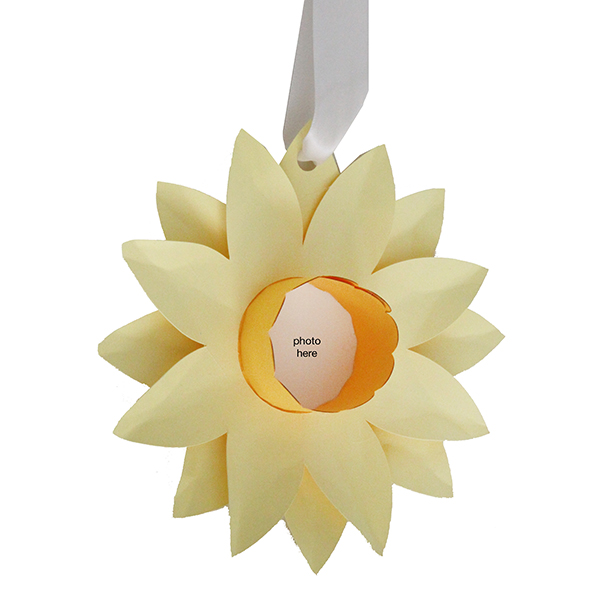
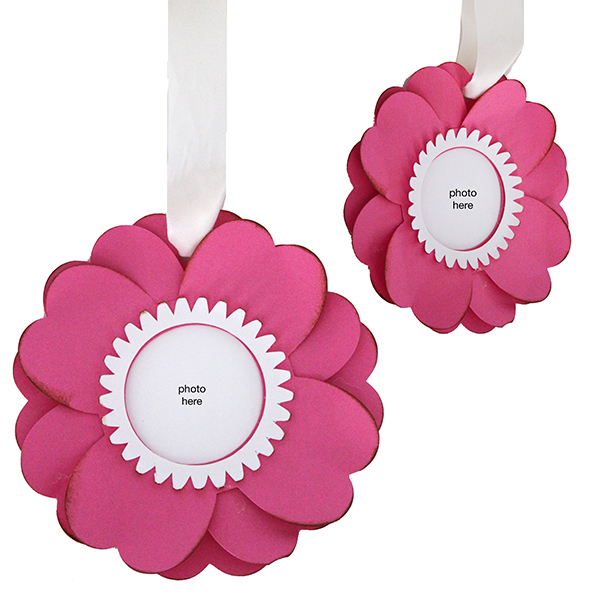
DaffodilOrnamentDAFFODIL FLOWER PHOTO ORNAMENT
LINK TO THIS PROJECT >>>
If you are looking for a cute, quick project, these flower ornaments are so fun. I can see using them for kids projects or fun home decor.

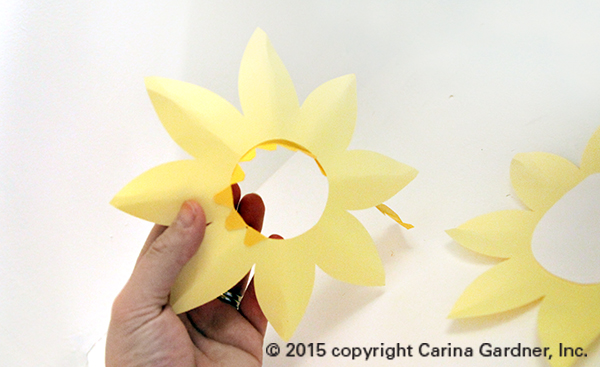
1. Cut out all the pieces in the svg file. This file is only three pieces but if you wanted to layer up the petals more you could.

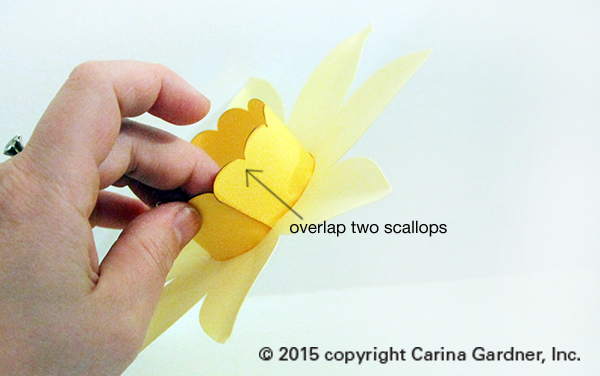
2. Attach the center of the flower (orange) to the yellow petals WITHOUT the ribbon hole, but gluing the tabs to the back of the hole. (See photos below). Two of the “scallops” will overlap once the center is completely done. (See photo below.)

3. Attach a photo between the two yellow petal pieces. Glue the yellow pieces together.

4. Add ribbon or twine to hang.
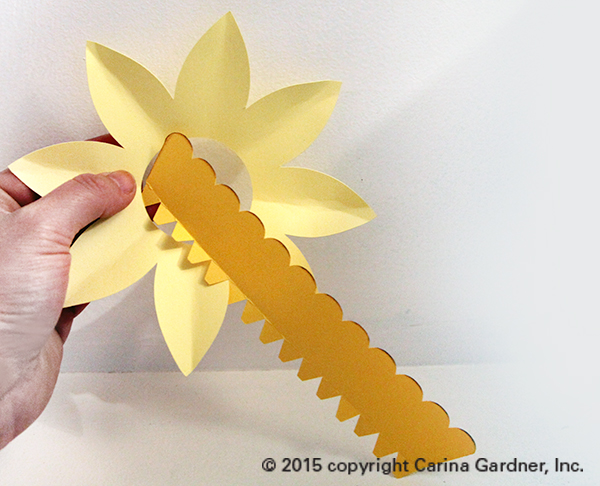
IMG_5574_1_web IMG_5577_1_web IMG_5579_1_web

SpringtimeFlowerOrnamentSPRINGTIME FLOWER PHOTO ORNAMENT
LINK TO THIS PROJECT >>>
This one is really basic to put together. It also cuts quick on your machine.

1. Cut out all the pieces in the svg file. This file is only four pieces but if you wanted to layer up the petals more you could.

2. Attach a photo to the back flower piece (with the hole for hanging the ornament). Layer and finger press all the petals. Glue them down.

3. Add the short center cut out (shown in white) last.

4. Add ribbon or twine to hang.


Hope you have fun creating these!
—Carina

Silhouette Design Store JOANN Stores