Hi guys! I’m in Vegas today at the ToyFest West Tradeshow for MiniLou. I’m having a great time, but I got on today to post about our fabulous new Marquee letters coming out on Silhouette and DigiPlayground.
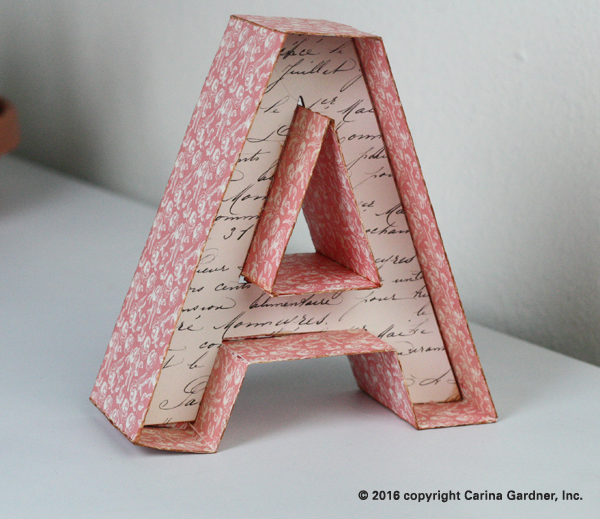
These Marquee Letters are so fun for any occasion! You could use them for party decor, in your child’s room with their name, weddings, and more! The possibilities are endless. Seriously. I. Love. These.
Bonus, these are fun to put together. I will warn you though, they do take some time and patience because there are a lot of working parts. (Note: They are so worth it!)
 You can do so many different things with them (I have a list below). Don’t worry if your first one doesn’t turn out the way you want it, it took us a few tries to get them perfect, so be patient and don’t rush it. The slower and more precise you are, the better they will turn out!
Here are some ideas of what you can do with Marquee Letters:
- String Christmas lights through the holes (who doesn’t want their name in lights?)
- Cut them out in cute scrapbook paper (I cut out the A on the right in my Amour Line for Carta Bella)
- Spray paint them any color
- Put glitter on them using spray adhesive
- Have your kids decorate them with paint, jewels, buttons, ribbon, or anything crafty
- Put fresh flowers in them
- Cut out some of our SVG flowers to decorate them found here, here, and here
- Cut them out in different colors to add to any holiday decor
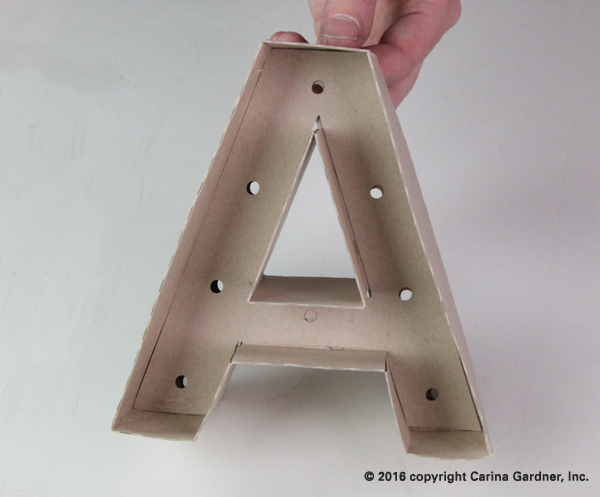
Our Marquees come with both “holes” and “non-holed.” This is for lights, buttons or other effects (even for back-lit lights).
This tutorial will help you with all of our Marquee Letters. We chose A and G because they are a couple of the more complicated letters. A is straight and G is curvy so you should be able to make any letter with these two tutorials. We have a list of tips for making the other letters at the bottom of this post if you need more instruction. Over the course of the next few weeks, we will release the whole alphabet and a few symbols, so don’t worry if you don’t see the whole alphabet on my Silhouette and Digiplayground shops yet.
Letter A tutorial
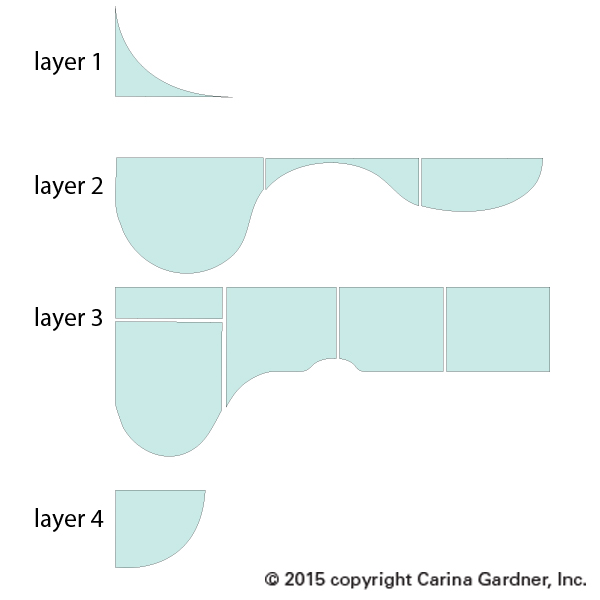
1. Cut out all svg files. We did the ones for this tutorial in kraft paper, but the possibilities are endless!
2. Start by folding the score marks on the outside pieces.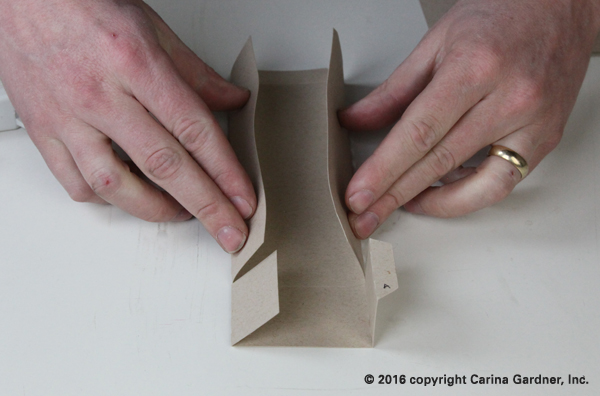
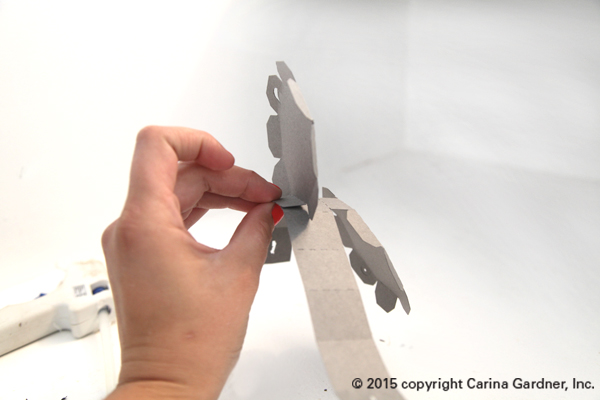
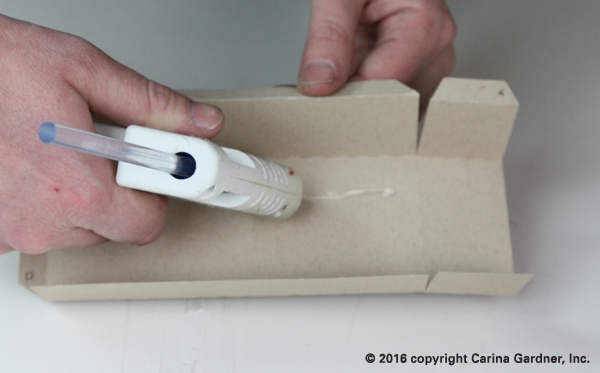
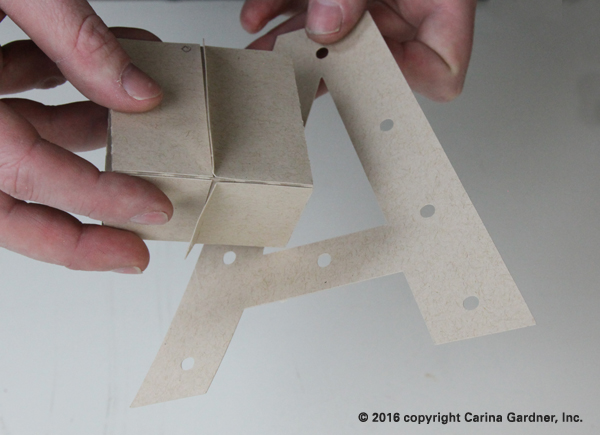
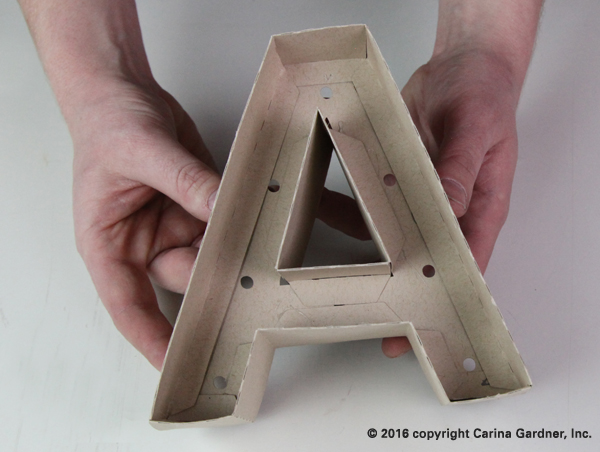
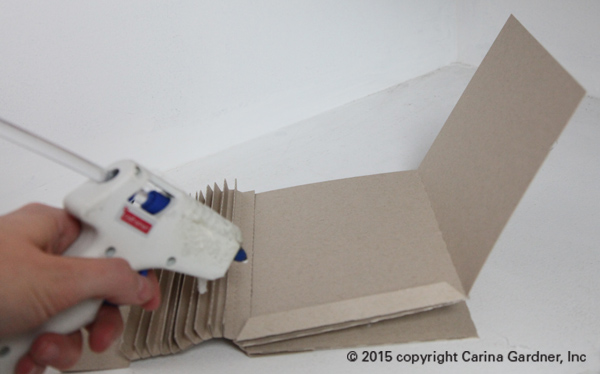
3. Once you have the sides folded, glue the flaps down the middle, making sure to keep the tab up. On the end without a tab, leave a little room without glue so the other tab can fit. They should look like the picture below for the letter A.
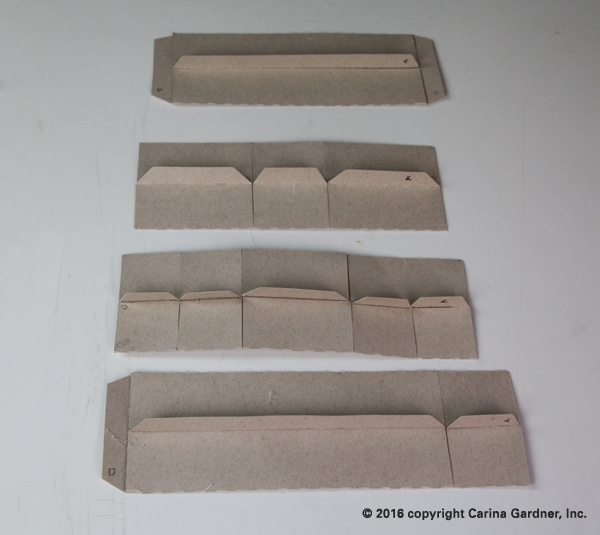
Helpful Hints: You’ll notice that there are shapes cut out in the tabs. These show you what order and where each of the pieces should be glued to. The shape on one end will match to a shape on the end of another piece. It might be hard to identify which pieces go where. If you look at where they are placed in the file when you open it, you will get a better idea. Because every letter is different, you will need to look at them and figure out where they go before you start glueing. All of the corners have score marks, so you will not have to fold anything on your own, if you have to fold something, the piece is in the wrong place.

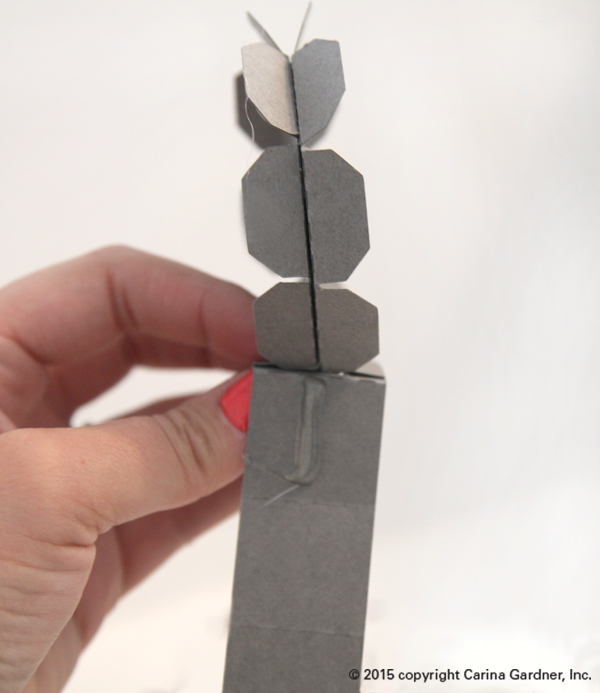
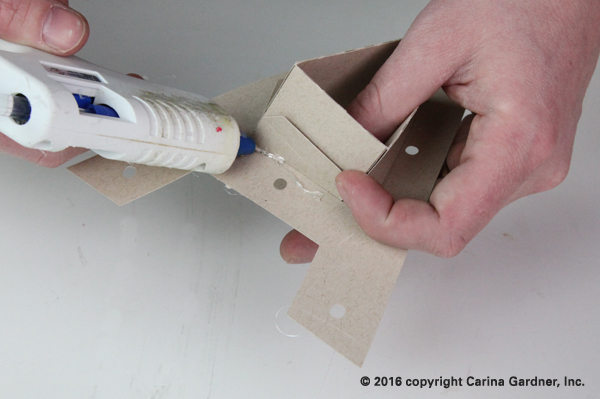
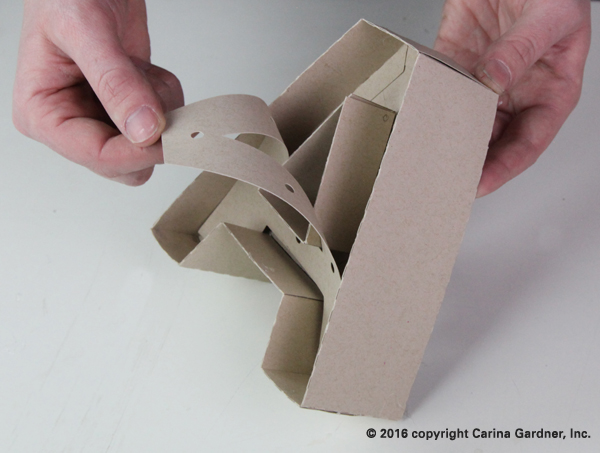
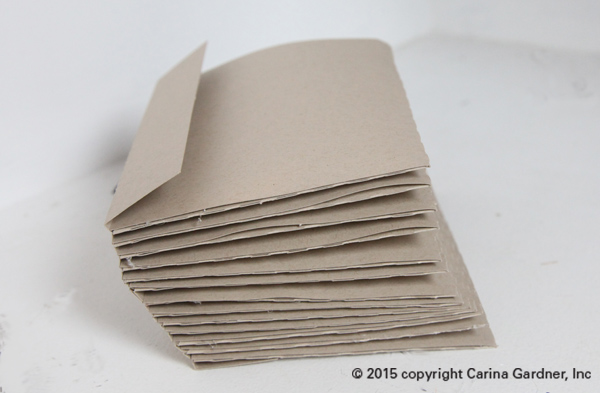
1. For A, start with the center edges. Take the piece for the middle and fold it. The tabs should be on the outside so they can be glued to the letter. Doing the center is easier before the outside edges are on.
2. Glue the inside tabs to the letter making sure all of the tabs are on the same side of the letter.
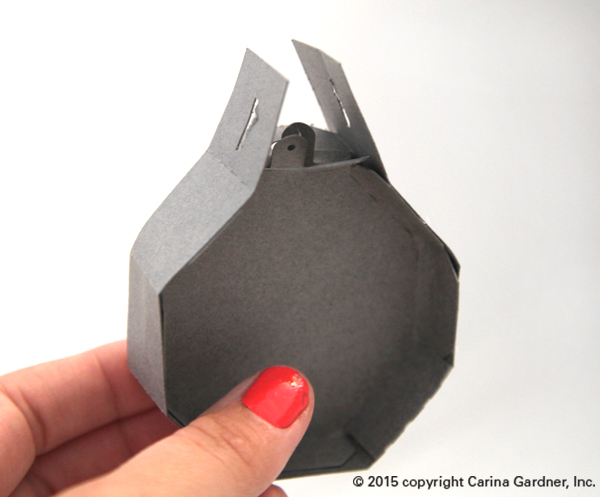
3. For the outside, start with the piece that goes on the bottom. Glue the tabs to the letter the same way as the center. Do one straight edge at a time.
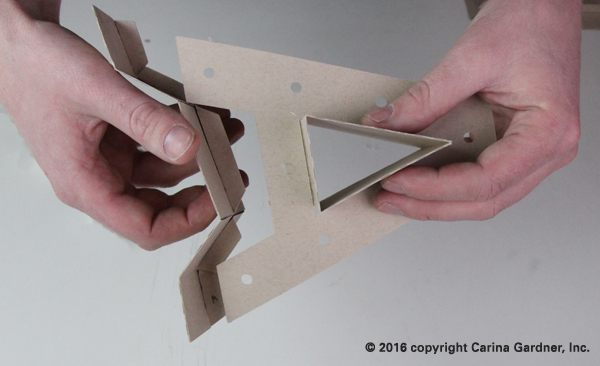
4. After the bottom piece is glued, take the two side pieces and insert the tabs into the correct side piece (the symbols should match) and glue them in place.
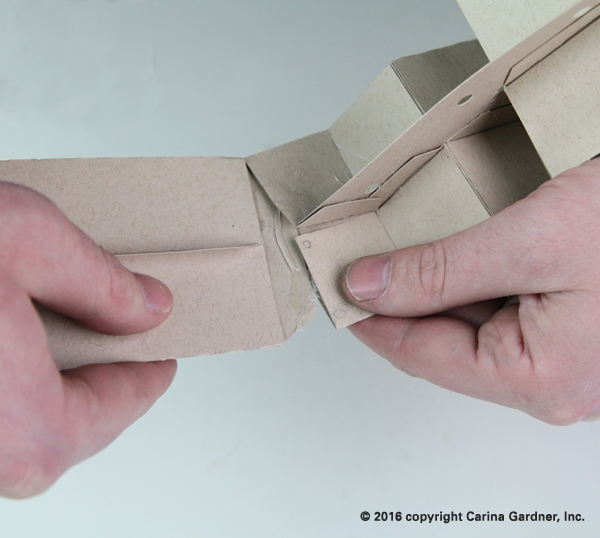
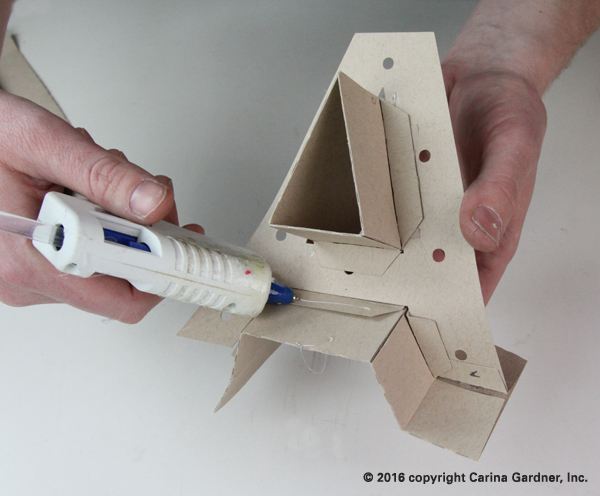
5. After the inserted tabs are glued, glue the tabs to the letter one side at a time until you get all the way around, then insert and glue the last tab into place.
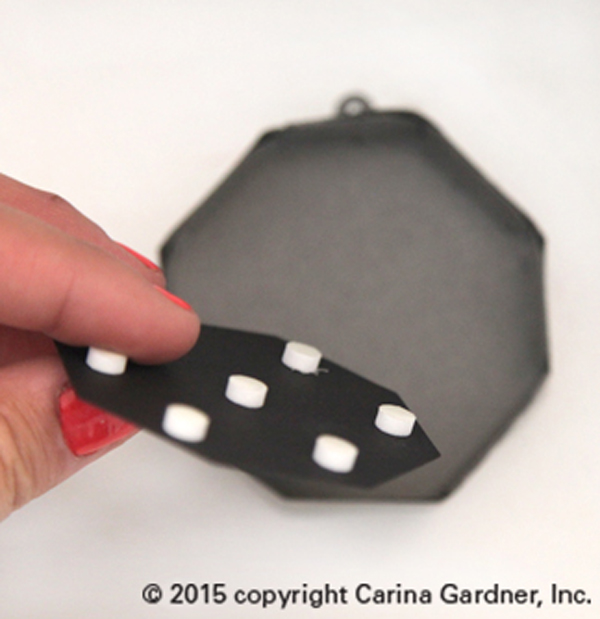
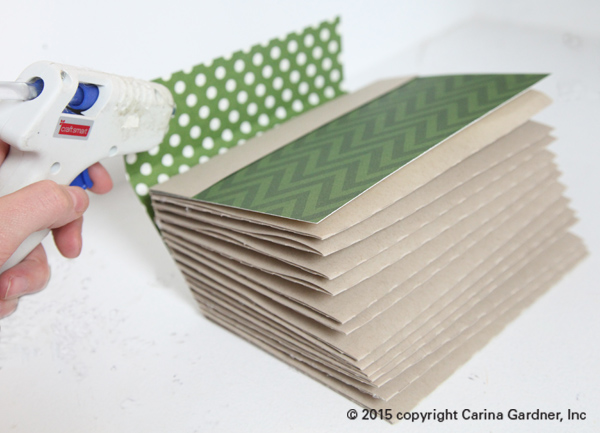
6. Take the second letter and glue it into place. Make sure to glue it so it covered the tabs.
That’s it for Letter A! You should be able to put together all of the straight letters now!
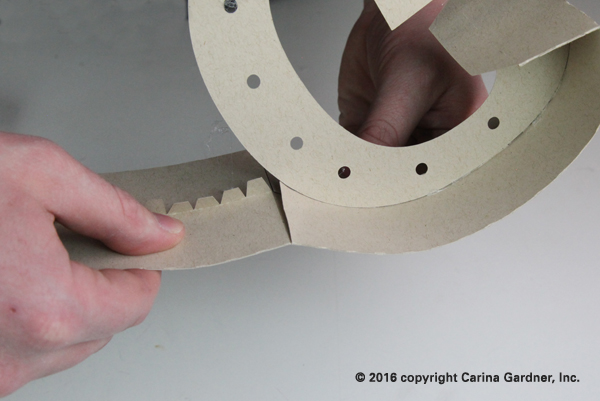
G Marquee Letter
1. Cut out all svg files. We did the ones for this tutorial in kraft paper, but you could do any color!
2. Start by folding the score marks on the outside pieces.
3. Once you have them folded, glue the flaps to the middle, making sure to keep the tab up. They should look like the picture below for the letter G.
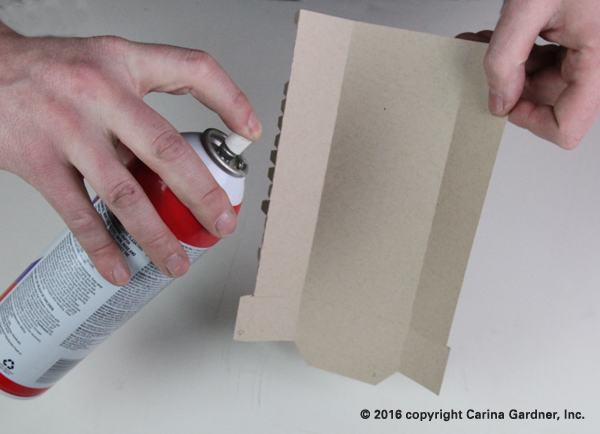
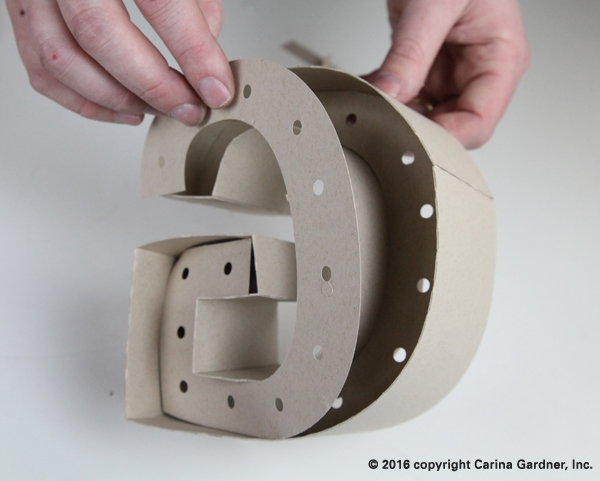
Helpful Hint: G is a curvy letter, which means that the flat outside pieces have to bend more. Because the paper needs to be more flexible, we did not use hot glue for the outside pieces. We used a spray adhesive. You don’t necessarily need a spray adhesive for this, you can use hot glue or whatever you have, but the final product will look better and be easier to glue into place.
4.When all of the outside pieces are folded and glued, take a minute to figure out which pieces go on which part of the letter.
Helpful Hints: You’ll notice that there are shapes cut out in the tabs. These show you what order and where each of the pieces should be glue to. The shape on one end will match to a shape on the end of another piece. It might be hard to identify which pieces go where. If you look at where they are placed in the file when you open it, you will get a better idea. Because every letter is different, you will need to look at them and figure out where they go before you start glueing. All of the corners have score marks, so you will not have to fold anything on your own, if you have to fold something, the piece is in the wrong place.
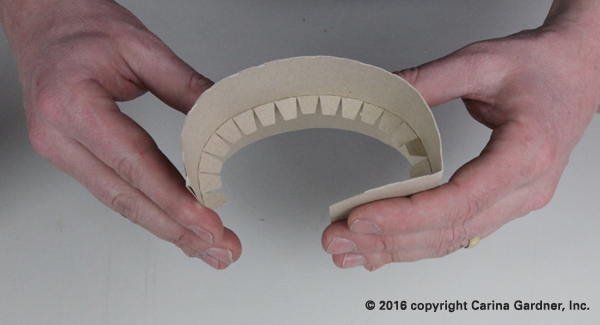
5. When all of your outside pieces are folded and glued, pre-bend the pieces that will go on the curve (these pieces have smaller tabs than the straight pieces). This will make your letter easier to glue together and make it look better. The picture shows how much you need to bend it.
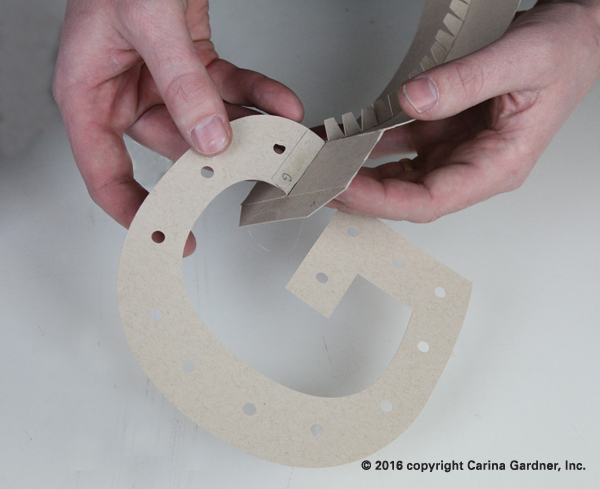
6. For G, start with the smaller straight piece on the top of the G (see picture). Glue the tab to the letter.
7. Then, start gluing the tabs around the curve with hot glue. Do one or two tabs at a time, making sure the outside piece line up with the outline of the letter. Don’t rush this too much, if you take it slow and make sure each piece lines up with the letter, your letter will turn out a lot better.
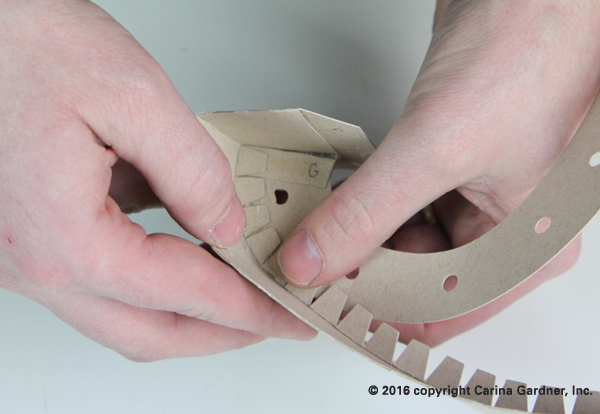
8. Once your first outside piece is glued on, take the next outside piece (make sure the symbols match up) and insert and glue the tab into the piece that is already attached to the letter.
9. Keep going around the letter, gluing all of the tabs down.
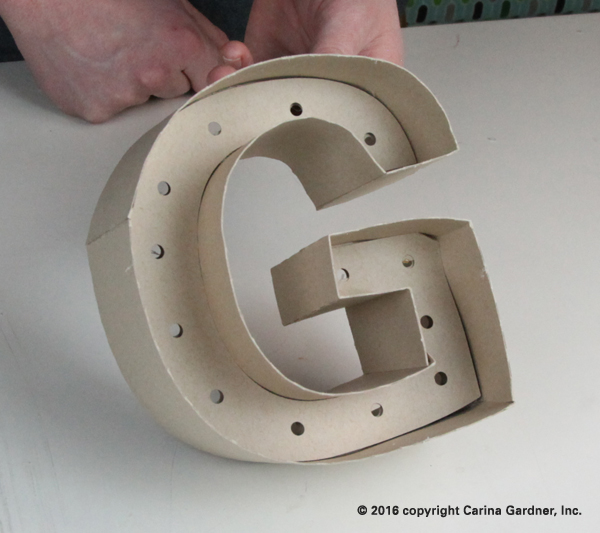
10. After all of the outside pieces are glued onto the letter, take the second letter and glue it into place.
Now you have the letter G and are a pro at the curvy letters!
Some other tips for all letters:
- Figure out which pieces go where before you start gluing. The symbols will help you, but it still can be a little tricky
- Make sure you have the letters right side up. Letter like H and E might look symmetrical but there are small differences in the height and length in parts of the letters. Before you glue the second letter on, the holes should line up, and if they don’t, the letter is in the wrong way.
Here are some notes on the other letters. The tutorials should be able to help you make any letter. Because each letter is a little different, here are some tips I have for each letter:
A. see tutorial
B. do the two inside holes then outside
C. do the outside then the inside and don’t forget to pre-bend the curvy pieces
D. do the inside then the outside
E. when you put in the second letter, make sure you put it in the right way, or it won’t fit correctly
F.
G. see tutorial
H. when you put in the second letter, make sure the smaller half is on the top, even though they look similar, or it won’t fit correctly
I.
J. do the outside curve then the inside curve
K. take the two pieces that go in the “V” parts and glue the tabs that make the point. Attach the “V” parts to the letter first, then add the surrounding edge pieces
L.
M.take the two pieces that go in the “V” parts and glue the tabs that make the point. Attach the “V” parts to the letter first, then add the surrounding edge pieces
N. take the two pieces that go in the “V” parts and glue the tabs that make the point. Attach the “V” parts to the letter first, then add the surrounding edge pieces
O. do the inside then the outside
P. do the inside hole then the outside
Q. do the inside first, then start with the flat edges on the outside and go around
R. do the inside hole, then the outside
S. the curved pieces are similar in length, but not the same, double check you know where each piece goes before you start glueing
T.
U. do the outside then the inside
V. take the two pieces that go in the top part of the V and glue the tabs that make the point. Attach the “V” parts to the letter first, then add the surrounding edge pieces
W. take the two pieces that go in the “V” parts and glue the tabs that make the point. Attach the “V” parts to the letter first, then add the surrounding edge pieces
X. take the two pieces that go in the “V” parts and glue the tabs that make the point. Attach the “V” parts to the letter first, then add the surrounding edge pieces. Also, when you put in the second letter, make sure the smaller half is on the top, even though they look similar, or it won’t fit correctly.
Y. take the two pieces that go in the “V” parts and glue the tabs that make the point. Attach the “V” parts to the letter first, then add the surrounding edge pieces
Z. take the two pieces that go in the “V” parts and glue the tabs that make the point. Attach the “V” parts to the letter first, then add the surrounding edge pieces. Also, when you put in the second letter, make sure the smaller half is on the top, even though they look similar, or it won’t fit correctly.
You can find the whole Alphabet on my Silhouette and Digiplayground Shops. Look for Numbers coming in the next few weeks!
Happy creating!
Carina


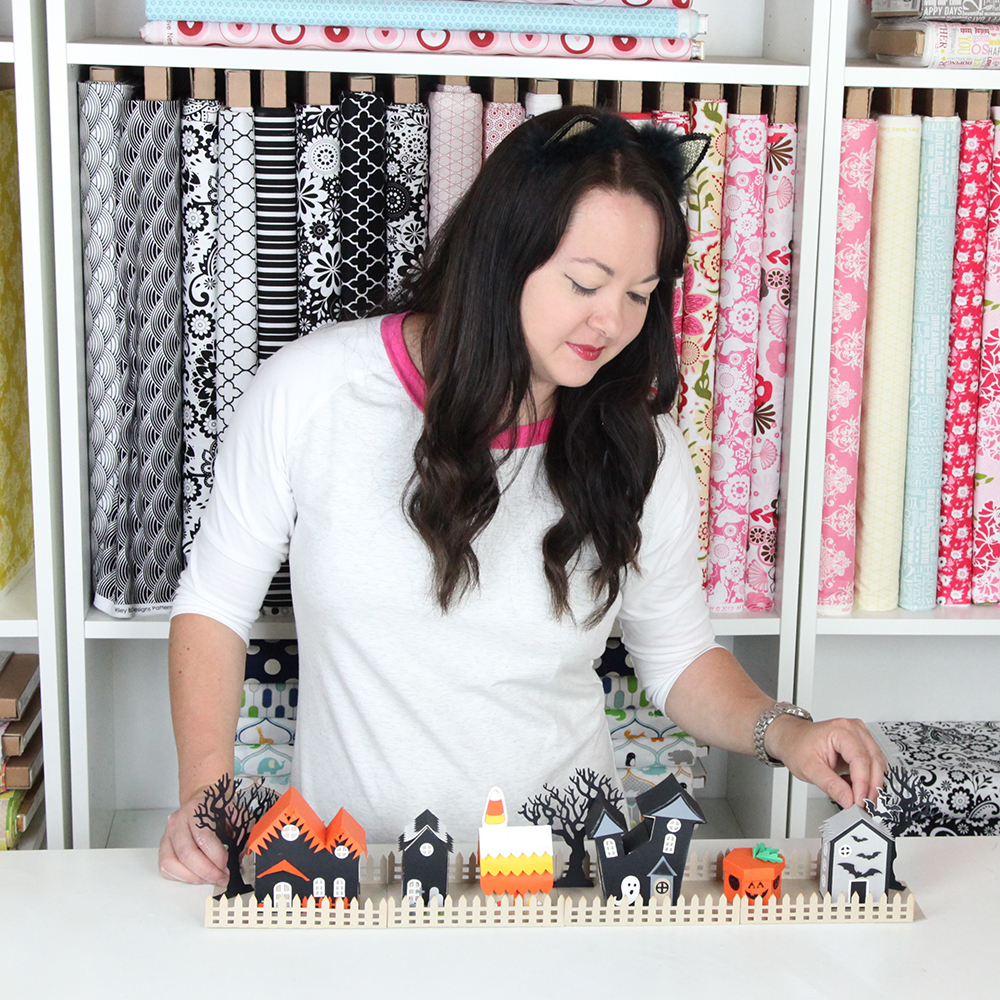
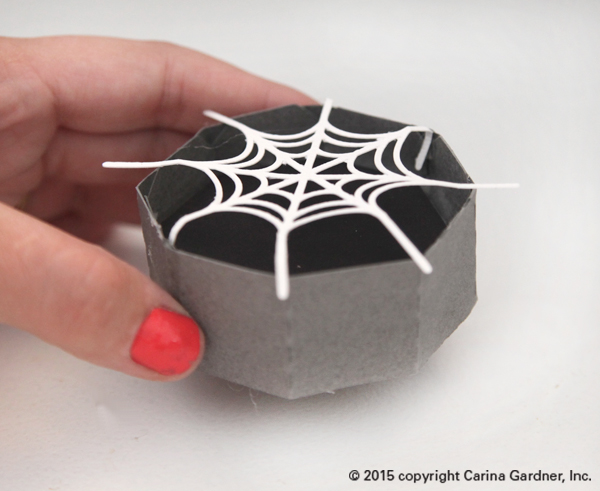
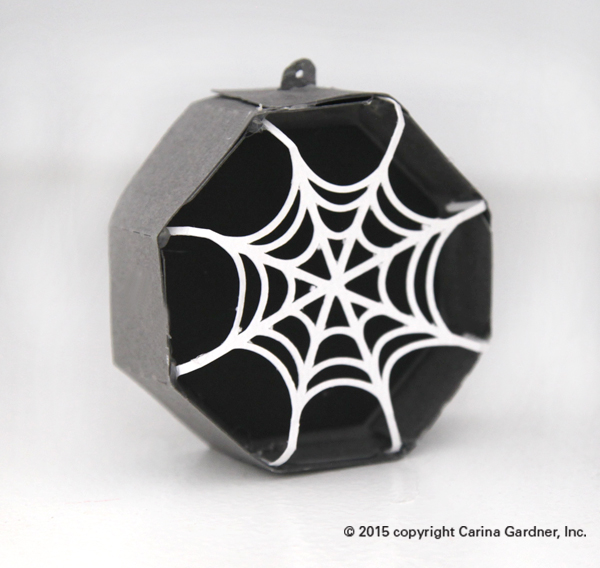
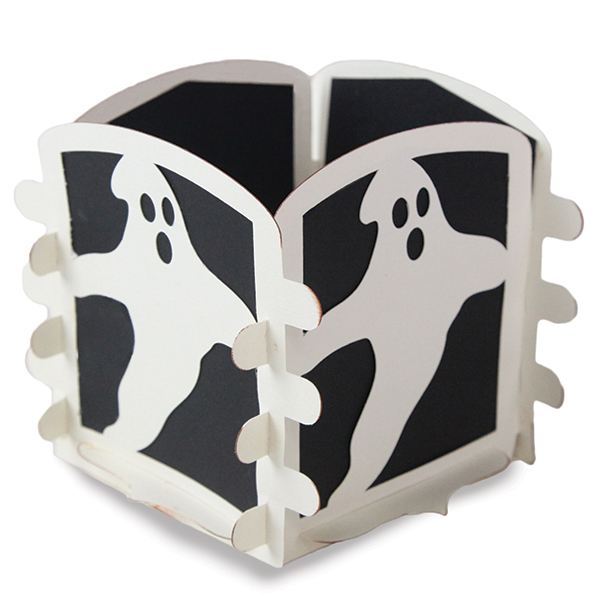
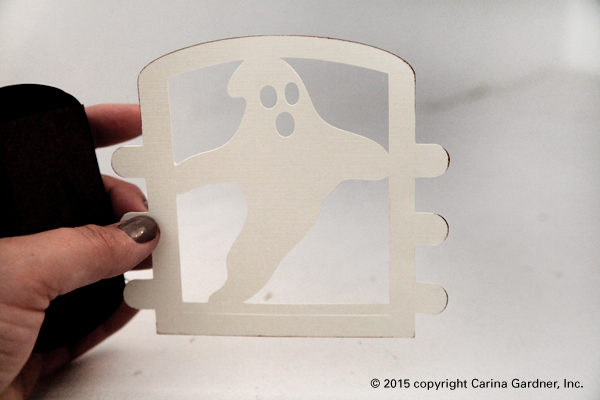
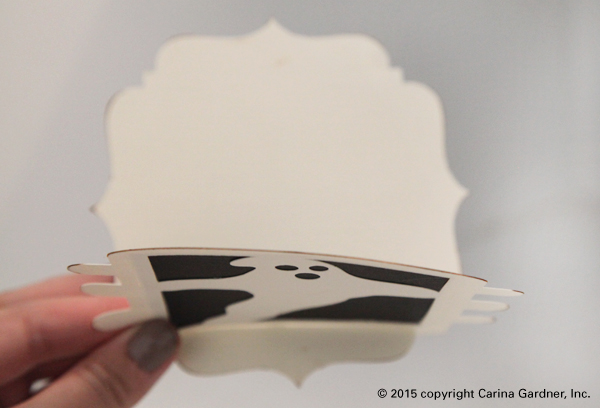
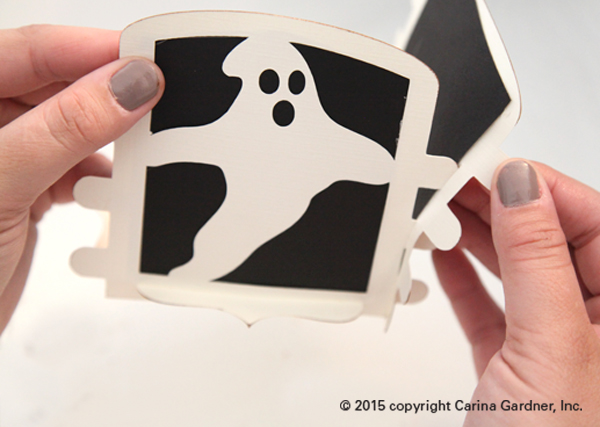
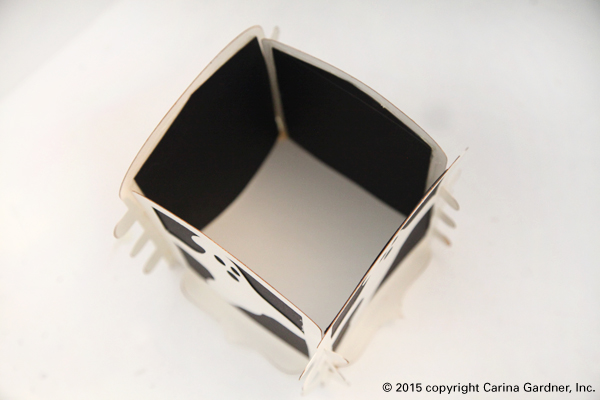
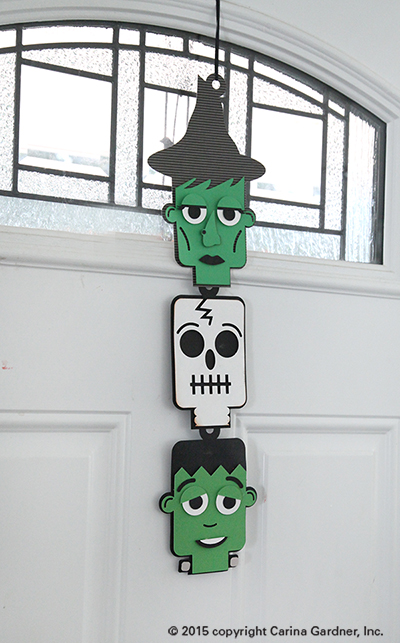
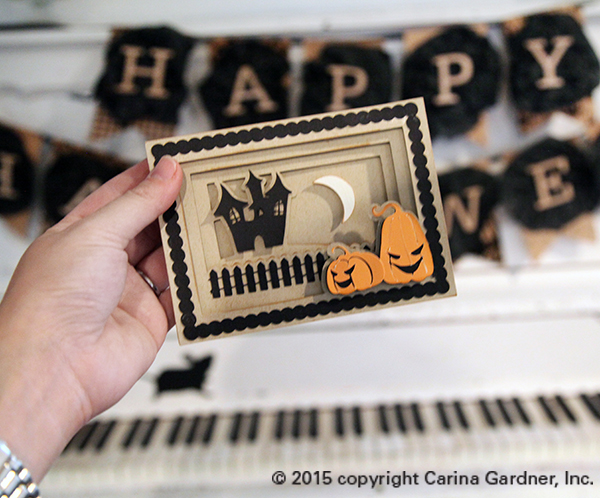
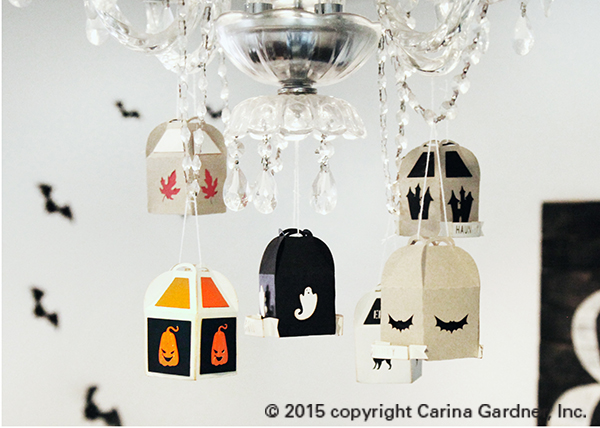
 I know it’s early September but Halloween is around the corner and I know I’m gearing up for some serious decorating. I’m releasing a Tiny Halloween Village, this week on


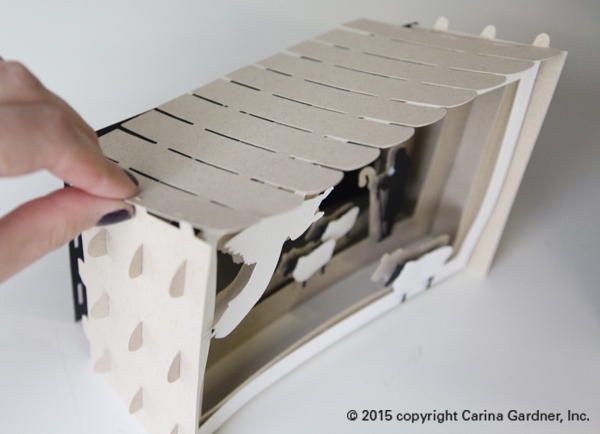
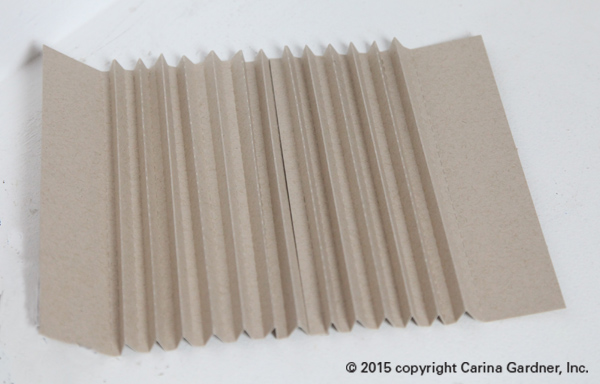
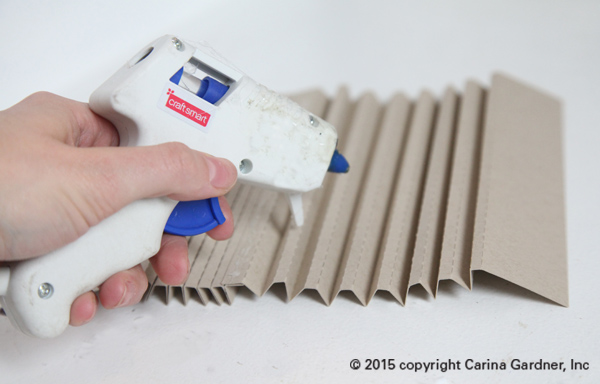
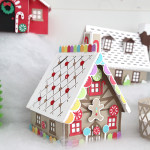
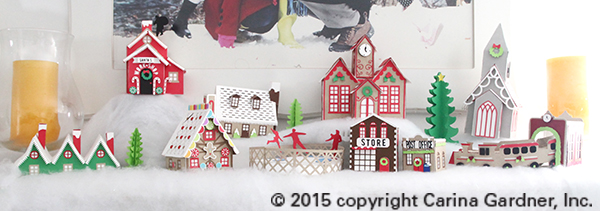
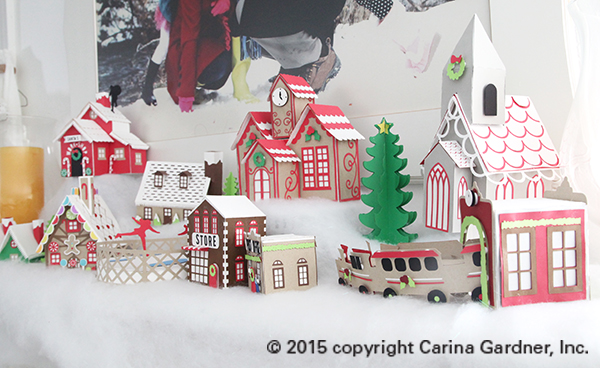
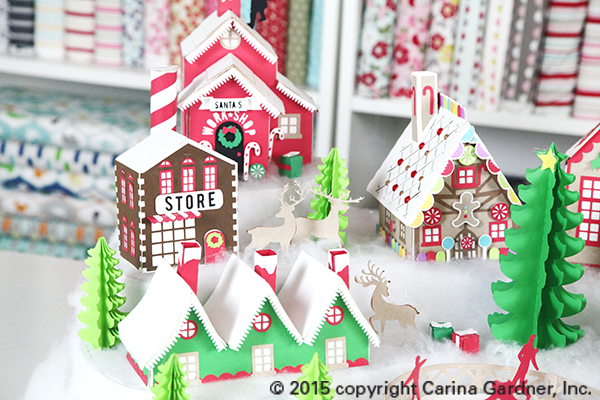
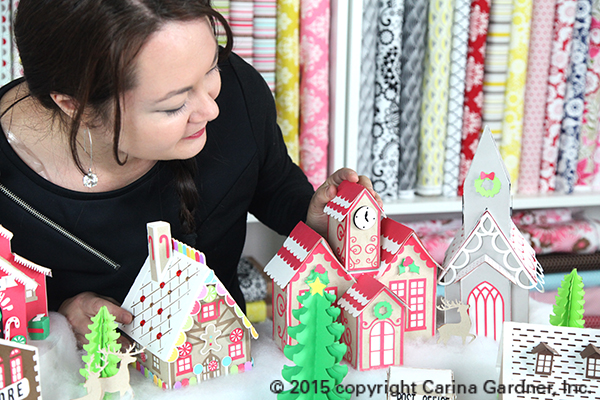
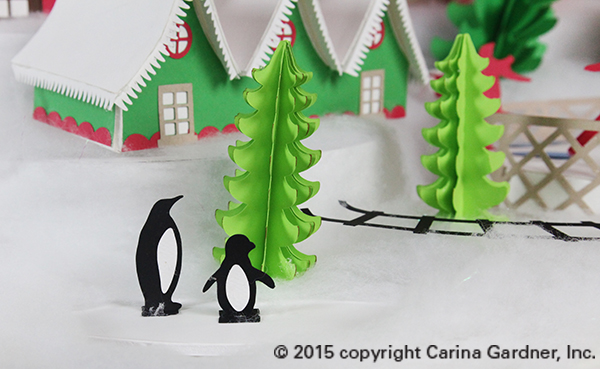
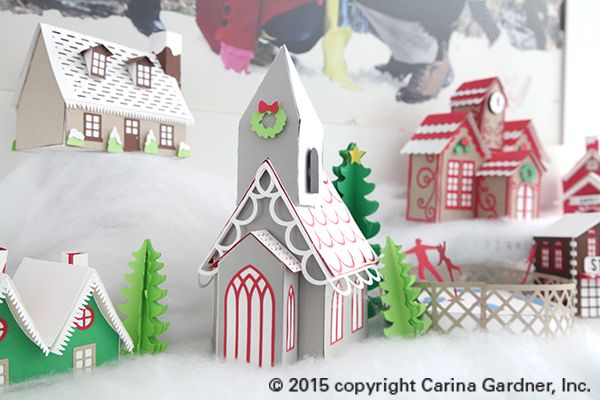
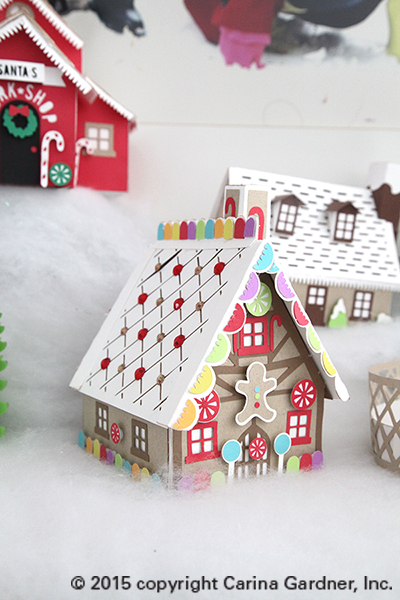 I’ve been working on this Christmas Village for weeks now. Every time one of the little houses got put together, I couldn’t help but smile! Everything about this little village makes me so happy.
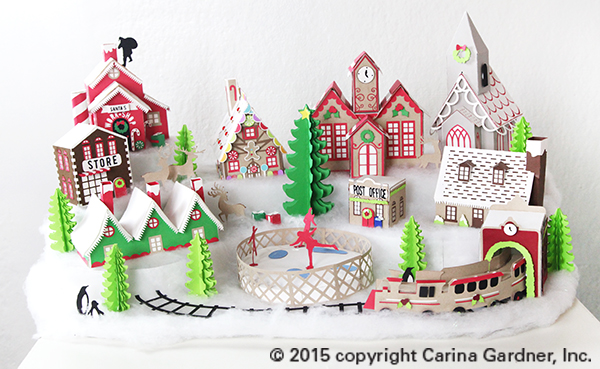
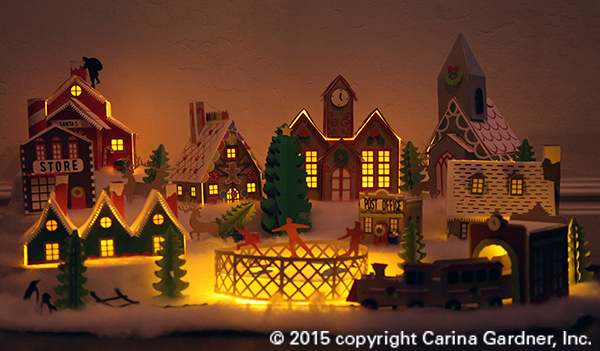
 The second way I would display it is on a mantle or coffee table. I love mine on top of our white piano. The best part is at night when we put electric tealights underneath and the entire thing lights up (picture of this below!).