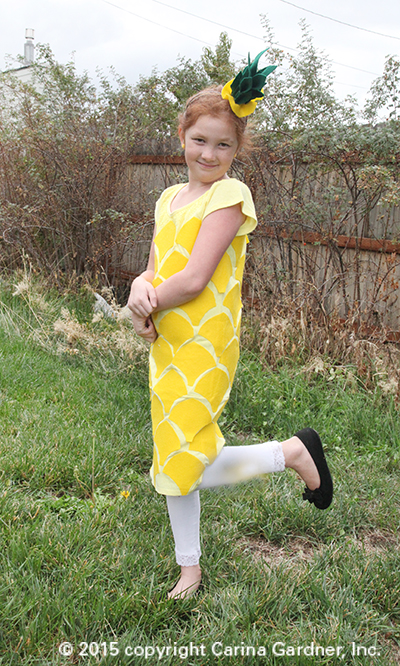
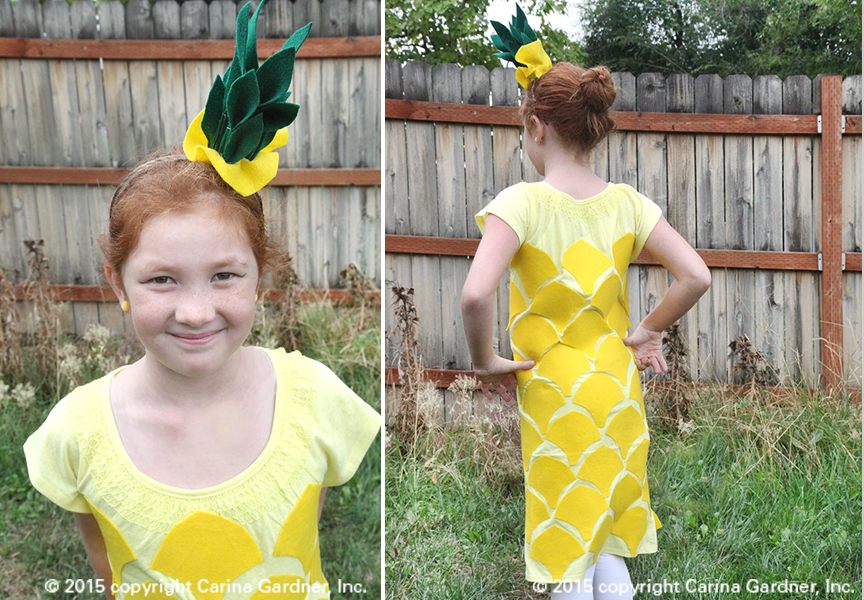
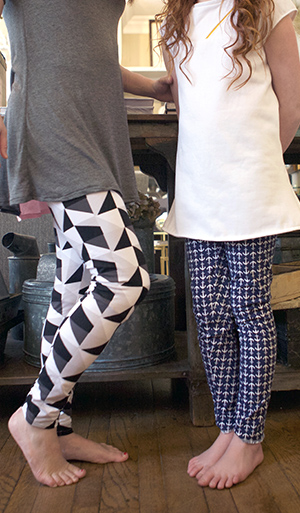
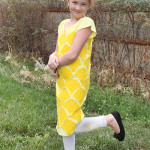
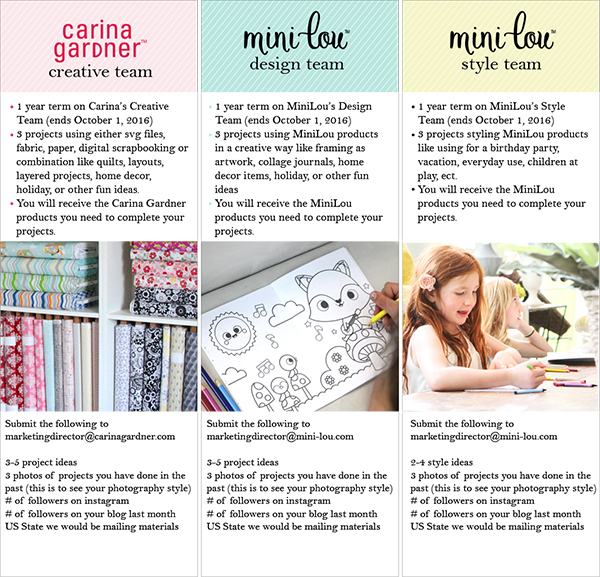
 Some years I can convince my kids that going to the store and buying a costume is the way to go. Not this year. Both of my girls wanted homemade costumes. Siri wanted to be iPhone Siri (you can see her costume on my instagram feed @carinagardner) and Felicity asked to be a pineapple.
I know pineapples have been trending recently, but the truth is, in our family the word ‘pineapple’ has been trending for a couple of years. A while back, Siri decided that she loved the way the word ‘pineapple’ sounded and used it as her go-to, everyday word (“Can I get you a drink, Siri?” “Pineapple.” “Are you ready for bed, Siri? “Pinnneapppppllle.”…you get the idea). Does she actually like to EAT pineapples? Of course not! That would make too much sense :).
Ironically, it was Felicity who decided that being a pineapple was a must this year (although I can see Siri trying to steal this costume).
Here’s a little info on how to put this costume together. Your materials may be a little different than mine so feel free to make adjustments on how you make this sublime fruity treat.
PINEAPPLE COSTUME TUTORIAL
Materials
- Either one very long yellow T-shirt or two T-shirts (Mine is a size 10 and the materials fit this size. Make adjustments for smaller or bigger T-shirts.)
- 1/2 yard of yellow felt
- 1/4 yard of green felt
- headband
- hot glue
- 1 1/2 yards of double-sided iron-on adhesive
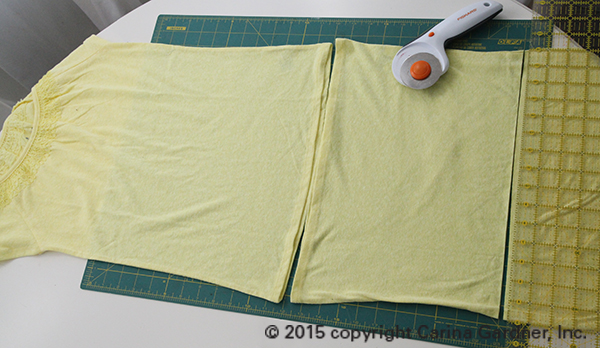
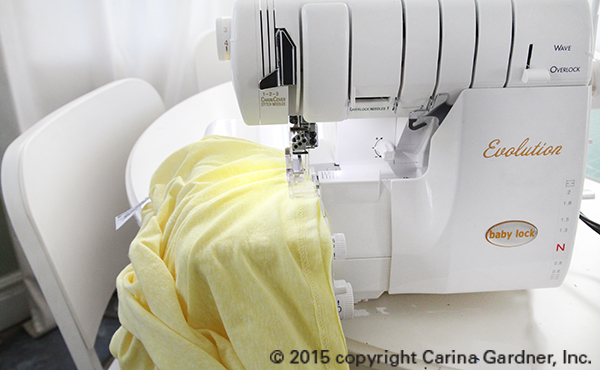
1. If you are working with two T-shirts, cut one in half to add to the bottom of the first T-shirt. Match up the RAW edge of the second/cut T-shirt to the bottom of the first T-shirt. That way you do not have to hem the bottom of the outfit. I used a serger with right-sides together of the T-shirts to sew these two pieces together into a long dress.
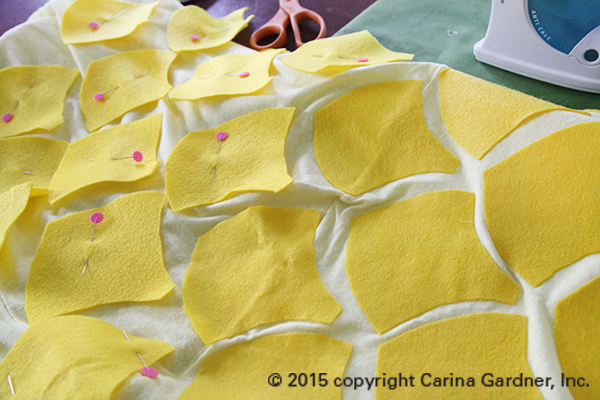
2. Once your T-shirt is now a ‘dress’, cut out yellow felt pieces using the pattern provided below. Pin them all the way around the dress as shown here. This will help you determine how many pieces you will need. The pattern can be made smaller or larger to accommodate the size of your outfit.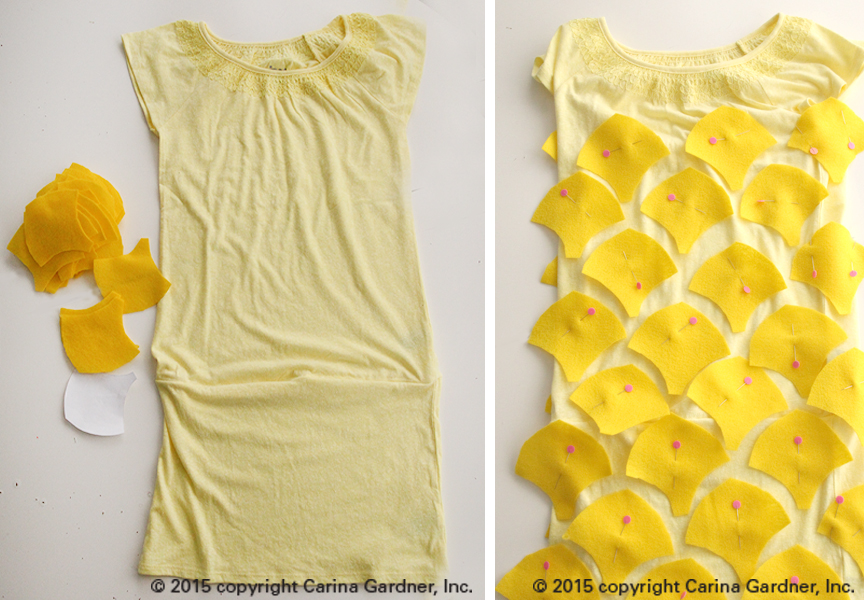
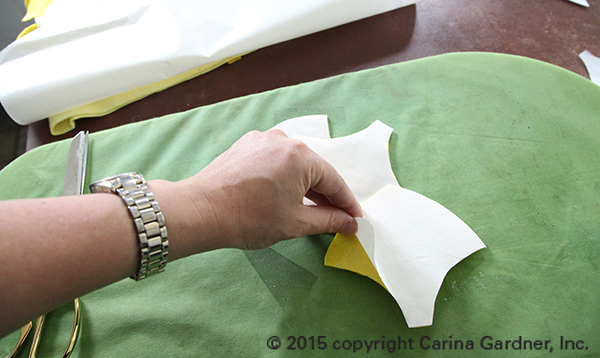
3. Next, use the double-sided adhesive (using the instructions on the adhesive you buy) to adhere the adhesive to the felt pineapple pieces.
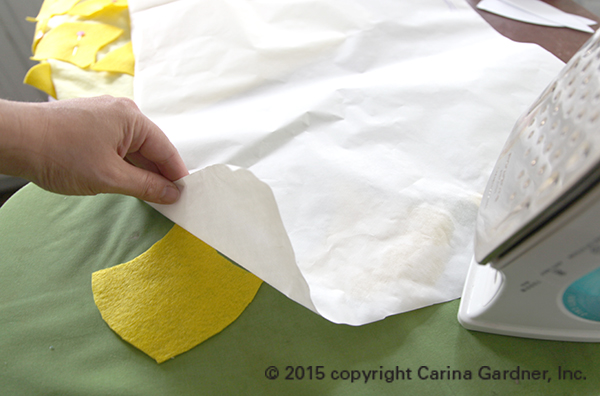
I used Heat and Bond and ironed on the adhesive on one side of the pineapple piece. Then, I pulled off the white protective layer on the felt piece and placed it on the dress. I ironed it directly onto the dress with the adhesive-side down (facing the dress).
And you are done with the dress! Now for the headband!
4. The headband could be made so many different ways. Use my method or try putting it together anyway you want with the pattern pieces I’ve provided. You can also choose to do all of this with a hot glue gun if you want to avoid sewing!
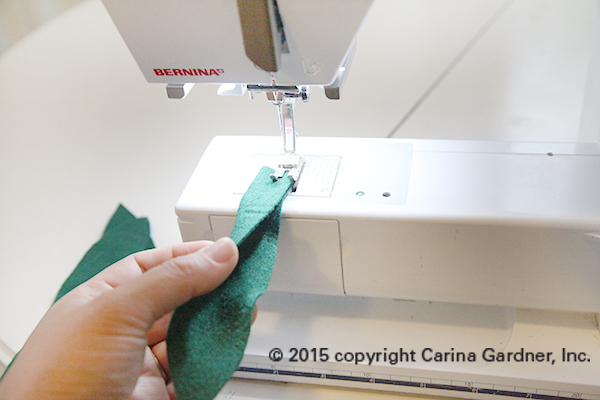
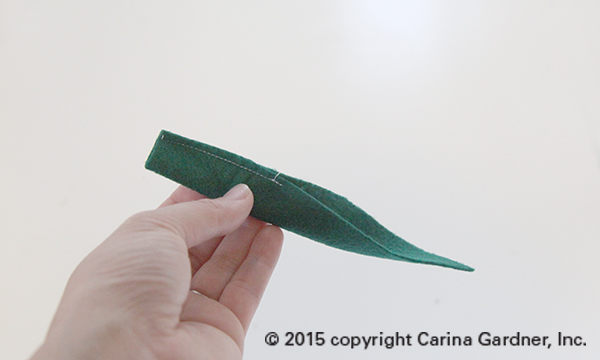
I cut out 4 each of the three leaf patterns. I folded in half the medium and large leaves and sewed them about half way up. (You could simply hot glue them up instead.)
5. I then sewed together two of the biggest pieces like the image below.
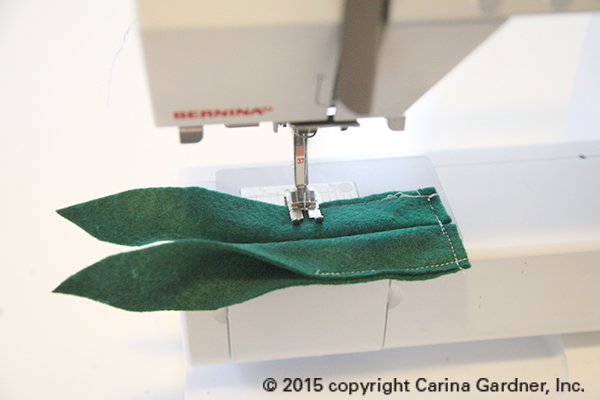
6. Then I laid a third piece in the middle of the two sewn together pieces. I sewed it to the front. I then sewed the fourth piece to the back center.
This will create a little symmetrical bunch.
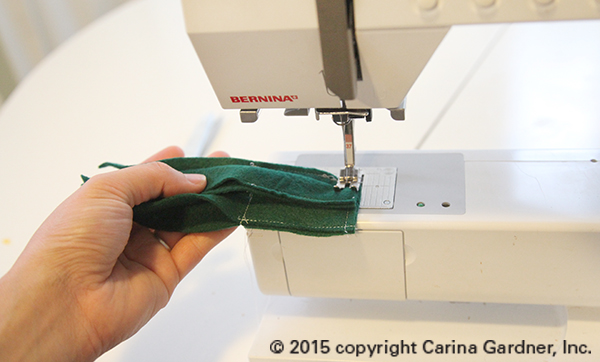
7. Your next trick is to add the medium sized leaves to this bunch. I sewed mine but in retrospect I should have hot glued it! It was really thick and difficult to get through the machine. Simply, place them evenly around the large leaves.
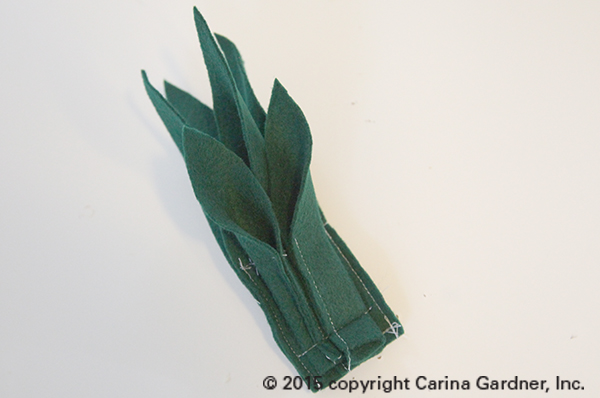
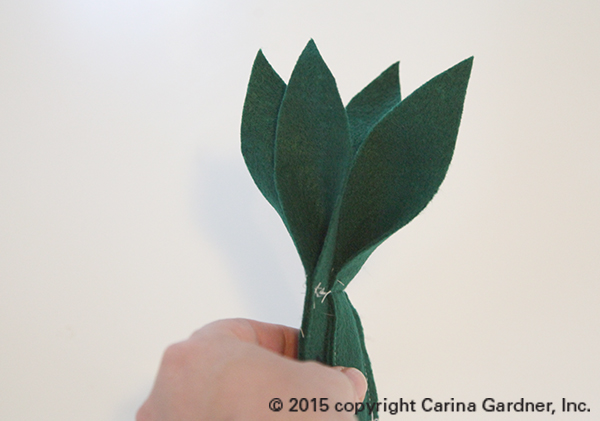
8. For the smallest leaves, I used hot glue and spaced evenly around the bunch.
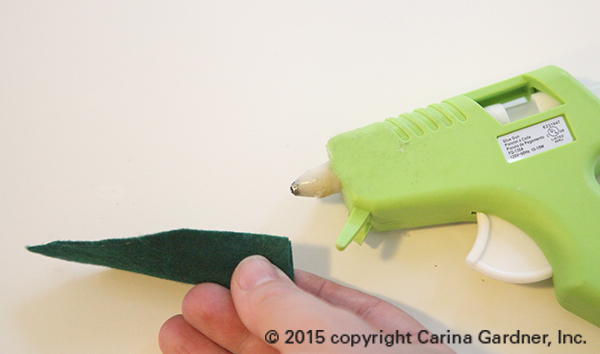
9. I cut a circle and hot glued it to the center of the bunch. Then I glued up the edges and trimmed them. This is simply to keep the bunch together and add a bit of yellow to the bottom.
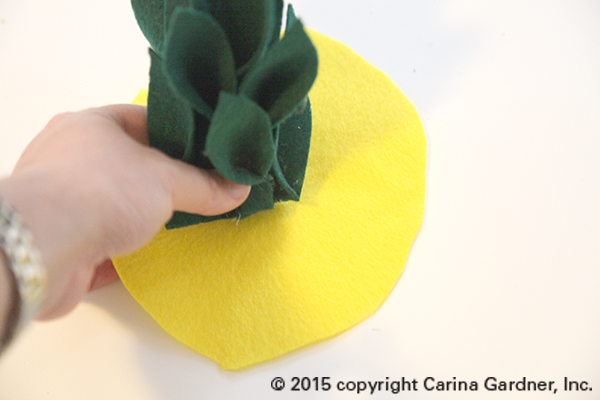
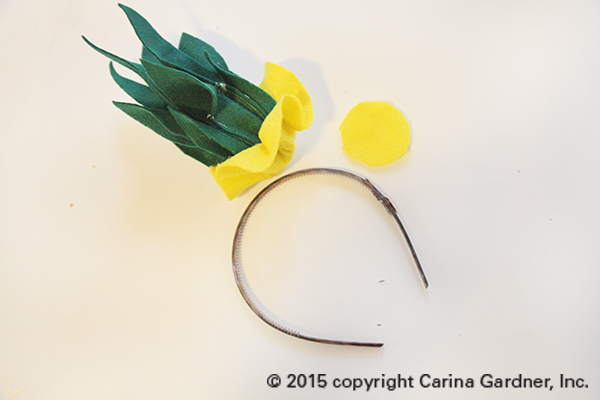
9. Finally, I cut a small round circle and sandwiched a headband between the pineapple top and the felt circle. Hot glue these altogether and you are done!
Here are the pattern pieces you will need to make this costume:
DOWNLOAD THE PINEAPPLE PATTERN PIECES
There’s a bit of work involved to make this costume but it was completely worth it! Felicity was giddy with the end result! Does your child want to be a pineapple? Download the pattern and get started! Halloween is around the corner!
Happy creating!
Carina


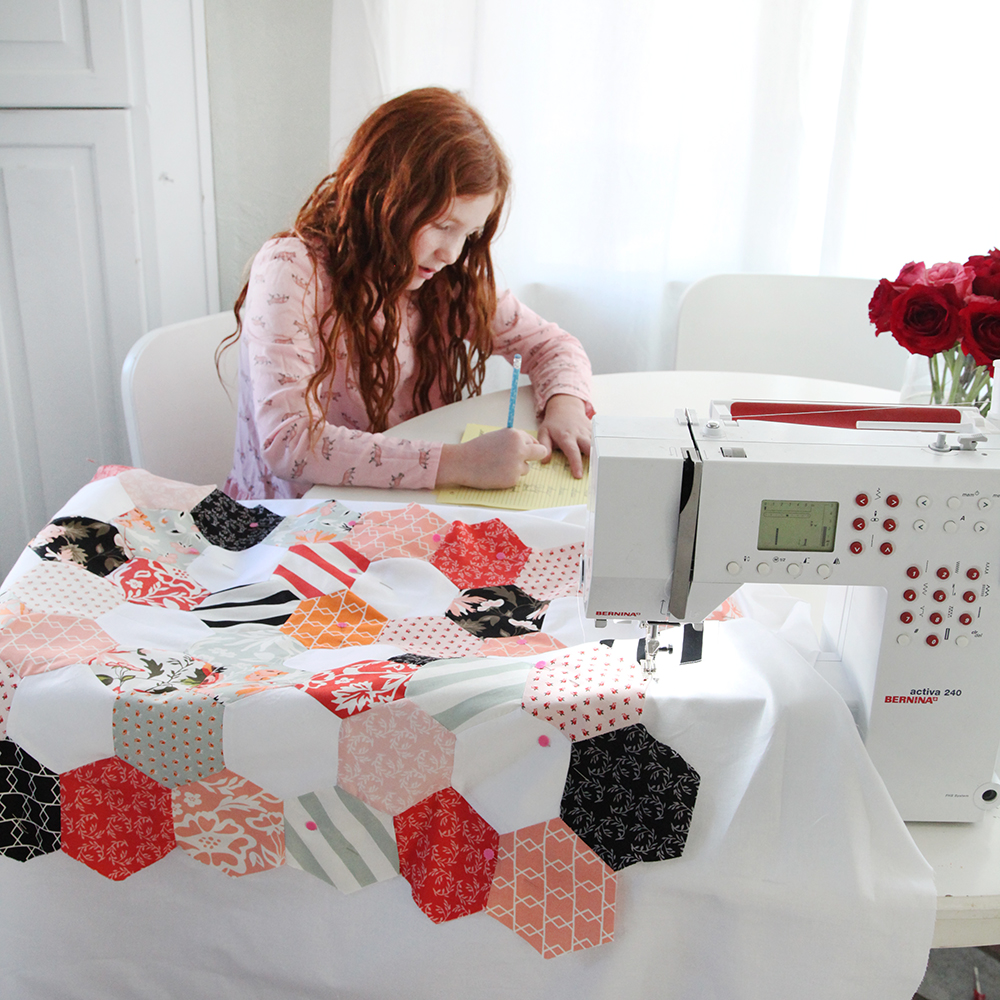
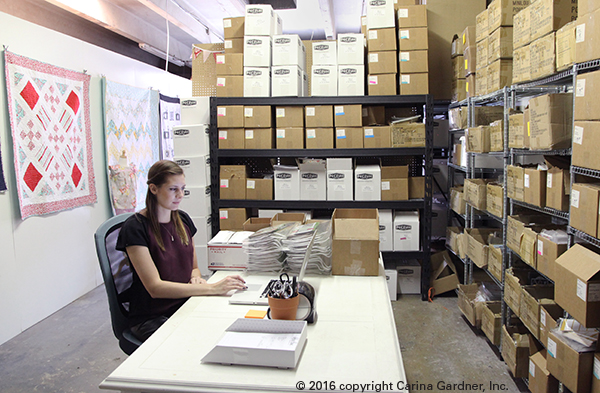
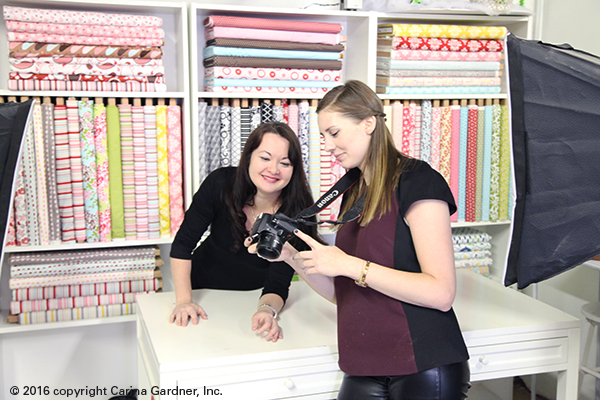
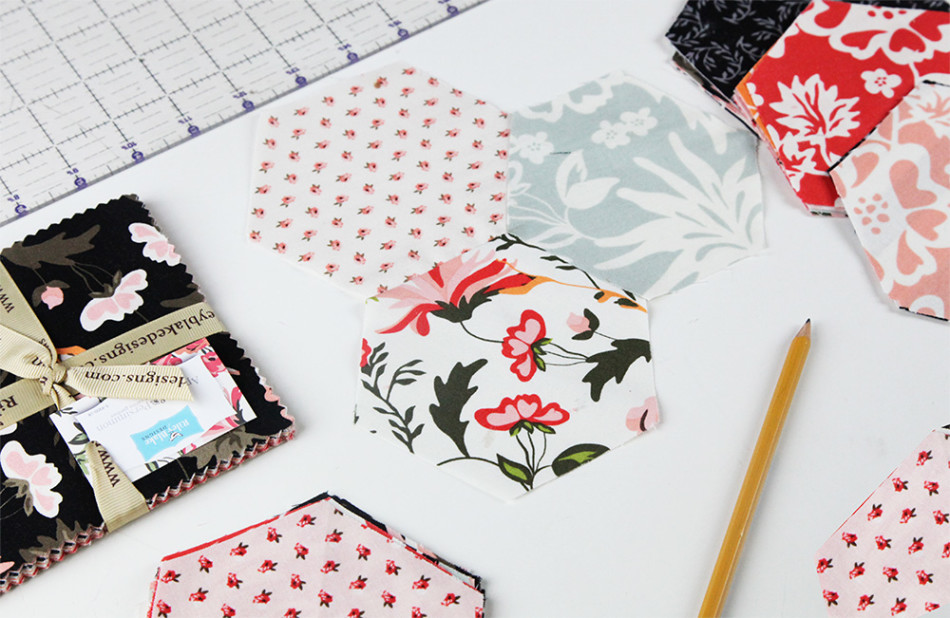
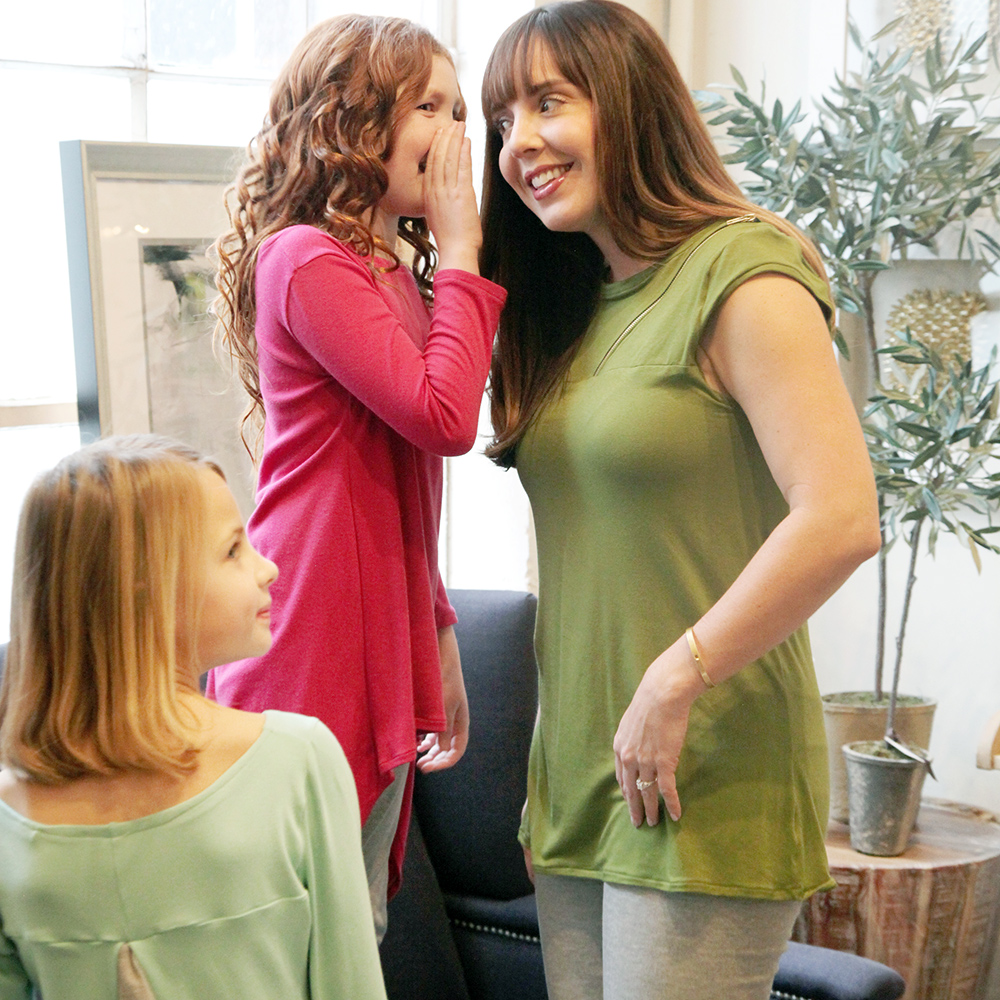
 Tomorrow is the kick off of Quilt Market. Earlier this week, Felicity and I were part of the runway show at Riley Blake’s Retail Fabric Extravaganza. I also did a drop for Riley Blake’s awesome Fabric is Fun 60 days of giveaways that has been going on.
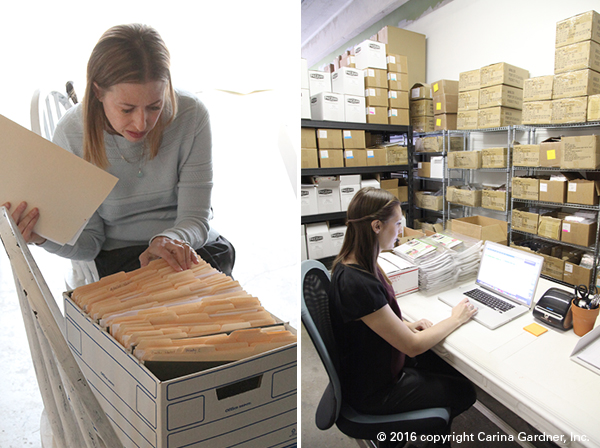
 Speaking of babysitting, my mom was in for the save. She showed up last Saturday and has helped me sew, watch kids, cook, and clean this whole week. Such a blessing! That kind of help is priceless and I owe you one, Mom!
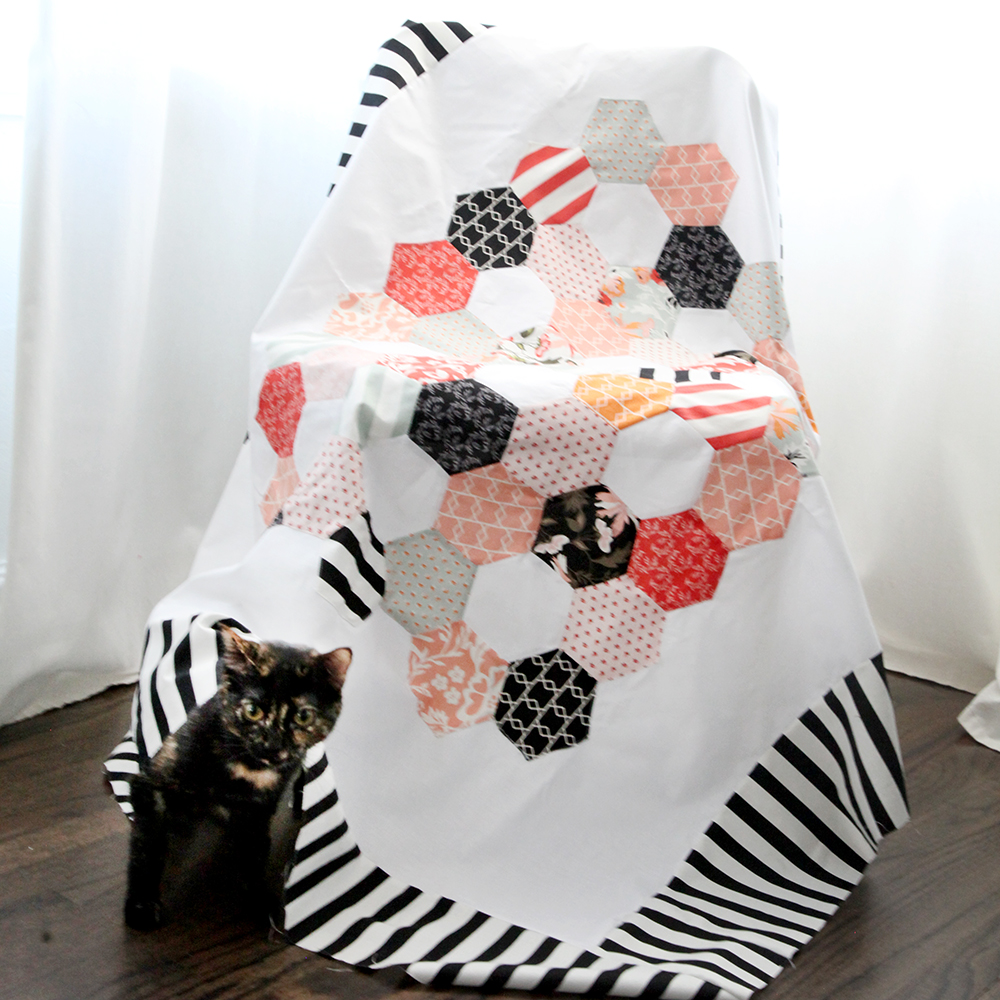
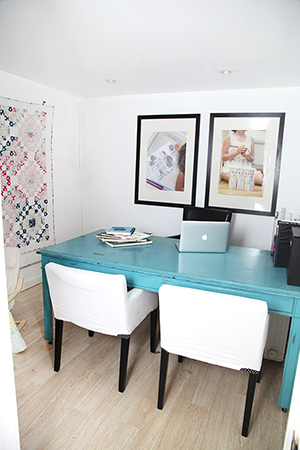
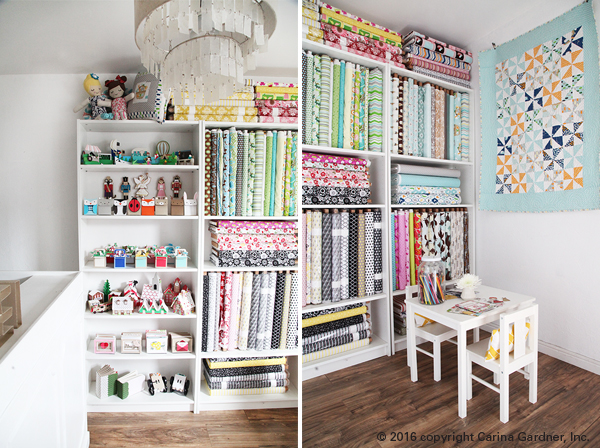
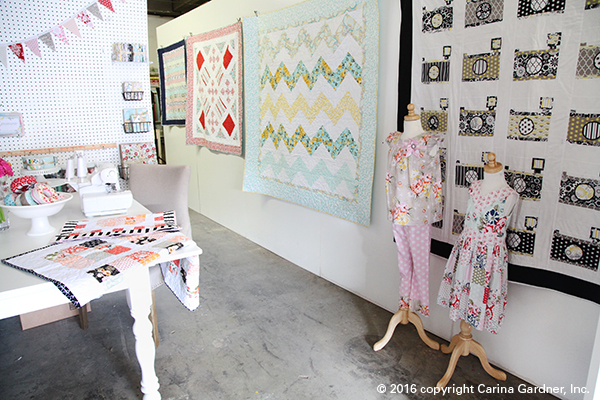
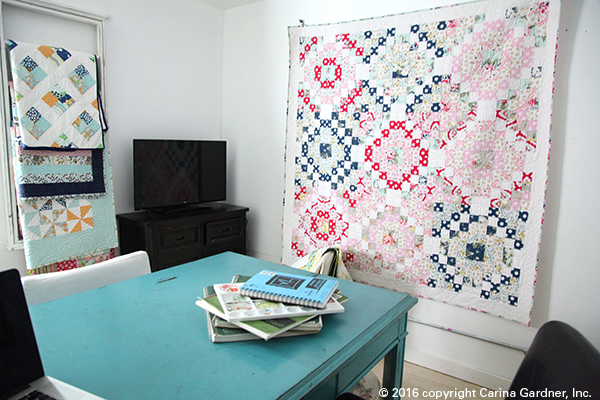
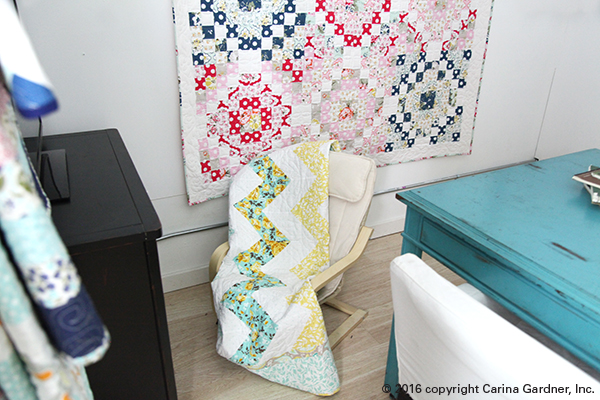


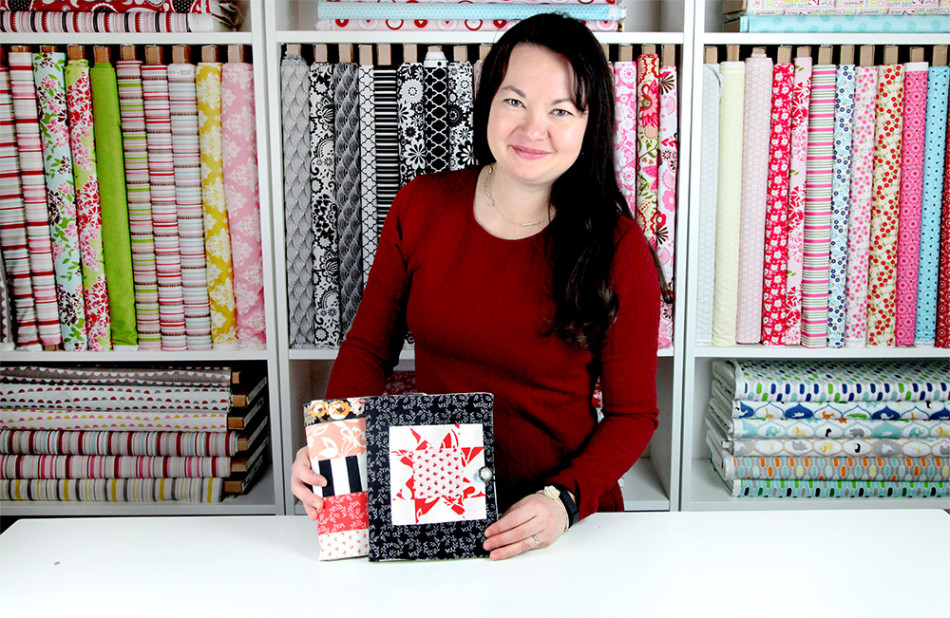


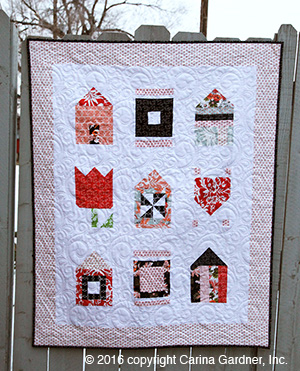
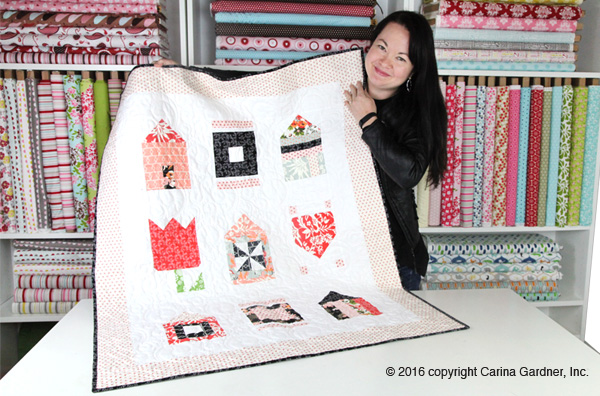

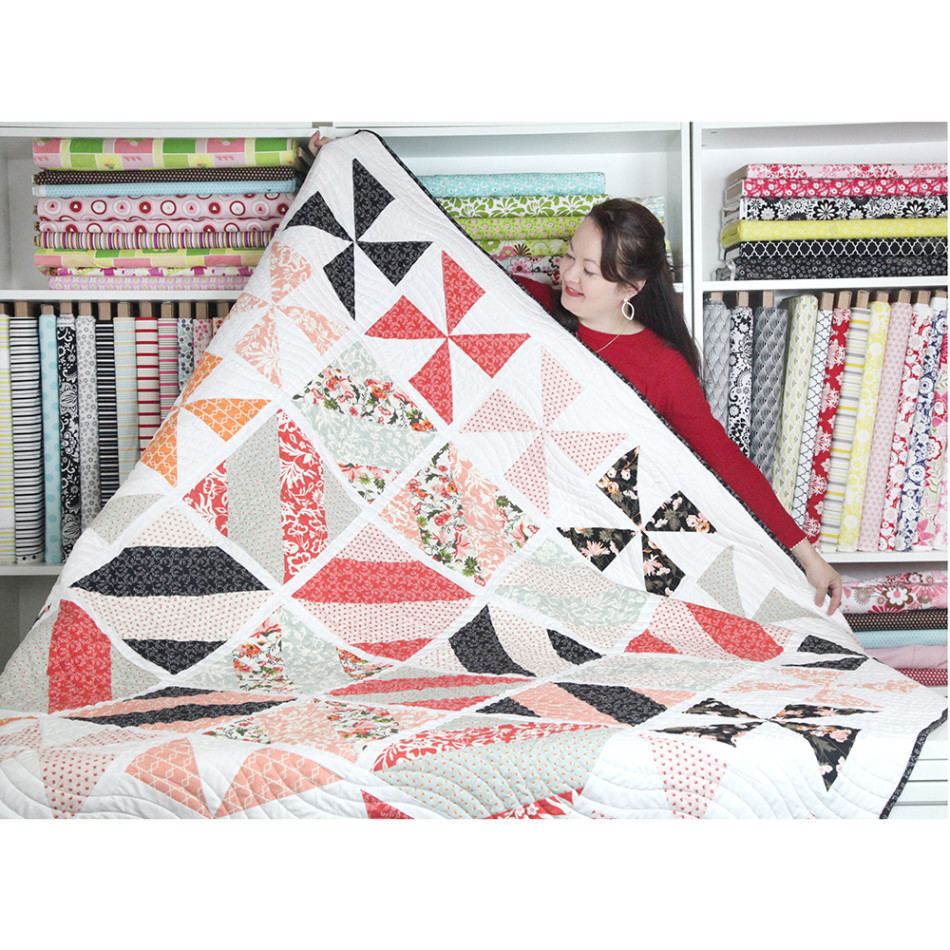

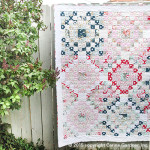
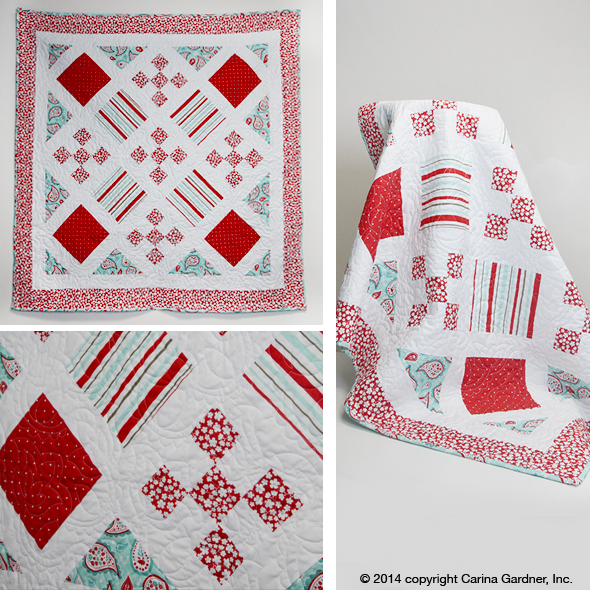
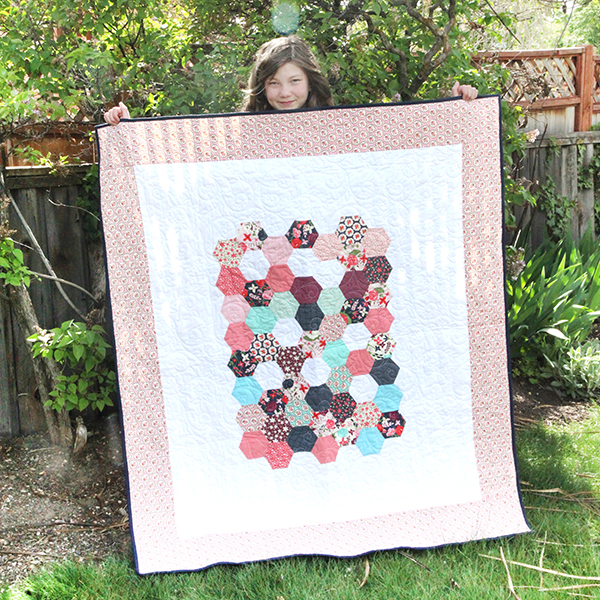
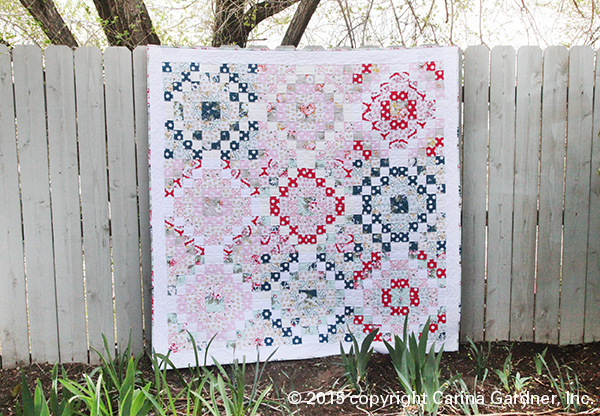
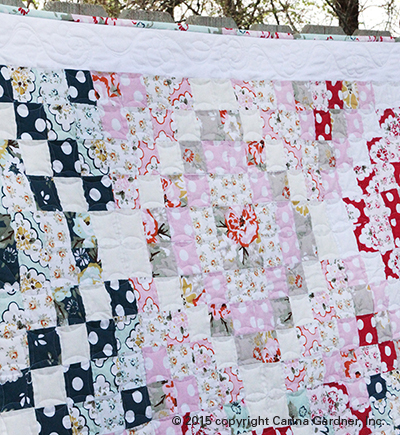
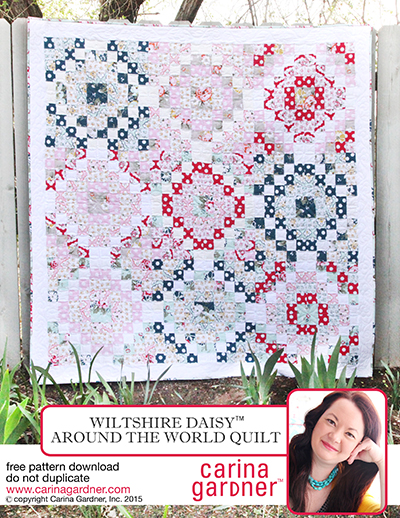
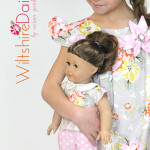
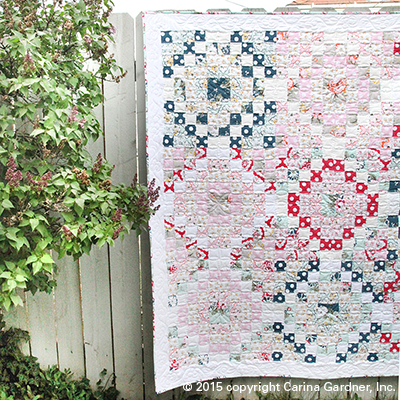 The Wiltshire Daisy™ Around the World Quilt has been my Sunday sewing for quite a few weeks now. This is one of those quilts that it didn’t seem to matter how I photographed it, it still looked better in person than through the lens of my camera.
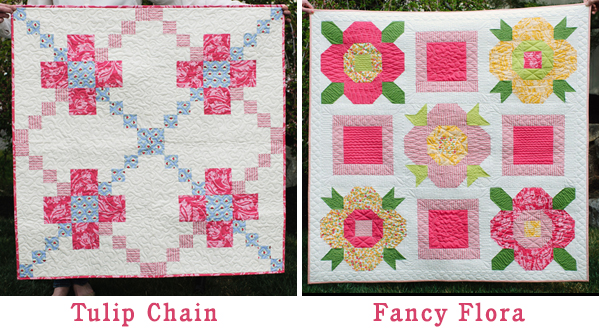


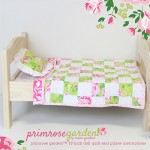
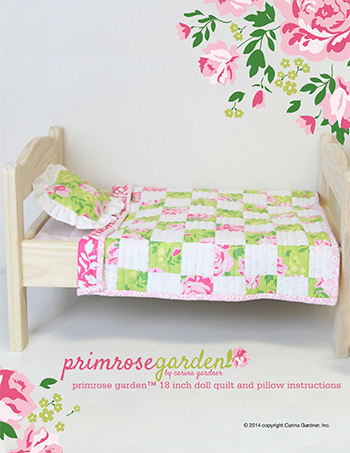
 Thank you for purchasing the