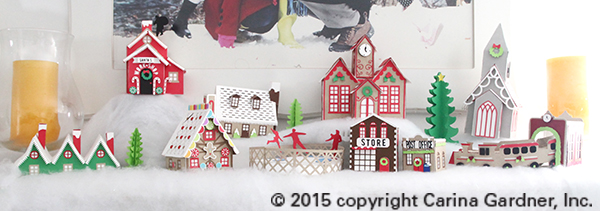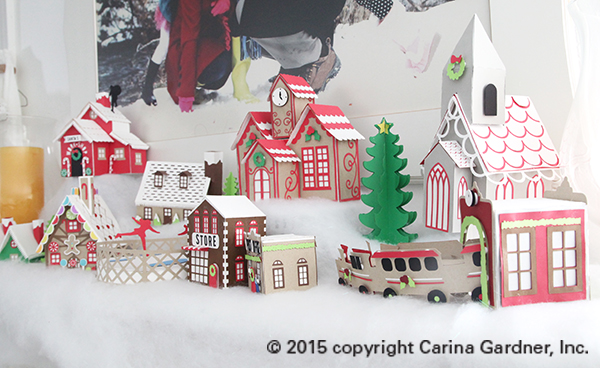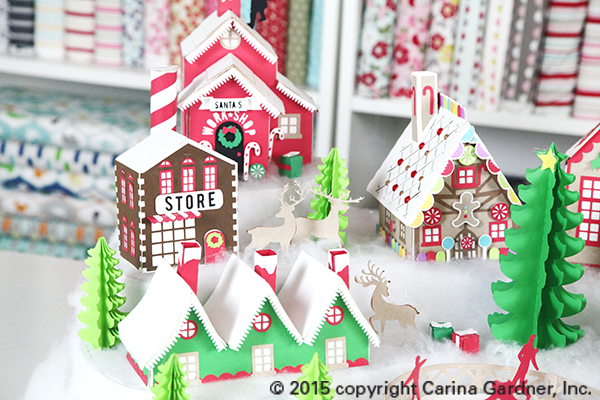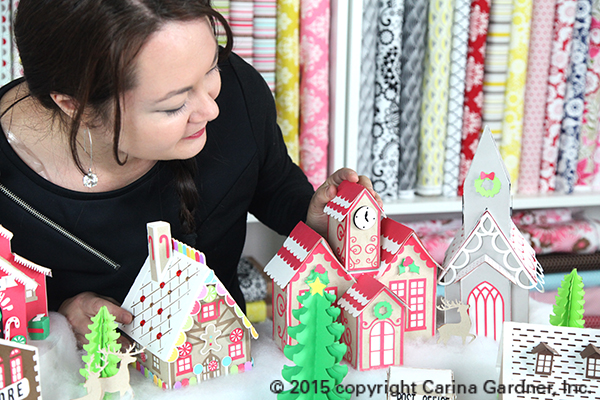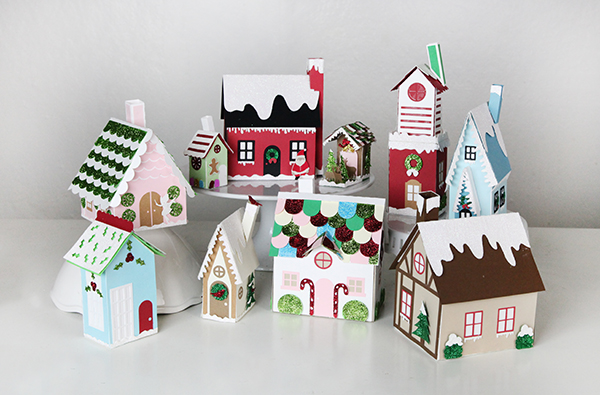
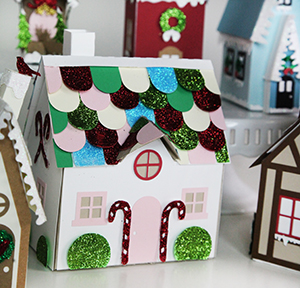
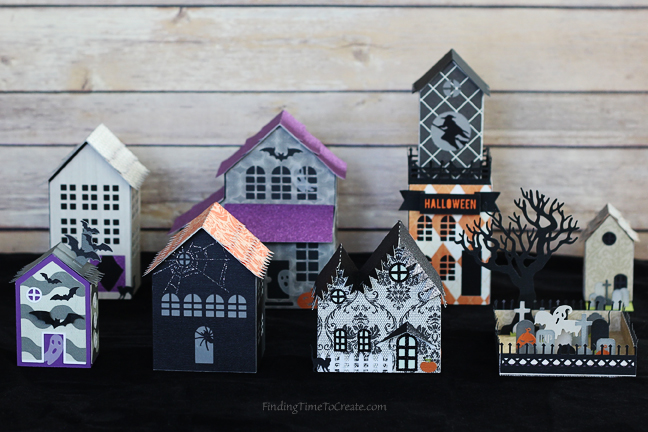
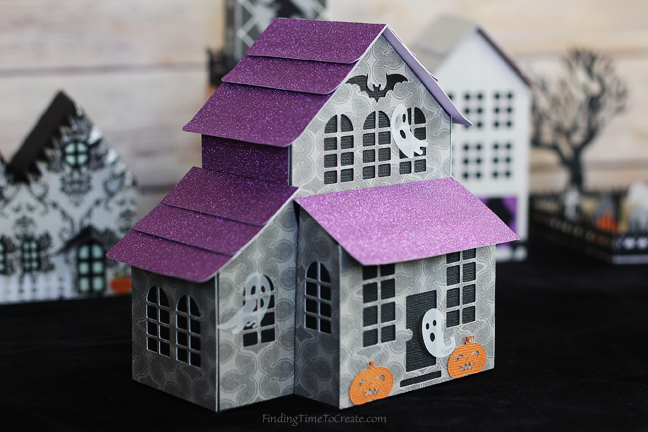
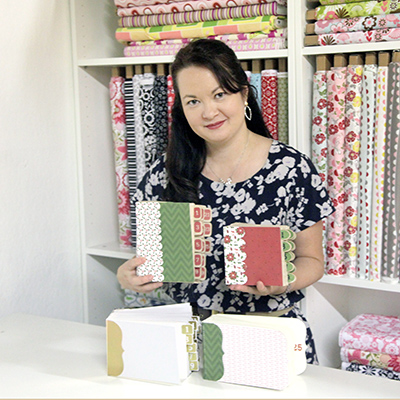
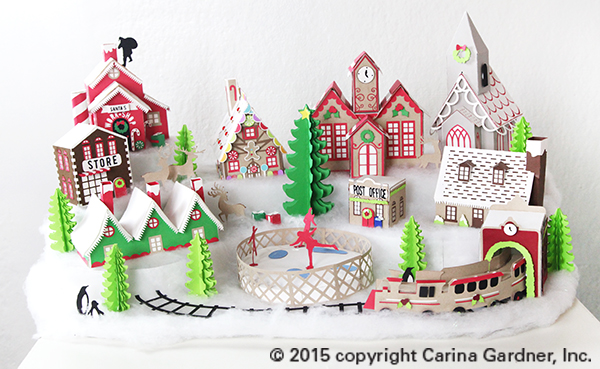
I’m SO excited about the new village I designed this year for Christmas! It’s called Santa’s Glitter Village and you can download all of it from my Silhouette shop! You can add it to any pieces you have from my original Christmas Village or build these separately! There is even a cool download showing you how I made the snowy centerpiece the either village is made on. You can use that for this village too!
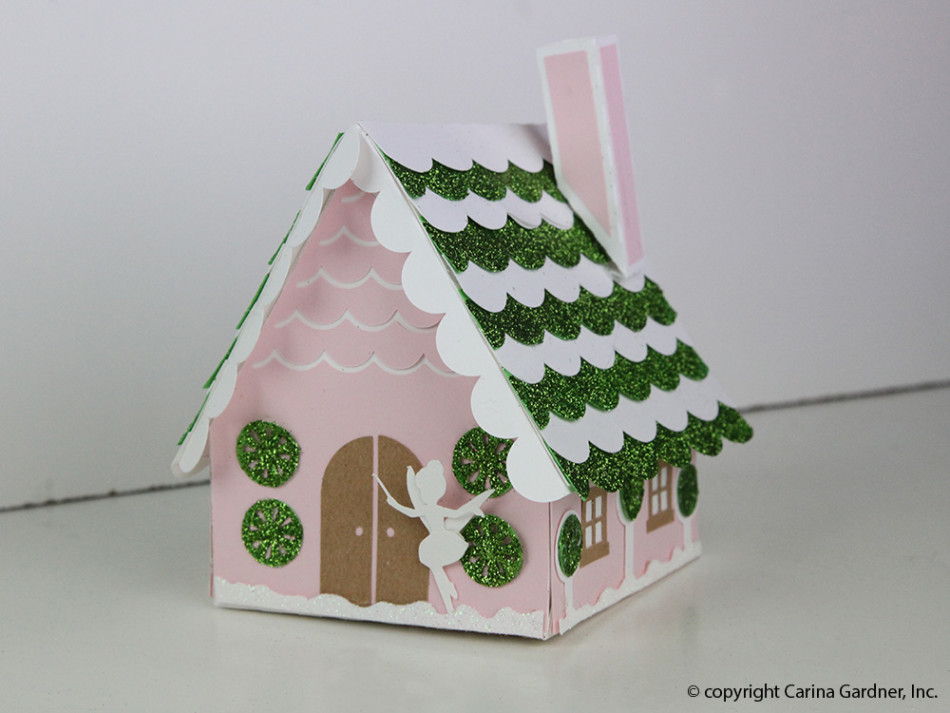
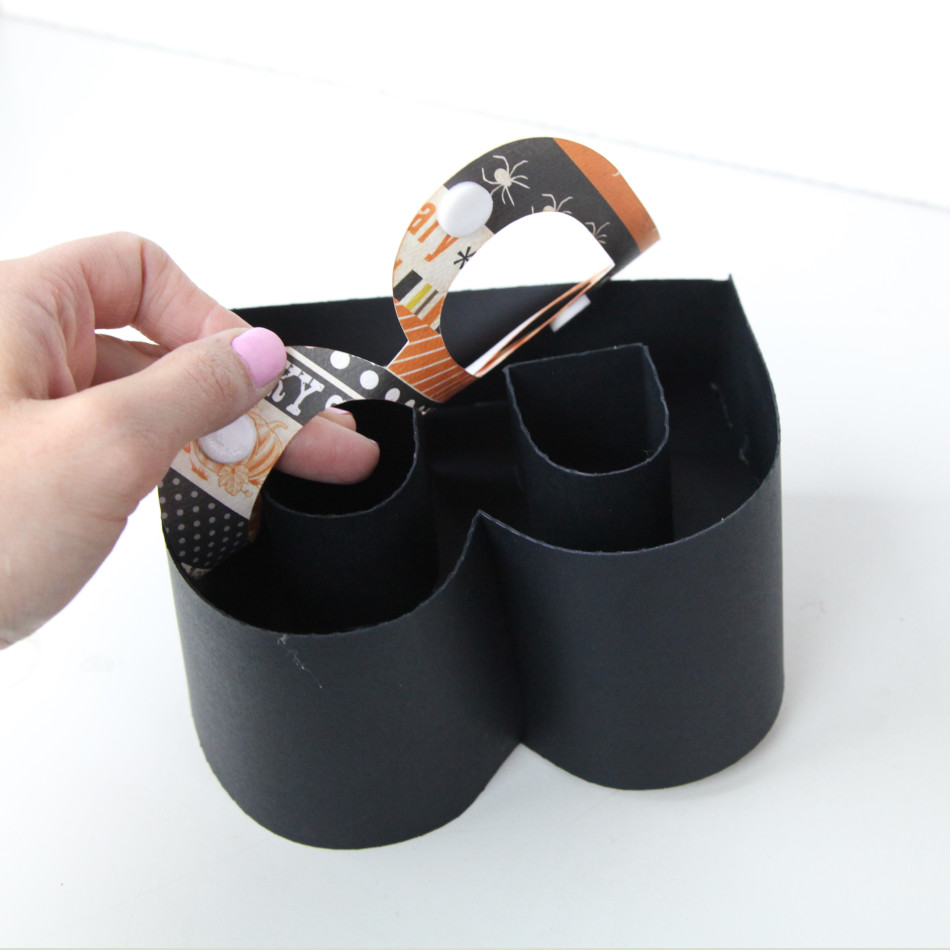
 This year it is all about GLITTER! I have a great tutorial for you on how you can put together below. I do NOT have individual tutorials on these houses because many of them are made THE SAME. The tutorial I have below is for the Sugar Plum Fairy’s House and most of the buildings are built in this way. There are also extra instructions below for pieces I thought you might like a little extra help with. So scroll on down to see if there is something there that will help you!
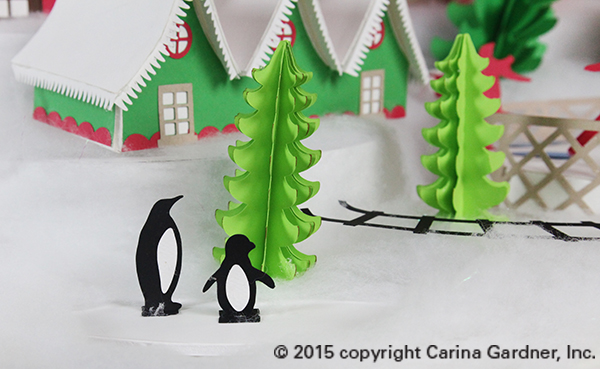
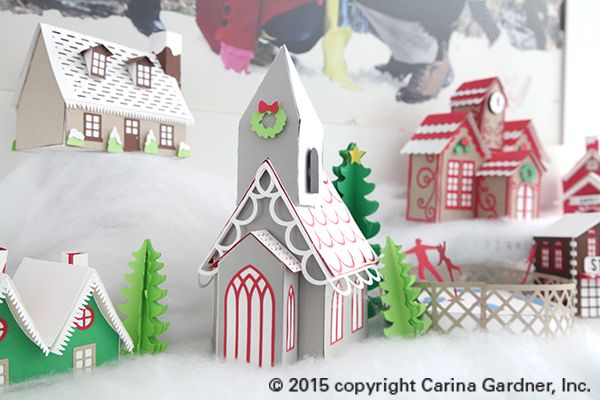
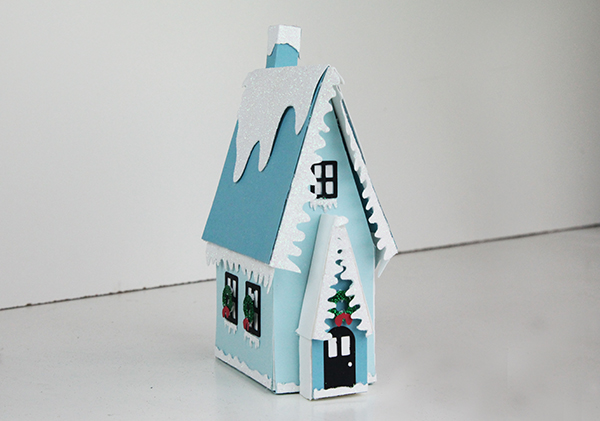
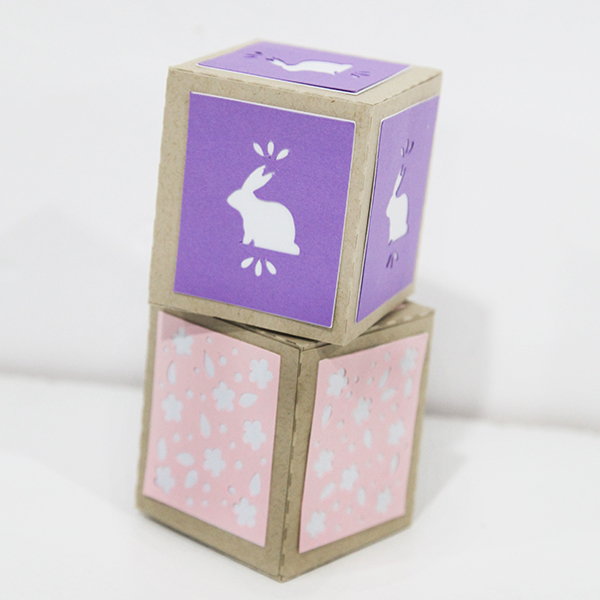
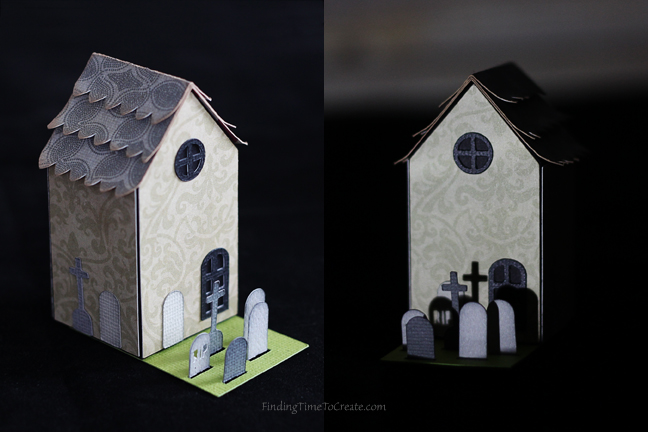
This year, the Santa Glitter Village includes: Santa’s Cottage, Candy Cane Place, a Chapel, Elf Dwelling, Reindeer Stables, Santa’s Tower, Snow Bird House, Sugar Plum Fairy’s House, Tiny Mistletoe House, and the Winter House. Many of these come with openings at the bottom for an electric tea light (or two). The smaller houses do not because a tea light would not fit:).
You can find ALL my tutorials on my main Silhouette landing page here: https://carinagardner.com/silhouette/. I noticed that when I went back to look at previous projects in the Silhouette store, that some of the links are broken. That landing page is your end all for ALL of my tutorials. You can also watch many tutorials I have filmed on my YOUTUBE channel.
I hope you have a wonderful time building Santa’s Glitter Village! Every piece is unique and sweet! I think I’m placing mine on my piano this year.
Happy crafting!
XOXO-Carina

Supplies
-Glitter (we used fine glitter, but you could use more course glitter)
-Mod Podge (we used gloss, but you could use any kind)
-foam brush
-1 piece of copy paper
-SVG card cutouts
Instructions
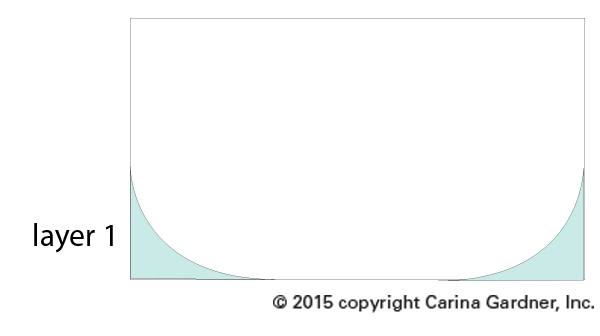
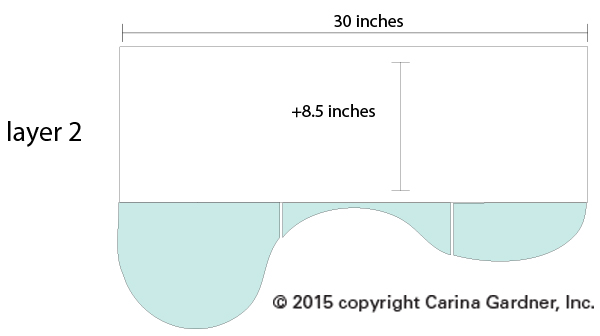
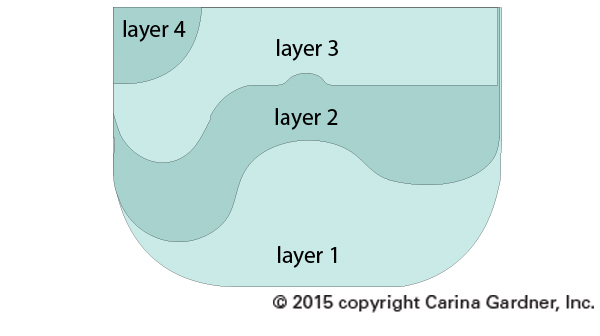
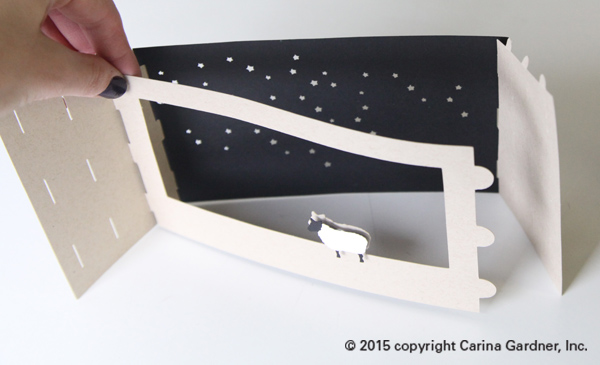
Note: These instructions work for all of the houses in Santa’s Glitter Village. At the end of the tutorial there are instructions on how to put a few of the more intricate pieces together.
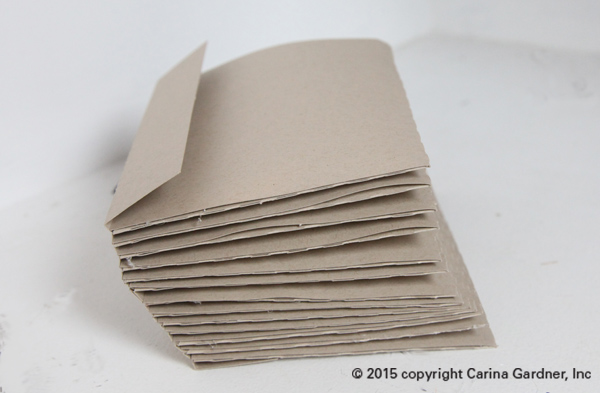
1. Cut out all SVGs provided in the file.
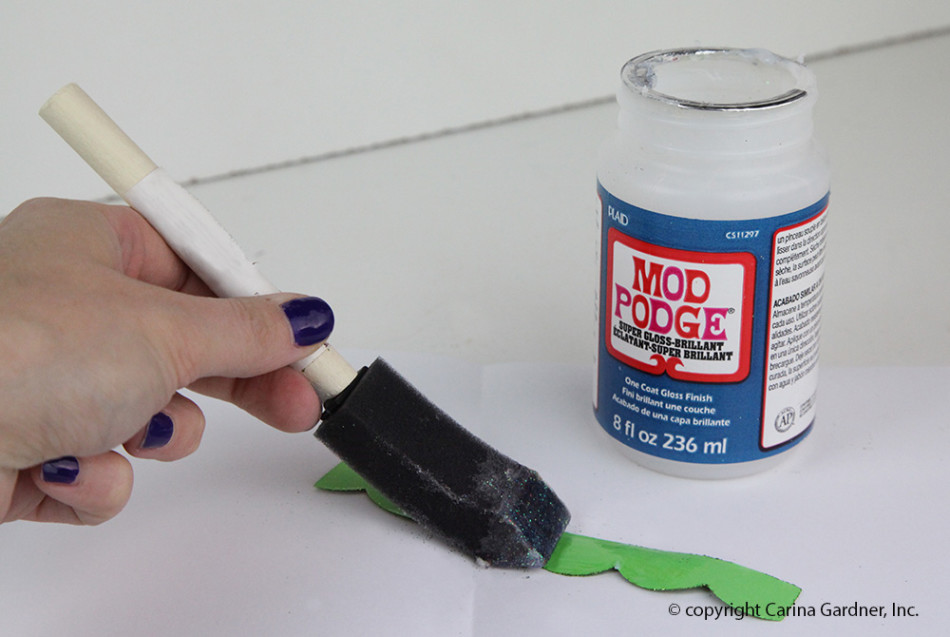
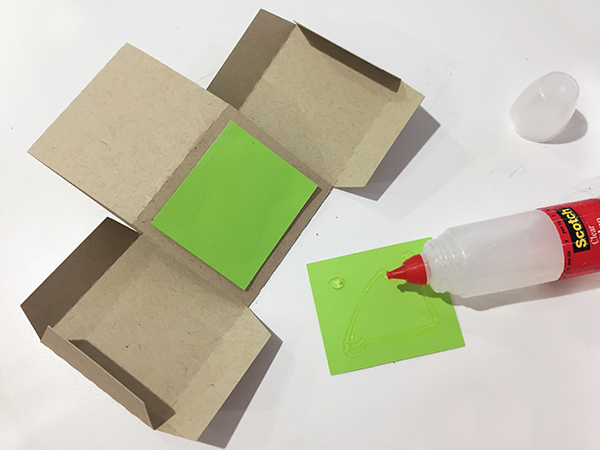
2. Before putting the house together, decide which pieces you want to glitter. I did mine on the green scallop pieces of roof, peppermint swirls, and snow.
3. Once you have all of the glitter pieces and supplies, take a piece of copy paper and fold it in half (this makes it easier to put the extra glitter back in the jar later). This paper will be your working surface to catch the extra glitter and Mod Podge.
4. Next, take your foam brush and dip it in Mod Podge. Cover any area you want glittered with a thin layer of Mod Podge. Put the copy paper underneath to contain any Mod Podge and glitter that goes over the edge.
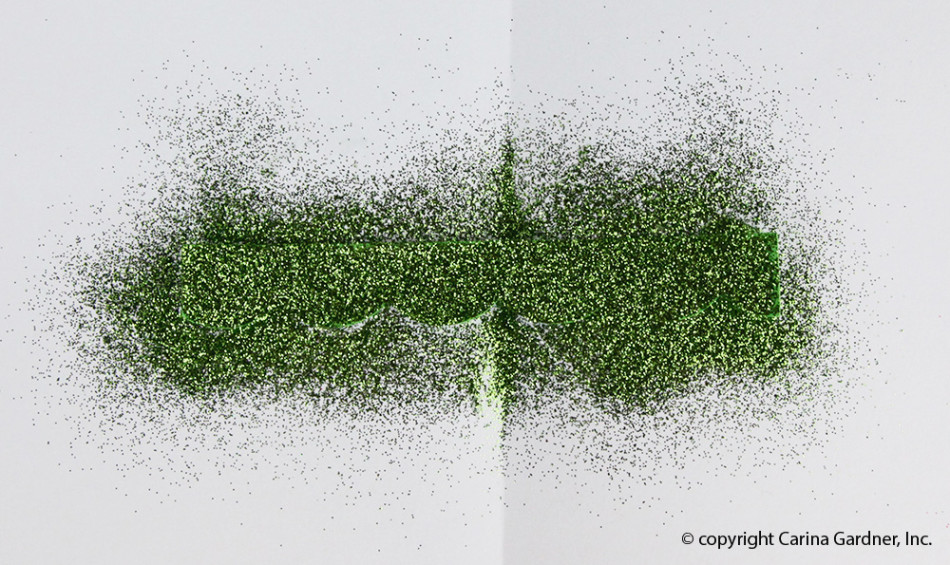
5. After the whole piece is covered in Mod Podge, take the glitter and sprinkle it over the area the Mod Podge covers. Be very generous with the glitter so it covers everything. Remember, you will be able to put the extra back in the container so make sure everything is covered well.
6. To make sure the glitter to stays in place better, use your finger to tap the glitter lightly. This make sure more glitter adheres to the Mod Podge.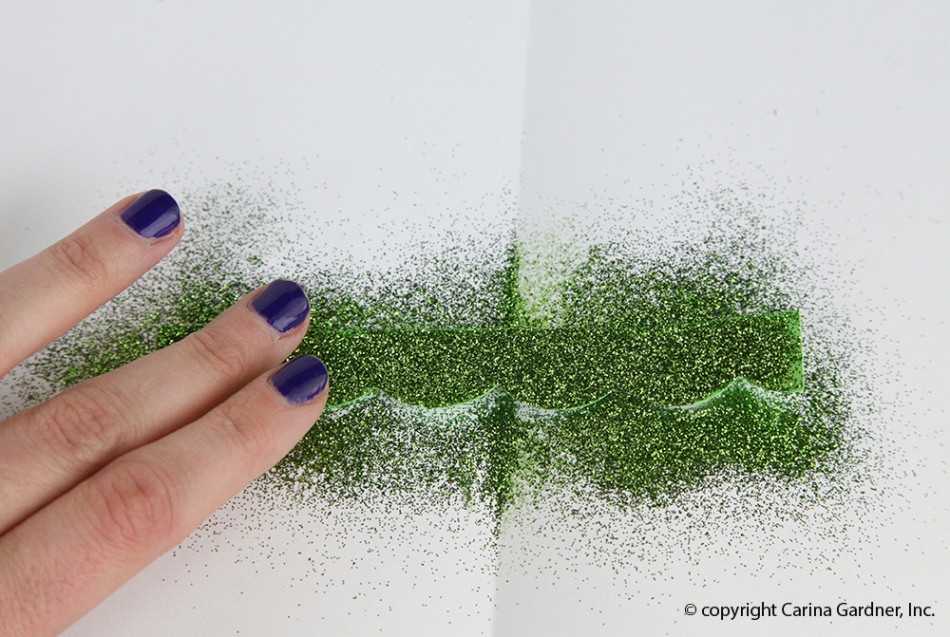
7. Wait for the Mod Podge to dry a few minutes, and tap off the excess glitter.
Tip: If you are worried about the glitter transferring too much, you can put another layer of Mod Podge on top. If you use gloss Mod Podge, the glitter wont lose it’s sparkle.
8. Once you’re done with the glitter, fold the copy paper with the glitter on the inside and pour the excess back into the container.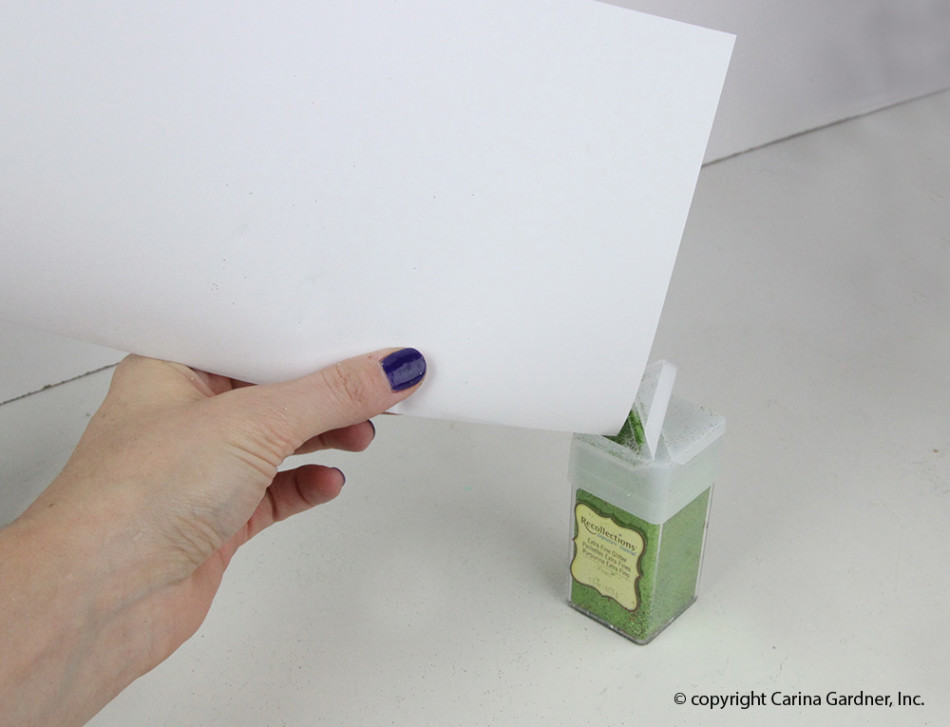
9. You’re done with the glitter, now onto how to put together the rest of the house!
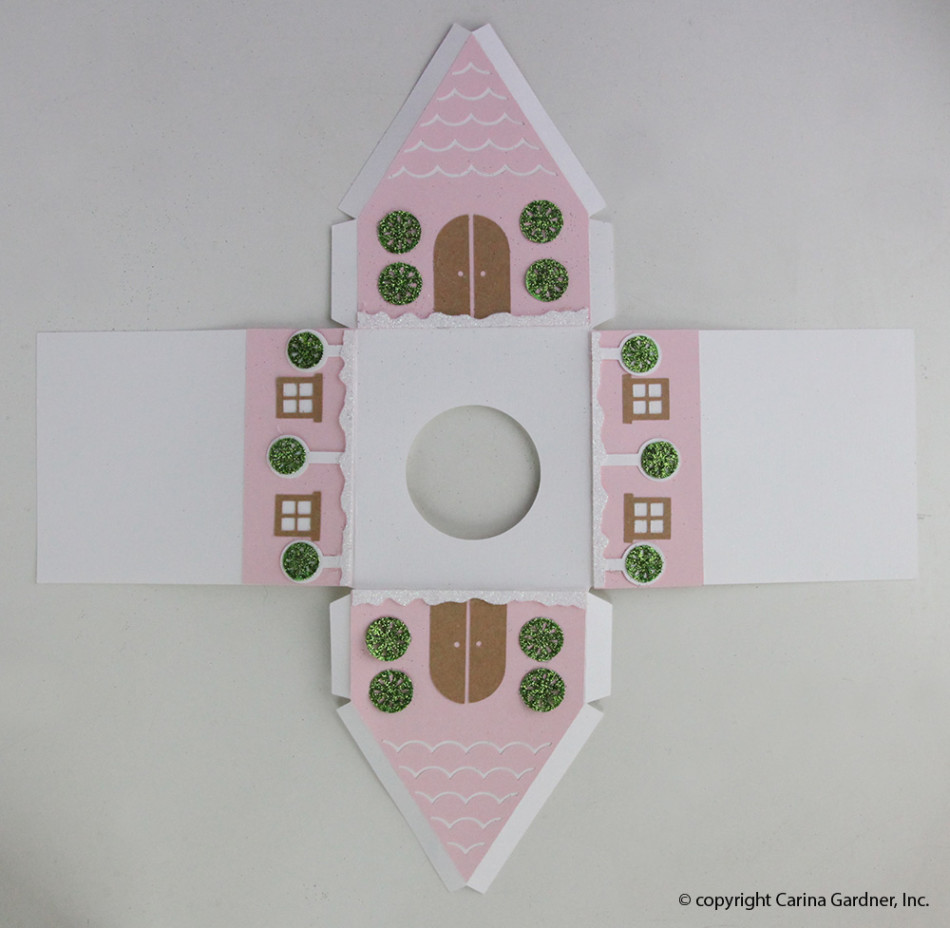
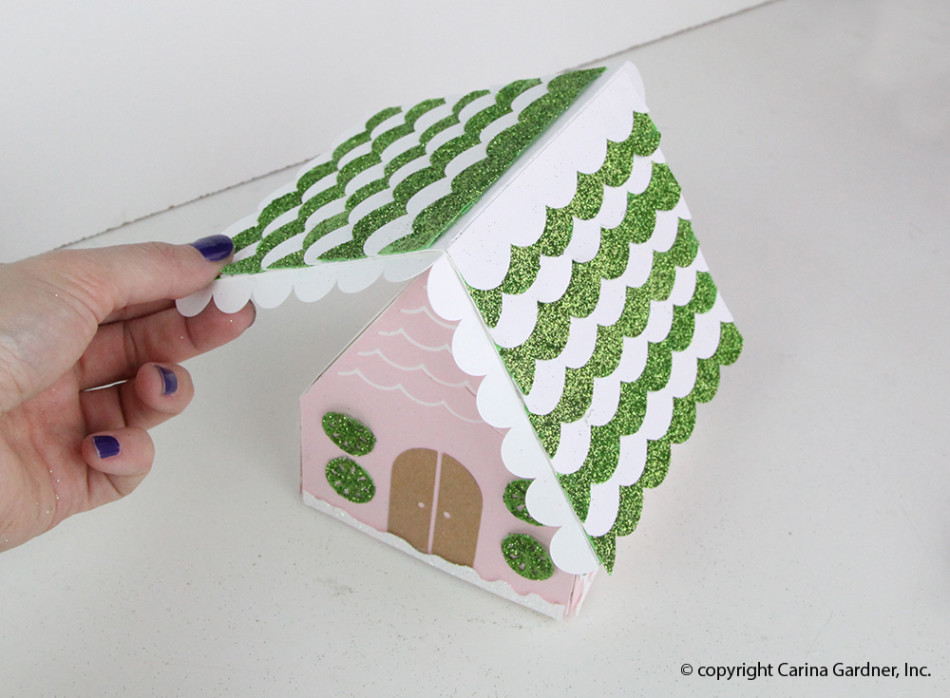
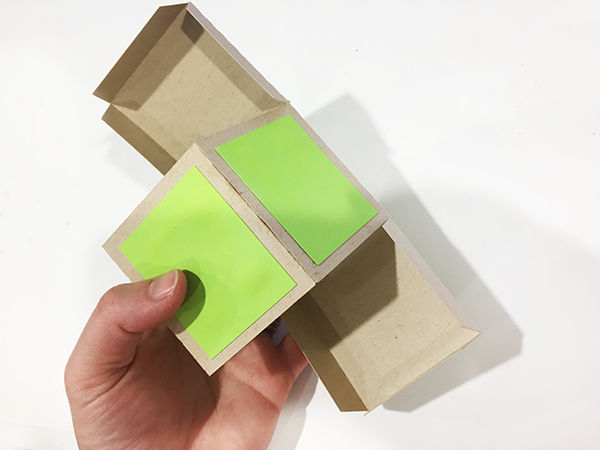
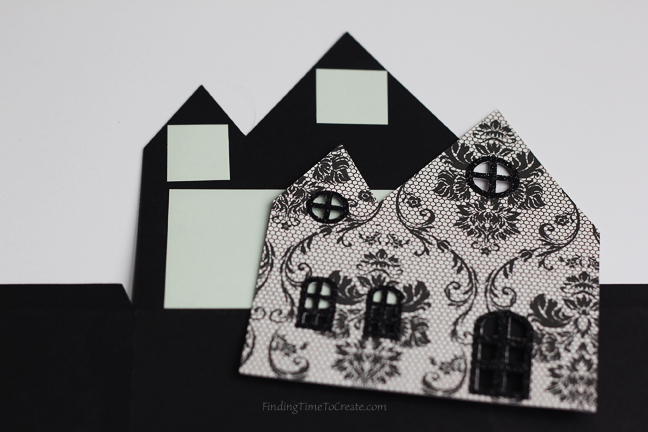
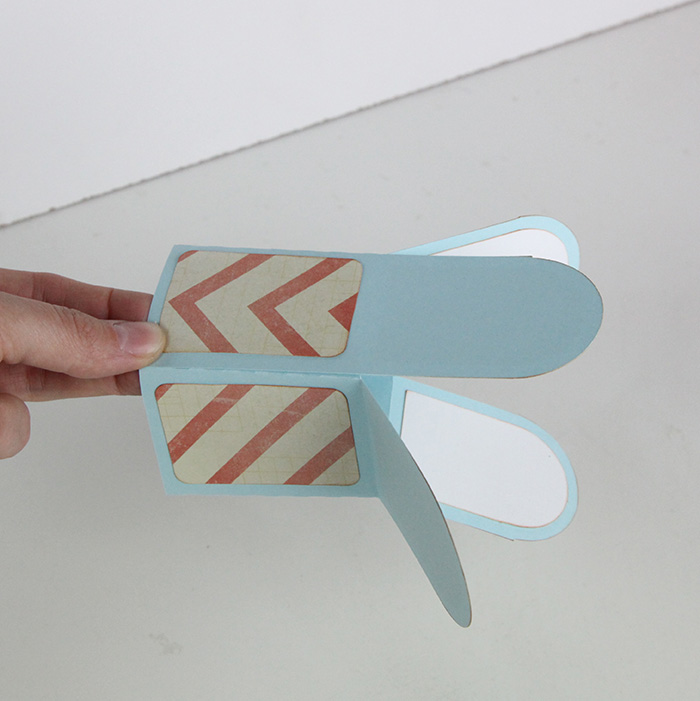
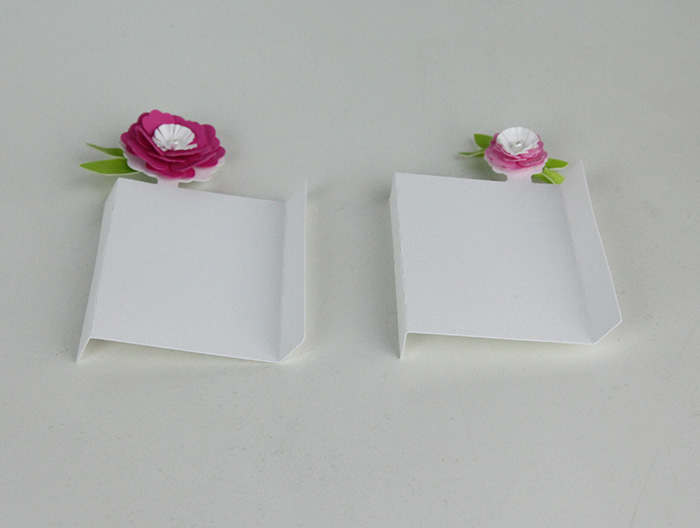
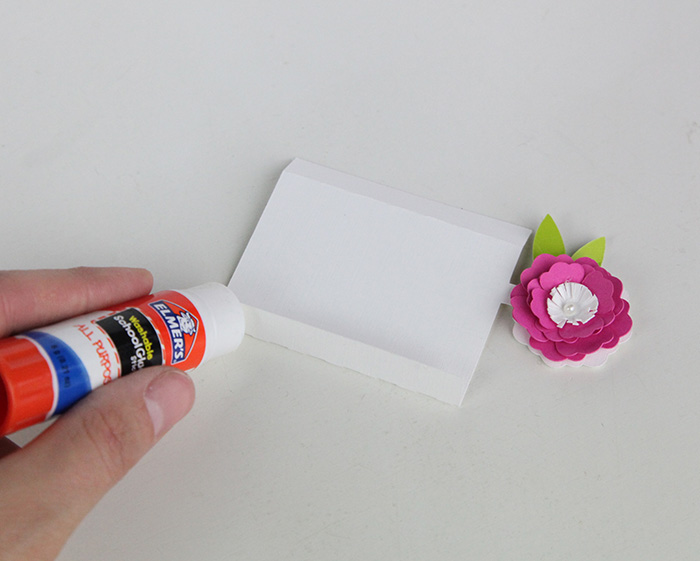
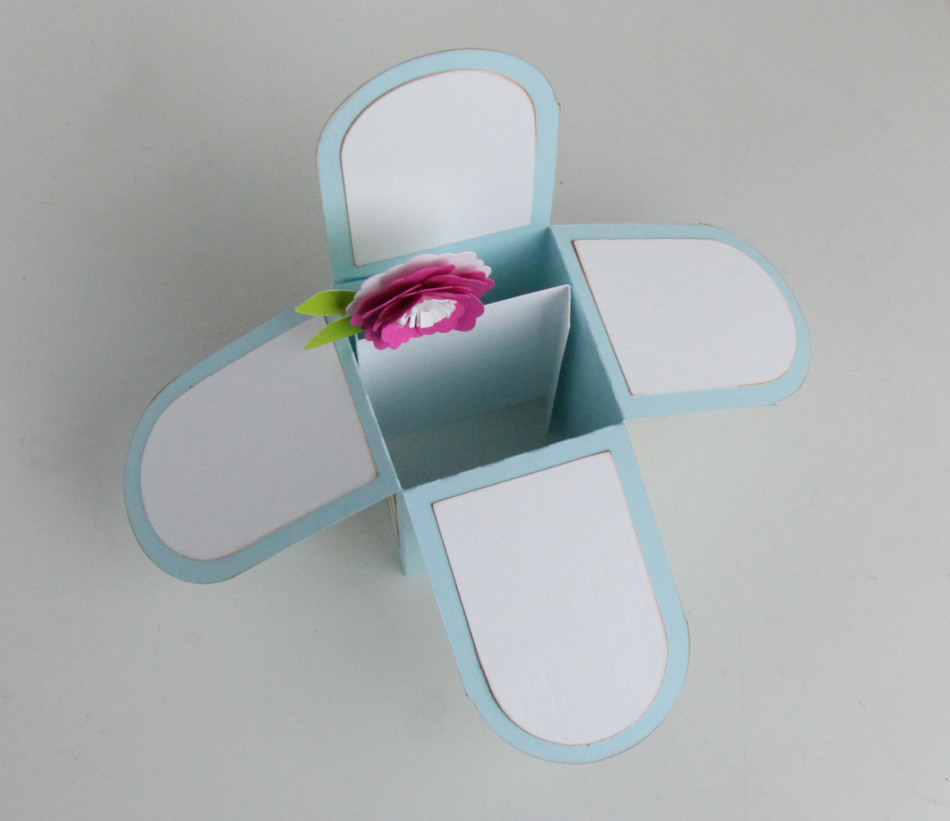
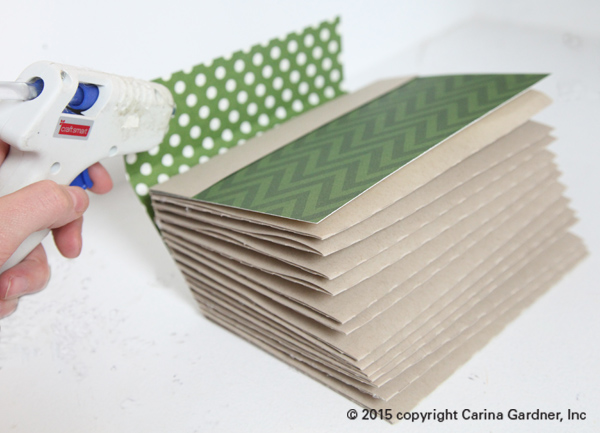
10. To put the house together, first, take the facades and glue all of the embellishments to them.
11. Next, glue the facades to the side and front pieces.
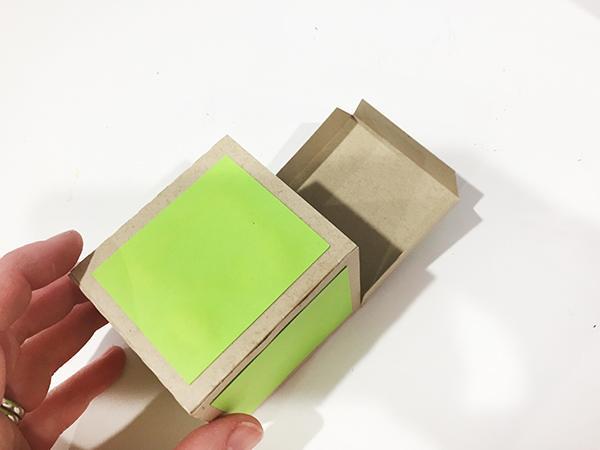
12. Then, glue the tabs of the back and side pieces to the tabs of the bottom. It should form a “T” shape.
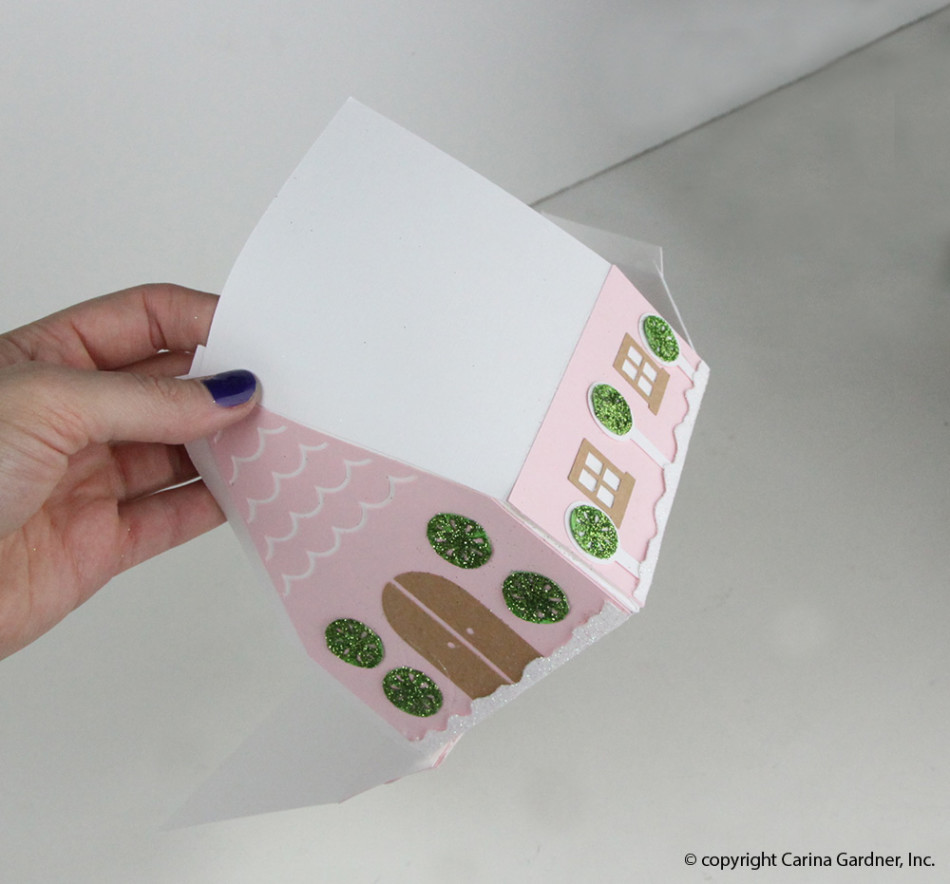
13. To make the house 3D, hot glue the tab on the side of the front piece to the side piece. Do this for all of the tabs until you have a house shape.
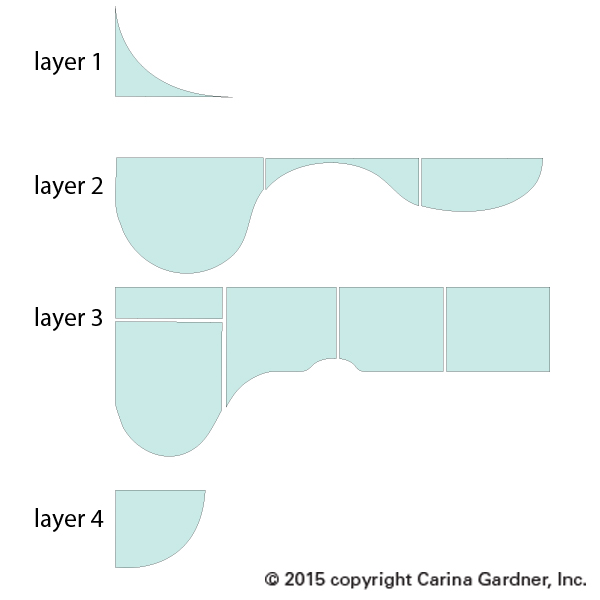
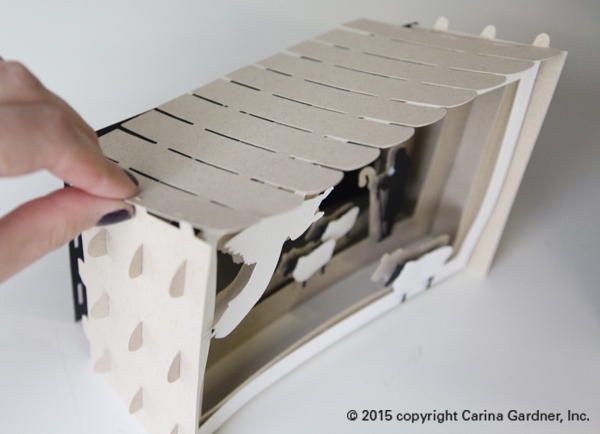
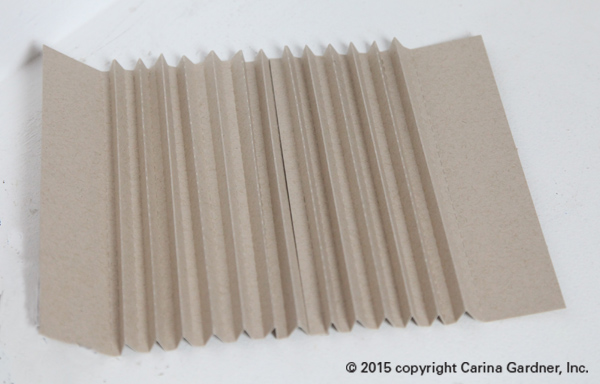
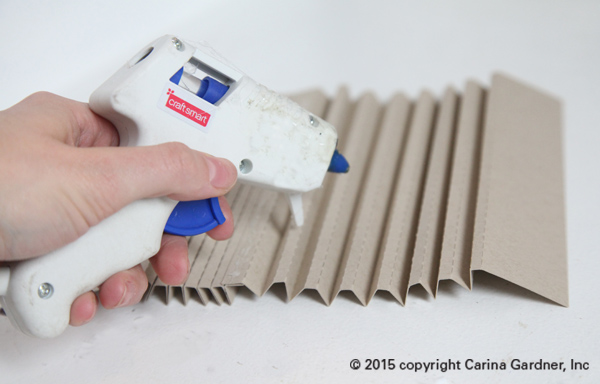
14. After the house is done, gather your roof pieces. Hot glue the scallop pieces to the roof piece. Make sure you overlap each scallop piece and switch off between colors as you glue. It’s best to estimate your spacing before your start glueing so the scallop pieces cover the roof evenly.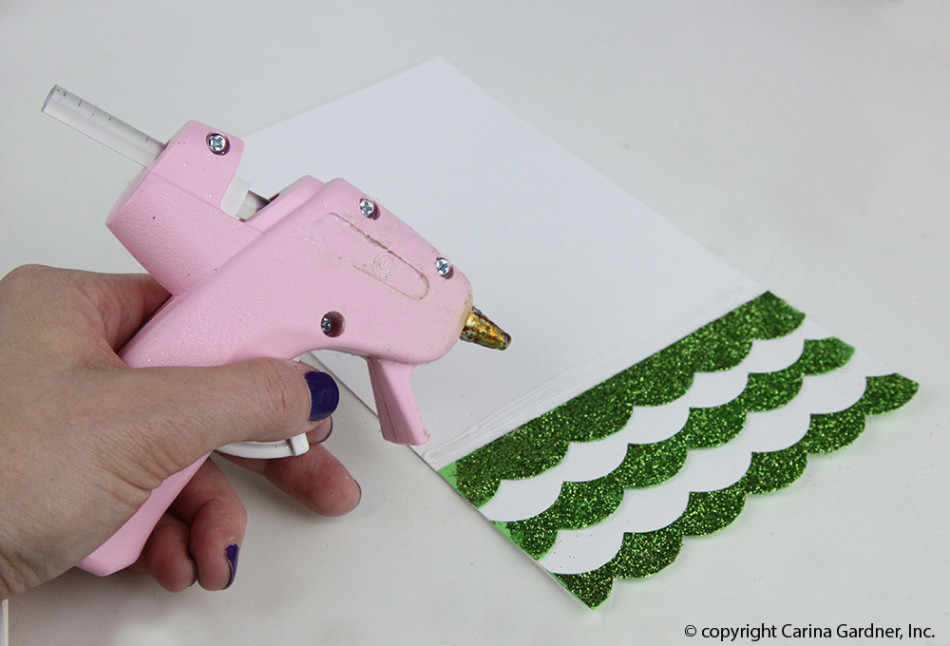
14. Next, add the long scallop piece to the side of the roof by glueing it on the underside of the roof.

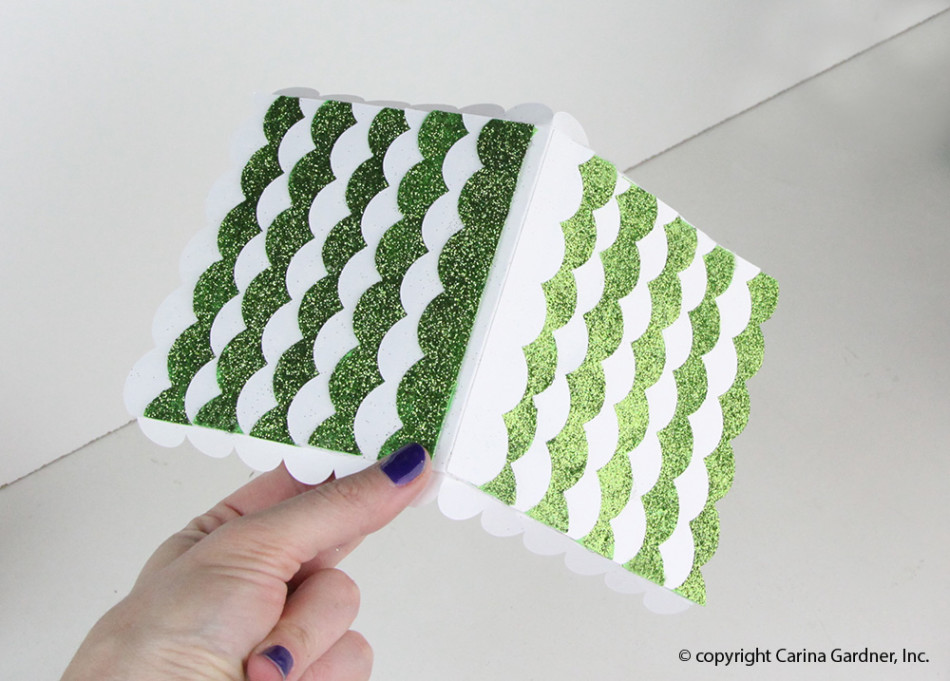
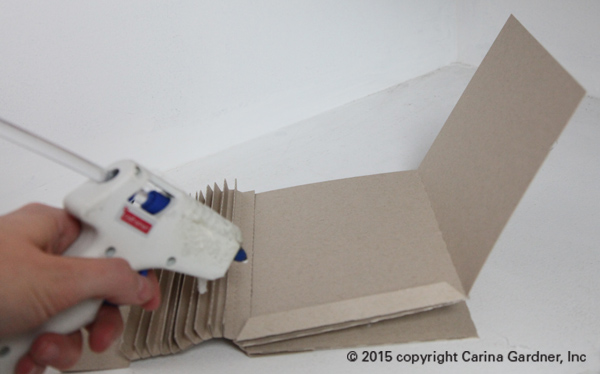
15. Then add the roof by glueing one side, making sure it’s centered and the top creased is lined up.
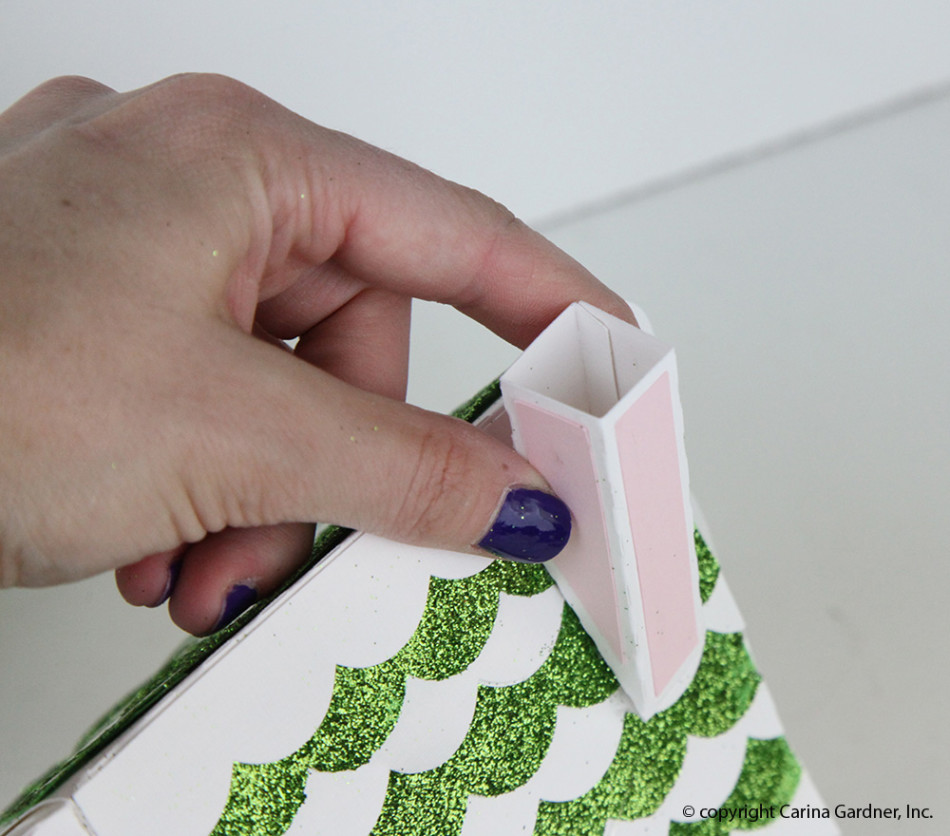
16. The last thing to add is the chimney! Take the chimney piece and fold it into a box shape. Then, glue the tabs on the angled side to the roof.
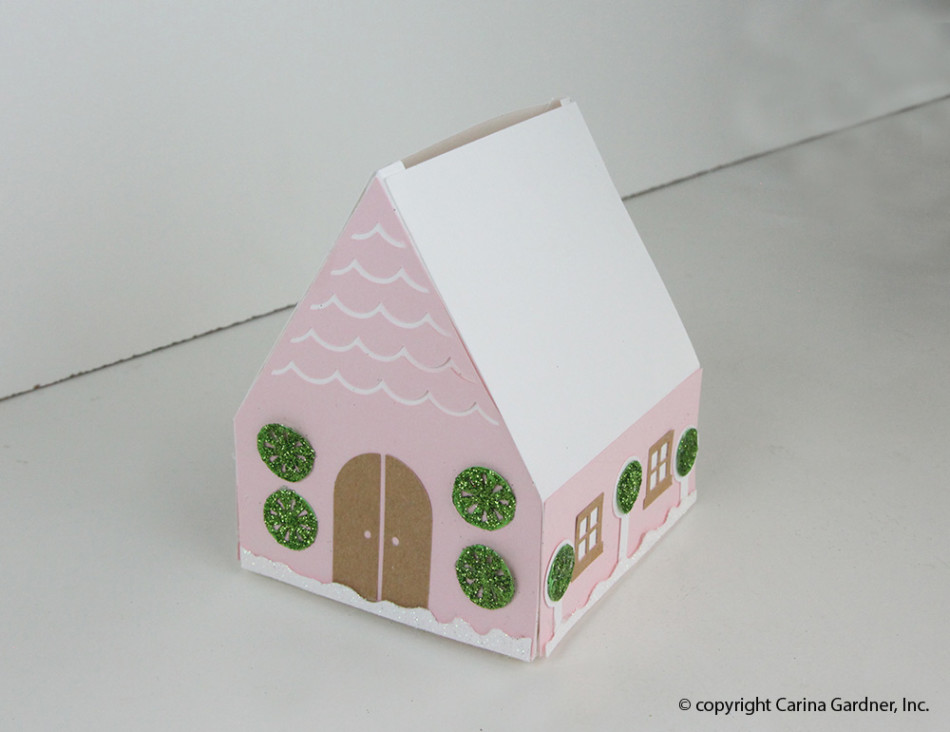
Now you have the most adorable Fairy House for your Glitter Christmas Village!
Here’s a few more instructions on some of the parts that are specific to each piece.
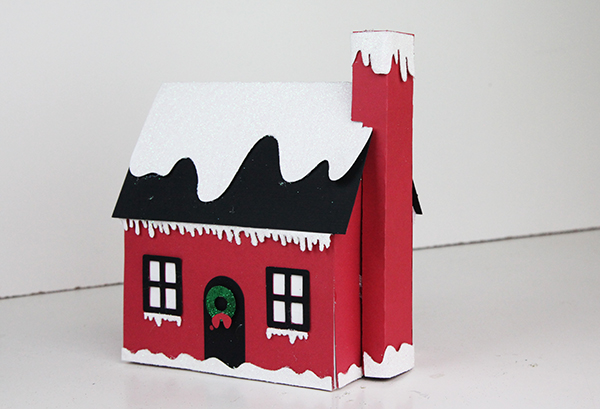
Chimney on Santa’s Cottage:
- Start by folding all of the score lines.
- Next, glue the tab on the long side and glue it so it makes a box.
- Then, Glue the tabs on the open part to the house.
Front Door piece on Chapel:
- Start by adding all of the embellishments to the facade.
- Then, glue the facade to the front/back piece.
- Next, take the long bottom piece and glue the tabs to the front/back piece.
- Add the roof/snow like you would for the other houses.
- To finish, glue the front door piece to the front of the chapel.
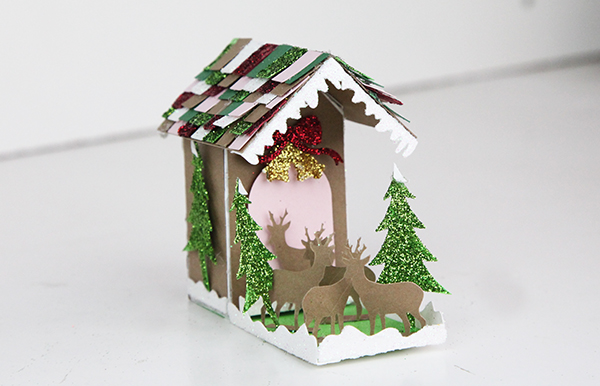
Reindeer Stables:
- Start by assembling the house.
- Then, take the green piece and glue it to the bottom of the house. The green piece will cover the entire bottom of the house and then extends into a yard.
- Next, glue the reindeer and tree tabs to the yard area.


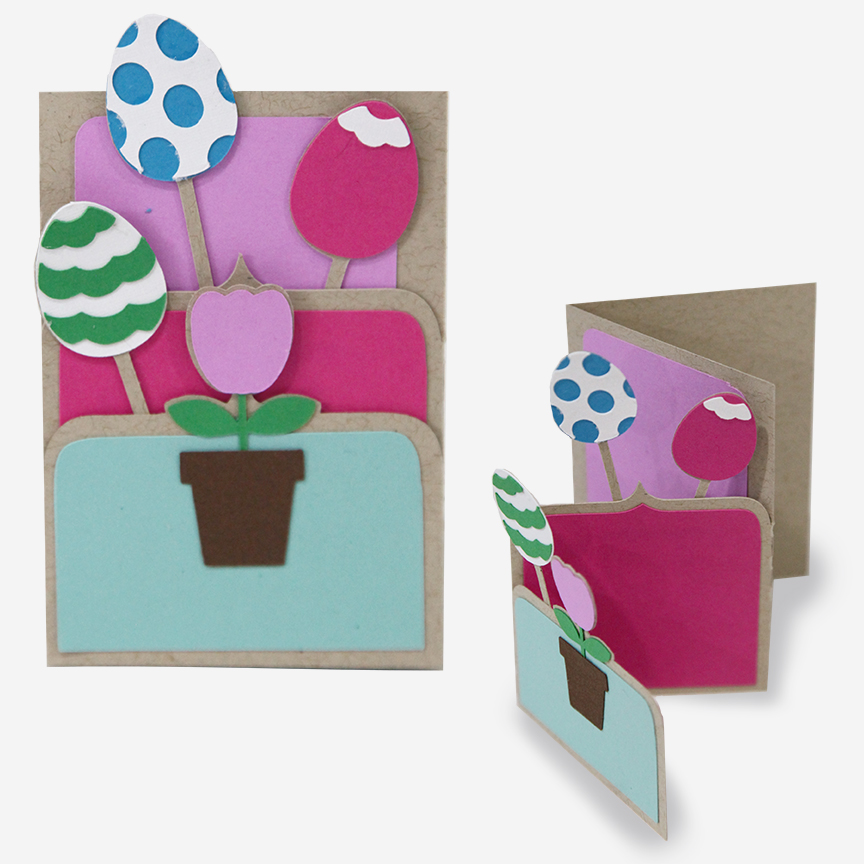
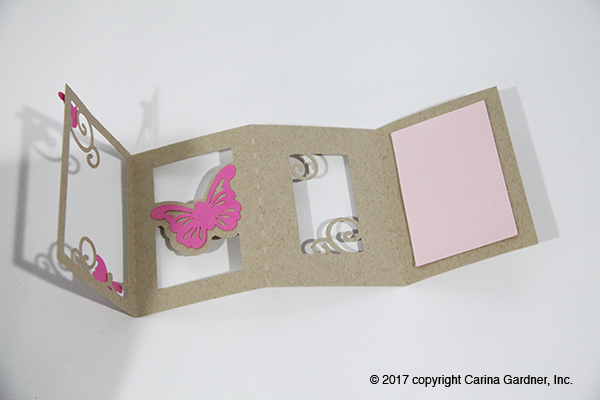
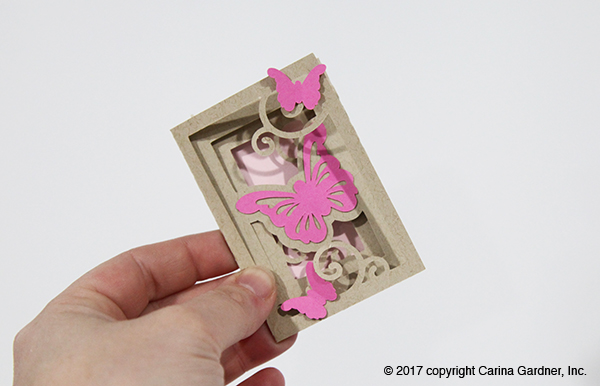
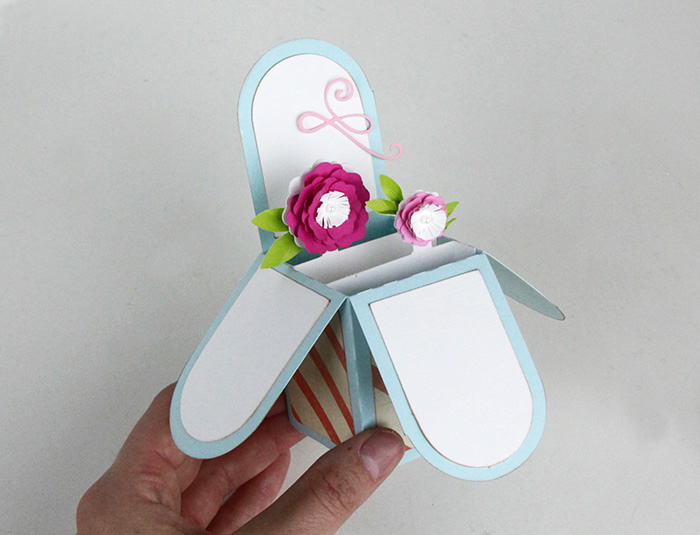
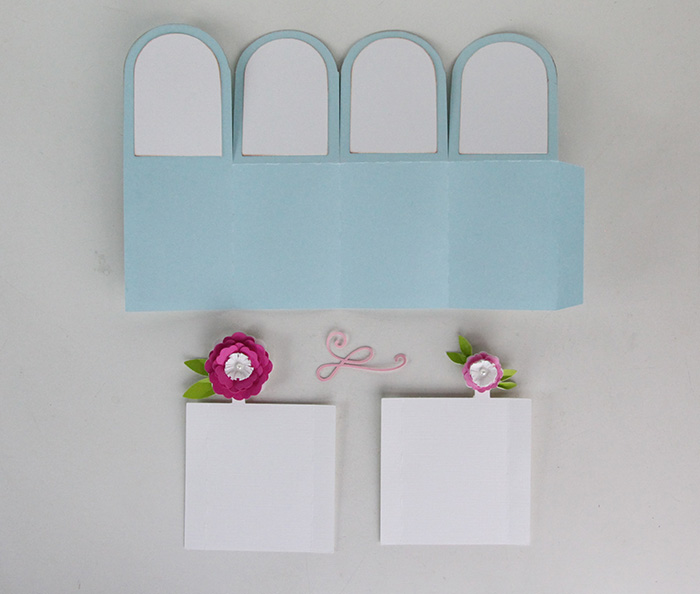
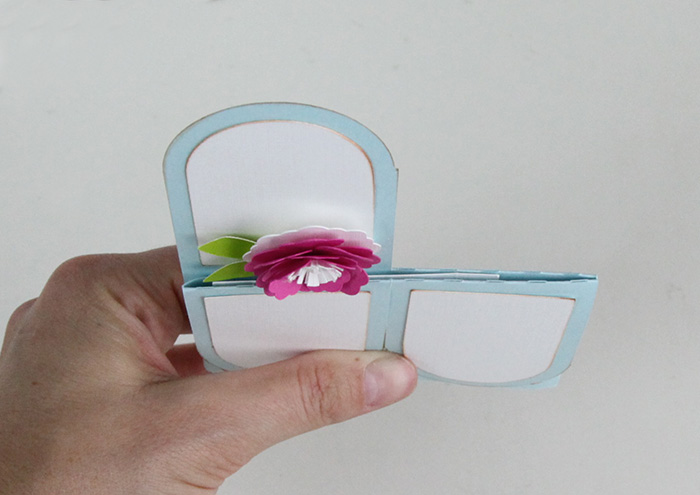
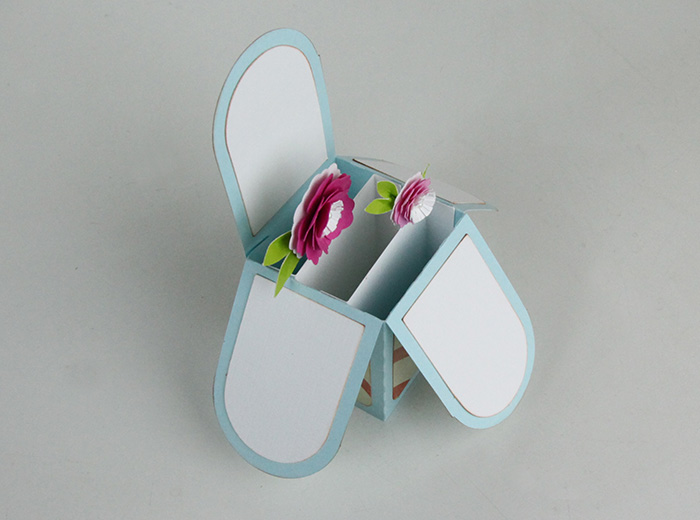
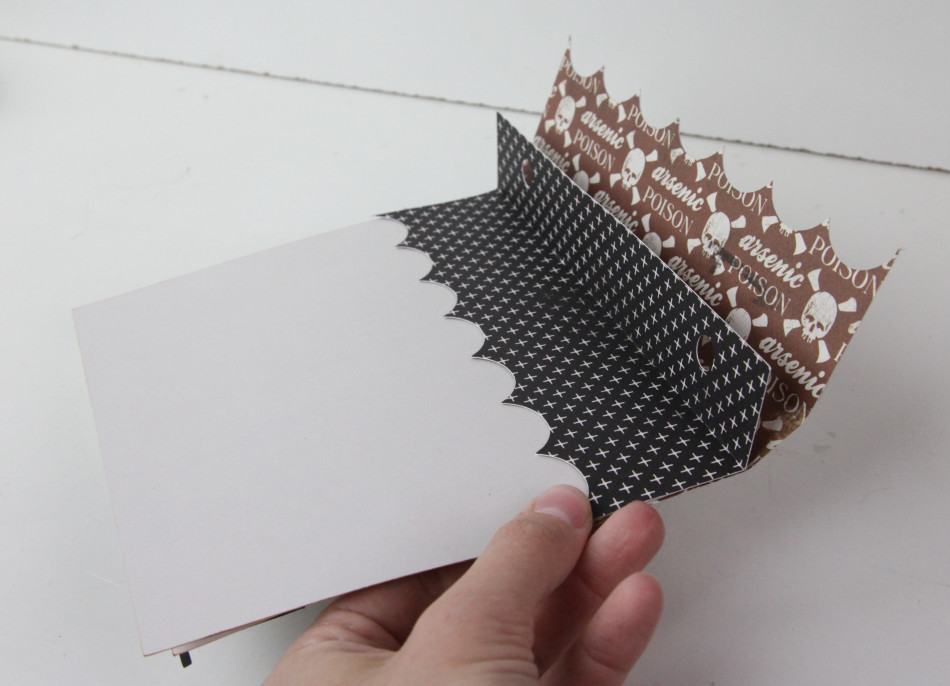
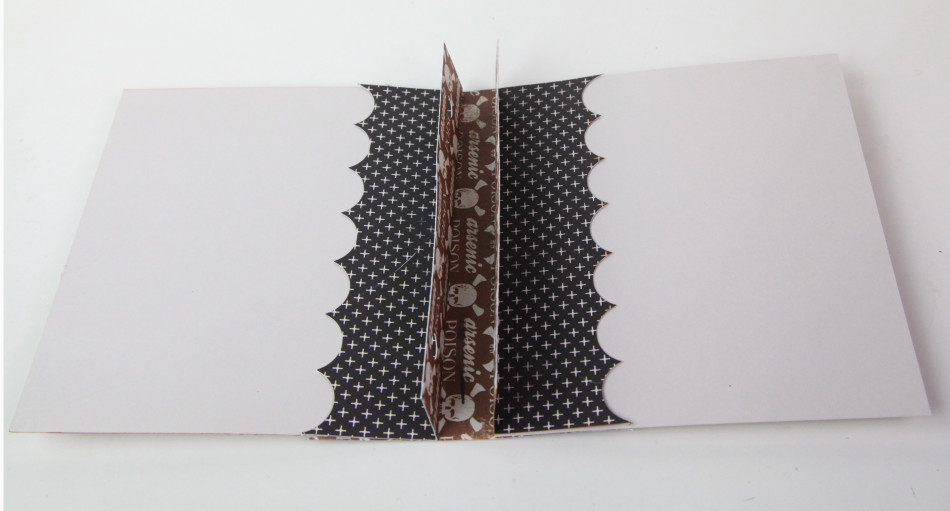
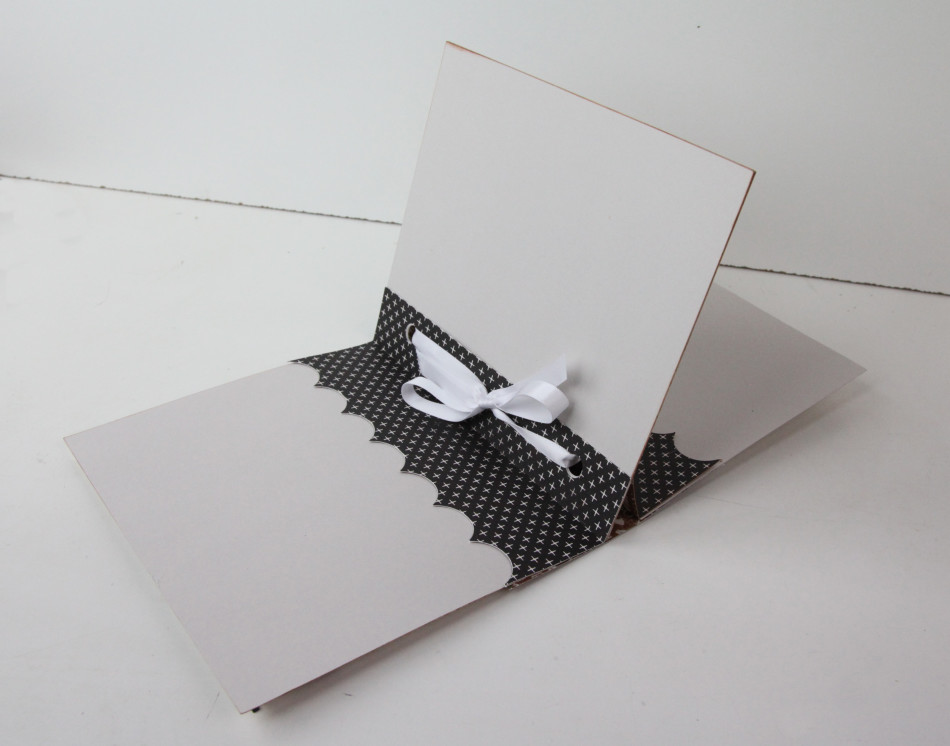
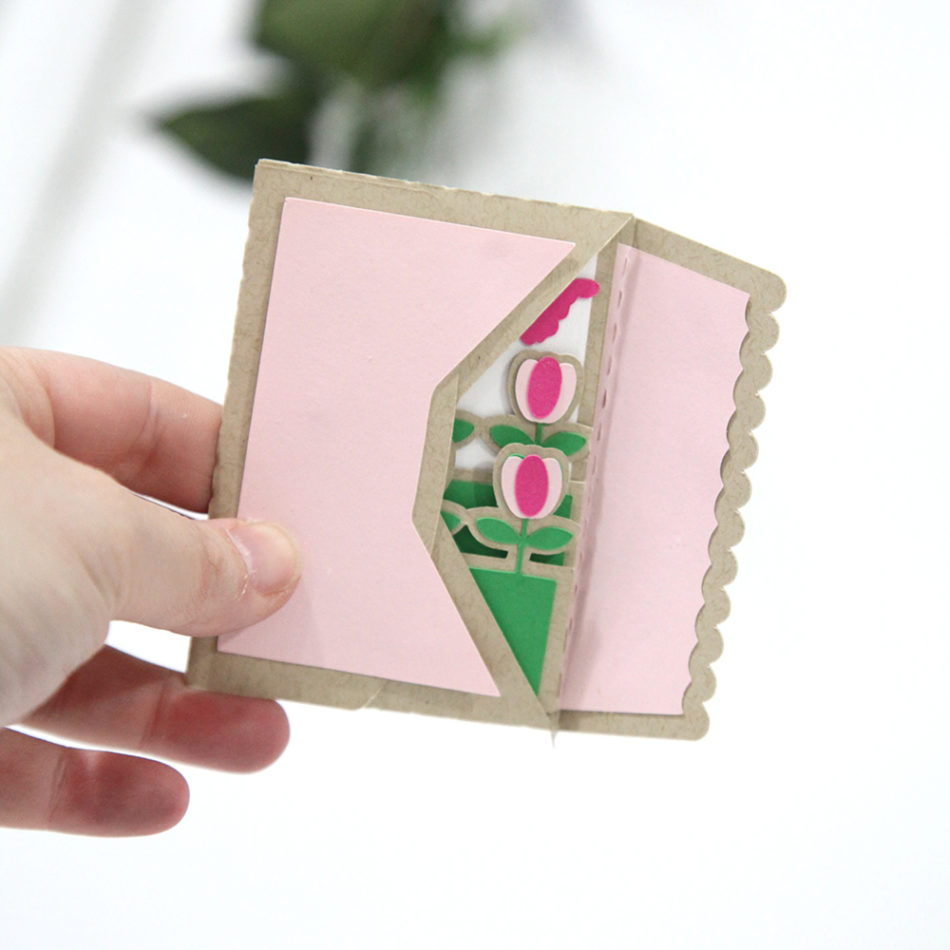 If you get one of each (layered card or accordion card + an envelope), you will find that it’s a very nice tight fit. Don’t use pop dots because the card will not fit. I may have an envelope come out that allows for a thicker card (tell me on
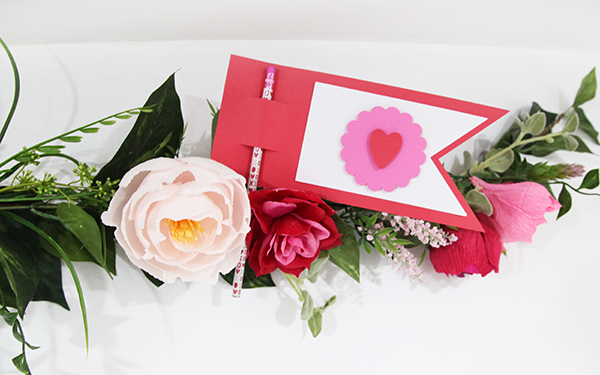
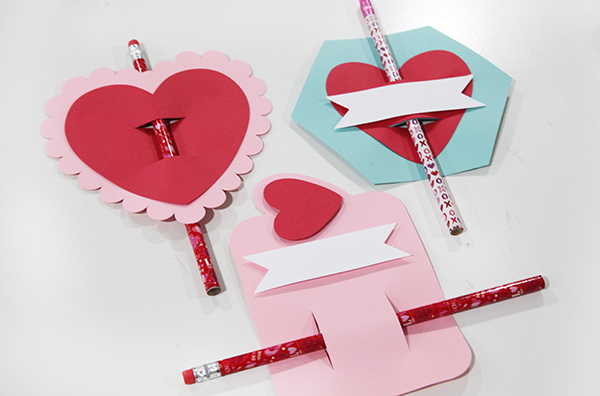
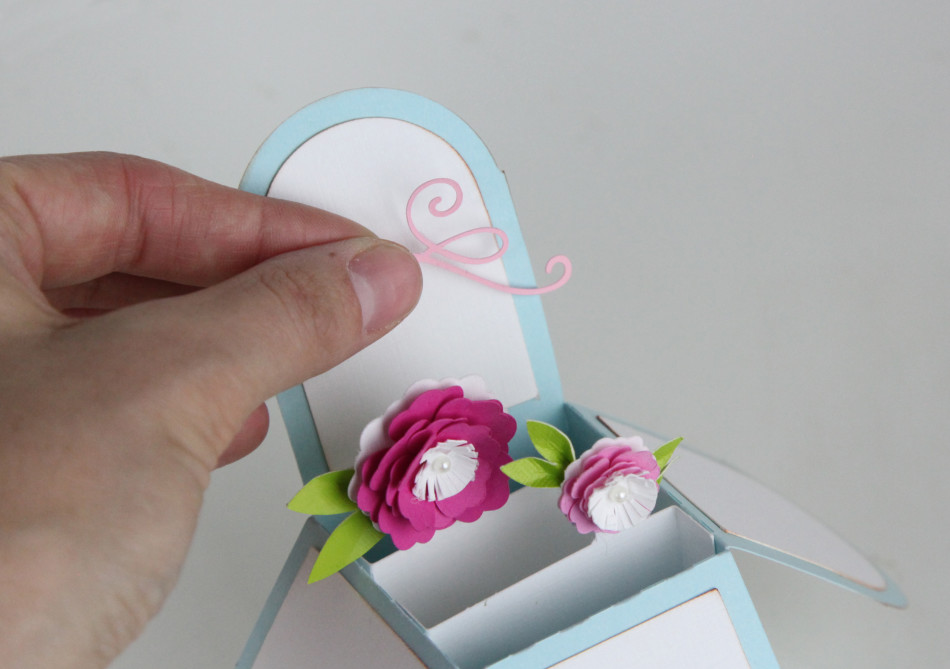
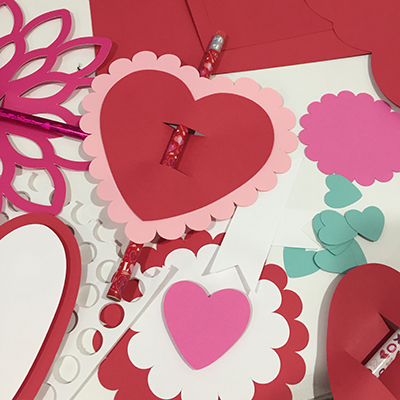 This week is the last one I’ll be releasing Valentine’s so I’m going out with a bang! I also decided to double dip. These pencil cards are not only my final Valentine’s release but are also Felicity’s class gifts. She’s going to write on each of them, and I’m sure we’ll add a few quotes like “I’m write for you.”
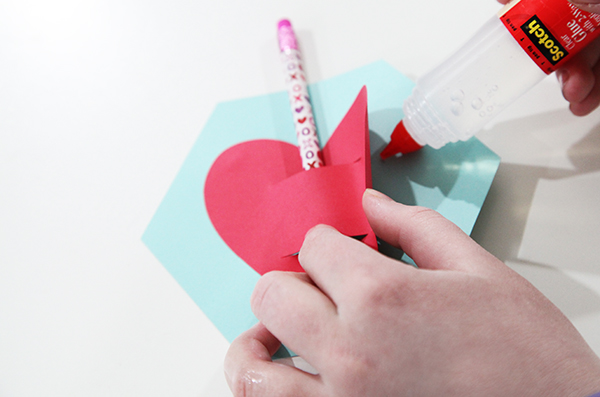
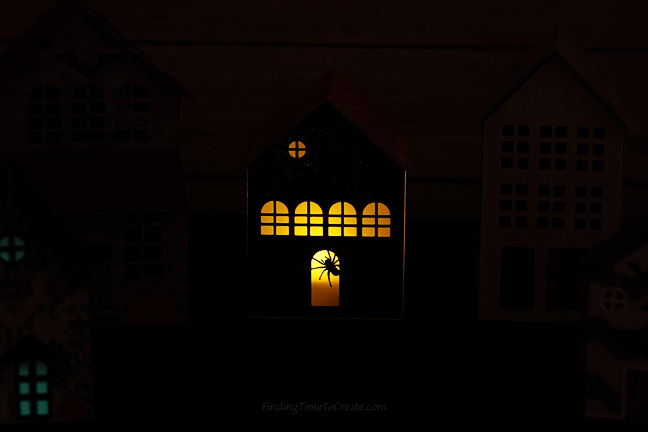
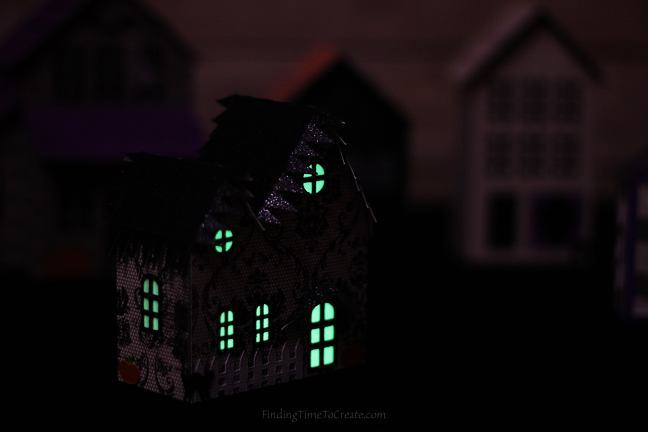


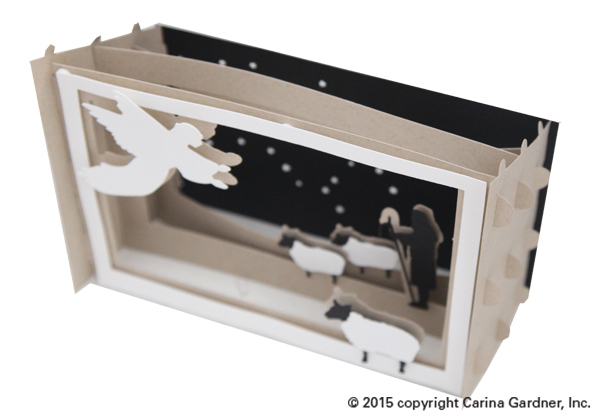
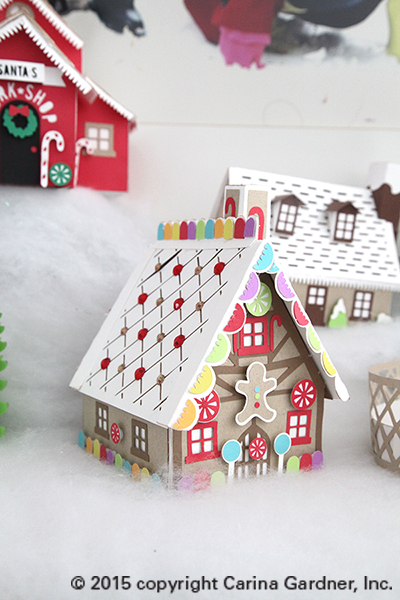
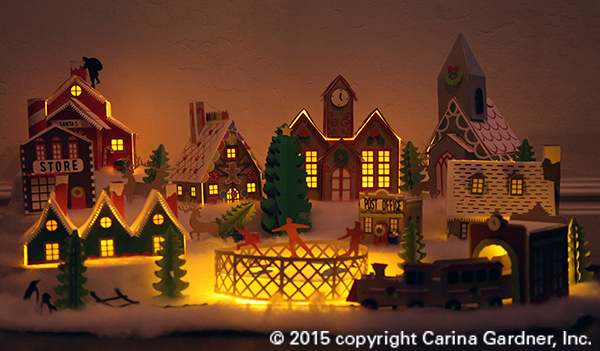
 The second way I would display it is on a mantle or coffee table. I love mine on top of our white piano. The best part is at night when we put electric tealights underneath and the entire thing lights up (picture of this below!).