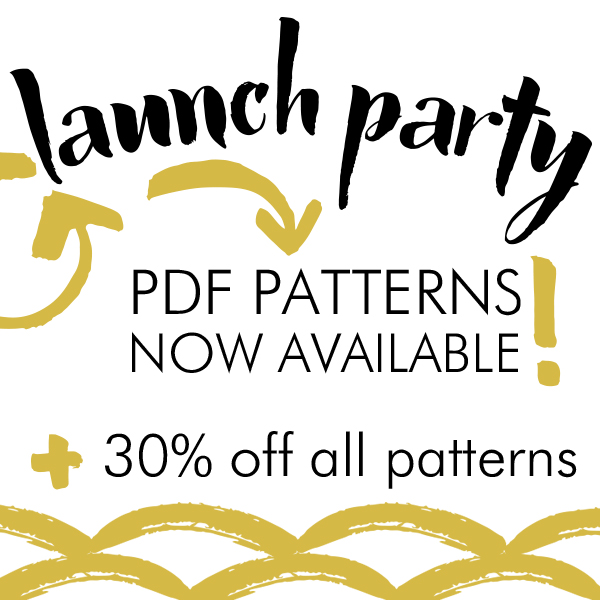
Launch Party! PDF Sewing Patterns Now Available at CarinaGardnerShop.com
I’m so excited for today! I’ve been planning this launch for a few weeks now! The team and I have some cool things planned. What kind of cool things you ask? Well, since you asked…
First off, we are now releasing PDF Patterns! Yes, that’s right. This is the official launch of you being able to purchase my patterns in PDF format. You can still also purchase most of my patterns in their physical form (from our website or from your local quilt shop). Not all of my physical patterns have been converted to PDF. You will see us release all of them in the coming weeks along with new ones.
This is awesome on so many levels for you and me! Since I started MiniLou, we simply have not had the space to house the number of patterns I was carrying for CGInc. So NOW because we can release pdf patterns, you will see MORE kids clothing, kids projects, beginner projects, and for the first time ever QUILTS!
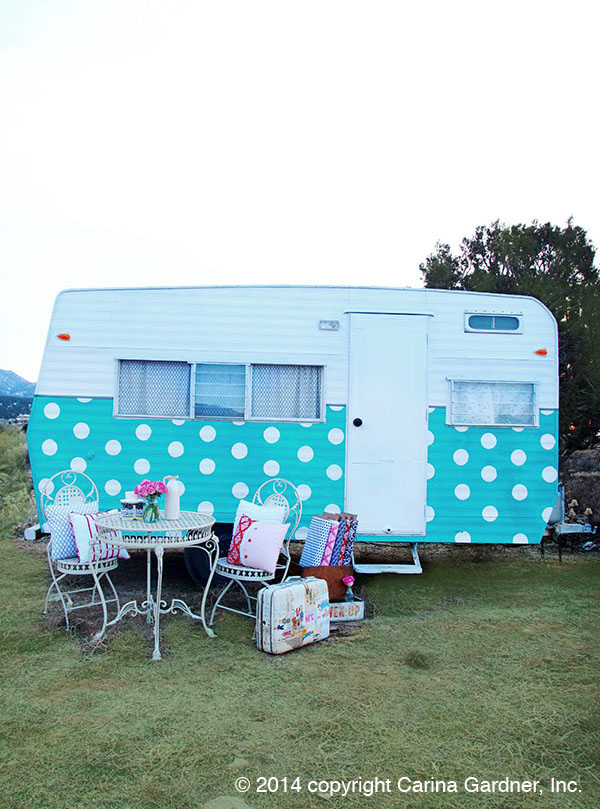
The timing is right for this launch because not only am I kicking off the PDF Patterns, I am excited to be releasing my newest fabric collection for Riley Blake Designs called Apricot and Persimmon. The colors in this line are so autumn-y and yummy. (I should have the full digi book for this collection out sometime next week).
So what are we doing for this launch? I’ll admit, most of the action will be happening on my instagram feed (@carinagardner). Here’s what’s happening:
- The PDF shop will be 30% off october 16-21. Visit the sale>>>
- We are randomly giving away sewing pattern gift certificates on instagram and facebook all weekend!
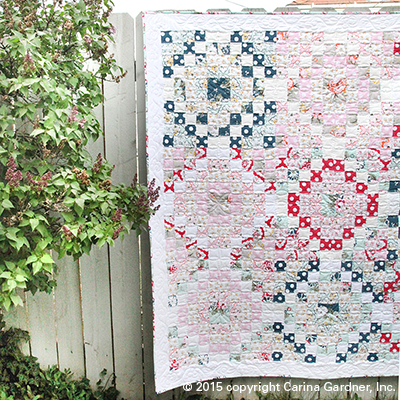
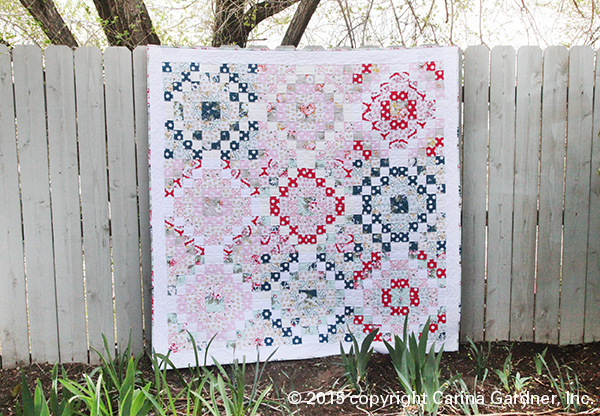
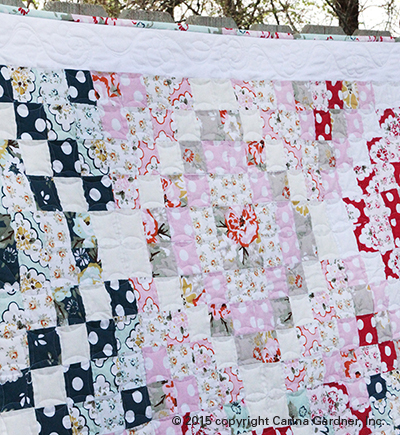
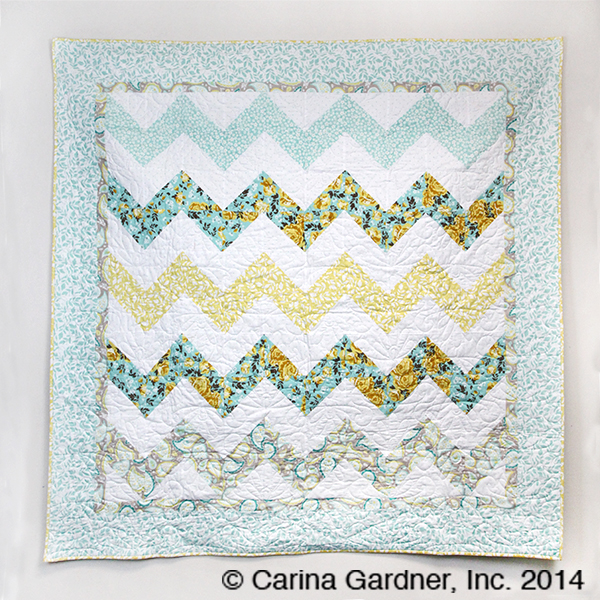
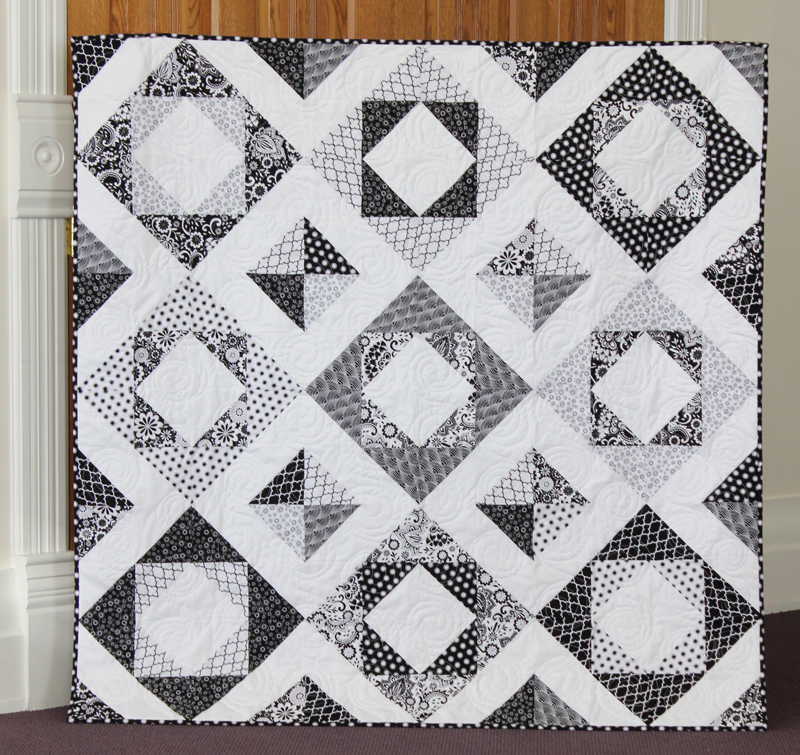
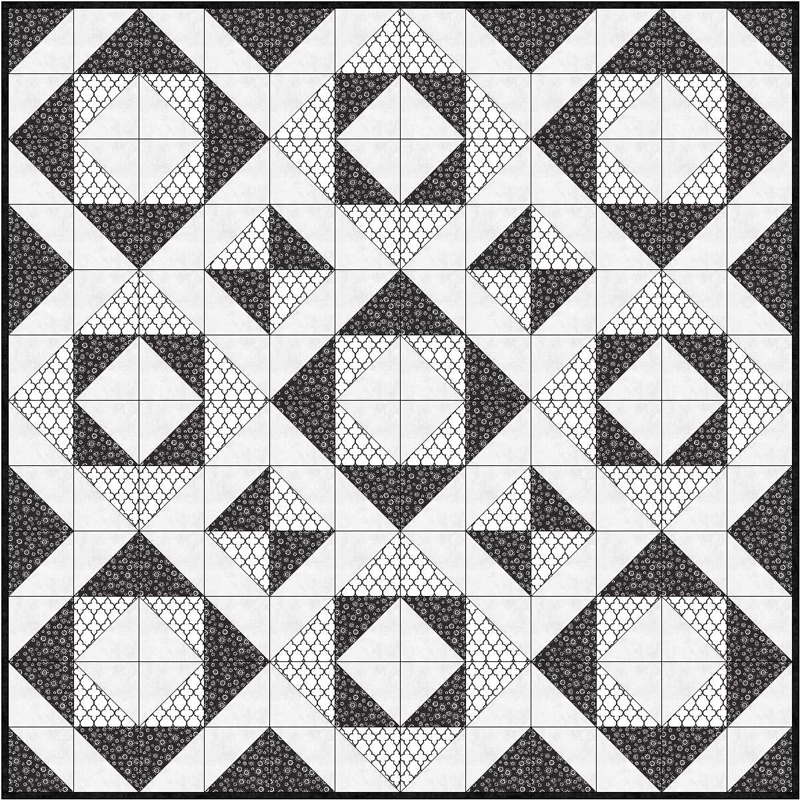
- We are teaming up with Michelle Jensen (my machine quilter) and MiniLou (my kids toy company) to do a DROP on instagram (hints and where it will be can be found on instagram @carinagardner and @miniloukids). This drop will include one of you WINNING a Persimmon Nine Patch Quilt. Yes! The actual quilt!
- I have consolidated all of our FREE fabric projects into the shop so you can grab them and go!
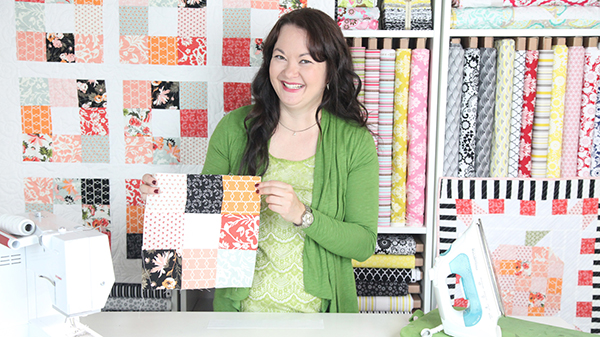
- I have two new videos that feature the Persimmon Nine Patch Quilt and the Patchwork Plus Quilt (See below!)! The best part is that I will be doing ALOT more videos featuring difficult parts of the patterns or helpful sewing hints.
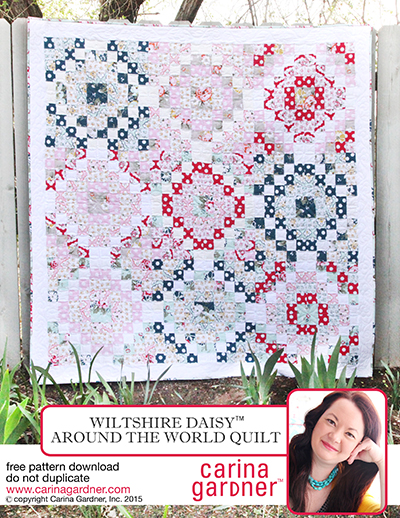
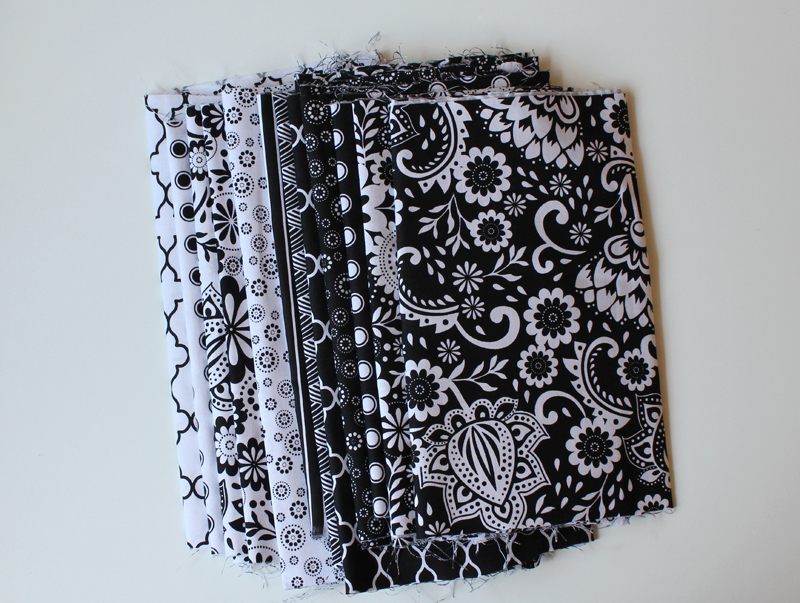
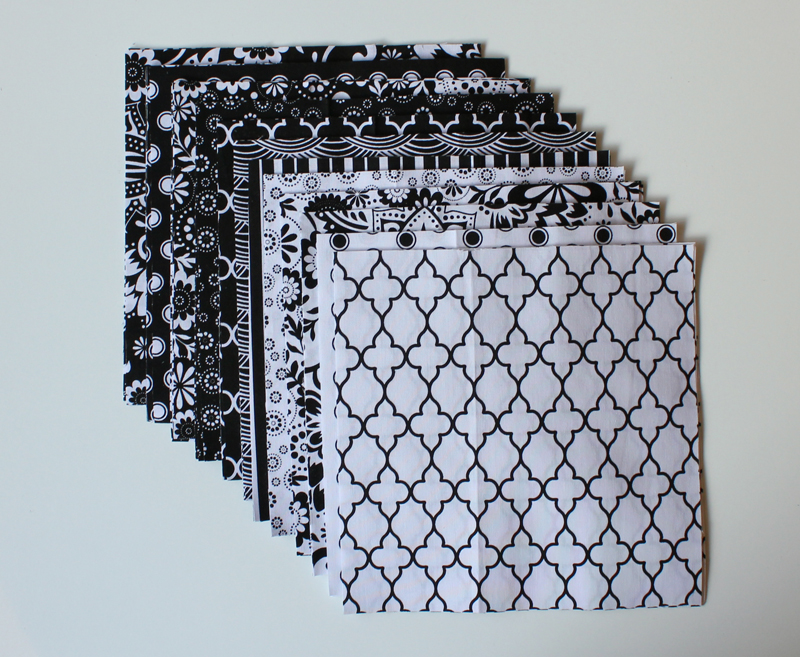
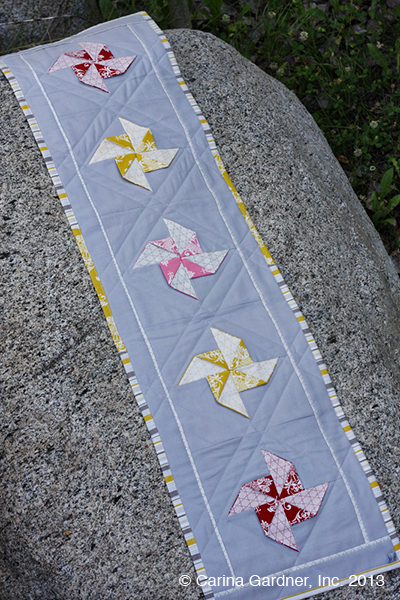
- For this launch I am releasing three brand new PDF Sewing Patterns that have never been released as a physical pattern—Persimmon Nine Patch Quilt, the Patchwork Plus Quilt, and the Apricot MiniQuilt.
Be sure to join us on instagram and facebook for the festivities! Check out the videos below!
Hope you enjoy! Feel free to check out the entire CGTV channel here: https://carinagardner.com/carina-gardner-tv/
Carina
Episode 14: Patchwork Plus Quilt
Episode 15: Persimmon Nine Patch Quilt
Launch Party! PDF Sewing Patterns Now Available at CarinaGardnerShop.com Read More »
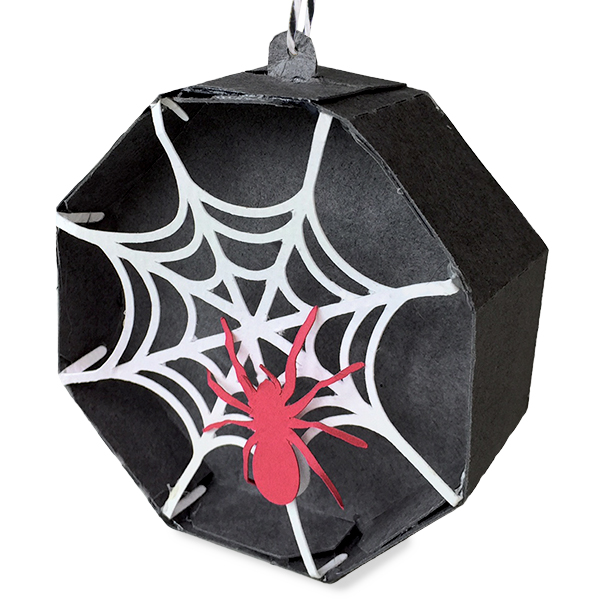
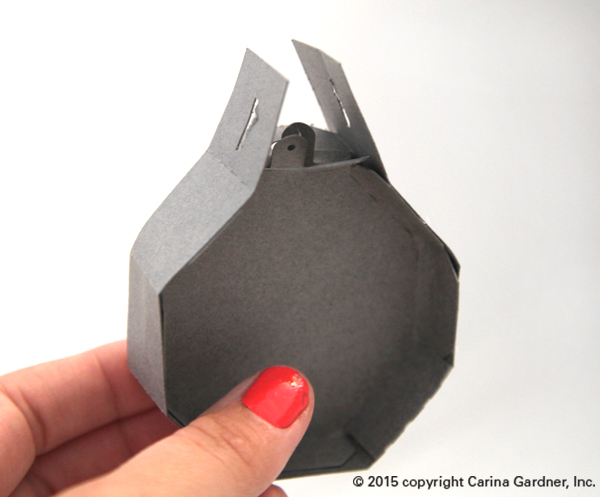
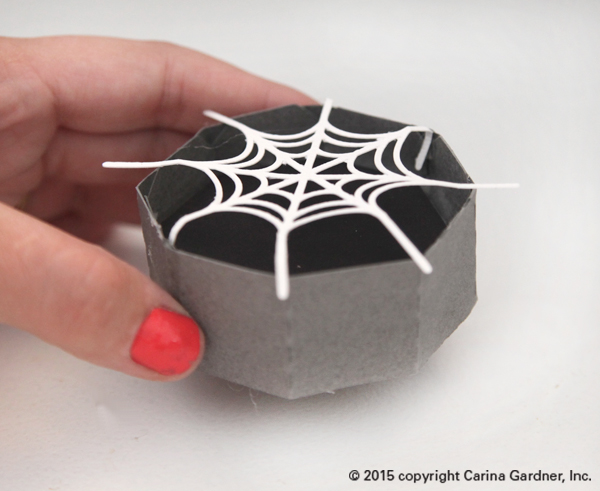
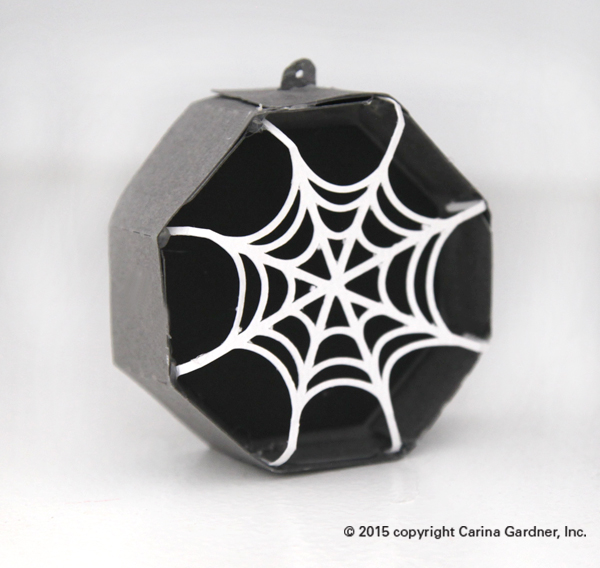
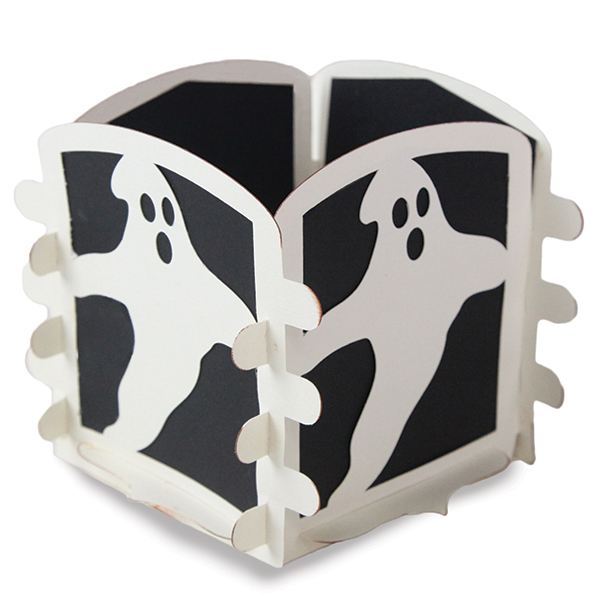
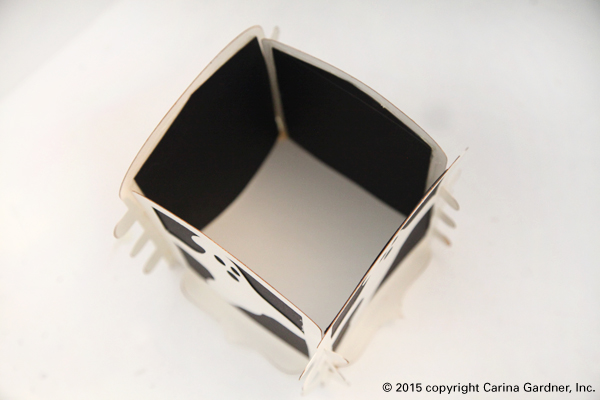
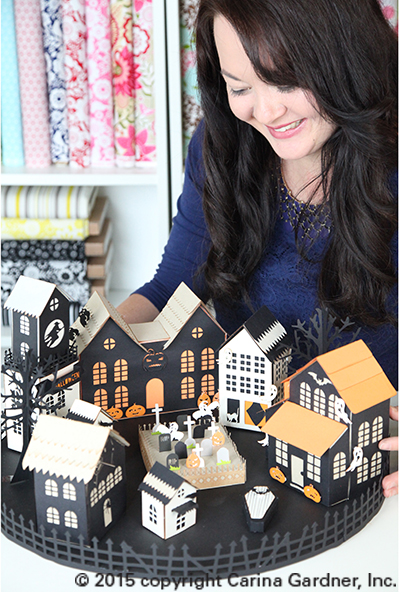
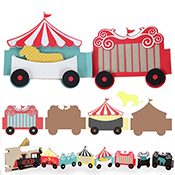
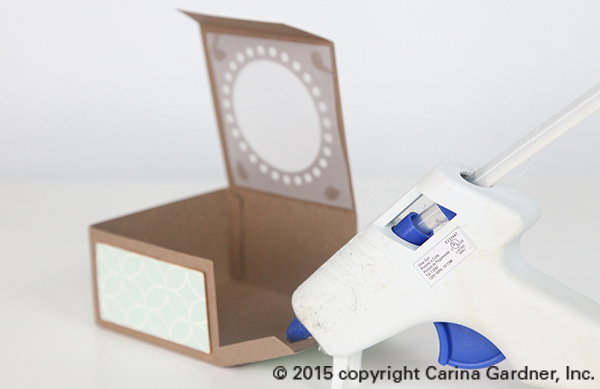
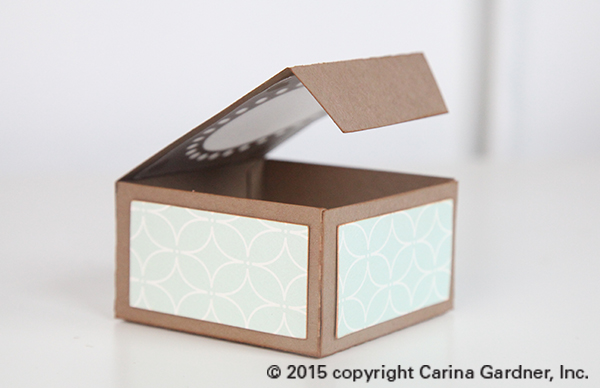
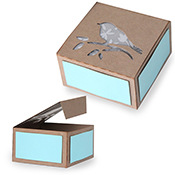
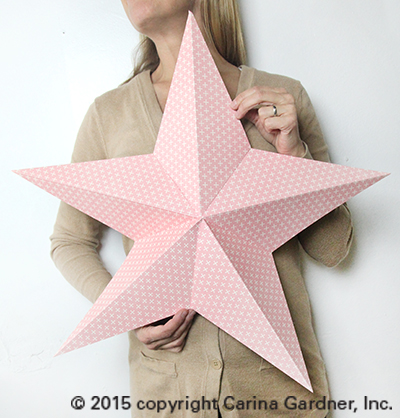
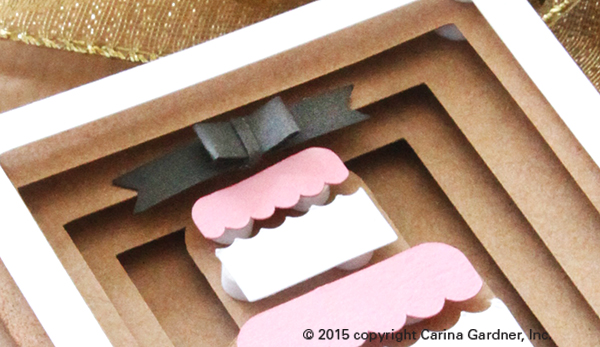
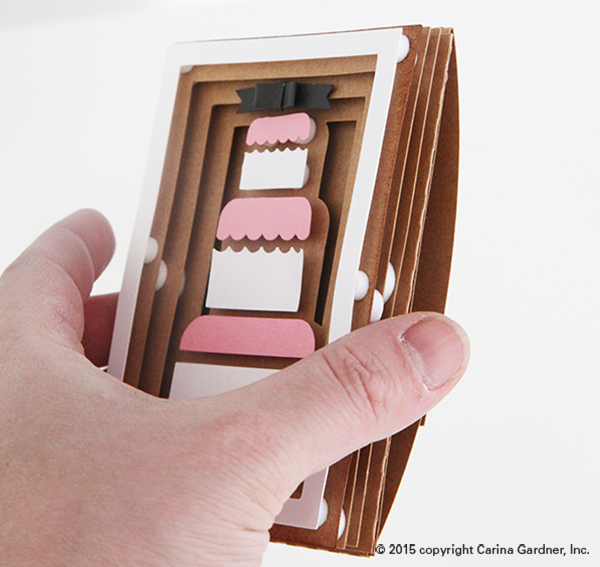
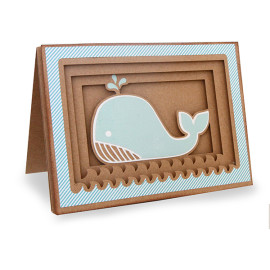
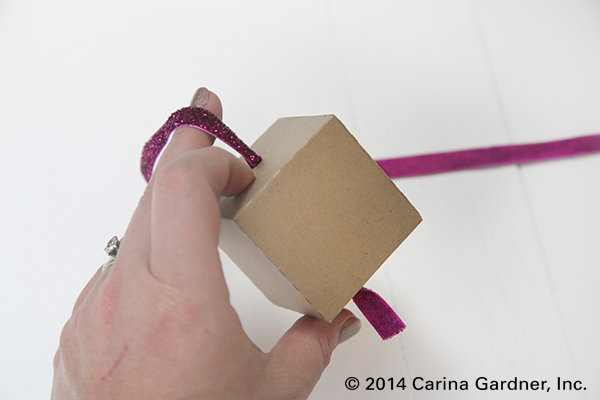
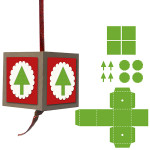
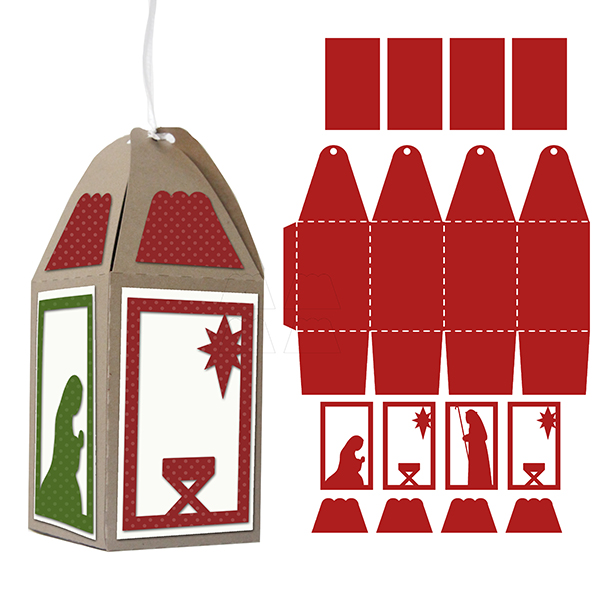
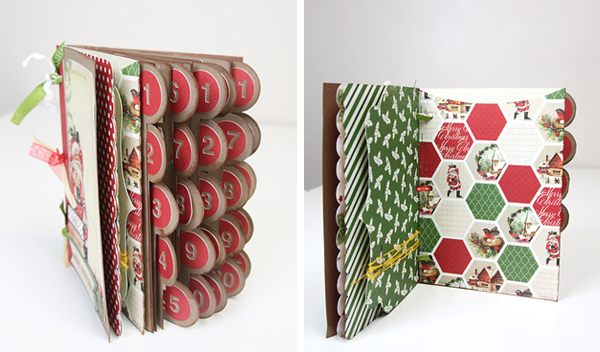
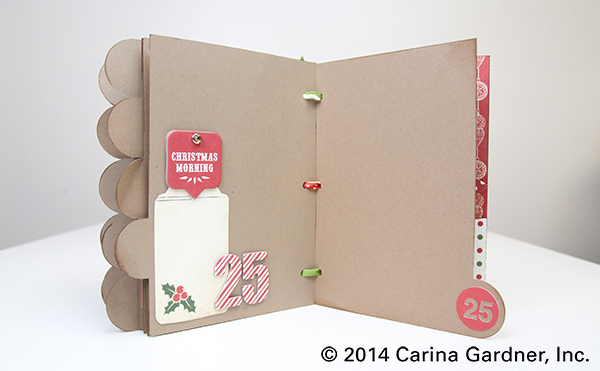
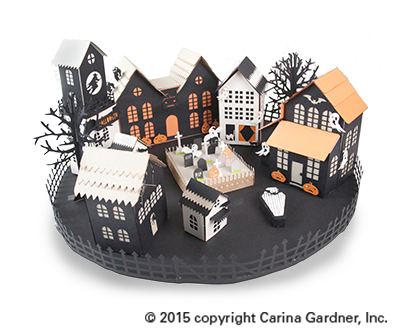 house glow! If you want ALL the larger houses to glow, make sure you use, orange, white, cream, or transparent paper (like vellum) for the bases of your houses. Several of my houses (shown here) use a black or kraft paper base. These do not show the light nearly as well as the lighter based houses.
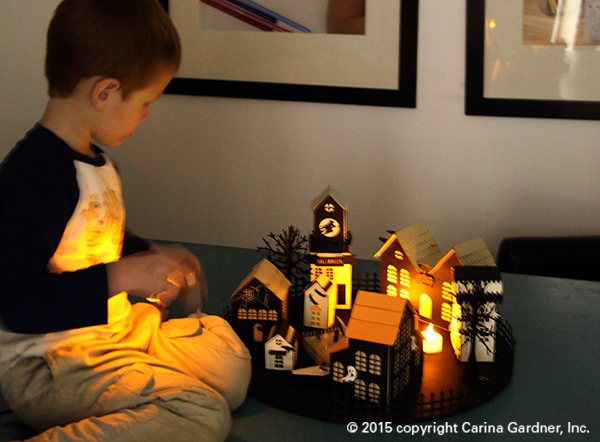
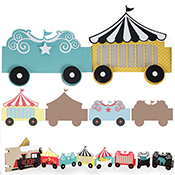
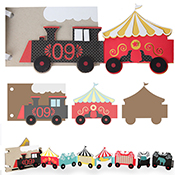


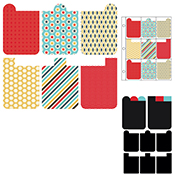
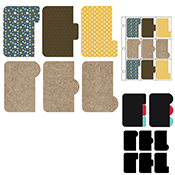
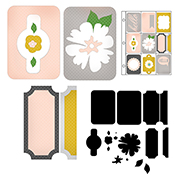
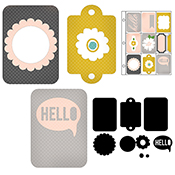
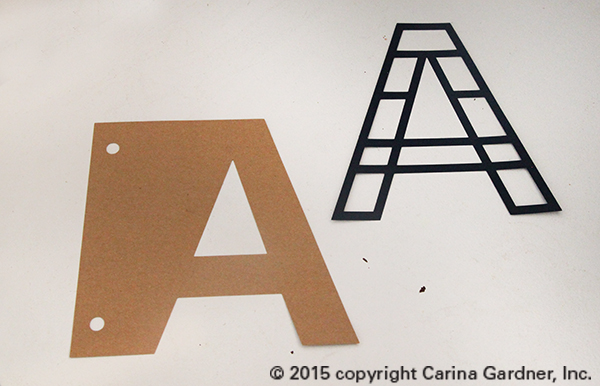


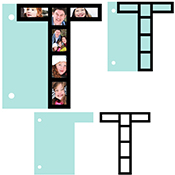

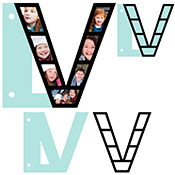


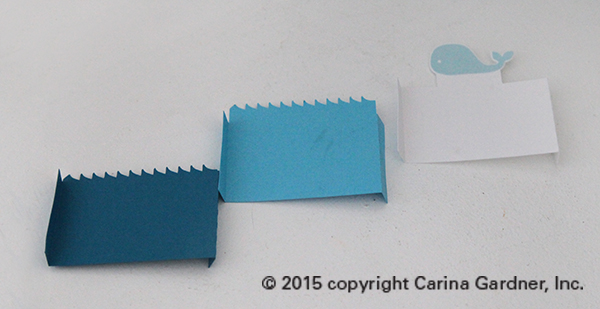


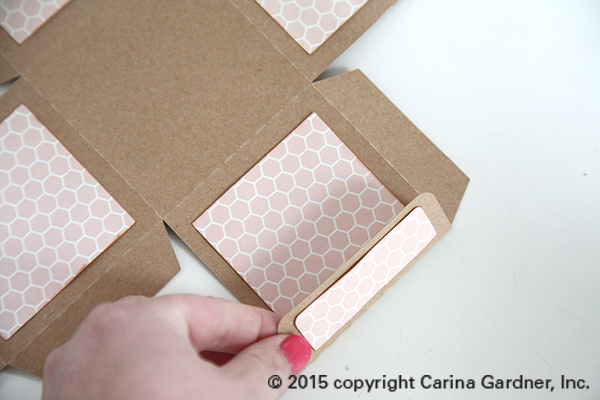


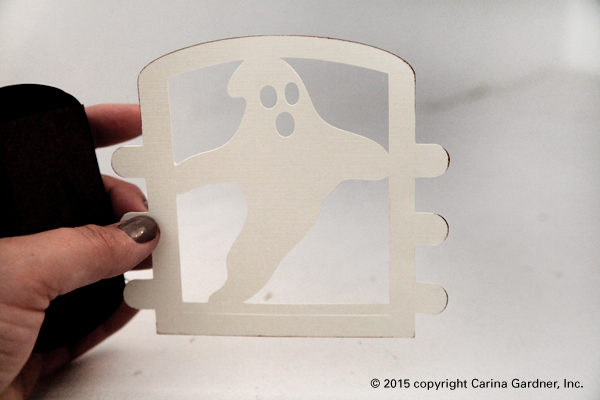
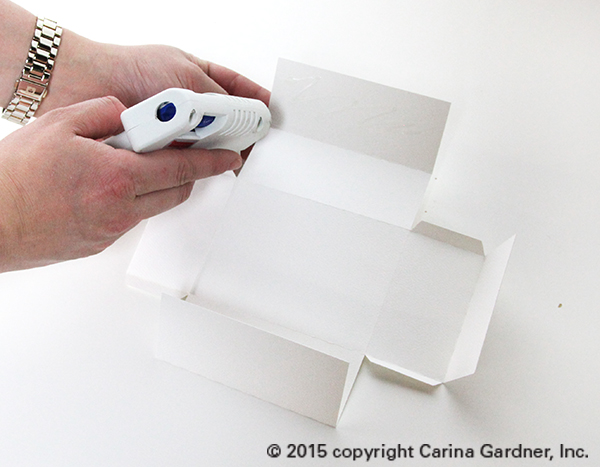
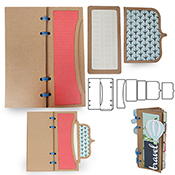
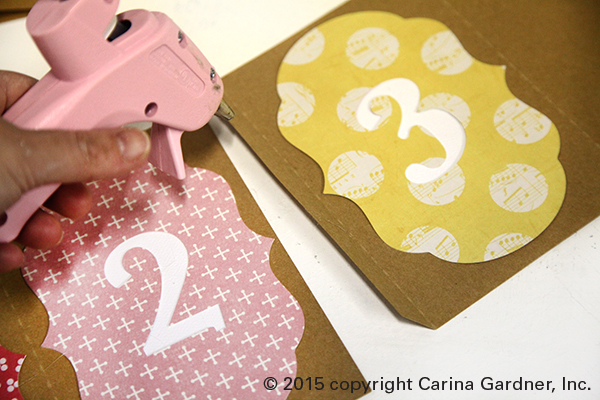
 1. Cut out all the svg files.


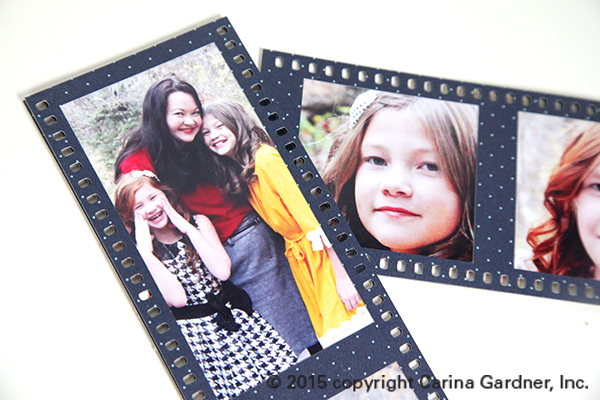
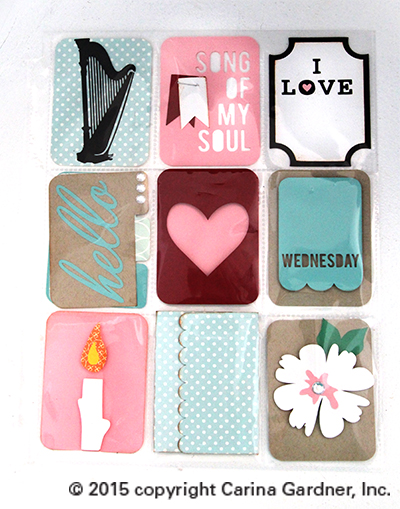
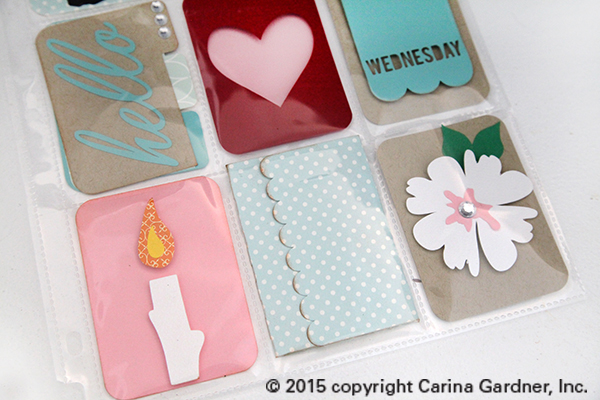
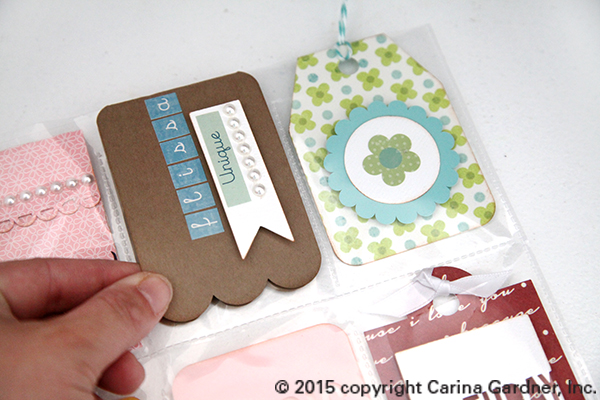
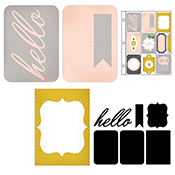
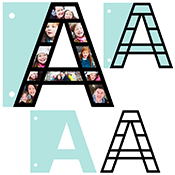
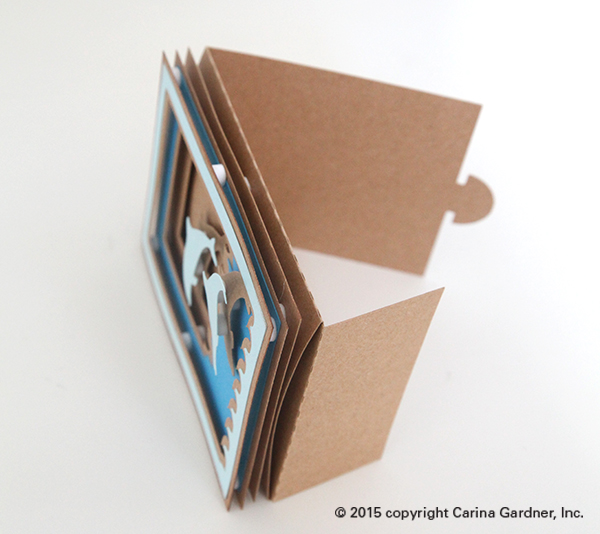
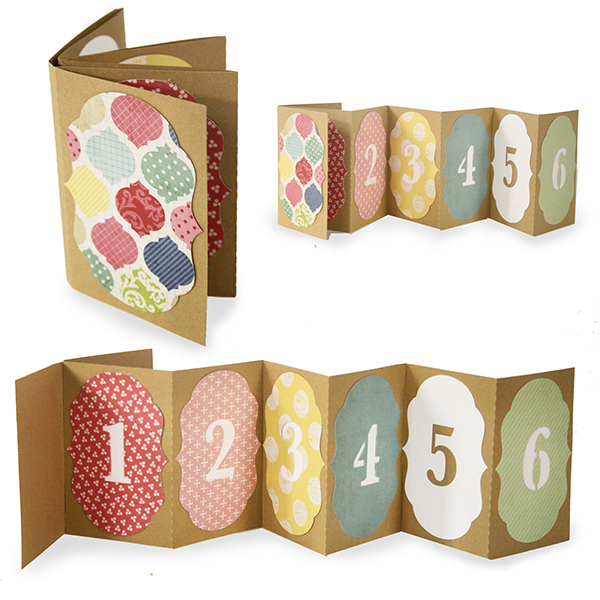
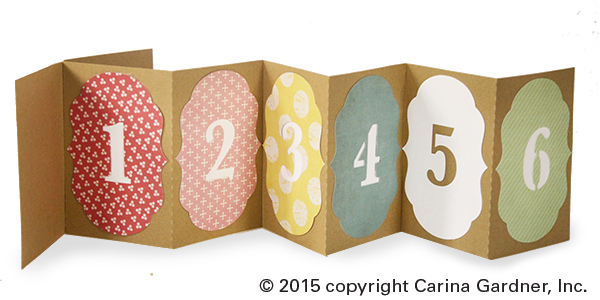
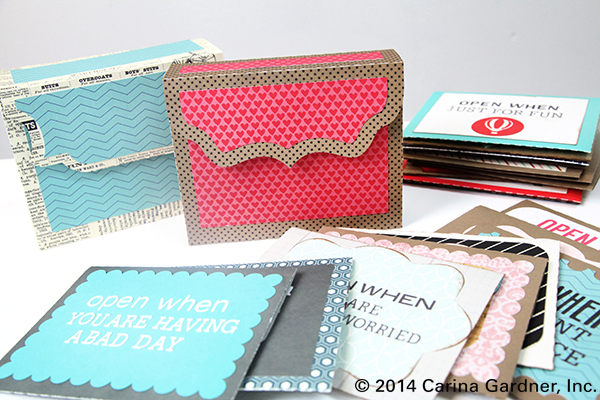
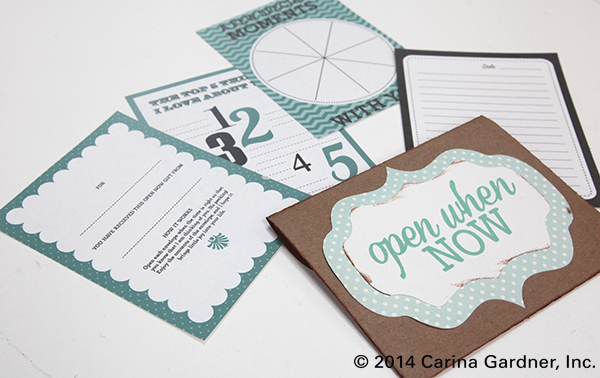
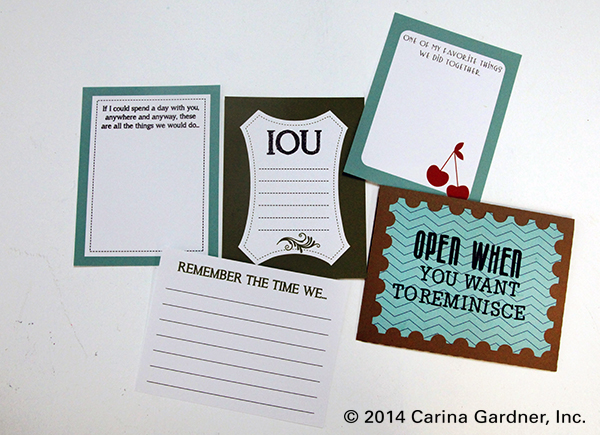
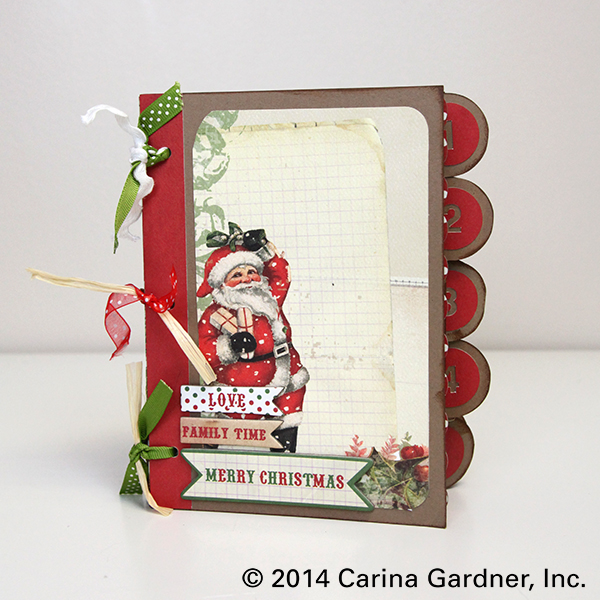
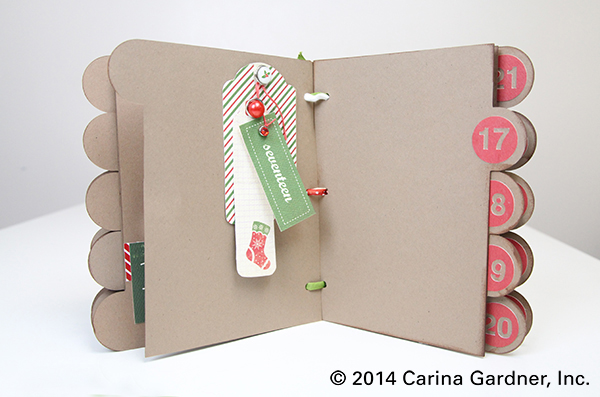
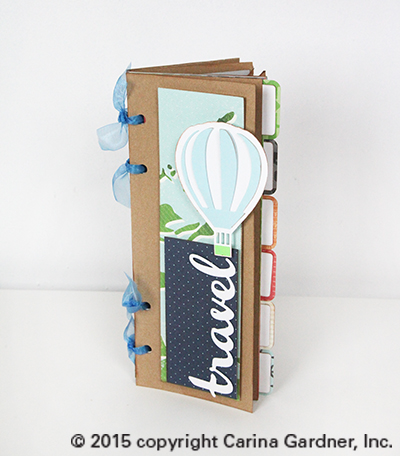 I hope you get a chance to play about with this paper line and/or the silhouette files! I also hope you have a GREAT excuse to make an album (aka, an amazing summer adventure perhaps?).
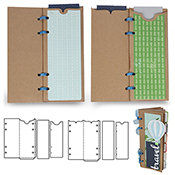
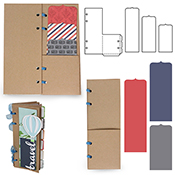
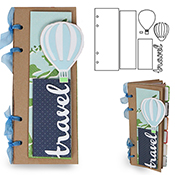


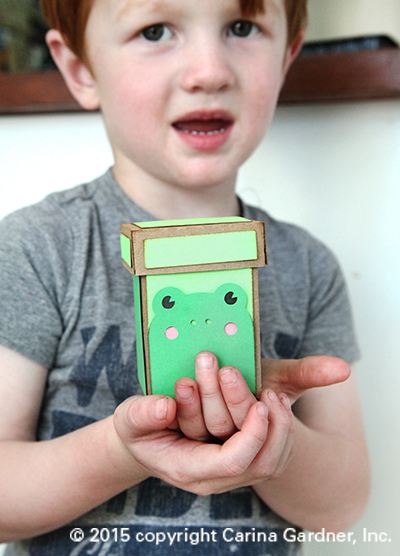
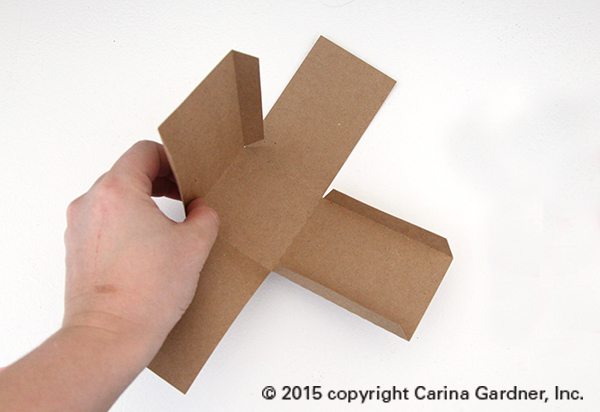
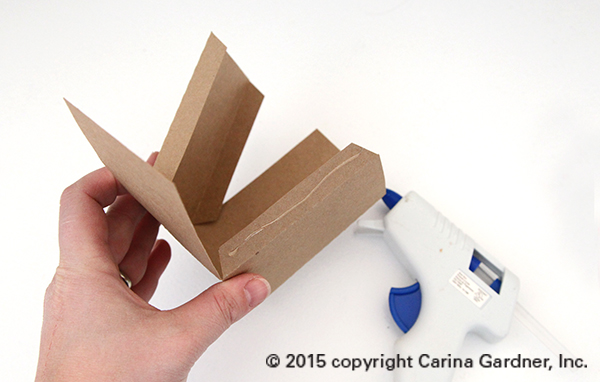
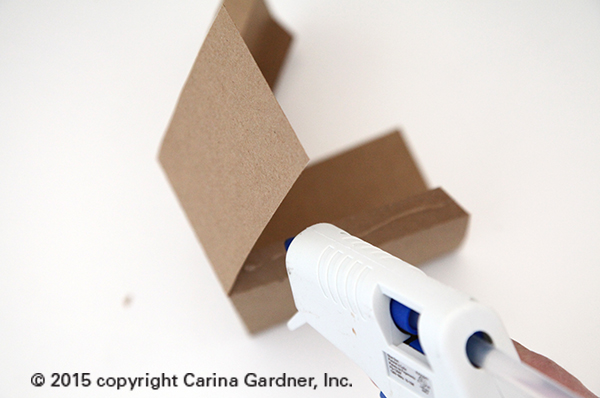


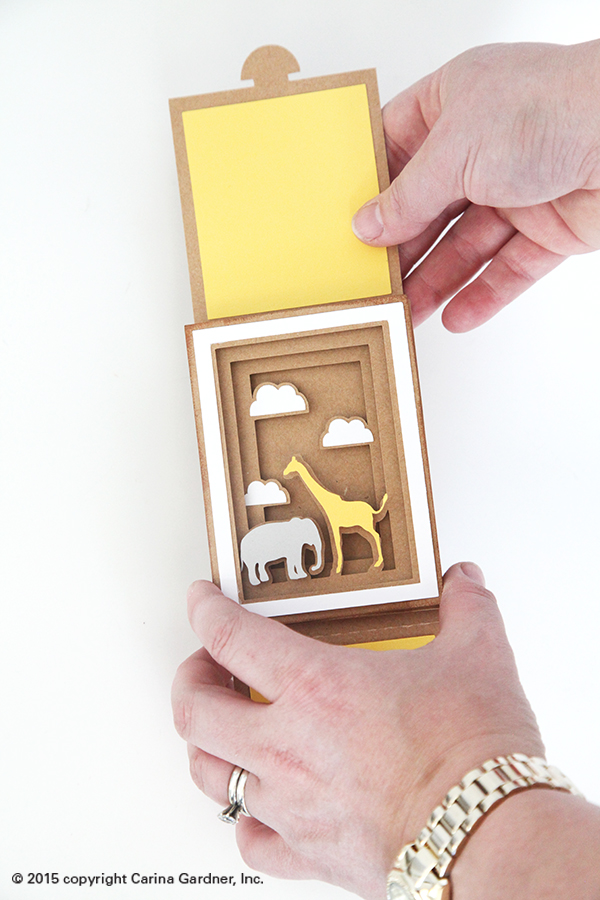
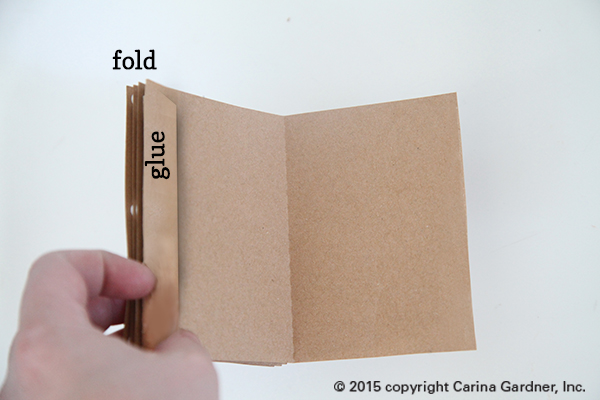
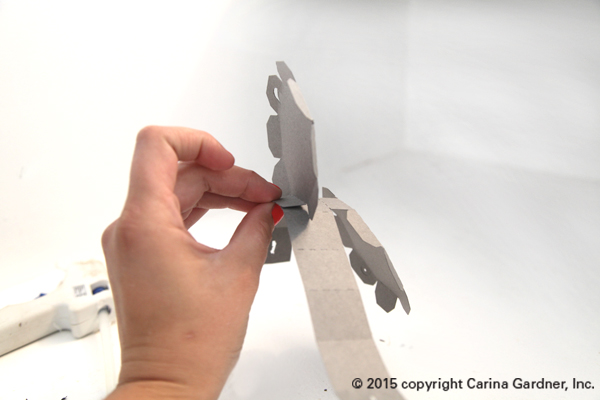
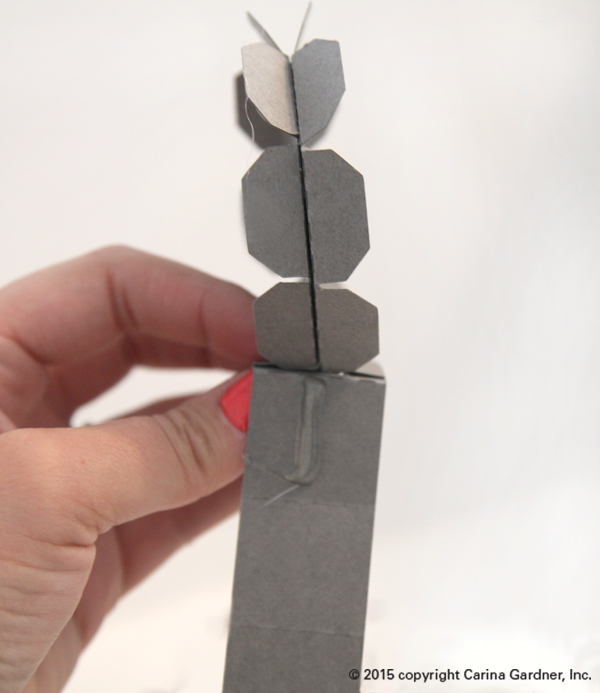
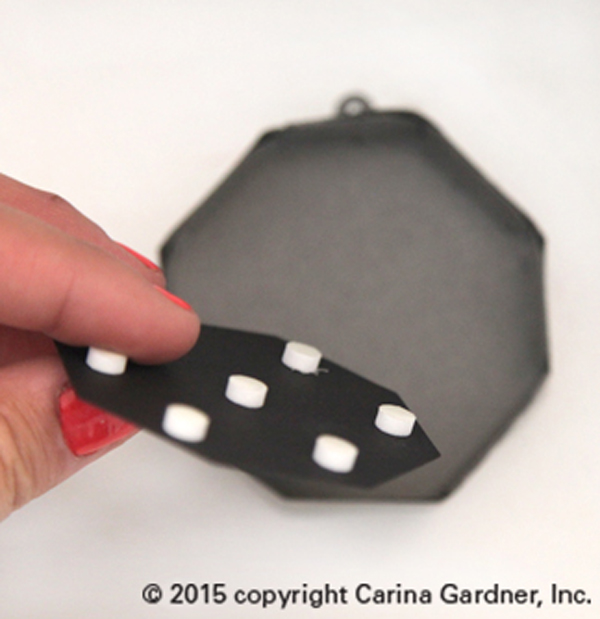
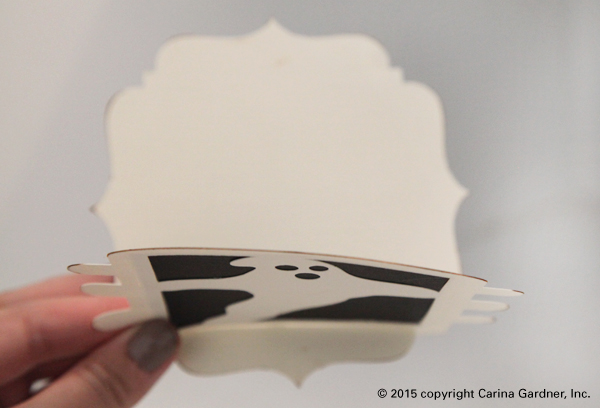
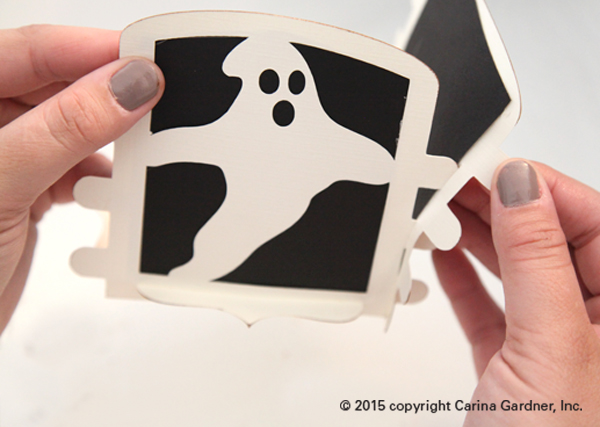
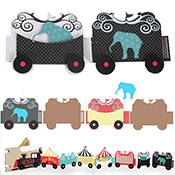
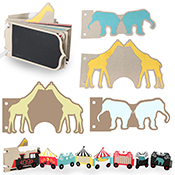
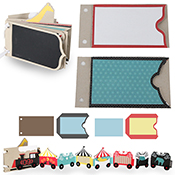
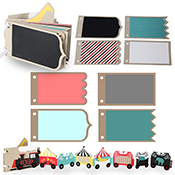
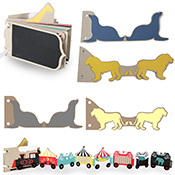
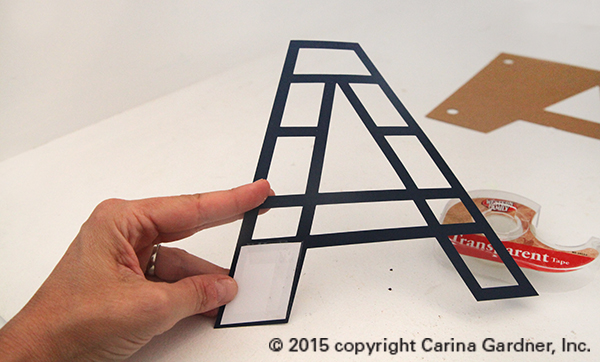
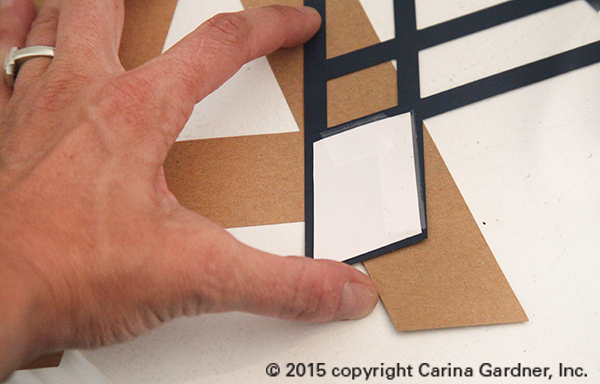
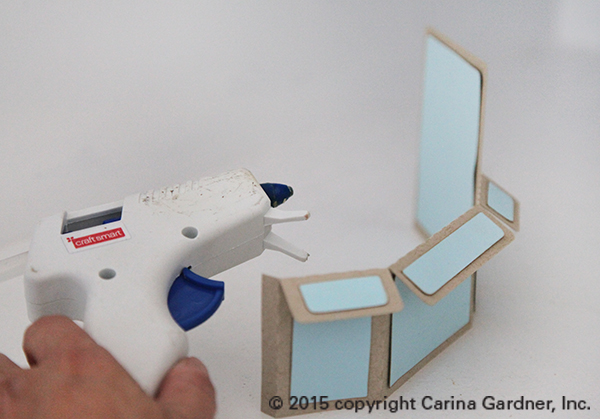
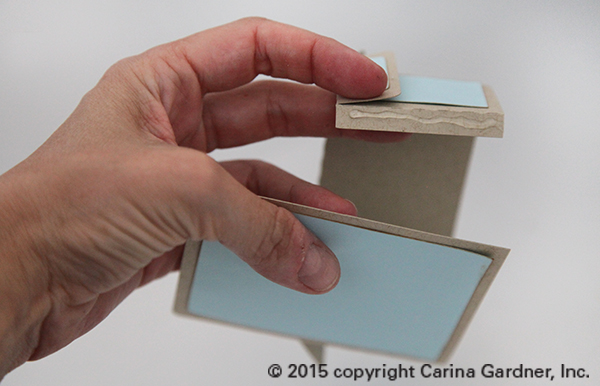
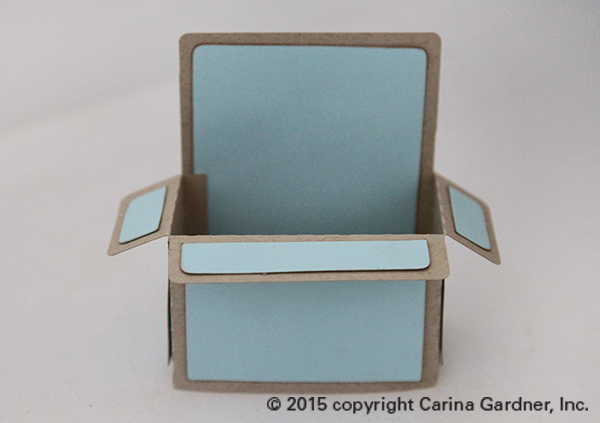
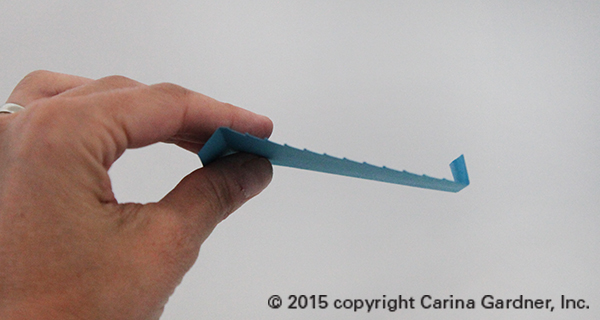
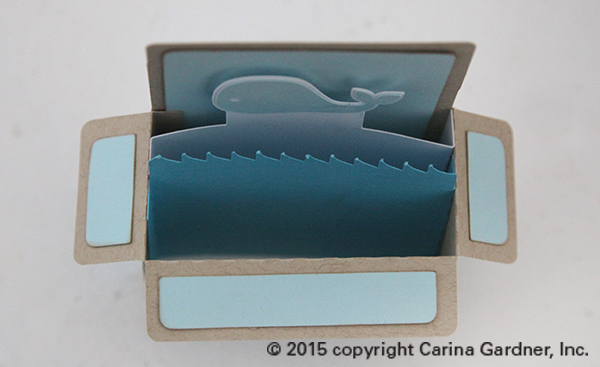
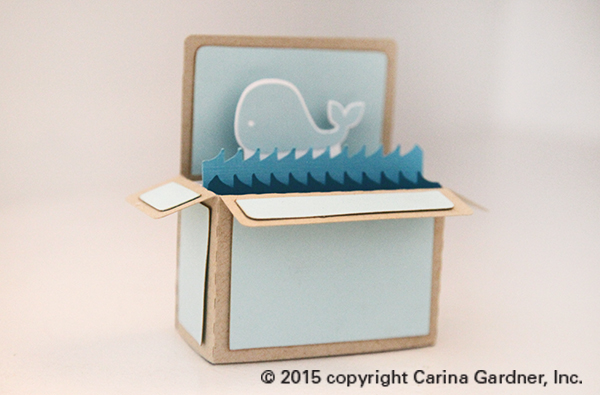
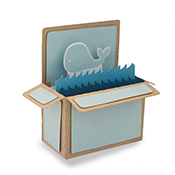
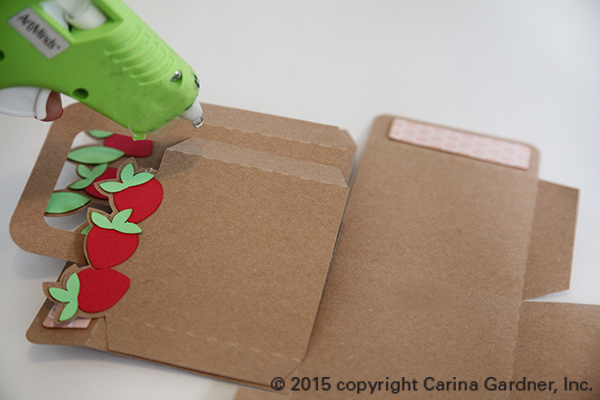
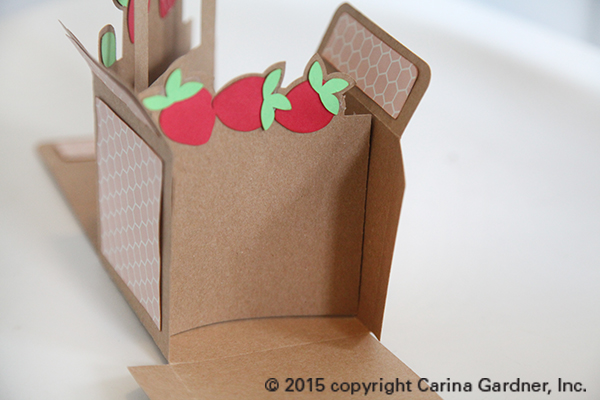
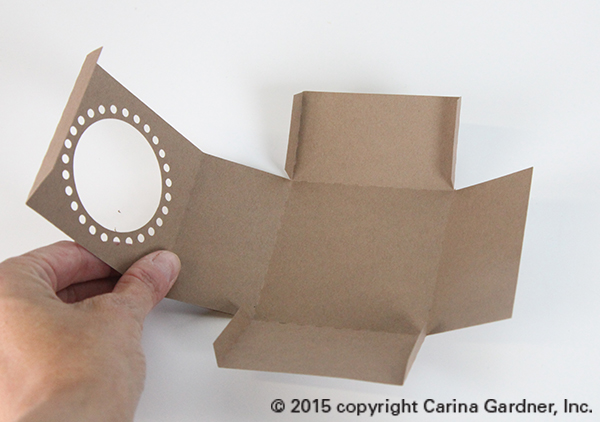
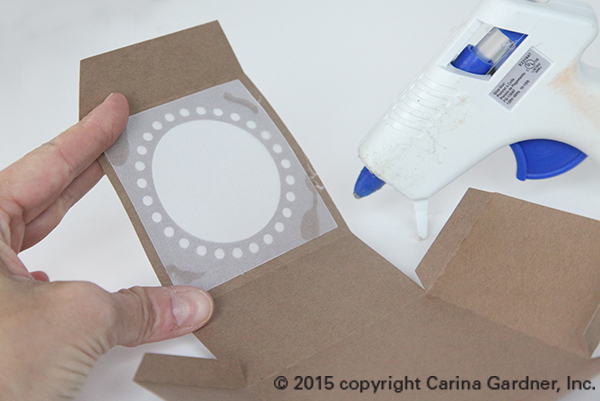
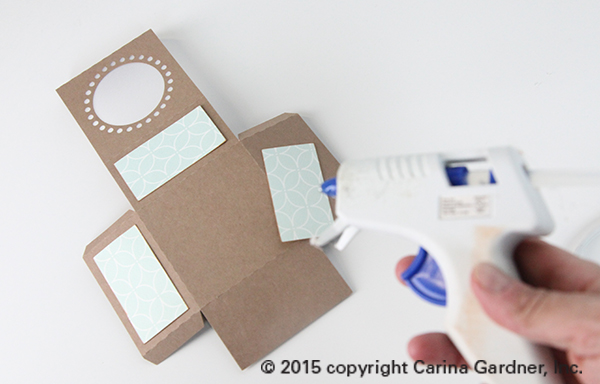
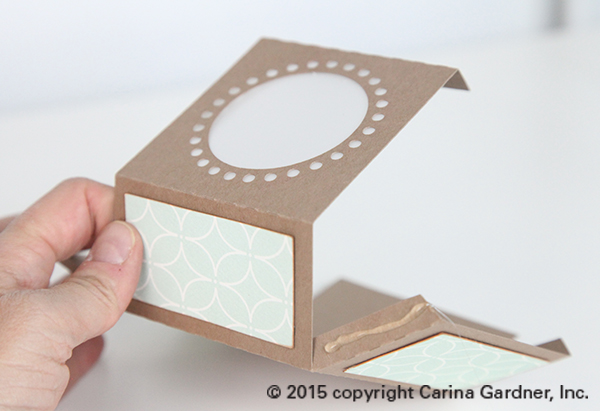
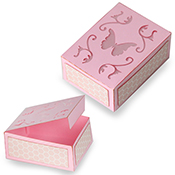
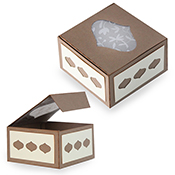
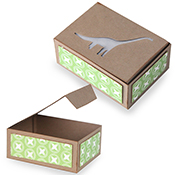
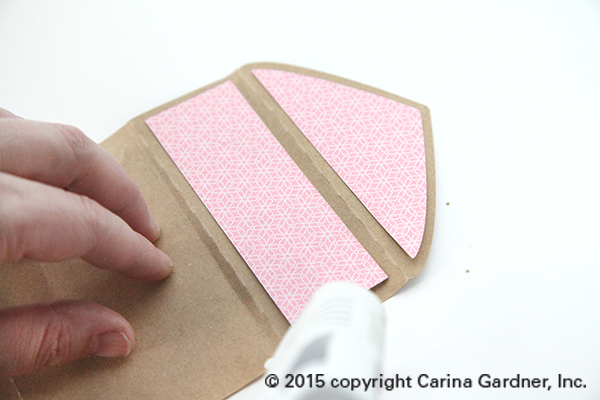
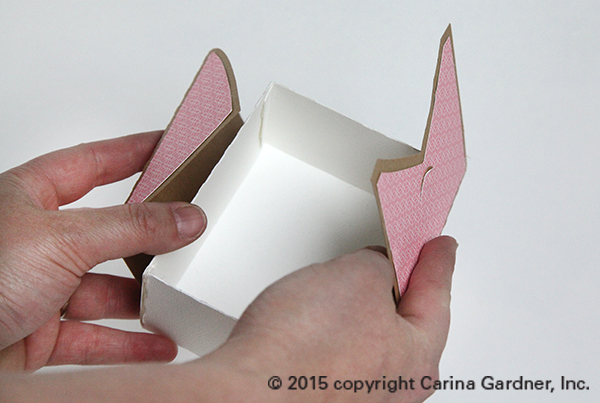
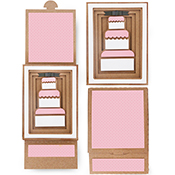
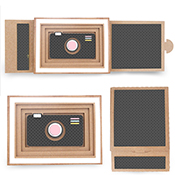
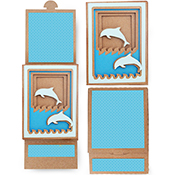
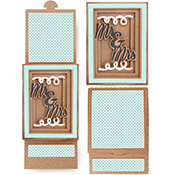
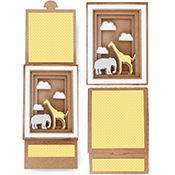
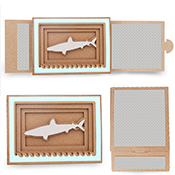
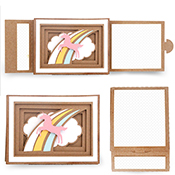
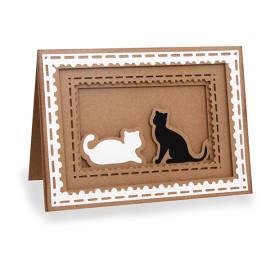
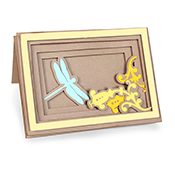
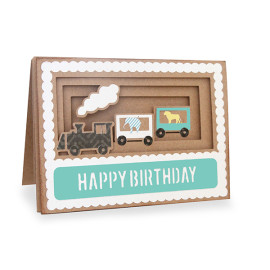
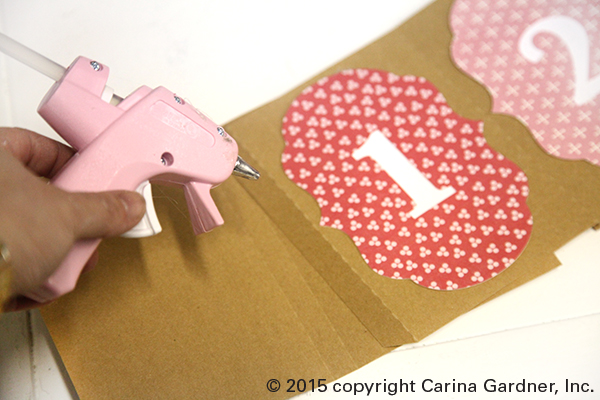
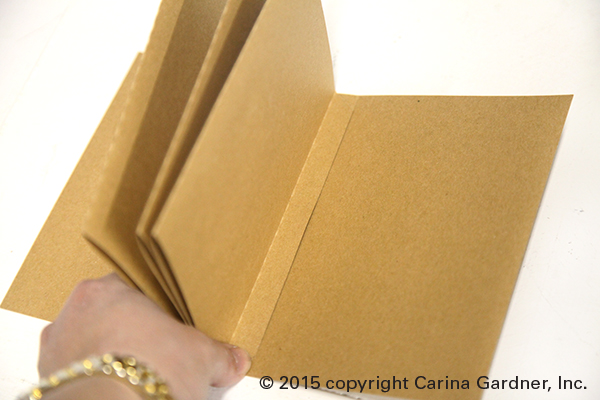
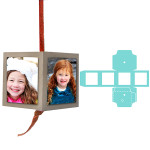
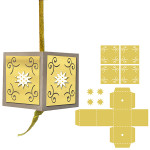
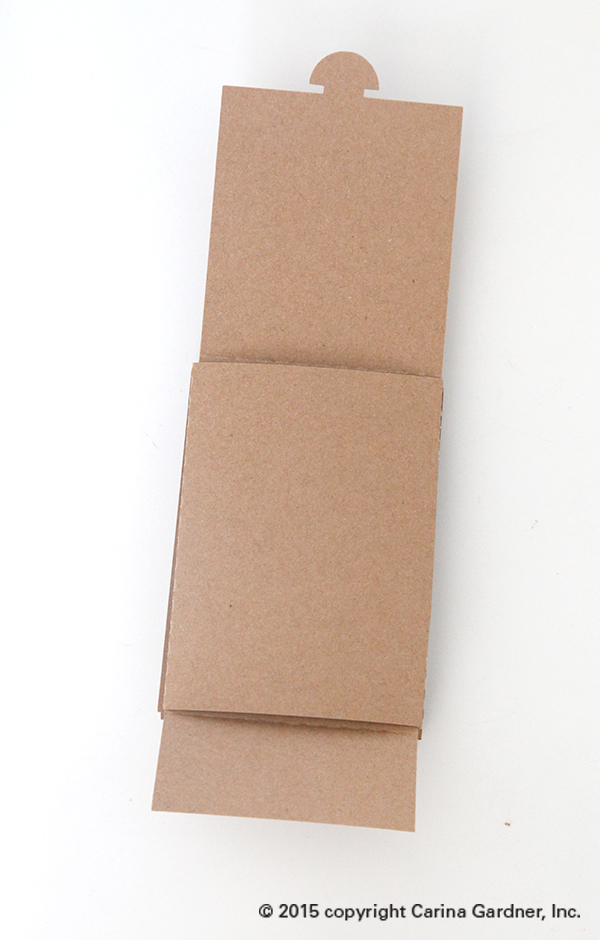 2. Once the sleeve is glued together, use it as the base of your shadow box. Glue down any “colored” objects first to the layers. For example, center and glue the clouds on top of the cloud shapes. You can use pop dots for these as well. You can see in the elephant and giraffe example above I used pop dots on the animals but glued the clouds flat.
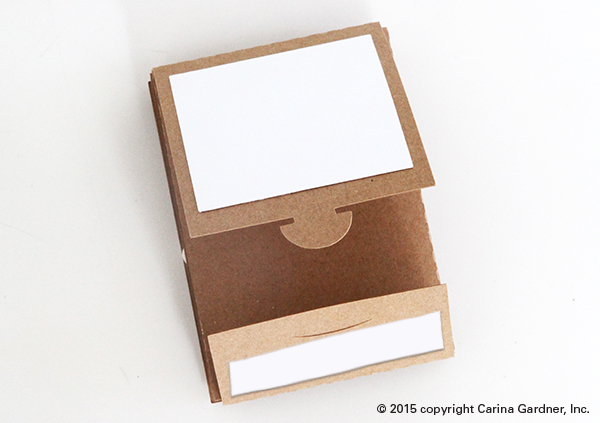


 I’m back from our


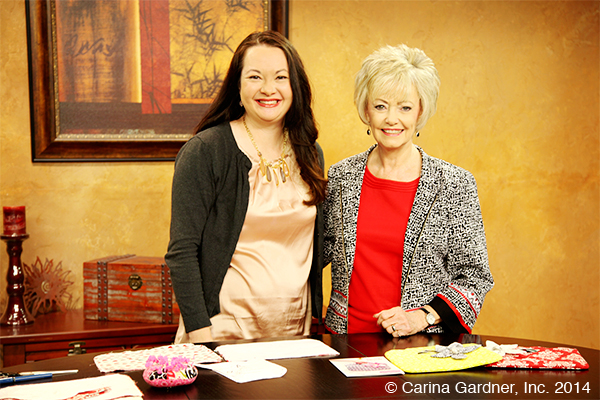


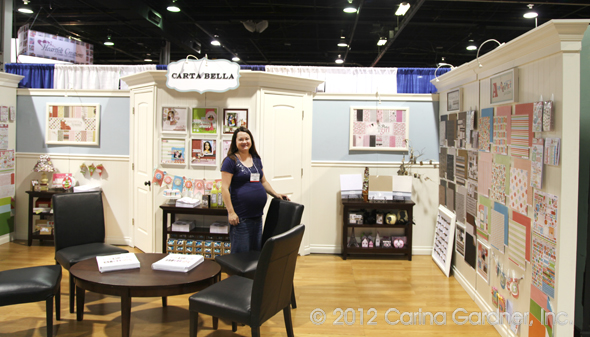
 Here Lindsay and I pose on Day 1 of set up. I hardly had to lift a box because everyone was so concerned (I think they just didn’t want to deliver a baby).


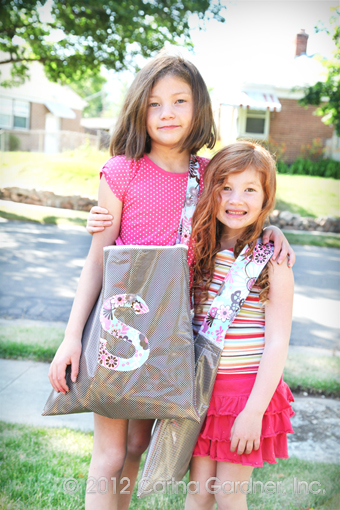
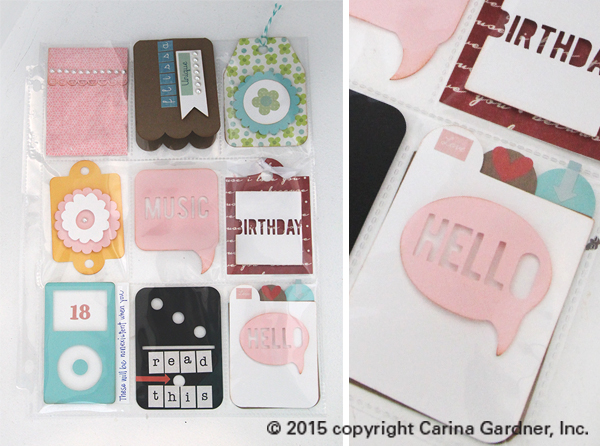
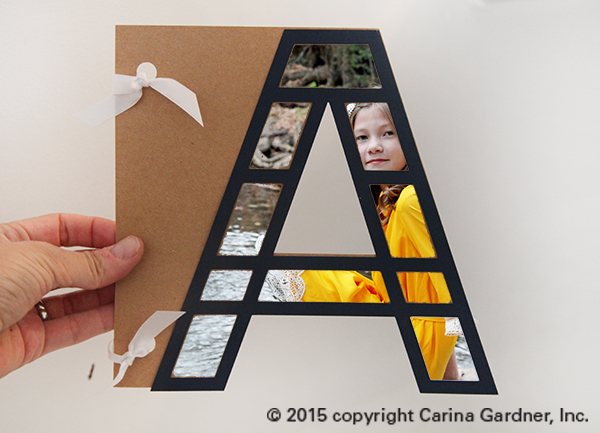
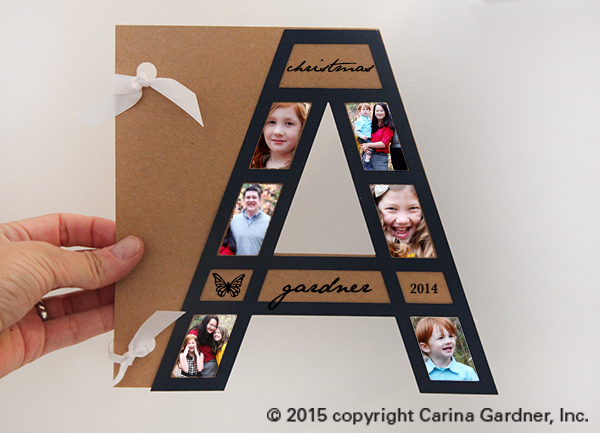
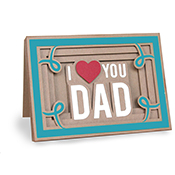
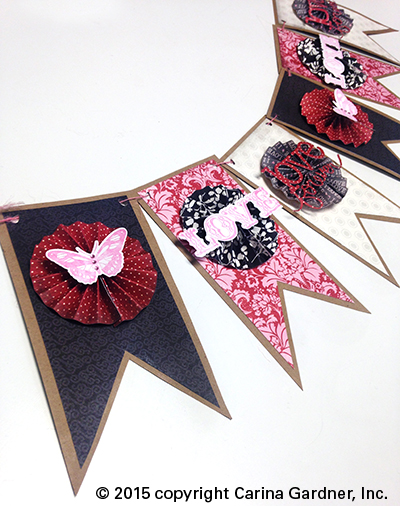
 appliqué stitched the letters directly to the front. It was absolutely an experiment in progress since I had never used laminates like this before. Amazingly, it worked (but was not easy!)