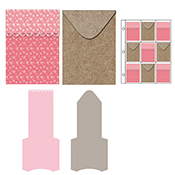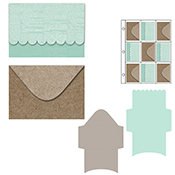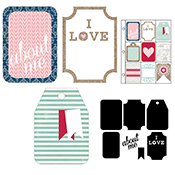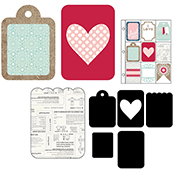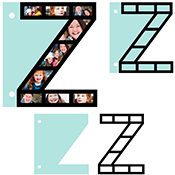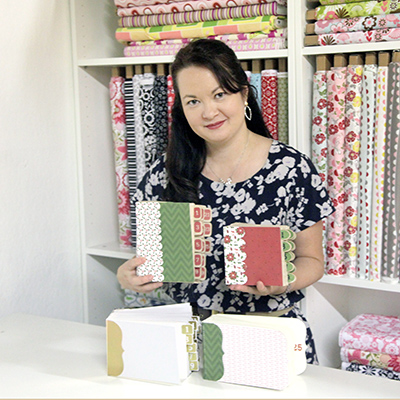
Tutorial for 25 Days of December French Fold Album for Silhouette and DigiPlayground

carinagardner_november182015_2_web

My 25 Days of December French Fold albums have finally hit the shops! It’s just in time to make one before December 1st hits and you start taking photos.

These are a little different than my 25 Days of December from last year because these feature a french fold and hidden binding.

Here are the links to my Silhouette shop and DigiPlayground shop so you can pick up one of these albums!

Here’s how to put this together:

1. Cut out the svg files.  The main body of the book I cut out in kraft paper and the cover and frames are my Have a Merry Christmas papers for Cartabella.

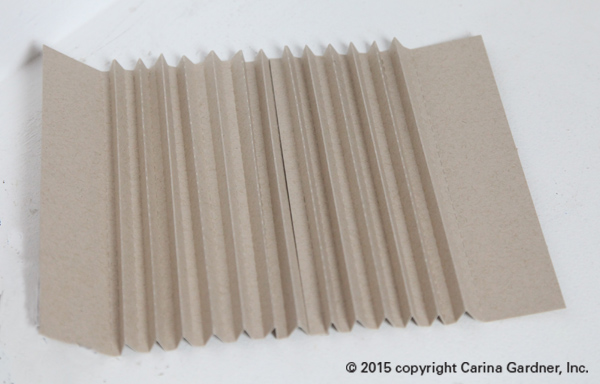
2. Begin with two pieces of the binding and fold along the dotted lines, then glue them together by overlapping the short sides.
IMG_1028_web

3. Turn it over, and glue the wider folds together so the back looks flat and the front has tabs sticking out.

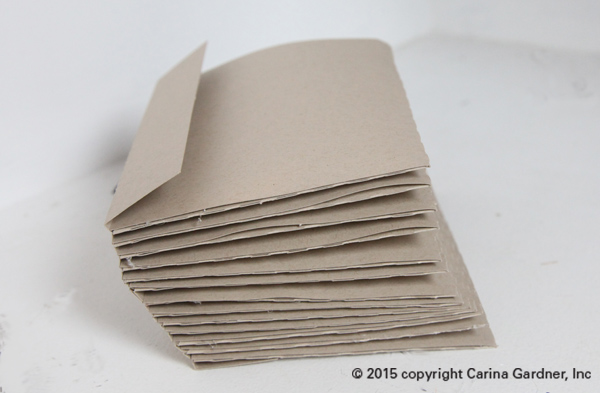
4. Take your pages and fold all of the creases inwards. (The picture below shows the binding on backwards. All those little glued together pieces will become the pages for the album).
IMG_1030_web

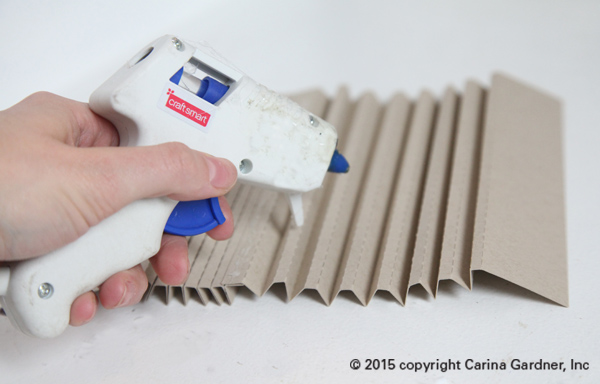
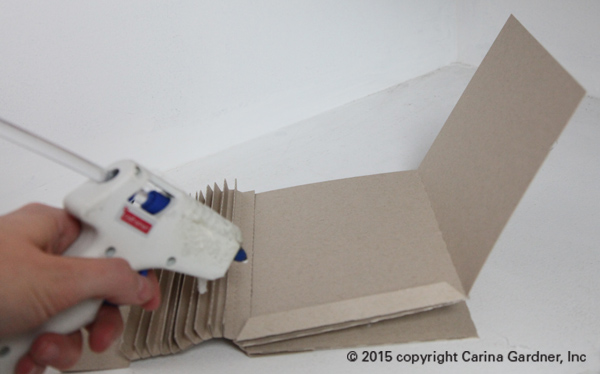
5. Now to add the pages! Glue along the long edge of each page and attach the long edge to the back of one of the folds in the binding. This will create a double-sided/double thick page.

6. Glue the top side of the edge of the long page, as well as the bottom tab and fold the page over.  This should create an envelope with an open top.  Add a page to each one of the binding pieces.
 

IMG_1038_web


IMG_1041_web

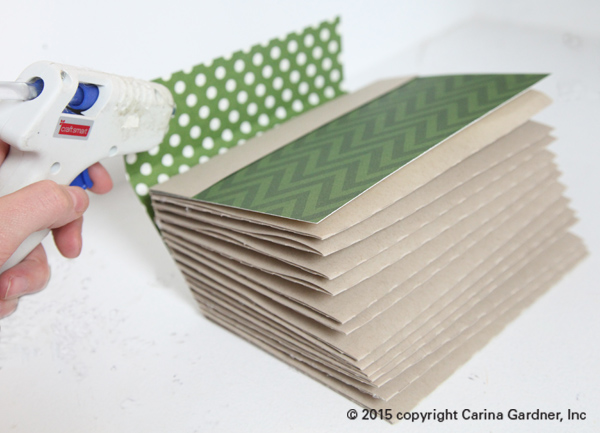
7.  Add the cover by gluing the left side of the cover to the bottom side of the flap.  This makes the inside look clean and the binding flap will be covered with the binding cover later.

8. Glue the binding cover by matching up the crease of the binding cover with the square of the book.  Glue the front, binding, and back side separately.
IMG_1043_web

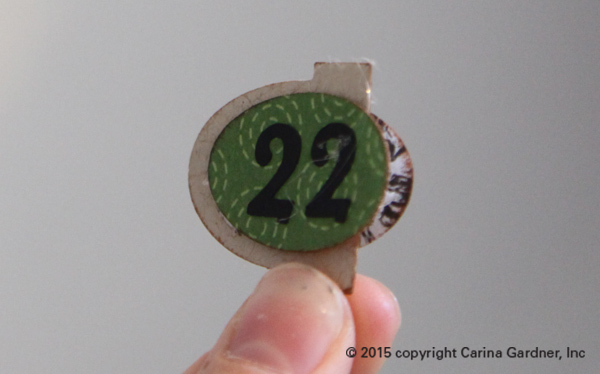
9. For the tabs,  glue each number onto an oval (or whatever shape you have). Note: one of the albums (bracket) does not use this step.

10.  Glue half of the ovals onto each tab, leaving space to slide the tabs into the slits and for the ovals to go on top of the page.  There are 13 tabs, so each tab will have two numbers (one and two will be on one tab, three and four another etc.)
IMG_1277_web

11.  Slide the tabs into the appropriate slit on each page.  Leave the oval out and glue the other half of the oval onto the outside of the page. Glue odd numbers to the front and even numbers on the back of each tab.

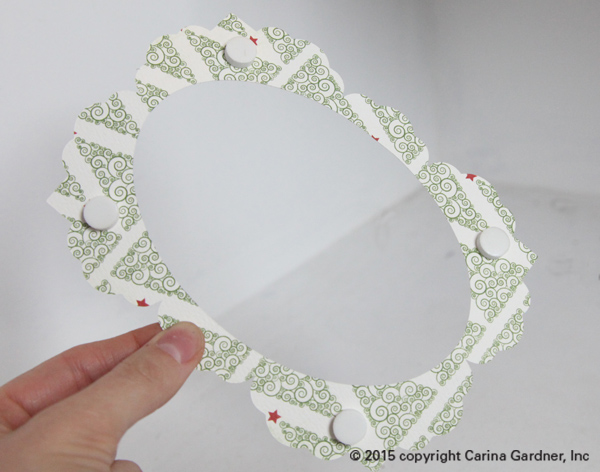
12. For the frames, take each frame and place pot dots on the back.
IMG_1056_web

13. Place the frame in the center of the page and make sure the pop dots are firmly in place.
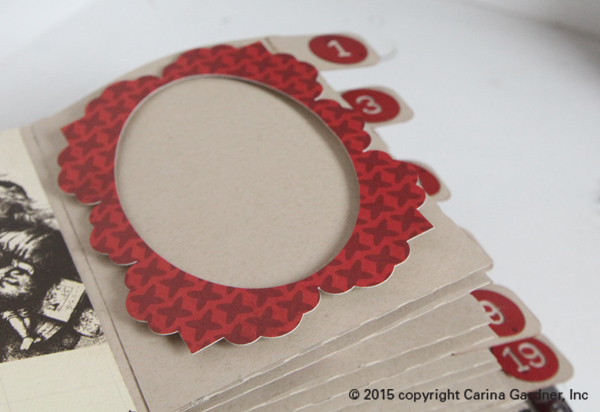
IMG_1057_web

14. Glue the leaves to the berries and attach to the corner of the frame.
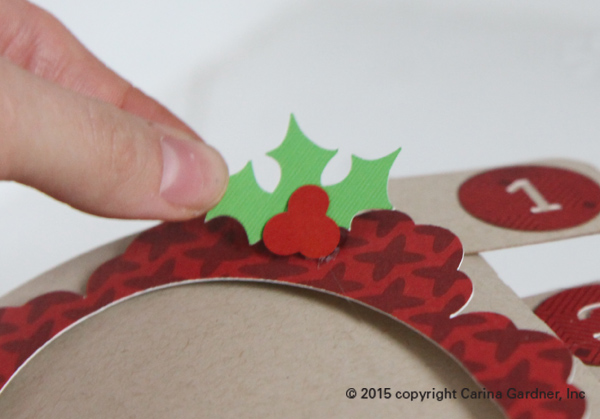
IMG_1058_web

15.  Place pictures and memories on each page to fill your 25 days of December Album!

Happy crafting!

Carina


Silhouette Design Store JOANN Stores

Christmas Village Tutorial for Silhouette and DigiPlayground


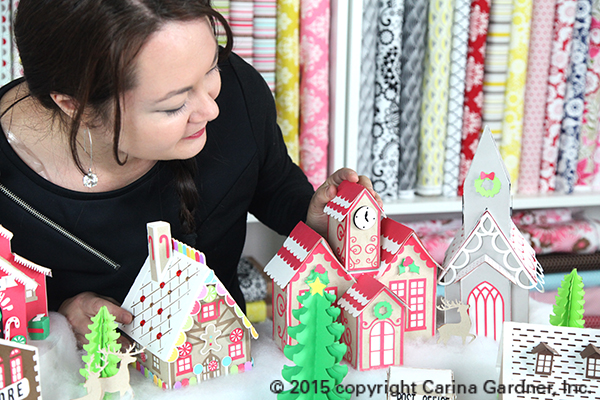
IMG_0774_webI’ve been working on this Christmas Village for weeks now. Every time one of the little houses got put together, I couldn’t help but smile! Everything about this little village makes me so happy.
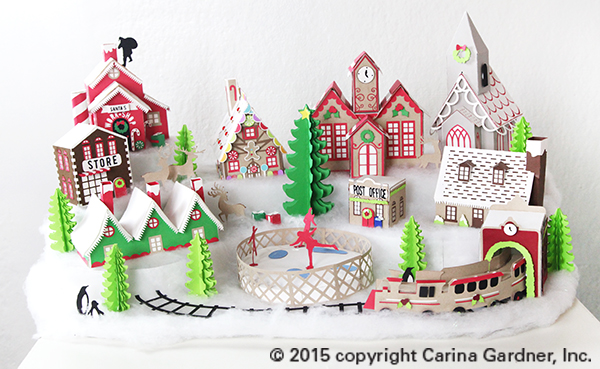
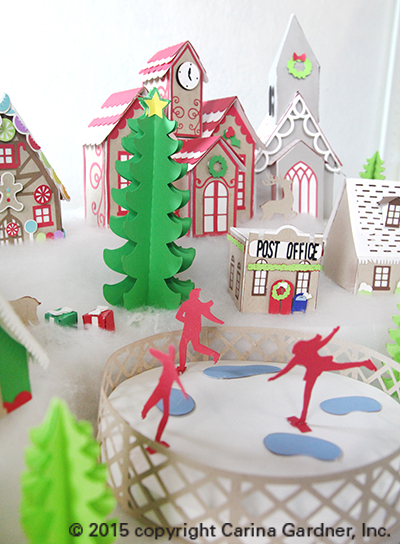
There are quite a few pieces, and they all can be purchased from Silhouette and DigiPlayground. Each building is very intricate and there are a lot of parts. I have a quick video on some of the harder pieces so you can see how they go together (see above).

As for displaying this village, there are soooo many options. I have two I’d like to suggest here for you. The first is a display made completely from foam core. I have a free svg file for you to make a template of the one I made and some instructions on how to put it together below. (The photo below is the display I created with foam core. You can make this too!)

IMG_0645_web

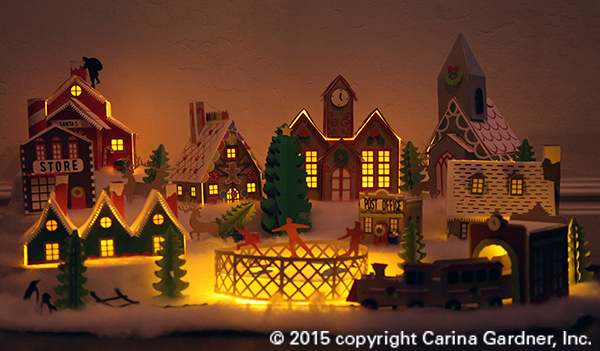
IMG_0673_webThe second way I would display it is on a mantle or coffee table. I love mine on top of our white piano. The best part is at night when we put electric tealights underneath and the entire thing lights up (picture of this below!).
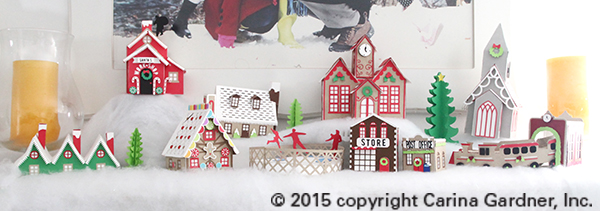
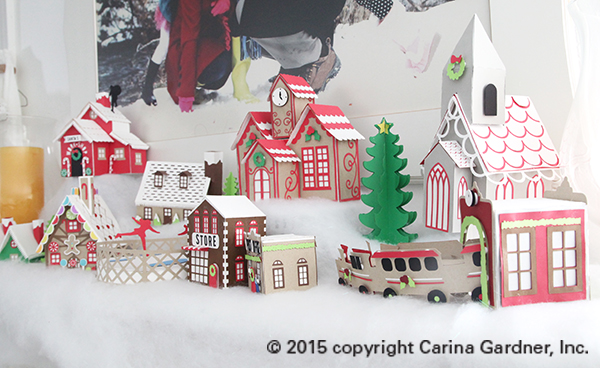
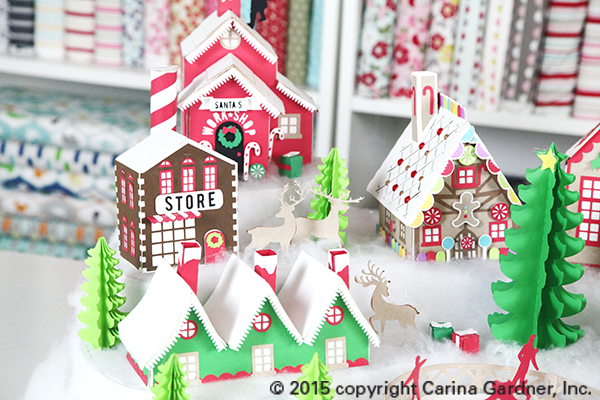
If you place your village on a mantel, depending on the number of pieces you build, I suggest using cake plates and cups turned upside down to give dimension and layer to your village. Cover these with ‘snow’ you can purchase from your local craft store to hide these layers. Instant snow drift!

The two photos below is of the Christmas Village on top of my piano (about the size of the mantel). I love it up there! Every piece is so unique and darling. My family is really going to enjoy it this holiday season!

IMG_0772_web

IMG_0771_1web

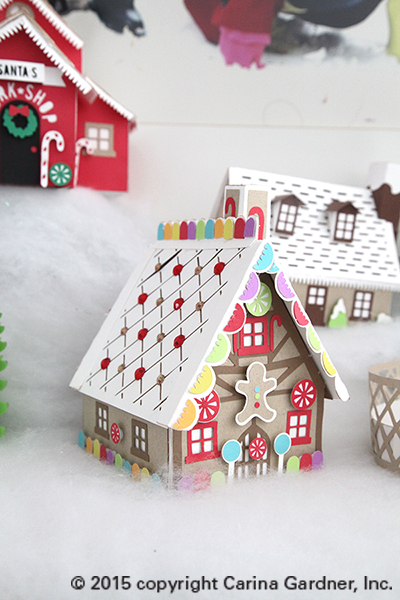
There are so many great pieces in this village. They will be release over the next two weeks (so keep an eye out for them!). The picture below is of the Santa’s Workshop, General Store, Gingerbread House, Trees, and Deer.

IMG_0597_web

Picture below highlights the Clock Tower, Chapel, and Gingerbread House.

IMG_0643_web

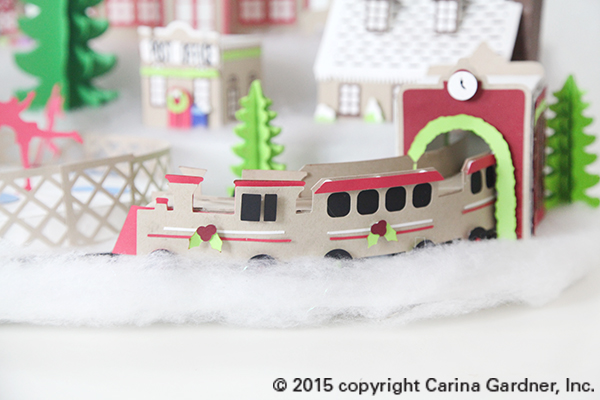
The train comes in two files—a Train Station with tracks and a curved 3D Train.

IMG_0654_web

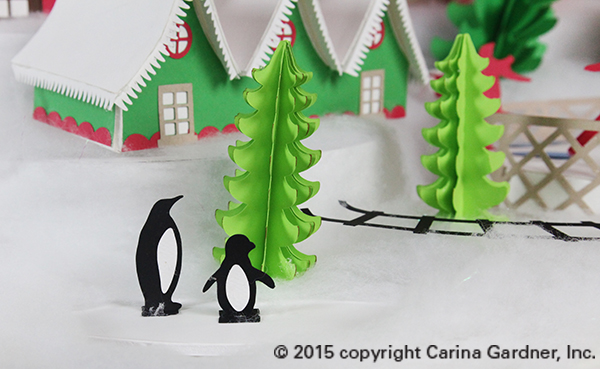
Happy little penguins anyone?

IMG_0765_web

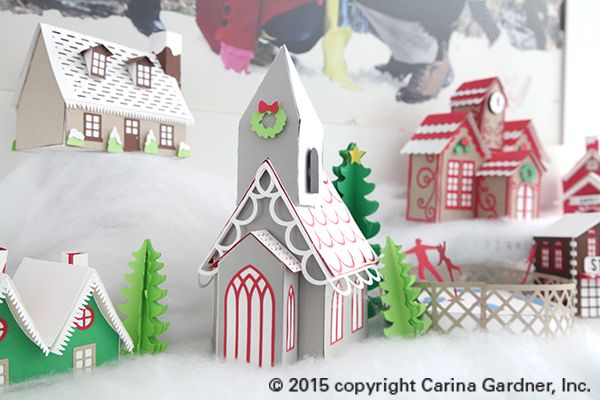
Check out the Snow Cottage, Elf Houses (with curved roof!) and the Chapel.

IMG_0809_web

Turn off the lights and watch them glow! Instant Christmas Magic!

IMG_0863_web

Here’s the tutorial for the Display:

Download the Free Display Template Here—CarinaGardner_ChristmasVillage_Display.zip

If you are having trouble with the link, then try copying and pasting this: https://carinagardner.com/freedownload/carinagardner_christmasvillage_display.zip

  1. Download the zip. You will need 5-6 pieces of 20 inch x 30 inch foam core in white. You will also need a hot glue gun, a small package of ‘snow’, and x-acto knife.
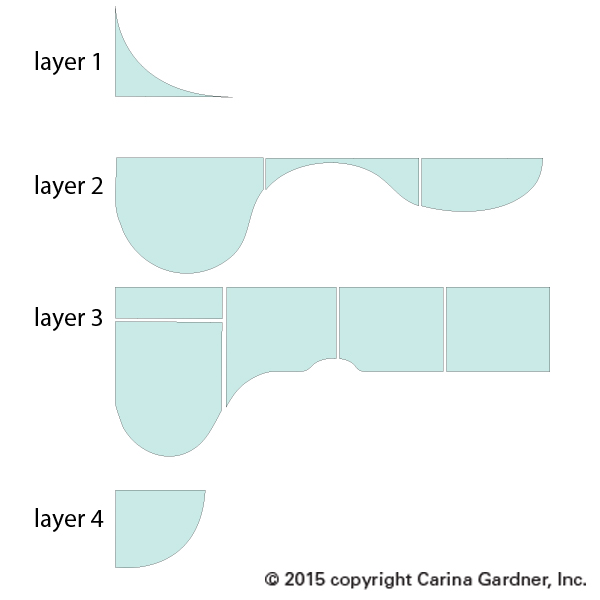
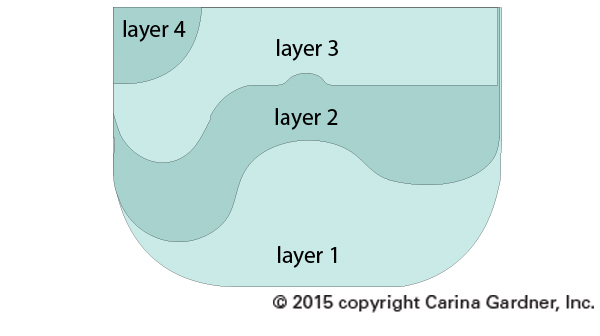
  2. There are four layers to this display. The zip contains 4 documents that may look a bit jumbled (everything needed to fit on a 12 x 12 template for Cricut users). All you need to do is pull all the pieces apart and cut each of them out. Then layout your template like I have below:

instructions_display_christmasvillage_1

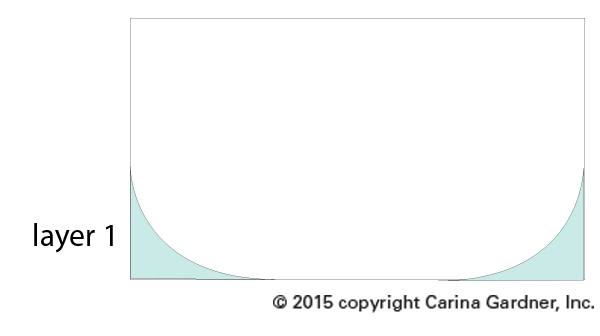
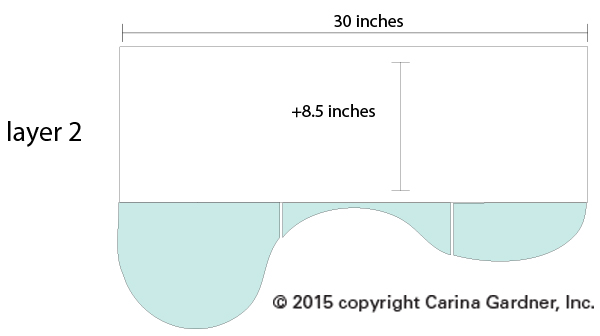
3. After cutting out your pieces you will lay the template onto each layer. Layer 1 you will use the template to cut away two edges of the display. Layer 2 you will need to add a width of 8.5 inches to add the depth. Layers 3 and 4 you can cut out as is.

instructions_display_christmasvillage_2 instructions_display_christmasvillage_3

4. Use an x-acto knife to cut these out. Don’t worry about making it perfect! Your snow will cover your mistakes!

5. Once the layers are cut out, you will want to create dimension by cut out several 2 inch strips the full length of the 30 inches on the extra foam core you have. Slice lightly into one side of the strips so that you can bend them to the shapes of your layers. Start with layer 2. Start at the side front and hot glue the 2 inch strip along the curve. Don’t worry about mistakes or gaps! Your snow will cover all of this!  Once you have glued the strip along the edge of layer 2 you will glue it down to layer 1. Continue with all the layers using the diagram below to help determine how to place everything.

instructions_display_christmasvillage_4

6. Once everything is glued together, simply layer snow on the display. I glued a little bit to the board to help everything stay in place. To glue the trees, deer, and penguins to the display, I moved the snow to the side and glued these pieces directly onto the foam core. Then I moved the snow back into place.

I hope you have fun making this display and the entire Christmas Village!

Carina


Silhouette Design Store JOANN Stores

Thankful Tree Video and Tutorial for Silhouette and DigiPlayground

We’ve been working on the Thankful Tree for a few weeks now and I’m so excited to have it in my home! It’s the perfect LARGE scale tree (about 4 feet in height) to put in your home to celebrate Thanksgiving. We will be using the Apple Basket to place all of our leaves so the kids can pull one out everyday to write what they are thankful for throughout November.

Check out this short video so you can see the tree (in scale) and all the options we have available for it! You can purchase the files at Silhouette and DigiPlayground.

Enjoy! Carina

Silhouette Design Store JOANN Stores

Launch Party! PDF Sewing Patterns Now Available at CarinaGardnerShop.com

carinagardner_october162015_1

I’m so excited for today! I’ve been planning this launch for a few weeks now! The team and I have some cool things planned. What kind of cool things you ask? Well, since you asked…

First off, we are now releasing PDF Patterns! Yes, that’s right. This is the official launch of you being able to purchase my patterns in PDF format. You can still also purchase most of my patterns in their physical form (from our website or from your local quilt shop). Not all of my physical patterns have been converted to PDF. You will see us release all of them in the coming weeks along with new ones.

This is awesome on so many levels for you and me! Since I started MiniLou, we simply have not had the space to house the number of patterns I was carrying for CGInc. So NOW because we can release pdf patterns, you will see MORE kids clothing, kids projects, beginner projects, and for the first time ever QUILTS!

episode15_web

The timing is right for this launch because not only am I kicking off the PDF Patterns, I am excited to be releasing my newest fabric collection for Riley Blake Designs called Apricot and Persimmon. The colors in this line are so autumn-y and yummy. (I should have the full digi book for this collection out sometime next week).

So what are we doing for this launch? I’ll admit, most of the action will be happening on my instagram feed (@carinagardner). Here’s what’s happening:

  • The PDF shop will be 30% off  october 16-21. Visit the sale>>>
  • We are randomly giving away sewing pattern gift certificates on instagram and facebook all weekend!
  • We are teaming up with Michelle Jensen (my machine quilter) and MiniLou (my kids toy company) to do a DROP on instagram (hints and where it will be can be found on instagram @carinagardner and @miniloukids). This drop will include one of you WINNING a Persimmon Nine Patch Quilt. Yes! The actual quilt!
  • I have consolidated all of our FREE fabric projects into the shop so you can grab them and go!
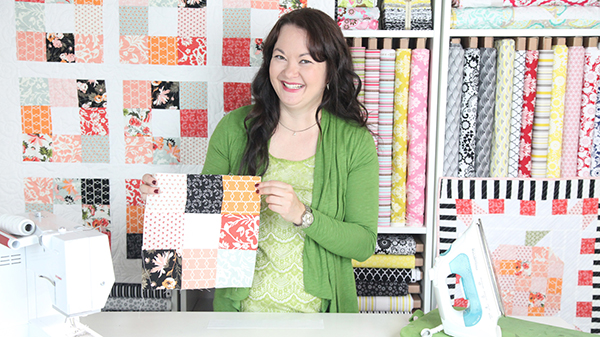
  • I have two new videos that feature the Persimmon Nine Patch Quilt and the Patchwork Plus Quilt (See below!)! The best part is that I will be doing ALOT more videos featuring difficult parts of the patterns or helpful sewing hints.
  • For this launch I am releasing three brand new PDF Sewing Patterns that have never been released as a physical pattern—Persimmon Nine Patch Quilt, the Patchwork Plus Quilt, and the Apricot MiniQuilt.

Be sure to join us on instagram and facebook for the festivities! Check out the videos below!

Hope you enjoy! Feel free to check out the entire CGTV channel here: https://carinagardner.com/carina-gardner-tv/
Carina
Episode 14: Patchwork Plus Quilt

Episode 15: Persimmon Nine Patch Quilt

Silhouette Design Store JOANN Stores

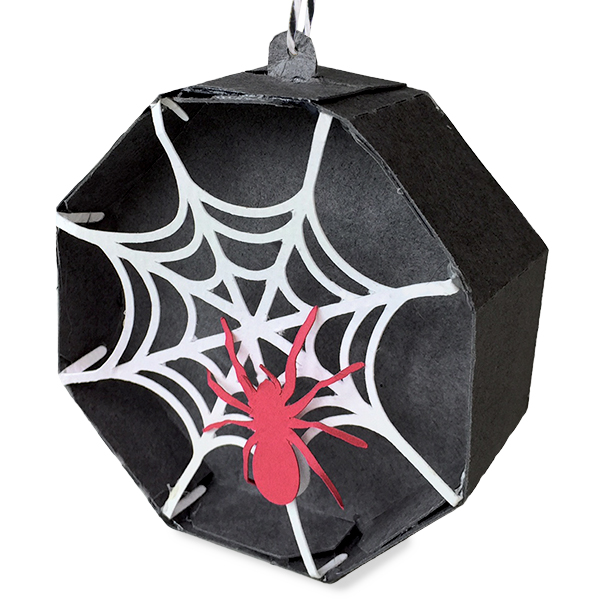
Hexagon Halloween Ornament

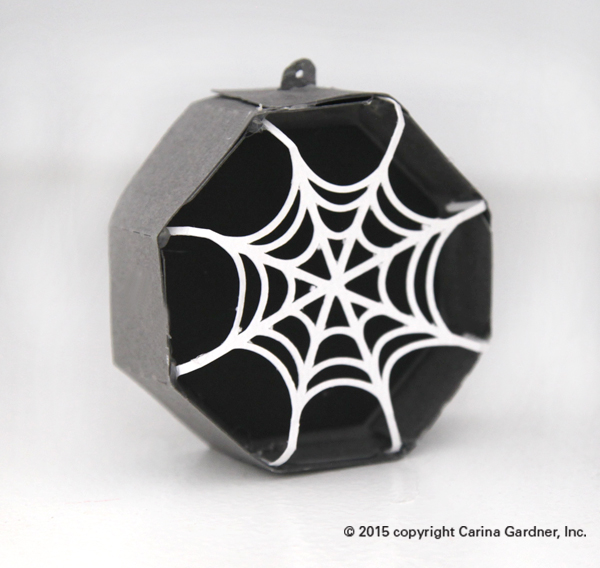
DS-C-8.6824W-CG-Spider Ornament

I love some dead branches in a vase as halloween decor. These little ornaments are the perfect accessory for those branches! They’d also be cute strung in front of a window or as a banner.

Every one of these ornaments are made a little differently. I’ve chosen to show you how to put together the hardest one. Most are simply layered with hexagons and shapes. Feel free to mix and match all of the ornaments in this collection!

Here are the links to my Silhouette shop and DigiPlayground shop.

Here’s how to put this together:

1. Cut out the svg files.  The main body of the ornament I cut out in a deep gray and the interior is a matte black with white spider webs and red spider.

IMG_9216_web

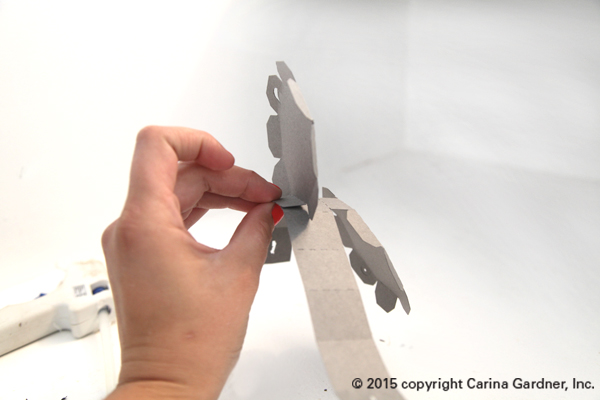
2. Next take the hexagon sides and fold the flap that is connected to the long rectangle piece back onto itself and glue down. Repeat on the other side.

IMG_9223_web

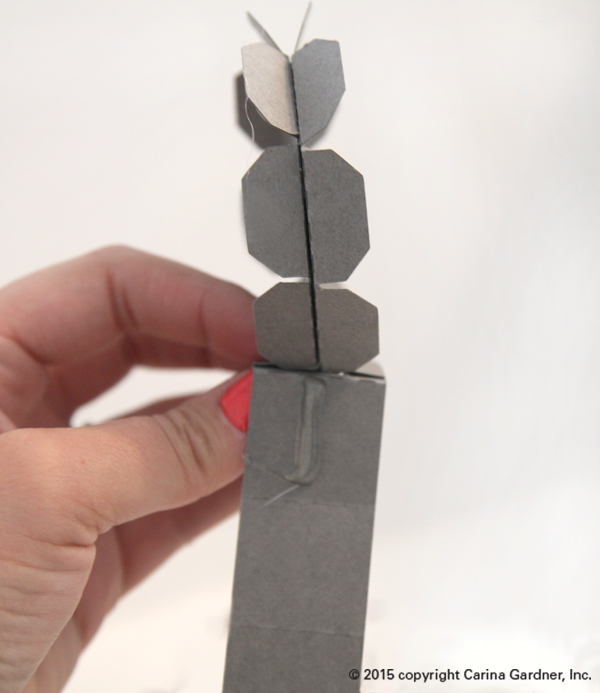
3. Fold all hex flaps away from each other so that they create a flat surface that you are going to glue your rectangle piece to. There are fold marks where each side of the hexagon’s flaps should be glued to your long rectangle. Repeat all the way around until you end with 2 open slits at the top

IMG_9228_web

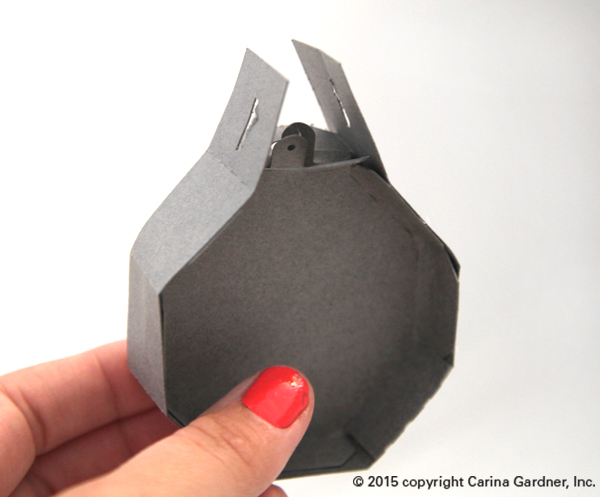
4.  Slip the ornament hangers from the hexagon through those two open slits and glue together.

IMG_9231_web

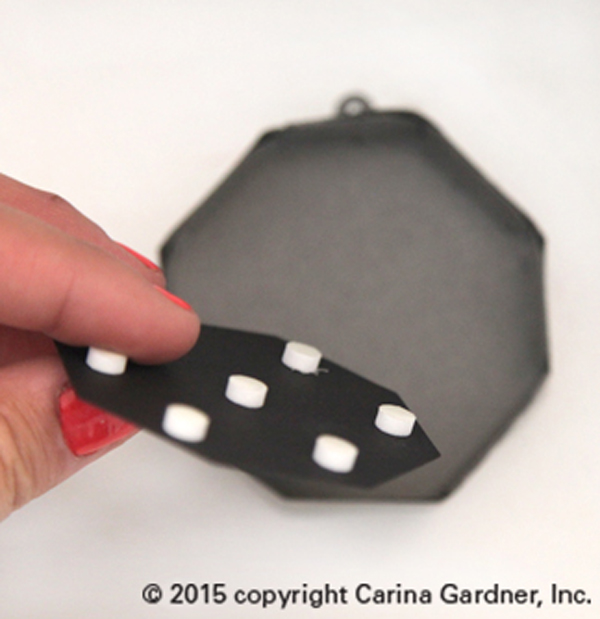
5. Take your flat hexagon accent pieces and pop dot them on each side of your ornament.

IMG_9235_web

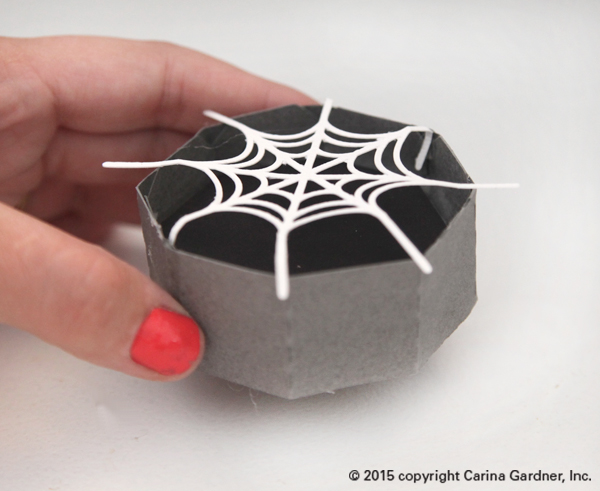
6. Lay the spider web over the top of your ornament with the long webs aligning with the corners of your hexagon. Bend them over the edges to give you a good idea where to glue. Neatly tuck your folded spider web string to the inside of the corner to the hexagon and glue together. Repeat all the way around and the other side.

IMG_9236_web

7. Once your finished pop dot your spider to the web and you’re done!

Hope you have fun making these!

Carina.

Silhouette Design Store JOANN Stores

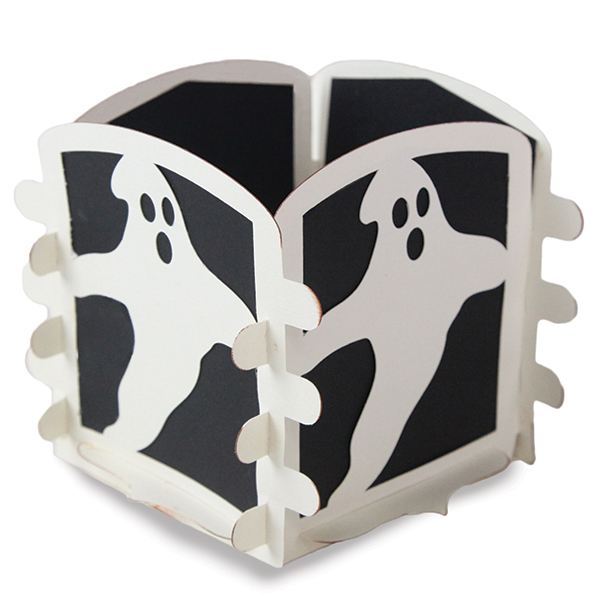
Halloween Crate Tutorial for Silhouette and Digiplayground

DS-C-10.0843W-CG-Ghost Crate

It’s my favorite time of year! That’s probably why I get so excited for all of these Halloween projects. This post is for a tutorial on the Light Up Halloween Crates. You can purchase them from both the Silhouette and Digiplayground shops. (Links to the crates will become available as they go live).

These are incredibly simple to put together. I’m planning on putting in the windows at the house and as centerpieces on my coffee table. You can place an electric tea light in the center (I love the black ones!) for a but of ambiance!

Here are the links to my Silhouette Shop and DigiPlayground Shop.

Here’s how to put it together:

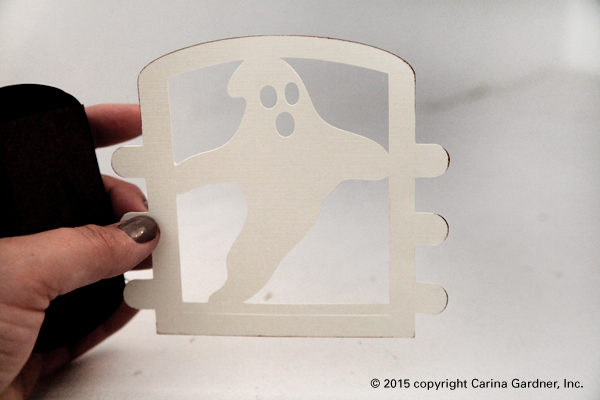
1. Cut out the svg files, cut two of each side piece, four total. Ink the edges of your crate to create some dimension.

IMG_8796_web

2. Glue accent pieces to the inside of the crate side pieces.

IMG_8805_web

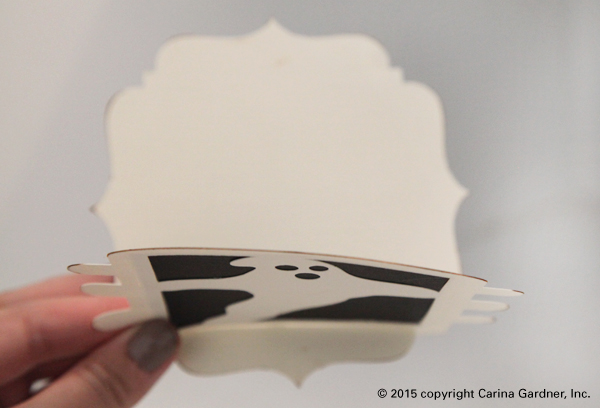
2. Once you have glued on all the accent pieces onto the sides, take the bottom flat geometric piece and slip the pointed edge through the slot at the bottom, just below the ghost.

IMG_8817_web

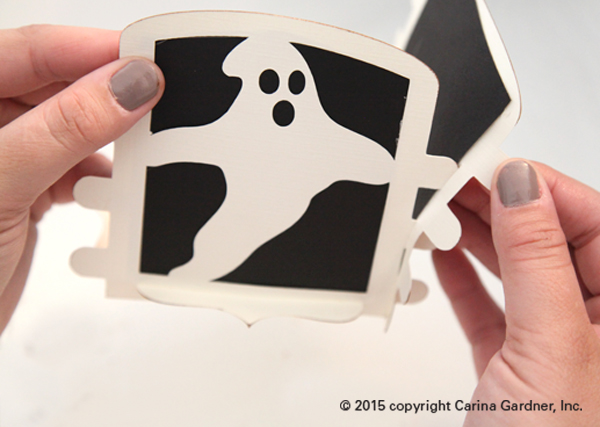
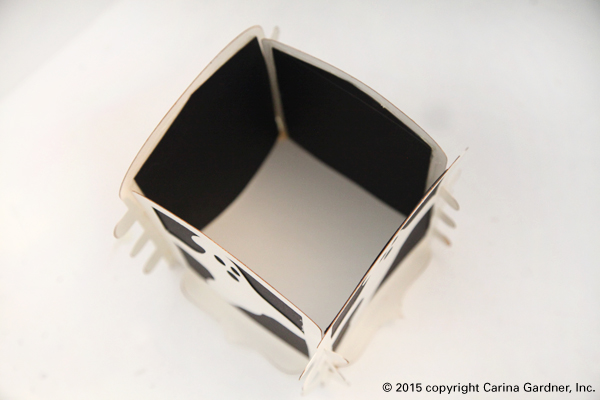
3. Next, grab the opposite side piece and slip the tabs through the slots provided in your first piece. Again, insert bottom pointed edge just below ghost and repeat this step all the way around.

IMG_8820_web

Place a tea light in the center and you are done!

Enjoy,

Carina

Silhouette Design Store JOANN Stores

Pineapple Costume Tutorial

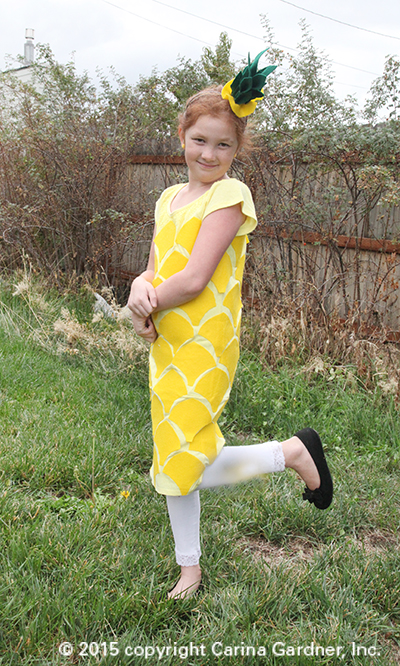
IMG_8980_webSome years I can convince my kids that going to the store and buying a costume is the way to go. Not this year. Both of my girls wanted homemade costumes. Siri wanted to be iPhone Siri (you can see her costume on my instagram feed @carinagardner) and Felicity asked to be a pineapple.
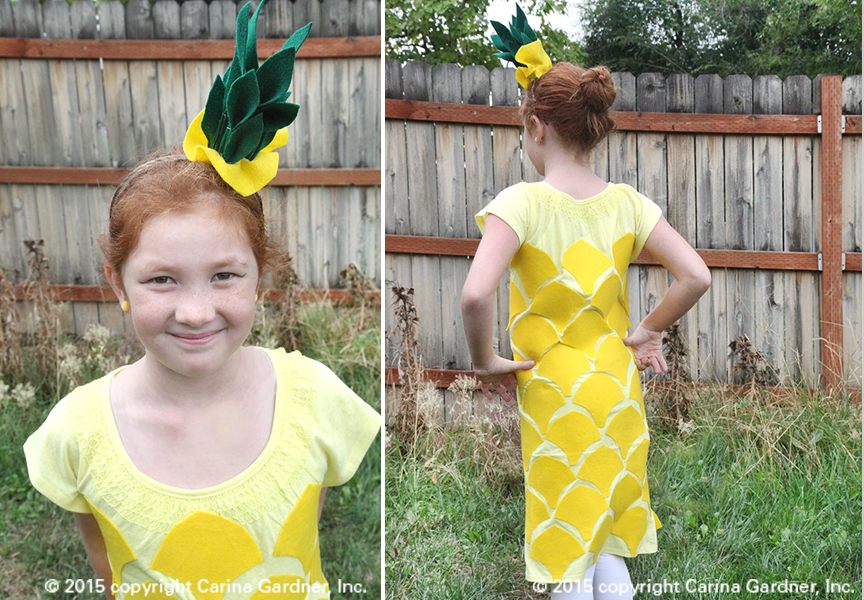
I know pineapples have been trending recently, but the truth is, in our family the word ‘pineapple’ has been trending for a couple of years. A while back, Siri decided that she loved the way the word ‘pineapple’ sounded and used it as her go-to, everyday word (“Can I get you a drink, Siri?” “Pineapple.” “Are you ready for bed, Siri? “Pinnneapppppllle.”…you get the idea). Does she actually like to EAT pineapples? Of course not! That would make too much sense :).

Ironically, it was Felicity who decided that being a pineapple was a must this year (although I can see Siri trying to steal this costume).

Here’s a little info on how to put this costume together. Your materials may be a little different than mine so feel free to make adjustments on how you make this sublime fruity treat.

PINEAPPLE COSTUME TUTORIAL
Materials

  • Either one very long yellow T-shirt or two T-shirts (Mine is a size 10 and the materials fit this size. Make adjustments for smaller or bigger T-shirts.)
  • 1/2 yard of yellow felt
  • 1/4 yard of green felt
  • headband
  • hot glue
  • 1 1/2 yards of double-sided iron-on adhesive

IMG_8877_web2

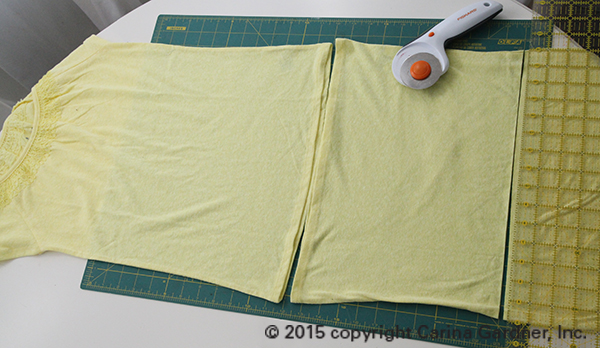
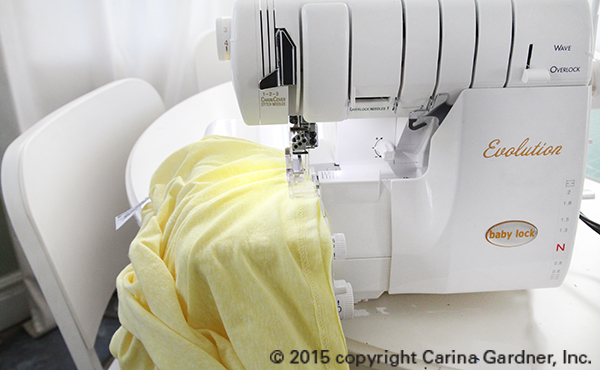
1. If you are working with two T-shirts, cut one in half to add to the bottom of the first T-shirt. Match up the RAW edge of the second/cut T-shirt to the bottom of the first T-shirt. That way you do not have to hem the bottom of the outfit. I used a serger with right-sides together of the T-shirts to sew these two pieces together into a long dress.

IMG_8858_1_web IMG_8862_1 copy

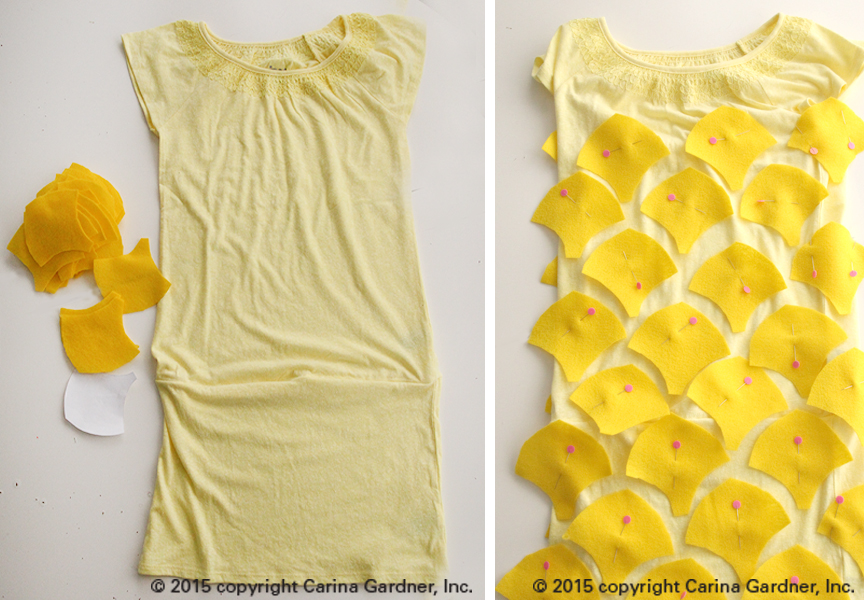
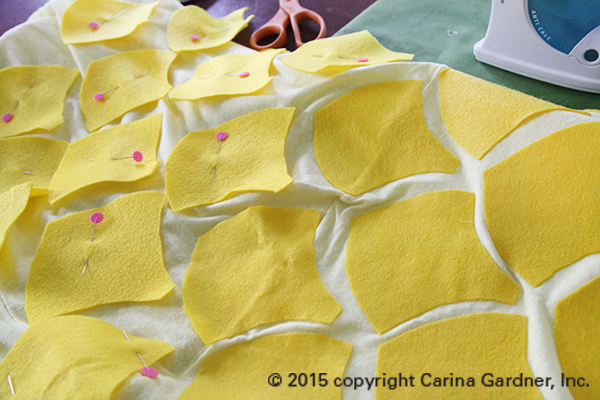
2. Once your T-shirt is now a ‘dress’, cut out yellow felt pieces using the pattern provided below. Pin them all the way around the dress as shown here. This will help you determine how many pieces you will need. The pattern can be made smaller or larger to accommodate the size of your outfit.IMG_8877_web

3. Next, use the double-sided adhesive (using the instructions on the adhesive you buy) to adhere the adhesive to the felt pineapple pieces.

IMG_8881_web

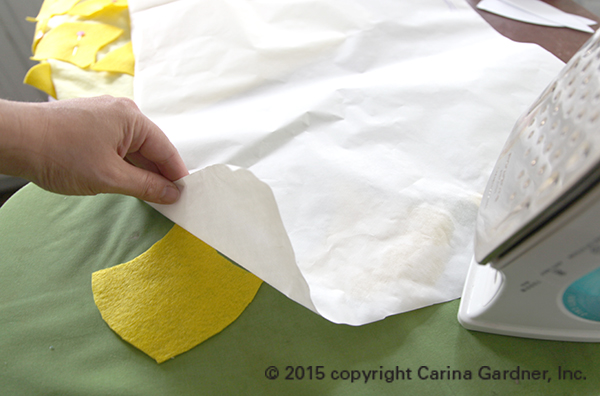
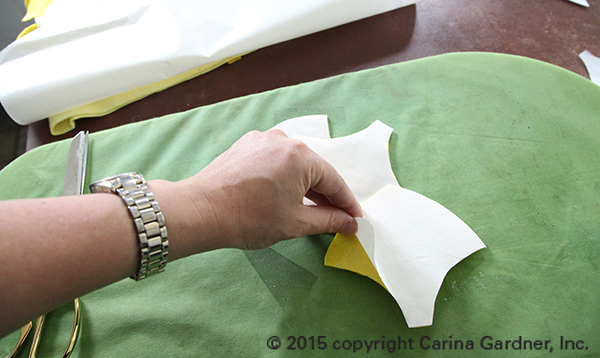
I used Heat and Bond and ironed on the adhesive on one side of the pineapple piece. Then, I pulled off the white protective layer on the felt piece and placed it on the dress. I ironed it directly onto the dress with the adhesive-side down (facing the dress).

IMG_8885_web IMG_8889_web

And you are done with the dress! Now for the headband!

4. The headband could be made so many different ways. Use my method or try putting it together anyway you want with the pattern pieces I’ve provided. You can also choose to do all of this with a hot glue gun if you want to avoid sewing!

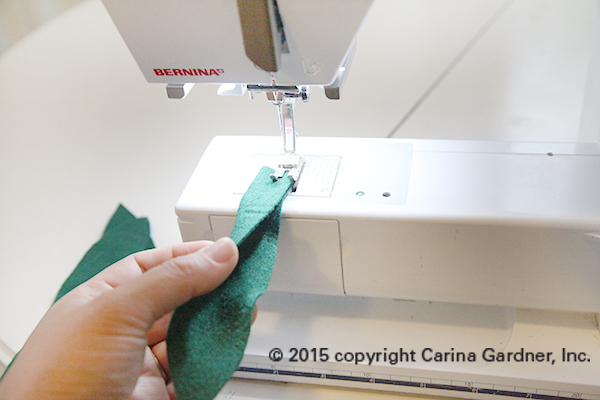
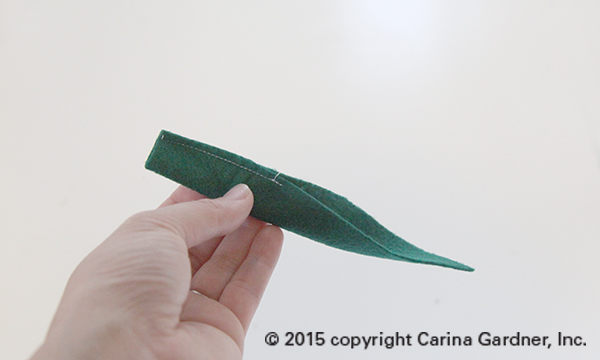
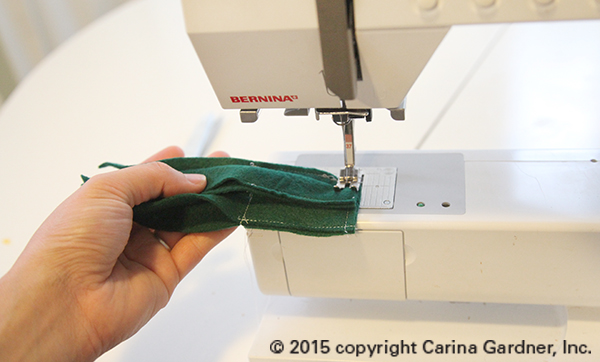
I cut out 4 each of the three leaf patterns. I folded in half the medium and large leaves and sewed them about half way up. (You could simply hot glue them up instead.)

IMG_8892_web IMG_8894_web

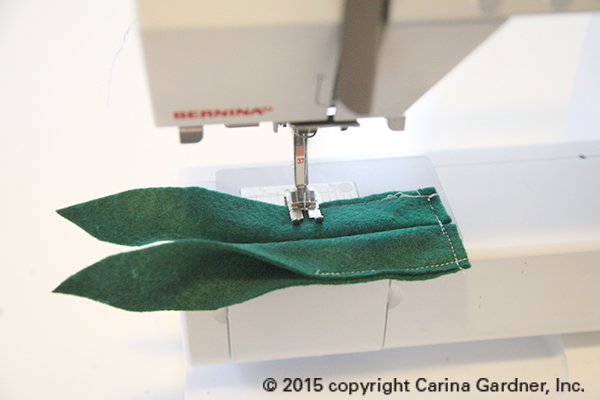
5. I then sewed together two of the biggest pieces like the image below.

IMG_8896_web

6. Then I laid a third piece in the middle of the two sewn together pieces. I sewed it to the front. I then sewed the fourth piece to the back center.

IMG_8898_web IMG_8902_web

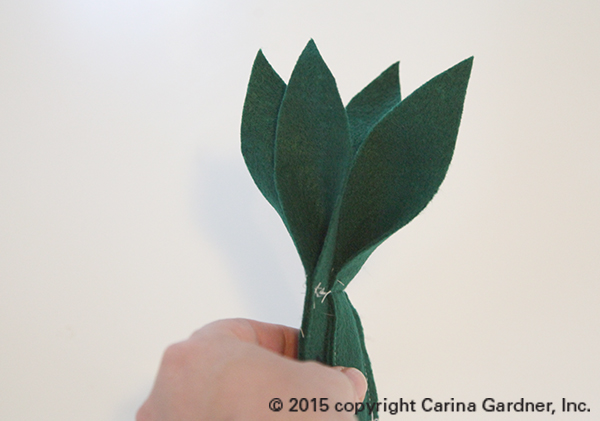
This will create a little symmetrical bunch.

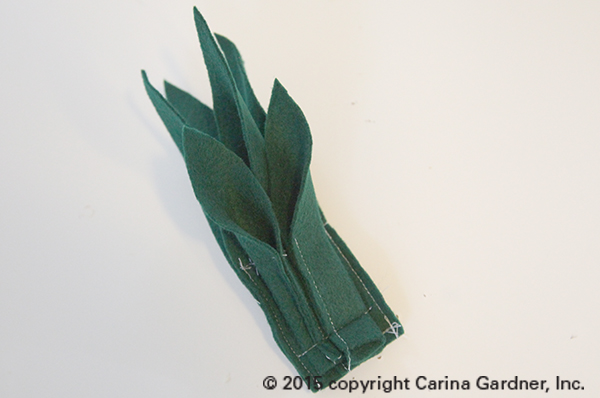
7. Your next trick is to add the medium sized leaves to this bunch. I sewed mine but in retrospect I should have hot glued it! It was really thick and difficult to get through the machine. Simply, place them evenly around the large leaves.

IMG_8904_web

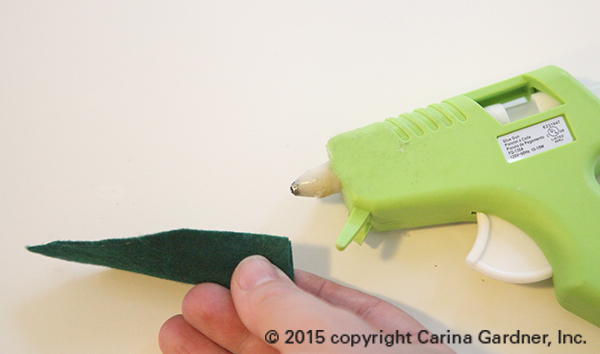
8. For the smallest leaves, I used hot glue and spaced evenly around the bunch.

IMG_8908_web

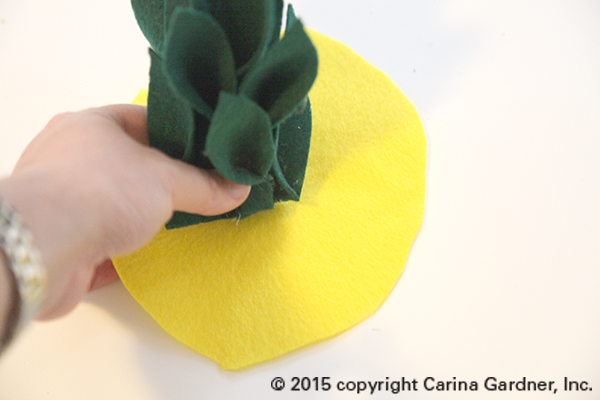
9. I cut a circle and hot glued it to the center of the bunch. Then I glued up the edges and trimmed them. This is simply to keep the bunch together and add a bit of yellow to the bottom.

IMG_8910_web

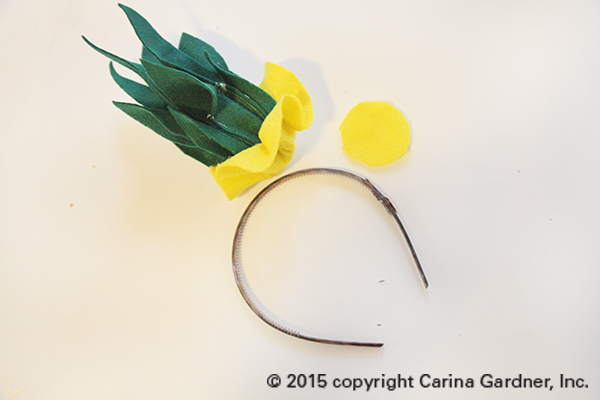
9. Finally, I cut a small round circle and sandwiched a headband between the pineapple top and the felt circle. Hot glue these altogether and you are done!

IMG_8912_web

Here are the pattern pieces you will need to make this costume:

DOWNLOAD THE PINEAPPLE PATTERN PIECES

There’s a bit of work involved to make this costume but it was completely worth it! Felicity was giddy with the end result! Does your child want to be a pineapple? Download the pattern and get started! Halloween is around the corner!

Happy creating!
Carina

Silhouette Design Store JOANN Stores

Halloween Inspiration

IMG_8541_webHalloween has officially begun at my house! Our little family celebrated by going to Frightmares last weekend and starting work on costumes—well, the kids started thinking about their costumes, and I started working on them.

(Photo to the left of Silhouette Halloween Tags now in the shop).

I’m always a happy girl when this time of year rolls around. I feel renewed with the autumn weather. I’m ready for the heat to be replaced by cool breezes and and falling leaves.

And then, of course, there is the all the halloween decor. Many years, I don’t get to pulling things out until the last minute. But these year, our studio has producing so many fun halloween designs! The end result—lots of goodies to hang all over my home.


IMG_8515_web

(All of these designs can be found in my silhouette shop and digiplayground shop)

IMG_8501_web

And yes, we’ve already watched The Nightmare Before Christmas and Hocus Pocus.

IMG_8506_web

Hope you have a moment this week to pull out or make some pretty things! I’m going to get to work on costumes and start planning my Halloween kids party!

Happy Haunting,
Carina

Silhouette Design Store JOANN Stores

Episode 13: Halloween Haunted Mansion for Silhouette and DigiPlayground.com

IMG_7894_webThis idea has been in the works for several weeks now. I’m so thrilled to finally be able to present my Halloween Haunted Village! This is made completely from SVGS files that you can purchase from my Silhouette Online Shop or DigiPlayground.com (for other cutting machines).
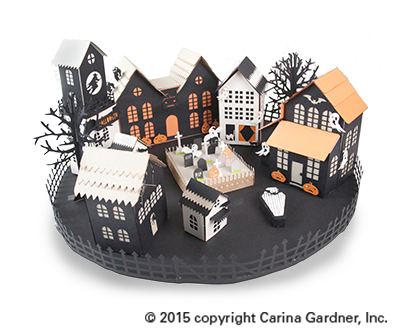
There are several pieces to this village. You can mix and match or purchase the entire village. Here are the pieces you can buy in this set (links for purchase available 9/21/15):

Pumpkin Mansion
Ghost Mansion
Spider House
Witch Tower
Haunted Tree
Haunted Fence
Coffin
Cat House
Tiny Bat House
Tiny Crow House
Cemetary

Most of these pieces (in particular the larger pieces) have a circular opening at the bottom so you can place an electric tealight. I can’t describe how awesome this village looks when all the lights are off and the tea lights make these IMG_7899_1_webhouse glow! If you want ALL the larger houses to glow, make sure you use, orange, white, cream, or transparent paper (like vellum) for the bases of your houses. Several of my houses (shown here) use a black or kraft paper base. These do not show the light nearly as well as the lighter based houses.
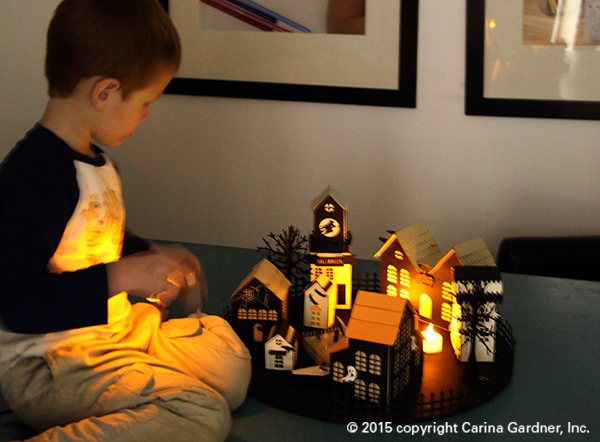
My kids were thrilled with this set! Charlie ended up playing in my office for most of the afternoon with the lights off, moving around the pieces and tea lights in this set!

IMG_7943_1_web

Of course, this set has a lot of working parts so there is a video on how to assemble it! I cover several of the pieces that I feel will help you. I hope you enjoy it!

Carina

Silhouette Design Store JOANN Stores

2015-2016 Carina Gardner and MiniLou Team Calls!

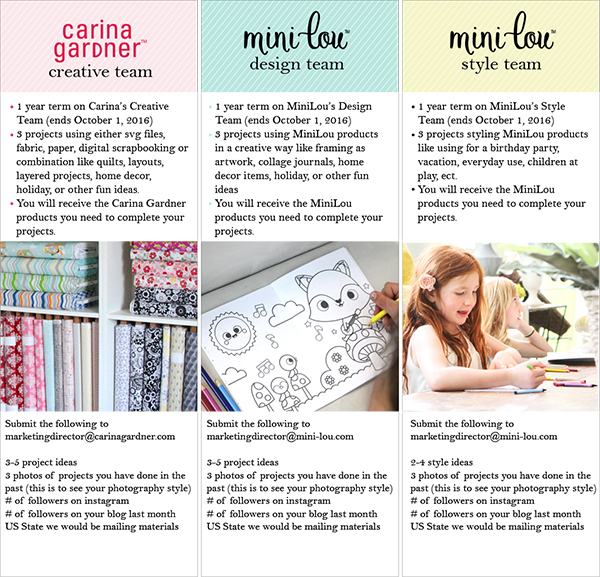
I’m so excited that we are finally able to open up three calls for a creative team, design team, and style team for MiniLou and Carina Gardner, Inc.! I’ve been wanting to do this for a while now so I’m glad we are getting this in before the holiday season commences.
These are small teams where we send you product in exchange for you coming up with ideas, doing a small write up, and taking photos. All submissions need to be sent to our Marketing Director Jill at marketingdirector@carinagardner.com or marketingdirector@mini-lou.com. Here’s the breakdown:
DIGITEAM_CALL2

For the time being, we are only taking submissions that require physical products from the US. If you are International and want to apply for digital scrapbooking product and/or silhouette files/svg products, we are happy to receive submissions from you!

Have questions? Feel free to email us!

Looking forward to seeing your submissions!

Carina

Silhouette Design Store JOANN Stores

Carina Gardner SVG Files Now at DigiPlayground.com!

DPG-re-grand-opening2

I just got back from a quick vacay with the kids before school begins next week (You can see me taking a leap from a rope swing on my facebook page here). When I opened my email, I found this gem (the image to the left). So the time has come to make a big announcement…

For all of you out there with digital diecutting machines (but not a Silhouette), you can now get my SVG files for YOUR machine at DigiPlayground.com! I have been working on this for the last couple of months and there are files up there ready to go!

Every week, we are working on getting new files up so be sure to check back often. I have a 900 + back log of silhouette files that we are reshaping for your digital diecutting machines and all of them will be available at DigiPlayground. So you will see a mix of new and old going up every week.

Annnddd…to top it off there is a 40% off sale going on NOW through the end of the week (ends August 23, 2015). Take advantage and stock up on some goodies!

Happy cutting!

Carina

PS. Psst, exciting news about MiniLou! SVGs for KIDS ONLY projects and activities are coming soon here: http://digiplayground.com/MiniLou/

Silhouette Design Store JOANN Stores

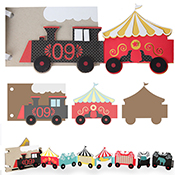
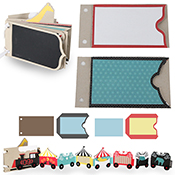
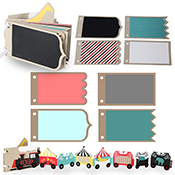
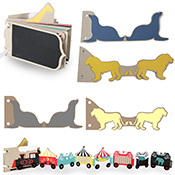
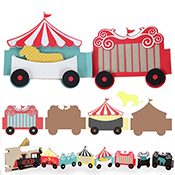
Episode 12: Circus Party Train Album Tutorial for Silhouette

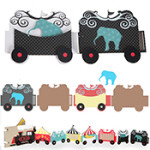
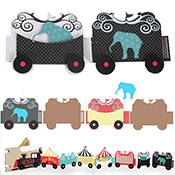
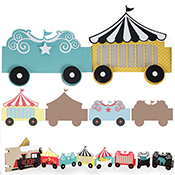
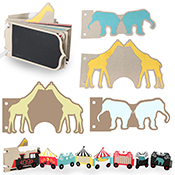
I’m so excited to share with you my Circus Party Train Album. As suggested, it is an accordion train that fits nicely into a single album. This album is made using my Circus Party papers that I designed for Carta Bella. The album can be purchased from my Silhouette Shop. I hope you enjoy!

Carina

(links will be available soon)

CircusPartyTrainAlbumCaboose CircusPartyTrainAlbumCage CircusPartyTrainAlbumElephant CircusPartyTrainAlbumEngine CircusPartyTrainAlbumEnvelopes CircusPartyTrainAlbumEssentials CircusPartyTrainAlbumLion CircusPartyTrainAlbumPocket

Silhouette Design Store JOANN Stores

Pen Pal Letters—Silhouette and Digital Scrapbooking Tutorial

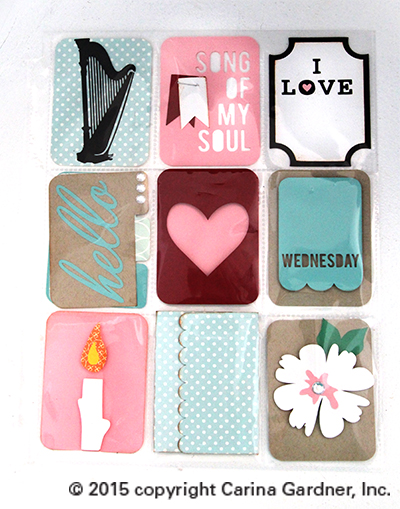
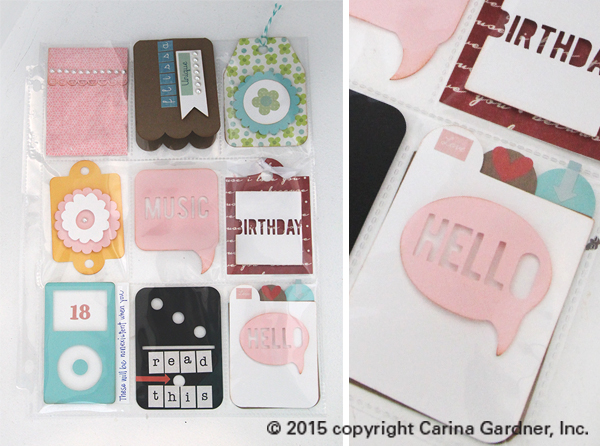
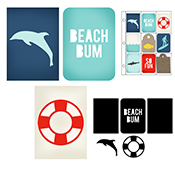
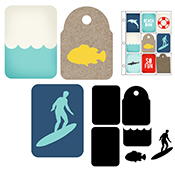
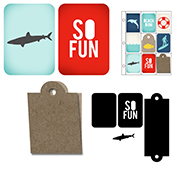
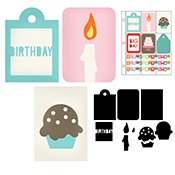
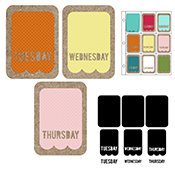
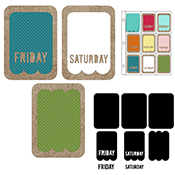
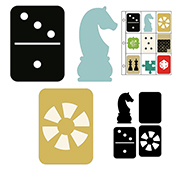
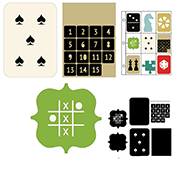
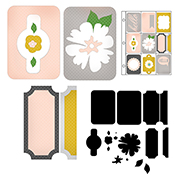
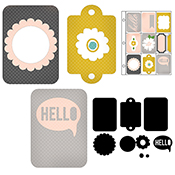
IMG_7136_1webI was recently introduced to these amazing letters that you place in Artist Trading Card Page Protectors. The idea was introduced by Janette Lane, and I have been so inspired by what she is doing. Creating these little works of art means quite a bit of scrapbooking paper, washi tape, ephemera, and other little bits and goodies. I have been wanting to make some of these letters for my girls (letters to them when they are older), and created a number of silhouette and digital scrapbooking files so that I can make them. Links for all the current products I have that relate to these kinds of letters are below (in both my silhouette and digital scrapbooking shop).

Be sure you check out Janette and what she is doing because it is truly inspiring!

The image above and to the left I did for my daughter Siri who is a harpist. You’ll notice the envelope at the bottom that I plan on putting her letter in. I’ll also write a few things I love about her on the “I love” card from the starter set. I’ll add a few stories about her growing up on the tabbed set.

I think I’ll hide it away for her 18th birthday. It will be a treat for both of us!

IMG_7117_web

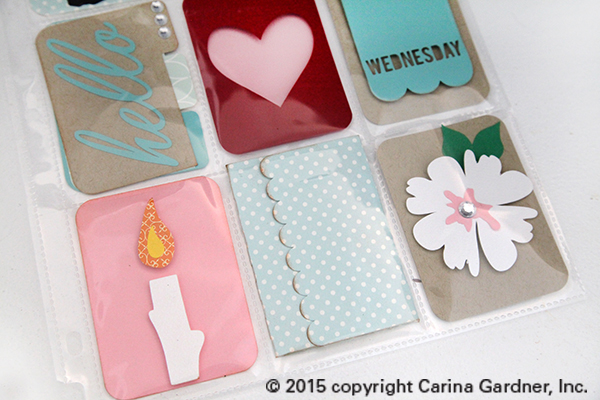
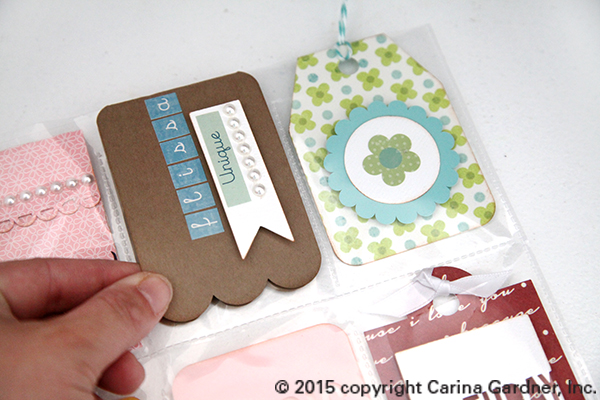
The one below I made for Felicity for her 18th birthday. The envelope is in the left hand corner and I am loving this little fold over scalloped tab I am using in the center top to write a little story about her now. I’m hoping she loves the silly ipod in the bottom left hand corner and the tabbed pieces in the right hand corner (I might throw a few fun pictures in there for her).

IMG_7138_1web

My take on the Pen Pal Letters is simply another way to document bits of our lives for my kids. I love the way Janette is using them to build a fun community and create something beautiful!

IMG_7119_web

Happy pen pal-ing!

Carina

Please note: some products not released yet and links are not available.

DIGITAL SCRAPBOOKING PRODUCTS:

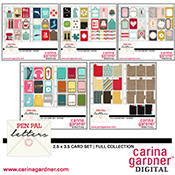
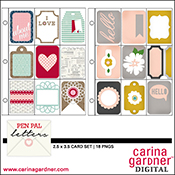
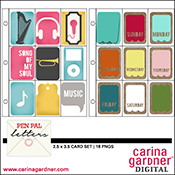
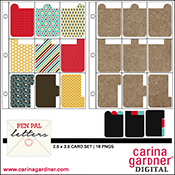
CarinaGardner_penpal_bakingbeachprev copy CarinaGardner_penpal_birthdaygamesprev copy CarinaGardner_penpal_fullprev CarinaGardner_penpal_hellostarterprev copy CarinaGardner_penpal_musicdaysprev copy CarinaGardner_penpal_tabbedprev copy

__________________________________________________________________________________________

SILHOUETTE PRODUCTS:

(link to all the silhouette Pen Pal Letters here)

penpal2.5x3.5letters_verticalenvelopespenpal2.5x3.5letters_horizontalenvelopespenpal2.5x3.5letters_starterpack1penpal2.5x3.5letters_starterpack2penpal2.5x3.5letters_starterpack3penpal2.5x3.5letters_bakingpack1 penpal2.5x3.5letters_bakingpack2 penpal2.5x3.5letters_bakingpack3

penpal2.5x3.5letters_beach1 penpal2.5x3.5letters_beach2 penpal2.5x3.5letters_beach3 penpal2.5x3.5letters_birthday1 penpal2.5x3.5letters_birthday2 penpal2.5x3.5letters_birthday3penpal2.5x3.5letters_days1 penpal2.5x3.5letters_days2 penpal2.5x3.5letters_days3 penpal2.5x3.5letters_games penpal2.5x3.5letters_games2 penpal2.5x3.5letters_games3 penpal2.5x3.5letters_tabbed_h penpal2.5x3.5letters_tabbed_v01penpal2.5x3.5letters_hellopack1 01penpal2.5x3.5letters_hellopack2 01penpal2.5x3.5letters_hellopack3

Silhouette Design Store JOANN Stores

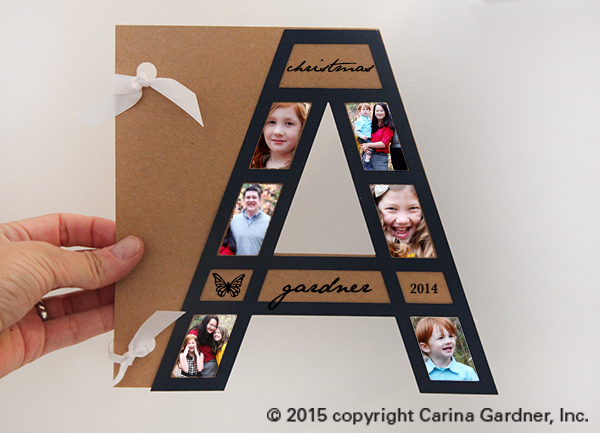
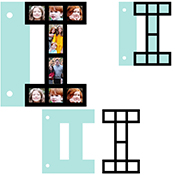
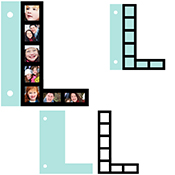
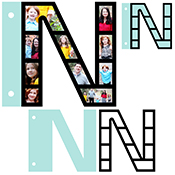
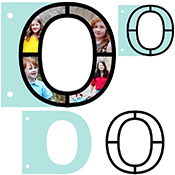
Alphabet Photo Album Tutorial for Silhouette

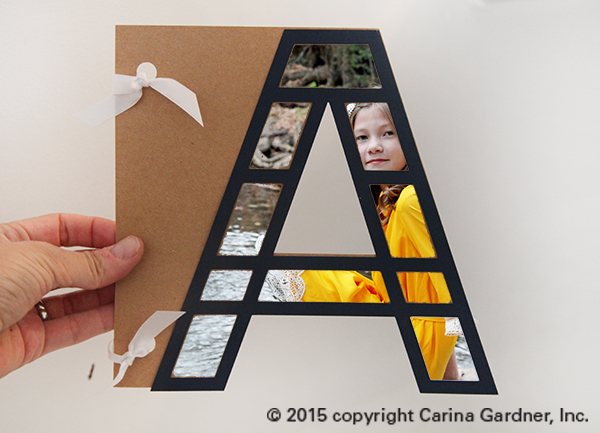
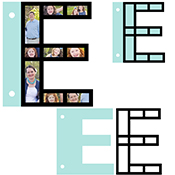
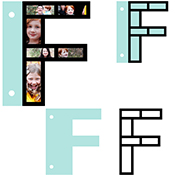
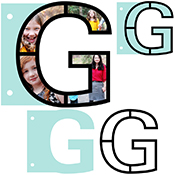
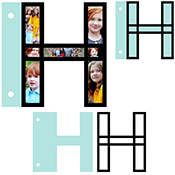
I’m so excited about my Alphabet Photo Album series that can be purchased from Silhouette. There are so any ways to use this album. Tutorial below along with a few ideas for using this album!

IMG_6845_1_web

IDEAS AND INSPIRATION

1. Cut a single photo into one letter. Simply lay a large photo behind the letter and trim the photo.

2. Use multiple letters together to create a name (like C-H-A-R-L-I-E) and only put photos of that person in it.

3. Choose a theme like S-U-M-M-E-R and capture favorite moments from the season.

4. Add journaling and/or capture a specific photo shoot or time of year.

IMG_6845_1_web1

5. Create an alphabet album highlighting each letter. For example, an apple orchard experience with your children all captured in the letter ‘A’ or a swim party in the letter ‘S’.

6. Do a single letter album to highlight a holiday. For example, ‘C’ for Christmas—

7. Or highlight the holiday by spelling out the holiday like E-A-S-T-E-R.

There are so many great ways to use this album for a gift or keepsake. Here’s how you put it together.

TUTORIAL

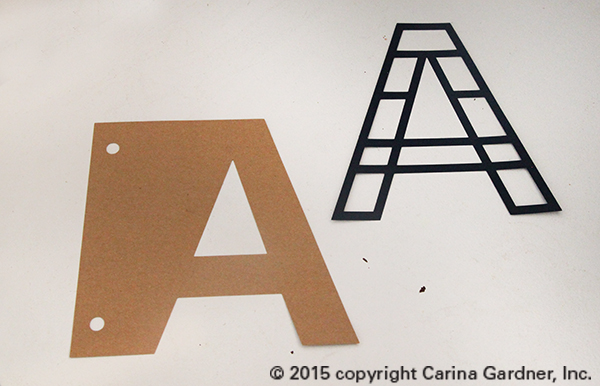
1. Cut  out SVG files. You will have two pieces—a front overlay and a back piece with holes for attaching it to other album pieces. (PS All the Alphabet Photo Album pieces go together).

IMG_6837_1_web

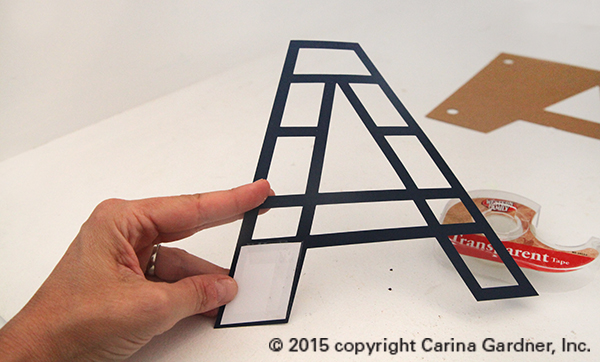
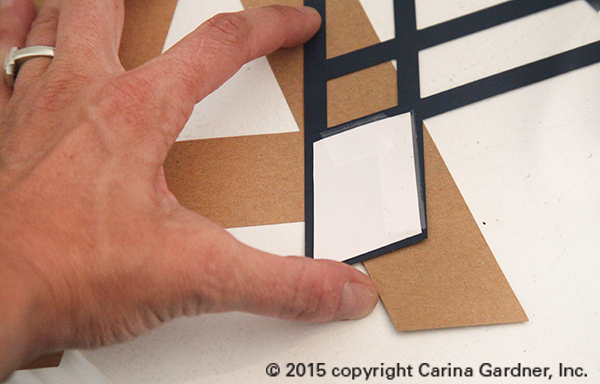
2. Use tape or a glue stick to adhere the photograph to the back of a framed window. I used scotch tape, but you may use whatever adhesive you would like to make  your picture stay in place.

IMG_6839_1_web

IMG_6840_1_web

3.Finally, simply place the letter on back piece to create a simple collage of fun photos.

Hope you get to make one of these fun album!

Carina

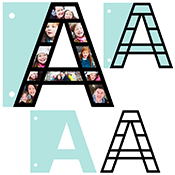
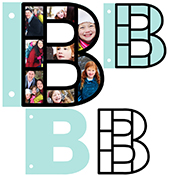
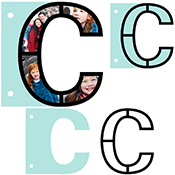
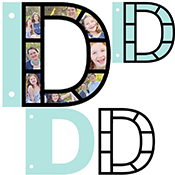
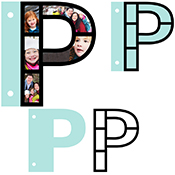
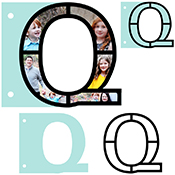
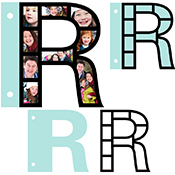
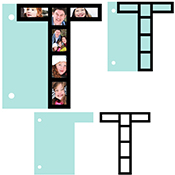
A_AlbumB_AlbumC_AlbumD_AlbumE_AlbumF_AlbumG_AlbumH_AlbumI_AlbumJ_AlbumK_AlbumL_AlbumM_AlbumN_AlbumO_AlbumP_AlbumQ_AlbumR_Album

S_Album

T_Album

U_Album

V_Album

W_Album

X_Album

Y_Album

Z_Album


Silhouette Design Store JOANN Stores