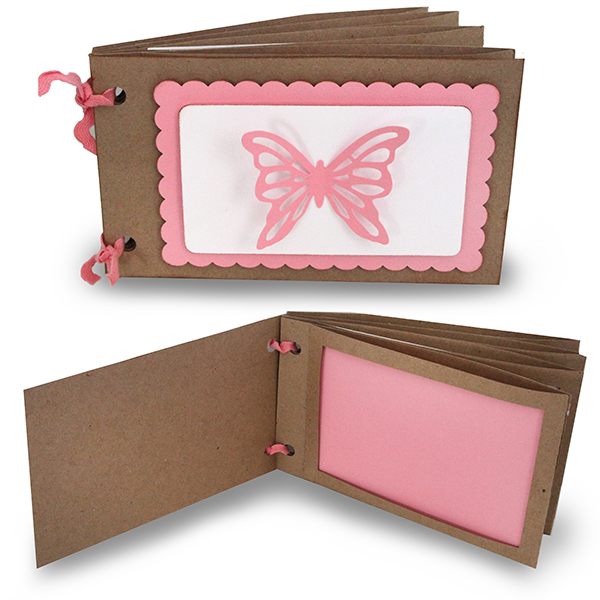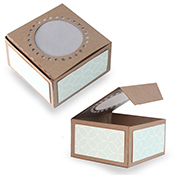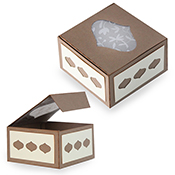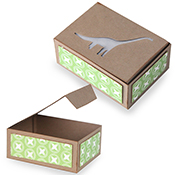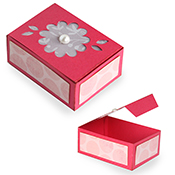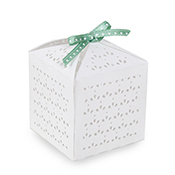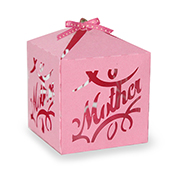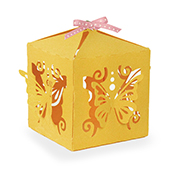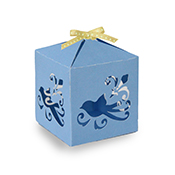
Rectangle Card Boxes Tutorial for Silhouette

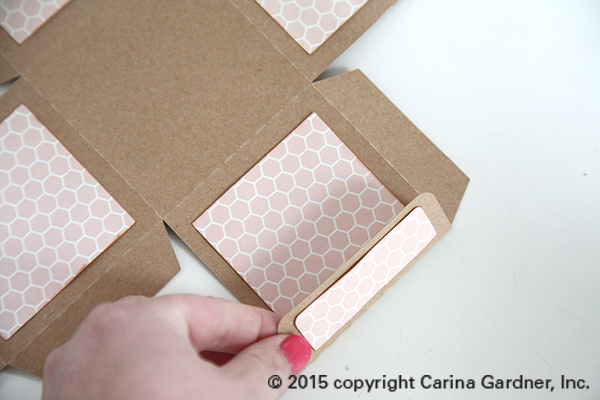
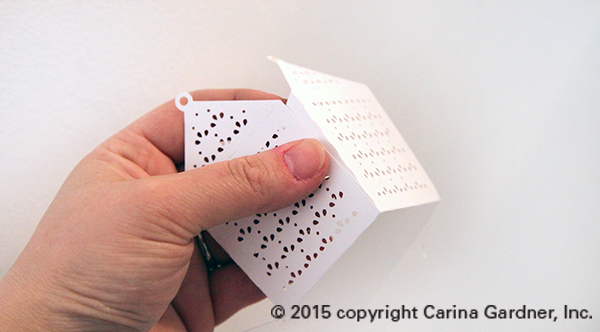
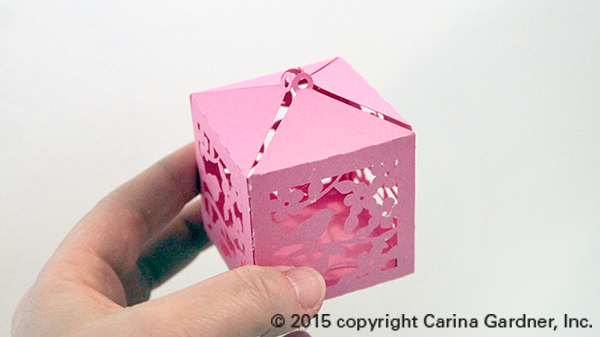
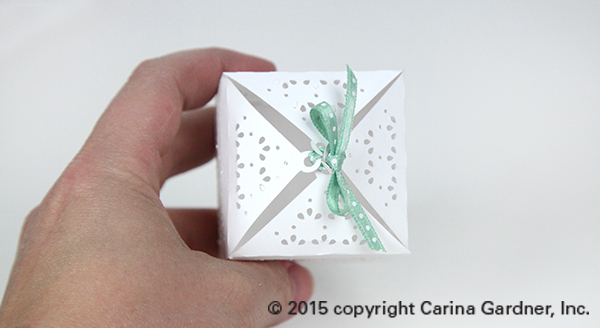
I’ve been adding quite a few of these box cards to my silhouette shop recently. They aren’t hard to put together but there are a few steps. Each of my boxes are different so you will need to make adjustments to this tutorial based on the type of box you have purchased.

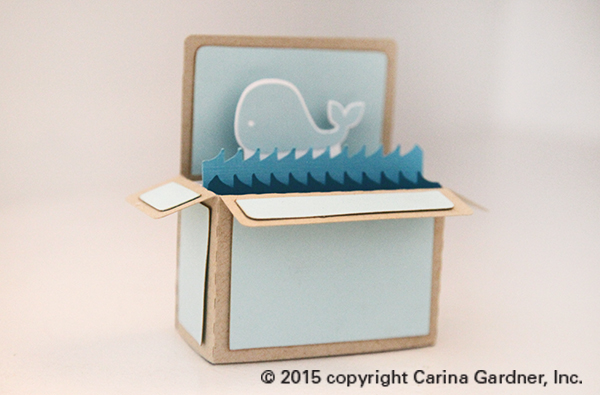
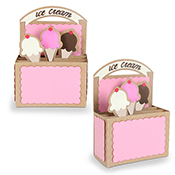
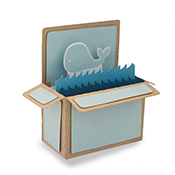
A couple of notes about these boxes. They aren’t true boxes in that they do not have a bottom. Once you have put them together, you should be able to fold them flat. Some of the boxes come with flaps along the edges (like the whale box) and some come without (like the ice cream box).

Here’s how to put it together:

1. Cut out the svg files. Glue accent pieces to the outside of the box. Note that most of these boxes should have a large accent piece on the back of the box AND the inside of the box. Usually you just need to cut the piece twice but on some of the designs the inside is different than the accent piece on the outside.

IMG_6811_1_web

IMG_6812_1web

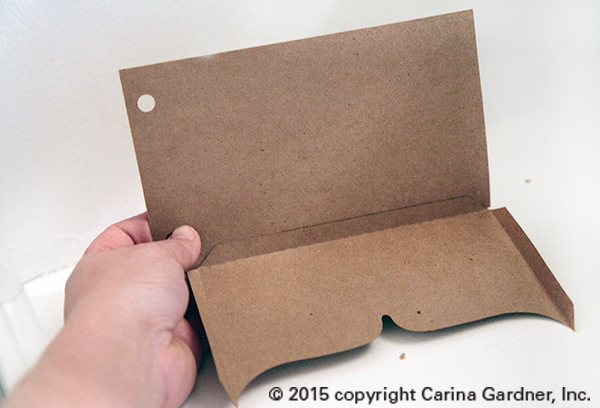
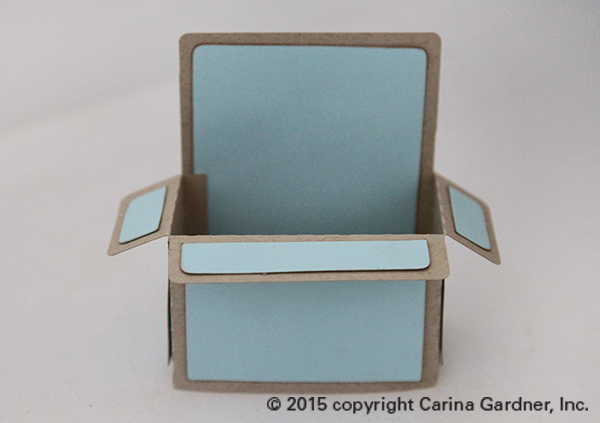
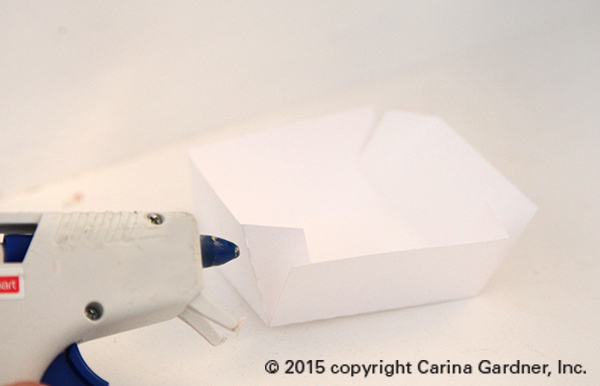
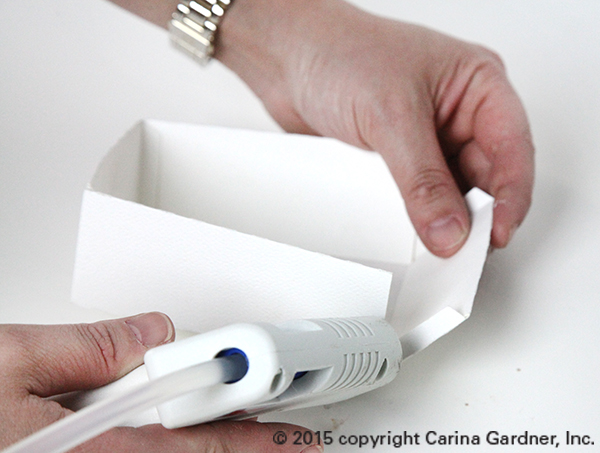
2. Glue the flap on the main piece to the back of the box to create the main box.

IMG_6814_1_web

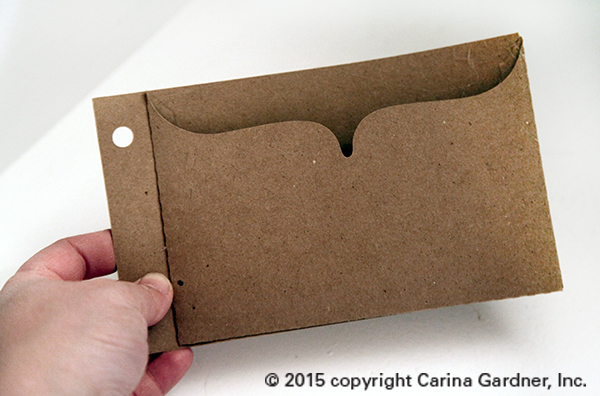
It should look like this:

IMG_6817_1_web

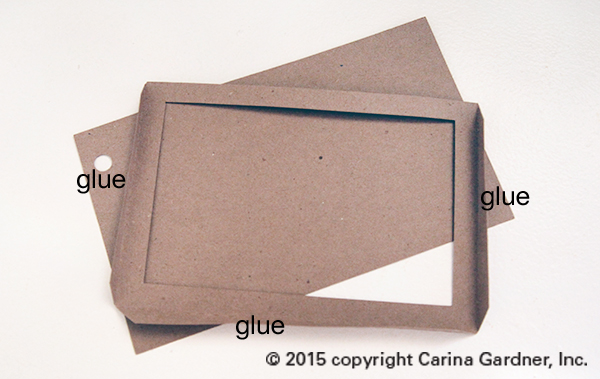
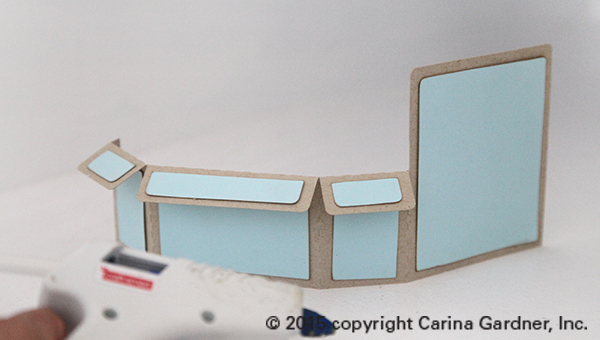
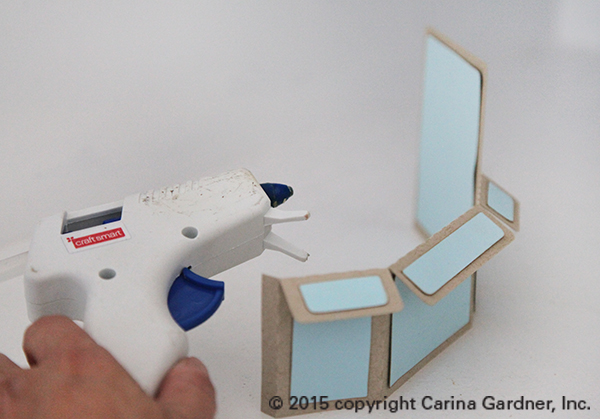
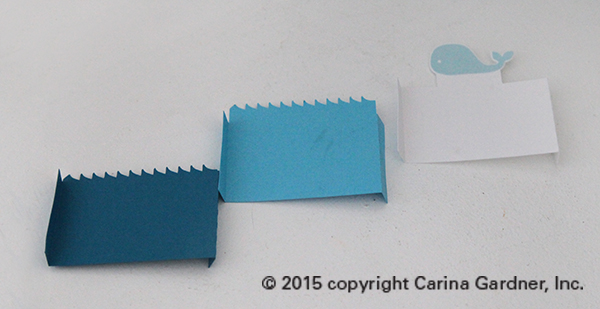
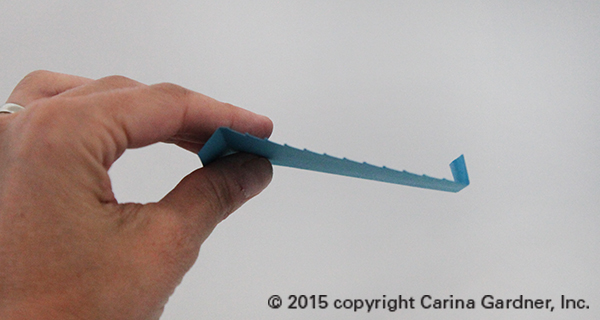
3. Glue on all the accent pieces to the inside pieces (for example, the whale on the back piece shown here). Then fold on glue flap forward and one glue flap backwards.

IMG_6818_1_web

IMG_6819_web

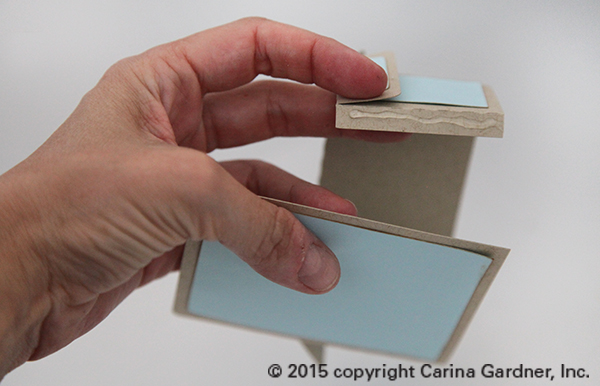
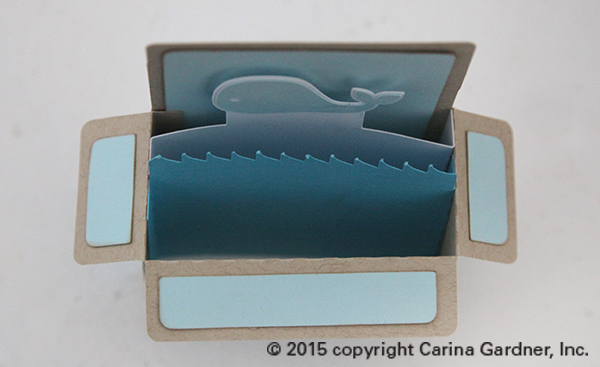
4. Next glue the flaps into the box. Space the different pieces inside evenly. Most of these boxes come with 2-3 inside pieces. You can also fold the box flap to glue down the box pieces. Some of the boxes come with a single inside piece and a couple of little accessories (usually an object on a stick) that you just glue directly to the box.

IMG_6821_1_web


IMG_6823_1web

And that’s it! It’s a cute card or fun gift idea!

Hope you have fun making these!

Carina

DS-9.3W-CG-babyboxcard DS-9.3W-CG-deerboxcard DS-9.3W-CG-icecreamboxcard
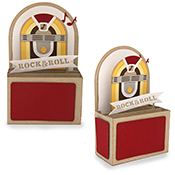
DS-9.3W-CG-jukeboxcard
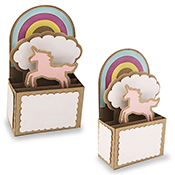
DS-9.3W-CG-unicornboxcard
DS-9.3W-CG-whaleboxcard1

Silhouette Design Store JOANN Stores

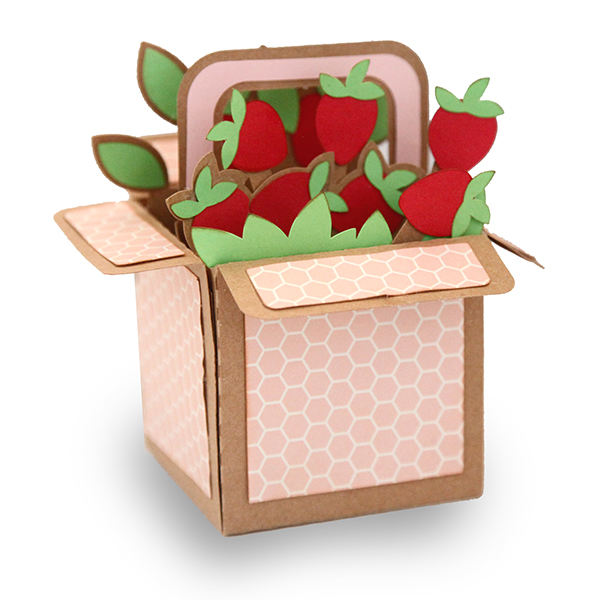
Filled Basket Silhouette Tutorial

DS-16.5W-CG-strawberrybox

I probably redesigned this basket a half a dozen times but I think it was worth it! The end result just makes me smile!

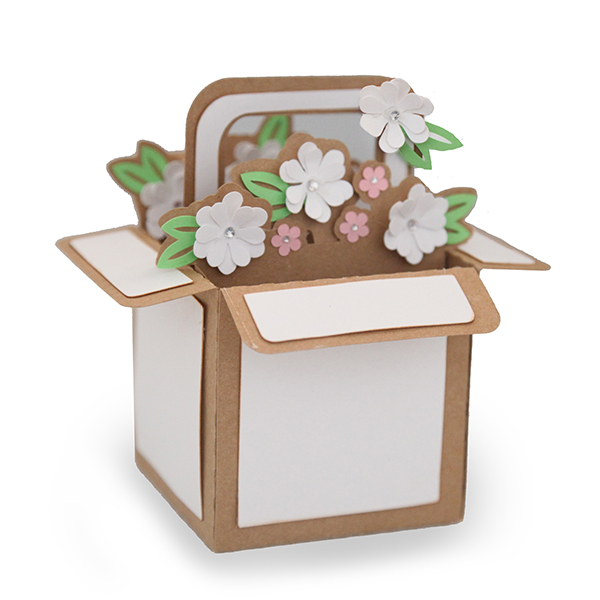
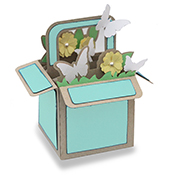
These little baskets are 3D and take a bit of time (and creativity) to put together. Stick a little gift card in it for a friend or use it for home decor! These baskets DO NOT fold flat (they have a full bottom on them).

I hope you get a chance to make one of these darling little baskets! You can fill them as “full” as you want with the addition of little “bits” that can be glued in the front or back. You also have the option of making this front and back (by gluing the accessories —like flowers or strawberries) to the front and back of each piece).

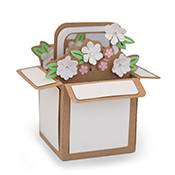
DS-16.5W-CG-flowerbasket

Here’s how to put these together:

1. Cut out the svg files.

2. Glue the accent pieces to the main box. This includes the side squares and the “lid” accent pieces.IMG_6380_web

2. Next glue down all the embellishments (like the strawberries or flowers) to the inside pieces (shown below in kraft paper). You can pop dot them but because mine was full, I chose to simply glue them down. Add any embellishments (like diamonds to the centers of the flowers) at this point. Note: You can finger press anything at this point to add dimension. You’ll see that with the flowers, I chose to only glue the centers and finger press the petals to give the flowers more depth.

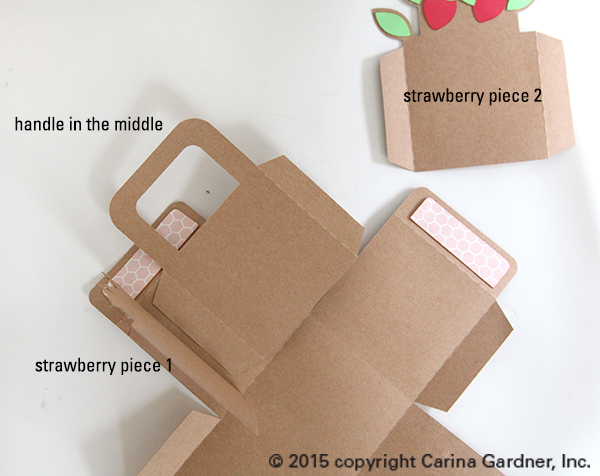
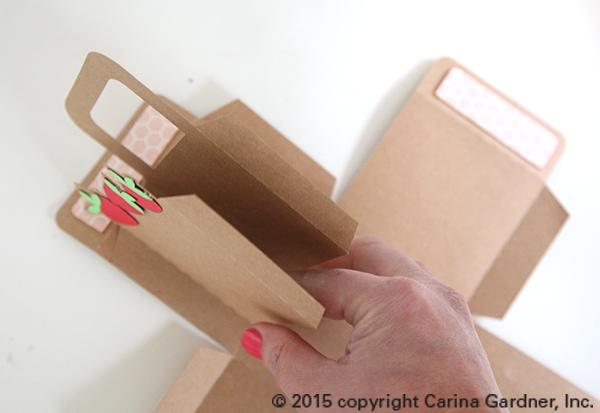
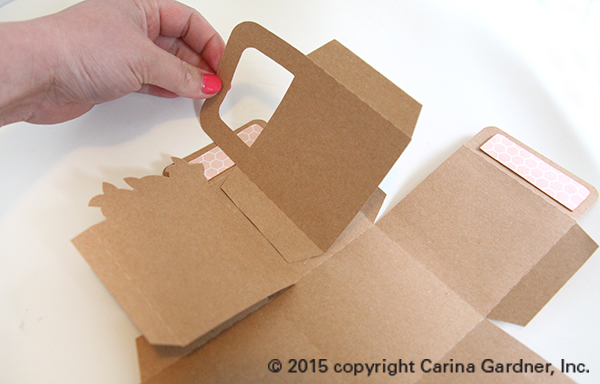
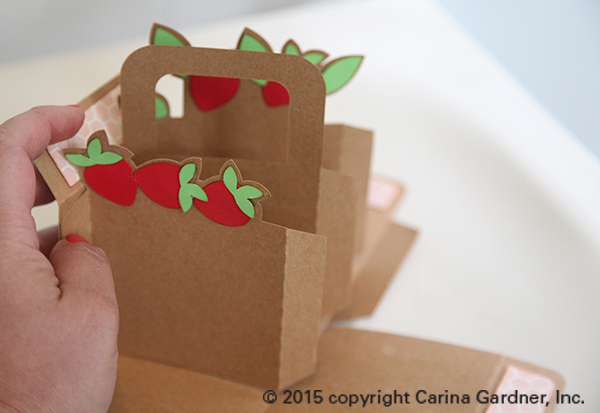
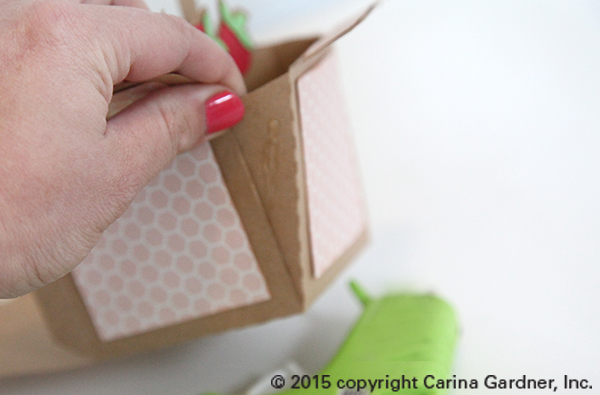
3. Next, you’ll need to glue in the tabs. You can see I got a little picture crazy with this because it’s a little hard to explain. I like gluing in the center piece (with the handle) first. I fold one tab forward and one tab backwards. You can see in the photo below, I glue that handle piece to the center of one of the sides of my box.

IMG_6382_web

I then glue the front piece on (as shown below). I glue the flap going forward like the handle piece.

IMG_6383_web IMG_6385_web

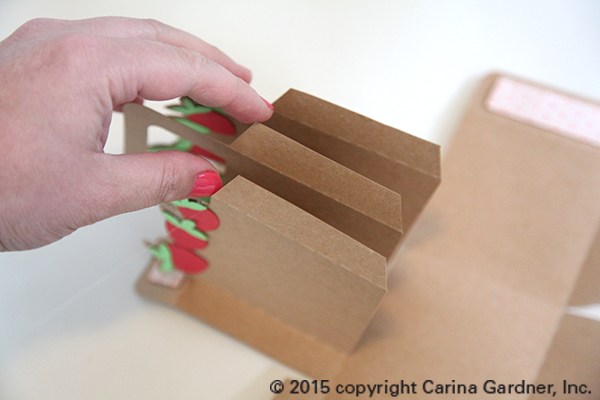
I then glue the back piece on. You’ll notice that I try to evenly space them.

IMG_6386_web

Fold up the box and see how you are doing on your spacing. This will also help you gauge where to glue the opposite side flaps on.

IMG_6391_web

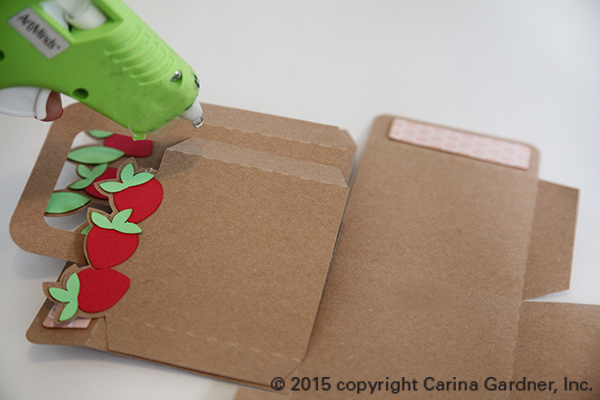
4. Glue the inside pieces to the opposite side of the box. I like to just glue one of the flaps first. I started with the first inside piece (you can see in the photo below). I placed hot glue on it (you can use any kind of adhesive you want) and then positioned it to the opposite side of the box.IMG_6392_web

It should look like the photo below.

IMG_6394_web

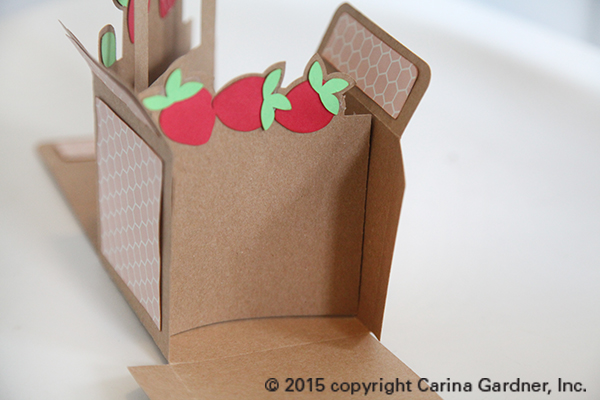
I finish gluing the other two flaps onto the opposite side of the box.

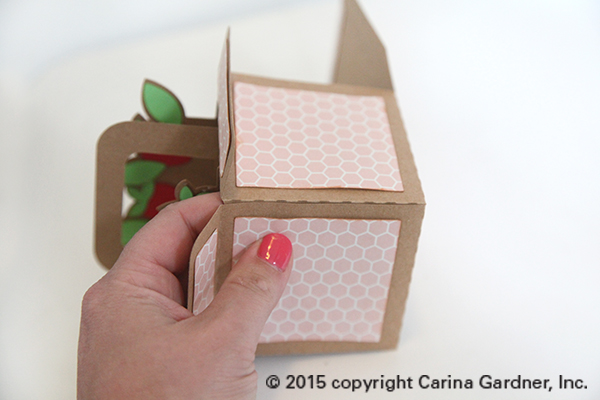
5. Once I have all the middle pieces positioned, I then glue the rest of the box together.

IMG_6401_web

IMG_6402_web

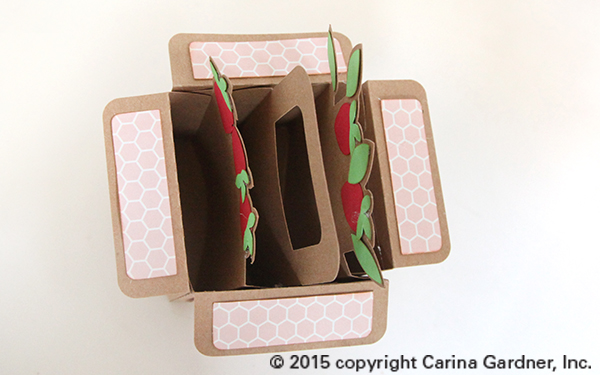
From the top, it will look like this (see photo below).

IMG_6408_web

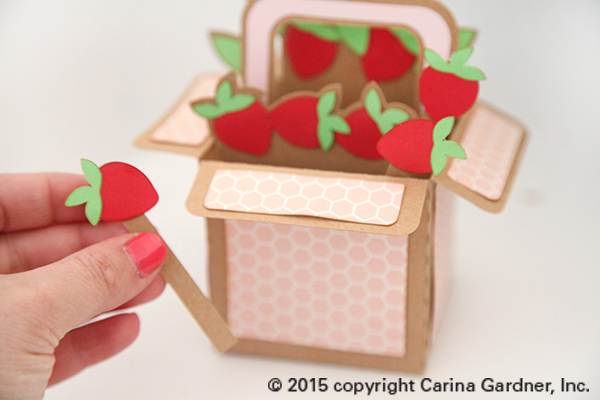
6. There may be several accent pieces in the file you have. For example, there are “strawberries on a stick” in the strawberry basket file as well as some greenery. I placed the strawberries randomly in the box and glued them to the front of the box and behind the inside pieces. I glued the greenery to the front of the box. For the flowers, I simply added some flowers to parts of the box to give it a more “full” look.

IMG_6412_web

DS-16.5W-CG-strawberrybox

The point is to add some depth to the boxes contents.

Hope you have fun making one!

Carina

DS-16.5W-CG-flowerbasket DS-16.5W-CG-strawberrybox DS-16.5W-CG-butterflybasket1

Silhouette Design Store JOANN Stores

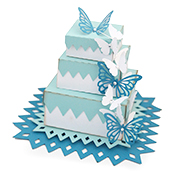
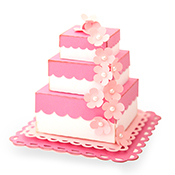
Layered Cake Tutorial for Silhouette

DS-15.6W-CG-layeredweddingcake

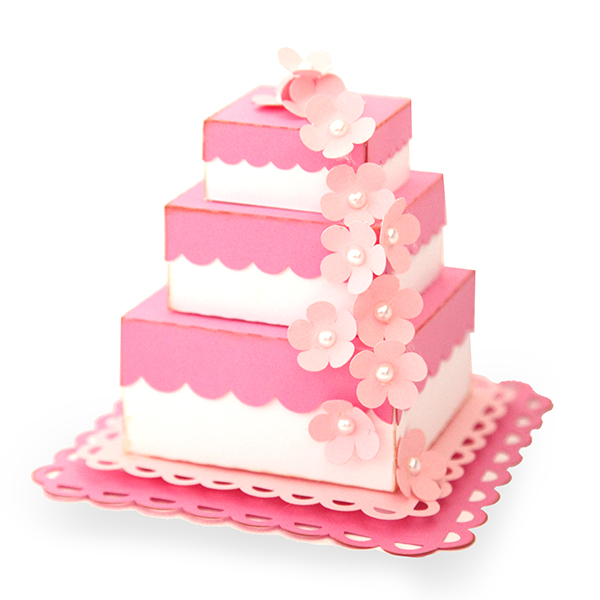
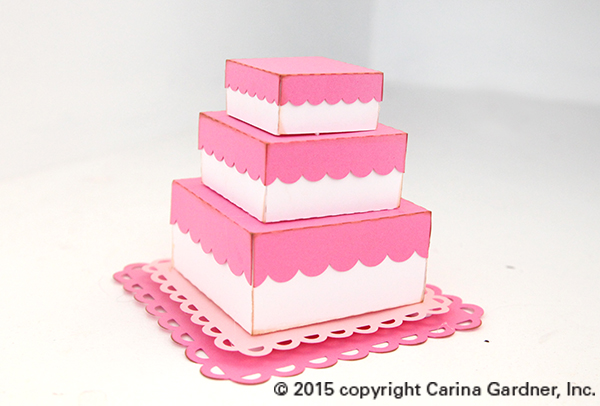
There are lots of weddings happening around me, and I was inspired to make some cake! Some Silhouette Cake of course!

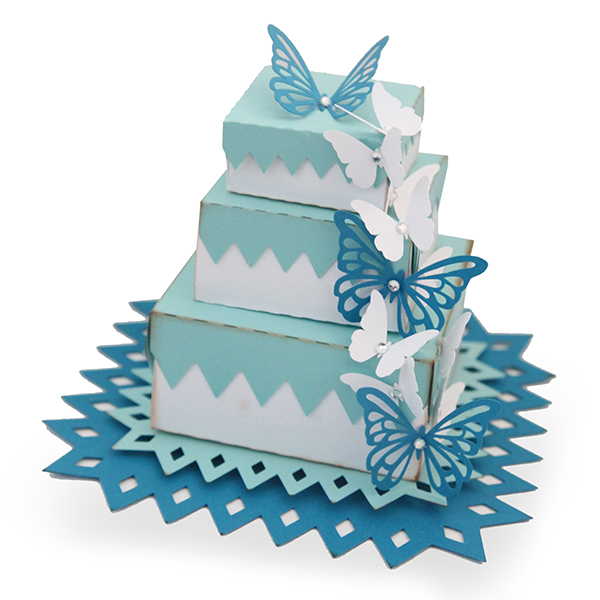
These layered cakes are all put together about the same way (with some slight deviations based on design). You can mix and match the designs (like using the butterflies with the scallop shapes of the flowers) because all of the cakes are made exactly the same size.

The crazy thing is that these are even cuter in real life! I think we might have to leave these out in the office for a while to enjoy them!

Check the bottom of the post for links to specific designs you can find in my Silhouette Shop!

Here’s how you put these sweet treats together:

DS-15.6W-CG-butterflylayeredweddingcake1. Cut out all the svg files.

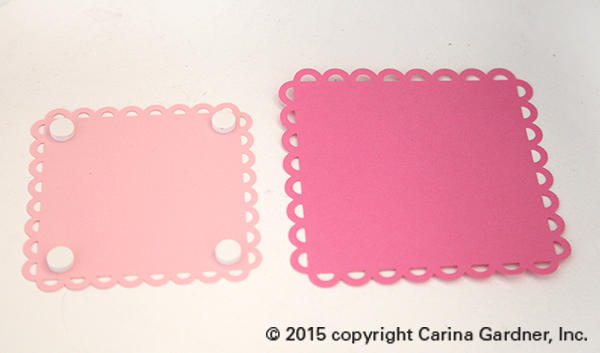
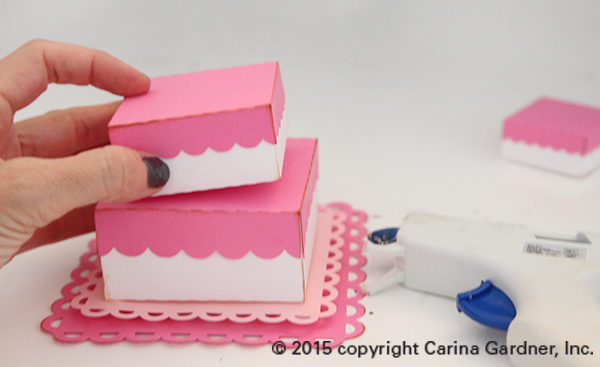
2. Layer with adhesive (or pop dots as shown in my picture) the bottom mats with the small one on top of the larger one.

IMG_6421_web

3. Put together the main form of the “cake” by gluing the boxes together. Put adhesive on the glue flaps to form the sides of the box.

IMG_6428_web

4. Place the matching “top” to the box and glue down the sides.

IMG_6431_web IMG_6433_web

You should have three (or more) boxes finished.

IMG_6437_web

5. Glue the boxes to the mats in order of largest to smallest.

IMG_6439_web IMG_6440_web

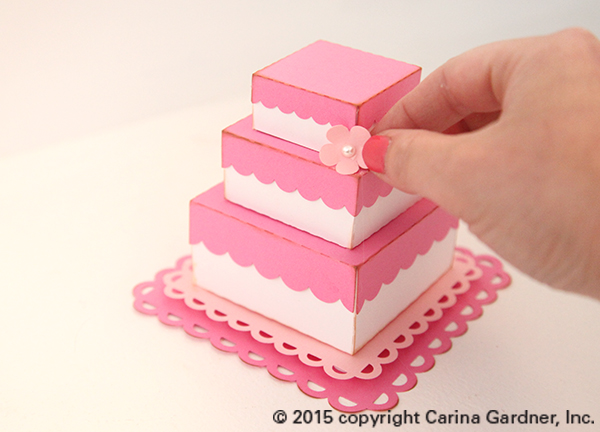
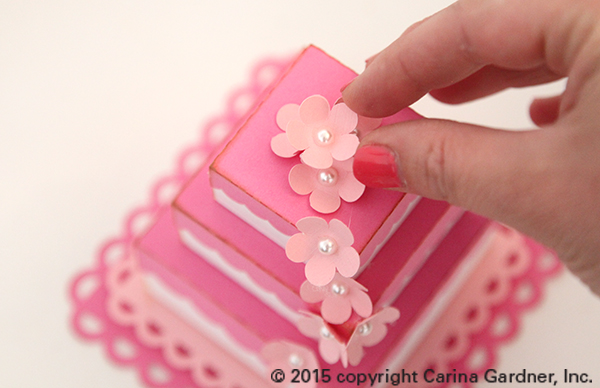
6. Finally, embellish the cake the the decorative items that come with the cake. I like a diagonal design but you can place them any way you want! For the topper, I try to use the biggest item (like the cut out butterfly) or gather together several of the same items (like 4 flowers all together). I used embellishments (like little diamonds or pearls to help accessorize).

IMG_6443_web IMG_6446_web

And that’s it! You’ve made a darling layered cake! Hope you had fun making it!

Carina

(Links available as the product becomes available)

DS-15.6W-CG-butterflylayeredweddingcake DS-15.6W-CG-layeredweddingcake

Silhouette Design Store JOANN Stores

Mobile Tutorial for Silhouette

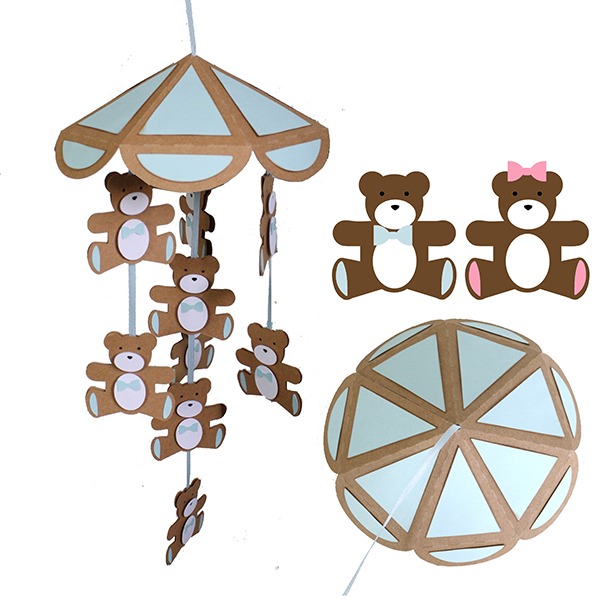
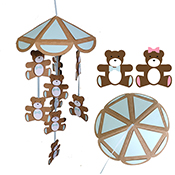
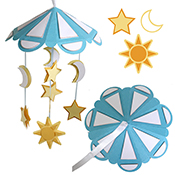
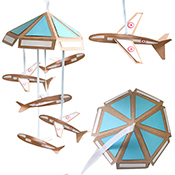
teddybearmobileThis week among my Silhouette releases are mobiles. They do take some time to put together but they are really cute and make the cutest party and home decor items!

I use a lot of solid papers for this project and was loving my hot glue gun because it made putting it altogether quick. The “umbrella” piece at the top can be used for more than just the mobile (size down for umbrella drinks or other party items).

Here’s how to put this together:

1. Cut out the pieces as shown in the file.

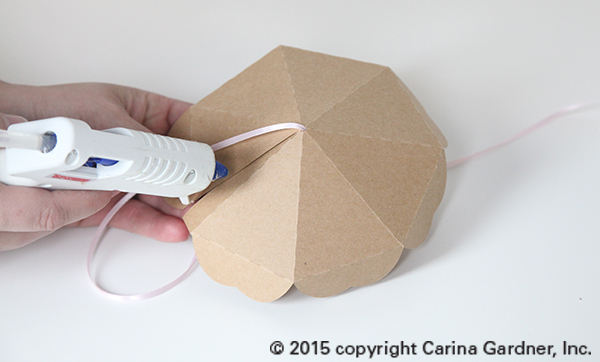
2. Glue all the accent pieces to the top of the “umbrella”. (Note you can do this between Steps 4 and 5 as I show in the photos as well.)

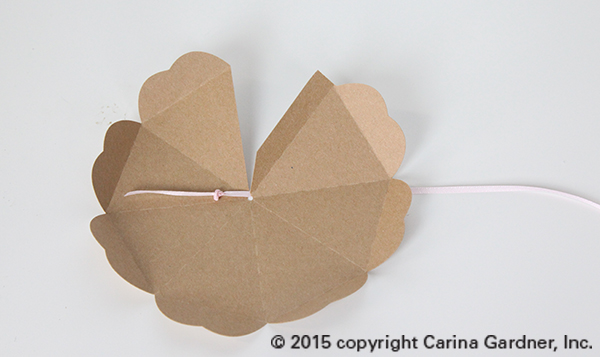
3. Fold on the scorelines of the “umbrella” and place a ribbon with a knot on the end of it in the center hole. If you want to place hanging icons from the center ribbon, leave a long tail.

IMG_6255_web

4. Glue the flap of the “umbrella” together with the ribbon in the center.

IMG_6258_web

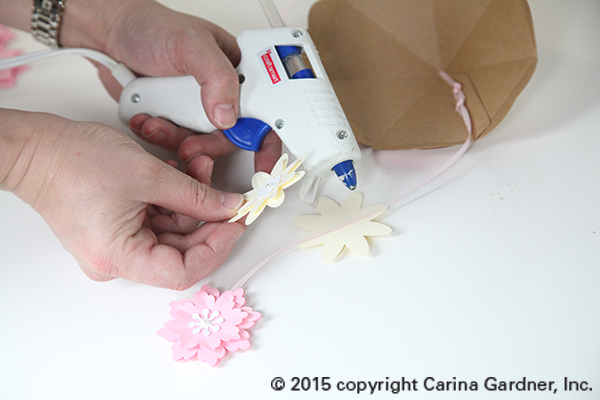
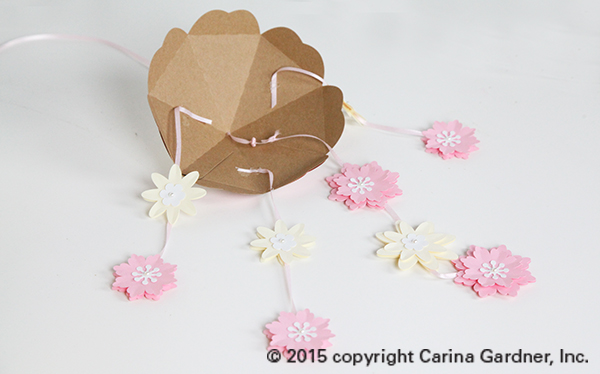
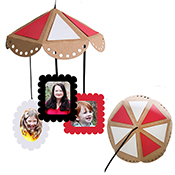
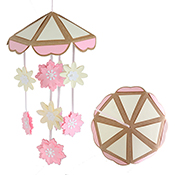
5. Put together the “object” you will be placing on the mobile. For example, if you have the teddy bears, assemble each teddy bear individually. If you have the floral mobile, you can finger press the petals and make each flower individually. For my mobiles, I had 4 ribbons—the center ribbon, and three shorter ribbons. On each of the short ribbons, I hung two objects each. For the center, I hung 3 objects. So that is a total of  9 objects, right? But you have to DOUBLE that number, because you will want to make each object DOUBLE-SIDED since they will be floating. So I cut out 18 objects in total for each of my mobiles. Feel free to change up the number and size of your objects. (e.g. the scallop frame mobile only uses 3 frames so I only cut out 6 pieces in total).

If you left a long tail for the center ribbon, you can add you objects directly to that center ribbon. If you did not, you can always easily knot another piece of ribbon to the center knot. Place two or three objects on this center ribbon and space carefully. Glue one side of the object onto the ribbon first, then sandwich the ribbon by adding a second object.

IMG_6262_web

6. Add the other ribbons with either tape or hot glue. Be sure to space them into thirds if you are using three more ribbons. Add objects to these ribbons as well.

IMG_6304_1_web

And that’s it! It’s a lot of cutting and gluing but makes for an awesome project! Hope you have fun making these!


***NEW: Tutorial for putting together the airplane in the Airplane Mobile

I added this little tutorial because putting together the airplane (while not complicated) is a little hard to see in the photos. So here is how you put these together.

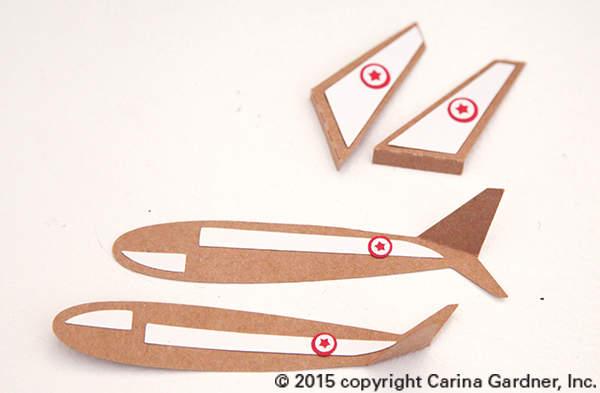
1. After cutting out all the pieces, you will want to add all the accent pieces as MIRROR IMAGES. Then fold the tail wings out. You can see that the tails on both cut out pieces are folded out to opposite sides. You need to put everything on as a mirror image so that you have accent pieces on BOTH sides of the airplane.

IMG_6499_web

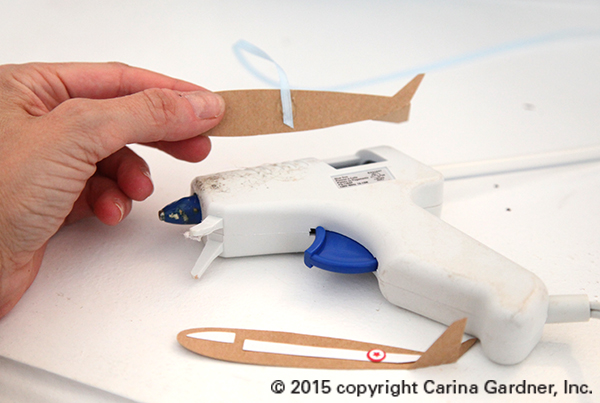
2. To place the planes on the ribbon, you will sandwich the ribbon between the two planes. Glue together the sides without the accent pieces.

IMG_6503_web

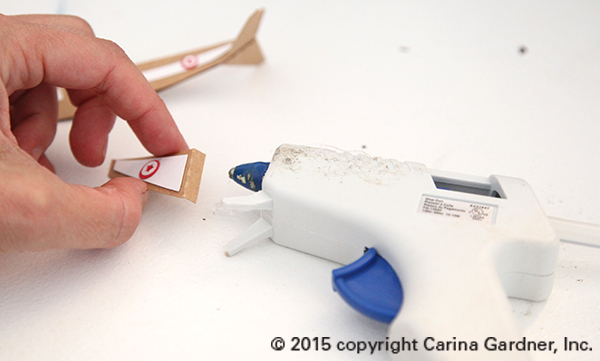
3. You can add the wings at this point (with the ribbon sandwiched between the two planes) or you can do this before you add the plane to the ribbon.

IMG_6506_web

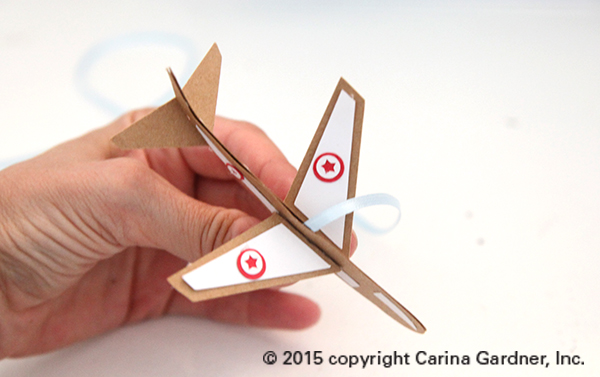
Here’s a final look at the airplane from the top view.

IMG_6507_web

Hopefully this helps you put together the airplane mobile!

Carina

PS. Other goings on at CGInc and ML : MiniLou Kickstarter Video, MiniLou Online Shop Opening, Release of my CartaBella line Circus Party

Links to my mobiles in the Silhouette Store

teddybearmobile sunstarmoonmobile scallopframemobile floralmobileairplanemobile_1

Silhouette Design Store JOANN Stores

Riley Blake Blog Tour

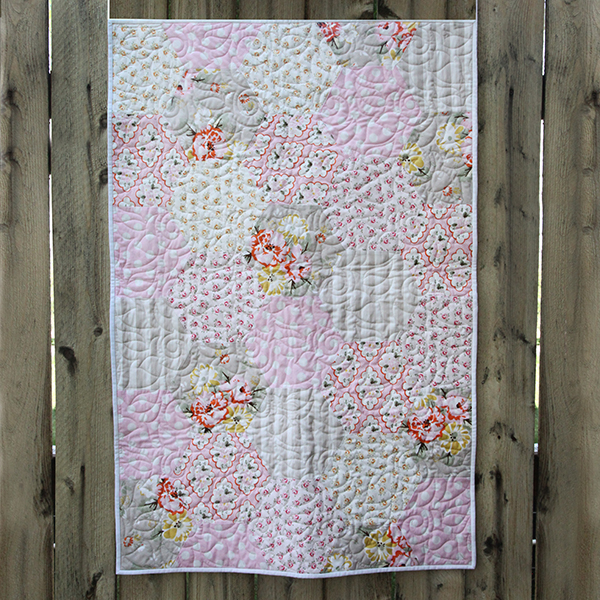
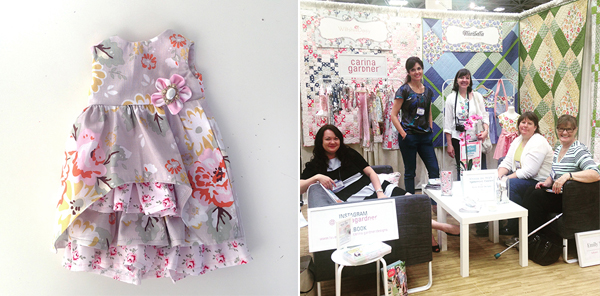
Hexiquilt_webI’m finally back from Quilt Market and so excited to be part of the Riley Blake Blog Tour! I have a few pics from Quilt Market in Minneapolis in this post too.

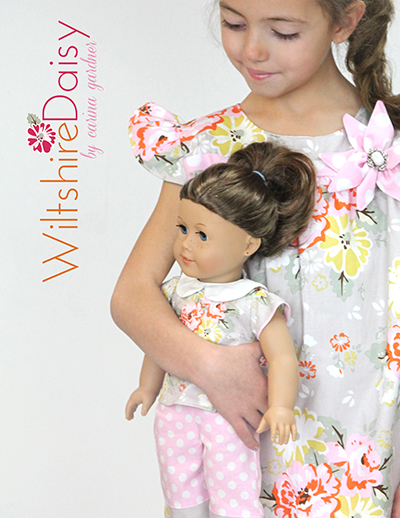
So building Wiltshire Daisy began with color. That doesn’t always happen for me. I generally start with a concept and begin drawing the master fabric from an image in my head. This time I knew I wanted to create a gray and pink colorway. I began drawing the cabbage roses and started adding little drops of orange and yellow into the mix. Yellow and pink are two of my favorite colors together (I call them citrus—lemon and grapefruit). It seemed natural at that point to also throw in the orange (for some extra citrus flavor).

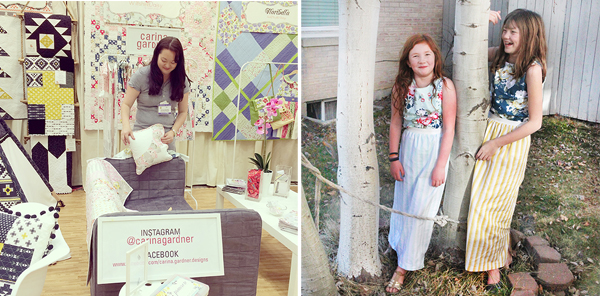
(photo to the left—Baby Hexi Quilt—free pattern coming to the blog in the next two weeks / photo below, right—Me at Quilt Market arranging my booth / photo below, left—my girls sporting Wiltshire Daisy dresses I whipped up one Sunday for church)IMG_9517_web1

Wiltshire Daisy is probably my favorite line to date. It’s very soft and shabby chic. (photo below, right—Little Love Nest Ruffle Dress for the 18 inch doll in the gray master fabric / photo below, left—my Quilt Market booth in the Riley Blake Booth with Emily Taylor)

IMG_9517_web2

If you love this fabric, make sure and take a peek at the free Around the World Quilt pattern here. You can also follow me on instagram to see what else I’m making with this fabric (as well as a sneak peek at my fall line for Riley Blake!).

Happy Sewing!

Carina

PS My new kids company MiniLou has 23 days left in the MiniLou Kickstarter Campaign. Check out our cute video!

CHECK OUT THESE OTHER STOPS ON THE BLOG TOUR!

5/15 – Where Women Cook
5/18 – Becky Marie Designs
8/18 – Pattern Anthology
5/19 – Carina Gardner
5/21 – Lori Holt
5/21 – Tasha Noel
5/22 – Lori Whitlock
5/22 – Cinderberry Stitches
5/23 – Eleanor Dugan
5/26 – Simple Simon
5/26 – The Quilted Fish
5/28 – Melly & Me
5/28 – Elea Lutz
5/29 – Zoe Pearn
5/29 – Doohikey Designs
5/30 –Samantha Walker
5/30 – Kelly Panacci
 

Silhouette Design Store JOANN Stores

MiniLou Kickstarter Campaign

The video below has been my life the last week! Seriously. Armed with my amateur video software and a style vision, I video taped, animated, and coaxed children into speaking into my hilariously big microphone. Totally worth it! Check out this 1 minute of cuteness!

Somehow it seems fitting that this campaign goes live on Mother’s Day since MiniLou was inspired by my children. Feel free to read my story on the Kickstarter page here.

So what is this all about? Ever since starting MiniLou seven months ago, I knew that we were going to need additional funding to bring in more products. So far, MiniLou is 100% funded by me. Kickstarter is a platform where you can become a member of my campaign and receive certain benefits for being a part of the MiniLou community.

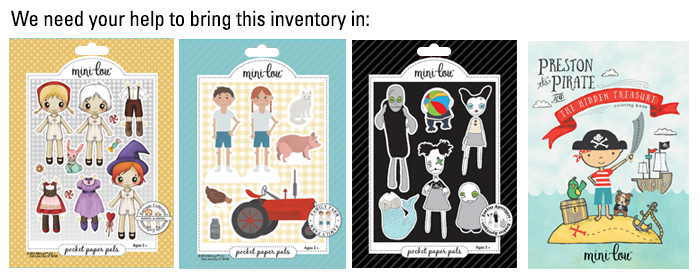
The money funded by the project will go towards making three new pocket paper pals (Hansel and Gretel by Carla Chaves, Zombie Apocalypse by Emily Taylor, and Family Farm by Katie Jarman) and one new coloring book (Preston the Pirate by Deena Rutter).

minilou_pocketpaperpal_newinventory copy

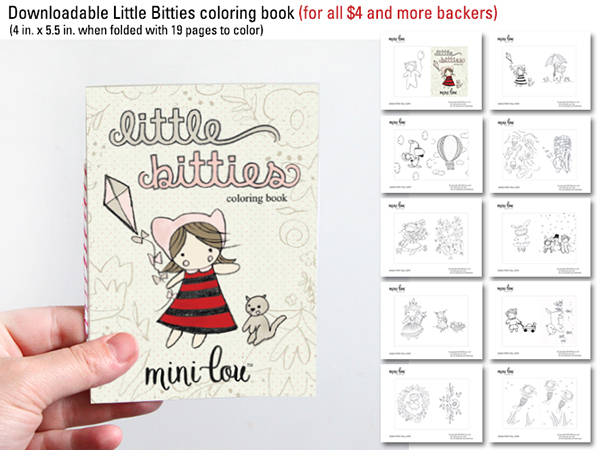
In return, we have some amazing rewards for our backers. In addition to rewards where we send you MiniLou products, most of the levels have an awesome printable (or multiple printables) so that those out of our mailing range will get something as well. The downloads will be exclusive for Kickstarter members only. Check out the rewards on the sidebar here:  https://www.kickstarter.com/projects/1022554917/miniloucreative-play-for-kids.

minilou_coloringbook_kickstarter_blog

minilou_coloringblock_kickstarter_blog

minilou_pocketpaperpal_kickstarter_blog


Want to help me spread the word about our Kickstarter Campaign (or just show the video to your friends and kids)? Here is the link: https://www.kickstarter.com/projects/1022554917/miniloucreative-play-for-kids.

I really can’t thank you enough for your help on this! Starting a new business (and maintaining your current one) is draining, time-consuming, and stressful. But it has been soooo worth it. Bringing a little more beauty, a sweet new memory, or a new avenue for imagination makes what I do rewarding. I am grateful for your support for CGInc and MiniLou!!!!!

Thank you again for being a part of my two little companies!
Carina

The MiniLou Kickstarter Campaign
On instagram: @miniloukids
On facebook: https://www.facebook.com/miniloukids

Silhouette Design Store JOANN Stores

Vellum Top Boxes for Silhouette

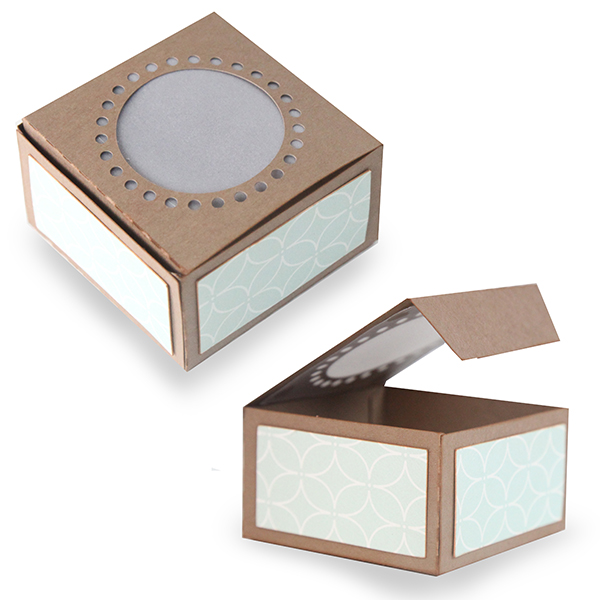
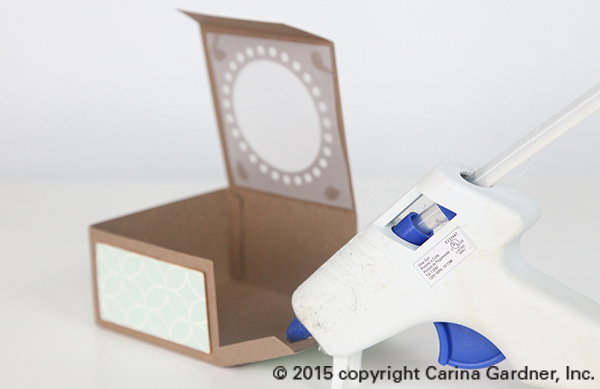
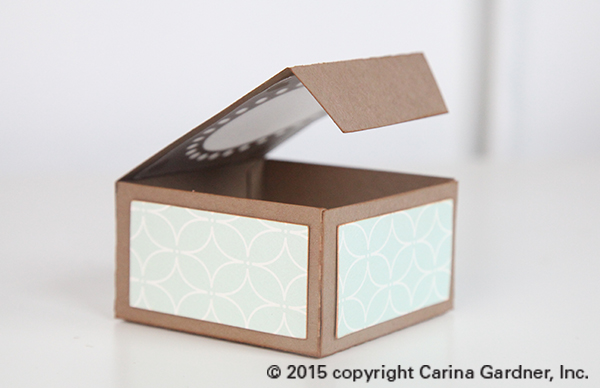
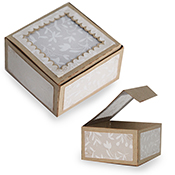
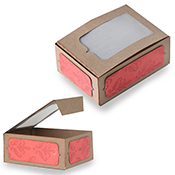
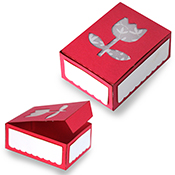
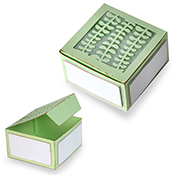
vellumtopcircleopeningboxThis week I made a bunch of these darling little vellum topped boxes. They make the cutest favor boxes and gift items. You can purchase them from the Silhouette Shop here.

All the boxes that work with this tutorial (and links!) are down at the bottom of this post.

Here’s how to put together these boxes:


_____________________________________________________________________________________

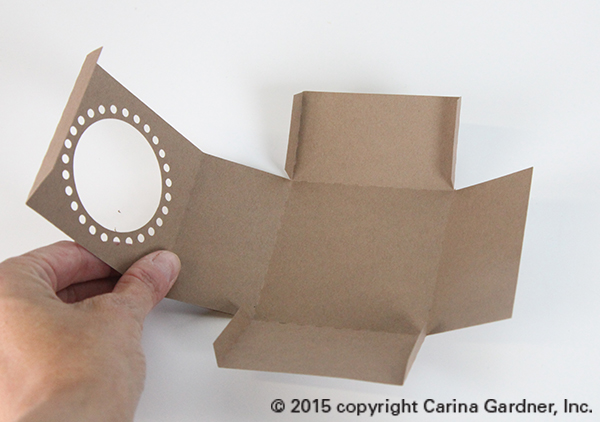
1. Cut out on Silhouette files. The main body of the box is shown in kraft paper. I used plain velum to go underneath the circle cut out on top, and a patterned blue paper for the accent panels.

2. Fold scored lines on the box. This creates a visual image of where your accent panels should be placed.

IMG_6224_web

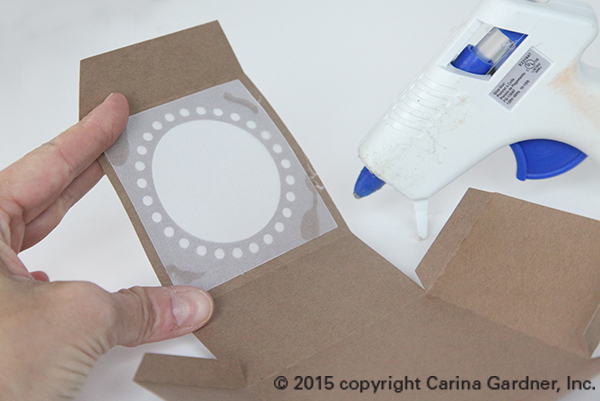
3. Glue vellum or transparent paper to the INSIDE of your folds into the opening on the top to create a “peek-a-boo” window.

IMG_6227_web

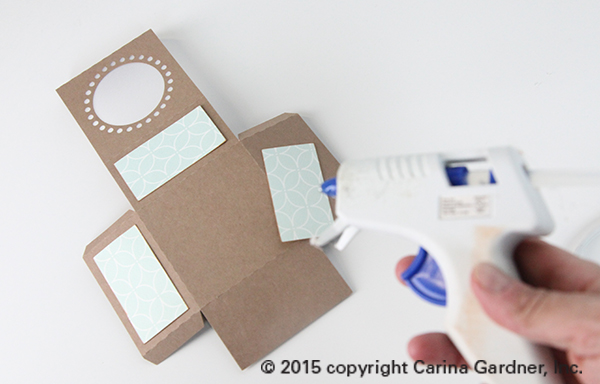
4. Glue accent papers into place using adhesive. I used a glue gun to put it together quickly. A glue stick or glue dots would also work great.

IMG_6230_web

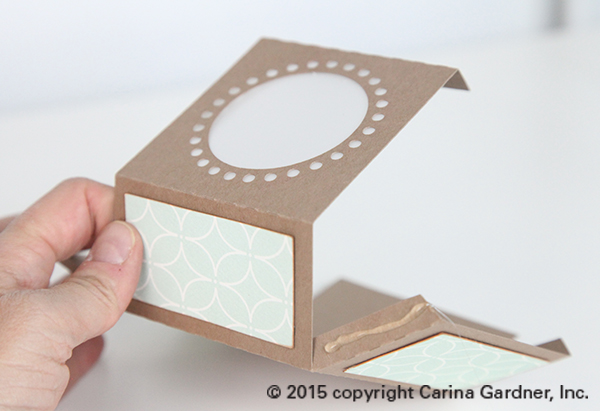
5. Finally, put glue on the flaps and attach the sides of the box to finish the box.

IMG_6242_web IMG_6246_web IMG_6252_web

And that’s it! It’s the best little party, wedding, or birthday favor box or treat box!

Happy crafting!
Carina

vellumtopbirdbox vellumtopbutterflybox vellumtopcircleopeningbox vellumtopdewbox vellumtopdinosaurbox vellumtopfloralopeningbox vellumtopscallopbox vellumtopsinglebracketbox vellumtoptulipbox vellumtopvinebox

Silhouette Design Store JOANN Stores

Folding Flap Sliding Box Tutorial for Silhouette

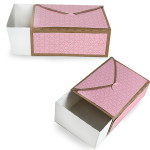
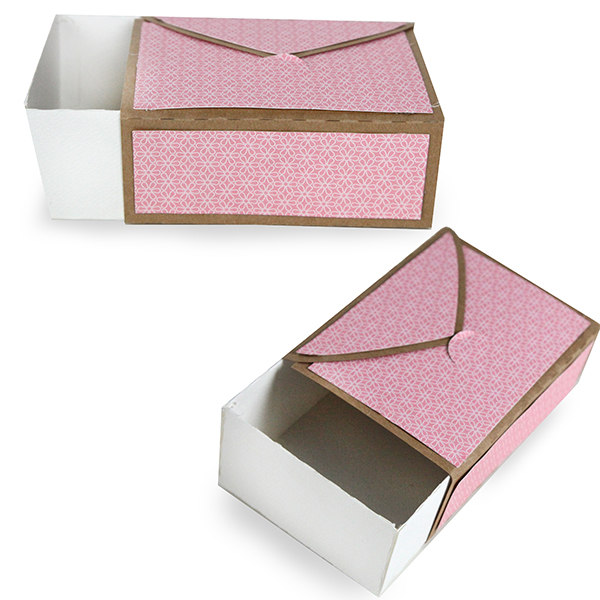
FoldingFlapSlidingBox

I know so many of my posts these days are Silhouette tutorials. I hope that they are so helpful for those of you that are “making” with your machines.

This cute little box is created with an “envelope” folding flap. Here’s how to put it together.

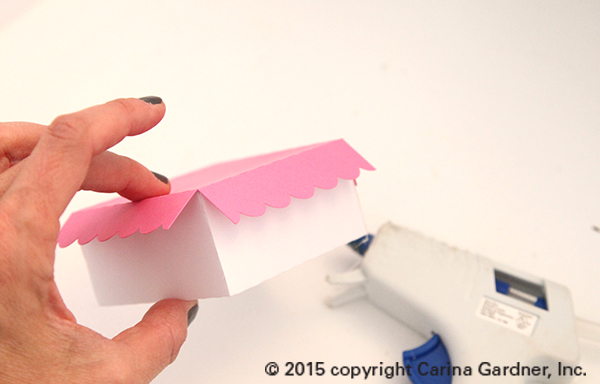
1. Cut out the silhouette files.  The main body of the box I cut out in white and the flap in kraft paper. The accent papers are in pink.

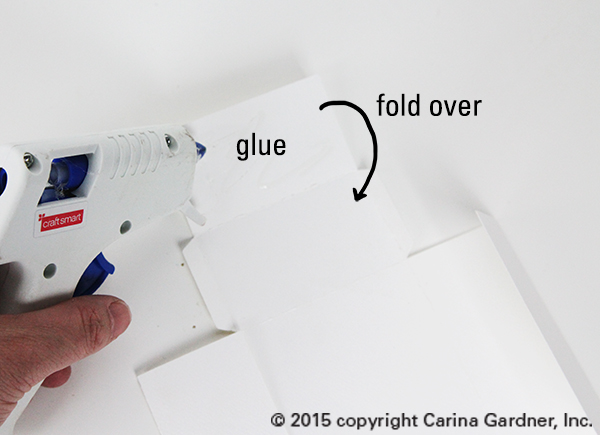
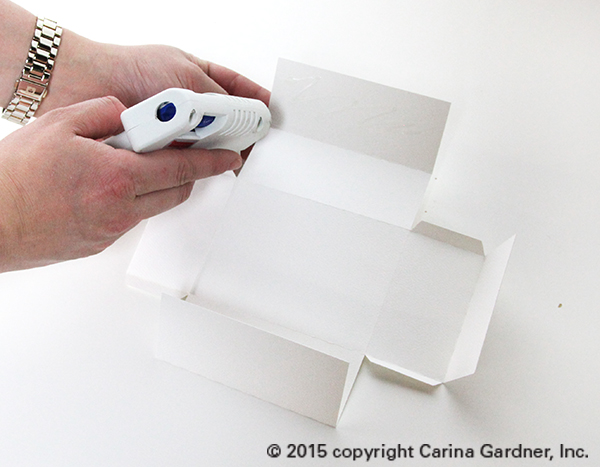
2.This box is double enforced—that is, I created it so that the sides of the box are stronger by doubling up the paper. So you have to fold all the score lines on the box and then glue down the extra flaps. Do this to all four flaps.

IMG_5866_web

IMG_5862_web

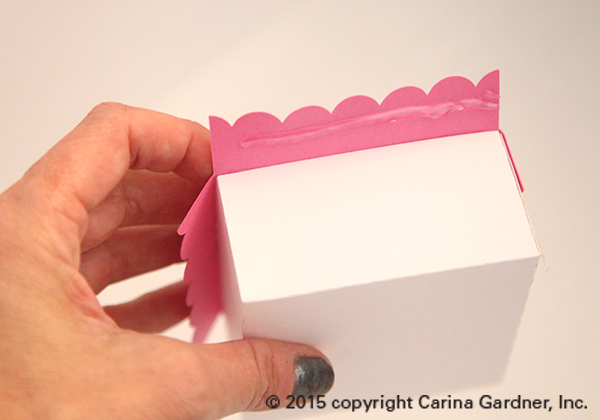
3. Then put glue on the glue flaps and attach the sides of the box together to finish the box.

IMG_5871_web

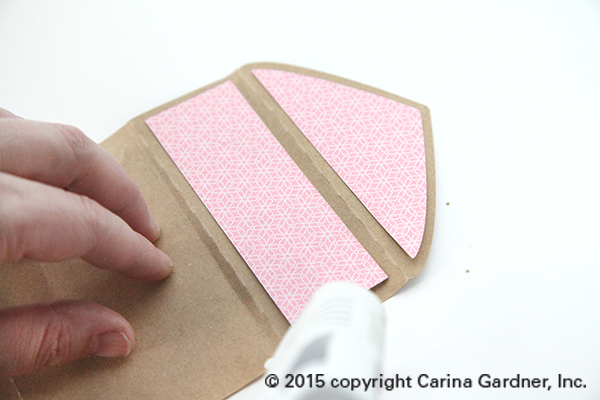
4. To create the flap, glue down the accent pieces to the main flap. Be sure to match up the small, half circle notches on the accent paper and the flap.

IMG_5898_web

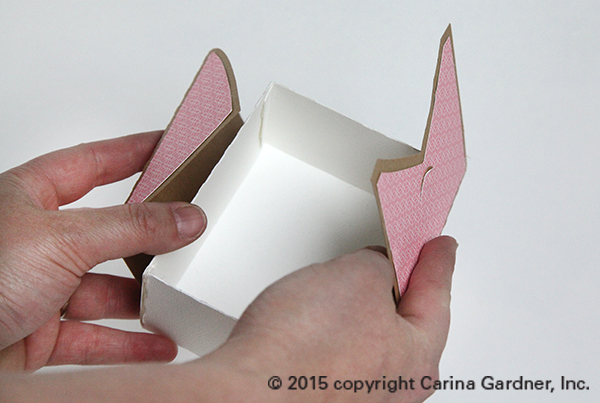
5. Fold the flap around the box and attach using the notch. You can use a clear sticker or use the notch to hold the flap together.

IMG_5899_web

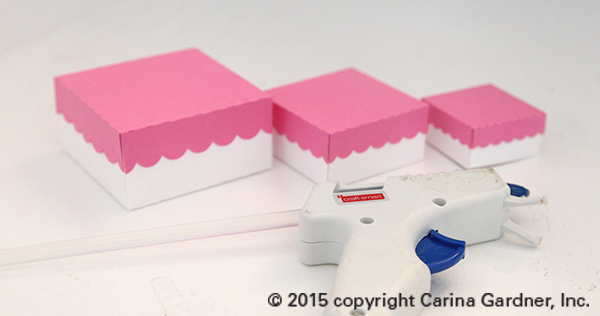
And that’s it! There so many uses for this cute box from favor boxes, small gifts, or even as a card.

Happy creating!

Carina

Silhouette Design Store JOANN Stores

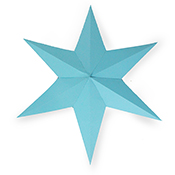
Star Decor Instructions for Silhouette

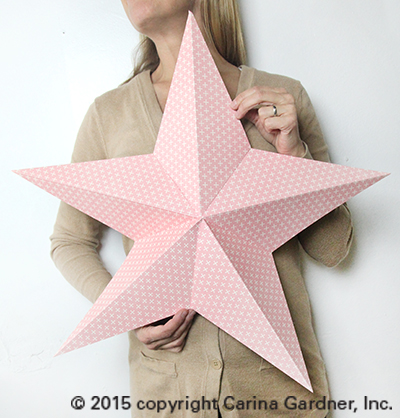
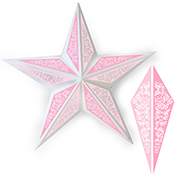
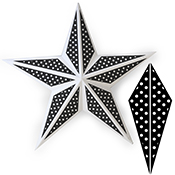
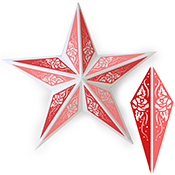
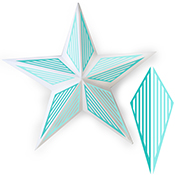
IMG_5921_webI’ve had a lot of questions about my Metal Star Accents and in particular if I was going to make a base for this. So here they are! I have a 5 pointed star and a 6 pointed star made completely from paper! You can use the accents on them but will need to resize them to fit your star (The metal star accents were created to be used with a METAL CRAFT STAR that you can purchase from your local craft or scrapbooking store. They will need to be resized to fit on these paper stars.) If you are looking for links to all of these products, I have put them at the end of this post. You can also check out my Silhouette shop for more products like this.

Putting together these paper stars is pretty easy. You can, of course, sized down your star. The photo to the left shows you how large the star is if you cut it at it’s original size in the file. It requires a Cameo (12 x 12 papers) but if you size it down you could make a smaller star on your Portrait.

Here’s how to put it together:

1. Cut out five pieces of the same sized triangle shape on your machine for the 5 pointed star and six pieces of the 6 pointed star.

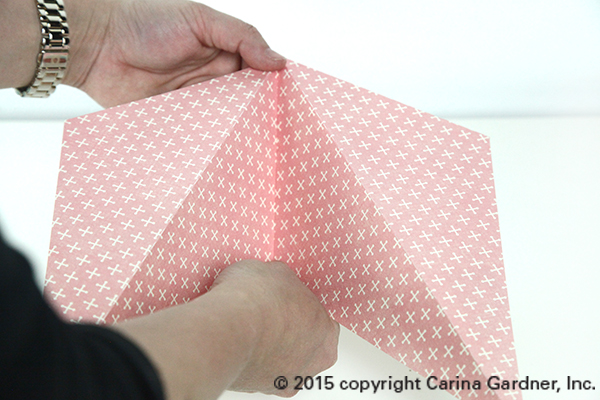
2. Fold at all the score lines. (Use the photo here as as guide).

IMG_5901_web

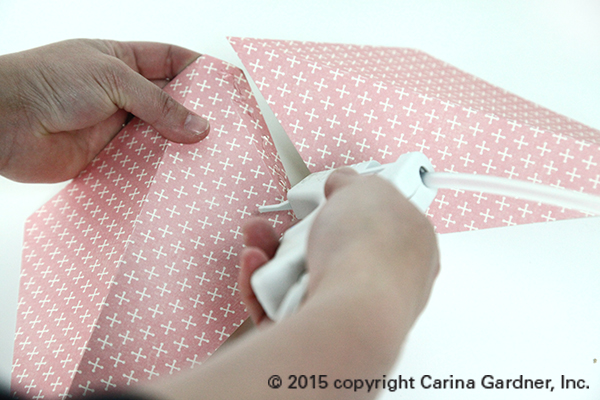
3. Glue the flap of the star and connect it to another point of the star.

IMG_5908_web

4. Continue adding points to the star until you come to the first point.

Note: If you plan on adding the metal star accents, I would do this at the 2nd step while the star is flat. You can use modge podge for a glossy look or simply use a hot glue gun, pop dots, or a glue stick to put on the metal star accents.

Hope you have fun making these!
Carina

5metalstardecorbottom_NEW 6metalstardecorbottom butterflymetalstardecor flowermetalstardecor happybirthdaymetalstardecor polkadotmetalstardecor rosemetalstardecor starmetalstardecor stripemetalstardecor  swirlmetalstardecor

fallmetalstardecor

Silhouette Design Store JOANN Stores

Travel Stories Album for Silhouette

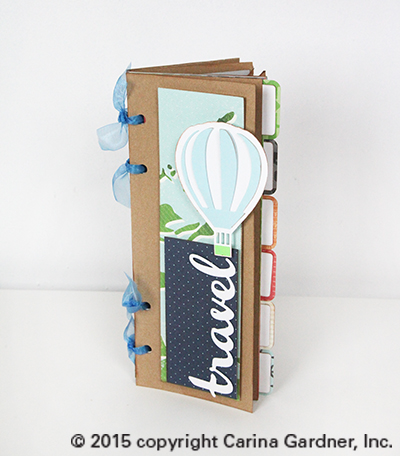
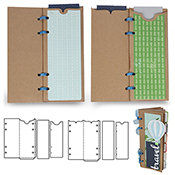
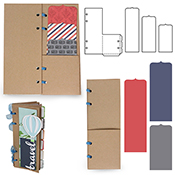
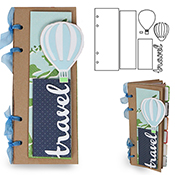
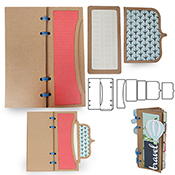
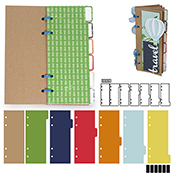
Watch the Travel Stories Album video for an introduction into my Carta Bella Paper line and how to put together the album using SVG files from my Silhouette Shop! The final size of this album is about 5.5 inches x 11 inches (with a few things pocking out like tabs and pages).

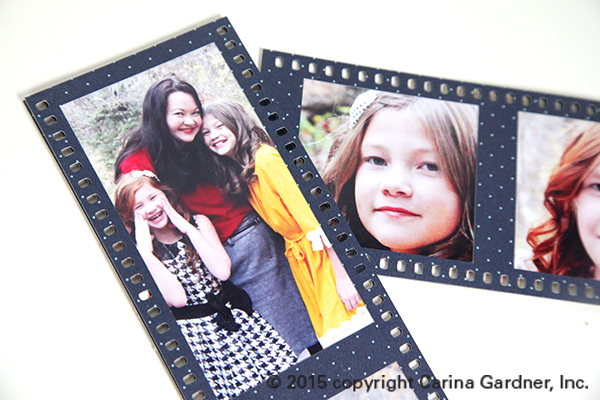
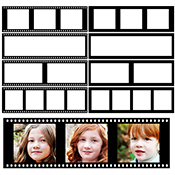
I am so excited about this album especially because I love some of the little add ons. In particular, I adore the filmstrips that go in this collection and plan on using them not just for the album but for lots of other projects.

IMG_5760_1_web

IMG_5764_1_webI hope you get a chance to play about with this paper line and/or the silhouette files! I also hope you have a GREAT excuse to make an album (aka, an amazing summer adventure perhaps?).

Happy Crafting!

Carina

____________________________________________________________________________

TravelStoriesDeepPocketAlbum   TravelStoriesHalfPocketwithLayeredBracketNotes TravelStoriesHotAirBalloonLayoutAlbum TravelStoriesPhotoFilmStrips TravelStoriesSidePocketAlbum TravelStoriesTabbedAlbum

Silhouette Design Store JOANN Stores

3D Intricate Cutout Boxes for Silhouette

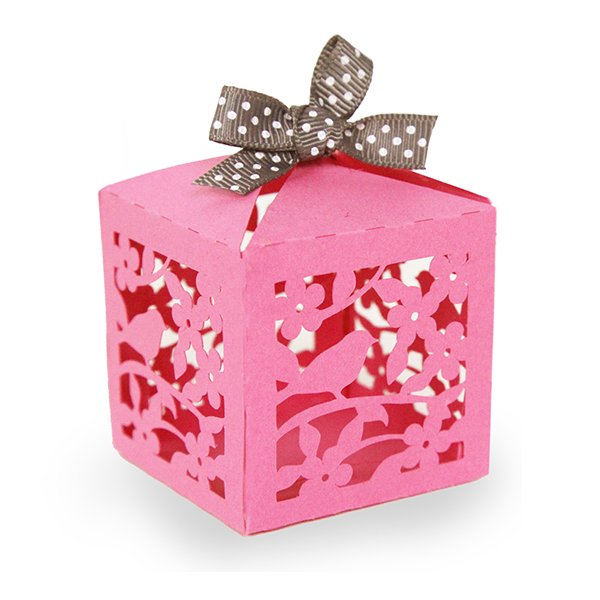
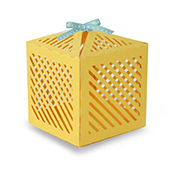
3dlatticebirdboxThese little intricately cut out boxes are one of my favorite projects right now! I can imagine them hanging in some overhead branches for a party or as little electric candle holders on a table. Any way you decide to use these, you will love the effect!

Here is the quick tutorial (and tips) for putting these intricate cutout boxes together.

1. Cut out the silhouette file.  The main body of the box is about 2 inches deep, wide and tall. It fits on an 8.5 inch x 11 inch paper.

2. Fold all the score lines and glue all the flaps to create the main body of the box.

IMG_5768_1_web

3. Fold up all the “circle” pieces at the top of the box. For dimension, you can finger press the triangle piece at the top to give it some curvature. You can also create a straight box by folding all the triangle pieces flat and putting a ribbon through all the pieces at once. However, if you want the box to have dimension, “sew” the ribbon through each of the holes individually. Hint, fold UP the circles at the top. There will be slight gaps between the triangles once the ribbon is tied on.

IMG_5770_1_web

IMG_5785_1_web

Other notes: This box can be scaled larger or smaller. Cut at a slower speed on your machine for to catch all the fine details. A sticker mat will also help the cutting process on these!

Hope you have fun making these!
Carina
(for all my silhouette designs, visit my silhouette store at http://www.silhouettedesignstore.com/?page=view-artist&artist_id=252689).

3dlatticebirdbox3dlacybox 3dmotherbox

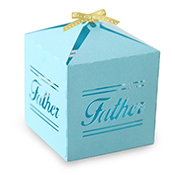
3dbutterflybox 3ddecorativebox 3dfatherbox 3dstripesbox

Silhouette Design Store JOANN Stores

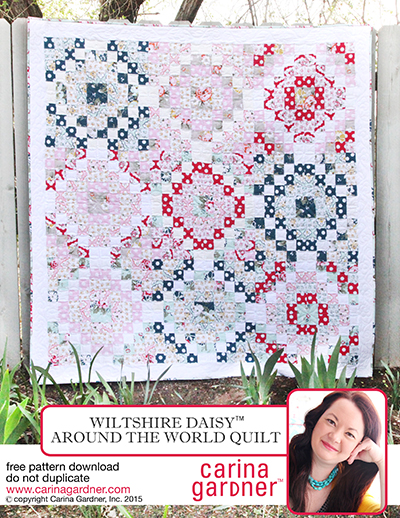
Wiltshire Daisy Around the World Quilt Pattern—Free Pattern Download

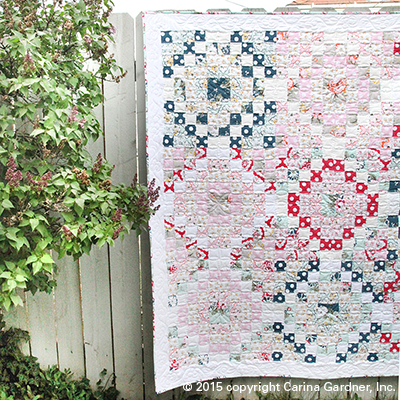
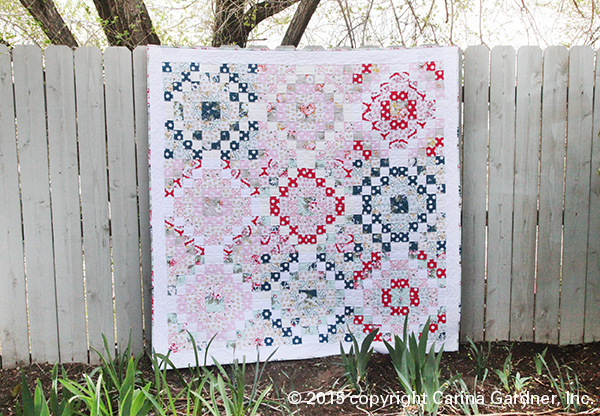
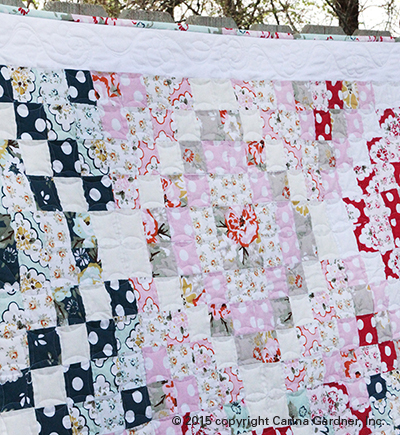
IMG_5413_1_web_blogThe Wiltshire Daisy™ Around the World Quilt has been my Sunday sewing for quite a few weeks now. This is one of those quilts that it didn’t seem to matter how I photographed it, it still looked better in person than through the lens of my camera.

And I am SUPER excited to share with you a really great contest that I’m teaming up with Emily Taylor and Riley Blake for you to do!

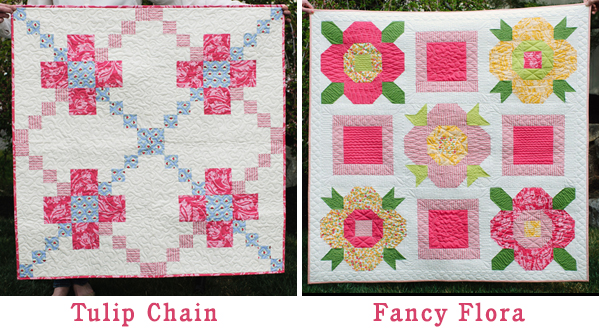
First of all, everyone WINS because each of us has a free quilt tutorial for you to download. Mine is the Wiltshire Daisy Around the World Quilt and Block (scroll down to the bottom of the post). Riley Blake’s Tulip Chain Quilt and Emily’s Florabella Fancy Quilt are so adorable! To make it easy for you guys, for a short period of time, you can just go to the PatternJam site (click here) and download all three patterns at once.

freequiltpatterns_1

IMG_5347_2_web
IMG_5371_1_web_blog

Second, we are throwing an amazing contest so that you can win the FABRIC TO MAKE YOUR QUILT AND $100 VISA GIFT CARD. I know, right?

Here’s what you get to do:

Go to PatternJam.com and customize the Floribella Fancy Quilt, Around the World Quilt, and/or Tulip Chain Quilt using the Emily’s Florabella, my Wiltshire Daisy, and/or Riley Blake’s Solids. It’s seriously so fun to do!  There you will see instructions for making the quilt using the Pattern Jam software  and you can pin it to the contest Pinterest board. The most pins wins the contest so make sure and spread the word and get people to pin your quilt!

Here are a few steps to help you if you want to enter:

1. Be a part of the Pinterest Board—http://love.patternjam.com/design-contest/
2. Go to PatternJam.com and register: https://patternjam.com/ by clicking on GET STARTED NOW.
3. Click on DESIGNER PATTERNS> Choose Either Around the World, Tulip Chain, or Fancy Florabella.
4. Once you have chosen a quilt, then choose FABRICS and choose either the Riley Blake Solids, Wiltshire Daisy, or Florabella fabric (or a mix of them).
5. Once you have designed a quilt, save it to your library. Click on MY ACCOUNT and you can see your library and PIN it from there.
6. Join the contest board here.

If you just want to download my Wiltshire Daisy Around the World Quilt, you can do that below:

carinagardner2015_wiltshiredaisy2inchquilt_web

The Pinterest Contest goes until April 24th! So go and make some fabulous quilts!
Carina

Silhouette Design Store JOANN Stores

Wiltshire Daisy Fabric Collection

wiltshiretitlepage_webIt has only taken me a month to finally post about my newest collection Wiltshire Daisy for Riley Blake. I’ve already seen so many amazing projects and even have a couple of my own to share soon. If you haven’t seen the collection, I’m posting my digi magazine of it here for you to enjoy. It may take a minute to load on your computer so if you see a blank space below, give it a second:).

_______________________________________________________________________________________________


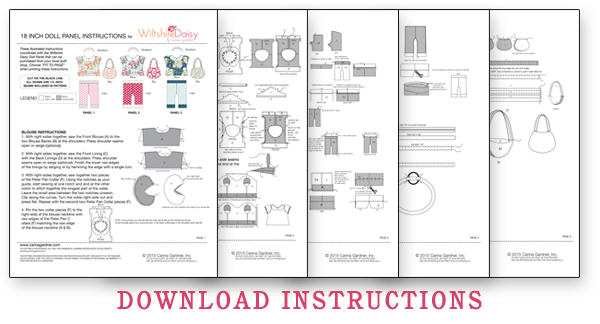
I debut my second 18″ doll panel in this collection. It includes a blouse, capris, headband, and handbag. There are photo instructions on the Riley Blake blog here if you want to see them (the capris are done a little differently then my instructions, but are still so very cute!). AND I have illustrated instructions now available here.

wiltshiredaisyinstructions_blog

Hope this makes you sew happy!
Carina

Silhouette Design Store JOANN Stores

Pocket Albums, Window Album, and Flower Ornament Instructions for Silhouette

squarephotopocketalbumYou’re getting a little bit of everything from my releases this week so scroll on down to the tutorial that applies to you! It’s been a busy spring break, and I’ve been wanting to make some albums since coming back from Park City and St. George. I hope you have fun with these!

4 INCH SQUARE PHOTO POCKET ALBUM
LINK TO THIS ALBUM >>>
These albums are built for a 4 inch photo. Specifically, I like instagram photos for these pockets but it could even be 4 inch x 6 inch photos you have cut down. You can put a photo or write in a title on the front bracket emblem on the cover page. It’s completely up to you!

1. Cut out all the pieces in the svg file. I used kraft paper for all the main pieces and colored paper for the accent pieces. I cut out two cover pages and several pocket pages.

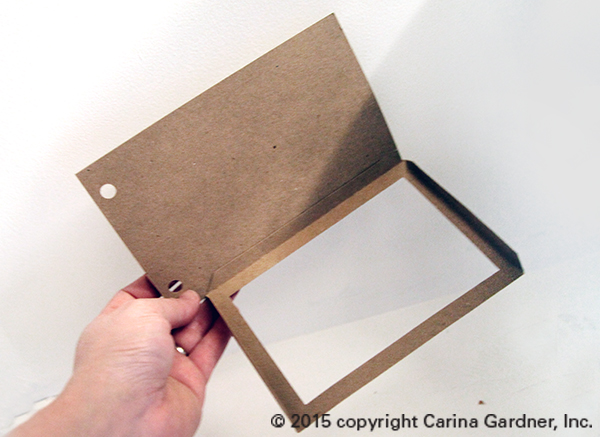
2. Fold along the score lines. Fold over the pieces with the bracket shape to create the pocket. Use glue (I like hot glue or a photo-friendly adhesive) on each of the glue flaps and create the pocket. There are two flaps that need to be glued (see photo below).
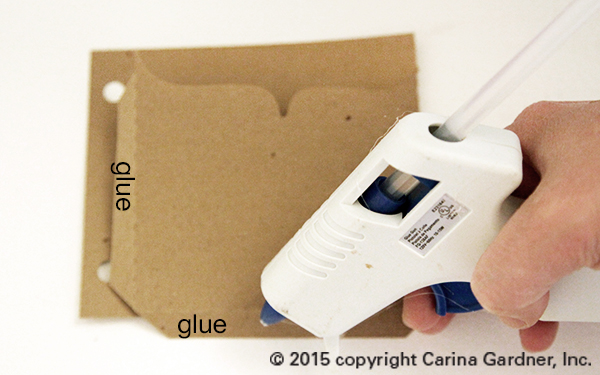
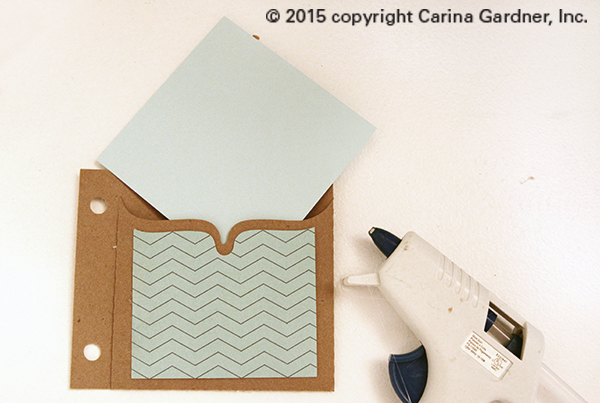
IMG_5551_1_web IMG_5554_1_web

3. Glue the accent paper to the front of the pocket and add a journaling card (available with the svg file) or a photo.

4. Create the cover by layering the 4 inch square (the same one used for the pocket inserts), then the bracket without the window, then finally the bracket shape with the window. Place a photo or title between the two bracket pieces if you want. I used pop dots but you can also simply glue everything into place.

5. Use ribbon, O-ring, or twine to put the album together.

4 INCH  x 6 INCH HORIZONTAL PHOTO POCKET ALBUM AND WINDOW ALBUM
LINK TO 4×6 HORIZONTAL PHOTO POCKET ALBUM >>>
LINK TO 4×6 WINDOW PHOTO POCKET ALBUM >>>
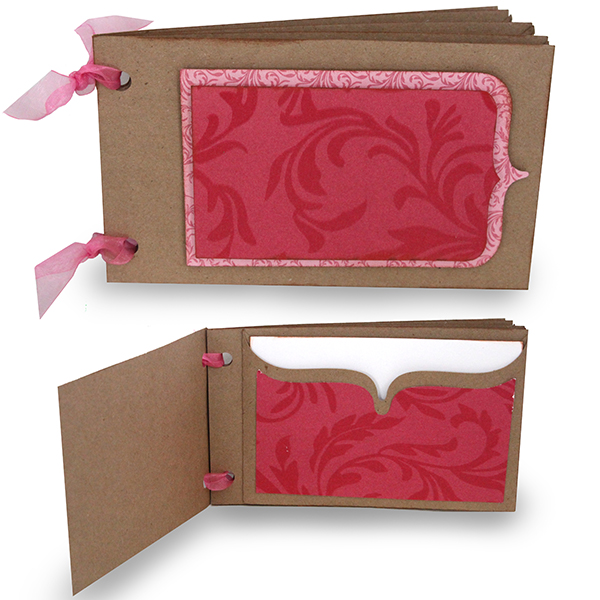
4x6horizontalphotopocketalbum 4x6windowphotopocketalbumThese two albums are meant to fit your 4 x 6 photos and are quick to put together. Because most of us are generally working with 12 inch x 12 inch paper, it was necessary to have a separate pocket piece that you attached to a cover piece to create a “page.” Note that the pockets for the Window Album can be a bit flimsy and I suggest either using heavy stock or cut a piece of transparency or other clear paper to create the window and hold in the photos. I also recommend setting this album under a stack of books once it is glued to make sure the thin areas that create the “window” are study and straight.

These two albums also work together if you wanted some window pockets and some horizontal pockets. So mix and match away!

1. Cut out all the pieces in the svg file. I used kraft paper for all the main pieces and colored paper for the accent pieces. You will need to cut out two cover pages and for each “pocket page” you will need one cover page and one pocket piece.

2.  Fold the score lines of the pocket piece. Use glue (hot glue or a photo-friendly adhesive) on each of the glue flaps and create the pocket. There are three flaps that need to be glued (see photos below).

3. Glue the accent paper to the front of the pocket for the Horizontal Album. Add a journaling card (available with the svg file) or a photo.

4. Create the cover by layering the cut outs as shown in the two images.

5. Use ribbon, O-ring, or twine to put the album together.

4X6 Horizontal Album (Glue Flaps)IMG_5555_1_web IMG_5565_1_web
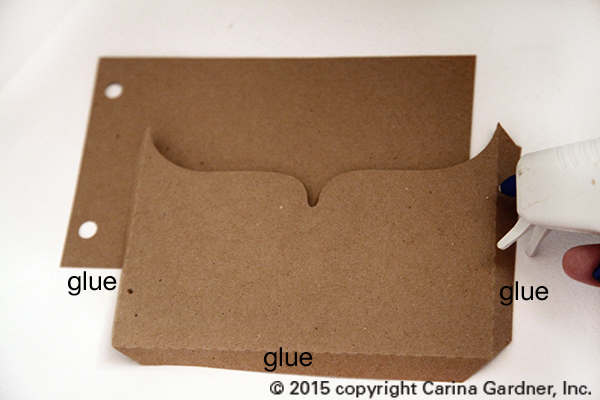
IMG_5559_1_web

4X6 Window Album (Glue Flaps)

IMG_5567_1_web IMG_5572_1_web

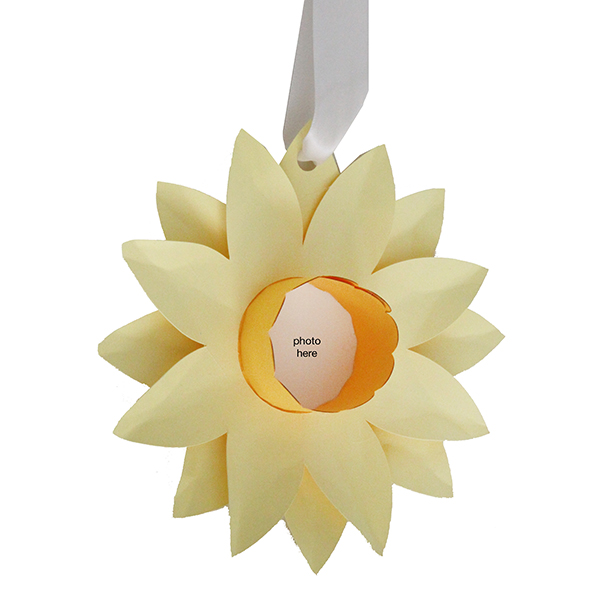
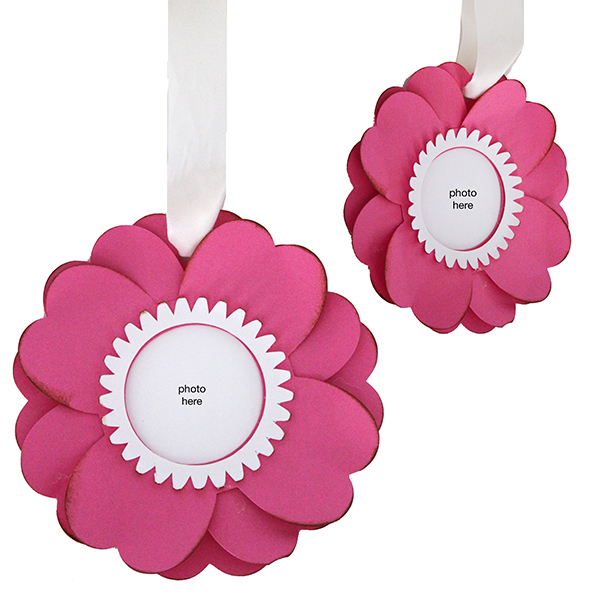
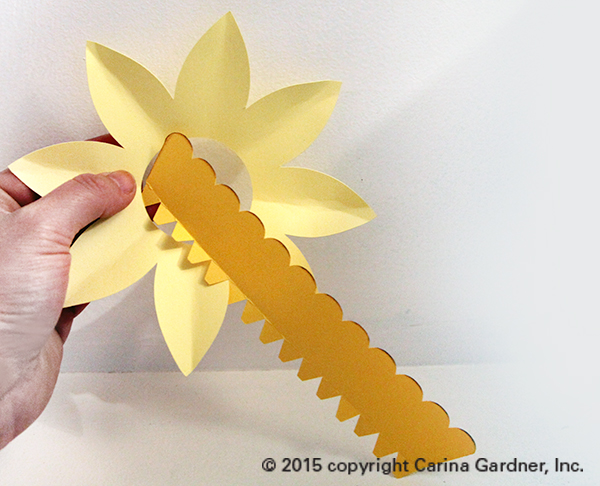
DaffodilOrnamentDAFFODIL FLOWER PHOTO ORNAMENT
LINK TO THIS PROJECT >>>
If you are looking for a cute, quick project, these flower ornaments are so fun. I can see using them for kids projects or fun home decor.

1. Cut out all the pieces in the svg file. This file is only three pieces but if you wanted to layer up the petals more you could.

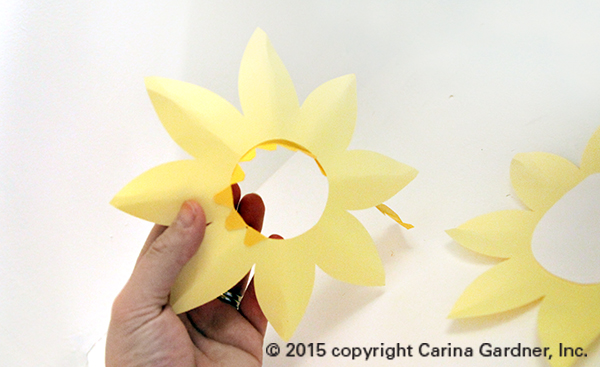
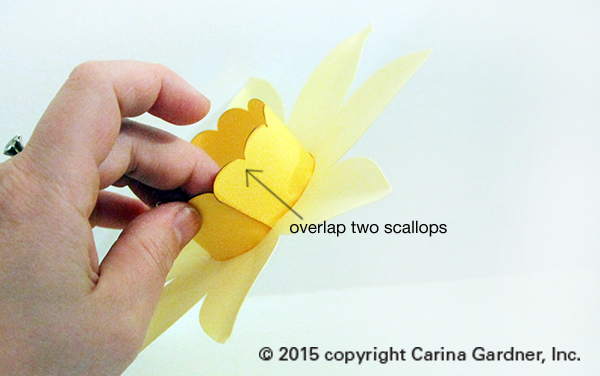
2. Attach the center of the flower (orange) to the yellow petals WITHOUT the ribbon hole, but gluing the tabs to the back of the hole. (See photos below). Two of the “scallops” will overlap once the center is completely done. (See photo below.)

3. Attach a photo between the two yellow petal pieces. Glue the yellow pieces together.

4. Add ribbon or twine to hang.
IMG_5574_1_web IMG_5577_1_web IMG_5579_1_web

SpringtimeFlowerOrnamentSPRINGTIME FLOWER PHOTO ORNAMENT
LINK TO THIS PROJECT >>>
This one is really basic to put together. It also cuts quick on your machine.

1. Cut out all the pieces in the svg file. This file is only four pieces but if you wanted to layer up the petals more you could.

2. Attach a photo to the back flower piece (with the hole for hanging the ornament). Layer and finger press all the petals. Glue them down.

3. Add the short center cut out (shown in white) last.

4. Add ribbon or twine to hang.


Hope you have fun creating these!
—Carina

Silhouette Design Store JOANN Stores

Digital Scrapbooking, St. George, and Stuff

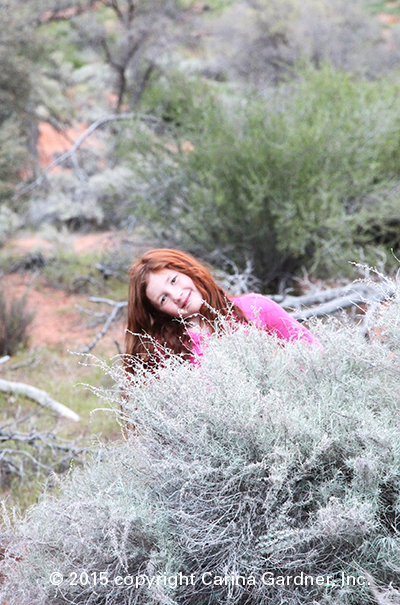
IMG_5250_1_webI’m going to admit something right off the bat and that this is a procrastination post. I just looked at my list (a mile long) and really all I want to do is snuggle up in front of the TV and start a new show (like Call of the Midwife or Death Comes to Pemberley…anyone seen either of those?). There is a time and place for everything and tonight, well, tonight the work comes first.

Before you feel too sad for me, I just got back today from a short weekend getaway with my family in St. George. I loved seeing Charlie romp, climb, and dig in the slot canyon, the sand dunes, and the park. The girls swam and swam and swam (did I mention the water was cold?—oh to be young again).

While I was gone, I got some awesome photos from my amazing machine quilter Michelle Jensen (@mixiheart on instagram), and I’m so excited to share the pattern soon. It will be free along with an awesome collaboration with pattern jam (more on this to come).

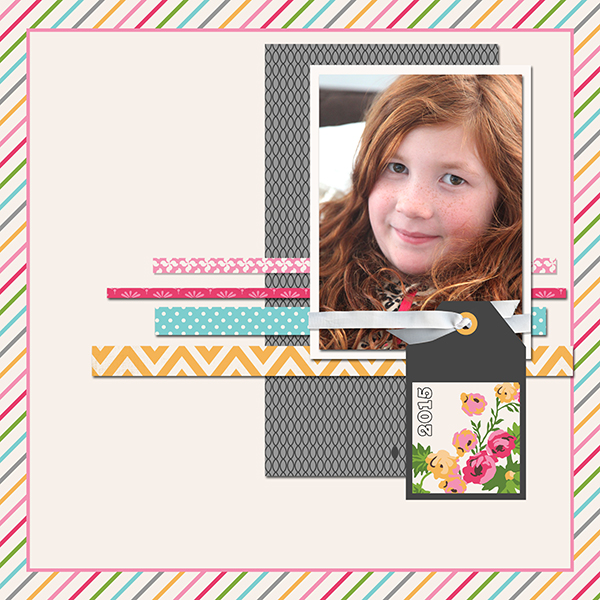
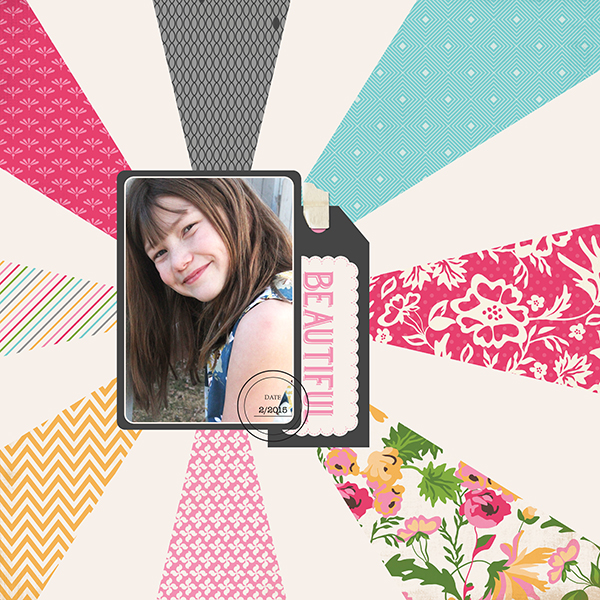
Annndd, while I wish I could say I didn’t work at all while I was gone, I was happy to spend one night getting my digital scrapbooking done for this week. Two weeks ago I came out with a Spring Sunshine Paper Pack and this week I’ll have tags for them. I even managed to put together a couple of layouts. Making the layouts reminded me of all the things I needed while digi scrapping. I see a big collection in my future:).

Print

(Layout above: Papers and Tags from Spring Sunshine, Ribbon from Bella Bella 2 Thick Ribbons)

Print

(Layout above: Papers and Tags from Spring Sunshine, Tape from Bella Bella 2, and Stamp from Journaling Stamps).

Hope you are having a fun spring break (or at least spring) as well. Back to the list.

Carina
Silhouette Design Store JOANN Stores