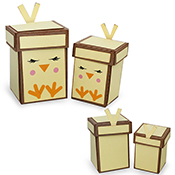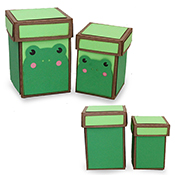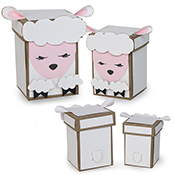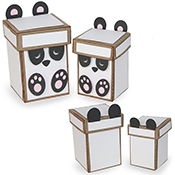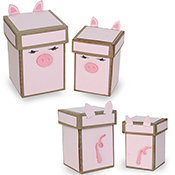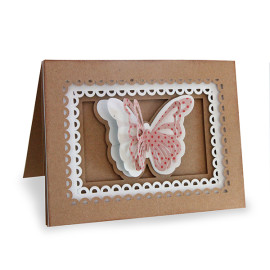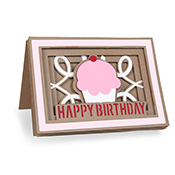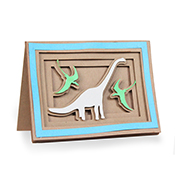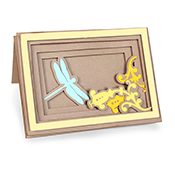
Cute Animal Nesting Boxes for Silhouette

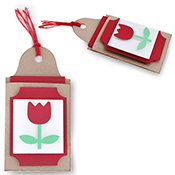
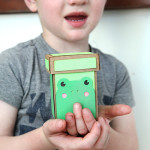
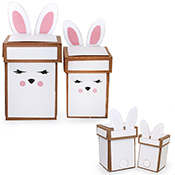
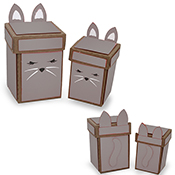
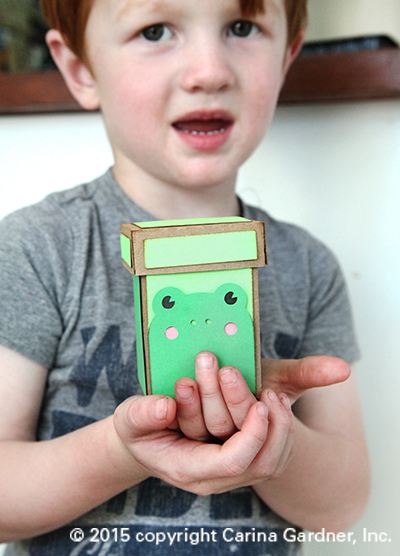
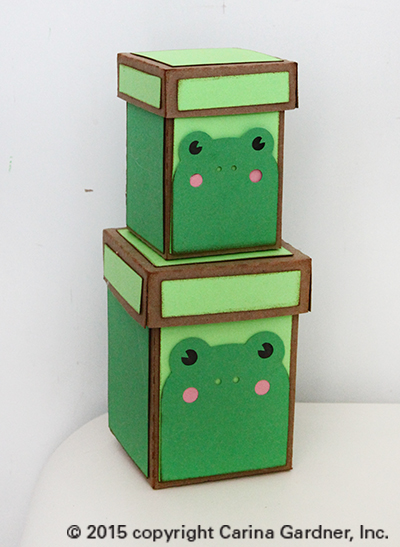
IMG_5153_1_web I know it’s been a lot of Silhouette posts on the blog lately so I promise to have some fabric and scrapbooking posts soon! This week’s releases for Silhouette are these darling little animal nesting boxes and layered gift card tags. Below is the tutorial for putting together these boxes. I create a lot of nesting boxes for my Silhouette Shop and generally they are all put together like the tutorial below.

Each svg files set comes with two boxes that nest together (the smaller one fits into the bigger one).

These make darling gifts, easter items, or fun spring decor (filled with candy!) for your home. When I finished making mine, my kids spent quite a bit of time just playing with them and stacking them.

To make these boxes, all you need is kraft paper, solid scrapbooking paper, pop dots (optional), glue (I use a hot glue gun and glue stick), and your cutting machine.

1. Cut out all your pieces on your machine.IMG_5099_1_web
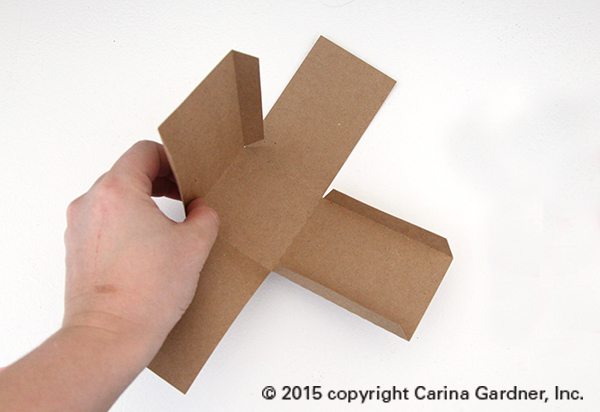
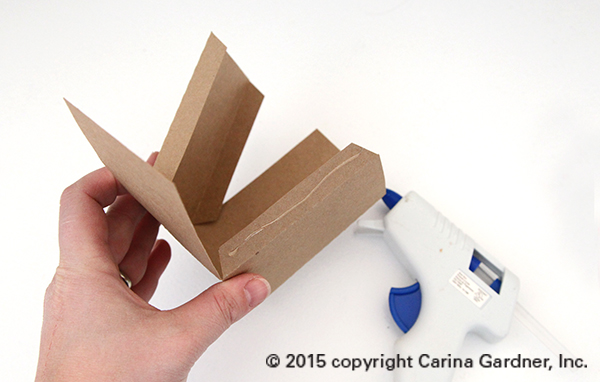
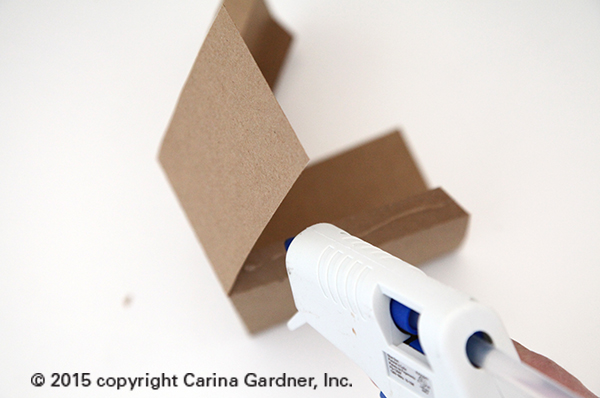
2. Fold all the score lines on the boxes and lids. Put glue on the glue flaps (I used a hot glue gun for this) to put together each box and lid.
IMG_5100_1_web

IMG_5102_1_web

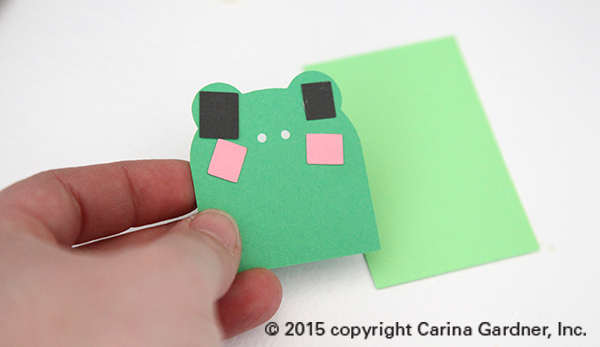
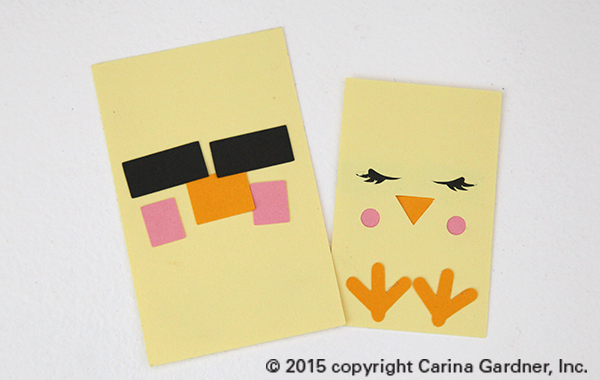
3. Assemble the faces of the animals. Place black squares behind the eyes (all in the svg file), pink behind the cheeks, white behind the whiskers. Use a glue stick for this part. For the frog or any other animal that requires a separate “background”, glue the animal to the background with hot glue. Note: The chick’s feet are placed ON TOP of the face not as the eyes and cheeks are.
IMG_5103_1_webIMG_5104_1_web

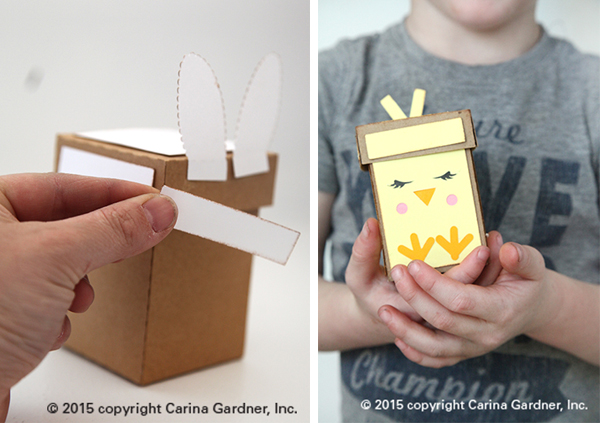
4. Glue the ears or feathers to the top of the lid. Once these are glued on, glue the small strips of paper to the lid to cover the ears and other portions of the lid. Glue the assembled face piece and other accent papers to the box.
IMG_5148_MULTI

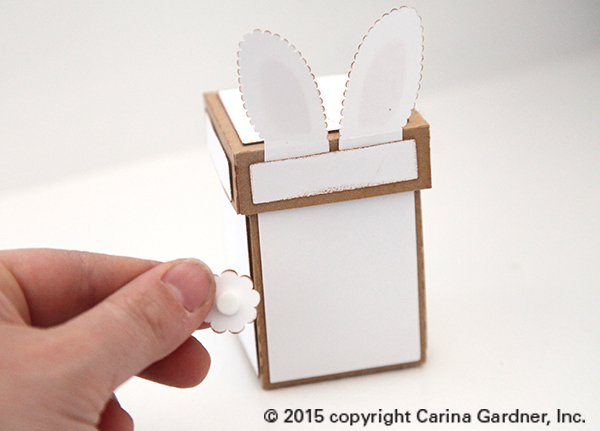
5. Add the tail or any other accessories with pop dots or glue.
IMG_5056_1_web

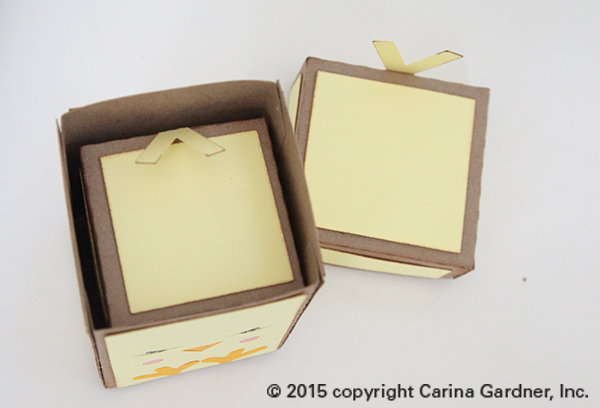
And that’s it! Assembly does take some time but the end result is really darling. Charlie calls each set the ‘baby’ and ‘mommy.’ The animals ‘nest’ together so if you wanted to put a baby bunny in the mommy chick you could. The ears or feather simply fold down (there are score lines) when you place the baby in the mommy.
IMG_5125_1_web

IMG_5112_1_web

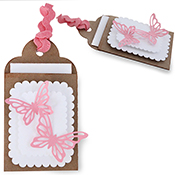
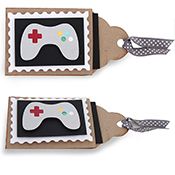
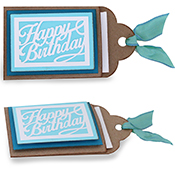
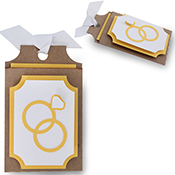
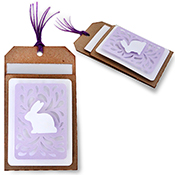
I haven’t included instructions for the layered tags here because there are basic instructions for them in the description (they are simply cut out and adhered together with pop dots or glue).

Hope you are having wonderful spring weather! Craft on!
Carina

(Links will be provided when they become available in the silhouette store on March 30).

____________________________________________________________________________________________

Nesting Animal Boxes

nestingbunnyboxesnestingkittyboxes nestingchickboxes nestingfrogboxesnestinglambboxes nestingpandaboxes nestingpiggyboxes

____________________________________________________________________________________________

Layered Gift Card Tags
bunnygiftcardtag butterflygiftcardtag gamecontrollergiftcardtag happybirthdaygiftcardtag ringsgiftcardtag tulipgiftcardtag


Silhouette Design Store JOANN Stores

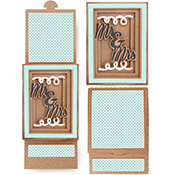
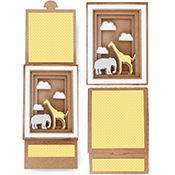
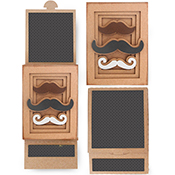
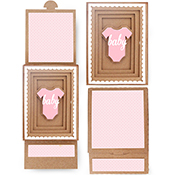
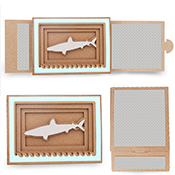
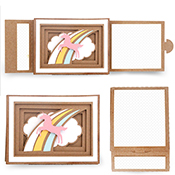
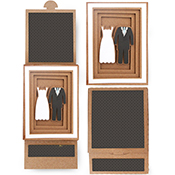
Pop Dot Shadow Box Sliding Card for Silhouette

IMG_5037_1_webI’ve been loving the last few weeks of projects I have made for my Silhouette Store. I managed to finally finish Gilmore Girls  for the second time and catch up on Community while making this last batch of cards.
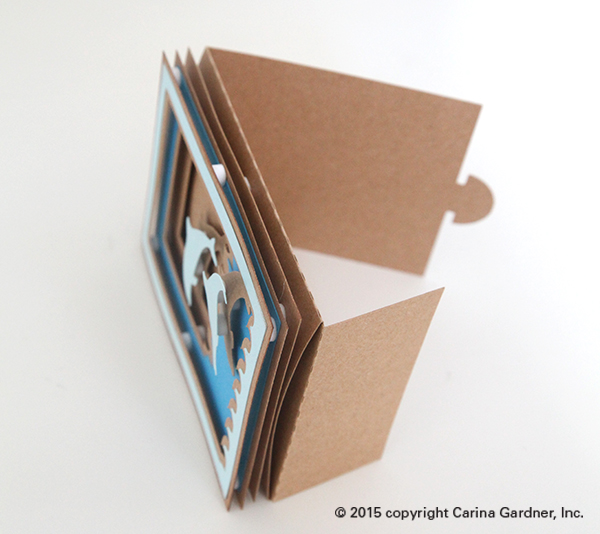
This week I’ve added more Shadow Box cards to the shop but these are (drum roll) sliding cards! (If you are looking for the folded cards tutorial, see the blogpost below).

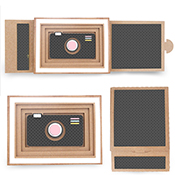
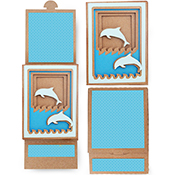
These fabulous cards allow you to slide off the shadow box part of the card. You can write a message directly on the shadow box or a secret message on the sliding card behind the shadow box. They are easy to put together and SOOOO cute!

Here’s a little 19 second video so you can see how these little cards come together.

Here’s the tutorial:

1. Cut out all the pieces in your svg file.

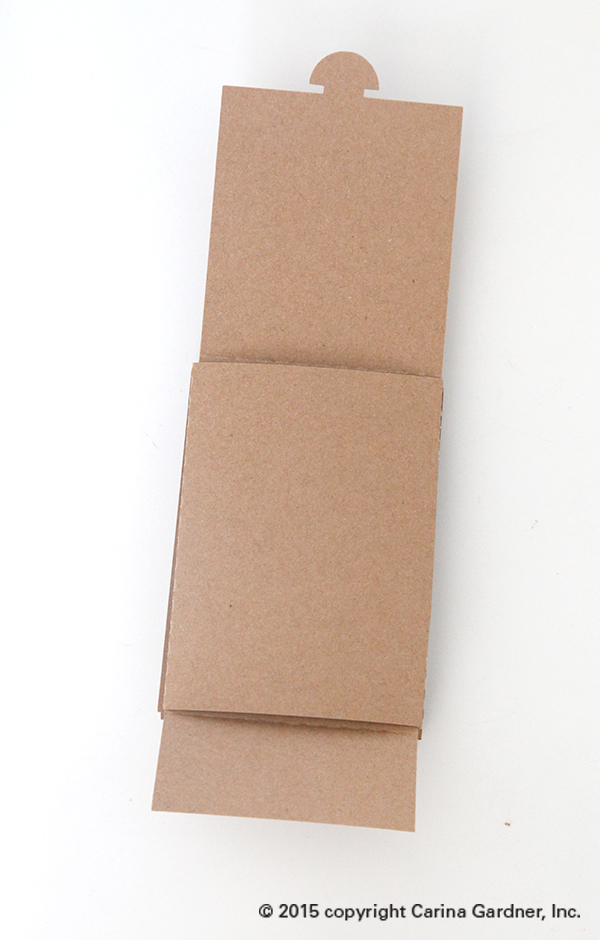
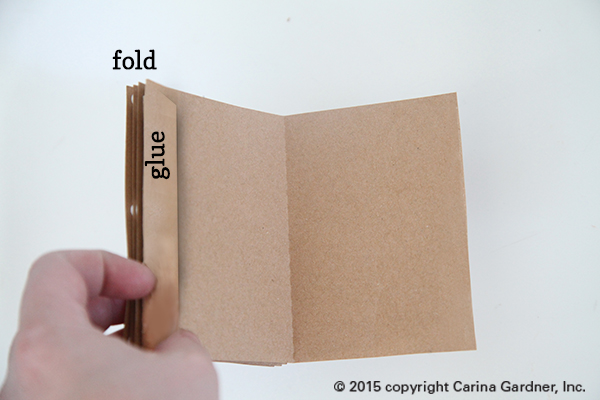
2. (See below) Fold the sleeve piece that has a glue flap. Glue the flap to the opposite side of the sleeve together to create a place for the card to slip through.

IMG_5046_1_web

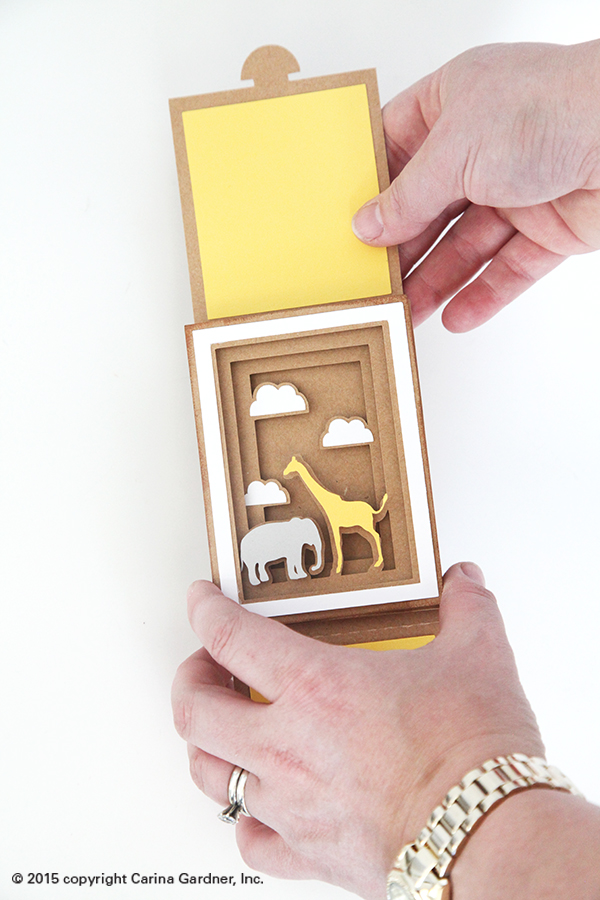
IMG_5014_1_web2. Once the sleeve is glued together, use it as the base of your shadow box. Glue down any “colored” objects first to the layers. For example, center and glue the clouds on top of the cloud shapes. You can use pop dots for these as well. You can see in the elephant and giraffe example above I used pop dots on the animals but glued the clouds flat.
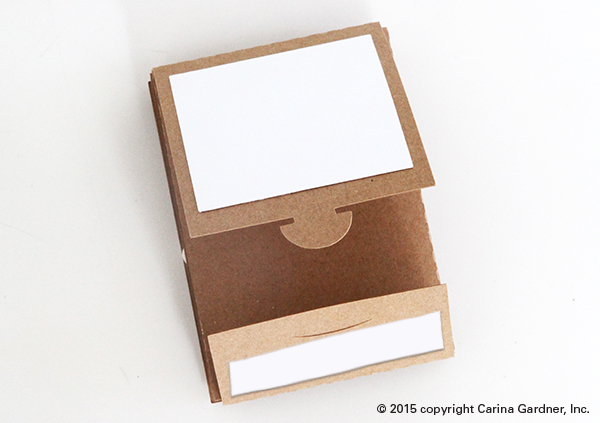
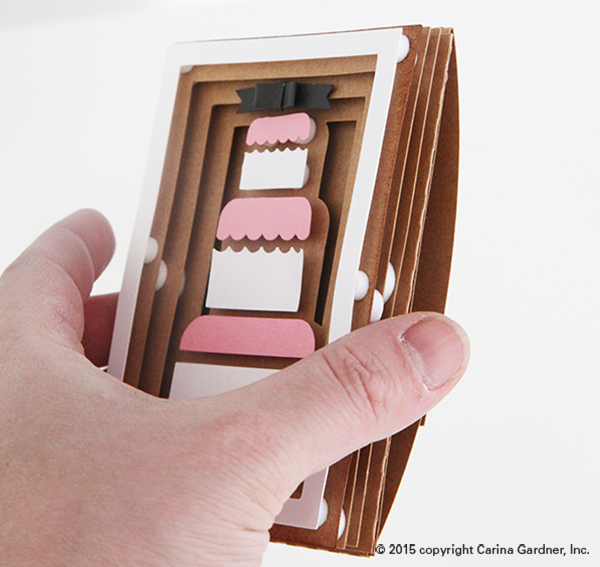
3. Use pop dots to layer the pieces so that the card piece with the thinnest outside layer is on top and the thickest at the bottom. Place pop dots on corners and middles to keep the card stable. (See photo in previous blogpost to see how I place the pop dots.)

4. Once the shadow box is finished, slide in the “card.” (See photo to the left.)

5. Glue the accent pieces to the outside of the card. (see below.)

IMG_4995_1_web1
Helpful Tips:
+ For small or intricate cuts, I put my speed at 9 on my Silhouette Cameo instead of the typical 3. This is especially useful for the “baby” wording on the onesie card.

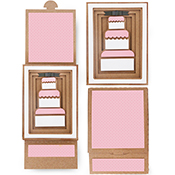
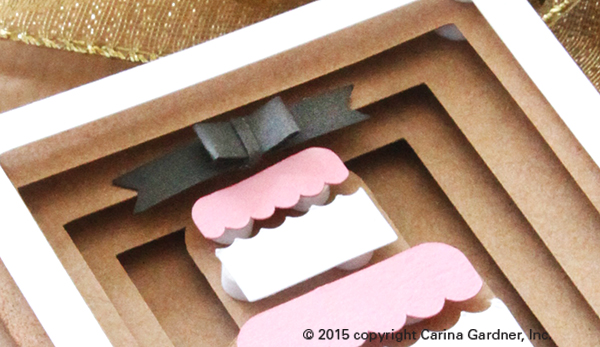
+ The bow on the cake card is not complicated. All you have to do is use the two score lines nearest the ends of the bow and pull them in to match to the middle score line. Use the tiny, thin piece to  wrap the center of the bow. I used hot glue to make sure everything dried quickly and held together nicely. I also placed the bow on the second tier of the shadow box.

IMG_5007_1_web

IMG_4998_1_web

+ You can use any color cardstock for these shadowbox cards. I’ve used kraft paper in all my examples but white, black, gray, and any solid color would work wonderfully for a unique take on these cards.

+ These cards are sized for a gift card. You will need to tape in the gift card or hot glue the sliding card portion to create a pocket.
IMG_5012_1_web


Hope you have fun making these and have someone special to send them to!

Happy Cutting!—Carina

(Links will be available on March 23, 2015)

cakeshadowslidingcard camerashadowslidingcard dolphinshadowslidingcard mrandmrsshadowslidingcard elephantgiraffeshadowslidingcardmustacheshadowslidingcard onebannershadowslidingcard sharkshadowslidingcard unicornshadowslidingcardweddingtoppershadowslidingcard

Silhouette Design Store JOANN Stores

Pop Dot Shadow Box Folded Card for Silhouette

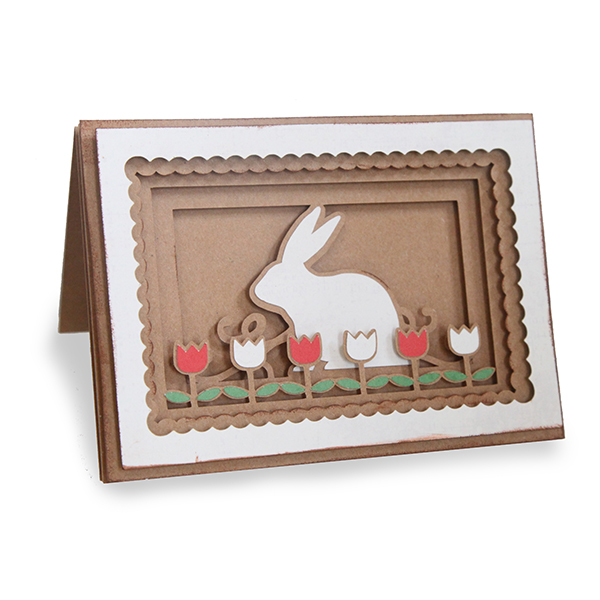
bunnyshadowcard

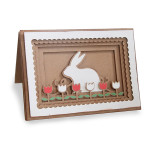
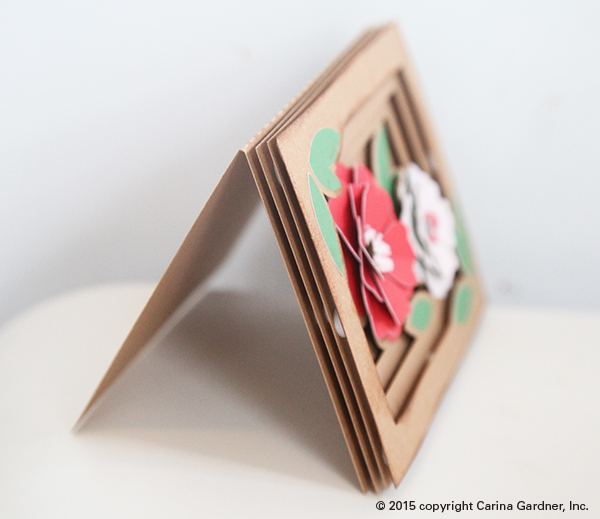
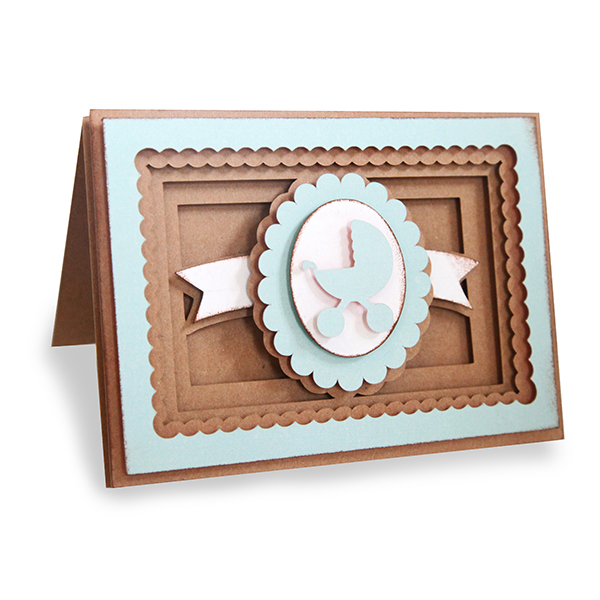
The new shadow box cards I have in my silhouette shop are amazingly simple to put together. Instead of glue flaps, the shadow is simply created by pop dots. Pop dots can be found at your local craft store for about $2.99-$3.99. The effect you get with this little guys is fantastic!
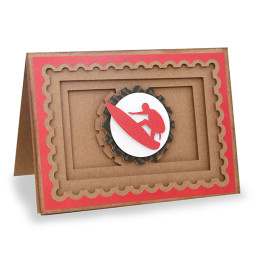
All of the cards are meant to fit into an A2 envelope with the finished size being about 4 inches x 5.5 inches. It is a little smaller than the traditional A2 sized card (4.25 inches x 5.5 inches) but it is to compensate for the size of the shadow box and helps get it into the envelope.

All of my cards are FOLDED, which means you can place a message on the inside of the card. Of course, you can also forgo the pop dots and glue all of the layers down for a cute layered effect without the shadow.

IMG_4912_1_web

So here are the simple instructions:

1. Cut out all the pieces in your svg file.

2. Glue down any “colored” objects first. For example, center and glue the bunny to the piece with the bunny shape. You can use pop dots for these as well. In my examples, I glued them flat (without shadow).

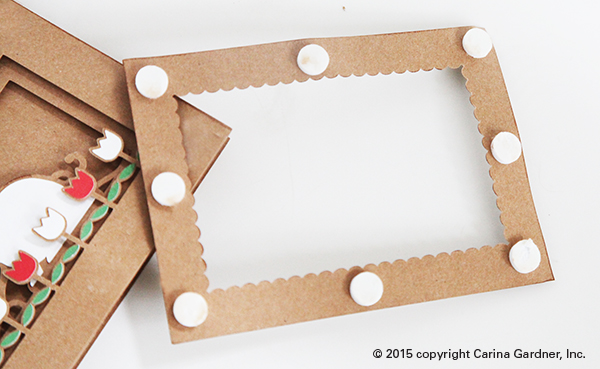
3. Use pop dots (see image below) to layer the pieces so that the card piece with the thinnest outside layer is on top and the thickest at the bottom. Place pop dots on corners and middles to keep the card stable.

IMG_4921_1_web

And that’s it! Simple but elegant! Look for more of these designs this coming week!

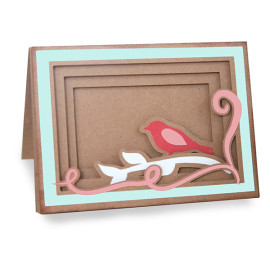
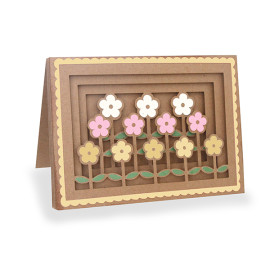
babyshadowcard bannershadowcard bunnyshadowcard butterflyshadowcard springflowershadowcardbirdflourishshadowcard gardenshadowcard


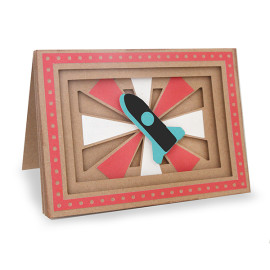
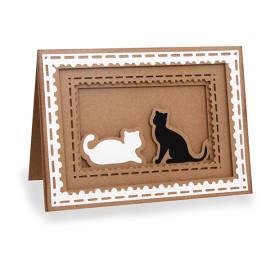
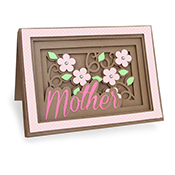
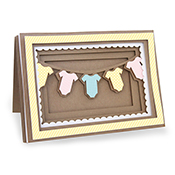
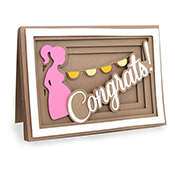
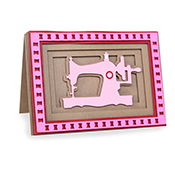
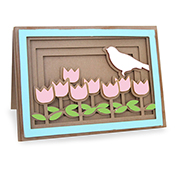
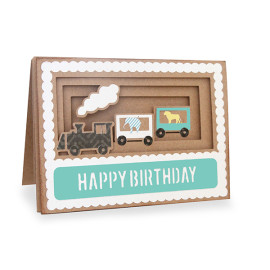
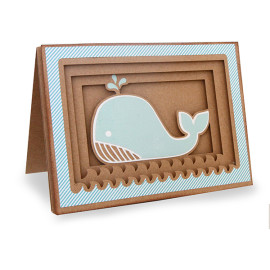
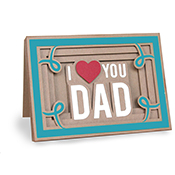
rocketshadowcardkittenshadowcardmultilayeredbutterflyshadowcard birthdaycupcakeshadowcard dinosaurshadowcard dragonshadowcard graduationshadowcard mymothershadowcard_1 onsieshadowcard pregnancyshadowcard sewingmachineshadowcard tulipshadowcardtrainshadowcardsailboatshadowcardsurfershadowcardwhaleshadowcardiloveyoudadshadowcard

Silhouette Design Store JOANN Stores

Accordion Number Album Instructions for Silhouette

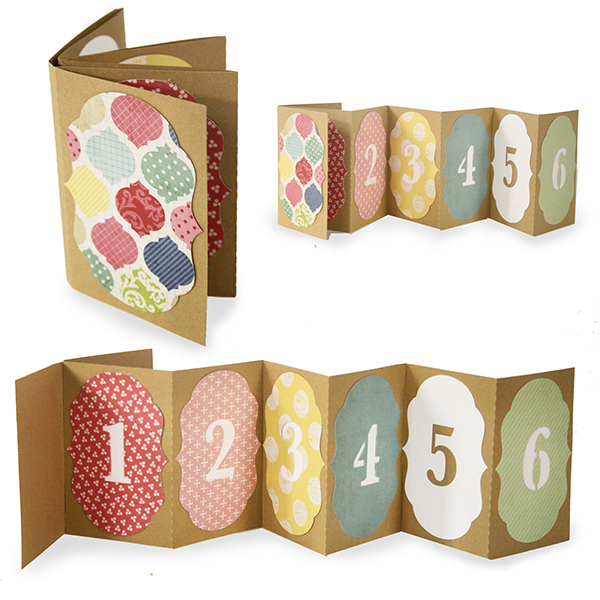
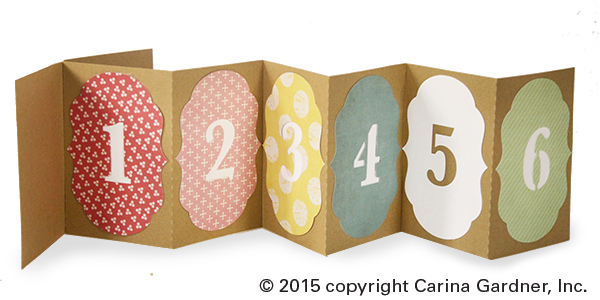
AccordianFolderNumberAlbumToday I released several new silhouette designs in my shop. Here are the instructions for the Accordion Number Album. I love this album because you can mix and match it so many ways and it makes an amazing gift. It is fairly simple to put together.

1. Cut out all the pieces in the file. You will want to cut out three of the folded pieces with the glue flap and one of the cover.  If you want to place a “color” (in my case white) behind the number, use scrap pieces of paper and simply place behind the bracket numbers.

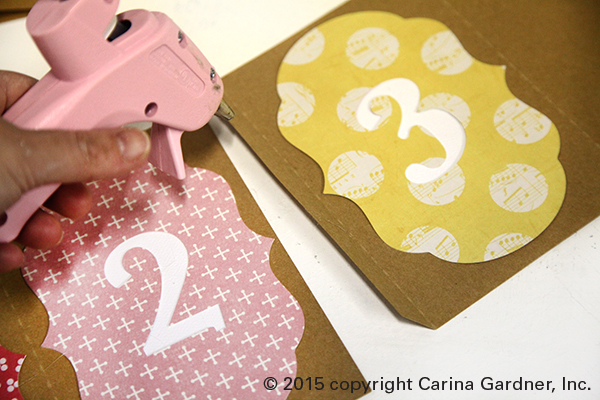
2. Glue the number brackets to each of the “pages.” Glue a plain bracket to the front cover. Each page will hold two numbers (1 + 2, 3 + 4, 5 + 6). If you plan on putting a photo between numbers, cut out six of the template instead and only place one number on each page.

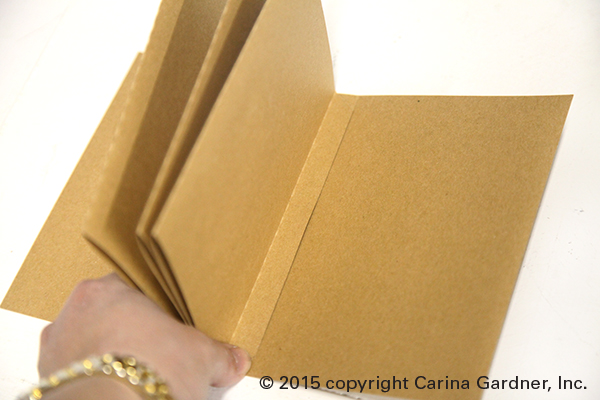
3. Fold at all the crease lines of the cover and pages.

carinagardner_albumaccordion3

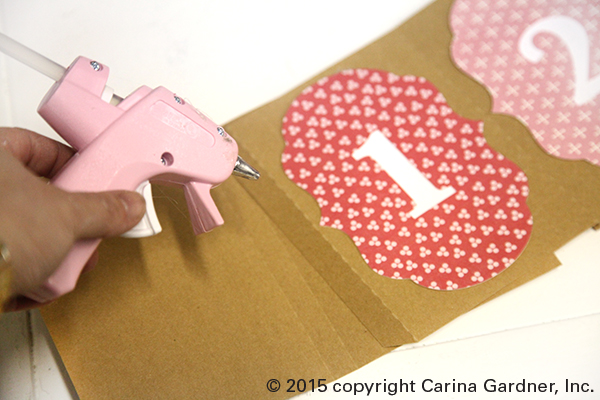
4. Place glue on the flaps of each of the pages and attach the pages to each other so that the numbers are in order.

carinagardner_albumaccordion2

5. Finally glue the flap attached to the number “1” page to the cover.The flap will fit perfecting in the center of the cover.

carinagardner_albumaccordion1

And that’s it! Add photos or journaling for a simple and elegant album!

AccordianFolderNumberAlbum_carinagardner

Happy cutting!
Carina

Silhouette Design Store JOANN Stores

Introduction to Diecut Design Class Now Available!

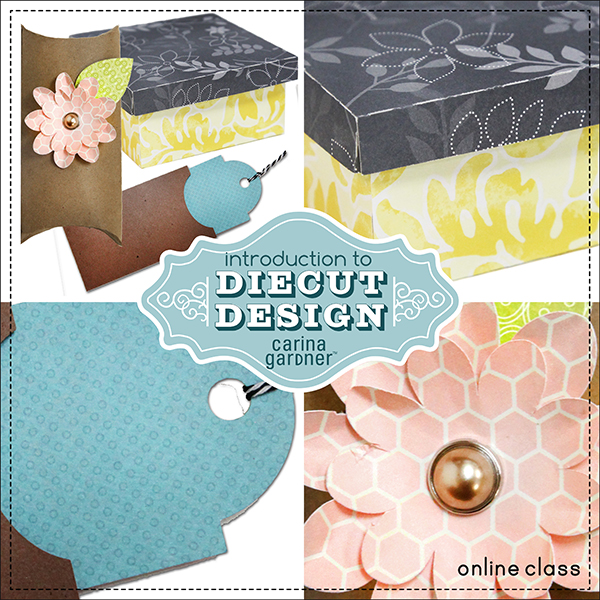
class_diecutting1_webI’m so excited to let you know about the release of a new class! It’s been a few months since I had time to create a class and this one is close to my heart. The name of the class is Introduction to Diecut Design and I teach you how to create a tag, envelope, shallow square box, and pillowbox with a flower. I walk you through how to create basic svgs so that you can then use your creativity to expand upon the designs I make with you.

There are four lessons, pdf notes, and you also get the svg files to help you compare against the ones you create. If you have a diecutting machine, this is a great way to get creative with your own designs.

I suggest Illustrator Basics 1 as a prerequisite for this course since all the svgs we create are in Illustrator.

You can check out the syllabus and course description here: Introduction to Diecut Design

AND this class went on sale for the rest of the week for 20% off! It will go off sale with the rest of the classes on February 1, 2015 so be sure to stock up now!

Silhouette Design Store JOANN Stores

Words of Love Banner and Video

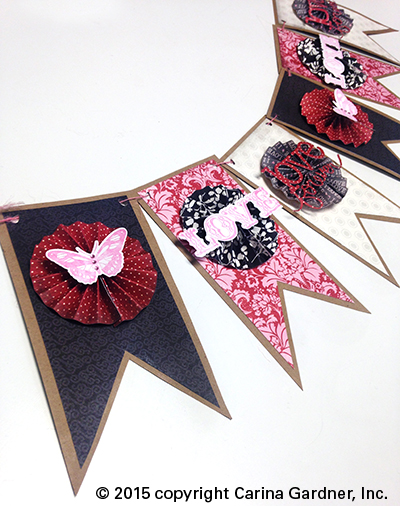
carinagardner_wordsoflovebannerIt’s been since before Christmas since I posted. The first of the year is always so crazy. This year I was headed to Atlanta for my new company MiniLou. It was my first year of missing CHA in long time.

Soooo, to introduce my first line to come out this year, I put together a little video. Words of Love is my Valentine’s line and it should be hitting your local scrapbooking store this month. It’s a classic red and black line with a bit of pink and gray.

I hope you enjoy the video! I am having issues with my video uploading to YouTube blurry so I am working on getting an HD version of this video up soon.

If you want the free download banner template, you can download it here:

BANNER TEMPLATE FREE DOWNLOAD

Silhouette Design Store JOANN Stores

Open When Envelopes—Last Minute Meaningful Homemade Gifts

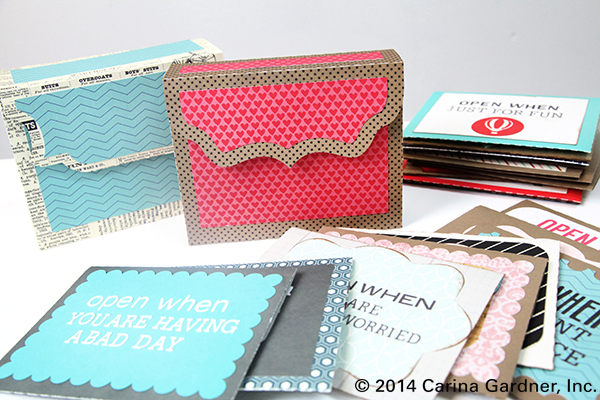
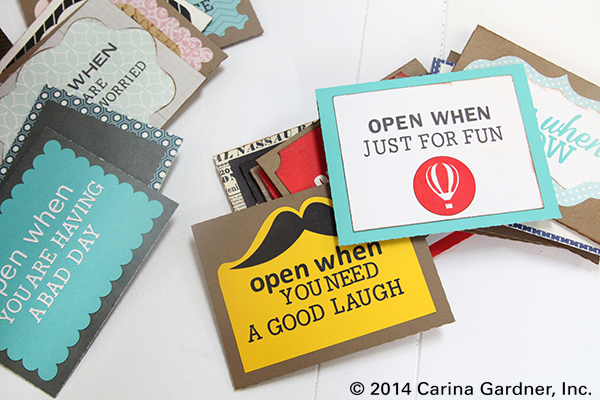
IMG_3661_1_webLast week I came out with a brand new series of envelopes called OPEN WHEN. It’s a wonderful meaningful gift, and I am making a set of envelopes with box for Josh for Christmas. If you want to see the instructions and everything in the series, go here: https://carinagardner.com/silhouette/carinas-open-when-series/. If you want to look at the current printables for this series, go here: http://www.carinagardnershop.com/index.php?option=com_virtuemart&page=shop.browse&category_id=56&Itemid=2

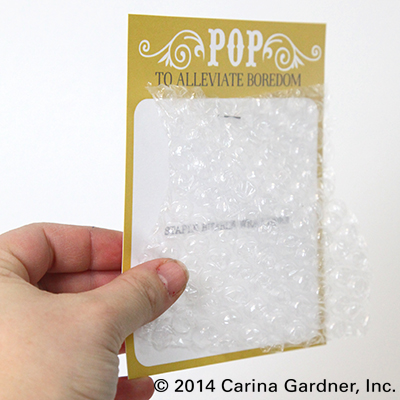
(Photo to the left is one of the printables from the Open When: You Are Bored. You just staple onto the card a piece of bubble wrap.)

This post is just to show you a few examples of what I am doing (although to be honest, I’m not done yet). I love that you can make a set of envelopes for someone and put A LOT into the envelope or just a note. Really, the most important part (in my opinion) is the hand written note. Every single one of the envelopes I’m making for Josh includes a note and a photo. I also included some of the printables, a treat, and anything else I think will be fun for him to open.

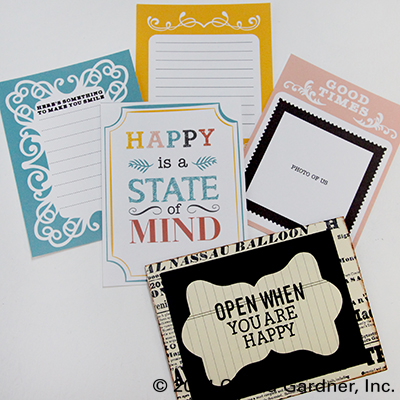
IMG_3653_1_webYou’ll notice that I have included label printables in the shop. That’s because I know that not all of you have a diecutting machine. To be honest, the labels are a lot easier (and quicker) to use if you are throwing together this project (last minute, right?). The labels can be put on any A2 sized envelope and you can just fill them. It’s the perfect last minute solution!

(Photo to the right is from the Open When: You Are Happy printable set. The svg file from for the envelope can be found here.)

The Open When projects I’ve seen usually are given in sets of 10. But I think you should be able to include as little or as many envelopes as you want. You could even coordinate them and give more envelopes out during the year (for example, Christmas 5 envelopes, Valentine’s 5 envelopes, and your anniversary 5 envelopes).

For Josh, I selected 10 envelopes and am using my basic 10 envelope box. I love the prompts in the printables I’m hoping they will help me think of things that are special to just the two of us (and by the way, each of the descriptions in the printables have suggestions for other things you can put in your envelope).

IMG_3517_1_web

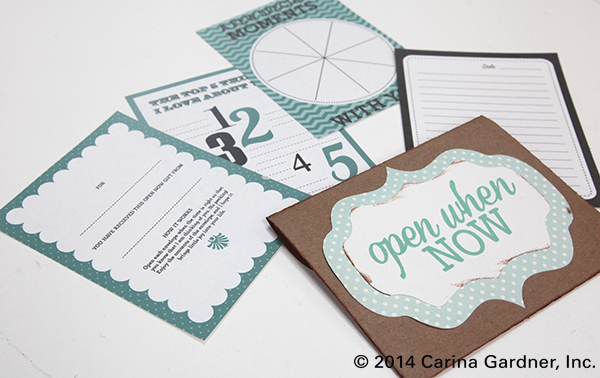
Every “Open Now” gift should have an “Open Now” Envelope. Truthfully, I designed the printables (shown below) so that I could use all of the cards in any of the envelopes. It’s sort of “basic pack.” I’m planning on throwing some funny photos of the two of us from 2014 into this envelope—kind of as a way to celebrate the year. The “pie chart” card I’m going to write all of the things we did in 2014.

IMG_3667_1_web

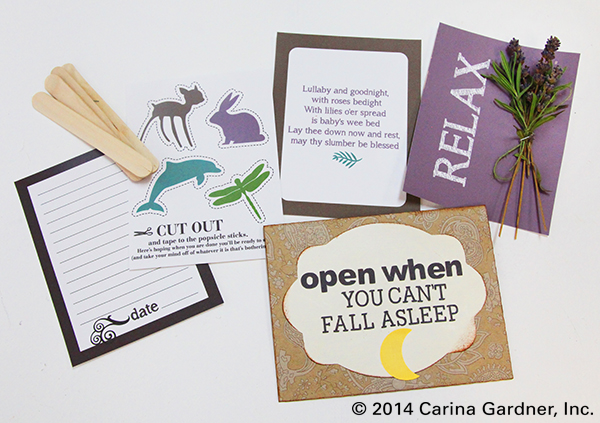
I’m so in love with my printable set for “Open When: You Can’t Fall Asleep.” One card allows you to staple a piece of dried lavendar to it (or any other scent you want). The silly cutouts are more of a joke then something the person has to do, but I like adding the popcycle sticks in the envelope just in case they do end up cutting out the animals.

IMG_3649_1_web

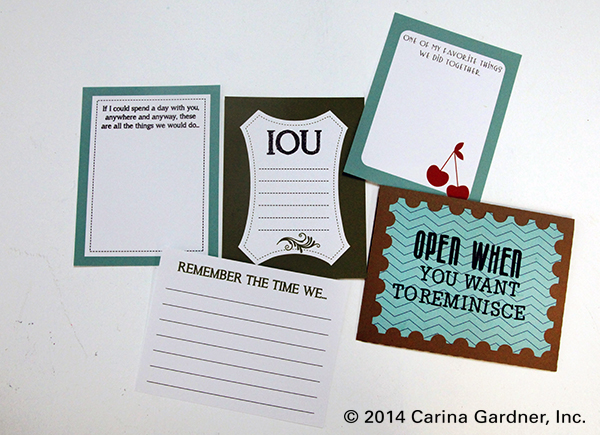
The “Open When: You Want to Reminisce” is going to be the most fun to put together for Josh. I’m using all the printables as prompts but spending most of my time gathering up photos and things that we did together for the last 14 years.

IMG_3641_web

You’ll notice that I’m slowly adding printables to the shop as I make them for myself. If you decide to do this project (for Christmas, a birthday, Valentine’s, and Anniversary, or whenever!), make sure and check my Silhouette instruction page because it has updated links to all the envelopes, boxes, and printables that go to this collection to see what is new!

IMG_3521_1_web

Hope you are being creative and having a great time doing it this holiday season! Merry Christmas and Happy New Year!
Carina


Silhouette Design Store JOANN Stores

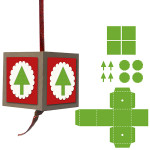
Family Ornament Silhouette Instructions

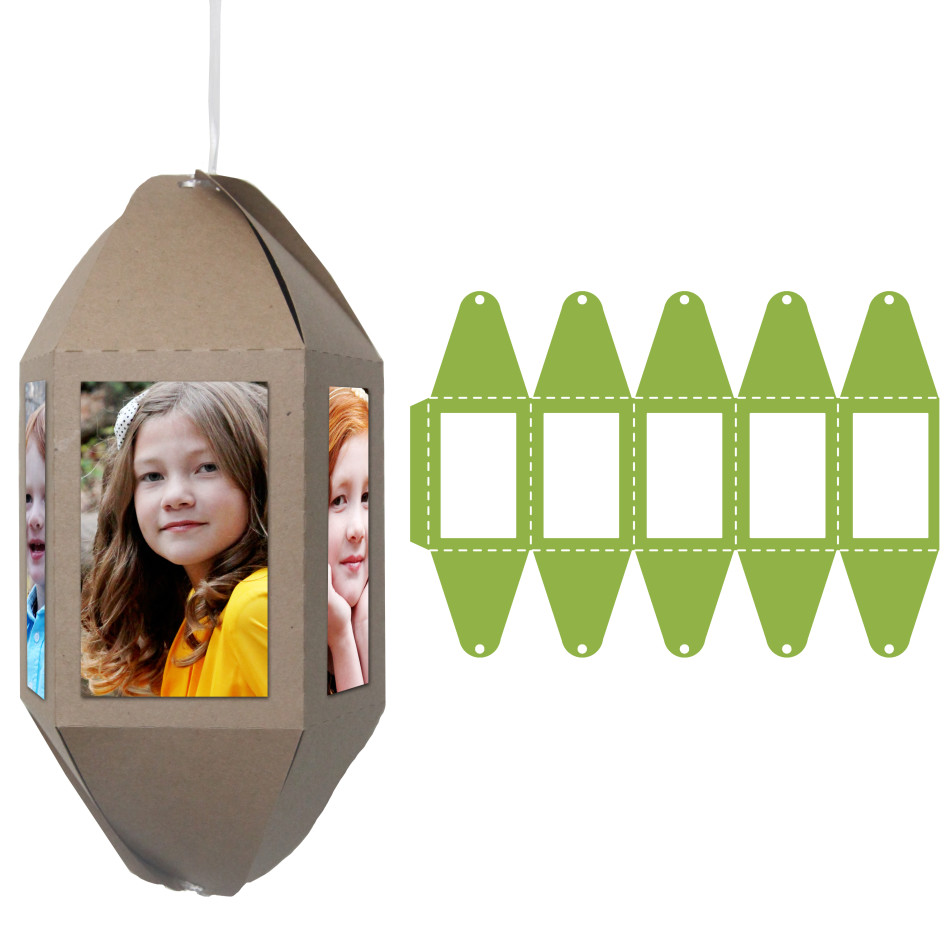
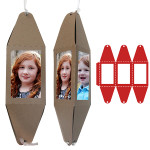
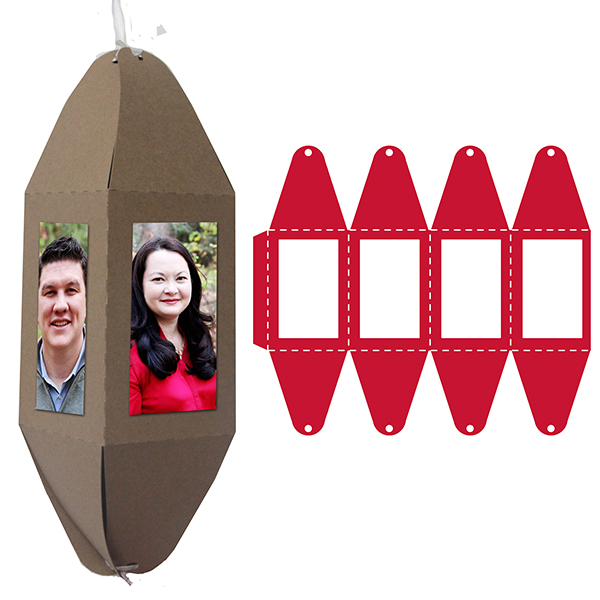
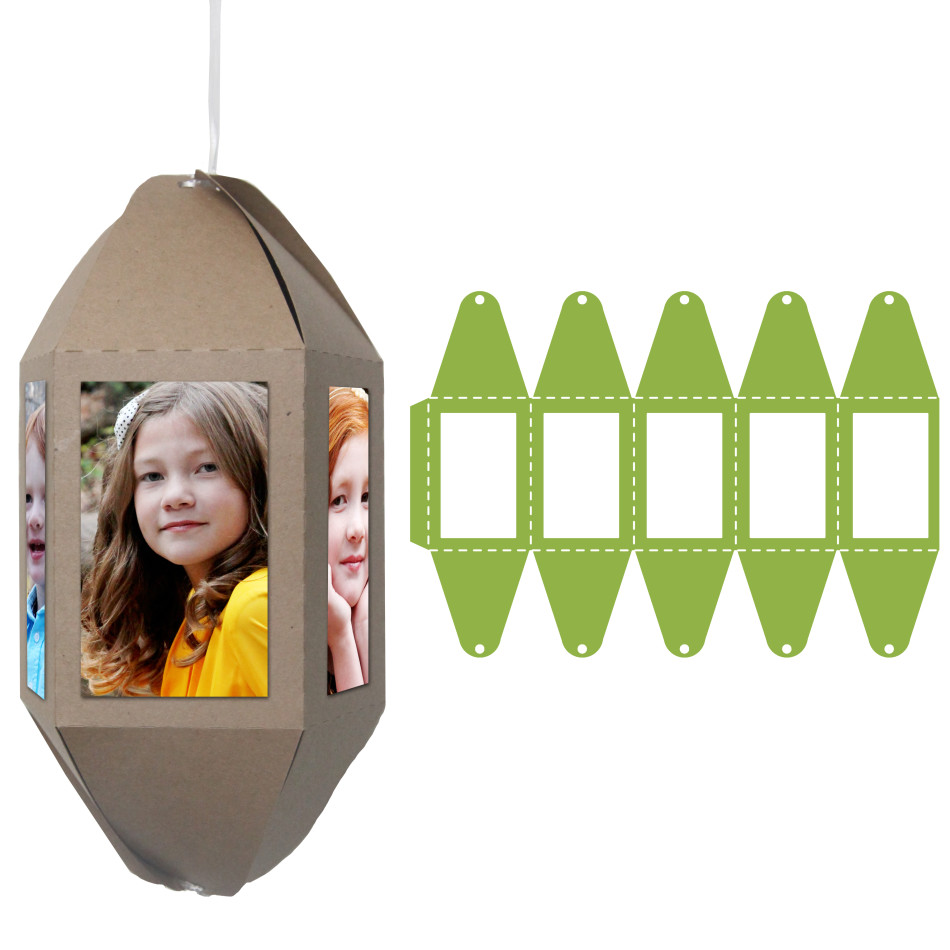
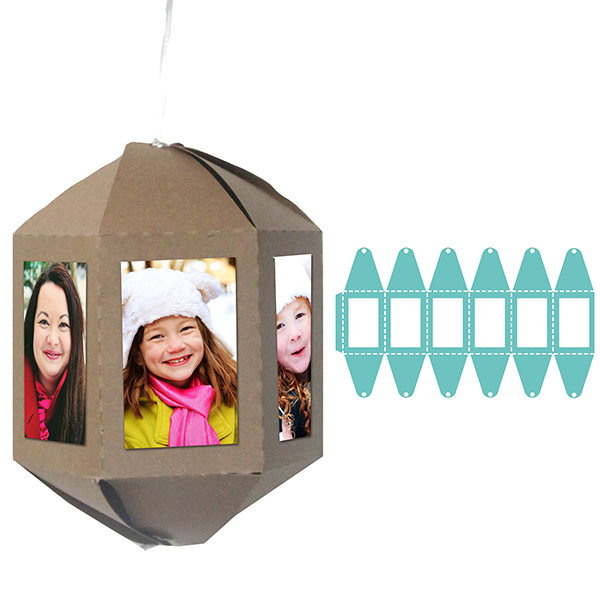
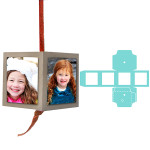
5photofamilyornamentToday I have a series of 3-D cut out ornaments coming out in my Silhouette Store. I love a great homemade gift, and these are perfect for that! They are so simple to put together and I love that you can customize the ornaments (or choose one) that fits your family size (The Photo Family Ornaments come in 3 sides, 4 sides, 5 sides, and 6 sides). Here are some of the instructions and helpful hints for putting together these ornaments.
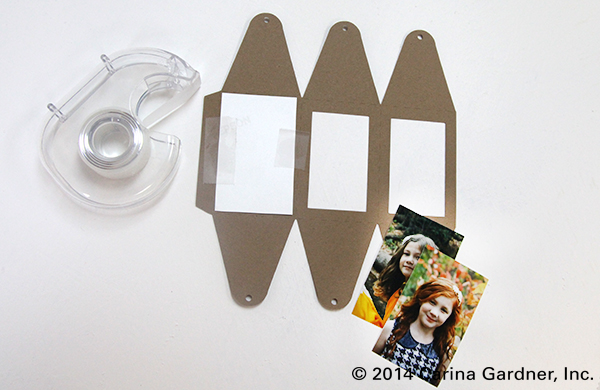
Several Sided Photo Family Ornament Instructions
(Silhouette Store links: 3 Photo Family Ornament, 4 Photo Family Ornament, 5 Photo Family Ornament, 6 Photo Family Ornament)
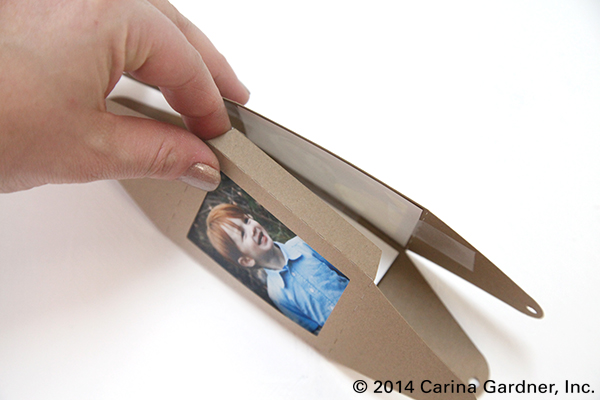
1. Cut out the shape and then print/cut photos that are a little bigger than the windows in the ornament. Tape photos to the wrong-side of the ornament windows.
2. Crease/fold along all the dotted lines.
IMG_3419_1_web

3. Place glue on the tab and adhere it to the opposite side of the ornament.

IMG_3422_1_web
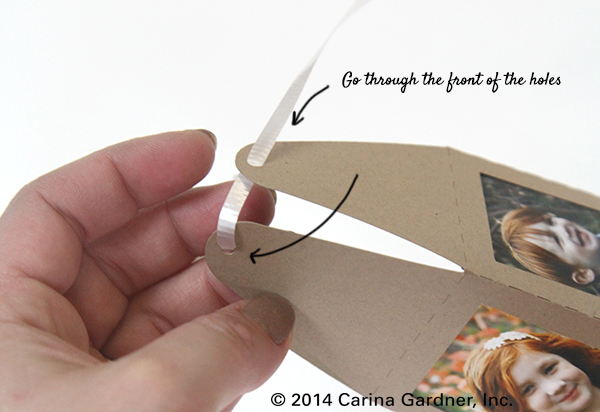
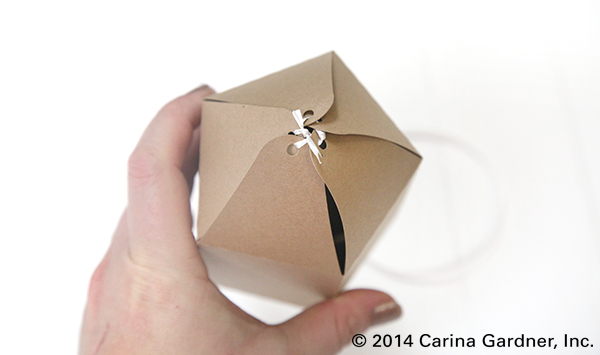
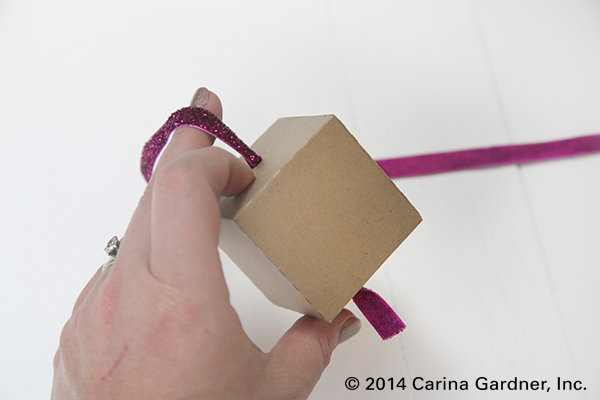
4. Use twine or ribbon to “sew” up the bottom and top of the ornaments. I like starting by placing the ribbon through the front hole of the ornament, then “whip stitching” by coming through the back of the hole and then placing the ribbon through the FRONT of the next flap/hole. Once you have gone through every hole with your twine, pull tight and tie a knot. You can leave one string long to hang the ornament or cut both strings short.

IMG_3424_1_web1 IMG_3430_1_web

3photofamilyornament 4photofamilyornament 5photofamilyornament 6photofamilyornament

Block Ornament Instructions
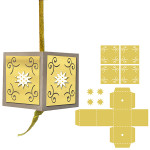
(Silhouette Store links: 4 Photo Block Family Ornament, Christmas Tree Block Ornament, Star Blog Ornament)
1. Cut out the shape and then print/cut photos that are a little bigger than the windows in the ornament. If you are making the photo ornament, tape photos to the wrong-side of the ornament windows. Add embellishments in layers to the ornament. (Pop dots are also a fun accessory.)
2. Crease/fold along all the dotted lines.
3. Place glue on the tab and adhere it to the opposite side of the ornament.
4. Place a piece of ribbon through the bottom and top of the box in the hols provided. Tie a knot at the bottom to keep the ribbon in place.

IMG_3433_1_web

christmastreeblockornament 4photoblockfamilyornament starblockornament

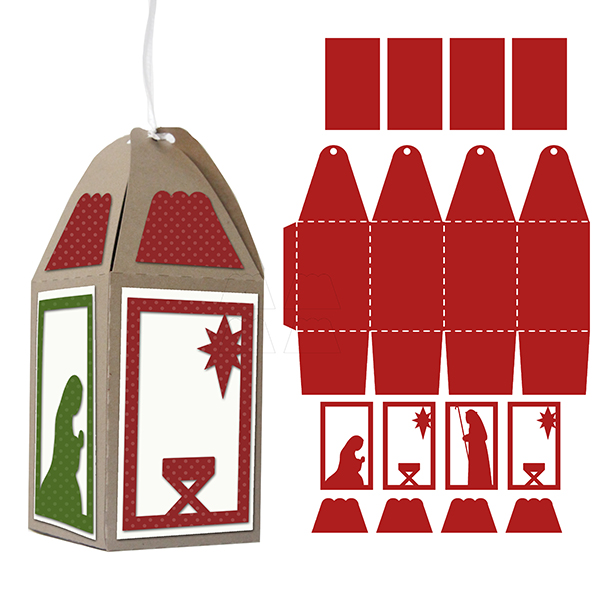
nativity4sidedornamentNativity Ornament Instructions
(Silhouette Store link: Nativity 4 Sided Ornament)
1. Cut out the shape and then print/cut photos that are a little bigger than the windows in the ornament.
2. Crease/fold along all the dotted lines.
3. Place glue on the tab and adhere it to the opposite side of the ornament.
4. Fold up the bottom of the ornament, placing glue on each flap to adhere the bottom of the box together.
5. Use twine or ribbon to “sew” up the top of the ornaments. I like starting by placing the ribbon through the front hole of the ornament, then “whip stitching” by coming through the back of the hole and then placing the ribbon through the FRONT of the next flap/hole (see photo above). Once you have gone through every hole with your twine, pull tight and tie a knot. Leave one string long to hang the ornament.

Silhouette Design Store JOANN Stores

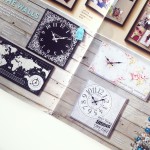
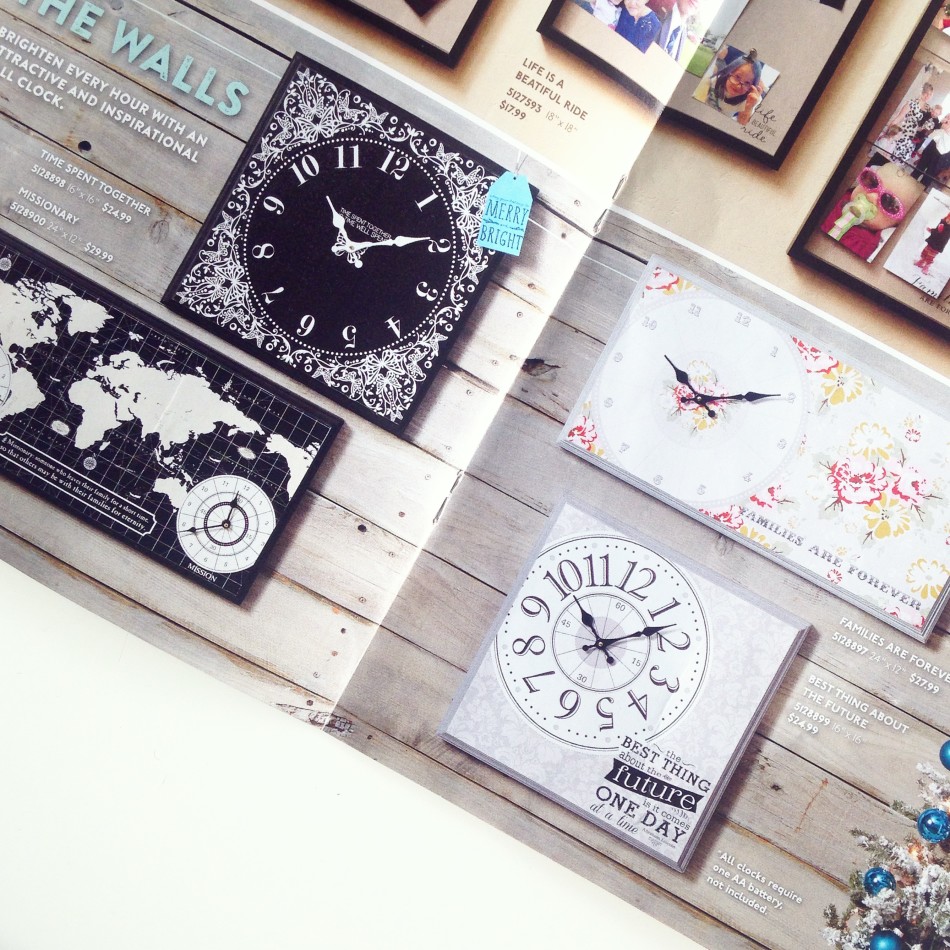
Deseret Book Home Decor Clocks

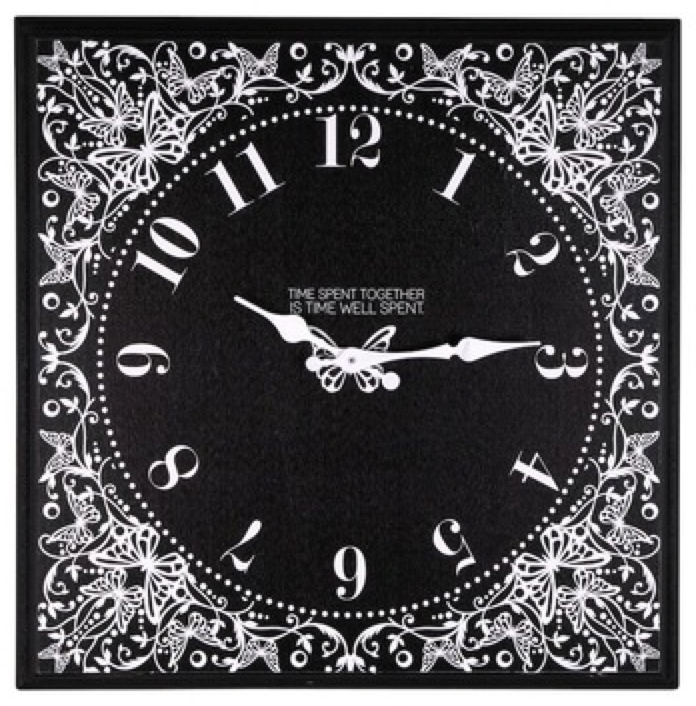
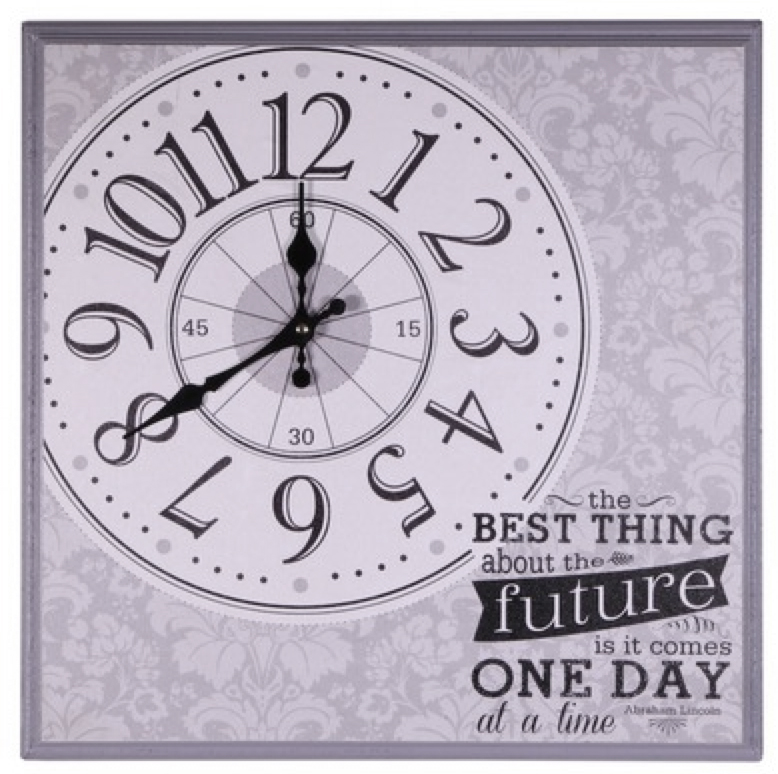
IMG_7839Introducing my new home decor clocks for Deseret Book! I’m so excited that they arrives in time for the Christmas season! Each of them have their own unique look and can be used for any number of rooms!

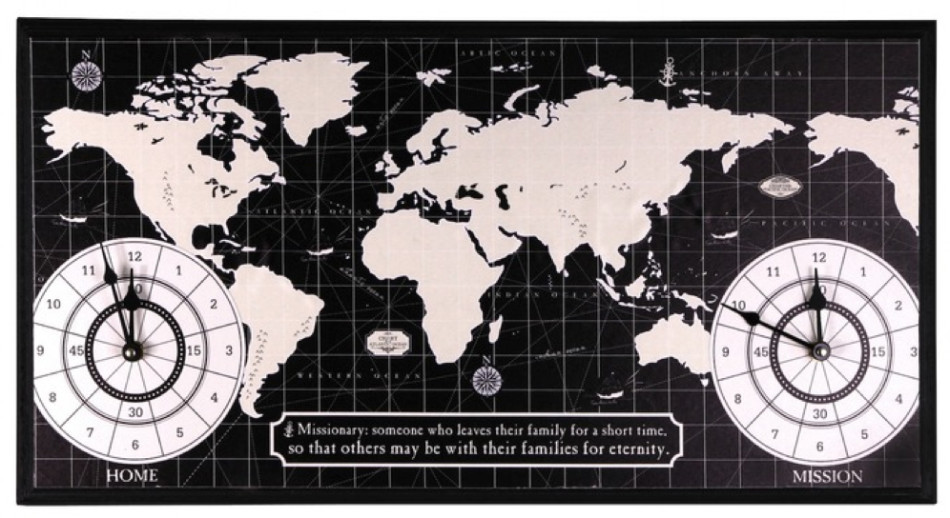
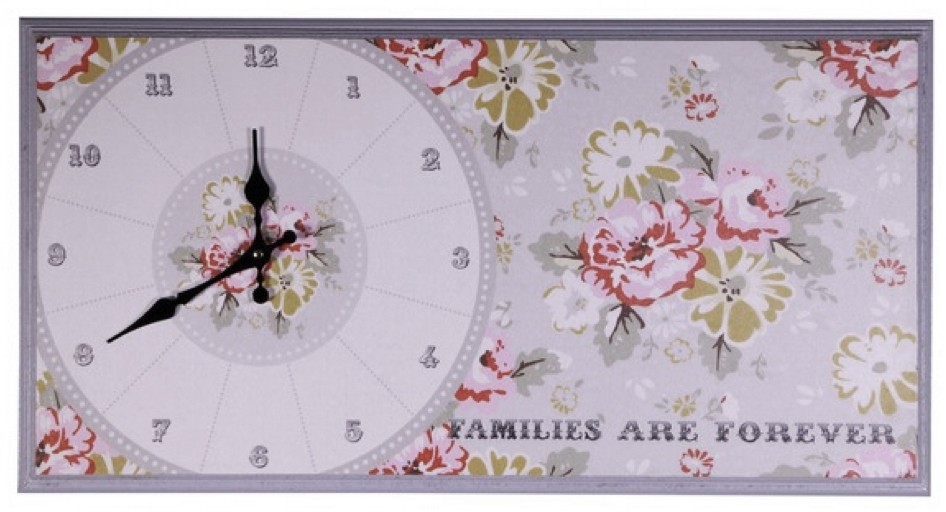
The long map clock has 2 clocks on it with one that says “mission” and one that says “home” so you can see what time it is whereever your missionary is. The long gray clock features my Wiltshire Daisy fabric (coming out February 2015 to Quilt Shops) and says Families are Forever. The other two clocks can be used anywhere but specifically designed them with your teenage girls in mind (the black ad white one is a intricate butterfly swirl I drew and the gray is a tone-on-tone damask).

Click on the links below to see them in the Deseret Book store. Once they are gone, they are gone! —Carina

clock3

clock4

clock2

clock1

Silhouette Design Store JOANN Stores

Holiday Mocktail Party

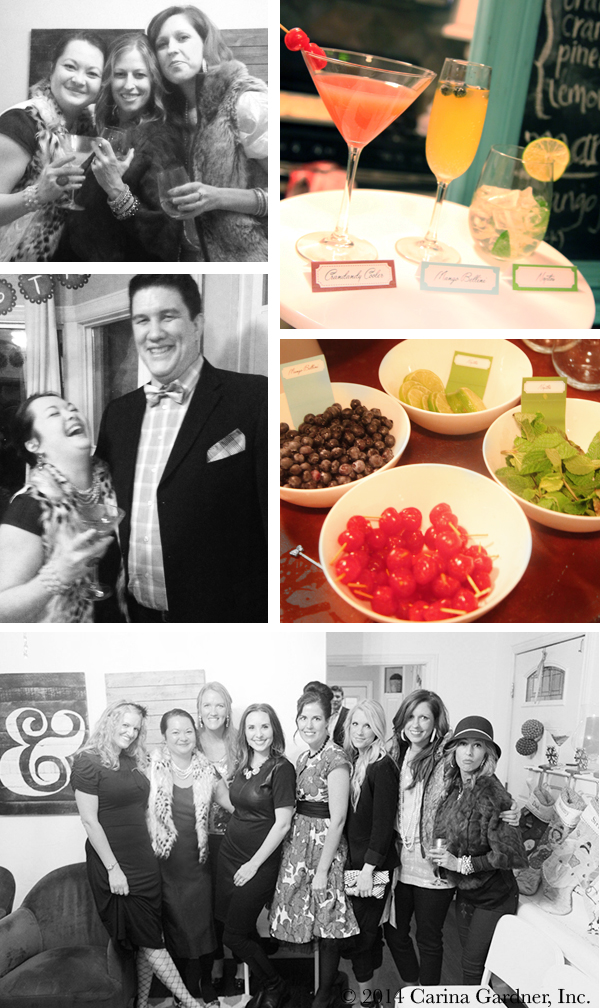
IMG_7779_1A couple of years ago I threw a fauxtail party, and this year I decided to revisit the idea for our holiday party with a few changes (If you want to see the original fauxtail party, go here).
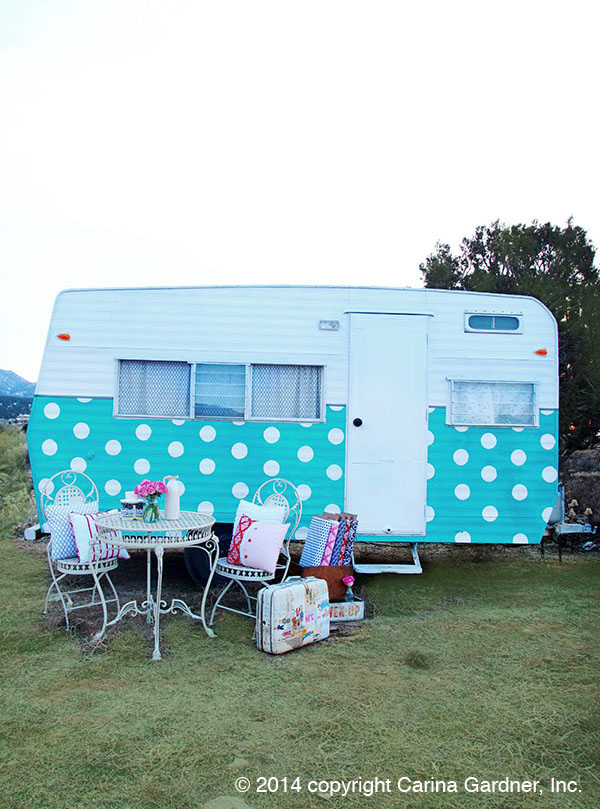
Everyone came in “snooty” attire (which meant a lot of fur and bow ties). We also opened up the glamper as an extra room for the party.

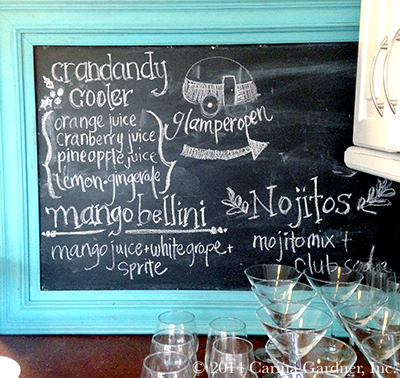
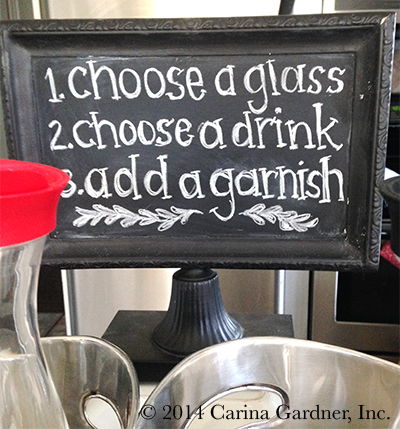
I only did three drinks for this party and instead of playing bartender the whole time, I put them into closed pitchers so everyone could poor their own drinks and choose their own garnish. I put three examples out along with what was in the drinks (on chalkboard to the left).

IMG_7763_webHere are the Mocktail recipes:
Crandandy Cooler
2 cups cranberry juice
1 cup orange juice
1 cup pineapple juice
A squeeze of lemon
1 cup gingerale
maraschino cherry to garnish

Mango Bellini
2 cups mango juice
2 cups white grape juice
1 cup sprite
blueberries to garnish

Nojitos
1 bottle of mojito mix
2 cups of club soda
1/4 cup of lime juice
lime and mint to garnish
(serve “on the rocks” with ice)

I have the little folded tags (as seen in picture below) for you to download should you decide you want to do a party like this here: DOWNLOAD FOLDED MOCKTAIL CARDS

mocktailparty_carinagardner

Hope you are celebrating this holiday season too!
Carina


Silhouette Design Store JOANN Stores

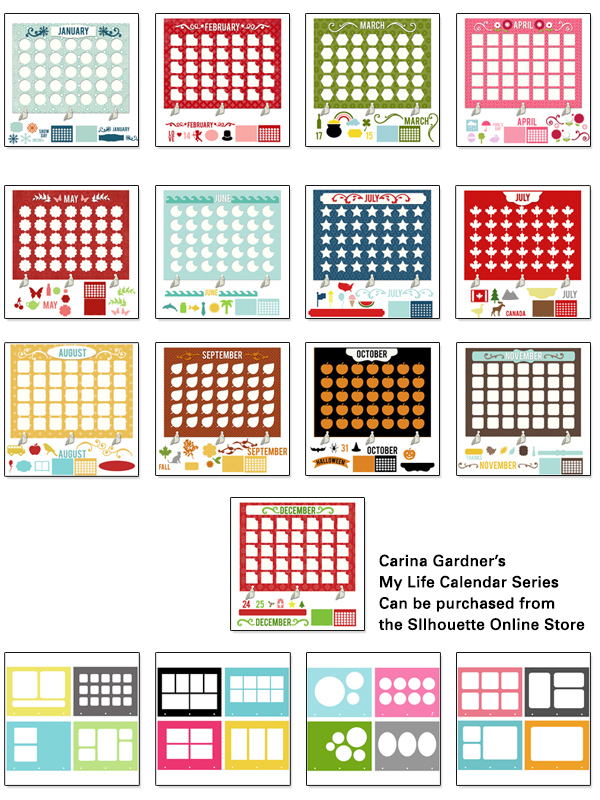
My Life Calendar Series—Silhouette Project

January, February, March, April, May, June, July, November, and December released November 24, 2014.
August, September, October, Cover Pages, and Photo Pages release December 1, 2014.

IMG_3349_1
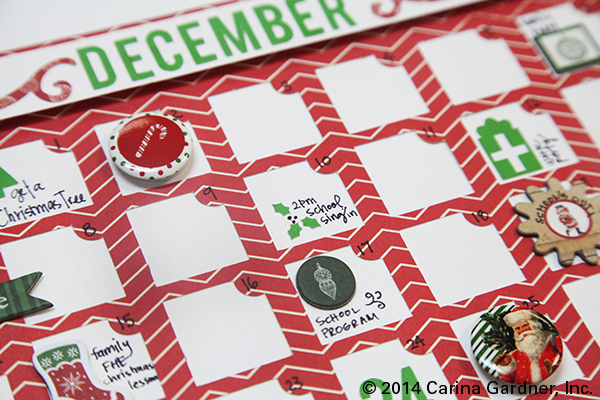
I love a great calendar! The My Life Calendar set is my newest silhouette project that you can use for your own organizational purposes or even give as a homemade gift. This series is easy to put together and you can change up how it is up together and cut out. Here are a few pointers on the calendar pages…

calendar_mylife_carinagardner

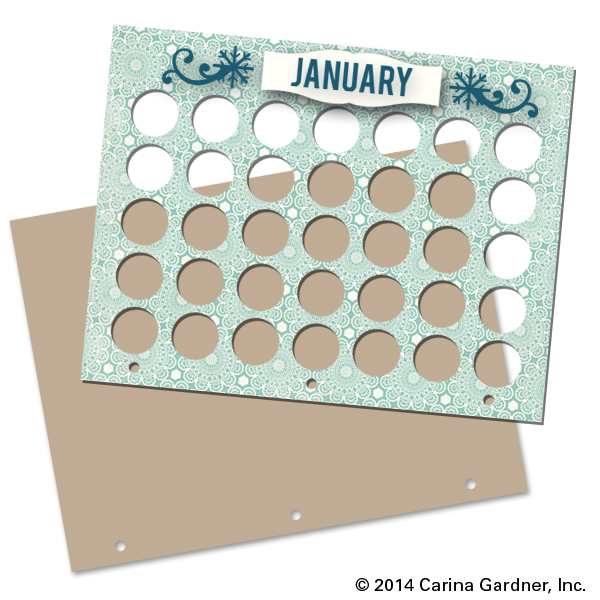
1. Each My Life Calendar Page comes with a background paper and a top layer. It also comes with several pieces to cut out for the header (with month and embellishments) and at least 6 icons to place on the month. You can mix and match the page backgrounds or use only one for your entire calendar (psst, I love December’s cut out because there is a place to hand write in the days of the month).

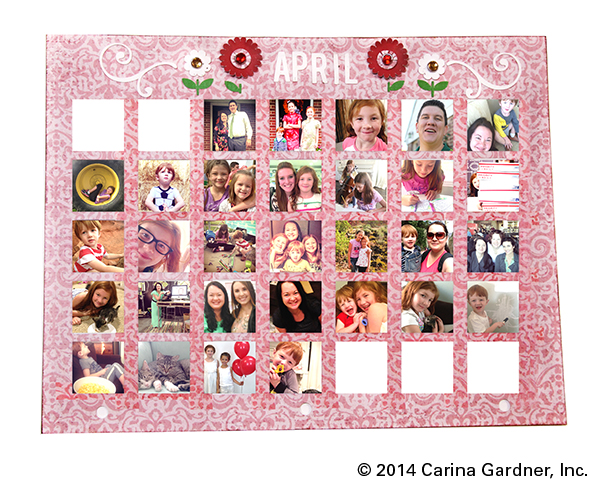
2. You can put this calendar together and add momentos, icons, and journaling as you go (aka actually use it as a real calendar) OR you can use is as a monthly scrap canvas like I did with the April layout below.

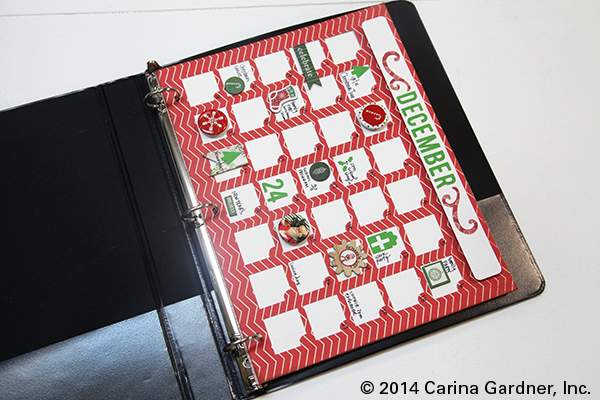
3. The holes that come with the silhouette cutouts fit a regular binder. You can also move boxes/windows down and have the month/letter cutouts be at the bottom of the page (so that your calendar faces out instead of in like mine below). You can also choose to remove the holes altogether and have the calendar spiral bound (in which case I recommend the photo pages!)

mylifecalendar_silhouette_carinagardner

IMG_3351_1_web copy
4. Use the photo pages, extra icons, and calendar cover pages to help add to your project. I designed the photo pages to be placed behind each calendar (so they are facing the next calendar page), but they can be used however you want.

IMG_3357_1

Hope your project turns out amazing!

Carina

PS. The Silhouette shop has a sale during the month of December. Stock up now!


Silhouette Design Store JOANN Stores

25 Days of December Silhouette Album

IMG_2934_1_webEvery Christmas I try to tell myself that THIS year it’s going to be more about family, love, and giving. But like all the rest of you, I find myself completely caught up with the busyness that consumes my time during the month of December.  December happens to be a crazy time for designers ON TOP OF the usual craziness that happens during the holidays. For me, work revolves around CHA, new releases for first quarter, and the Atlanta GiftShow (for MiniLou). Despite all of this, I’m going to try (once again) to slow down during the month of December. And with you as my witness (See! I’m holding myself accountable to you!), I’ve decided to get on top of things THIS month to make December a little more cherry and bright.

IMG_2943_1_web

First off, I already ordered my Christmas Cards (I think a sigh of relief escaped as I wrote that). They arrive December 2nd, and I plan on getting all my labels done this coming week. Yes, it is a relief to already have them printed, and no, I am NEVER this early. Second, I’m going to get all my holiday shopping done in November. Yes, you heard me. And no, I don’t have a plan for this yet. Any tips would be helpful!!! (Leave comments below.) And FINALLY, I went ahead and designed myself an entire 25 Days of December Album (that you can purchase in my silhouette shop), that I have already cut out and put together.

25daysofdecember2

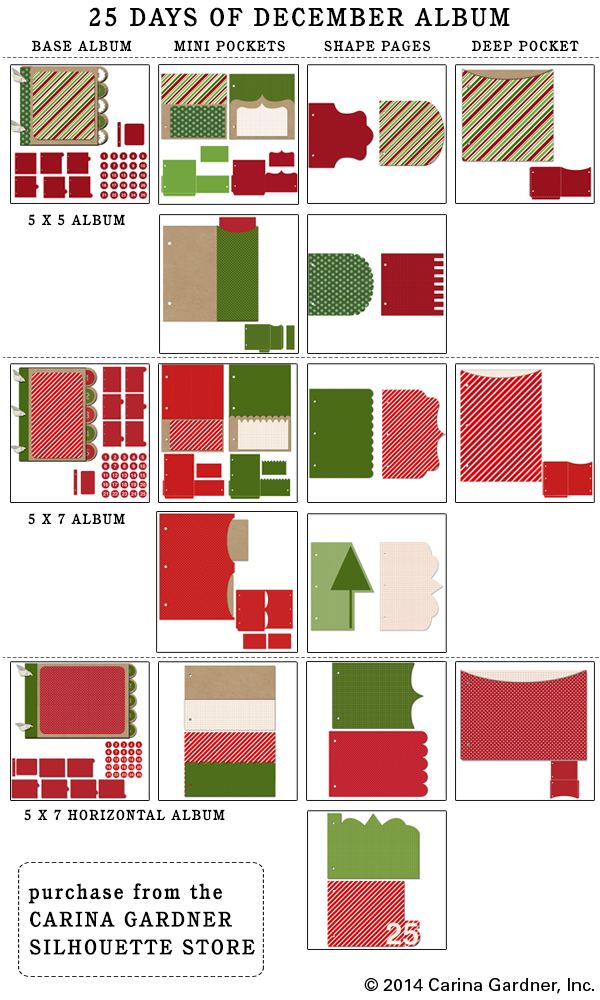
IMG_2939_1_webI have never done an album like this before, but have ALWAYS wanted to. I designed all of the albums and accessories to be super easy to cut out and use.

This year, I’m doing the 5 x 7 Album, but I also have available the 5 x5 Album and the 5 x 7 Horizontal Album. The 5 x 7’s are meant to fit a 4 x 6 photo per day. The 5 x5 Album is meant for instagram photos and fits a 4 x 4 photo beautifully (I love to use Persnickety Prints for my 4 x 4 photos).

Each album also comes with some different accessories. I plan on using the extra pocket pieces and fun shapes to add journaling and some of our holiday photos (and to stash my Christmas Card).

So if you are making this album, it’s pretty easy to put together, but here are a few hints to help you out:

25daysofdecember1

1. You will need to cut 5 of each tabbed piece. That will give you 25 pages—one for each day. Cut one or two of the cover piece (no tab). I only cut one and used a pocket accessory for my back page.

2. Add as many accessory pages as you like. You can see in mine that I elected to put a few in the front and back of the album. Because I’m making this a “stress-free, expectation-free” album, I didn’t want to throw in pages that I then felt obligated to fill. However, I do think it would be pretty to throw in an extra shape or pocket page between each tab so that it goes to a specific day.

3. If you are looking to have this album “pre-made” in time for Christmas or you are making it for someone else, I recommend only adding “scraps” to the left-side of the page and leaving the tabbed side for the photo. (Like the second photo at the very top.)

4. Have fun or go simple with your paper choices. On mye tabbed sheets I elected to use kraft paper just because it was easy. I cut each tabbed sheet on an 8.5 inch x 11 inch piece of paper (one fits per sheet). I inked the edges a little bit to give it some dimension. (FYI, I use my newest Carta Bella collection Christmas Time for this book).

3. Glue is good. A stapler is better. ESPECIALLY on the pocket pages. The folds are pretty self-explanatory on the pocket pages. Once you fold them all in, I like to take a stapler to it. It adds some “scrappiness” to the album and helps secure the pocket in place. I’ve also used hot glue and a glue stick. They work great as well. Note: For the Mini Pockets, you may want to add a couple of extra staples right to the MIDDLE of the page to separate out the two pockets.

4. Use ribbon, twine, or O-rings to keep it together. If your album gets REALLY thick, you may want to consider O-rings (you can usually find these at an office supply shop). I wanted to keep my album “unprecious” and added different little bits of ribbon and twine. I want the kids to feel like they can handle and play with this album all through the season and beyond. Which brings me to my next point…

5. Have a plan. Especially when it comes to the photo part. Are you going to print at home or send out your photos? Are you going to print daily or weekly? Are you going to journal (or will it stress you out?). My plan this year is to print everyday at the end of the day. So I have a pack of 4 x 6 photo papers ready for December. As for journaling, this year the album is the “family” album. That means, I plan on having the kids write things they are thankful for or are doing for Christmas. Josh and I will add notes too. If you are doing a personal, reflective album, yours will be so different from mine.

IMG_2948_1_web IMG_2949_1_web

And that’s it! I hope you have fun making your book and you get to spend some time really showing off how wonderful the holiday season really is! If you are on instagram, you can follow me at @carinagardner. Make sure and hashtag #25dod (25 Days of December) so that we can all share in your journey in December!

Happy scrapping!
Carina

IMG_2953_1_web


Silhouette Design Store JOANN Stores

RBD Post Quilt Market Designer Blog Tour: Carina Gardner

IMG_2977_1_webI’m excited to be the next stop on the Riley Blake Design Blog Tour! I’m suppose to be introducing Primrose Garden, but for those of you who follow my blog, you know that I’ve been posting about this line for the last couple of months. It just barely hit stores so I’m excited to share the inspiration behind this line.
First of all, I designed this line at the same time that I purchased an old 1968 Jet Airway. The stove was original and turquoise (I may have purchased it simply for the stove…heehee). I started thinking about colors and patterns I would want in the trailer, if I were to, um, glamp it up:). I started thinking about making the glamper red, blue, and black (and I did furnish it with a lot of laminates from my Evening Blooms collection). I wanted something that felt fresh, clean, but had a traditional appeal. And that’s how Primrose Garden came into being! You can see that I created wallpaper for the glampGLAMPER_carinagardner_1_web copyer kitchen from the red master colorway from Primrose Garden (see link to Glamper pics below).

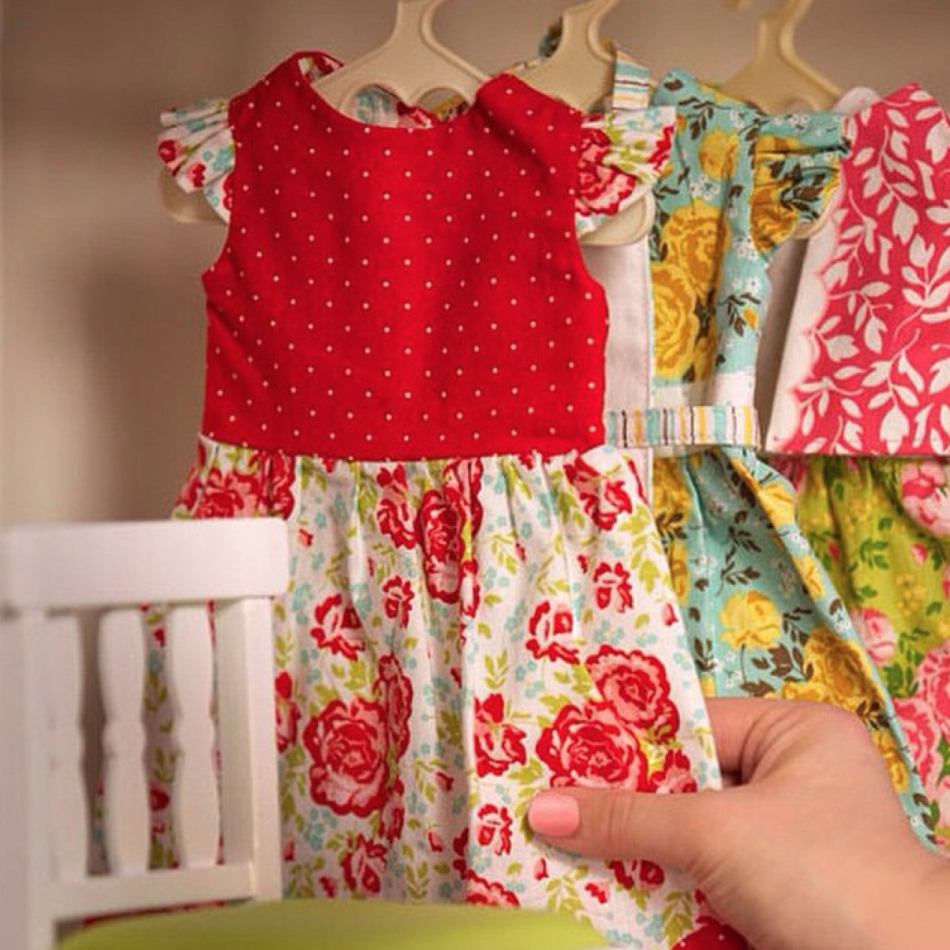
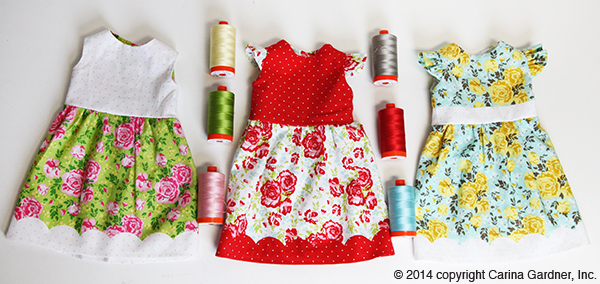
This is my first collection with an 18 inch doll panel! You’ll see more of these from me in future lines.

Because I don’t want to bore you with things I’ve already posted, here are some other links that will help you should you be thinking about sewing with Primrose Garden:

Primrose Garden LookBook (all the fabrics and doll panels!)
18 inch Doll Panel Fully Illustrated Instructions (Free Tutorial)
18 inch Doll Panel Quilt and Pillow (Free Download and Tutorial)
Carina Gardner Aurifil Thread (matches Primrose Garden!)

And if you are curious about my Glamper Renovation, you can see all the posts here. If you just want to go straight to the final photos of the glamper, you can see them here.

Thanks for visiting my blog! For more updates on fabric, quilts, and giveaways, be sure to check out my Facebook page and instagram feed!~Carina

<<<See the previous stop on this tour with Lila Tueller
See the next post with Lori Holt>>>>
IMG_0526_1_web

Visit the entire Blog Tour!

11/6 – The Quilted Fish
11/7 – Bella Blvd.
11/8 – Deena Rutter
11/10 – Lila Tueller
11/11 – Carina Gardner
11/13 –Bee In My Bonnet
11/14 – Fancy Pants Designs
11/15 – My Mind’s Eye
11/17 – Zoe Pearn
11/18 – Sue Daley
11/20 – Kelly Panacci
11/21 – Marin Sutton
11/22 – Lori Whitlock
11/24 – Melissa Mortenson
11/25 – Melly & Me
11/28 – Scott Jarrard
11/29 – Elea Lutz

Silhouette Design Store JOANN Stores

Primrose 18 Inch Doll Panel Instructions

Screen Shot 2014-11-06 at 12.08.33 AMThank you for purchasing the Primrose Garden 18 inch doll panel! While there are instructions on the panel itself, I find that illustrations always help me see how to put something together. Sooooo, I’ve put together some illustrations that coordinate with these doll panels for you! Feel free to download and use as you put together these dresses!

If you are looking for this panel, please check with your local quilt shop first. There are also several online retailers carrying this line

DOWNLOAD THE PRIMROSE GARDEN DOLL PANEL INSTRUCTIONS

If you are feeling extra sewerly today, you can also download the matching quilt and pillow instructions for this line. Or get the matching Auriful Threads.

Happy Sewing!
Carina

Silhouette Design Store JOANN Stores

Primrose Garden 18 inch Doll Quilt and Pillow Pattern—Free Download

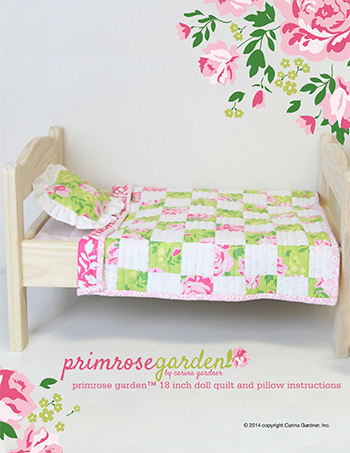
PrintMy new fabric line Primrose Garden will be hitting your local quilt shop this month! To celebrate my first ever 18 inch doll panels, I have a free 18 inch doll quilt and pillow pattern for you!

This is such a simple, easy project! It doesn’t take a lot of fabric and is such a fun gift for your 18 inch doll lovers (there are three in my house).

DOWNLOAD  THE PRIMROSE GARDEN 18 INCH DOLL QUILT PATTERN HERE.

If the above link doesn’t work for you, please download it via dropbox here:

https://www.dropbox.com/sh/bk9xgra9pllbxxw/AAAxk525S_vXVoT14QECRwQja?dl=1

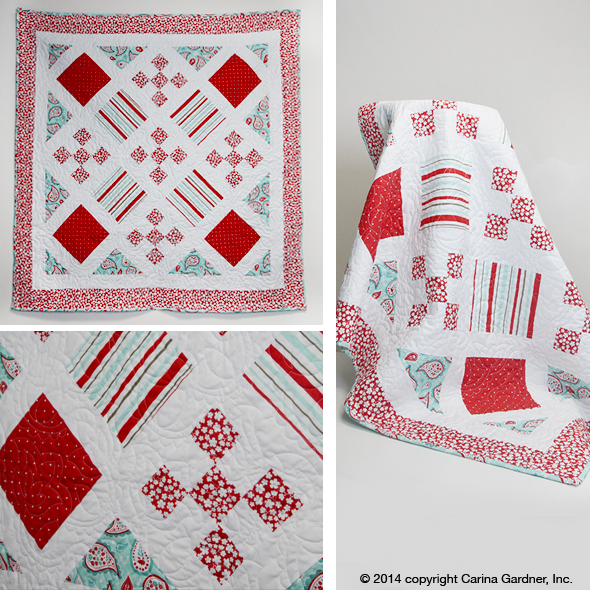
If you get the Riley Blake Newsletter, you may have also noticed a red quilt that I put together. It’s design was based on one of the free patterns available at Riley Blake called Whimsy. I changed a few of my dimensions to make it fit my office wall but it’s basically the same design.

Sneak peek at the quilt below if you don’t get the newsletter:). So many more projects coming with this line!

Happy sewing to me:).
Carina

primrosegardenquilt_carinagardner_web

Silhouette Design Store JOANN Stores