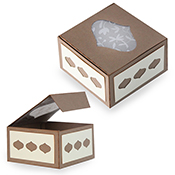
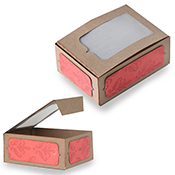
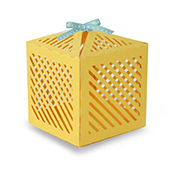
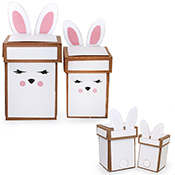
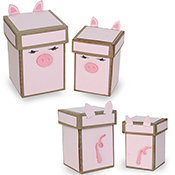
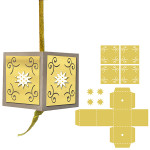
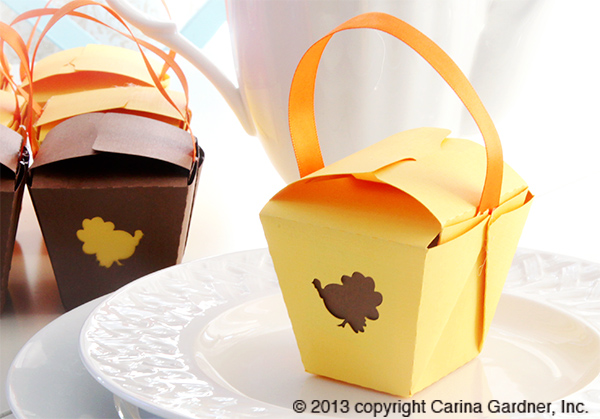
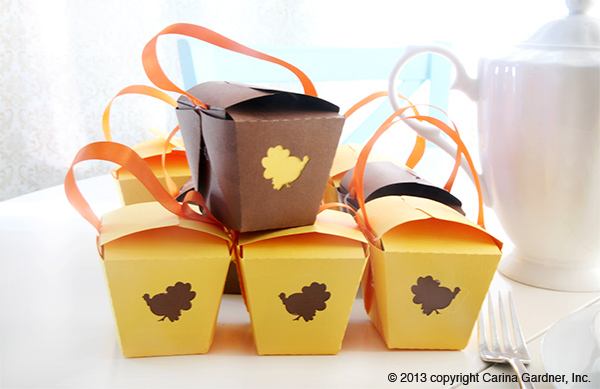
Filled Basket Silhouette Tutorial
I probably redesigned this basket a half a dozen times but I think it was worth it! The end result just makes me smile!
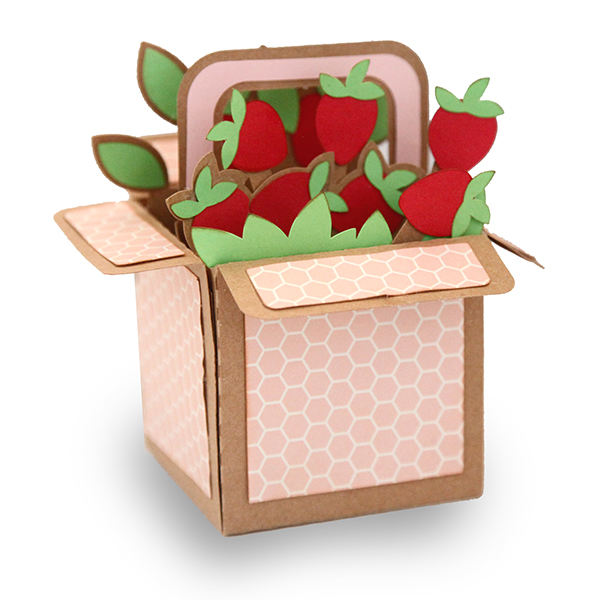
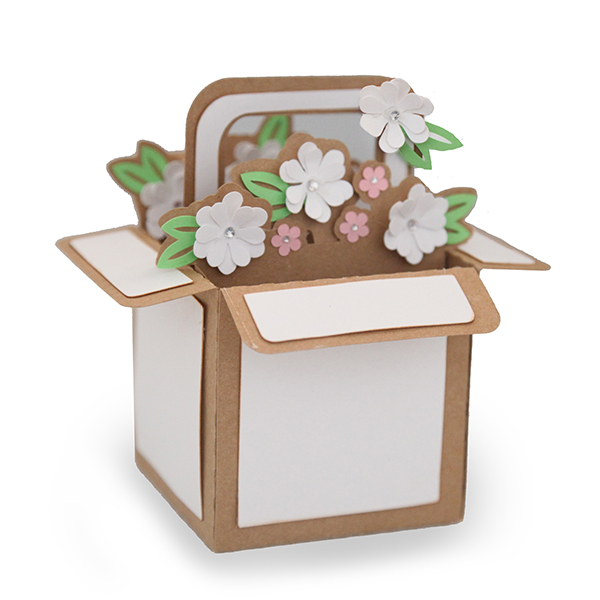
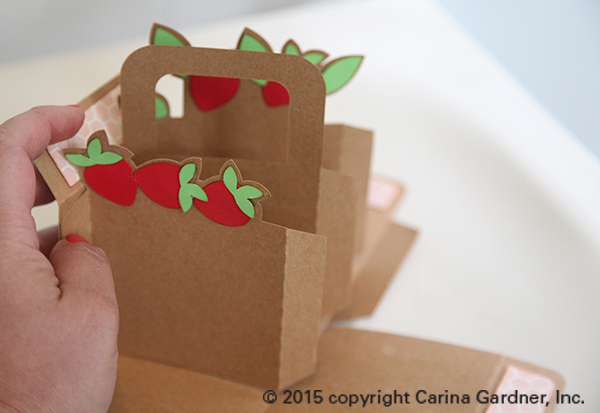
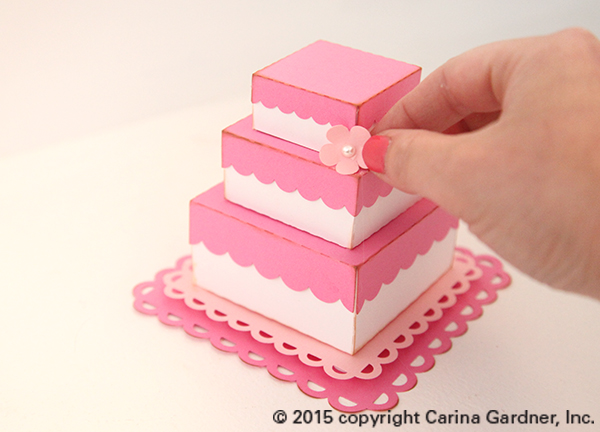
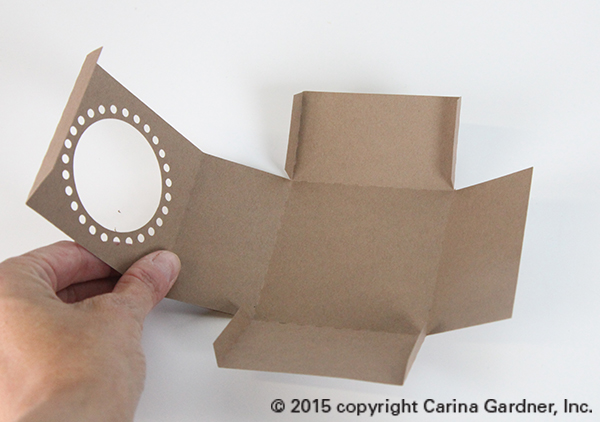
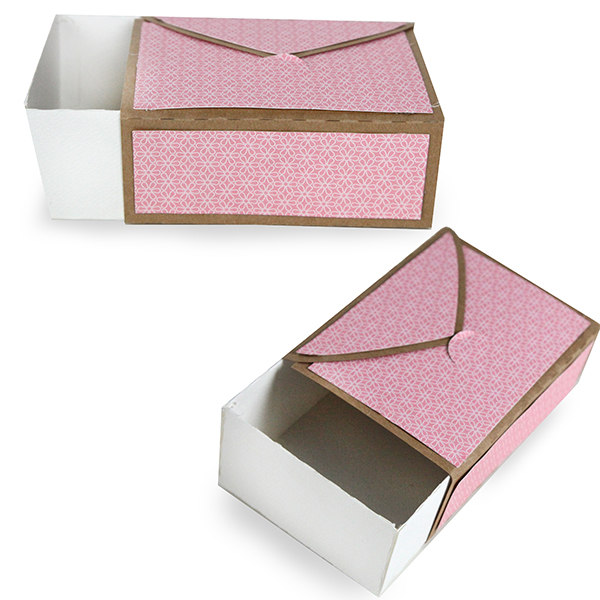
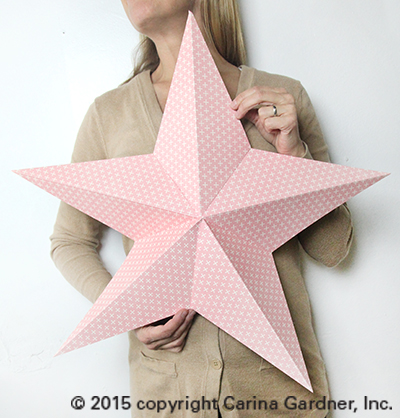
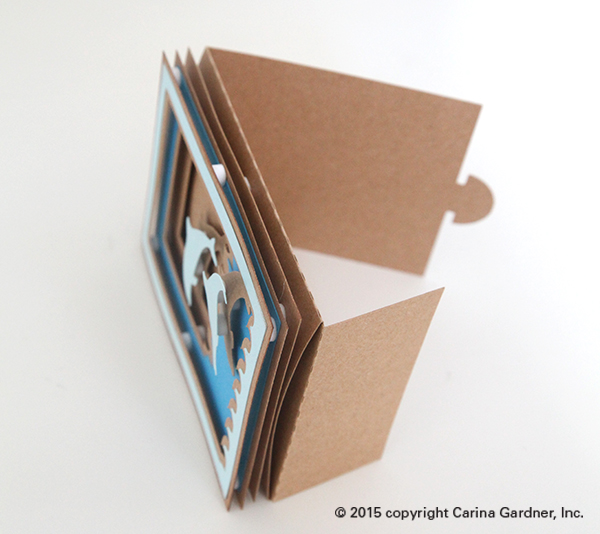
These little baskets are 3D and take a bit of time (and creativity) to put together. Stick a little gift card in it for a friend or use it for home decor! These baskets DO NOT fold flat (they have a full bottom on them).
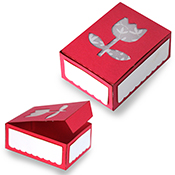
I hope you get a chance to make one of these darling little baskets! You can fill them as “full” as you want with the addition of little “bits” that can be glued in the front or back. You also have the option of making this front and back (by gluing the accessories —like flowers or strawberries) to the front and back of each piece).
Here’s how to put these together:
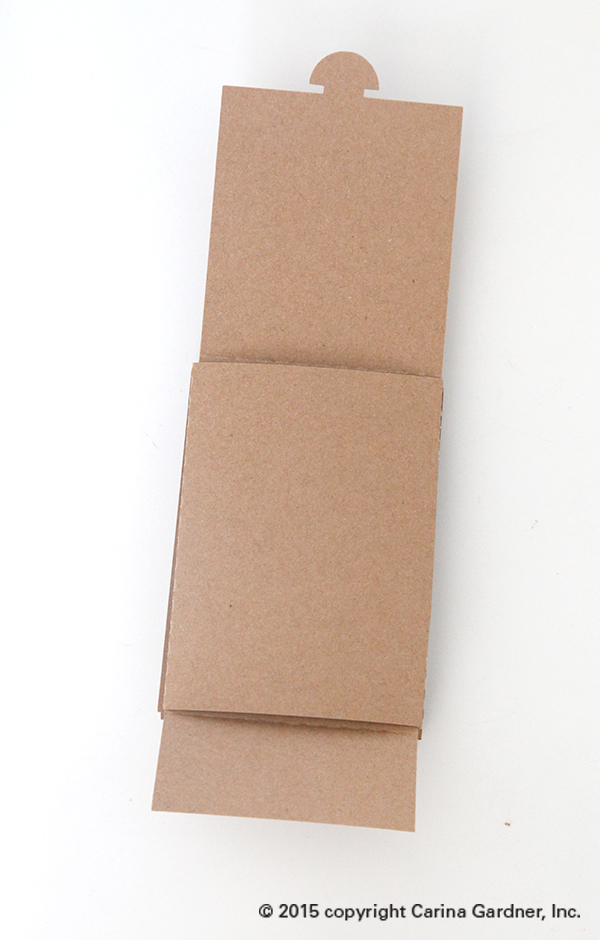
1. Cut out the svg files.
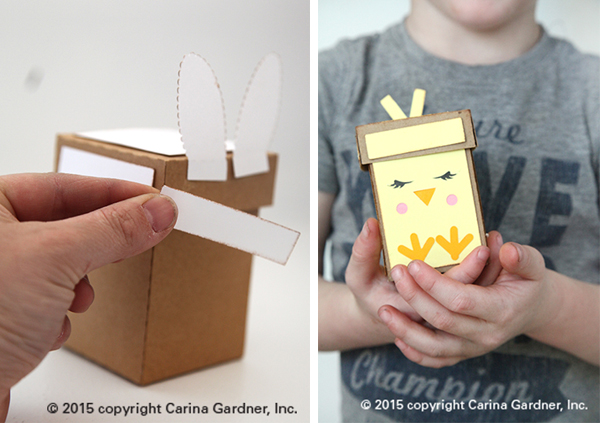
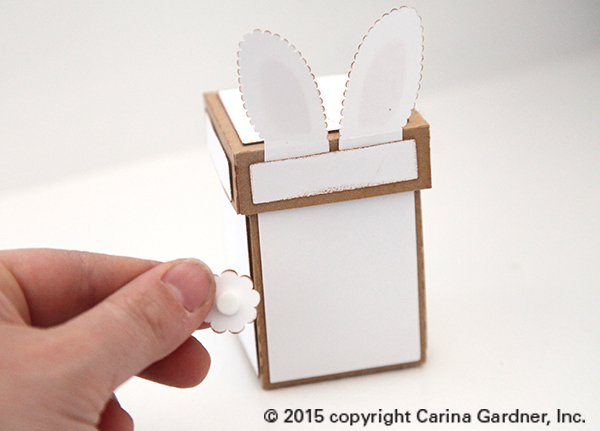
2. Glue the accent pieces to the main box. This includes the side squares and the “lid” accent pieces.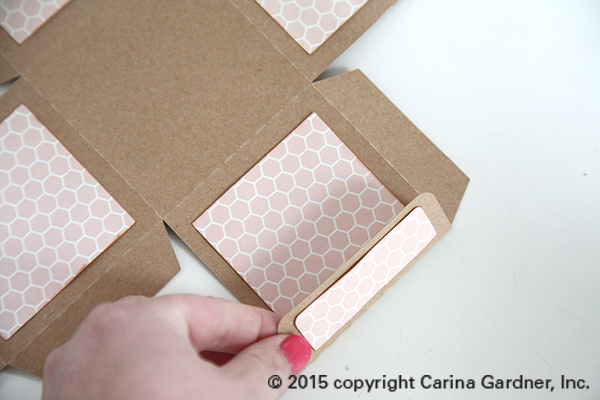
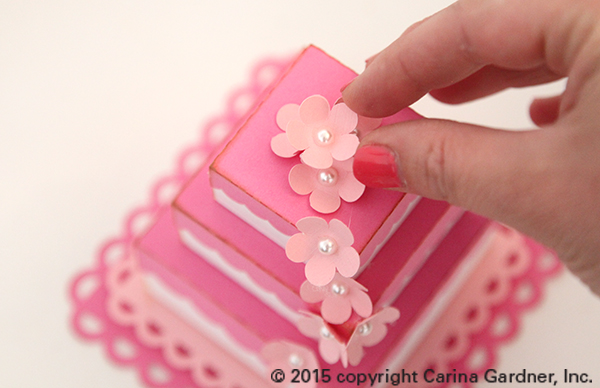
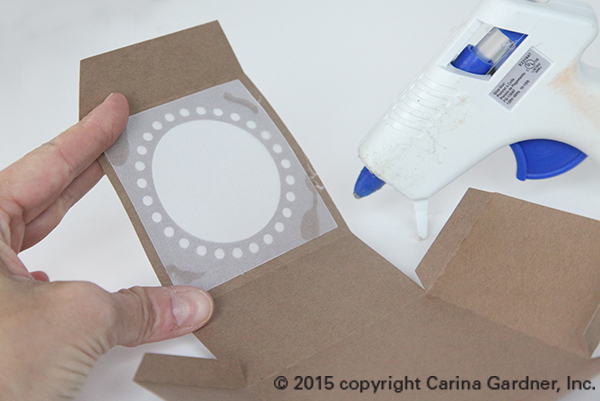
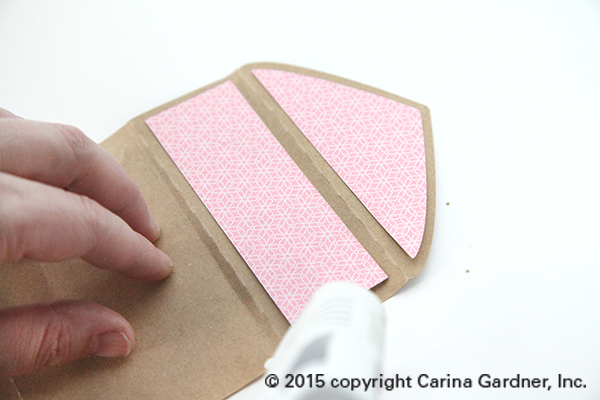
2. Next glue down all the embellishments (like the strawberries or flowers) to the inside pieces (shown below in kraft paper). You can pop dot them but because mine was full, I chose to simply glue them down. Add any embellishments (like diamonds to the centers of the flowers) at this point. Note: You can finger press anything at this point to add dimension. You’ll see that with the flowers, I chose to only glue the centers and finger press the petals to give the flowers more depth.
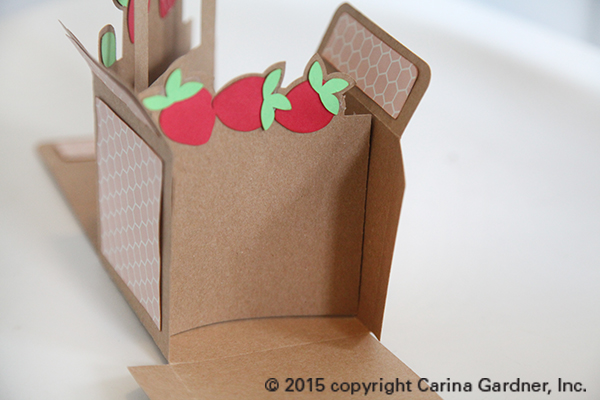
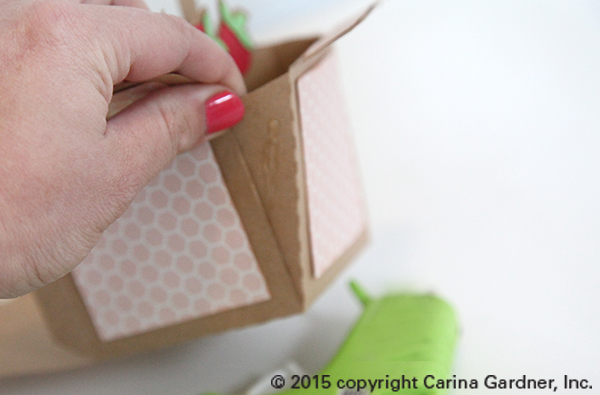
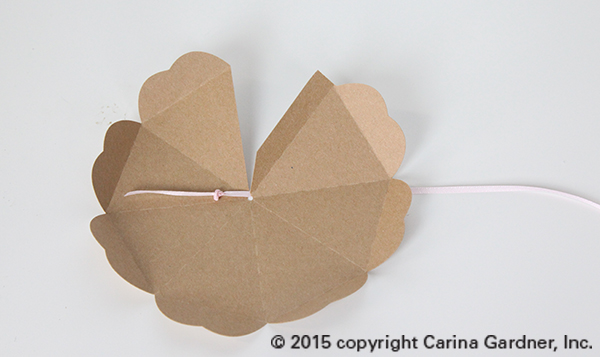
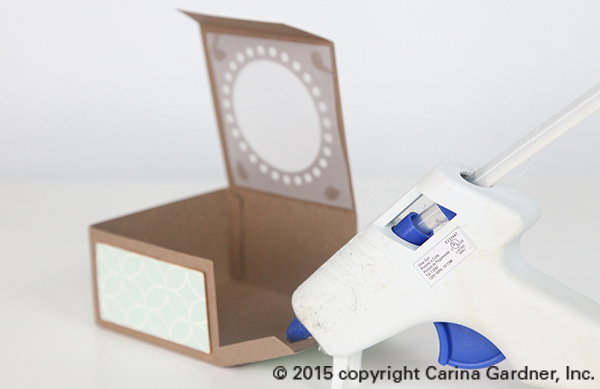
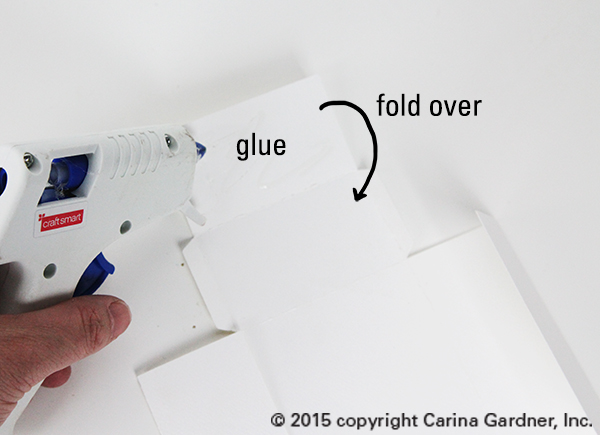
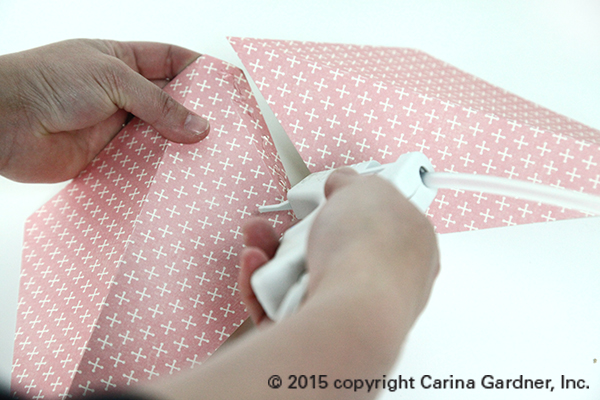
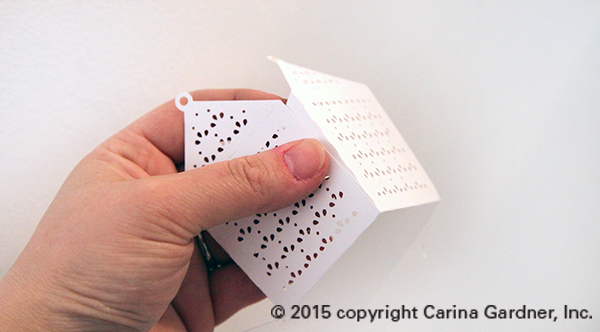
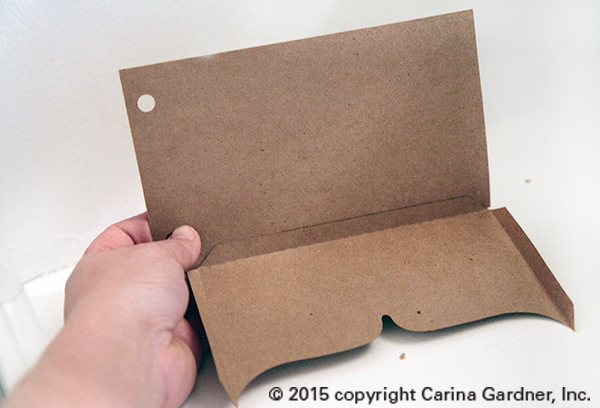
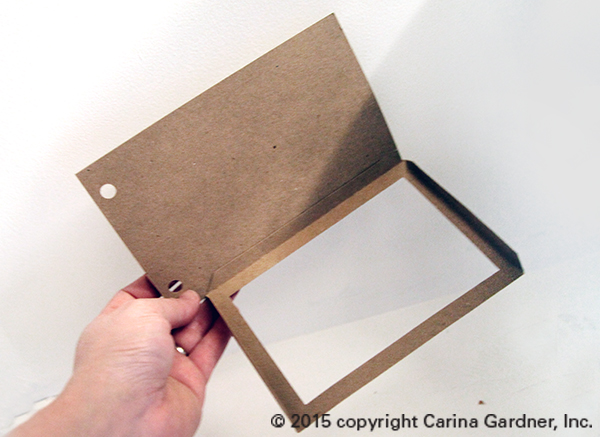
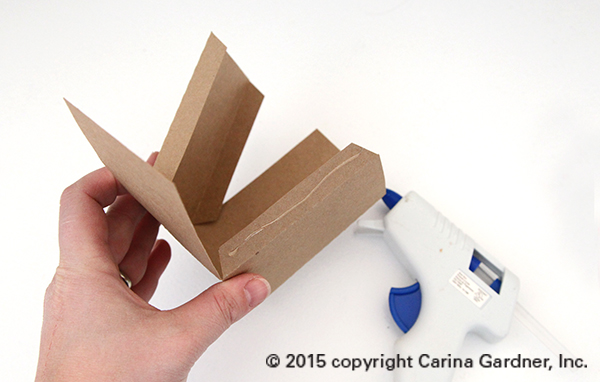
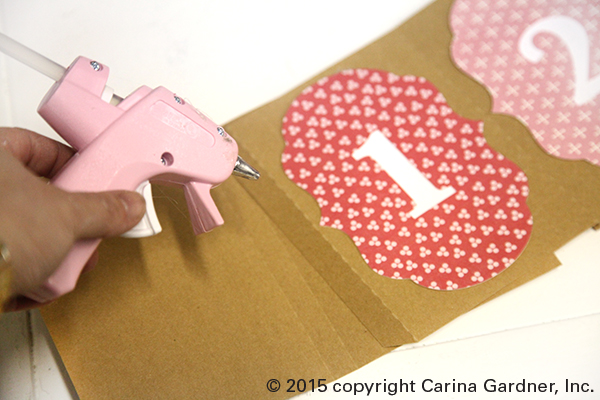
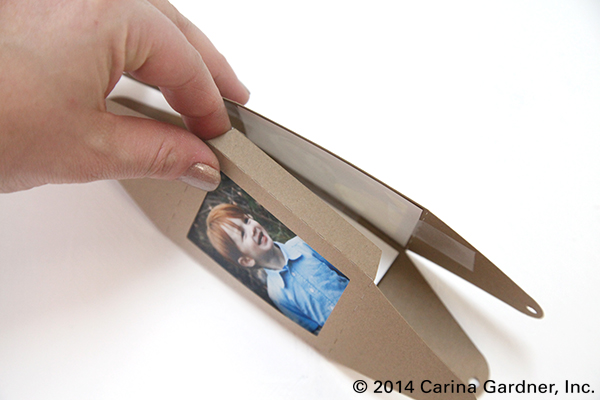
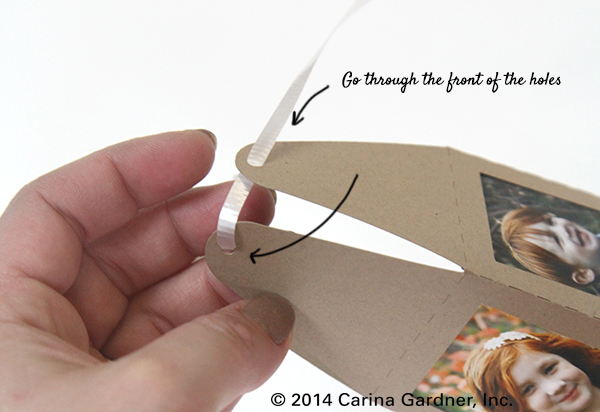
3. Next, you’ll need to glue in the tabs. You can see I got a little picture crazy with this because it’s a little hard to explain. I like gluing in the center piece (with the handle) first. I fold one tab forward and one tab backwards. You can see in the photo below, I glue that handle piece to the center of one of the sides of my box.

I then glue the front piece on (as shown below). I glue the flap going forward like the handle piece.
I then glue the back piece on. You’ll notice that I try to evenly space them.
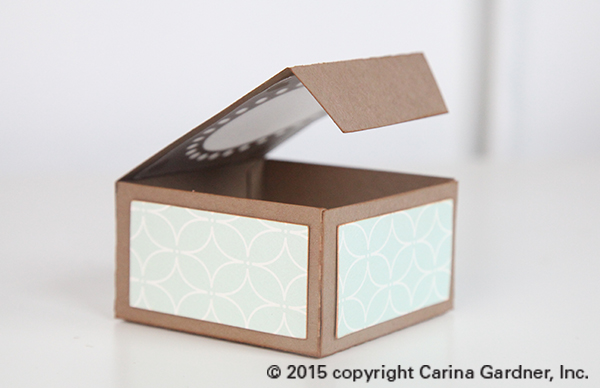
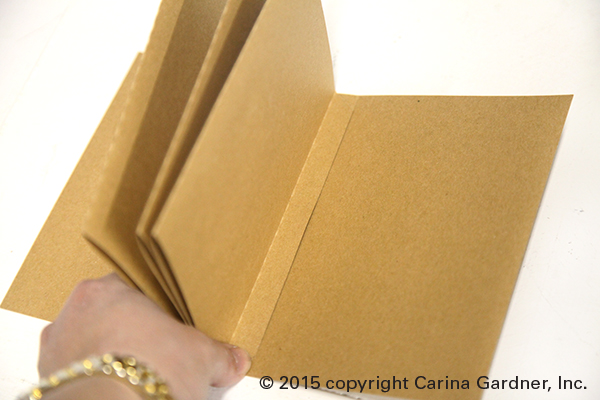
Fold up the box and see how you are doing on your spacing. This will also help you gauge where to glue the opposite side flaps on.
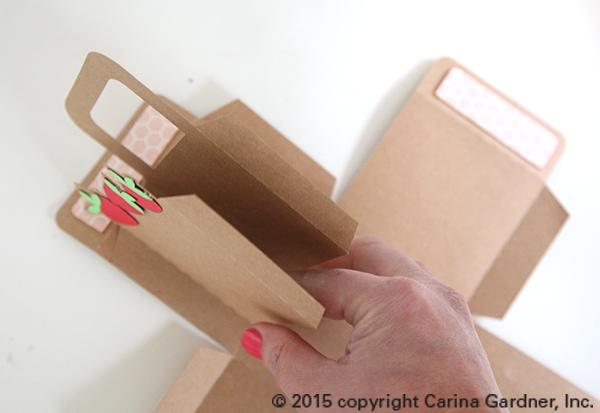
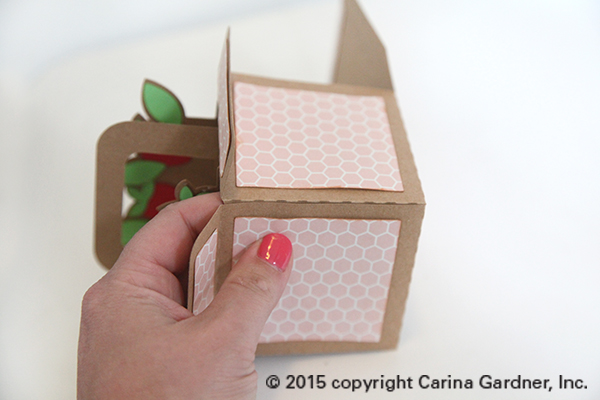
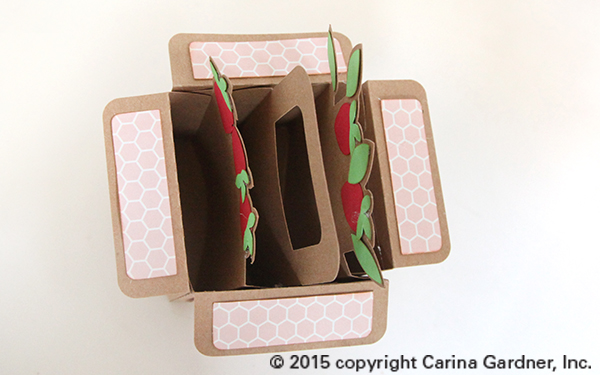
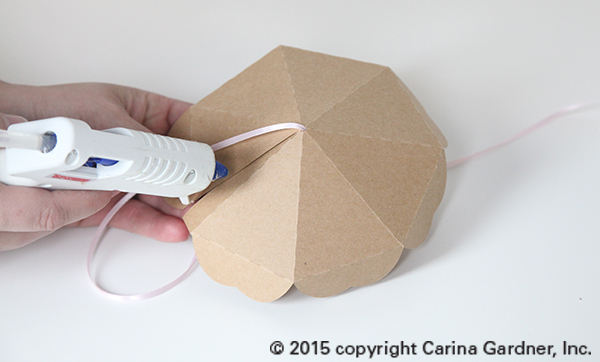
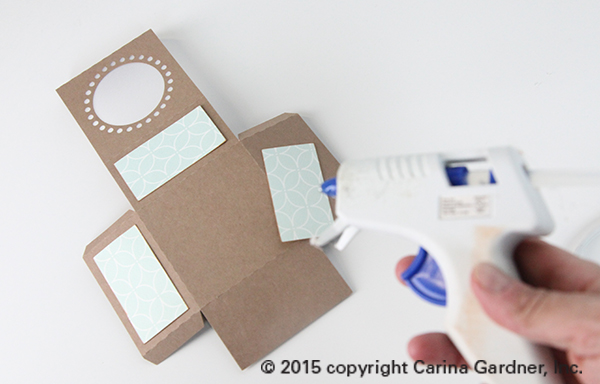
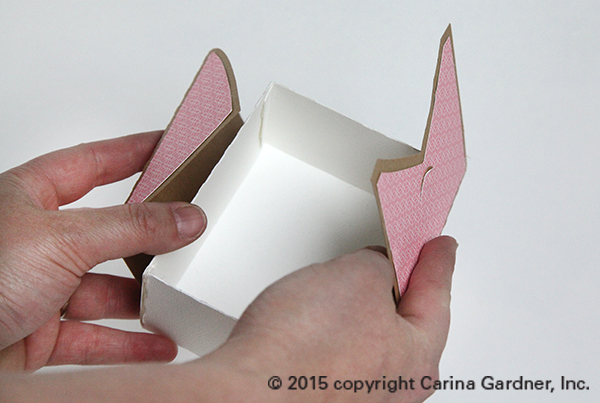
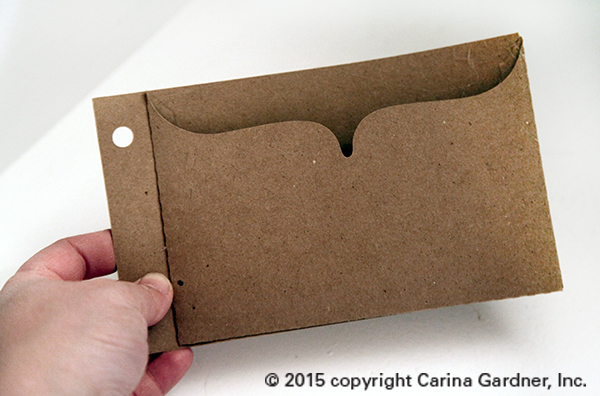
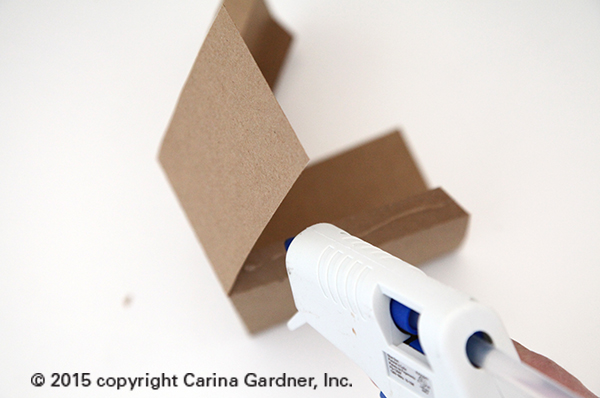
4. Glue the inside pieces to the opposite side of the box. I like to just glue one of the flaps first. I started with the first inside piece (you can see in the photo below). I placed hot glue on it (you can use any kind of adhesive you want) and then positioned it to the opposite side of the box.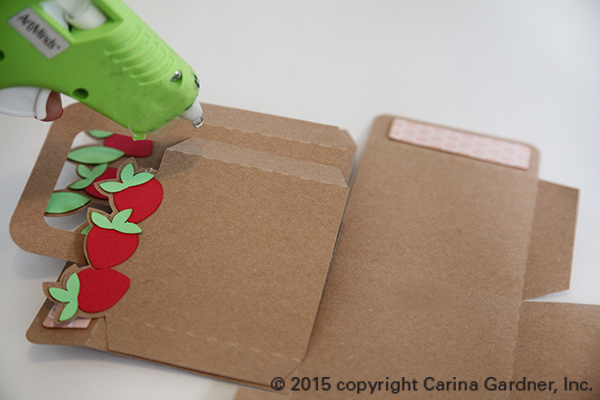
It should look like the photo below.
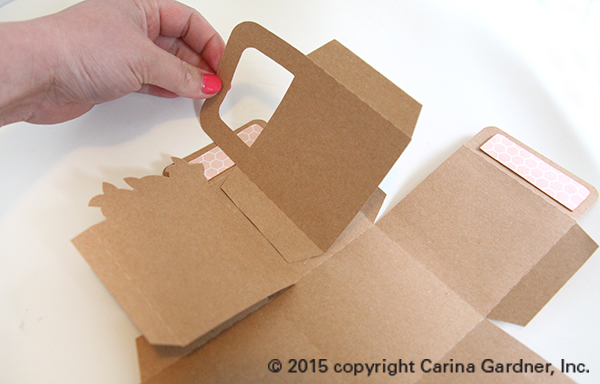
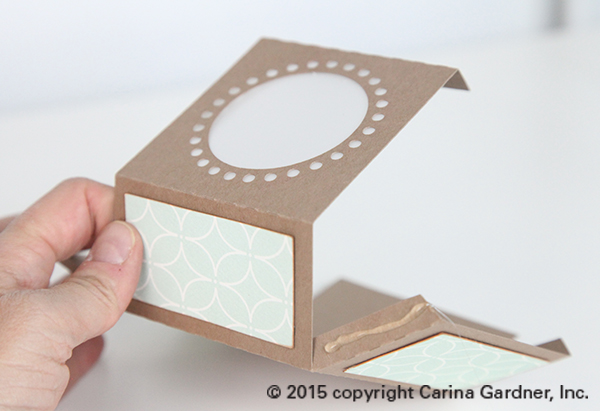
I finish gluing the other two flaps onto the opposite side of the box.
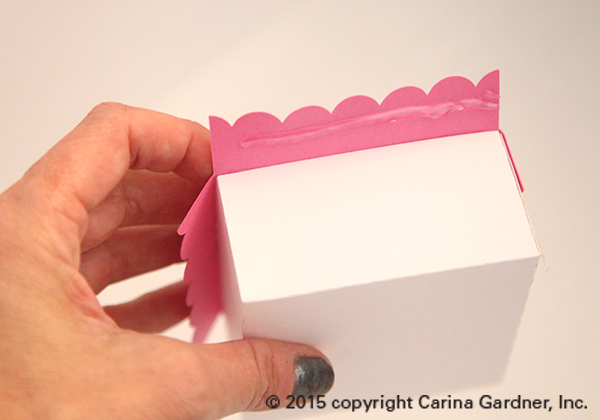
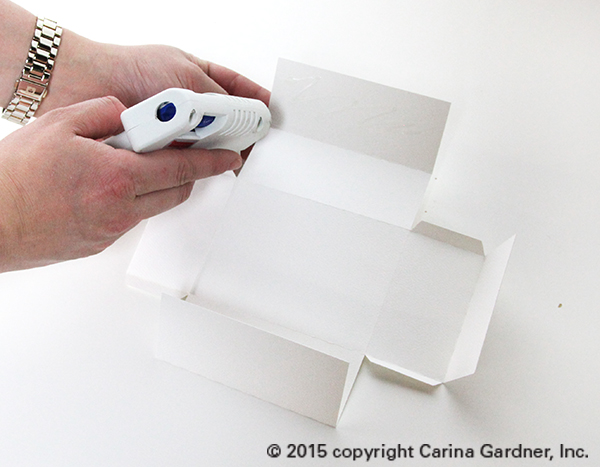
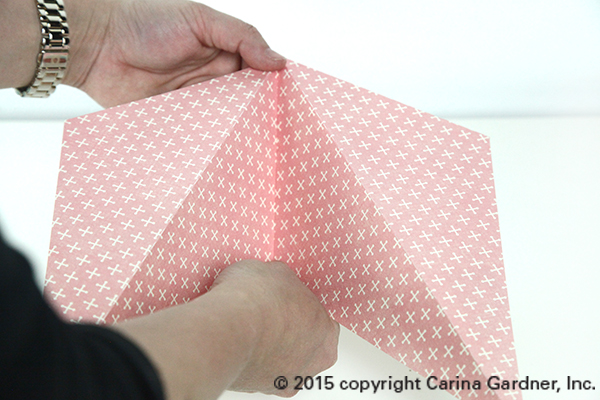
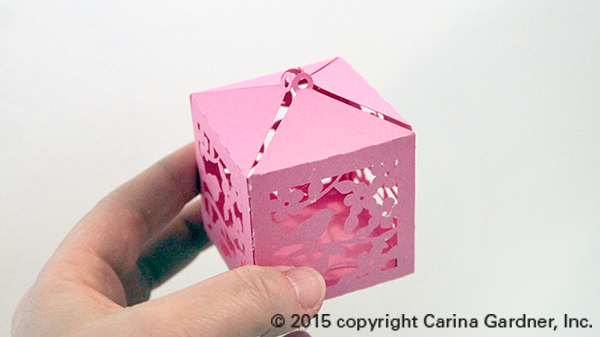
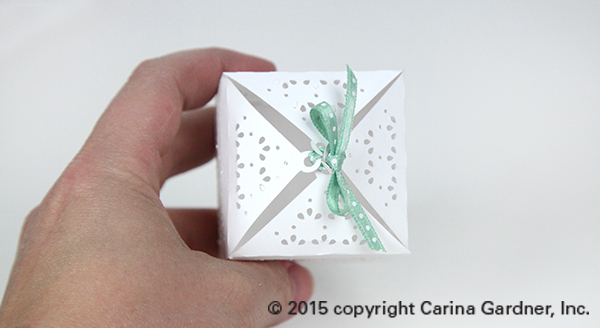
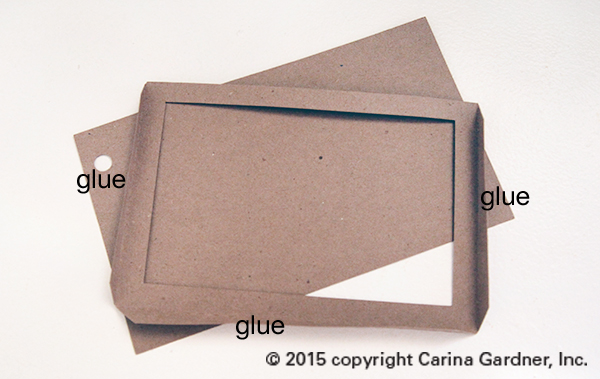
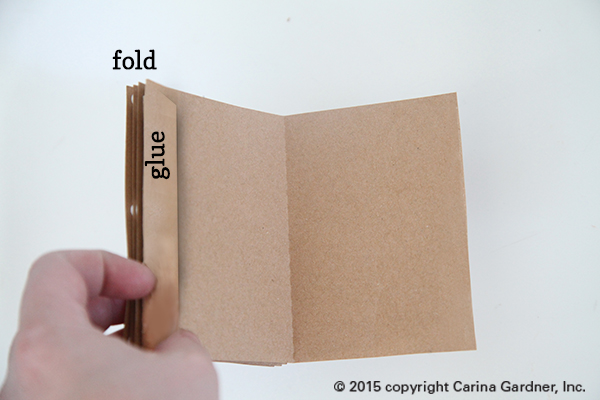
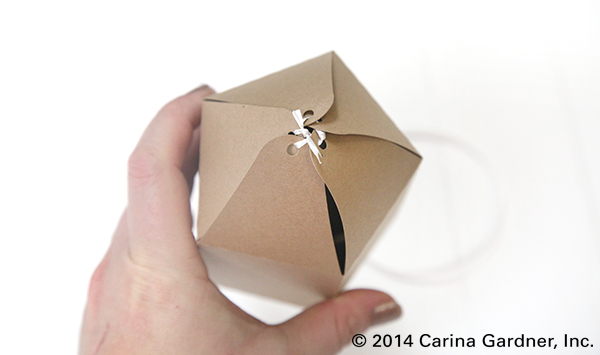
5. Once I have all the middle pieces positioned, I then glue the rest of the box together.
From the top, it will look like this (see photo below).
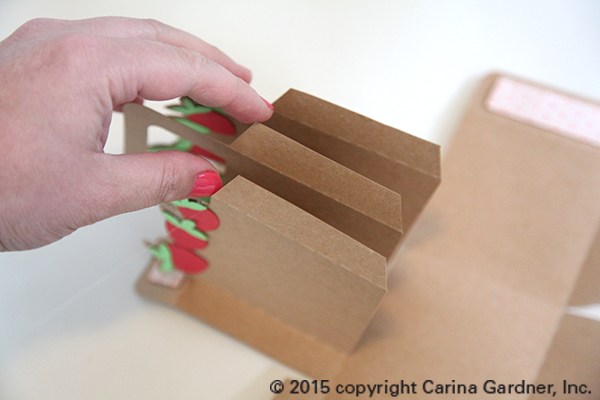
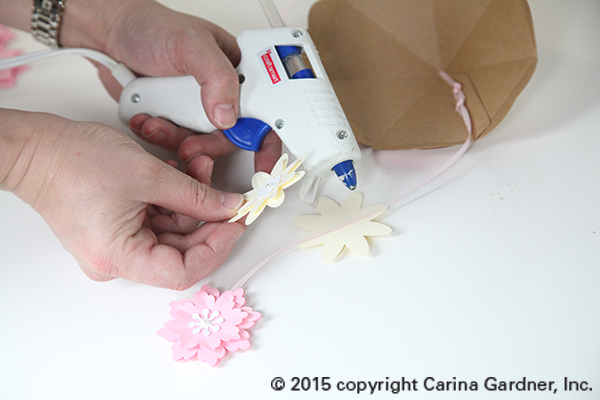
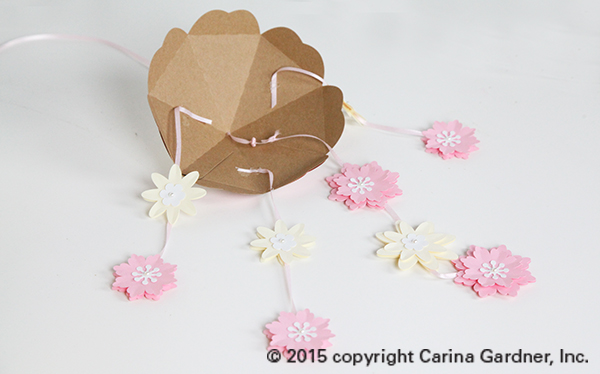
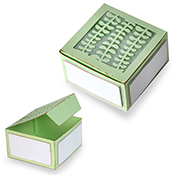
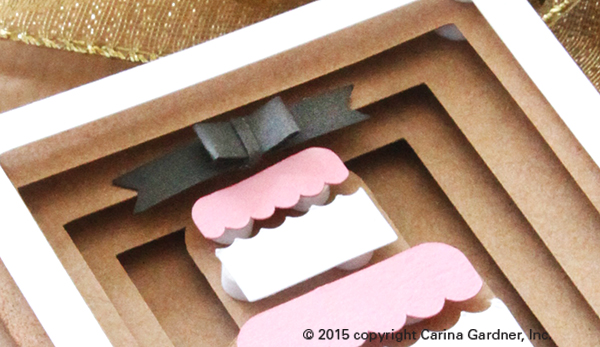
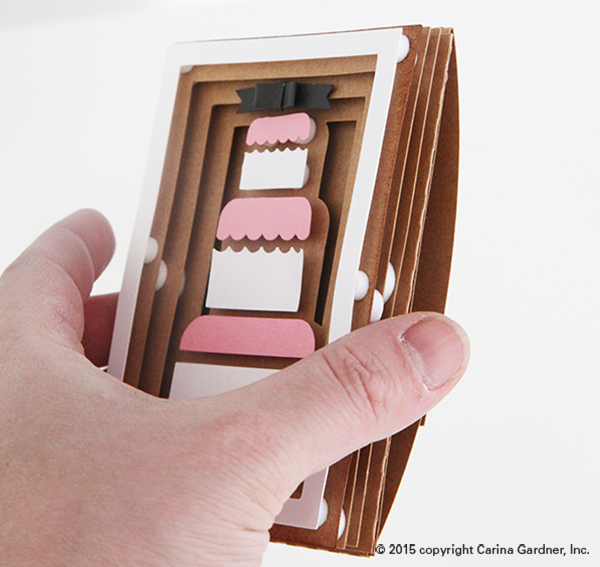
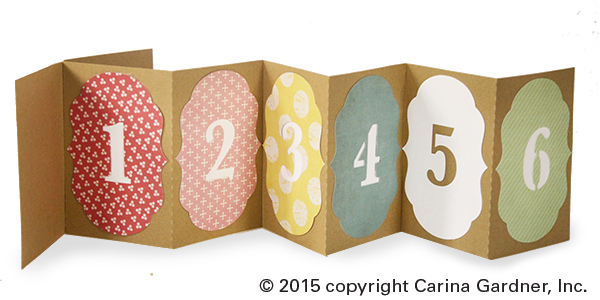
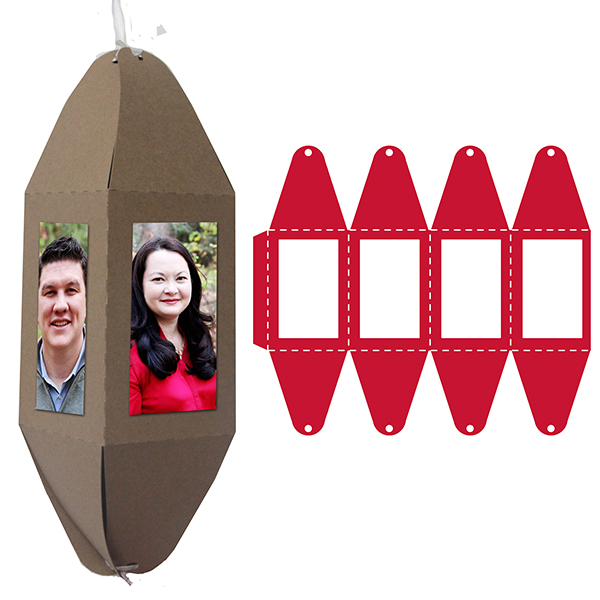
6. There may be several accent pieces in the file you have. For example, there are “strawberries on a stick” in the strawberry basket file as well as some greenery. I placed the strawberries randomly in the box and glued them to the front of the box and behind the inside pieces. I glued the greenery to the front of the box. For the flowers, I simply added some flowers to parts of the box to give it a more “full” look.
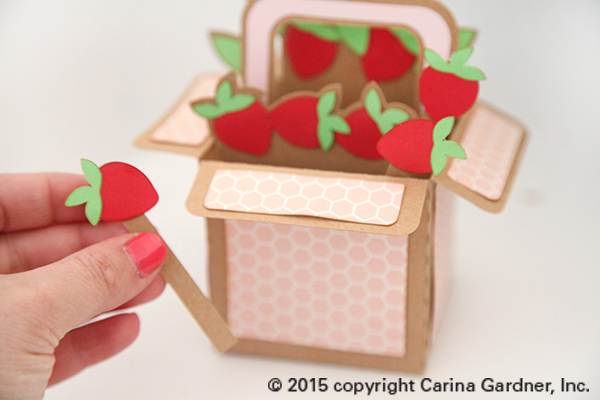
The point is to add some depth to the boxes contents.
Hope you have fun making one!
Carina


Filled Basket Silhouette Tutorial Read More »
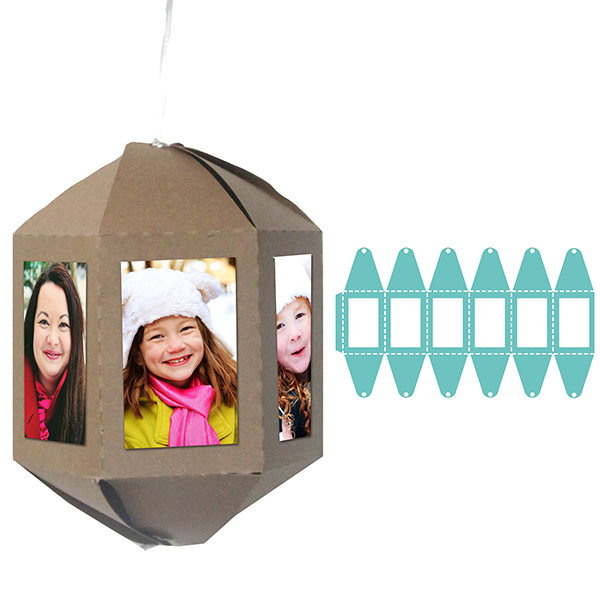
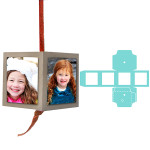
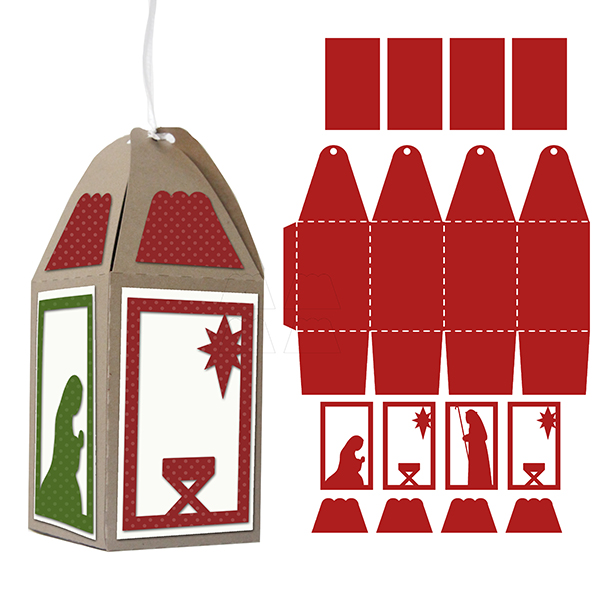
 1. Cut out all the svg files.


 I hope you get a chance to play about with this paper line and/or the silhouette files! I also hope you have a GREAT excuse to make an album (aka, an amazing summer adventure perhaps?).
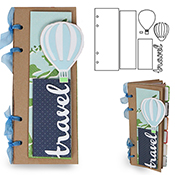
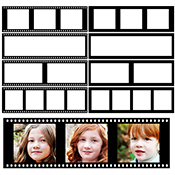
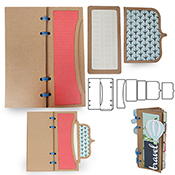


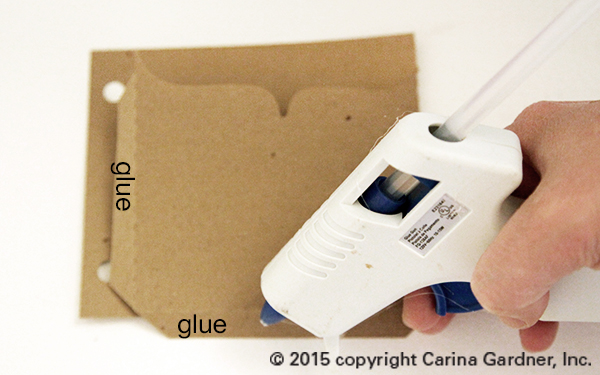
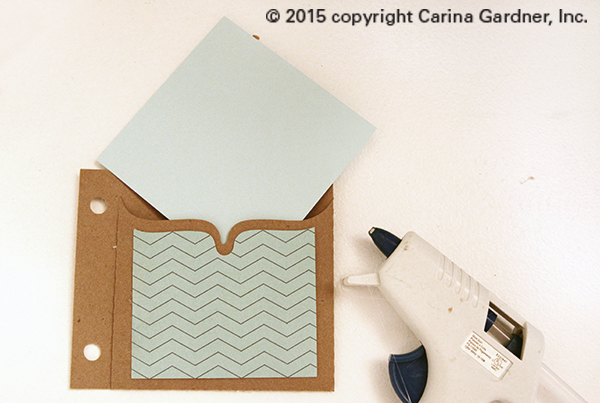
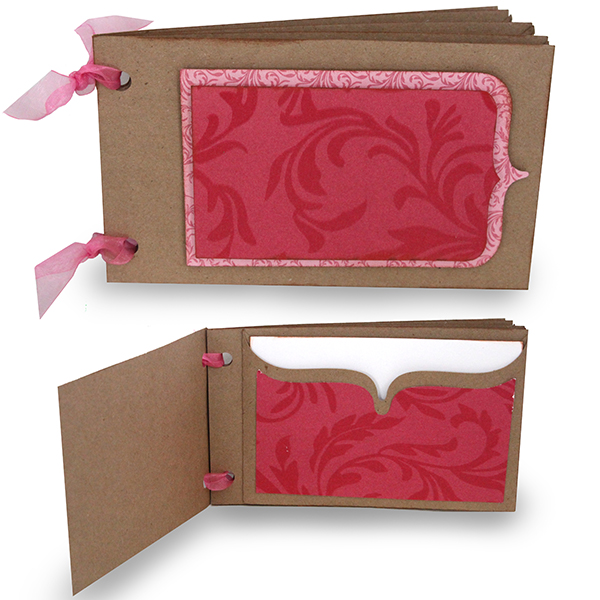
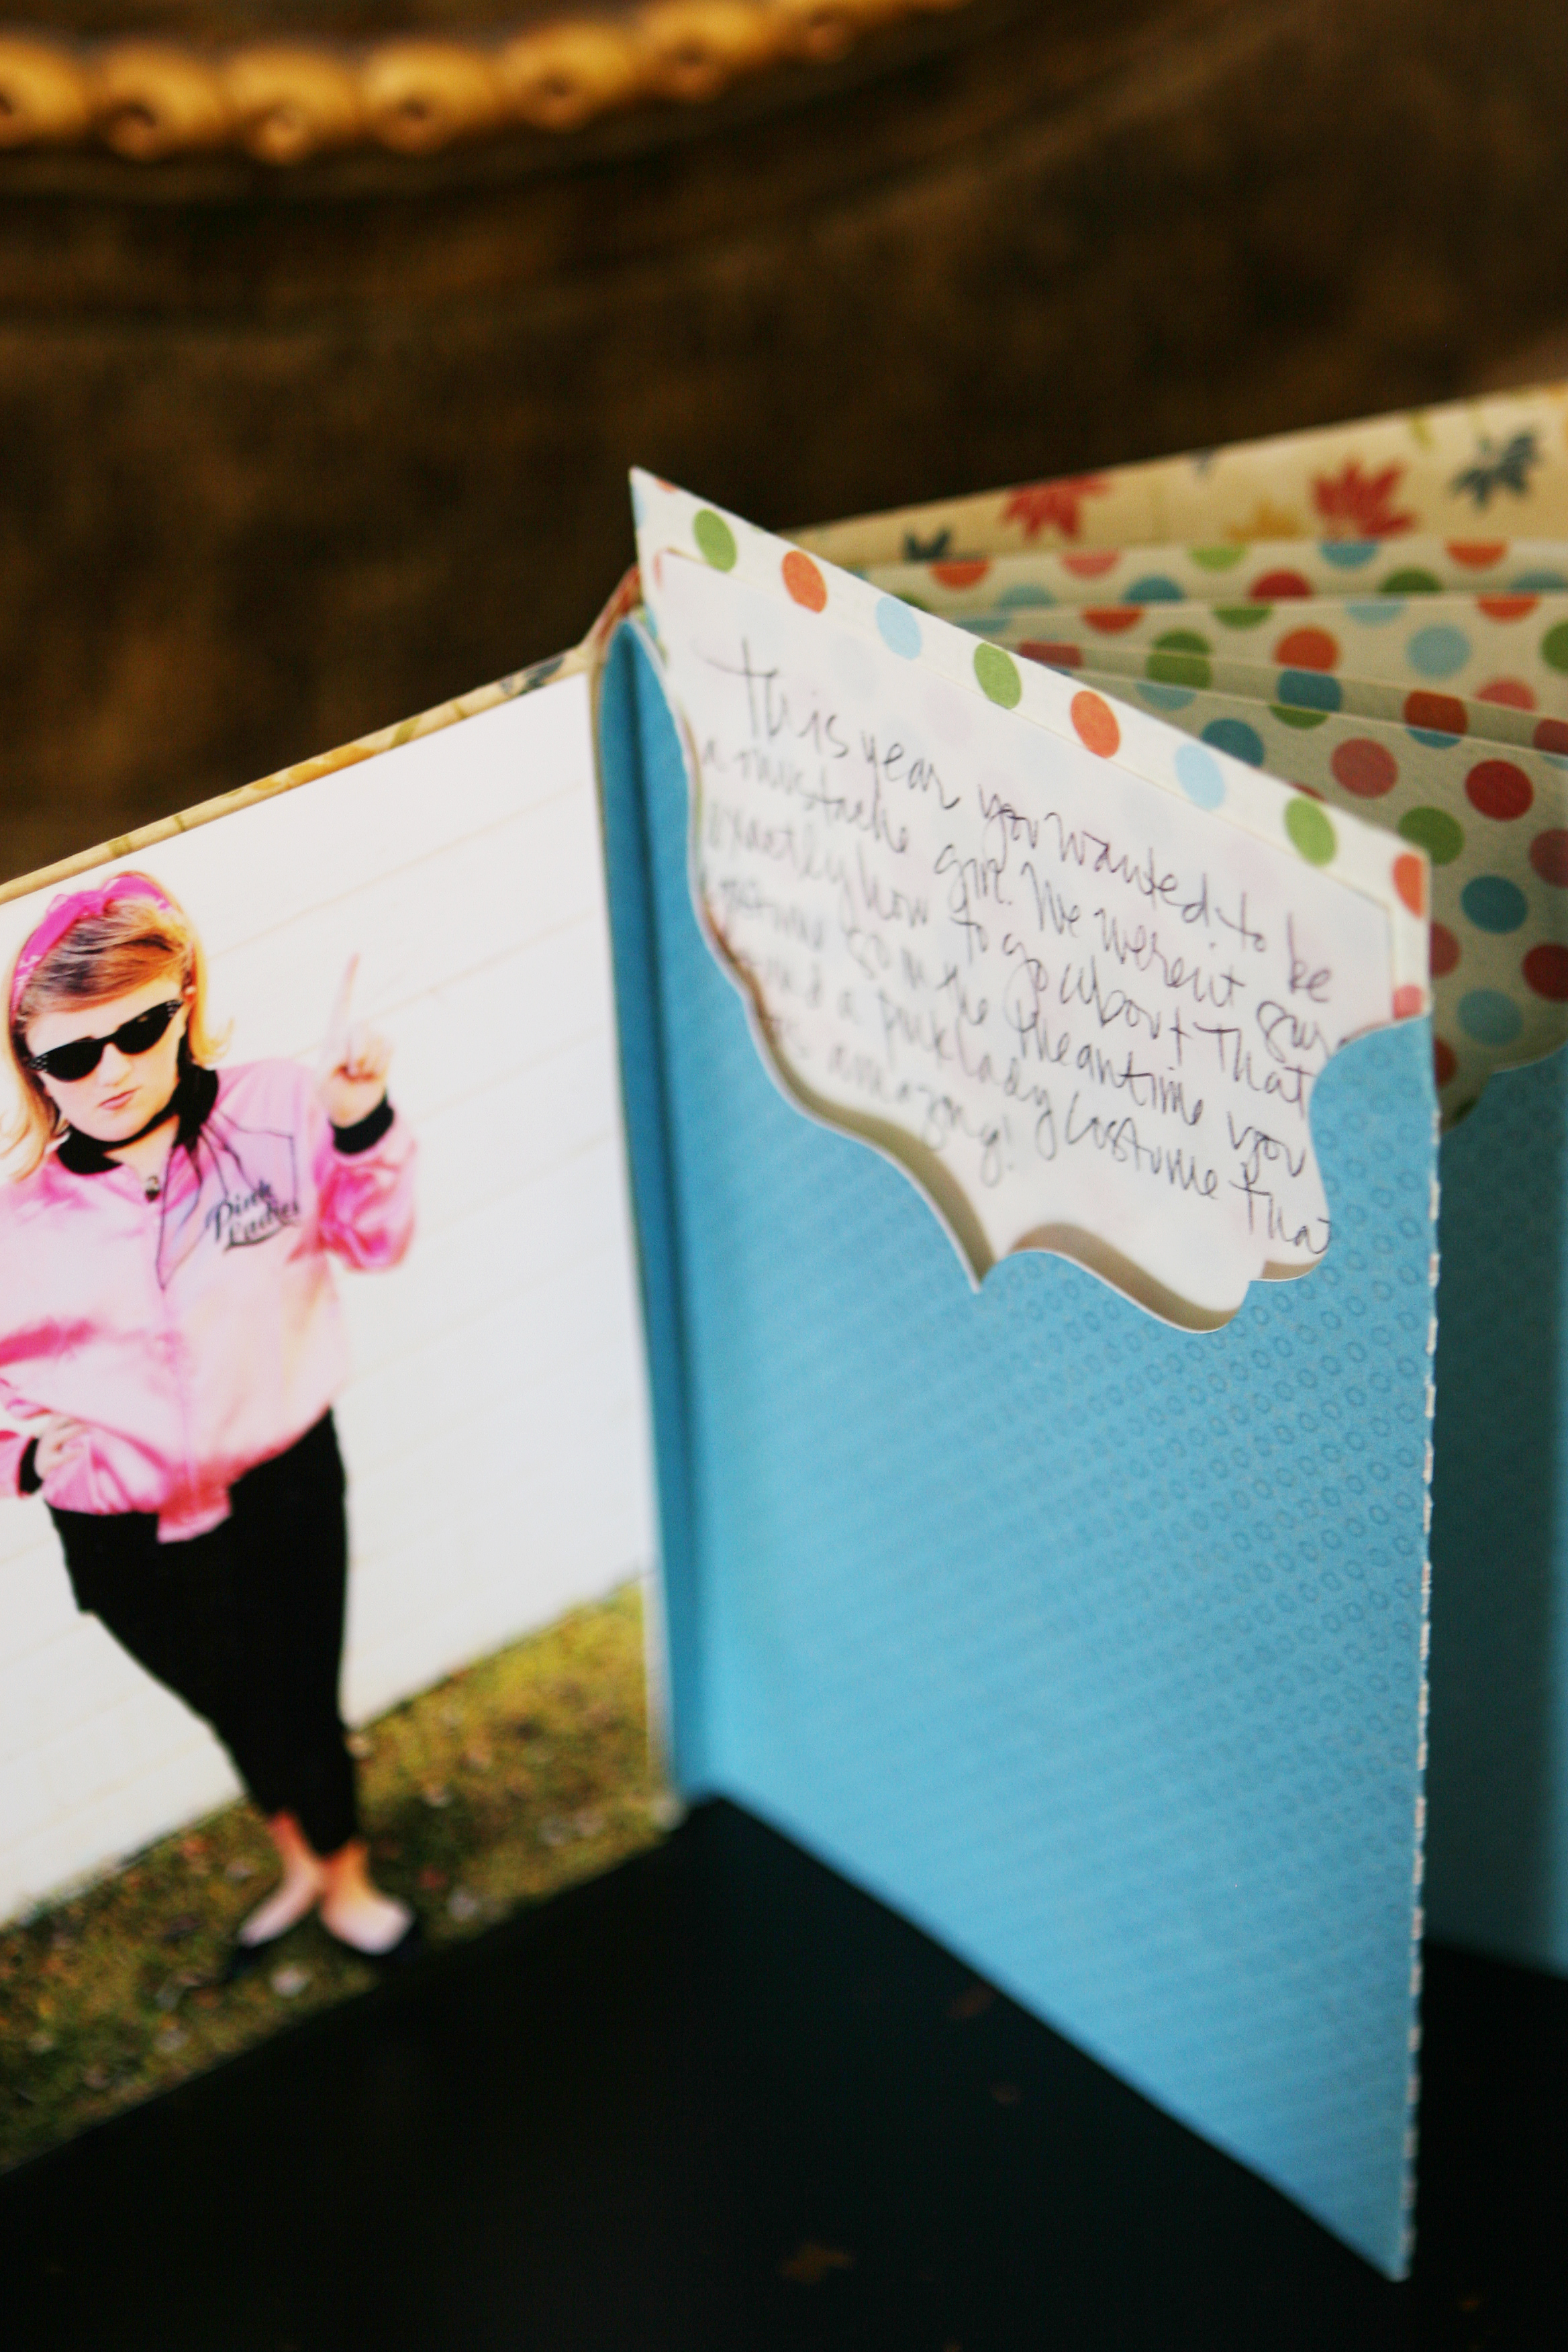
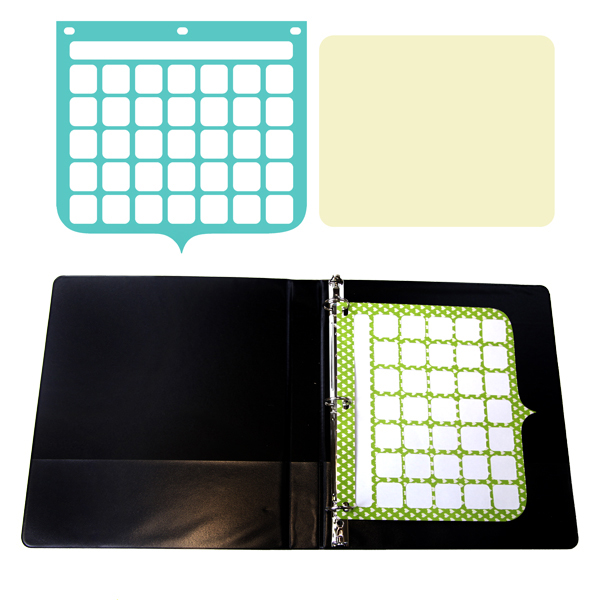
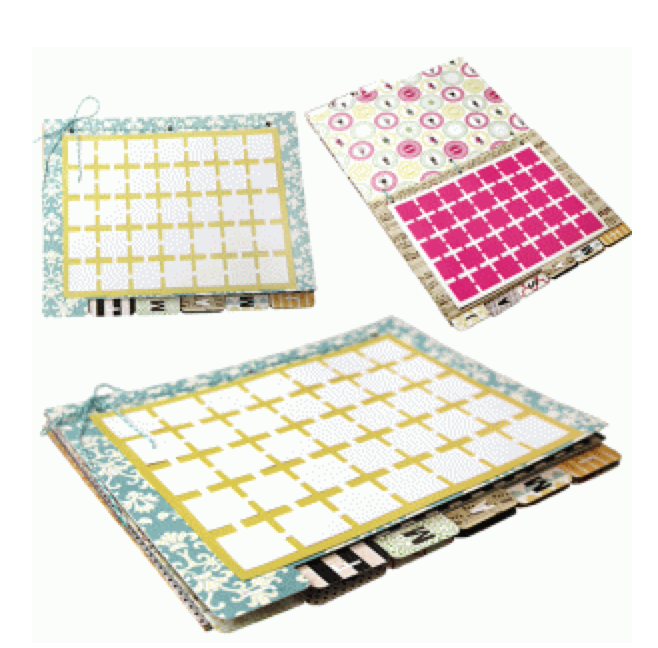
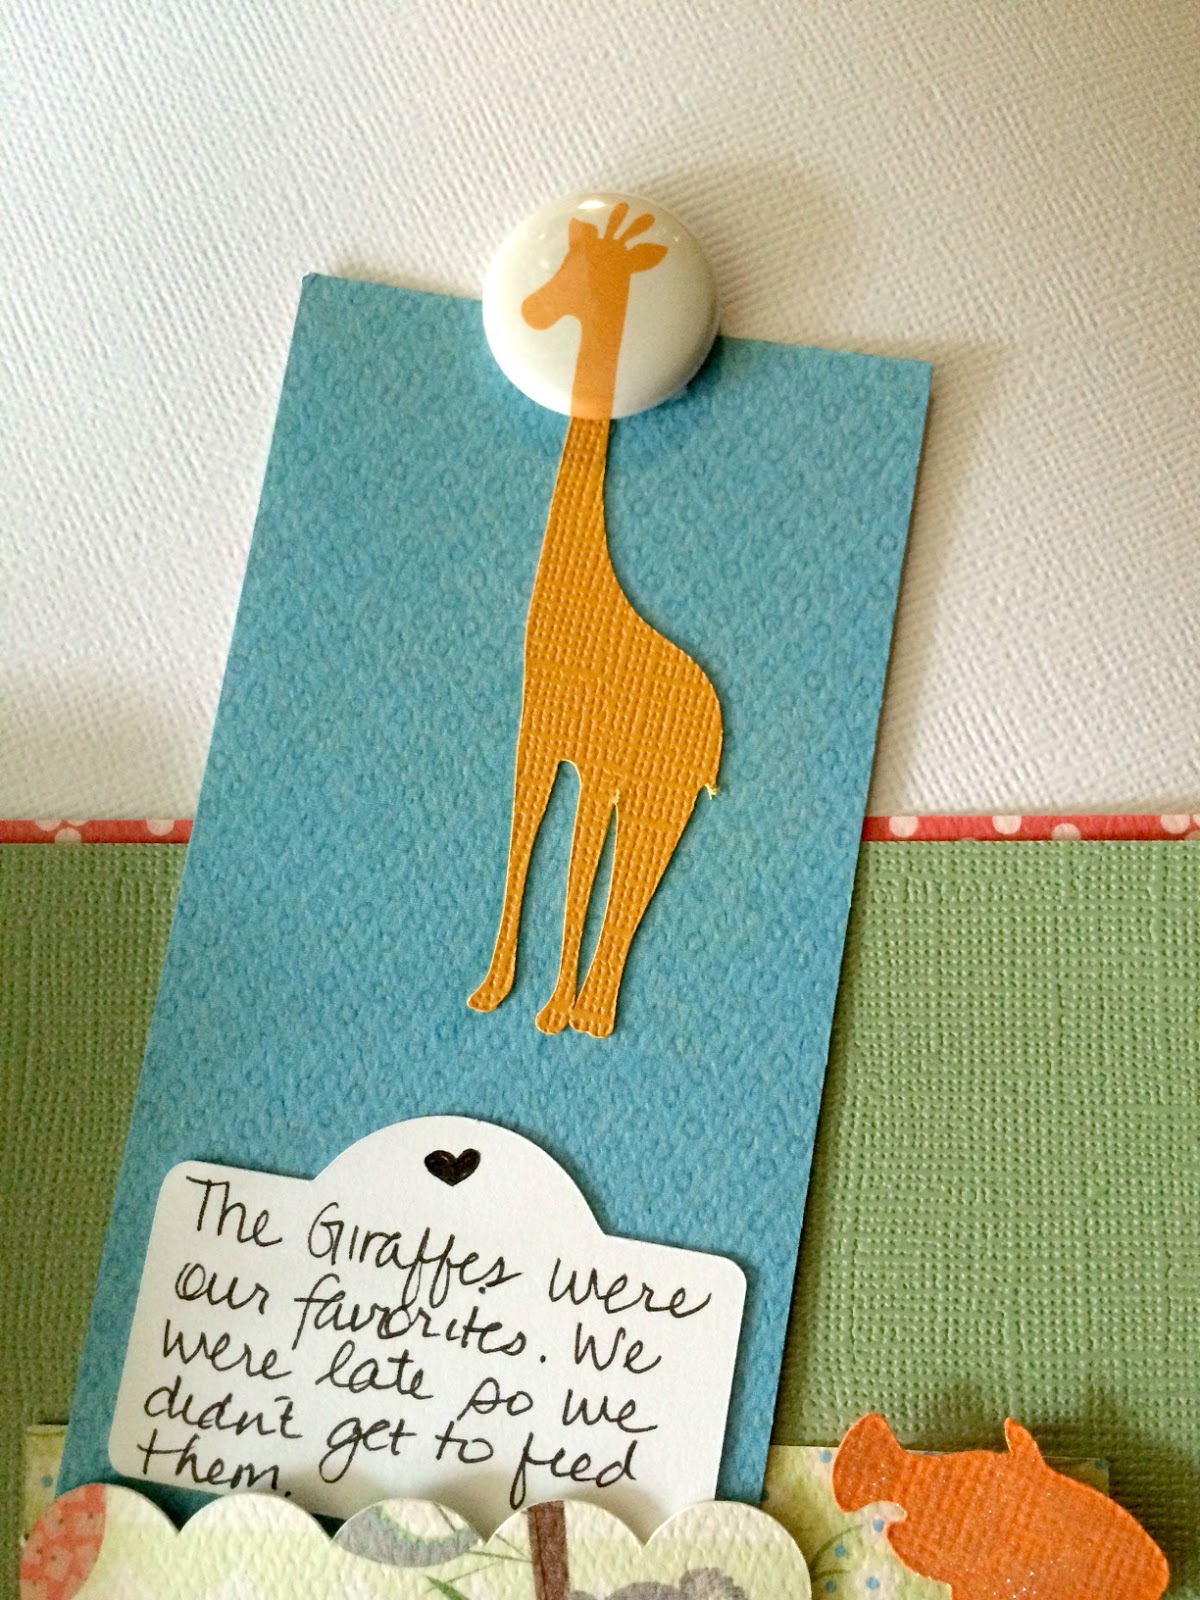
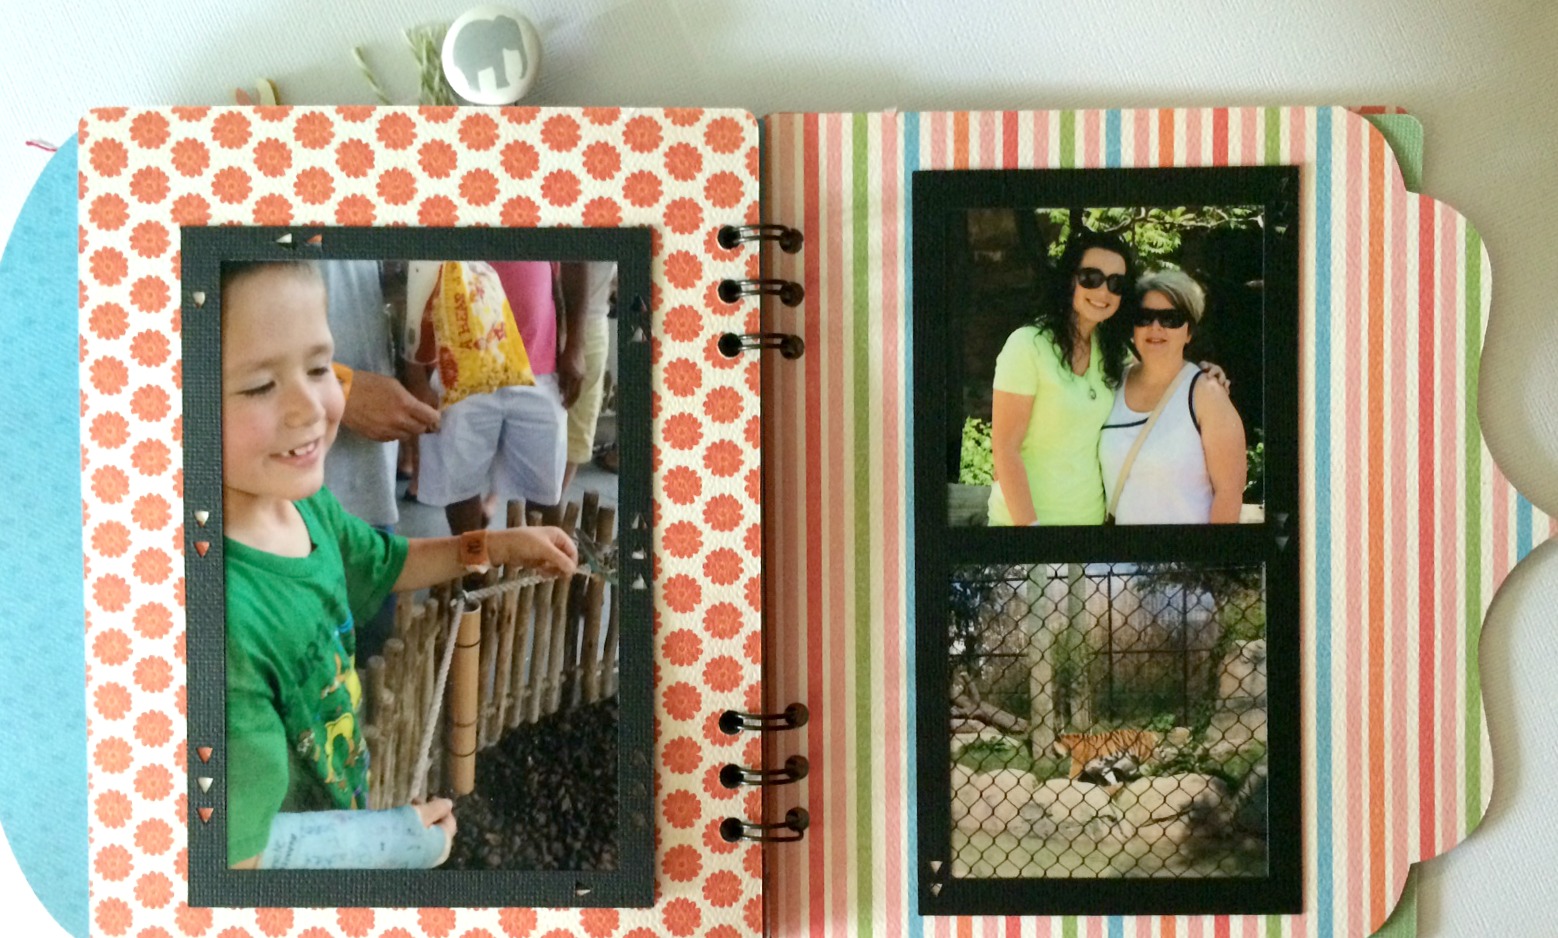
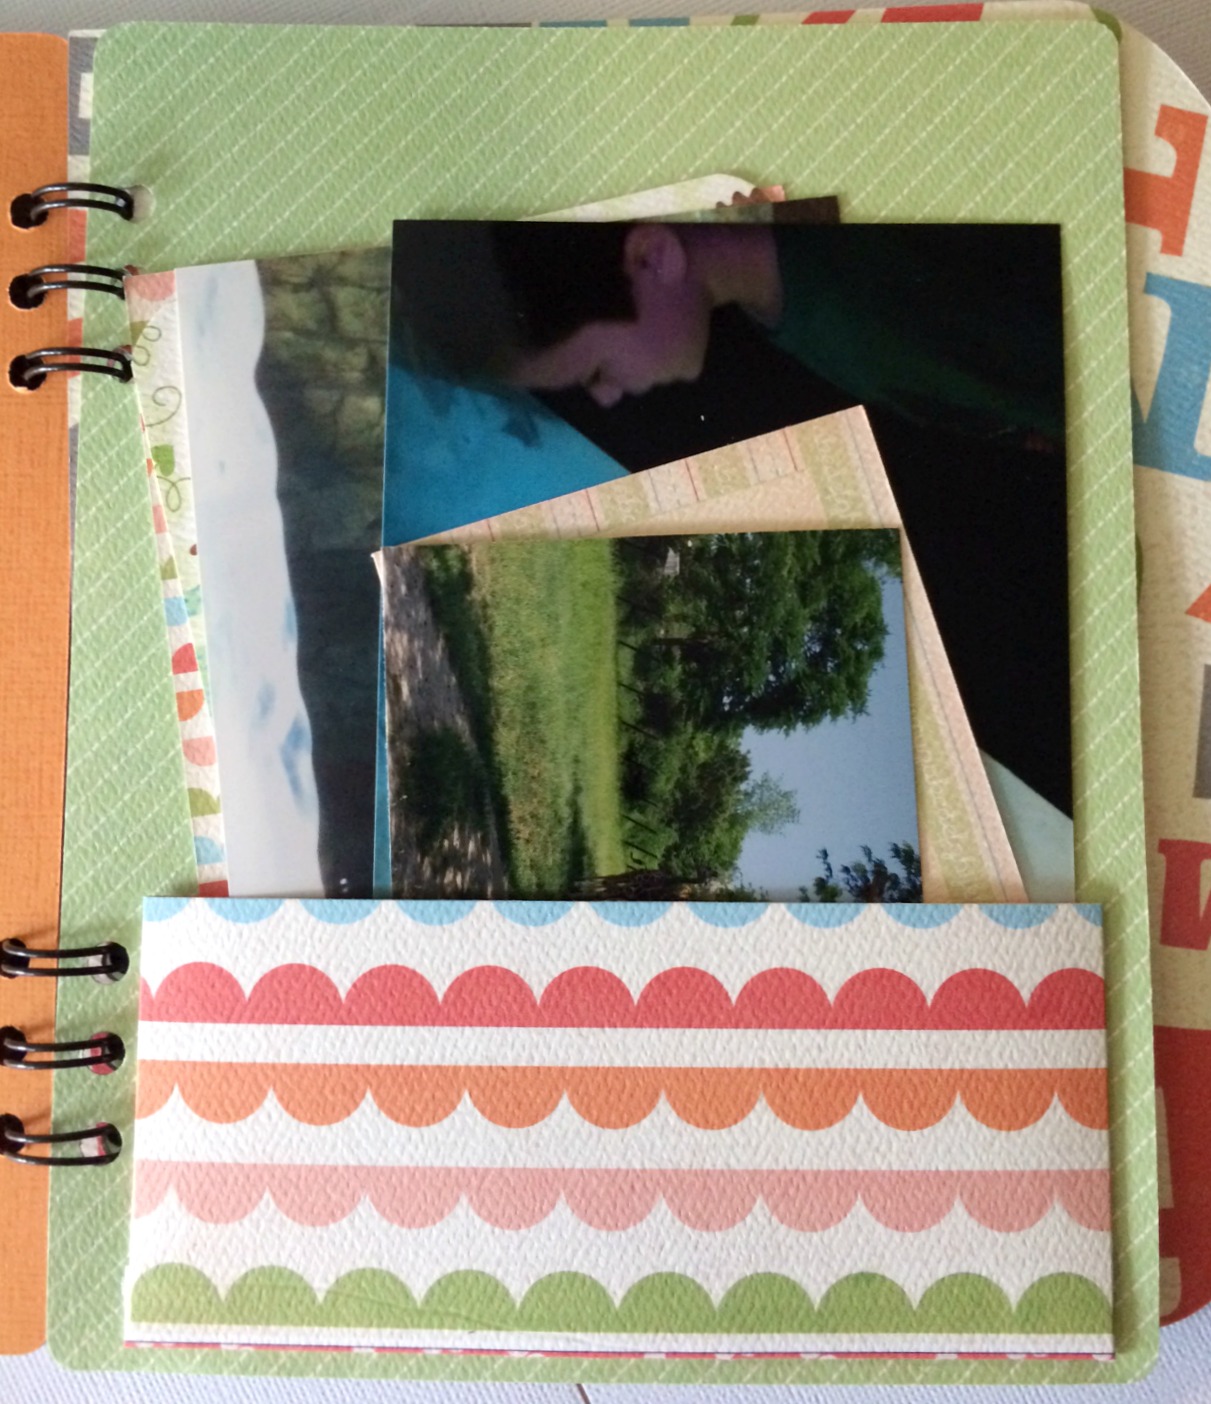
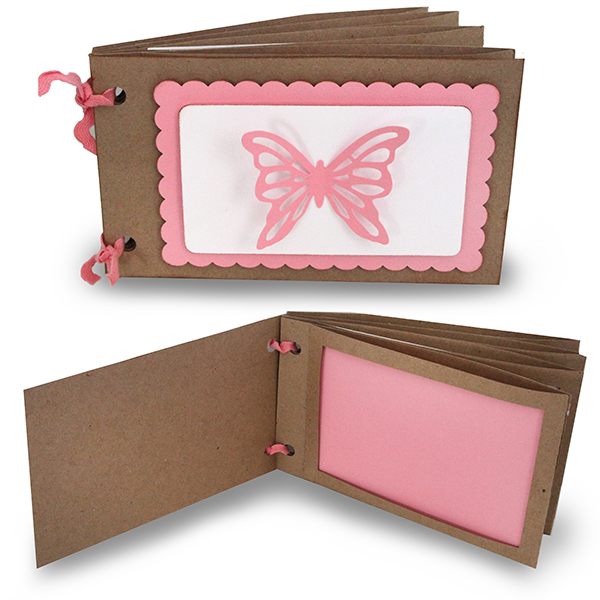 These two albums are meant to fit your 4 x 6 photos and are quick to put together. Because most of us are generally working with 12 inch x 12 inch paper, it was necessary to have a separate pocket piece that you attached to a cover piece to create a “page.” Note that the pockets for the Window Album can be a bit flimsy and I suggest either using heavy stock or cut a piece of transparency or other clear paper to create the window and hold in the photos. I also recommend setting this album under a stack of books once it is glued to make sure the thin areas that create the “window” are study and straight.
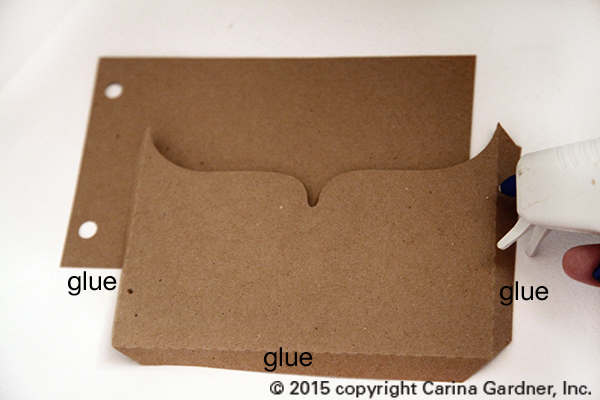
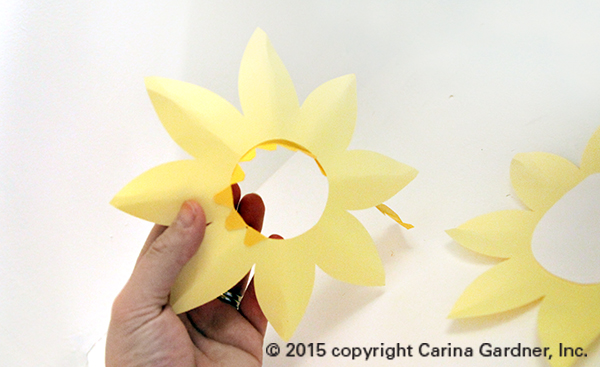
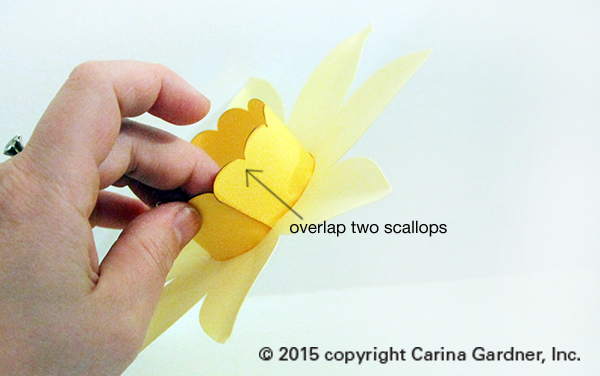
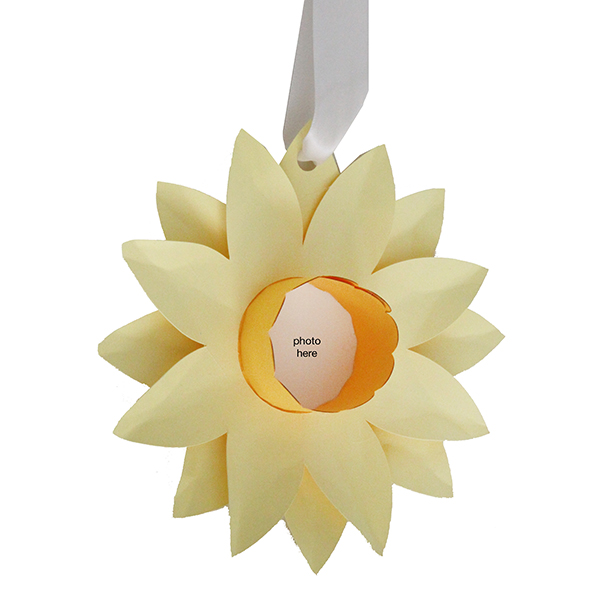 DAFFODIL FLOWER PHOTO ORNAMENT
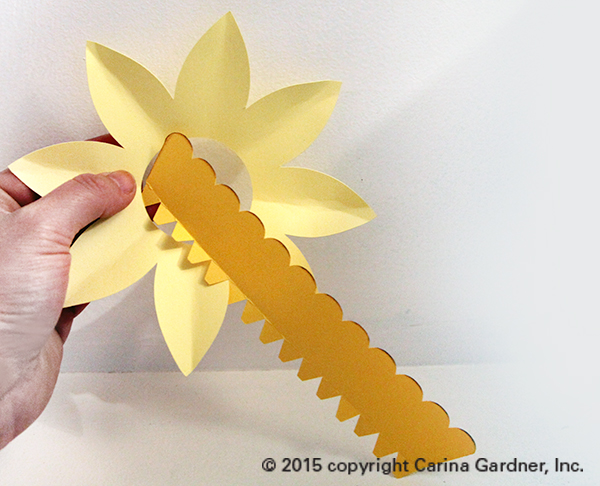
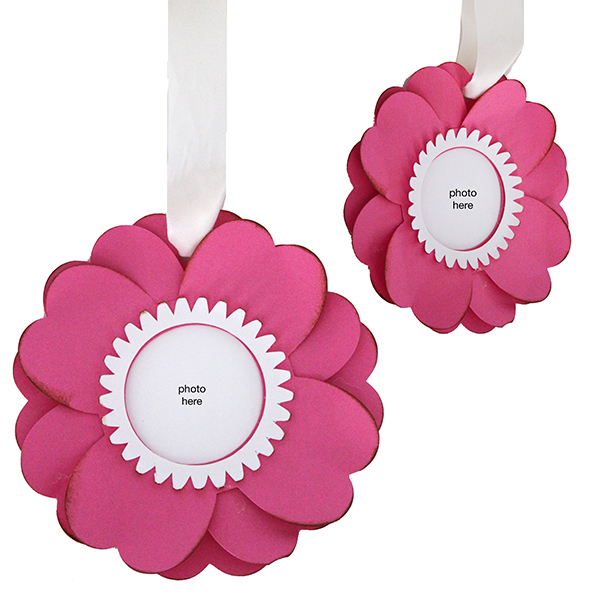 SPRINGTIME FLOWER PHOTO ORNAMENT


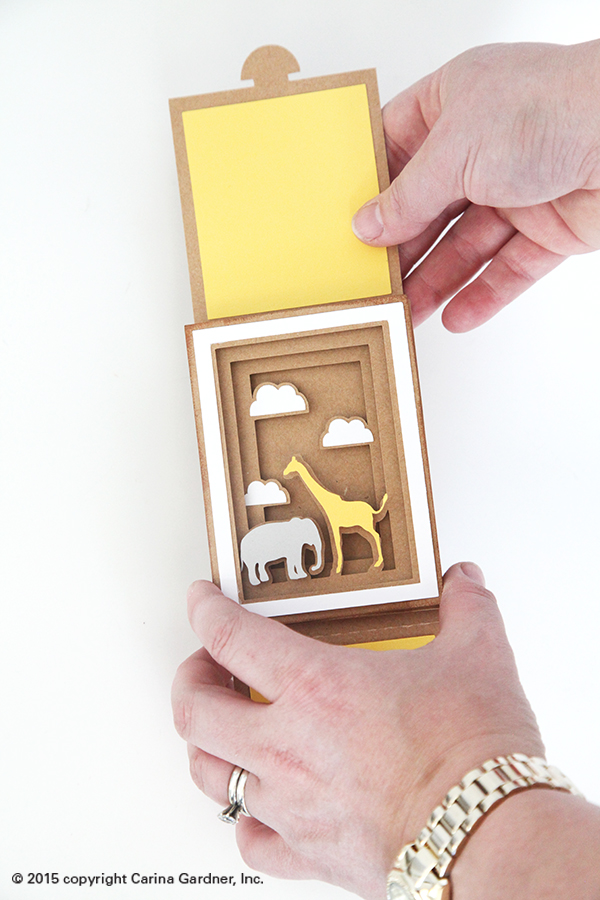
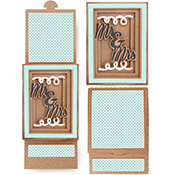
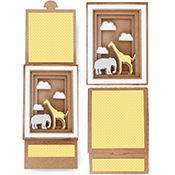
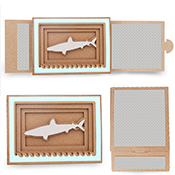
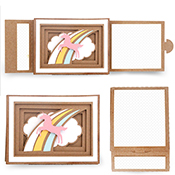
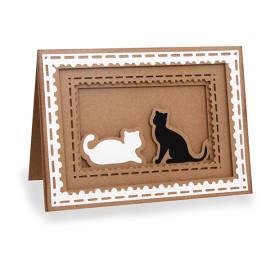
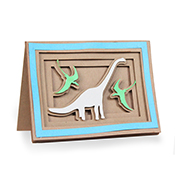
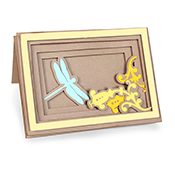
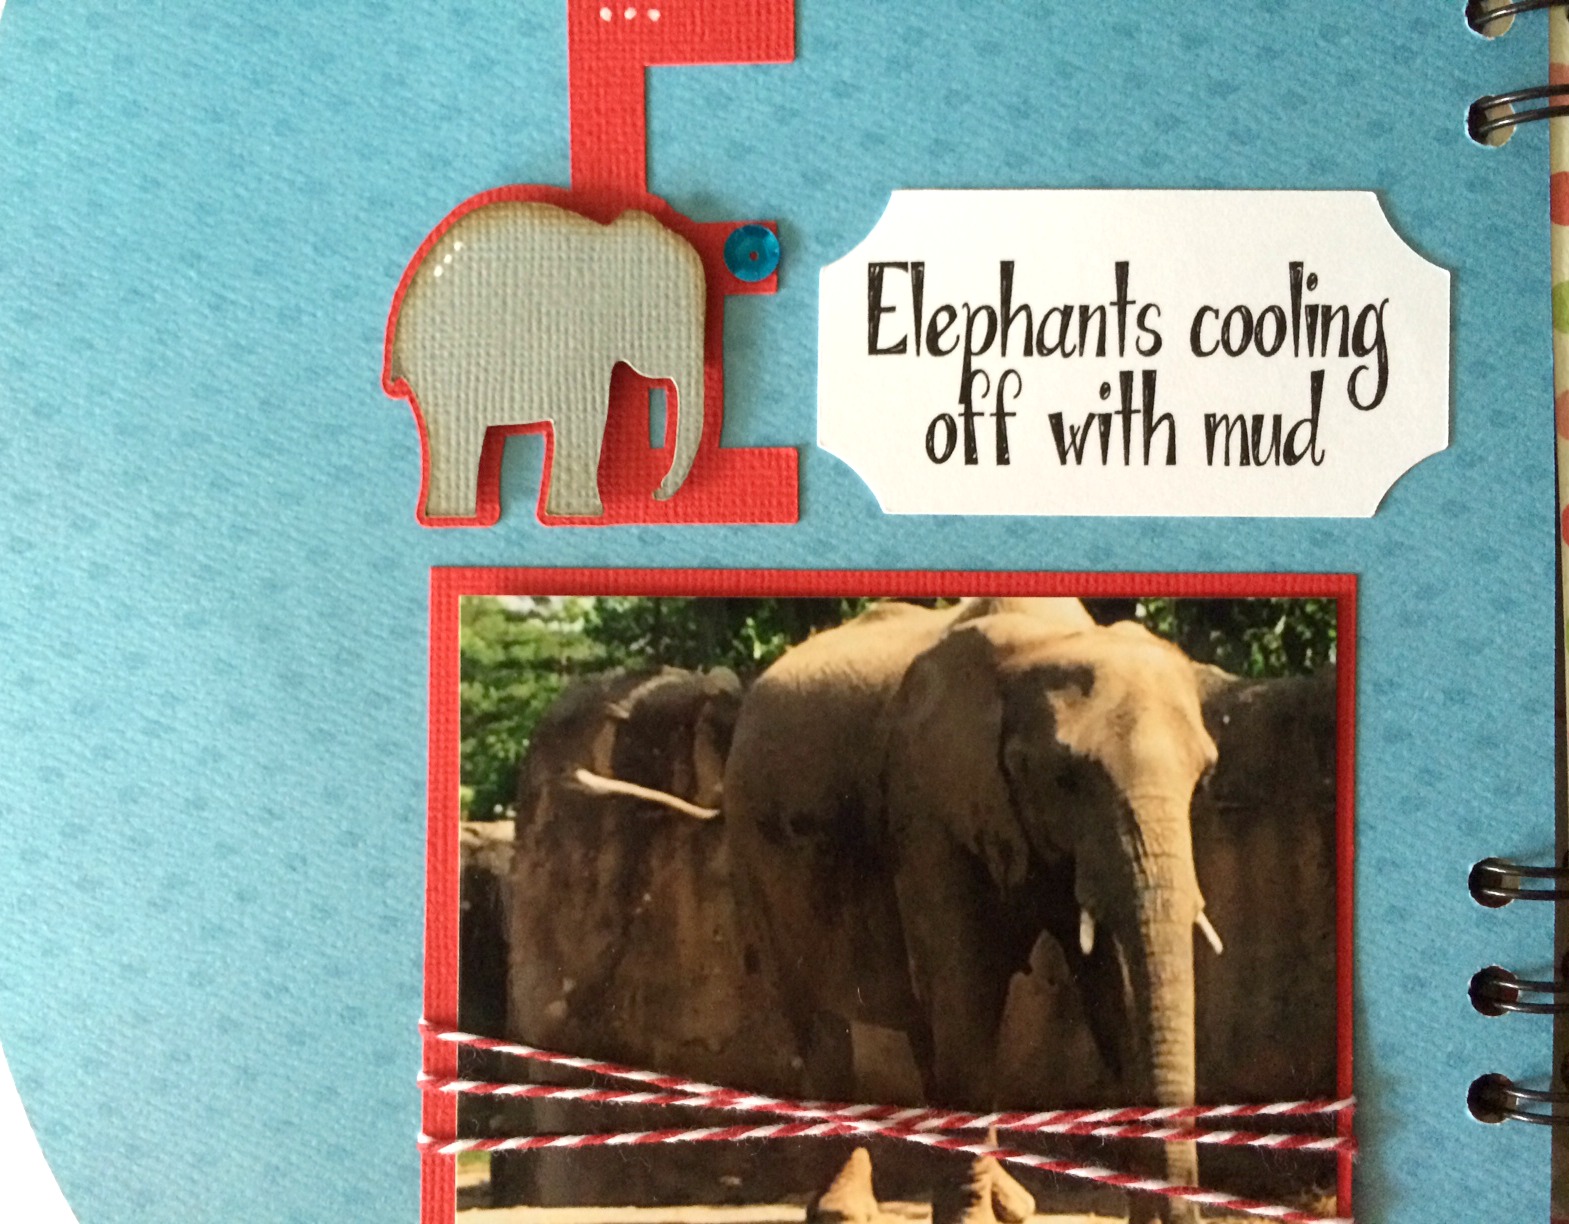
 2. Once the sleeve is glued together, use it as the base of your shadow box. Glue down any “colored” objects first to the layers. For example, center and glue the clouds on top of the cloud shapes. You can use pop dots for these as well. You can see in the elephant and giraffe example above I used pop dots on the animals but glued the clouds flat.
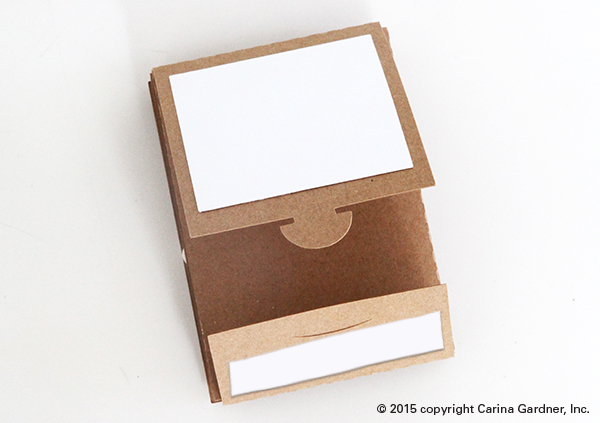


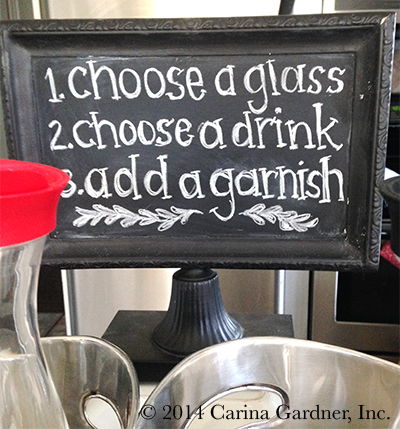 Here are the Mocktail recipes:
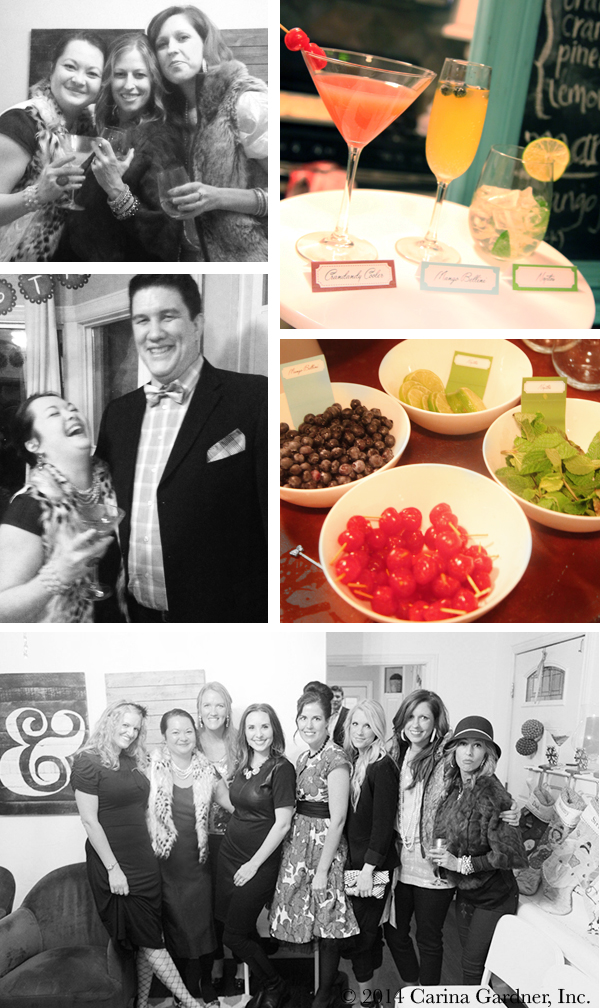


 The
The 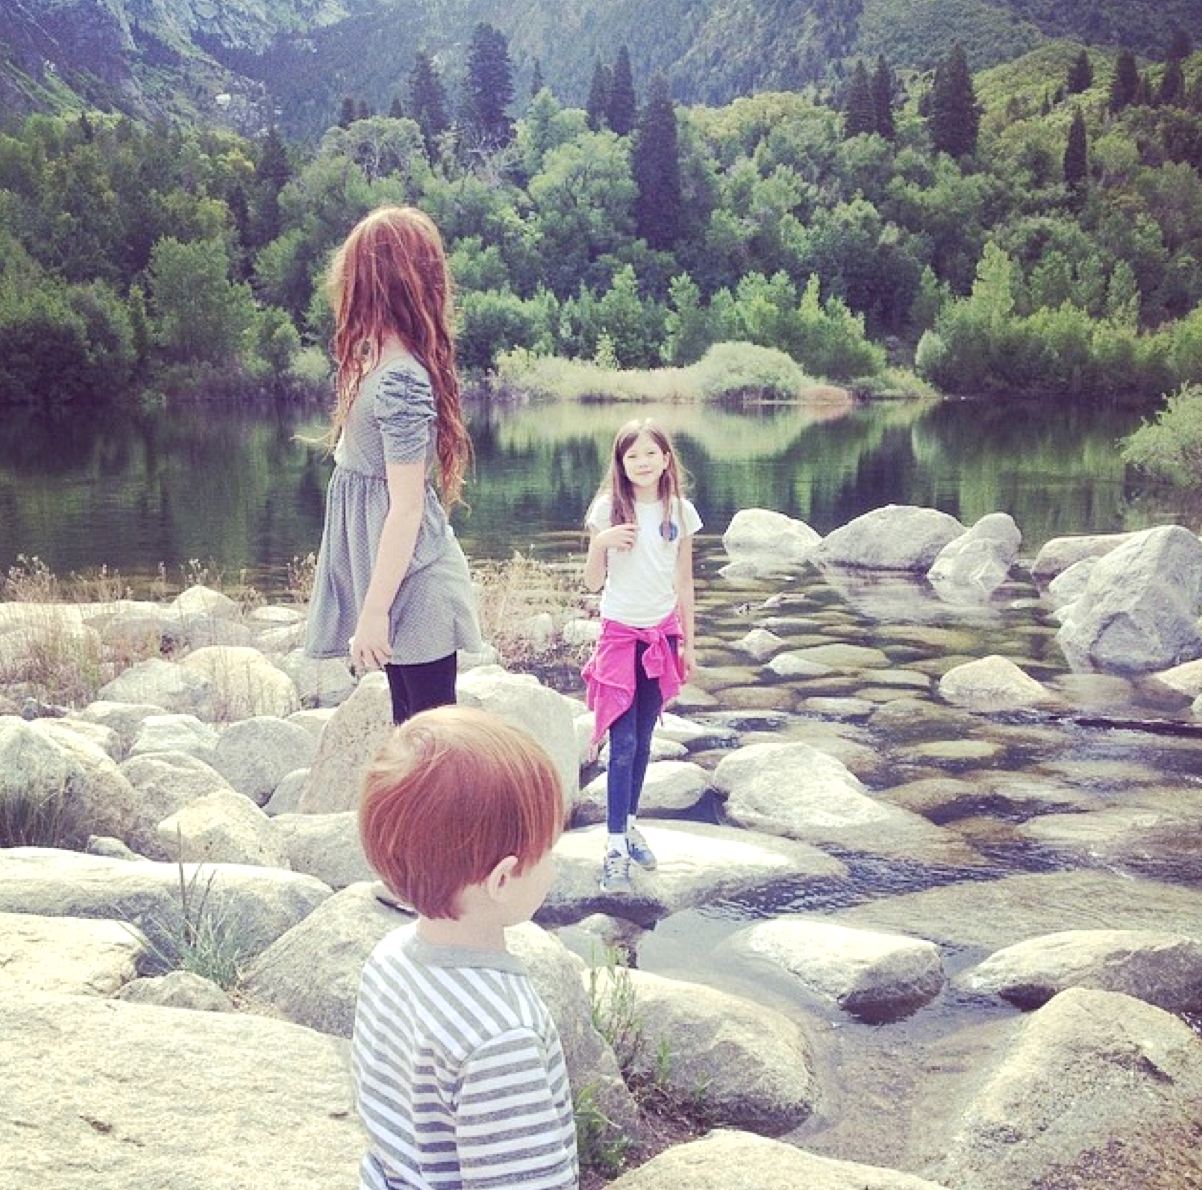 For now, I’m kicked into high gear to finish out the last few remaining items that need to be taken care of. You’ll notice my extra emphasis on
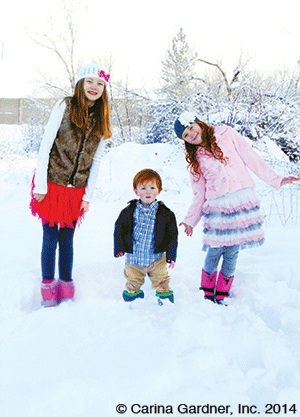
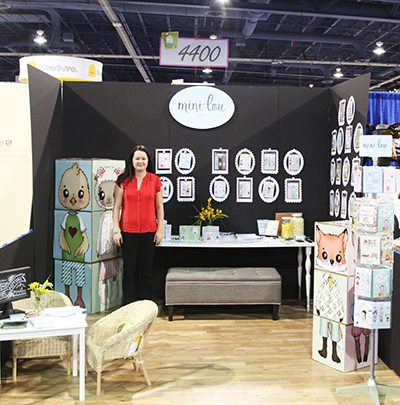
 I’m pretty horrible about posting all the wonderful things happening at