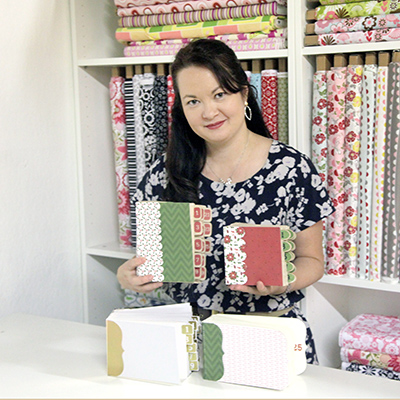
 You’re getting a little bit of everything from my releases this week so scroll on down to the tutorial that applies to you! It’s been a busy spring break, and I’ve been wanting to make some albums since coming back from Park City and St. George. I hope you have fun with these!
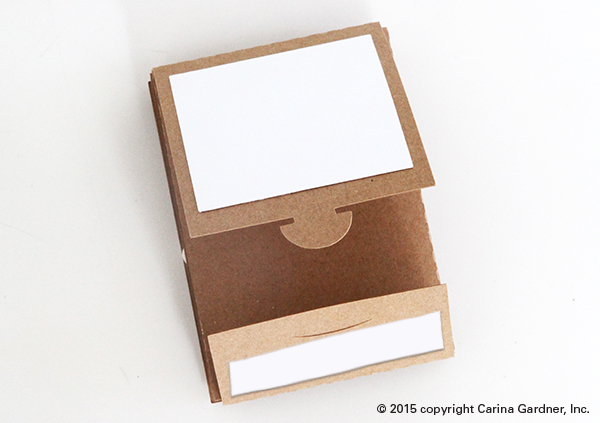
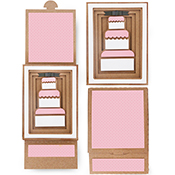
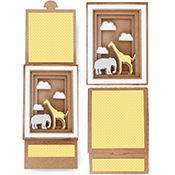
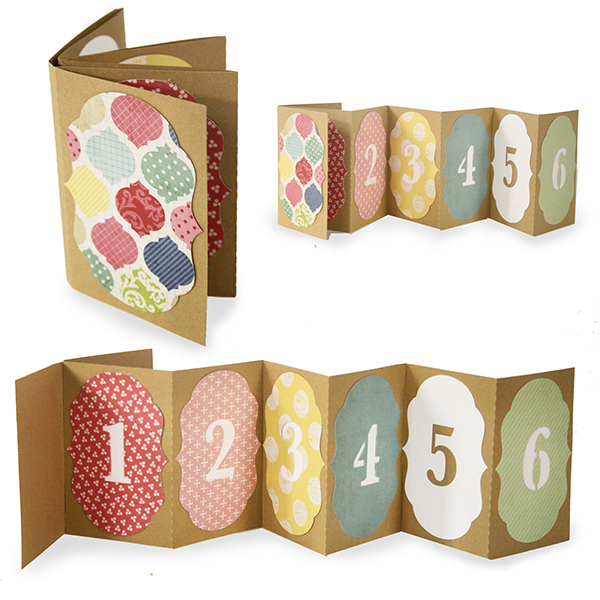
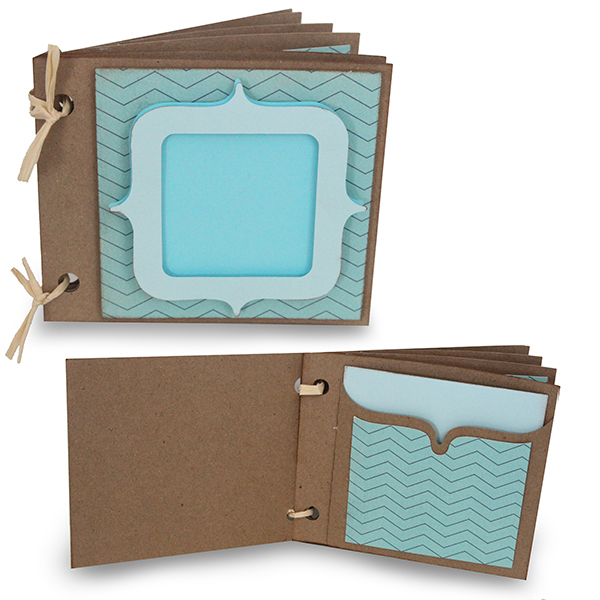
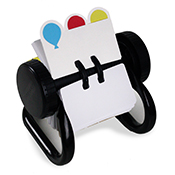
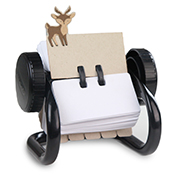
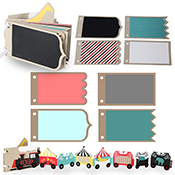
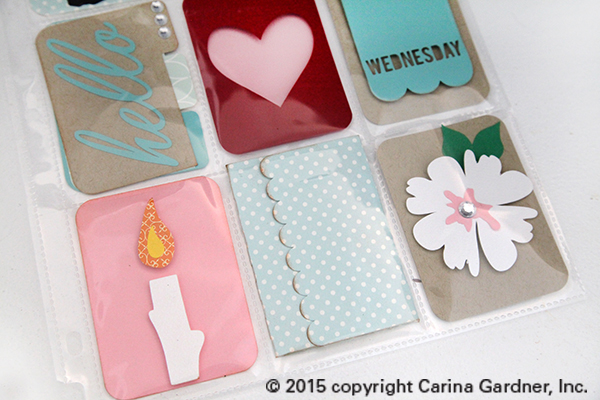
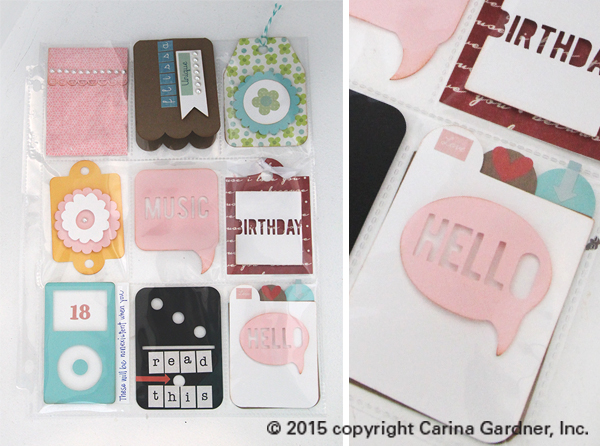
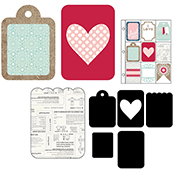
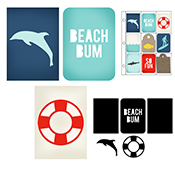
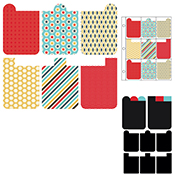
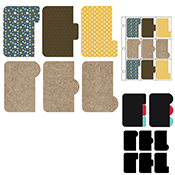
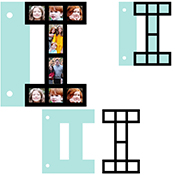
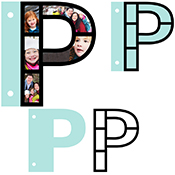
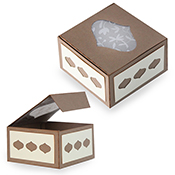
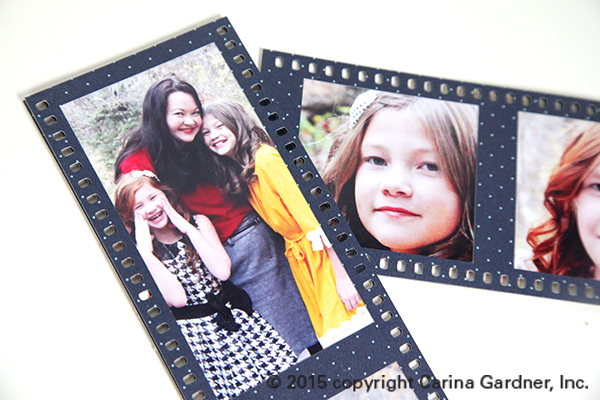
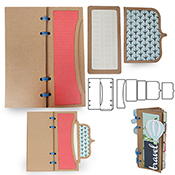
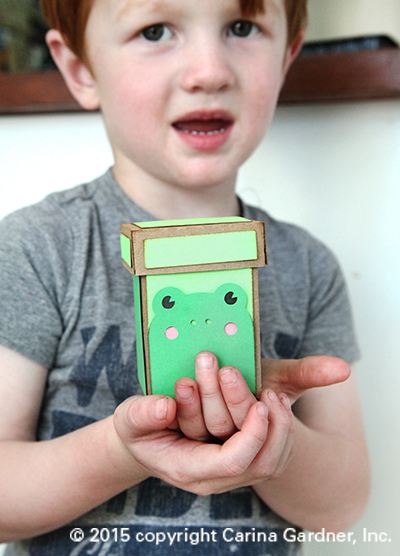
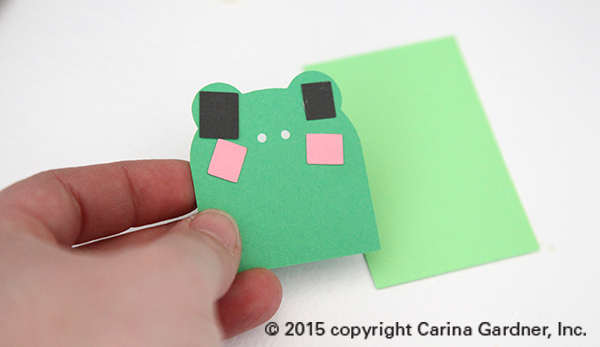
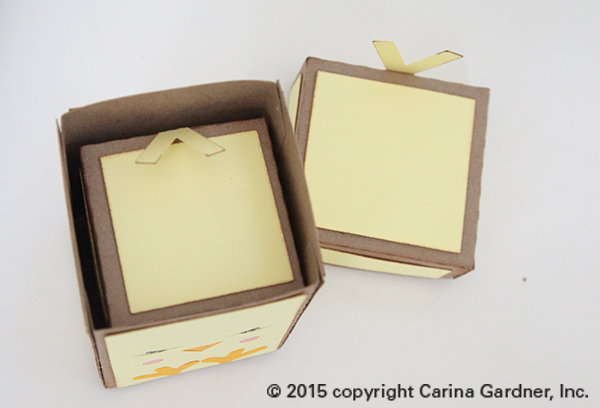
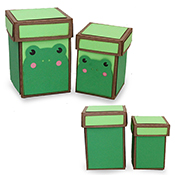
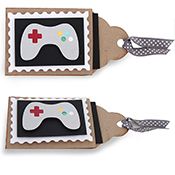
4 INCH SQUARE PHOTO POCKET ALBUM
LINK TO THIS ALBUM >>>
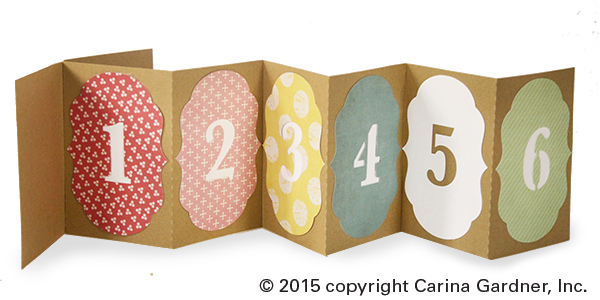
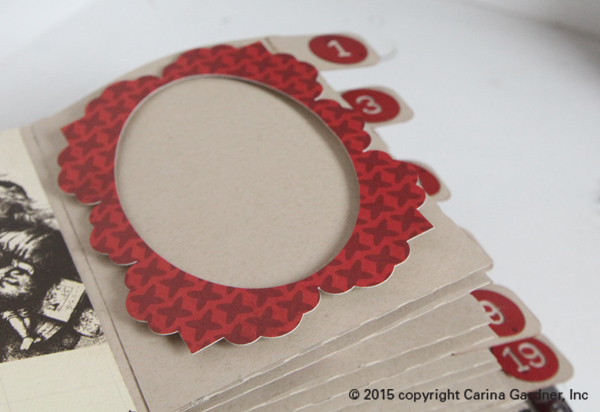
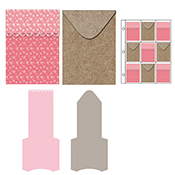
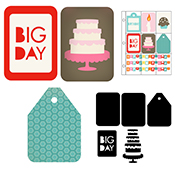
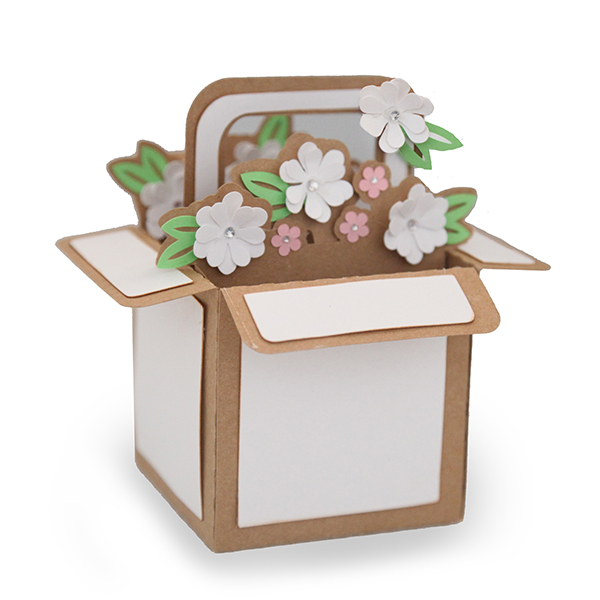
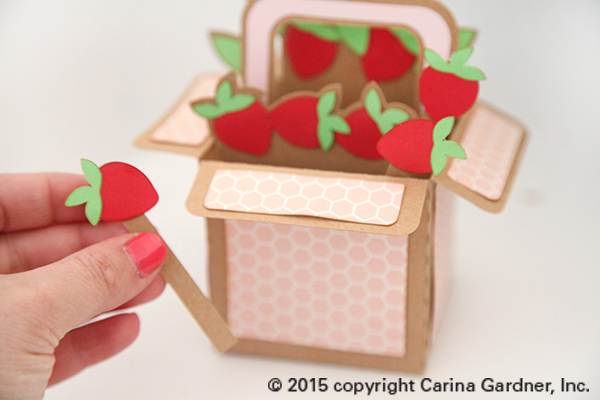
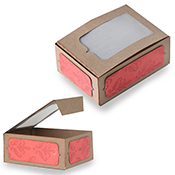
These albums are built for a 4 inch photo. Specifically, I like instagram photos for these pockets but it could even be 4 inch x 6 inch photos you have cut down. You can put a photo or write in a title on the front bracket emblem on the cover page. It’s completely up to you!
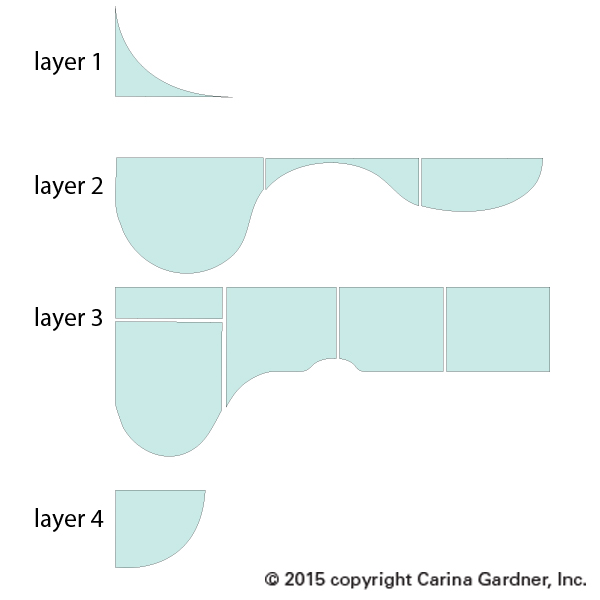
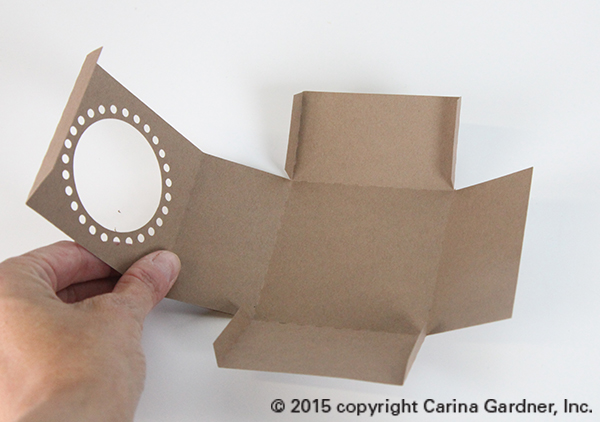
1. Cut out all the pieces in the svg file. I used kraft paper for all the main pieces and colored paper for the accent pieces. I cut out two cover pages and several pocket pages.
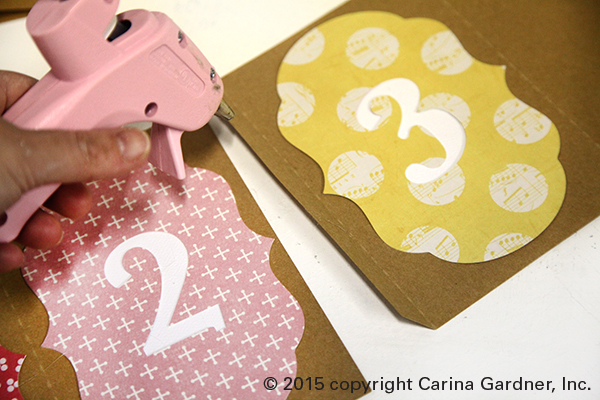
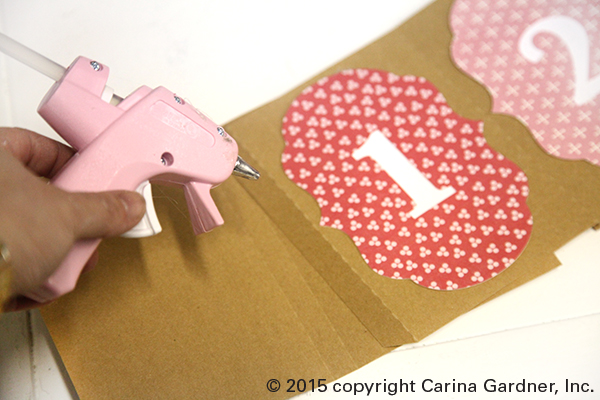
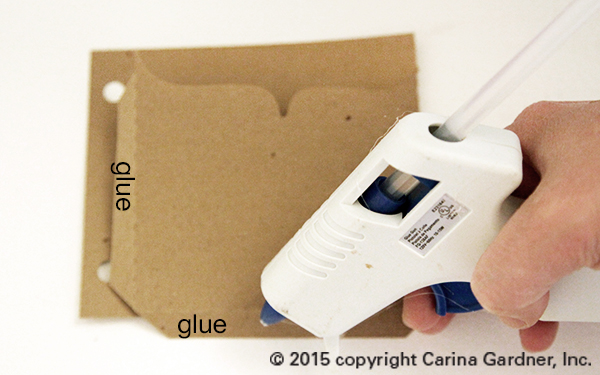
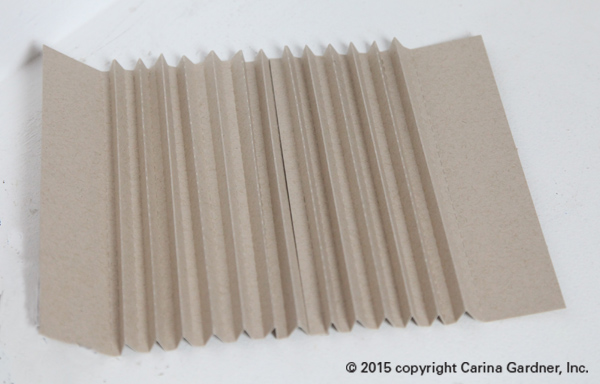
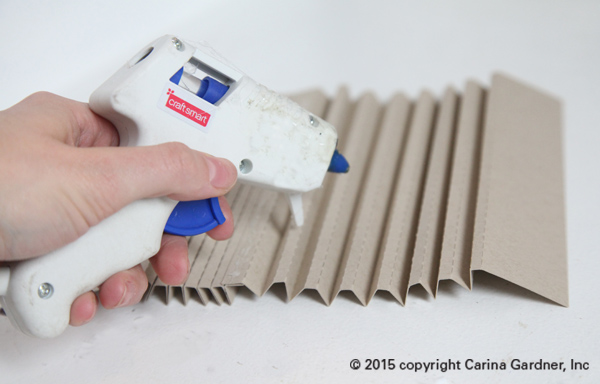
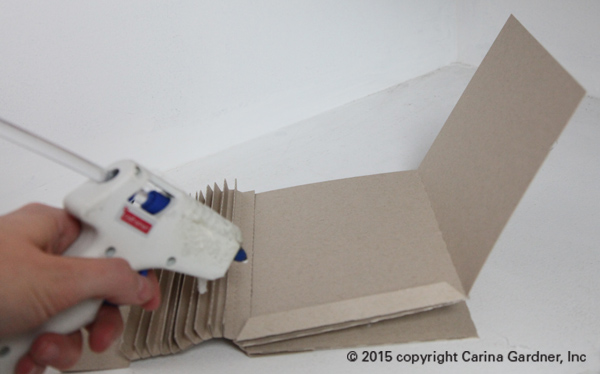
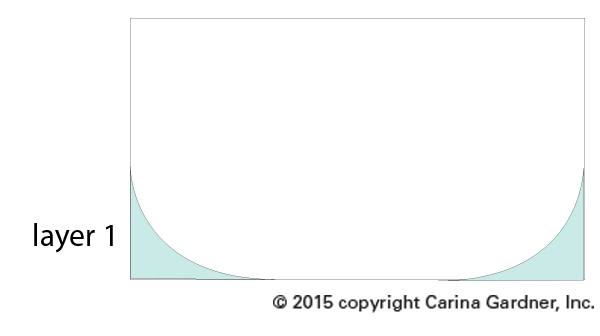
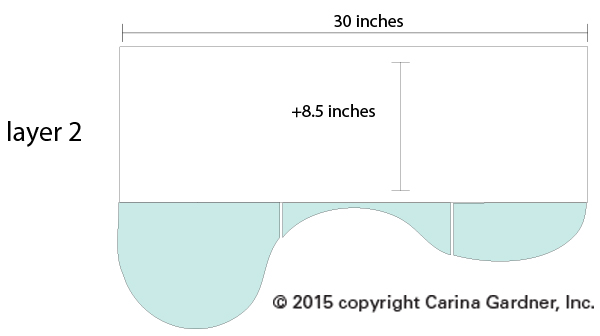
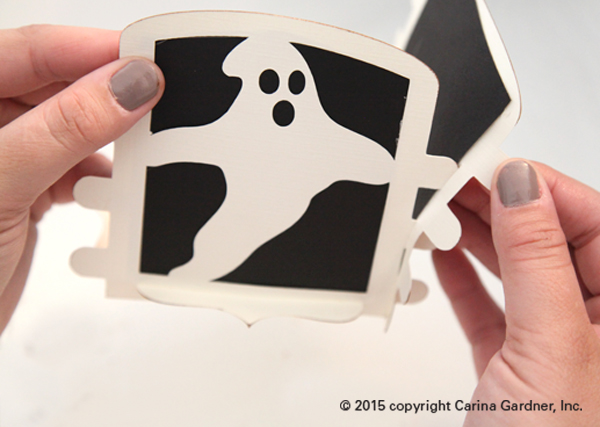
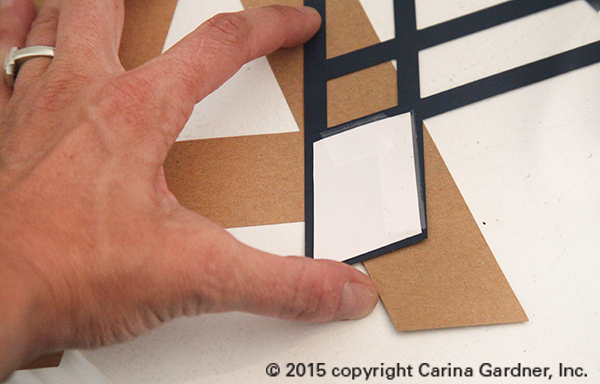
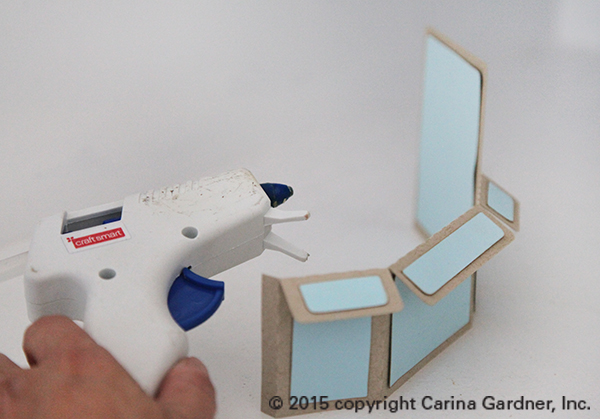
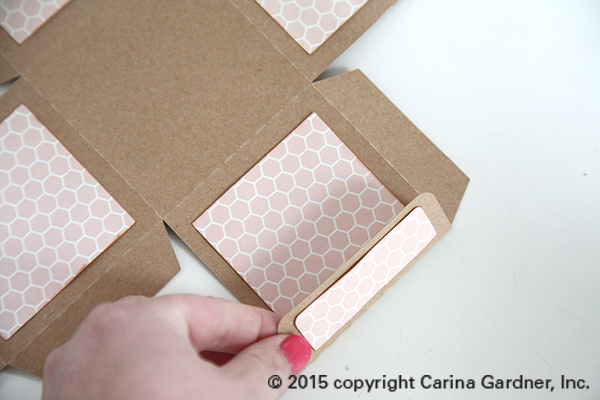
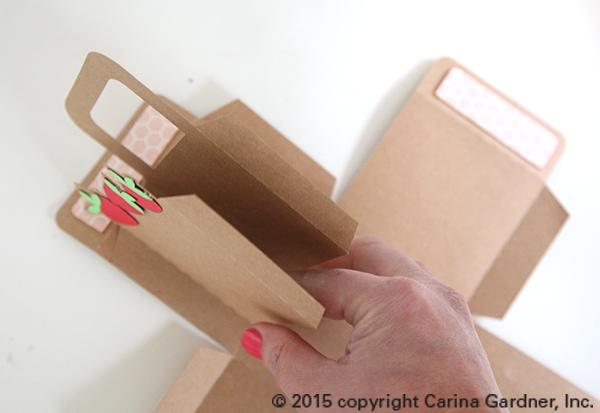
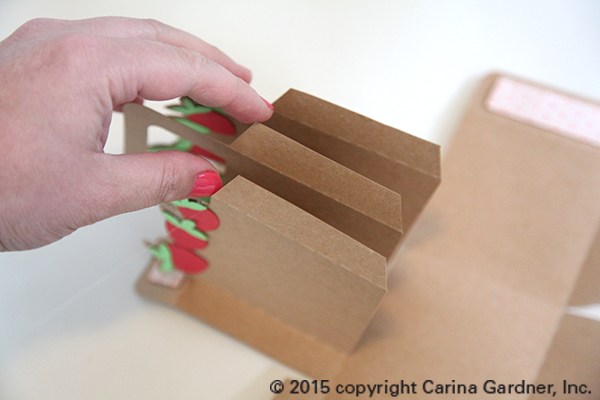
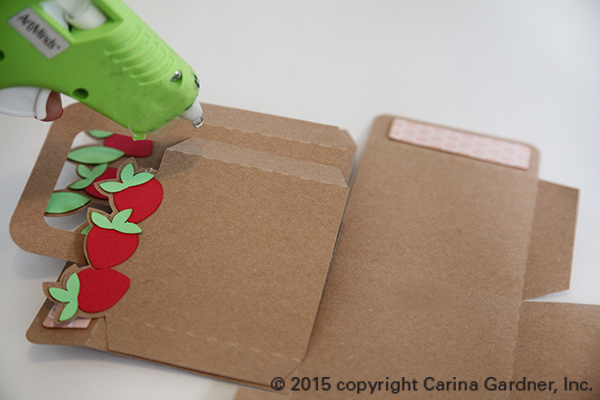
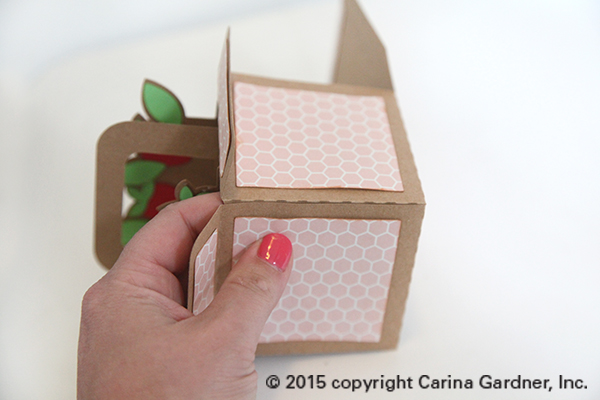
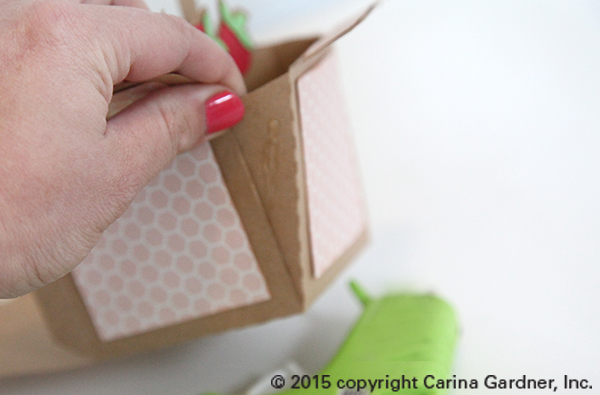
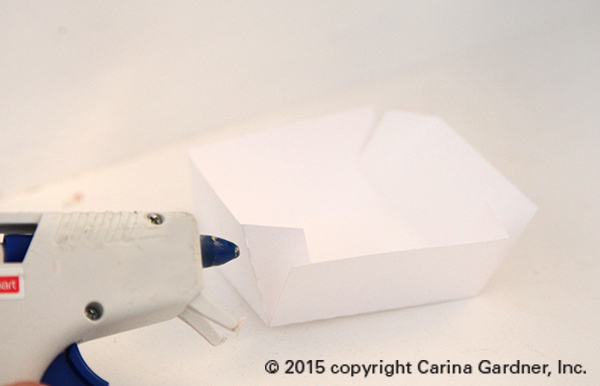
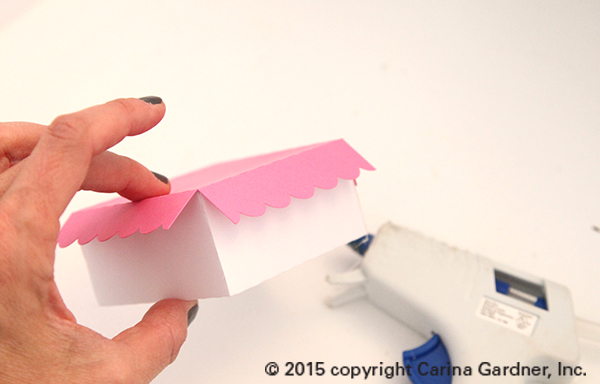
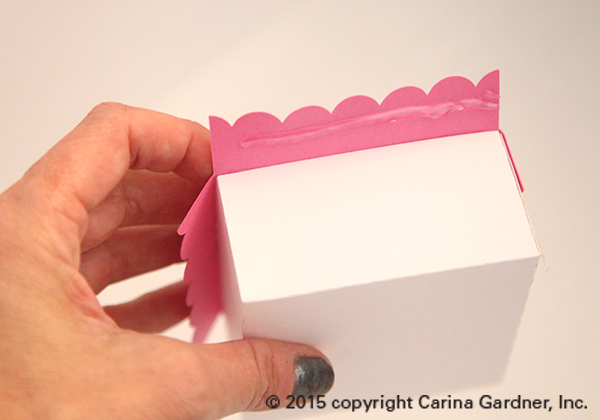
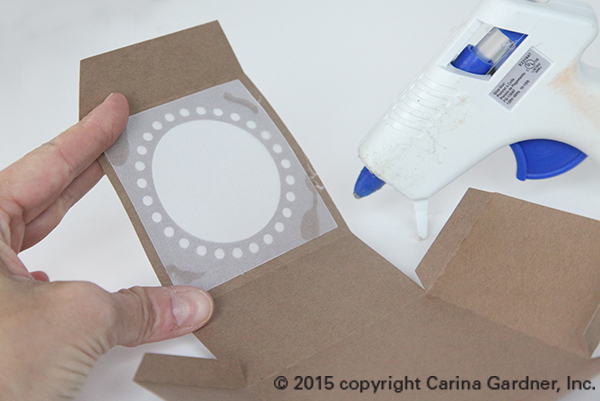
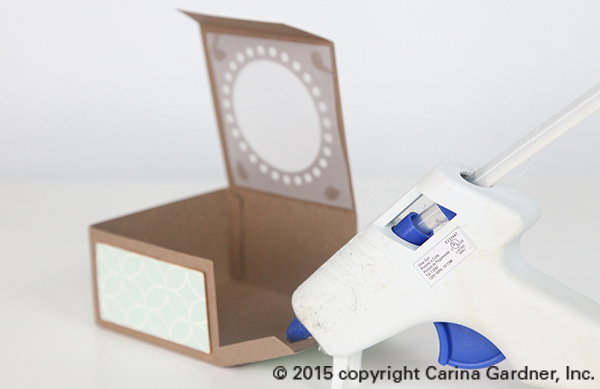
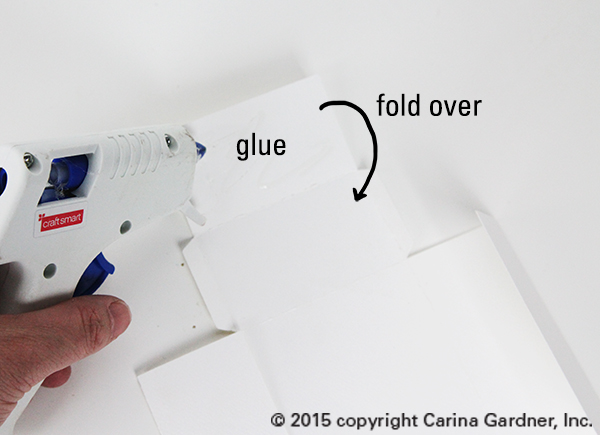
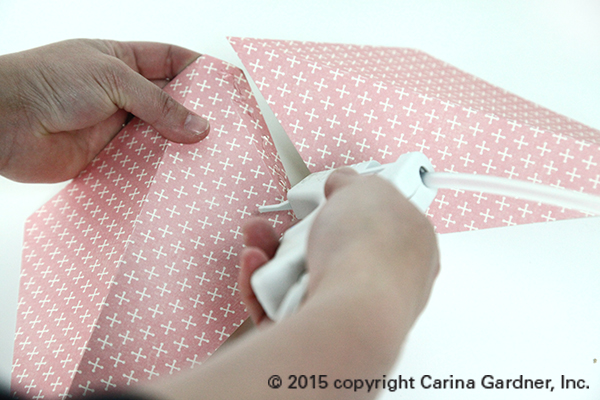
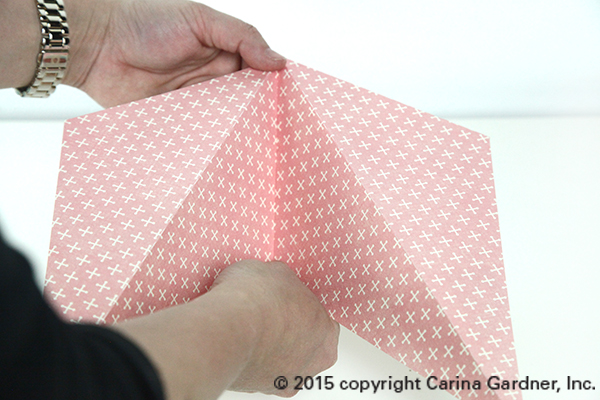
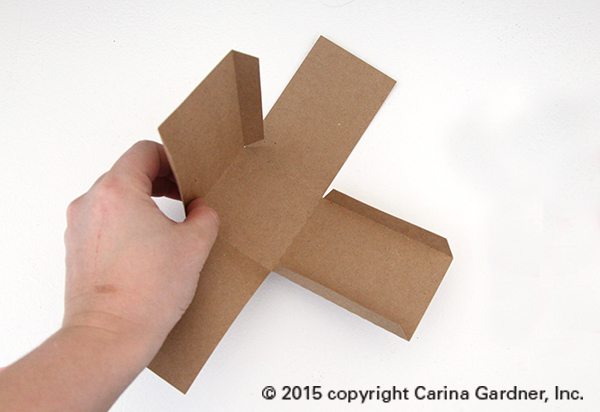
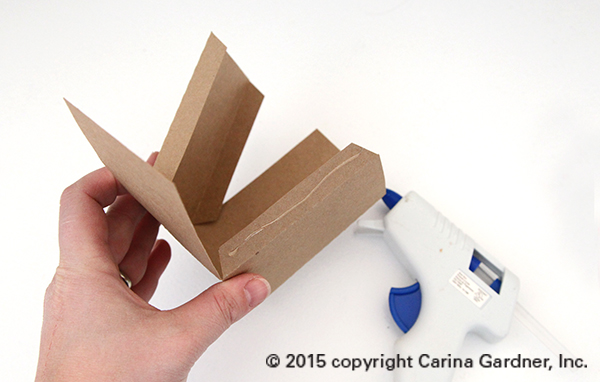
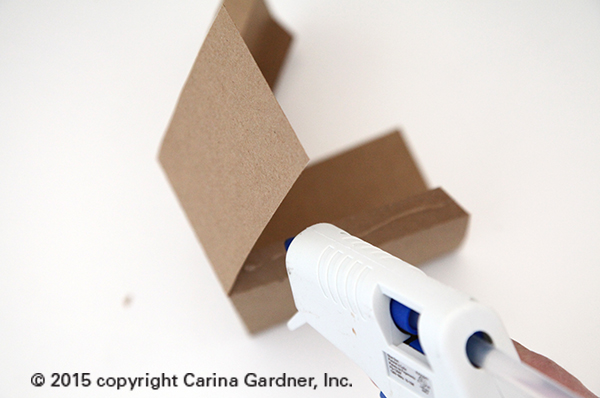
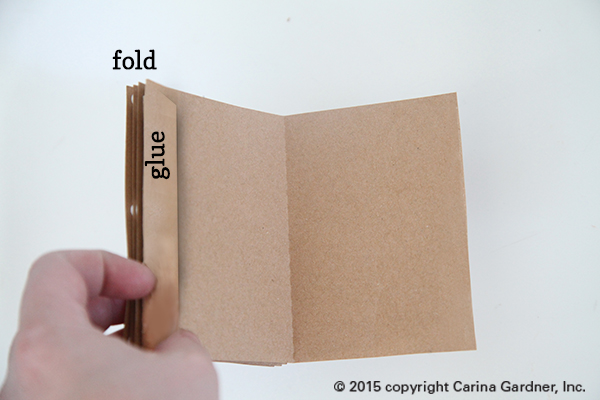
2. Fold along the score lines. Fold over the pieces with the bracket shape to create the pocket. Use glue (I like hot glue or a photo-friendly adhesive) on each of the glue flaps and create the pocket. There are two flaps that need to be glued (see photo below).
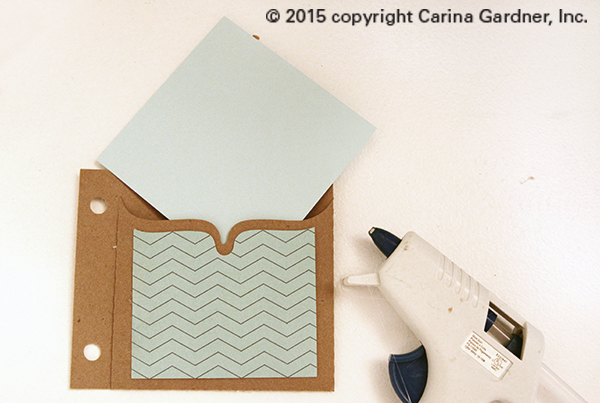
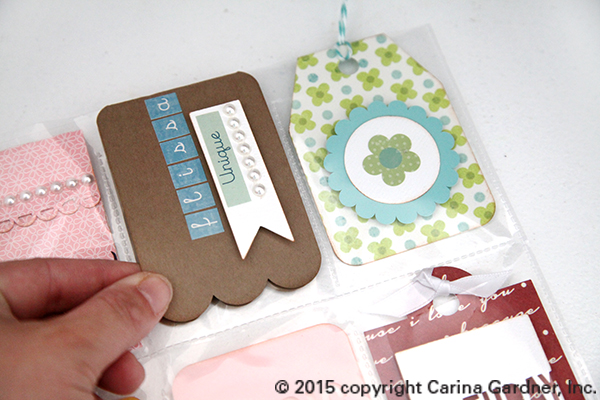
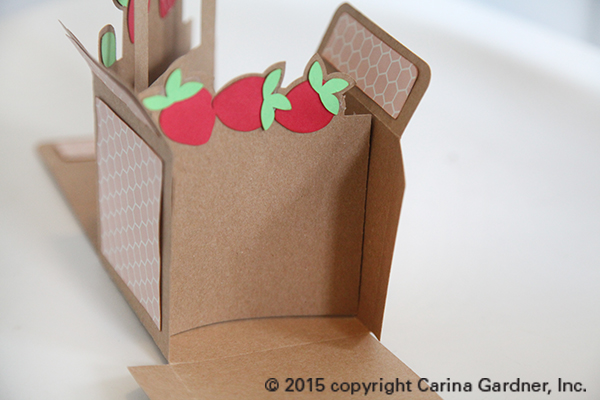
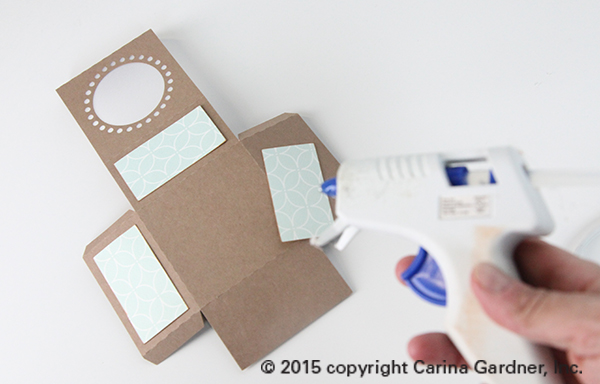
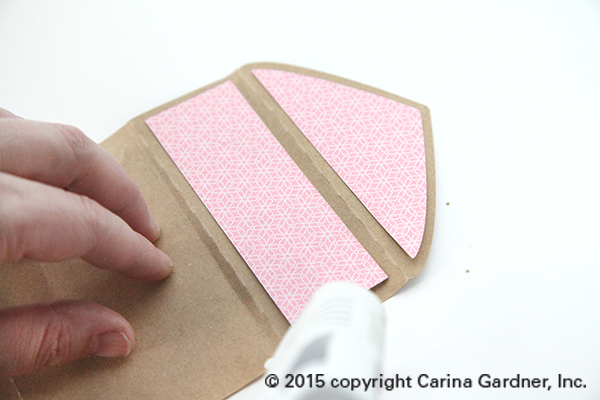
3. Glue the accent paper to the front of the pocket and add a journaling card (available with the svg file) or a photo.
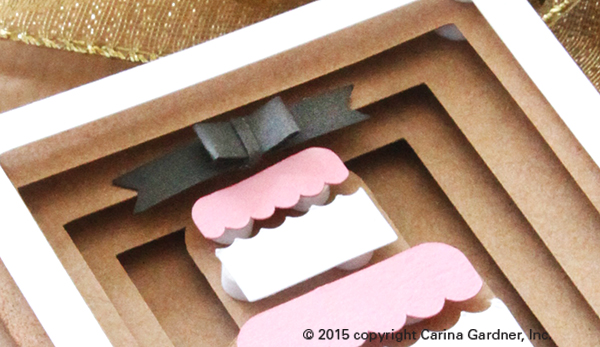
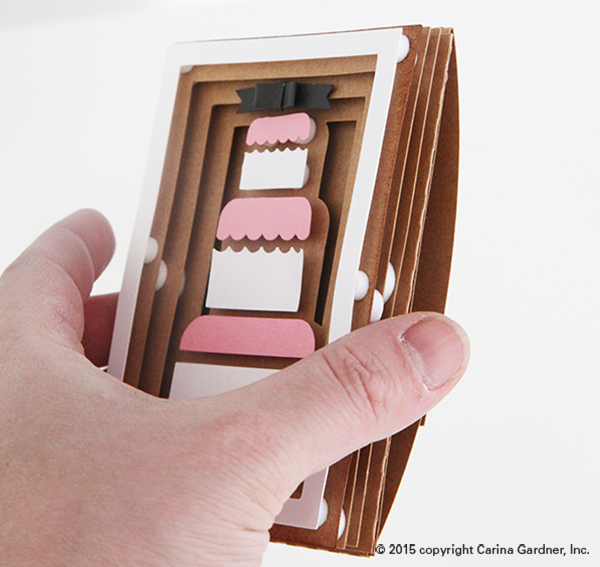
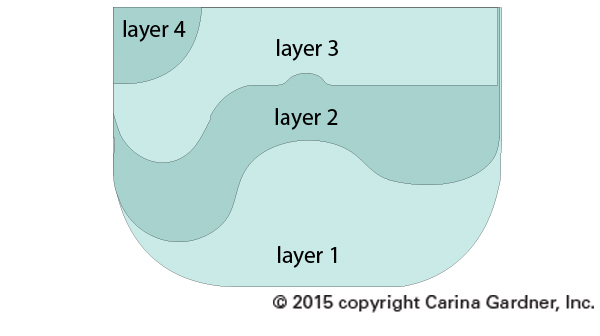
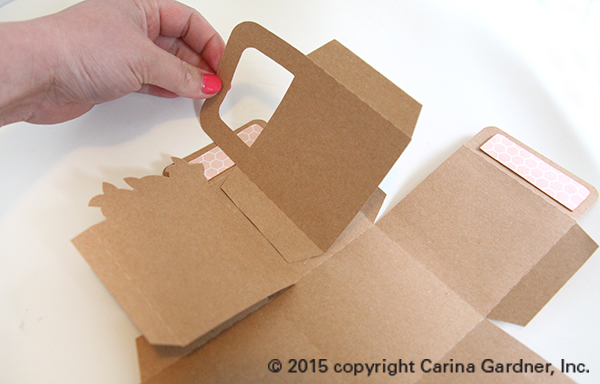
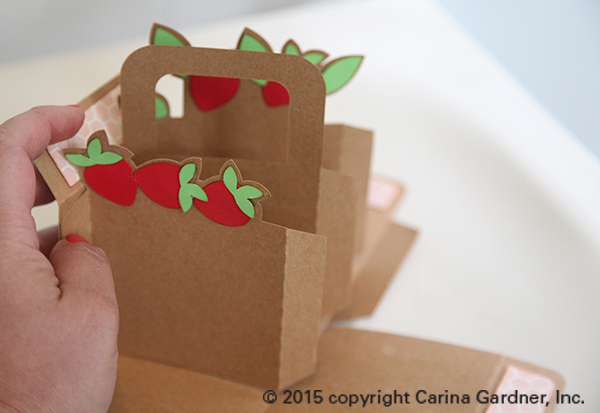
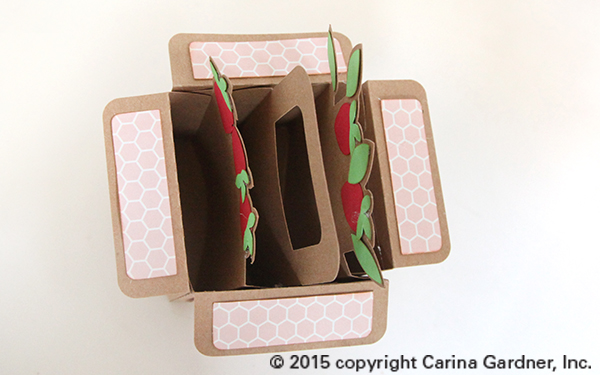
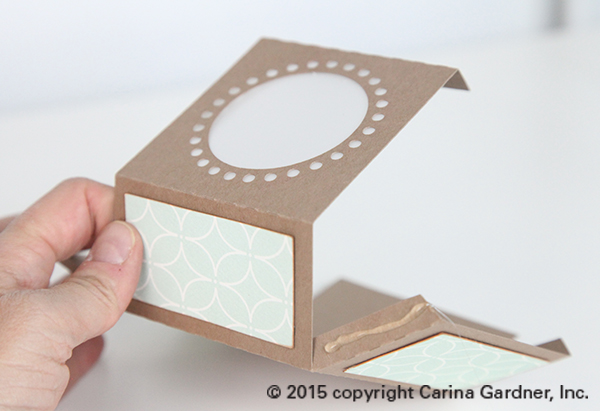
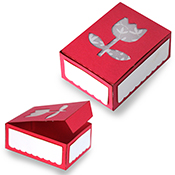
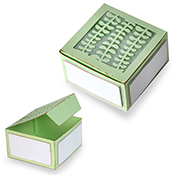
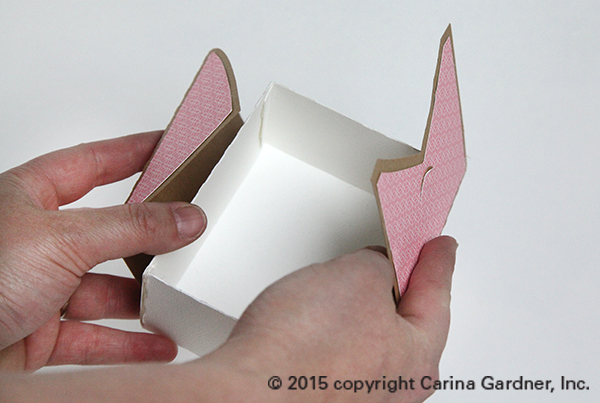
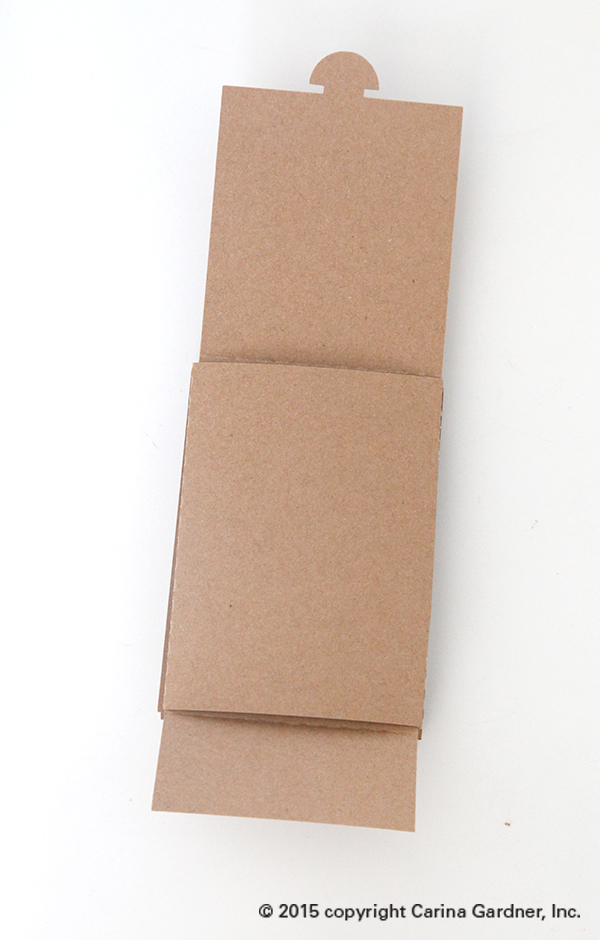
4. Create the cover by layering the 4 inch square (the same one used for the pocket inserts), then the bracket without the window, then finally the bracket shape with the window. Place a photo or title between the two bracket pieces if you want. I used pop dots but you can also simply glue everything into place.
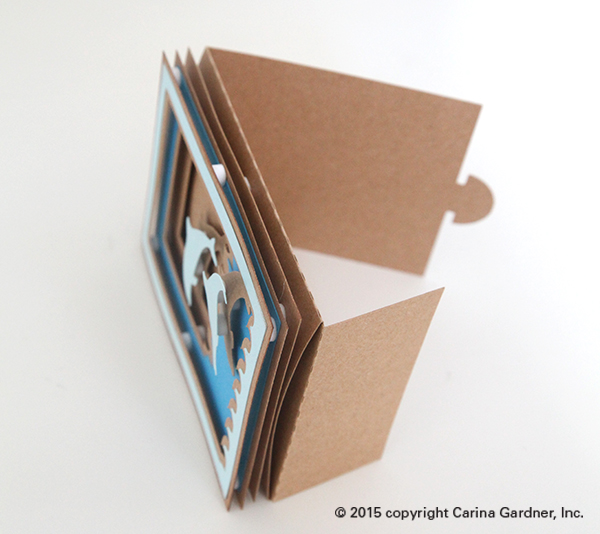
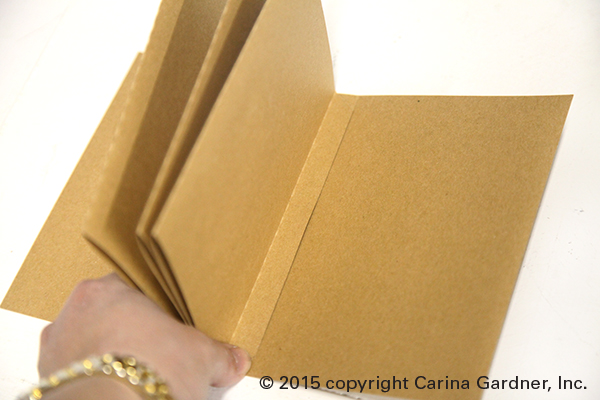
5. Use ribbon, O-ring, or twine to put the album together.
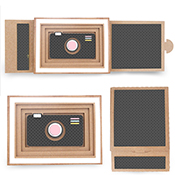
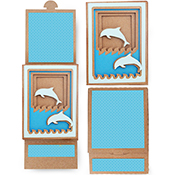
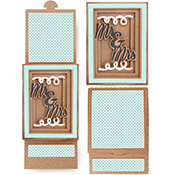
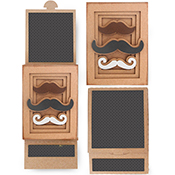
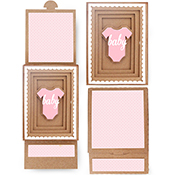
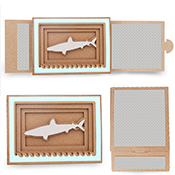
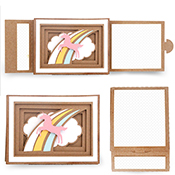
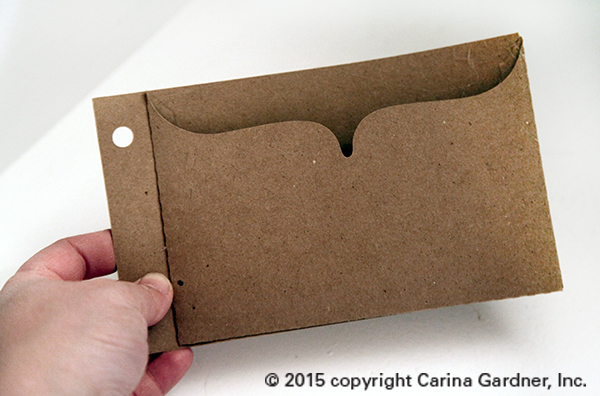
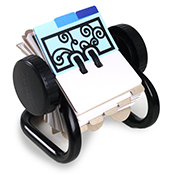
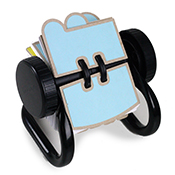
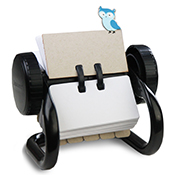
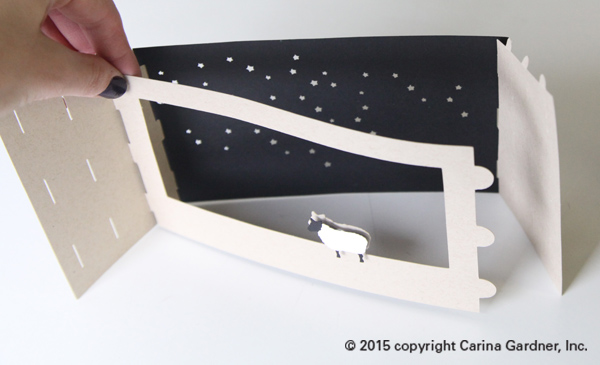
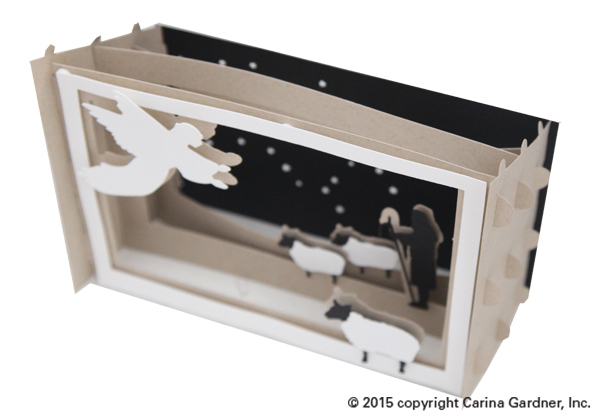
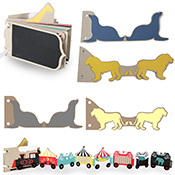
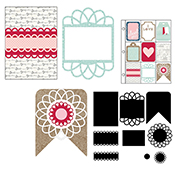
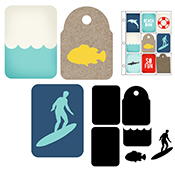
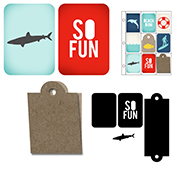
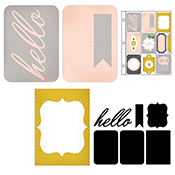
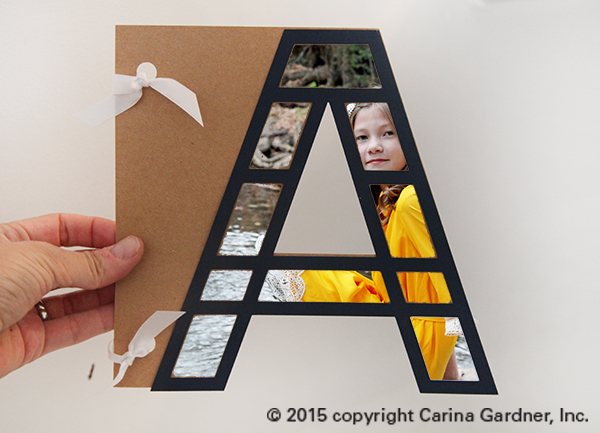
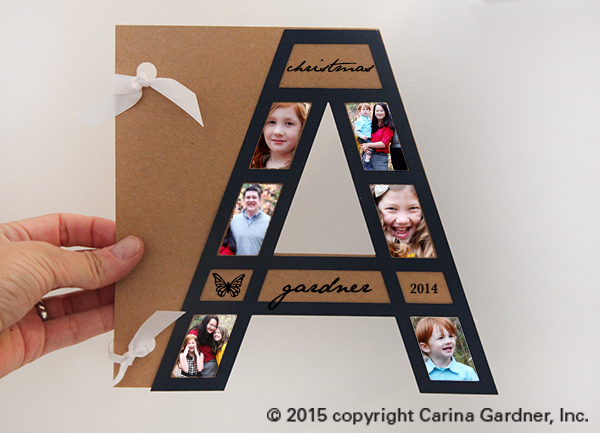
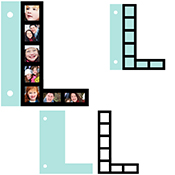
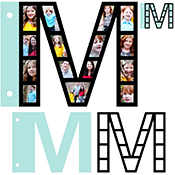
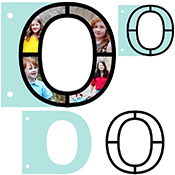
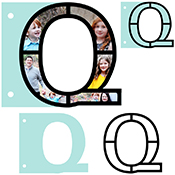
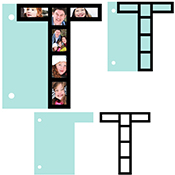
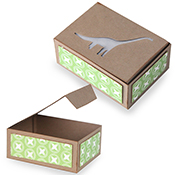
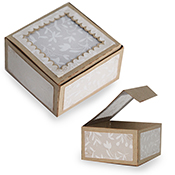
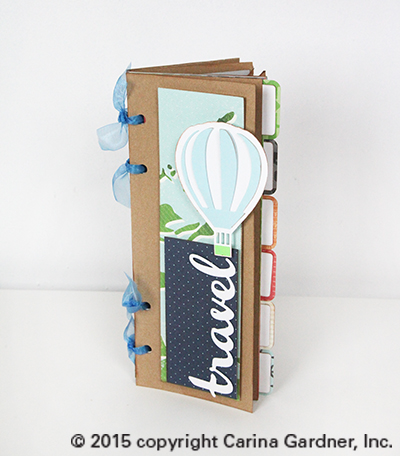
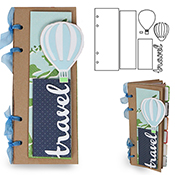
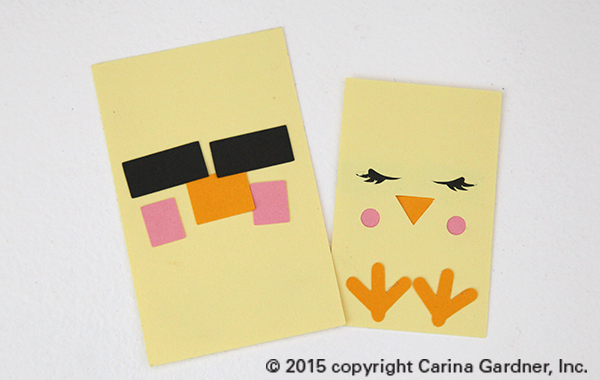
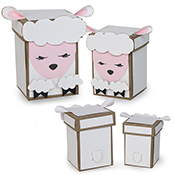
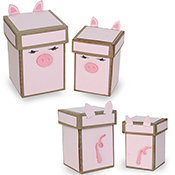
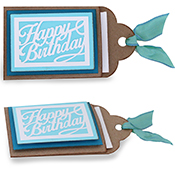
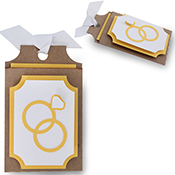
4 INCH x 6 INCH HORIZONTAL PHOTO POCKET ALBUM AND WINDOW ALBUM
LINK TO 4×6 HORIZONTAL PHOTO POCKET ALBUM >>>
LINK TO 4×6 WINDOW PHOTO POCKET ALBUM >>>
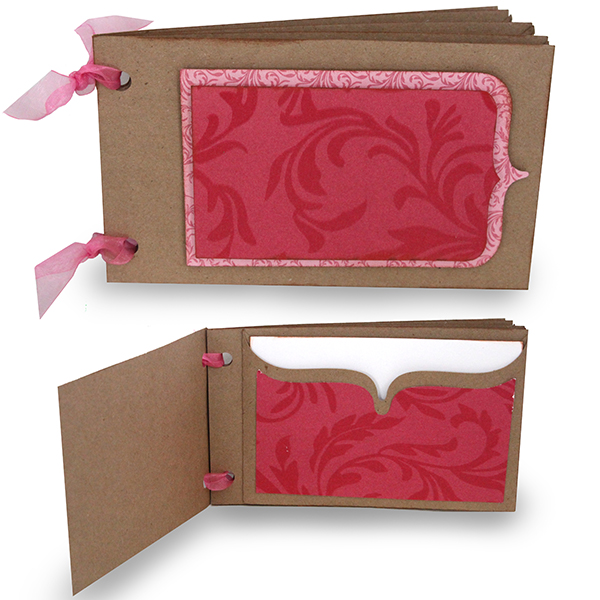
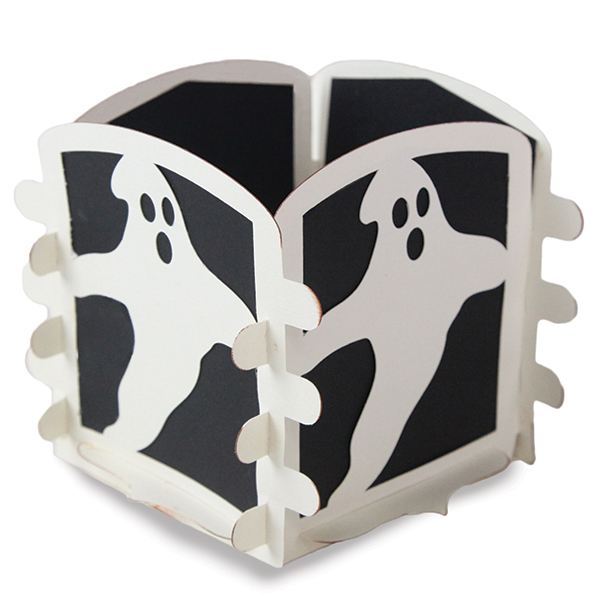
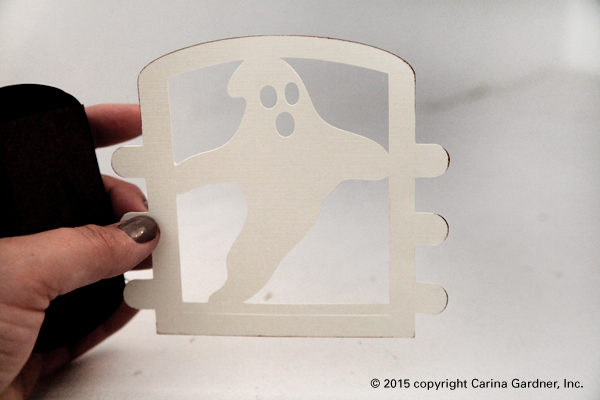
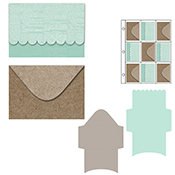
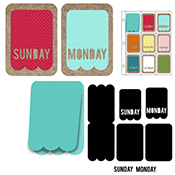
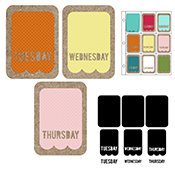
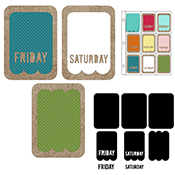
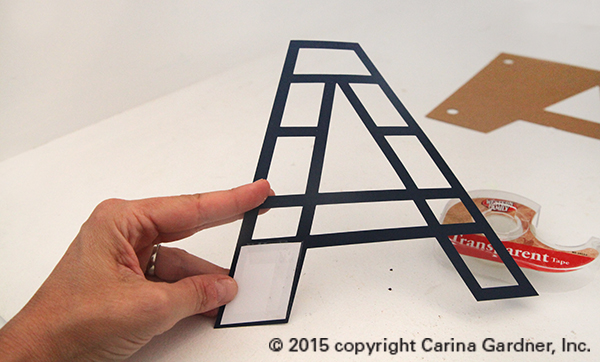
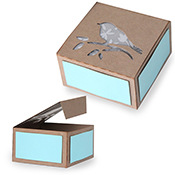
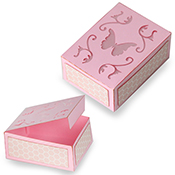
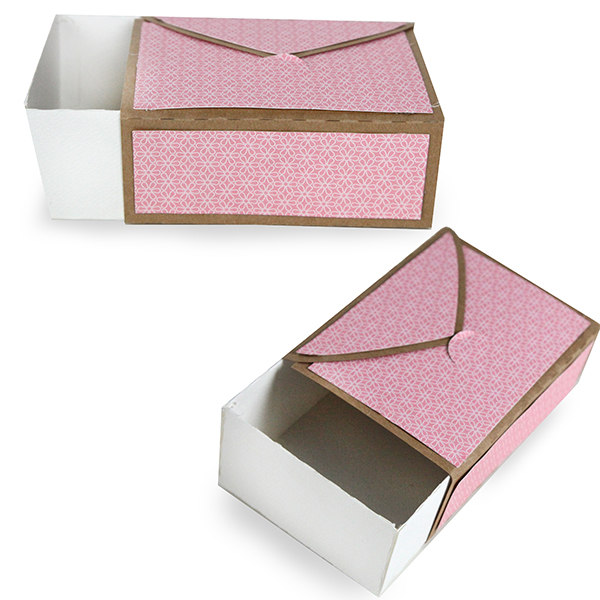
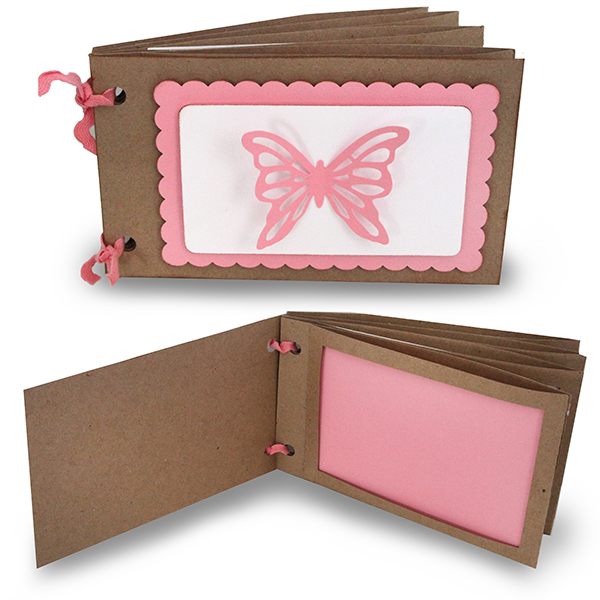 These two albums are meant to fit your 4 x 6 photos and are quick to put together. Because most of us are generally working with 12 inch x 12 inch paper, it was necessary to have a separate pocket piece that you attached to a cover piece to create a “page.” Note that the pockets for the Window Album can be a bit flimsy and I suggest either using heavy stock or cut a piece of transparency or other clear paper to create the window and hold in the photos. I also recommend setting this album under a stack of books once it is glued to make sure the thin areas that create the “window” are study and straight.
These two albums also work together if you wanted some window pockets and some horizontal pockets. So mix and match away!
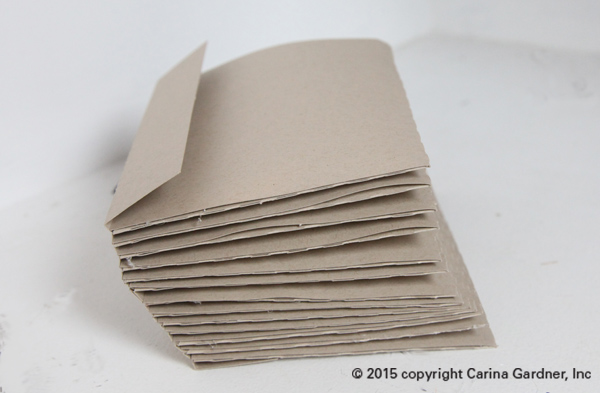
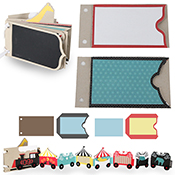
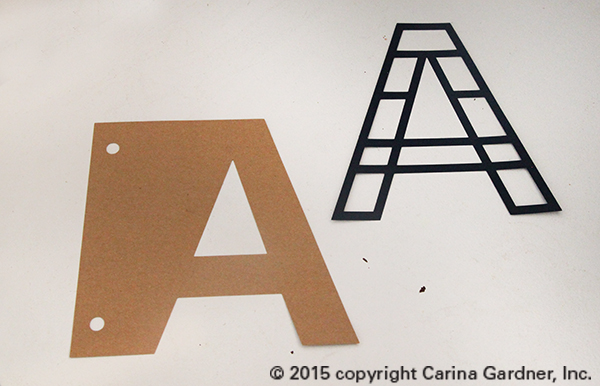
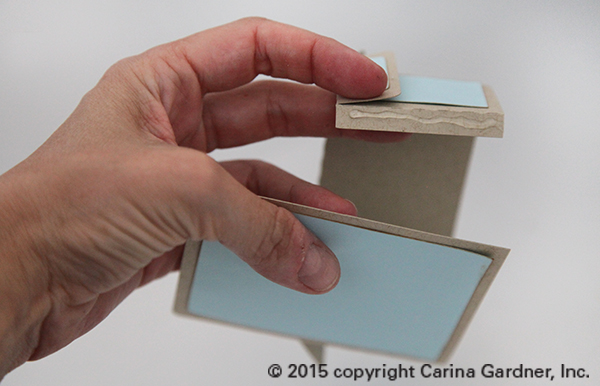
1. Cut out all the pieces in the svg file. I used kraft paper for all the main pieces and colored paper for the accent pieces. You will need to cut out two cover pages and for each “pocket page” you will need one cover page and one pocket piece.
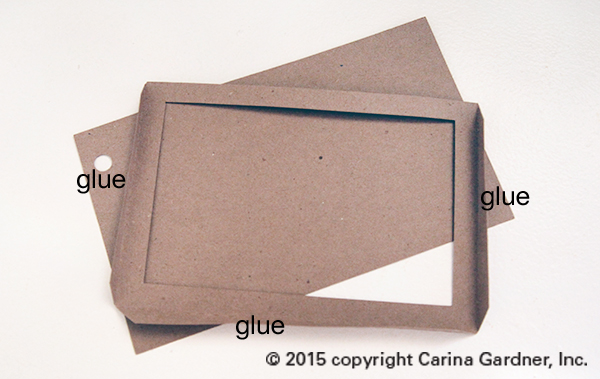
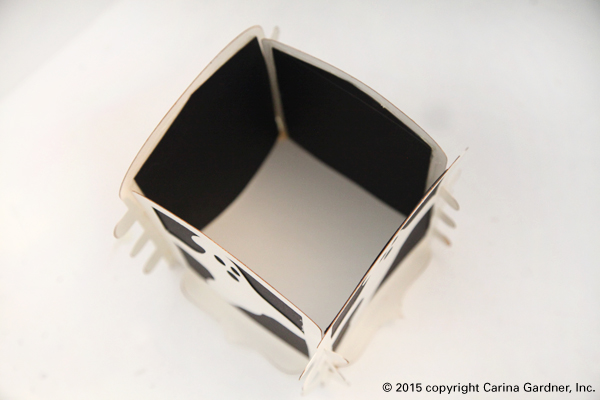
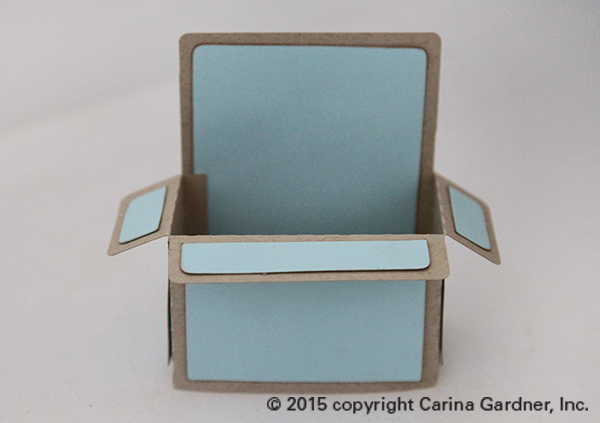
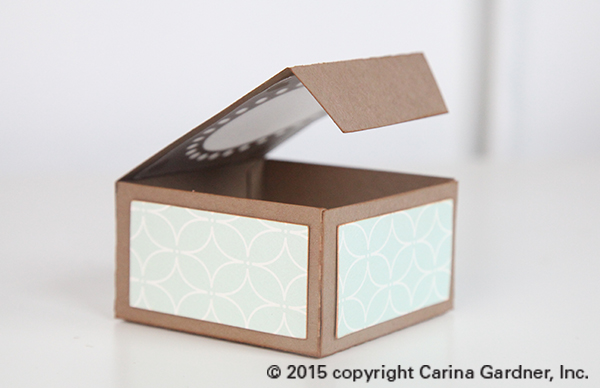
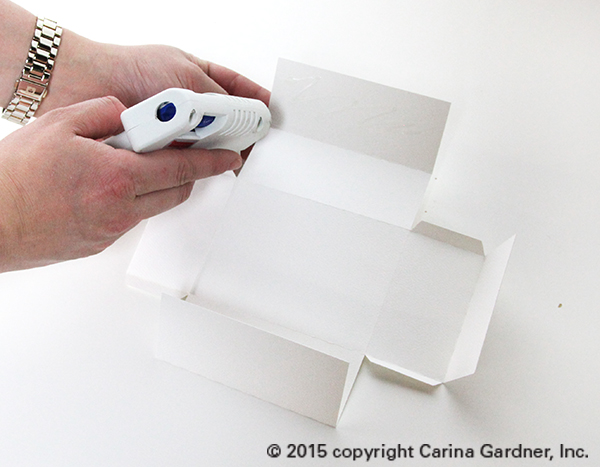
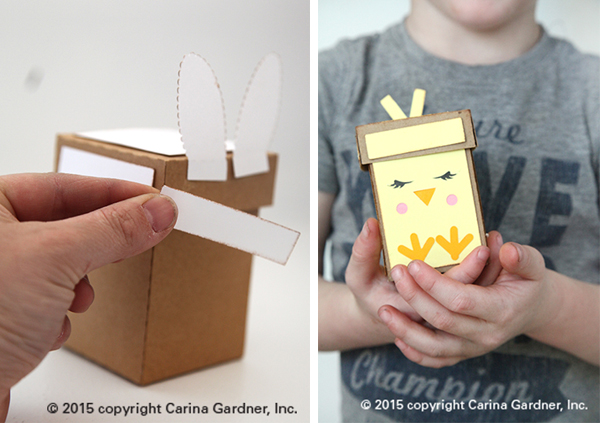
2. Fold the score lines of the pocket piece. Use glue (hot glue or a photo-friendly adhesive) on each of the glue flaps and create the pocket. There are three flaps that need to be glued (see photos below).
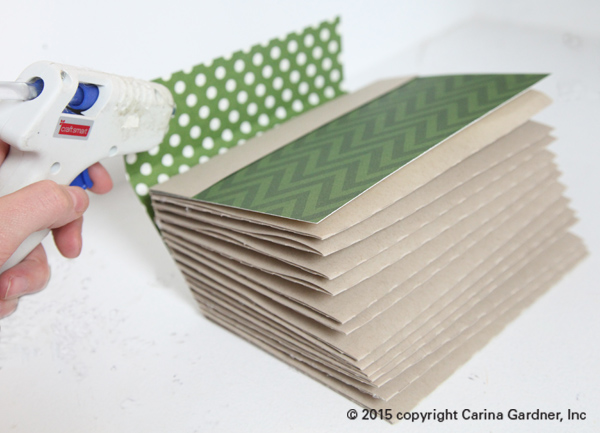
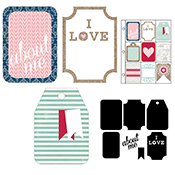
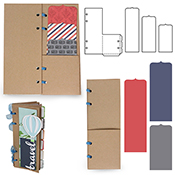
3. Glue the accent paper to the front of the pocket for the Horizontal Album. Add a journaling card (available with the svg file) or a photo.
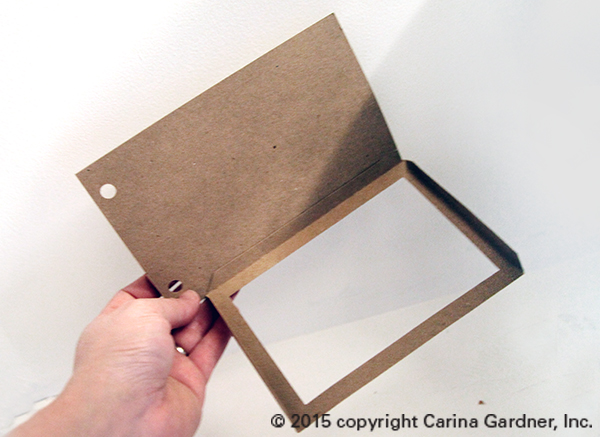
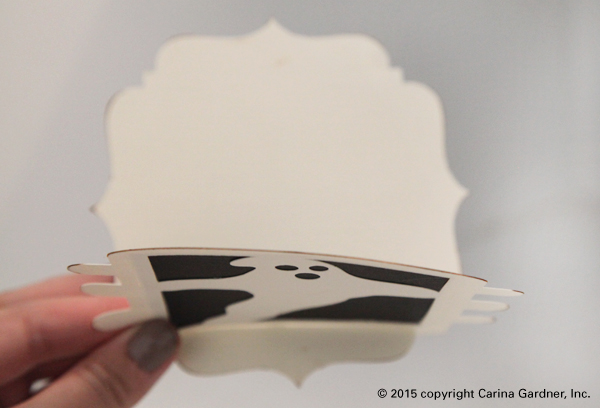
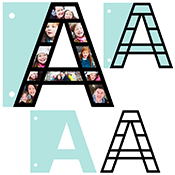
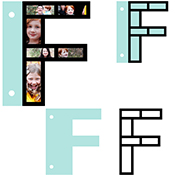
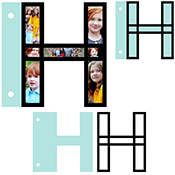
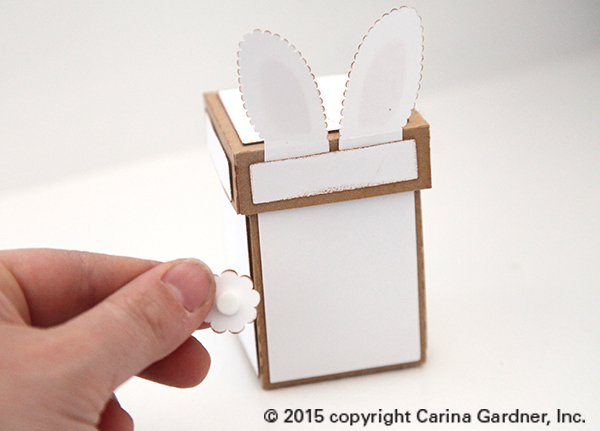
4. Create the cover by layering the cut outs as shown in the two images.
5. Use ribbon, O-ring, or twine to put the album together.
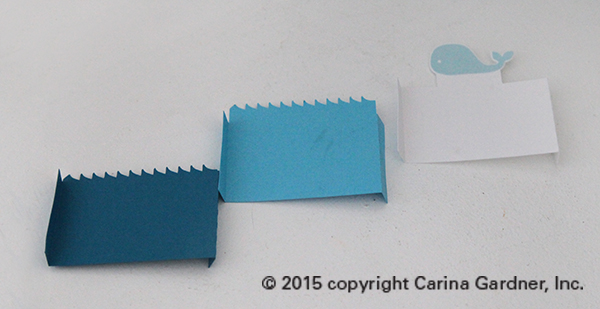
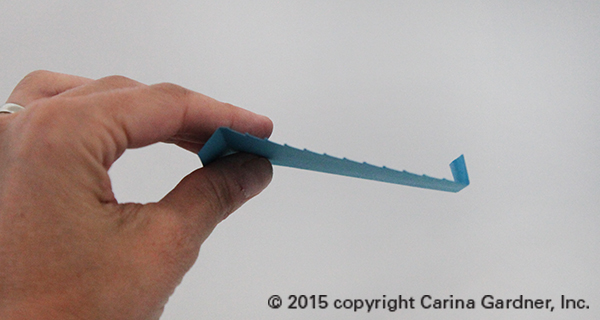
4X6 Horizontal Album (Glue Flaps)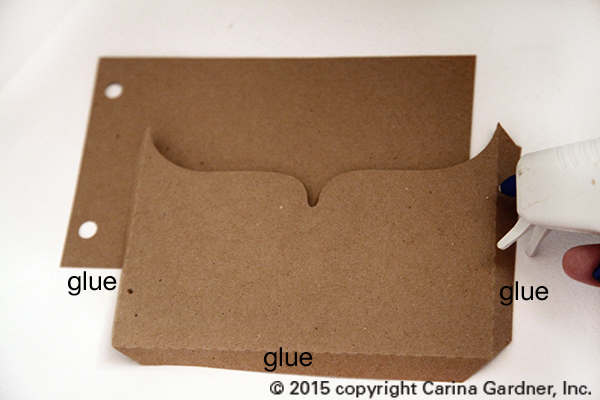
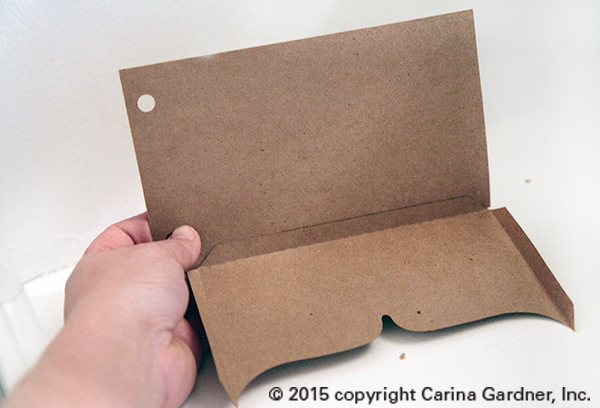
4X6 Window Album (Glue Flaps)
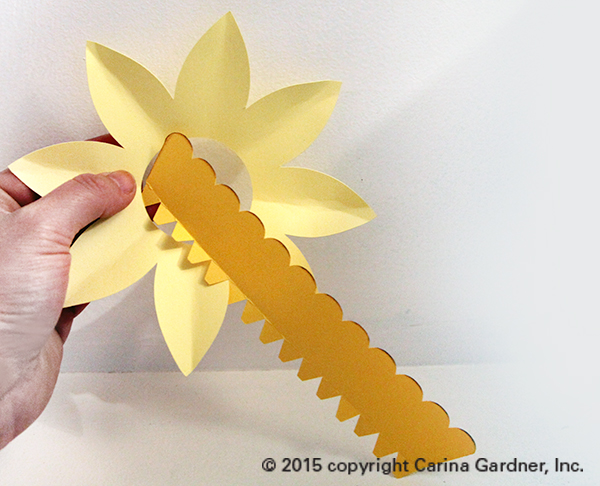
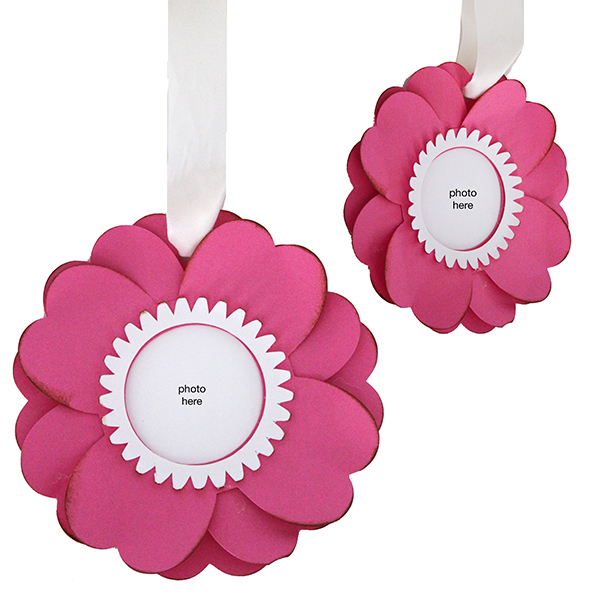
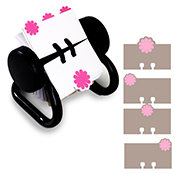
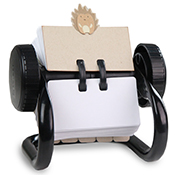
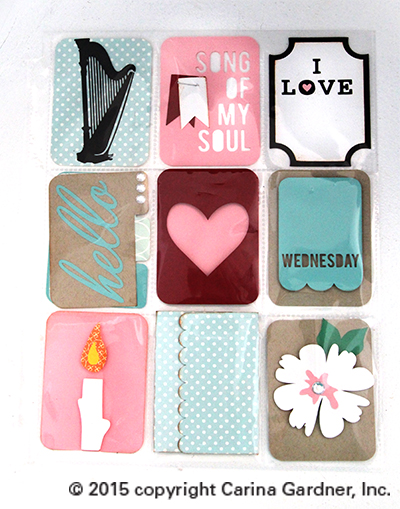
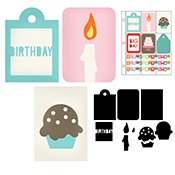
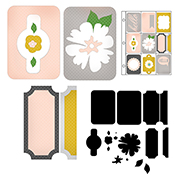
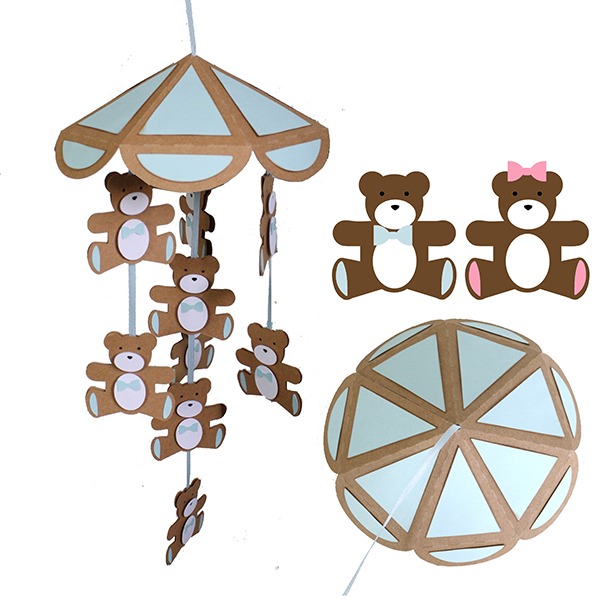
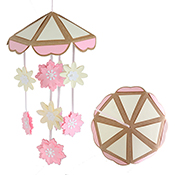
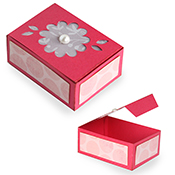
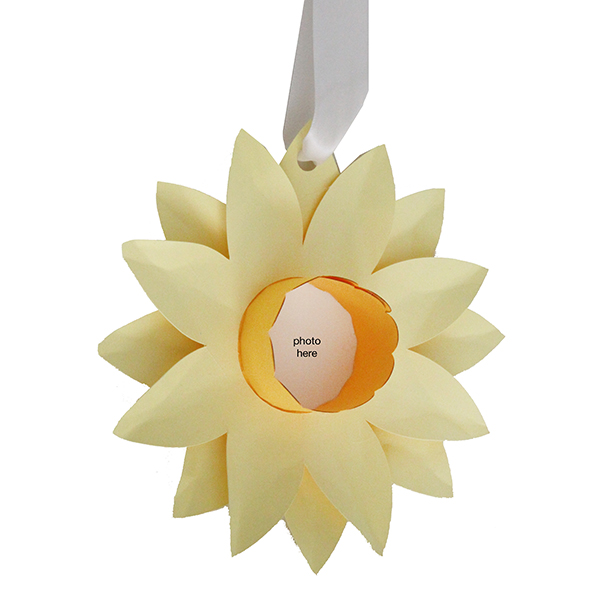 DAFFODIL FLOWER PHOTO ORNAMENT
LINK TO THIS PROJECT >>>
If you are looking for a cute, quick project, these flower ornaments are so fun. I can see using them for kids projects or fun home decor.
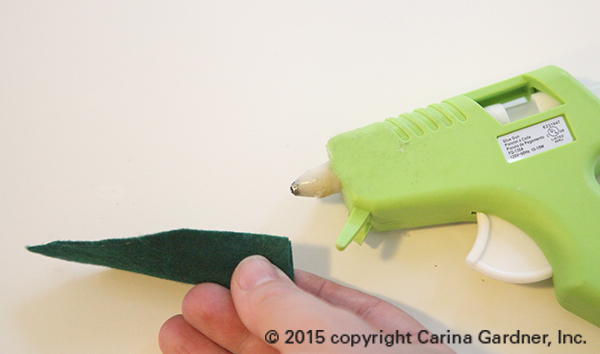
1. Cut out all the pieces in the svg file. This file is only three pieces but if you wanted to layer up the petals more you could.
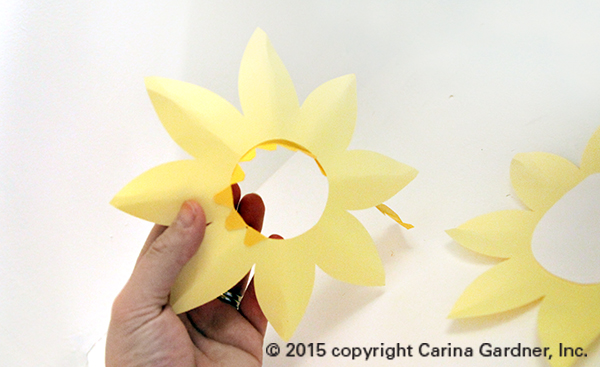
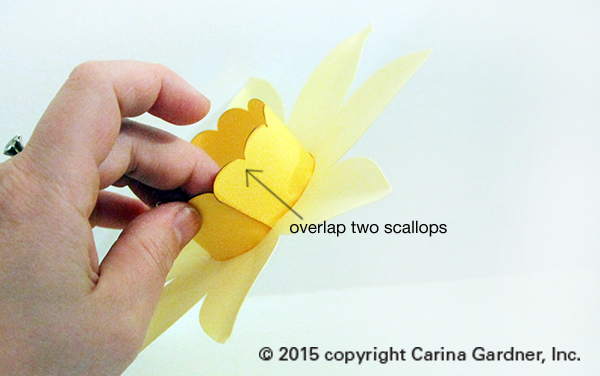
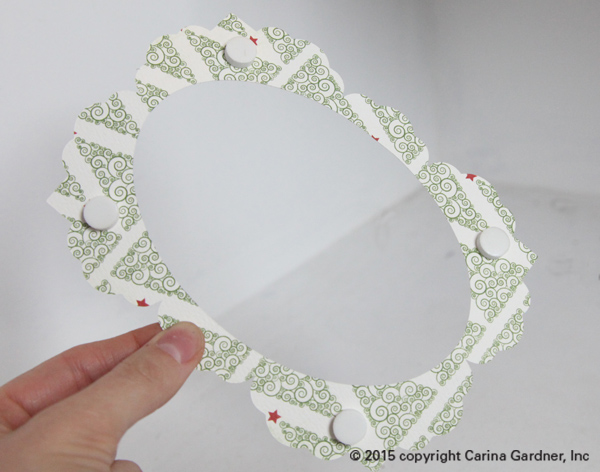
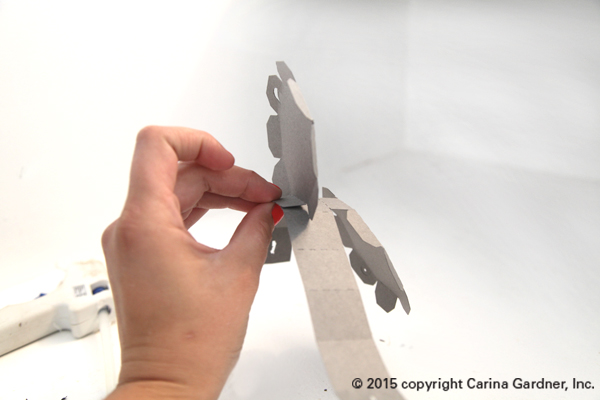
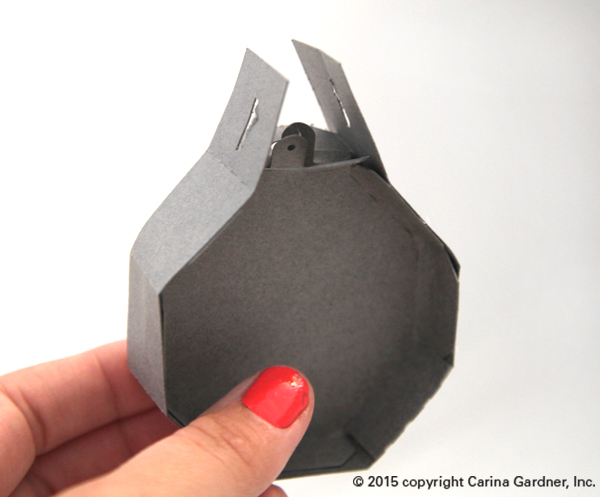
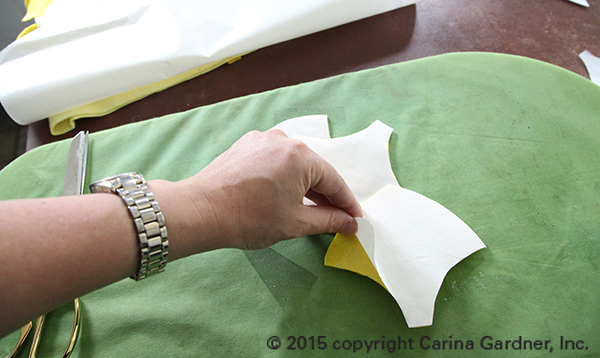
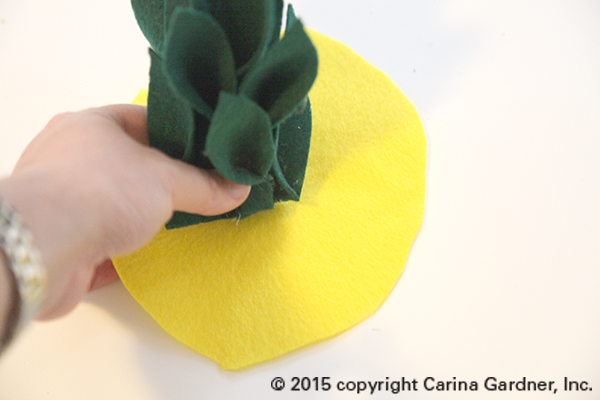
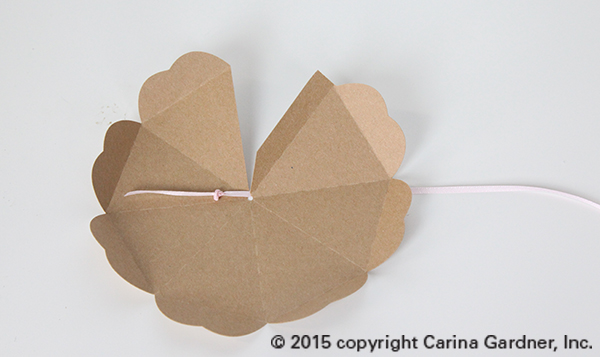
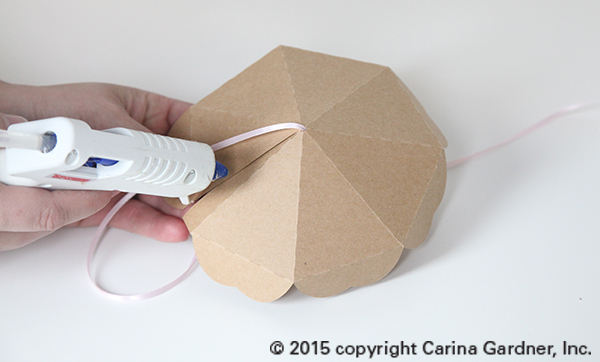
2. Attach the center of the flower (orange) to the yellow petals WITHOUT the ribbon hole, but gluing the tabs to the back of the hole. (See photos below). Two of the “scallops” will overlap once the center is completely done. (See photo below.)
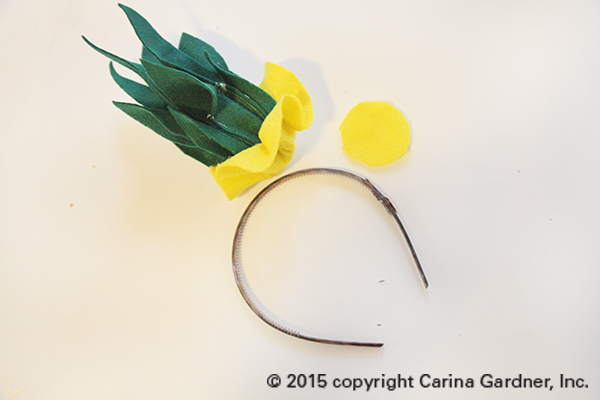
3. Attach a photo between the two yellow petal pieces. Glue the yellow pieces together.
4. Add ribbon or twine to hang.
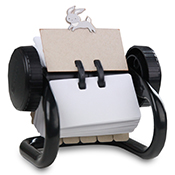
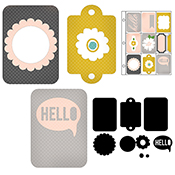
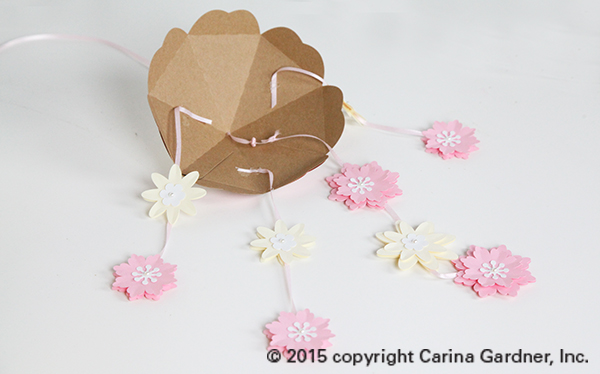
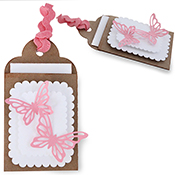
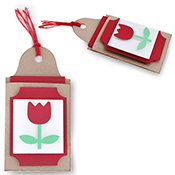
 SPRINGTIME FLOWER PHOTO ORNAMENT
LINK TO THIS PROJECT >>>
This one is really basic to put together. It also cuts quick on your machine.
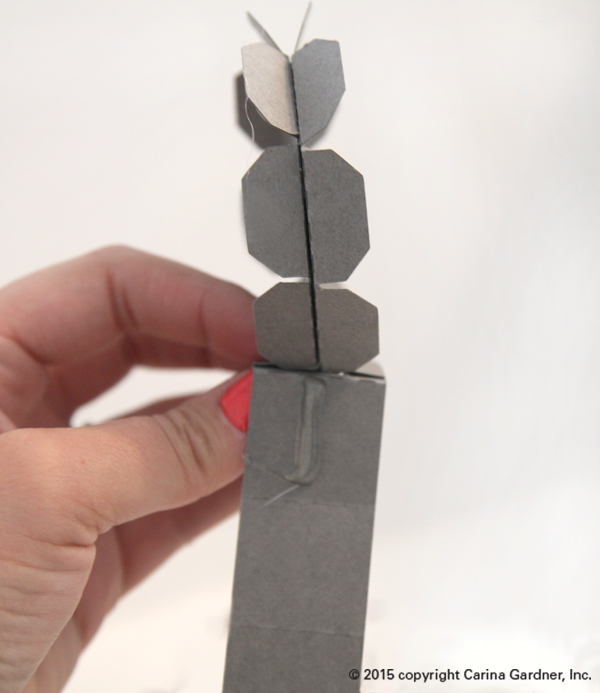
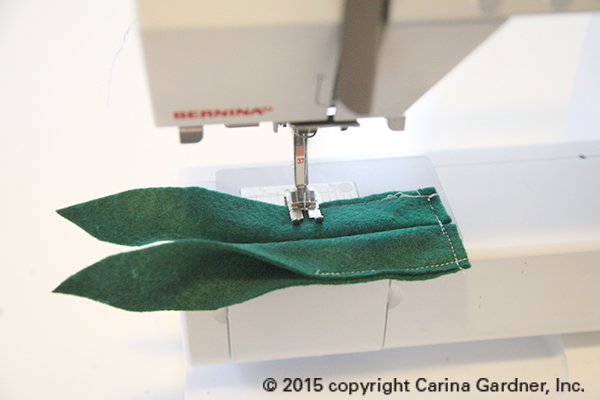
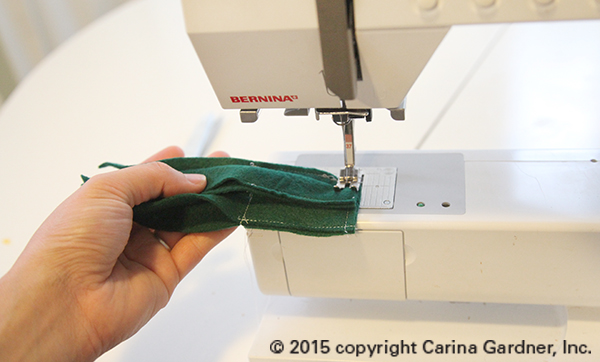
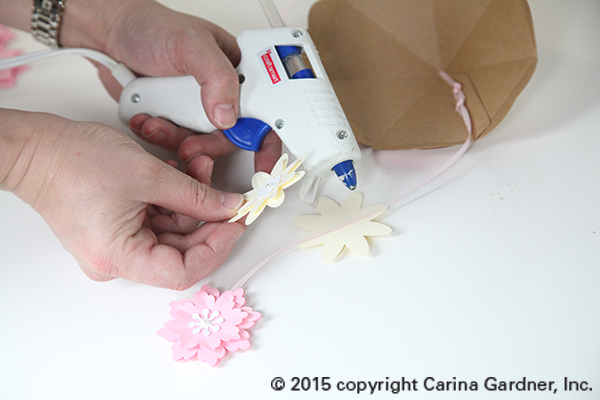
1. Cut out all the pieces in the svg file. This file is only four pieces but if you wanted to layer up the petals more you could.
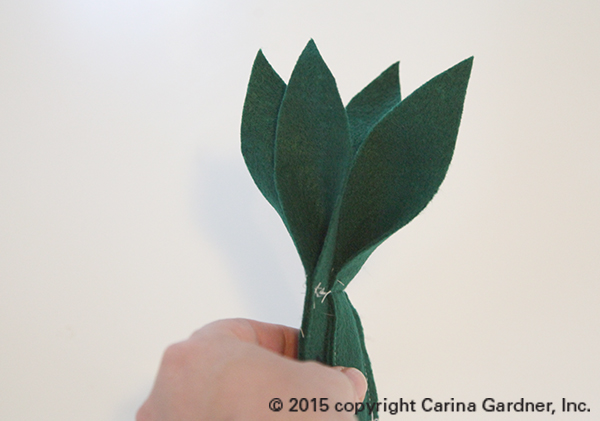
2. Attach a photo to the back flower piece (with the hole for hanging the ornament). Layer and finger press all the petals. Glue them down.
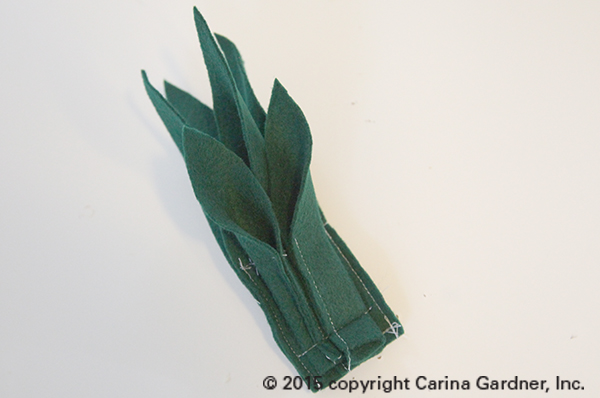
3. Add the short center cut out (shown in white) last.
4. Add ribbon or twine to hang.
Hope you have fun creating these!
—Carina


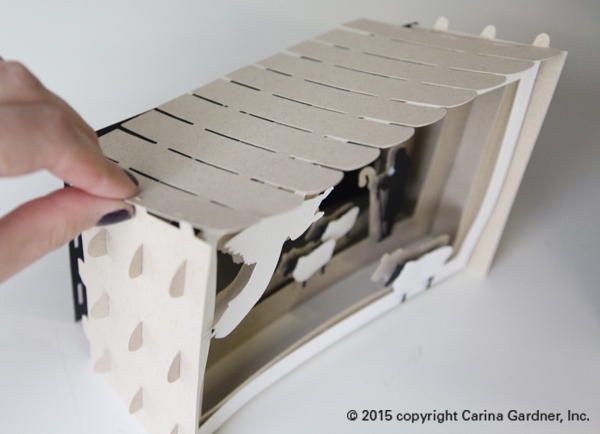
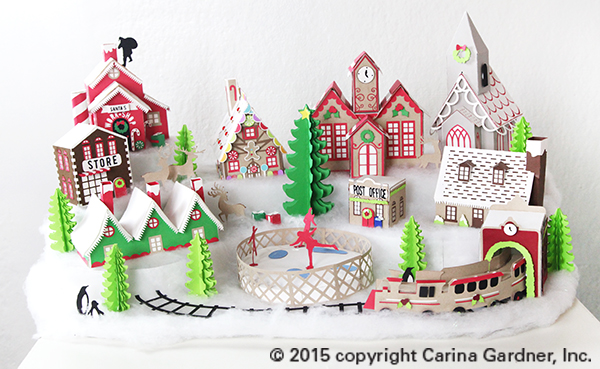
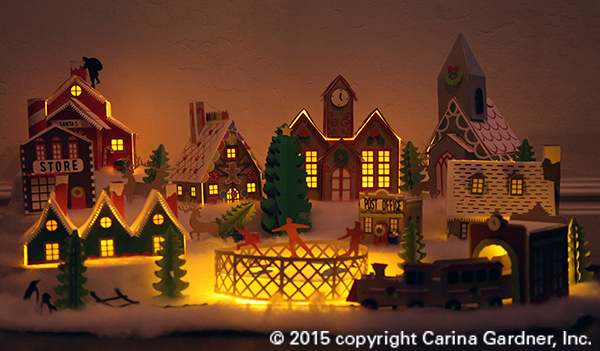
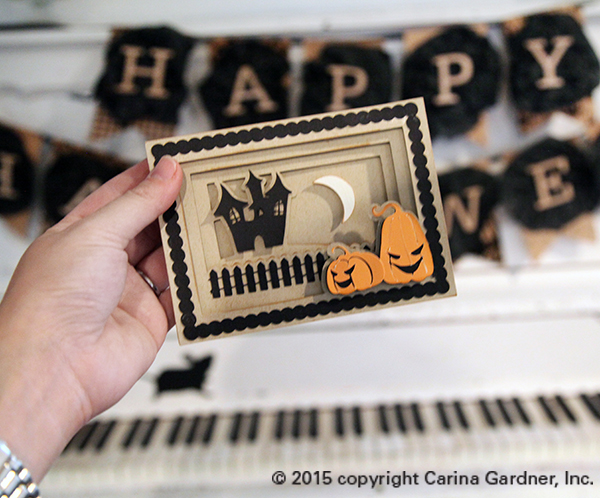
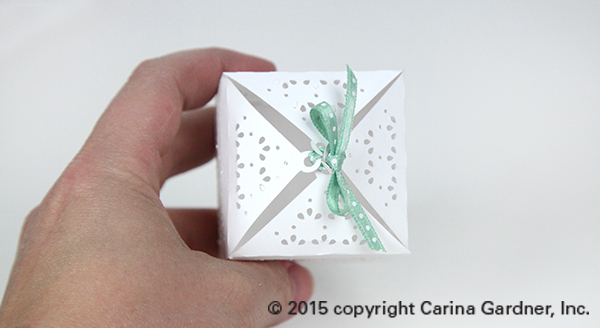
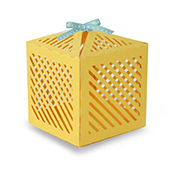
 The second way I would display it is on a mantle or coffee table. I love mine on top of our white piano. The best part is at night when we put electric tealights underneath and the entire thing lights up (picture of this below!).
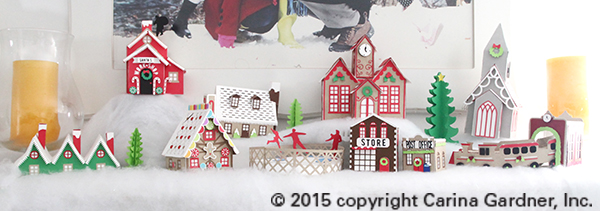
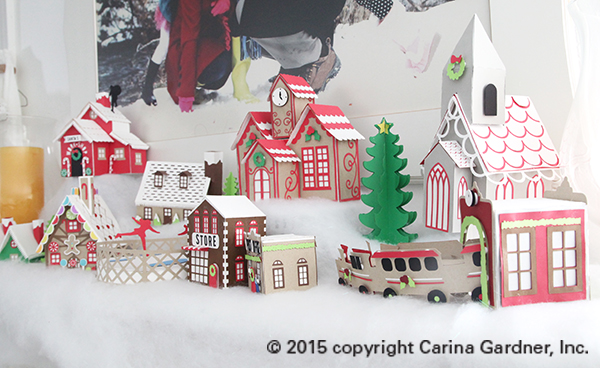
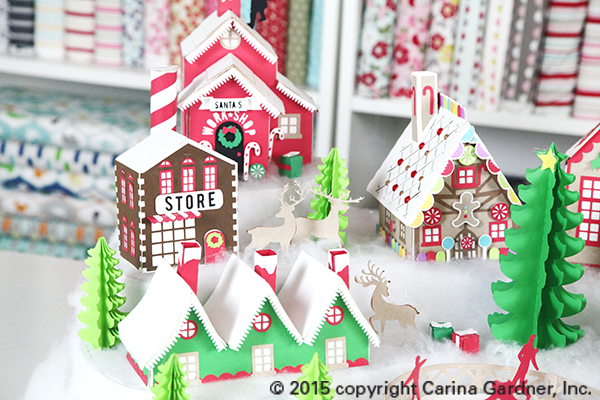
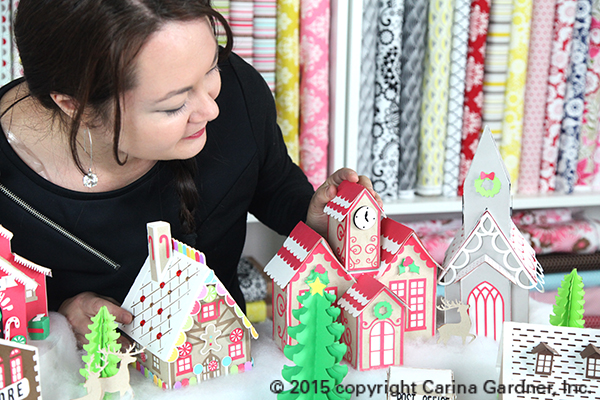

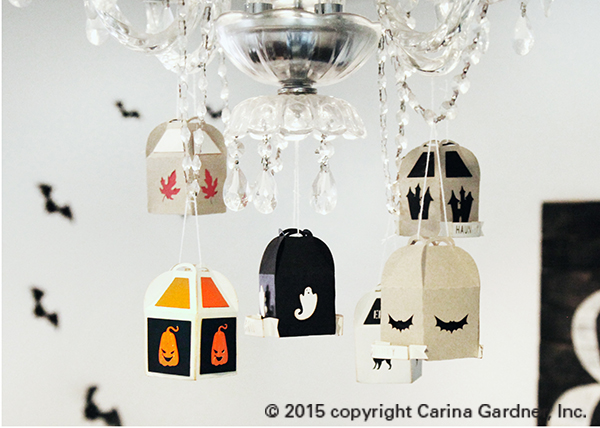
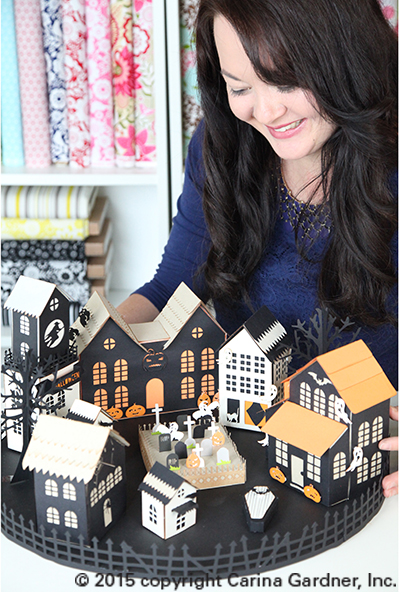
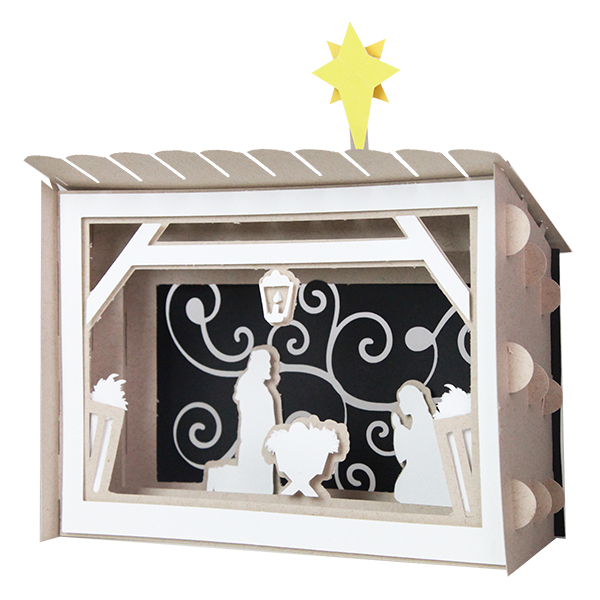
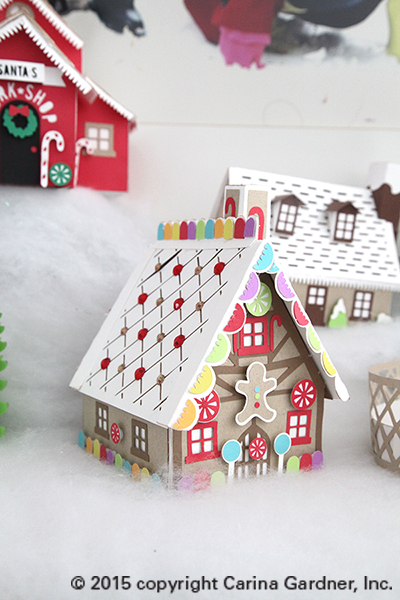
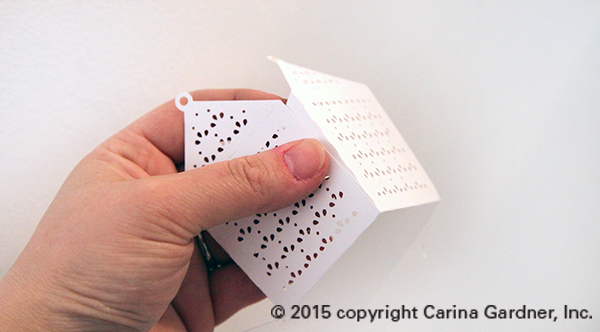
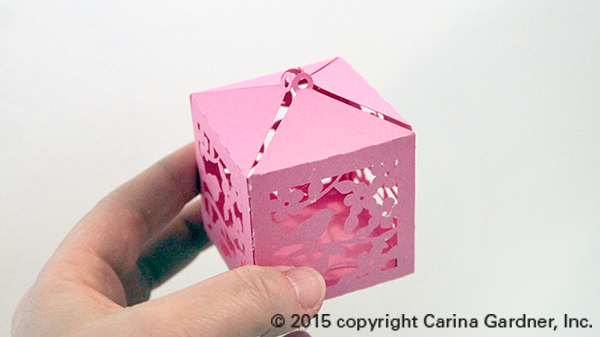
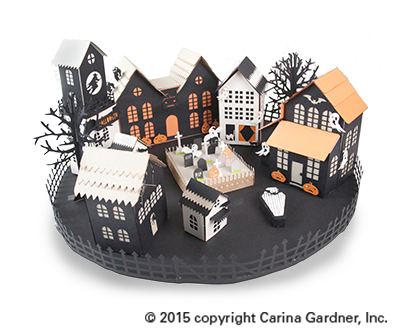 house glow! If you want ALL the larger houses to glow, make sure you use, orange, white, cream, or transparent paper (like vellum) for the bases of your houses. Several of my houses (shown here) use a black or kraft paper base. These do not show the light nearly as well as the lighter based houses.
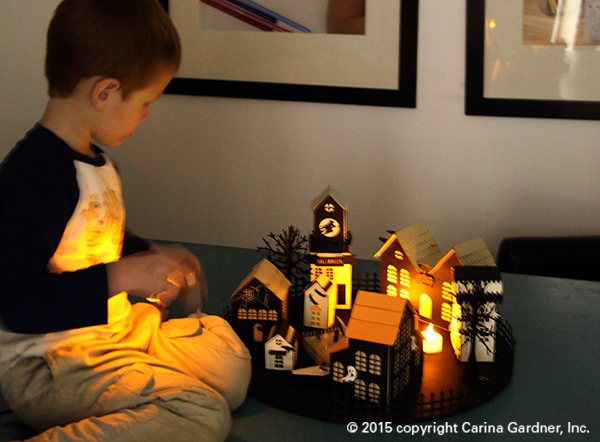


 1. Cut out all the svg files.


 I hope you get a chance to play about with this paper line and/or the silhouette files! I also hope you have a GREAT excuse to make an album (aka, an amazing summer adventure perhaps?).
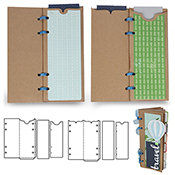


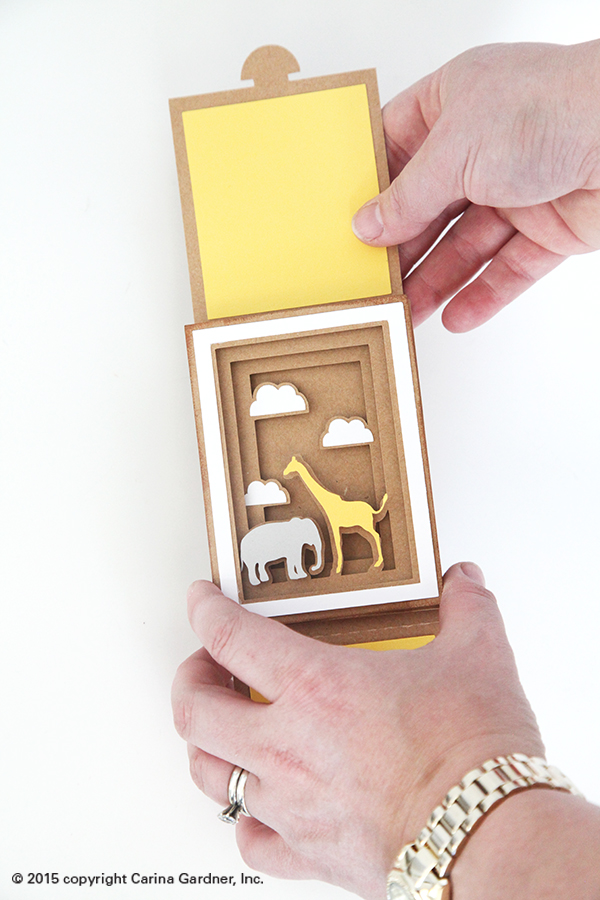
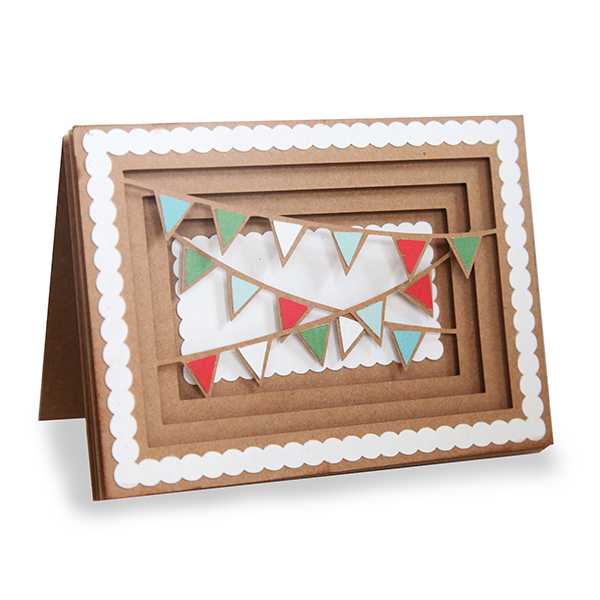
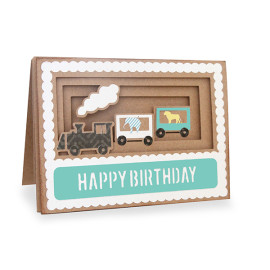
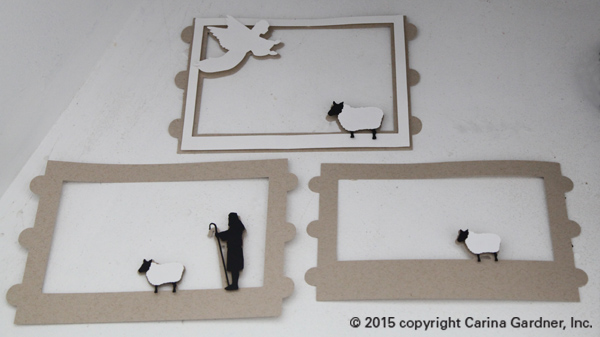
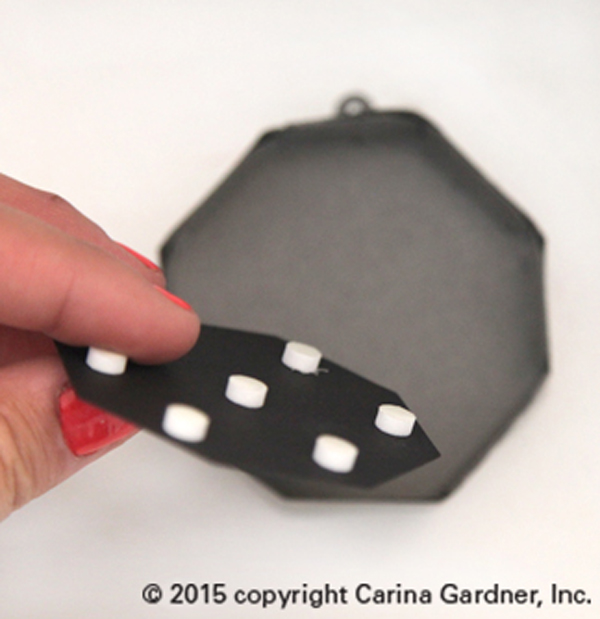
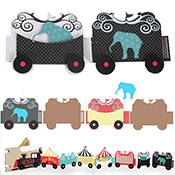
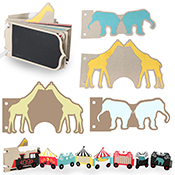
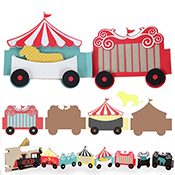
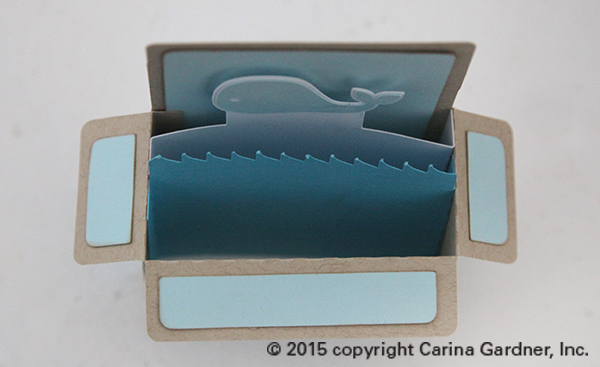
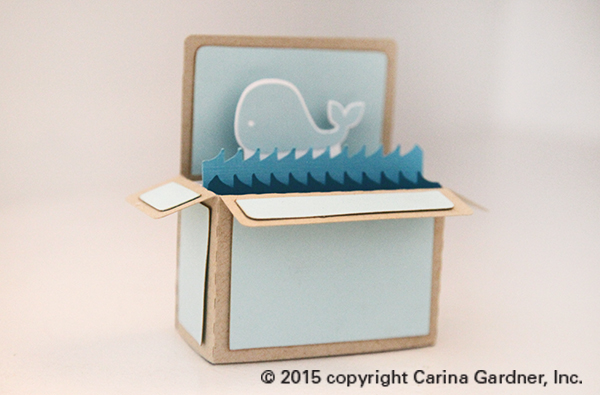
 2. Once the sleeve is glued together, use it as the base of your shadow box. Glue down any “colored” objects first to the layers. For example, center and glue the clouds on top of the cloud shapes. You can use pop dots for these as well. You can see in the elephant and giraffe example above I used pop dots on the animals but glued the clouds flat.