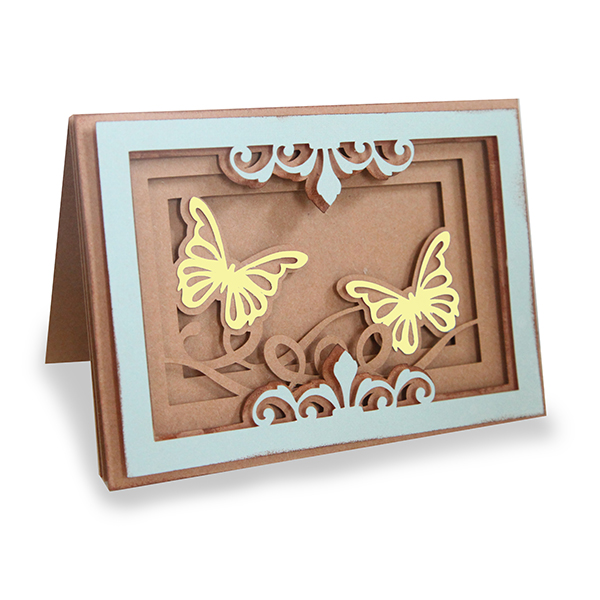
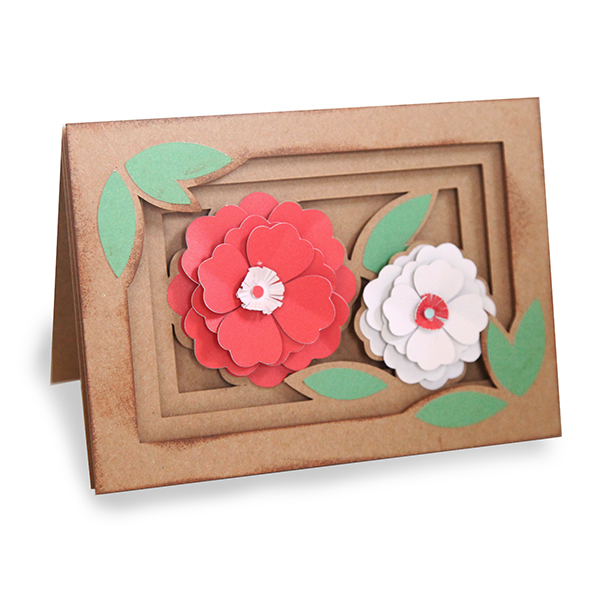
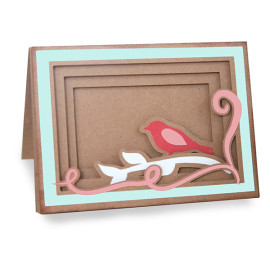
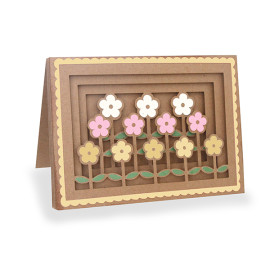
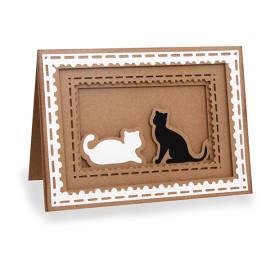
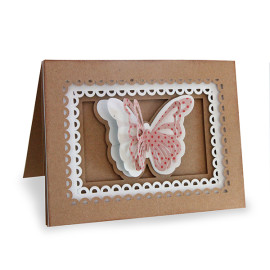
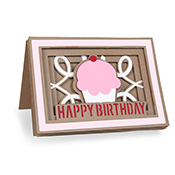
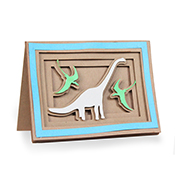
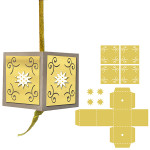
Pop Dot Shadow Box Sliding Card for Silhouette
I’ve been loving the last few weeks of projects I have made for my Silhouette Store. I managed to finally finish Gilmore Girls for the second time and catch up on Community while making this last batch of cards.
This week I’ve added more Shadow Box cards to the shop but these are (drum roll) sliding cards! (If you are looking for the folded cards tutorial, see the blogpost below).
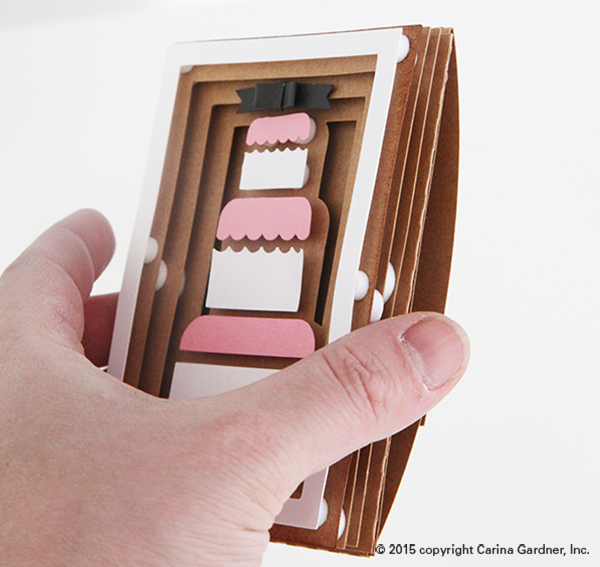
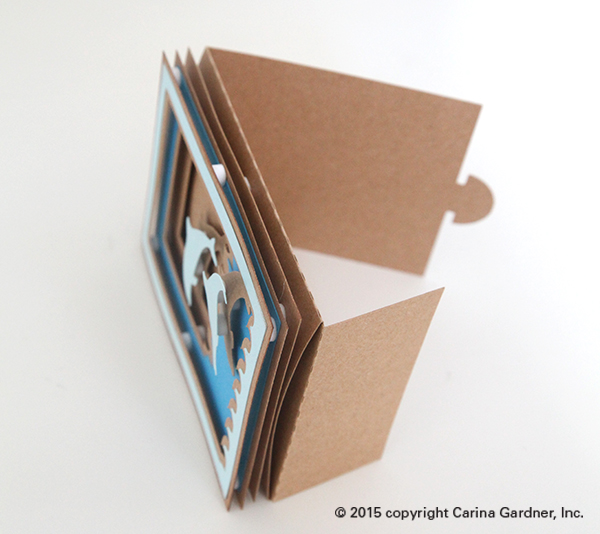
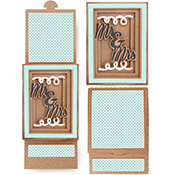
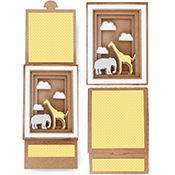
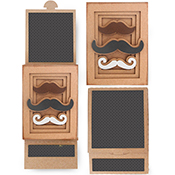
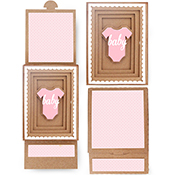
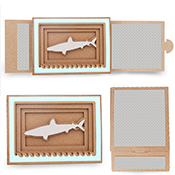
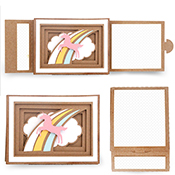
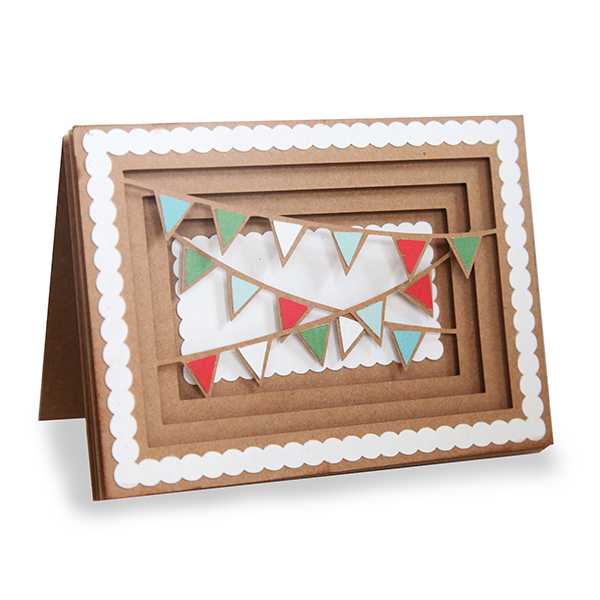
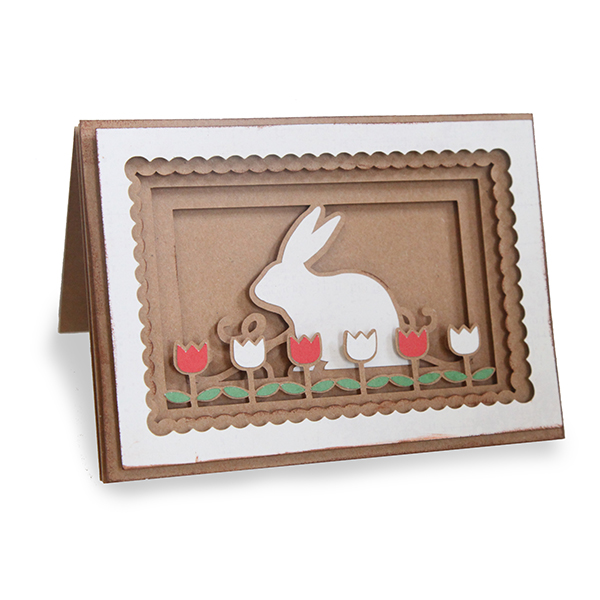
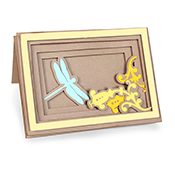
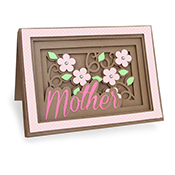
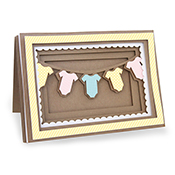
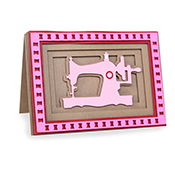
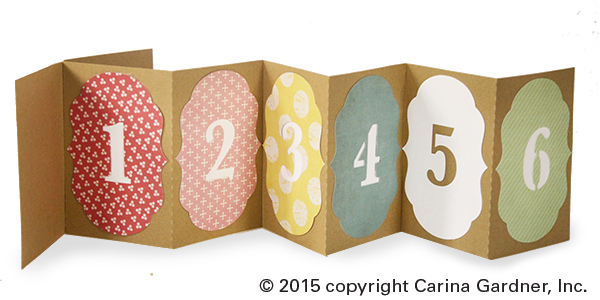
These fabulous cards allow you to slide off the shadow box part of the card. You can write a message directly on the shadow box or a secret message on the sliding card behind the shadow box. They are easy to put together and SOOOO cute!
Here’s a little 19 second video so you can see how these little cards come together.
Here’s the tutorial:
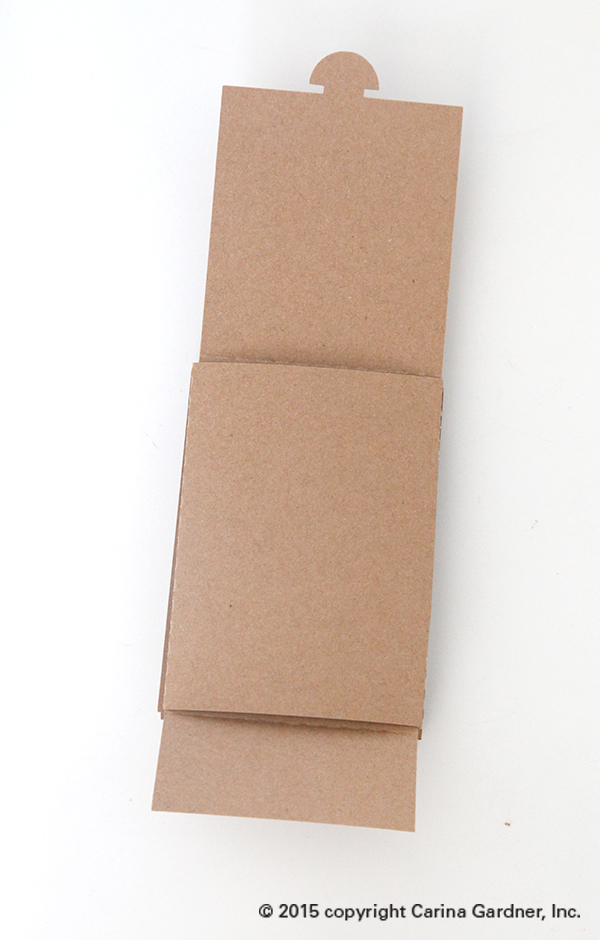
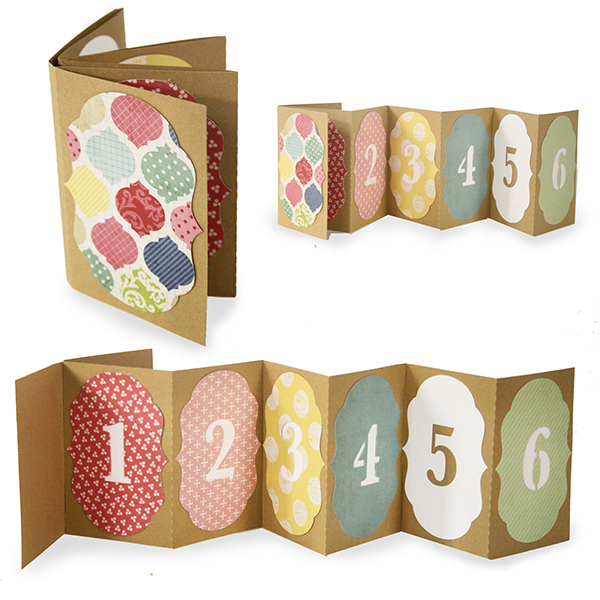
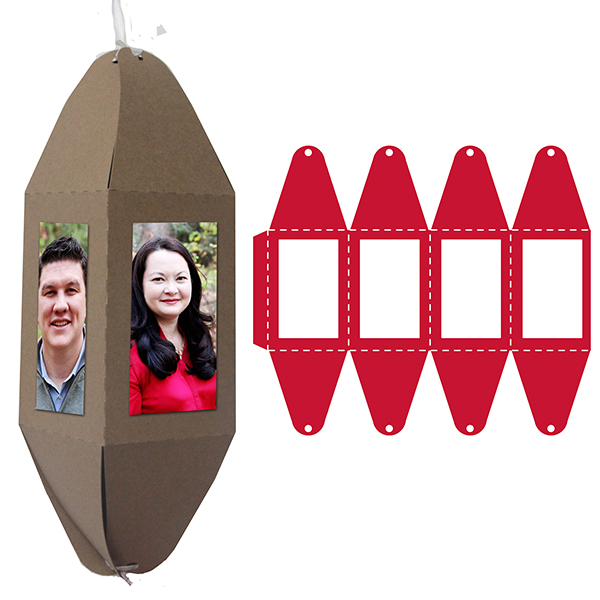
1. Cut out all the pieces in your svg file.
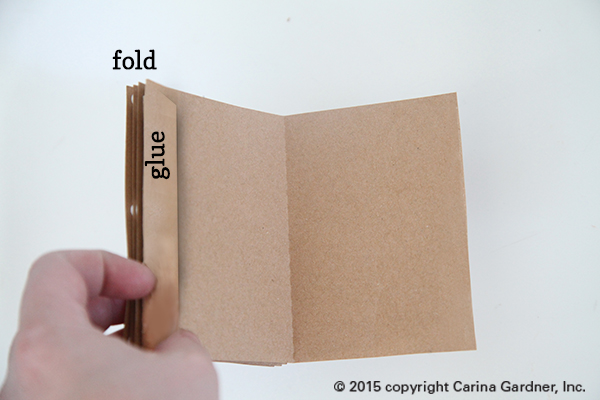
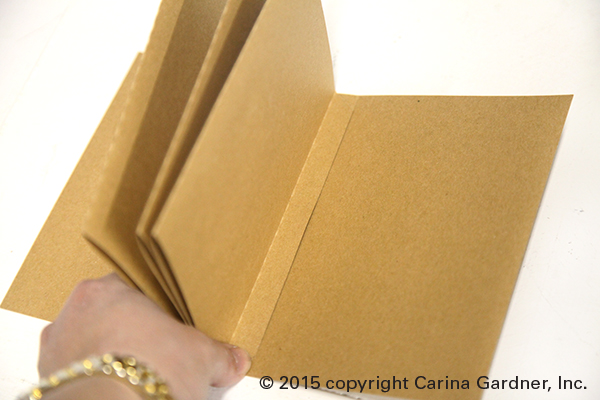
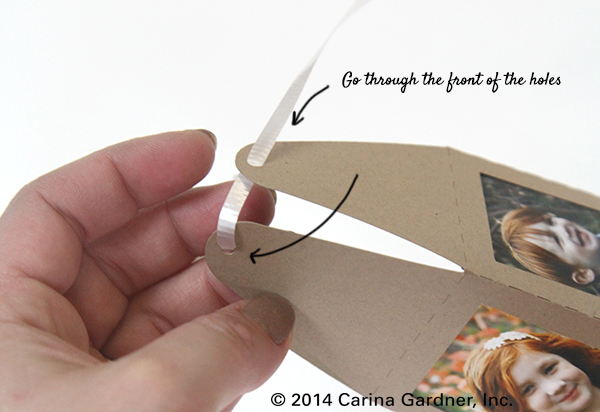
2. (See below) Fold the sleeve piece that has a glue flap. Glue the flap to the opposite side of the sleeve together to create a place for the card to slip through.
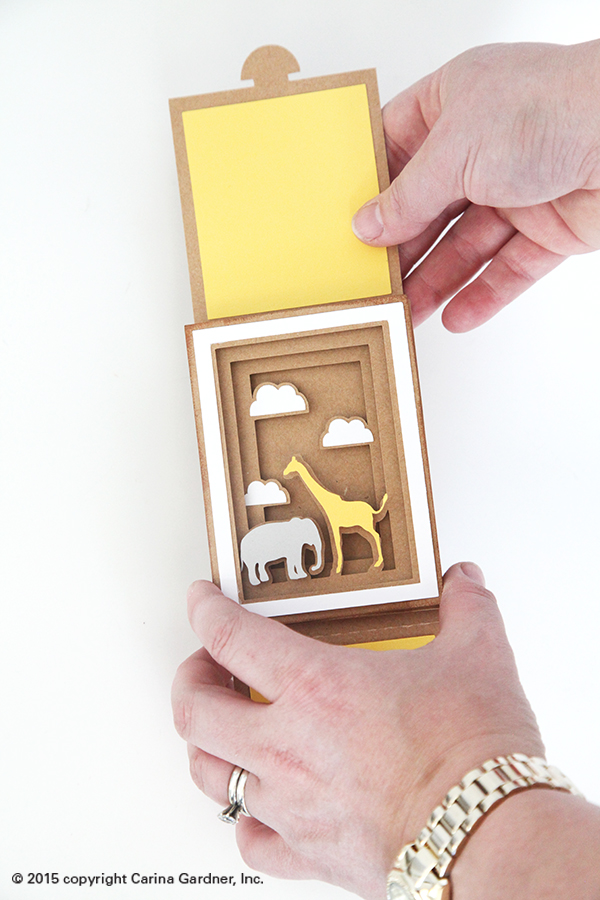
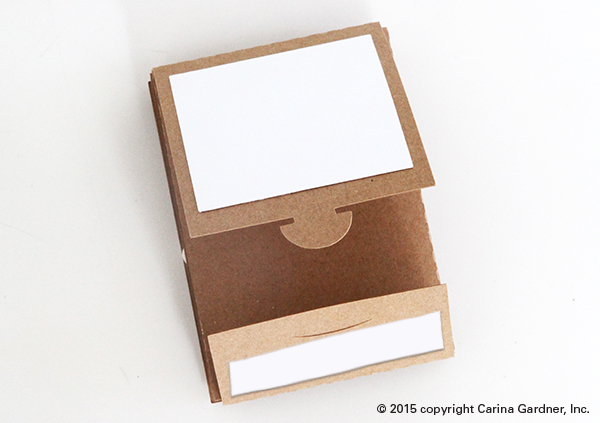
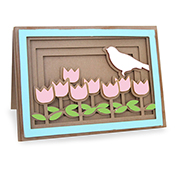
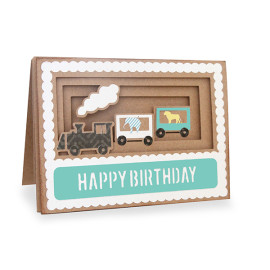
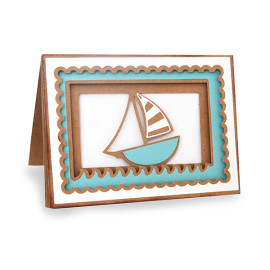
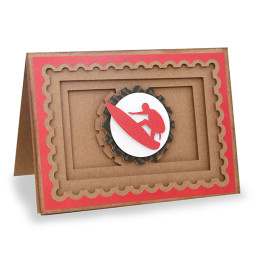
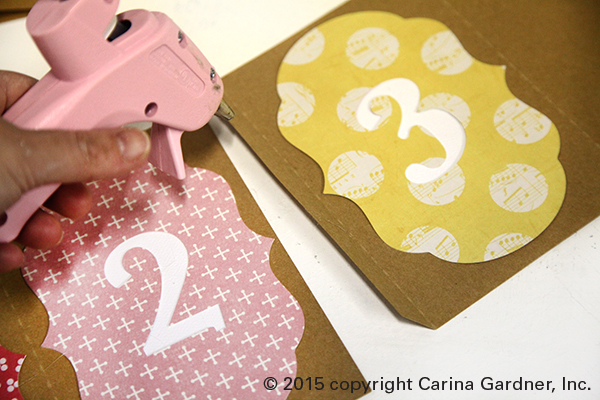
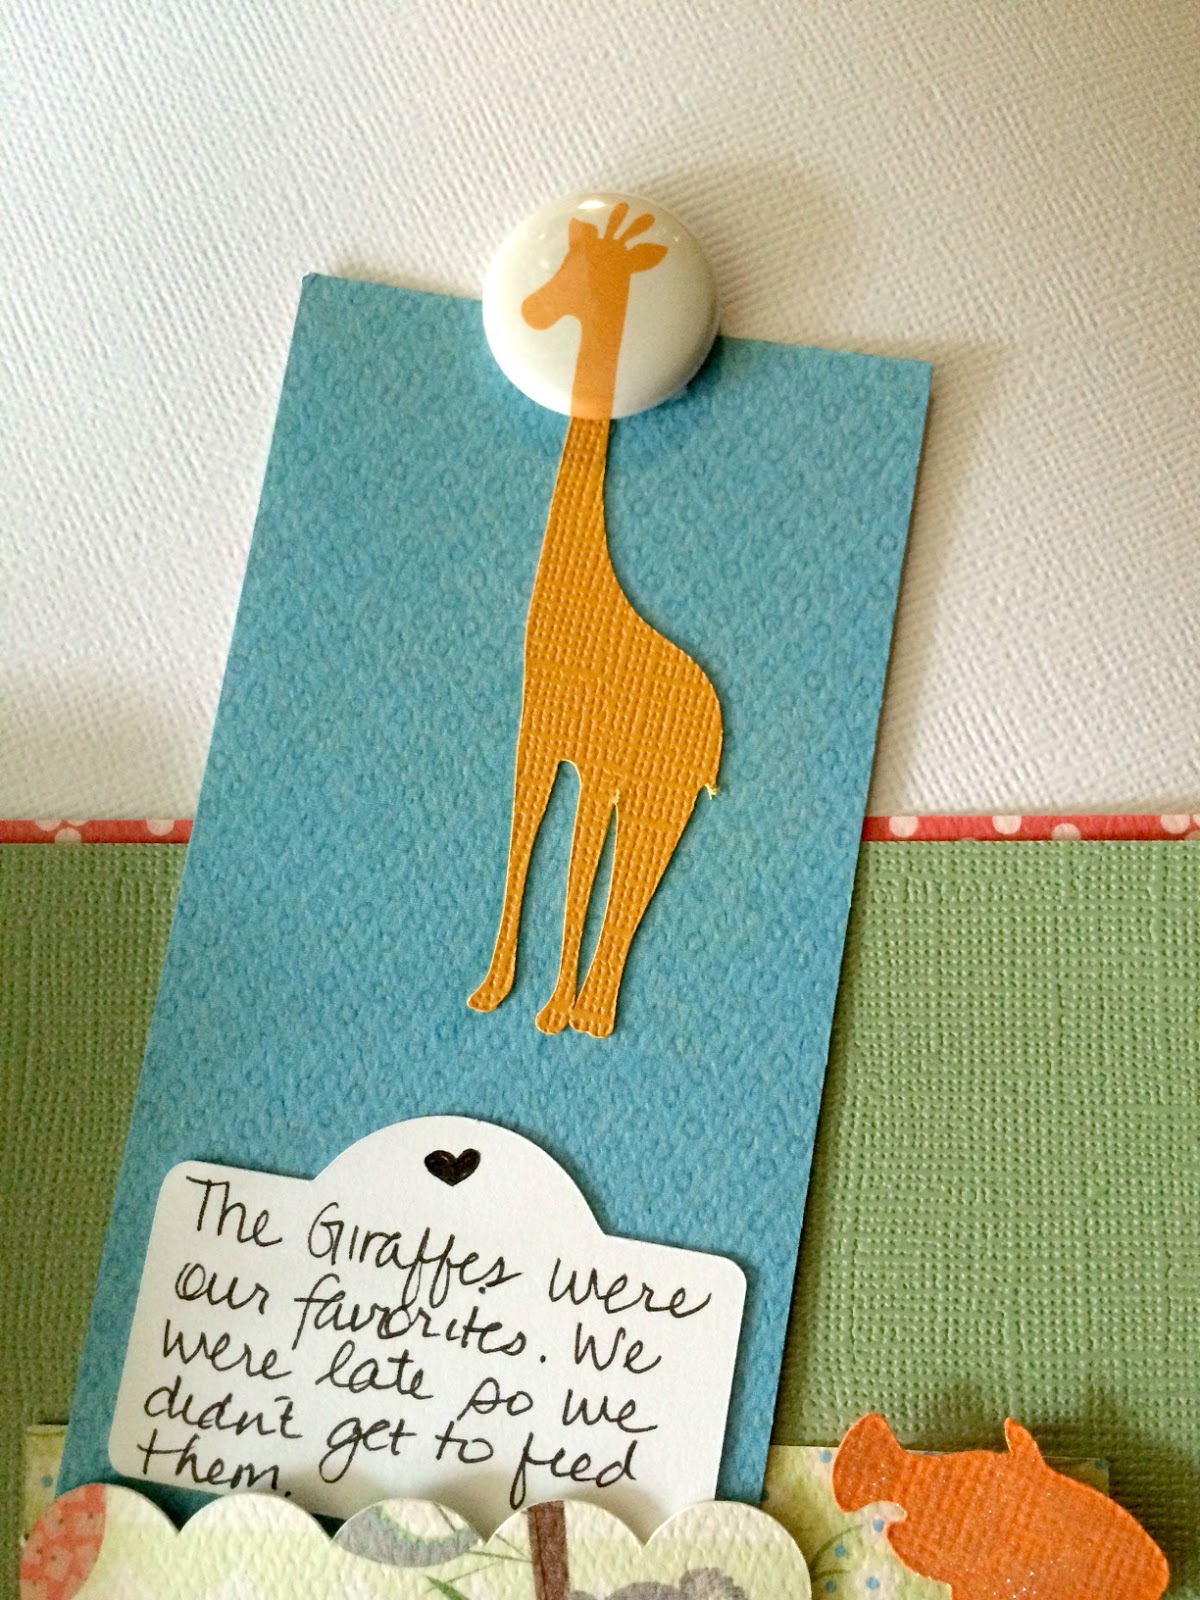
 2. Once the sleeve is glued together, use it as the base of your shadow box. Glue down any “colored” objects first to the layers. For example, center and glue the clouds on top of the cloud shapes. You can use pop dots for these as well. You can see in the elephant and giraffe example above I used pop dots on the animals but glued the clouds flat.
3. Use pop dots to layer the pieces so that the card piece with the thinnest outside layer is on top and the thickest at the bottom. Place pop dots on corners and middles to keep the card stable. (See photo in previous blogpost to see how I place the pop dots.)
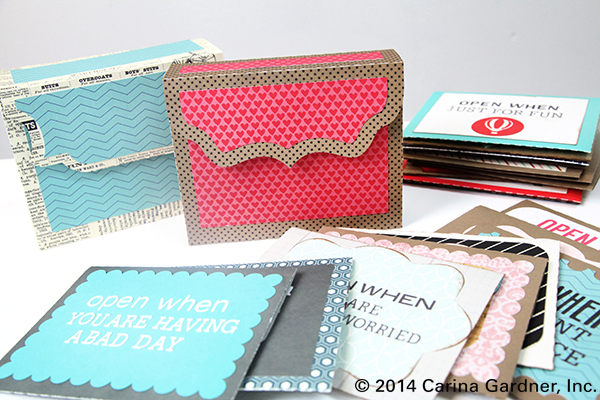
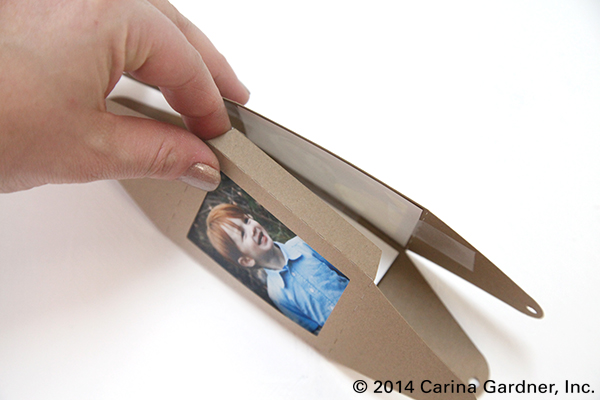
4. Once the shadow box is finished, slide in the “card.” (See photo to the left.)
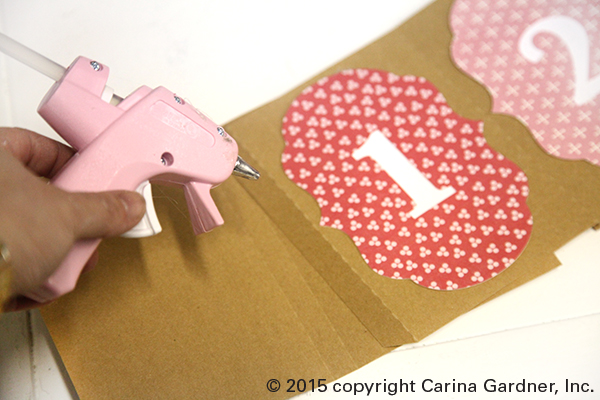
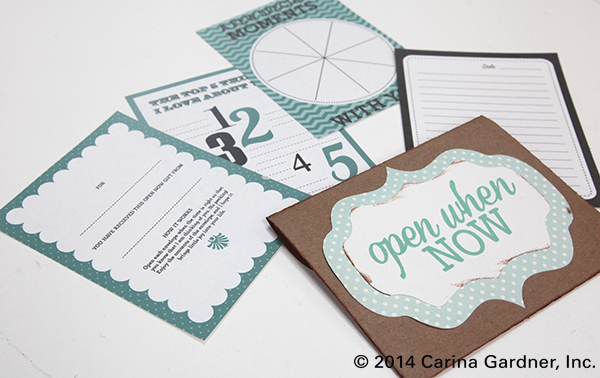
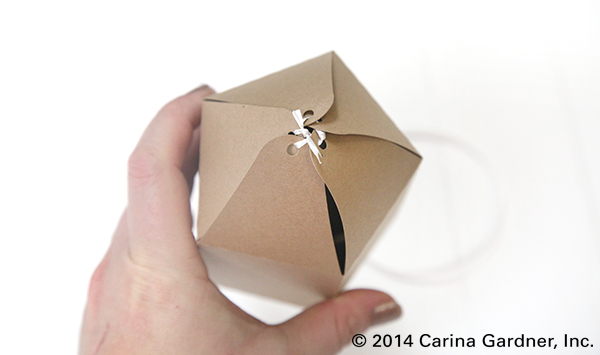
5. Glue the accent pieces to the outside of the card. (see below.)
Helpful Tips:
+ For small or intricate cuts, I put my speed at 9 on my Silhouette Cameo instead of the typical 3. This is especially useful for the “baby” wording on the onesie card.
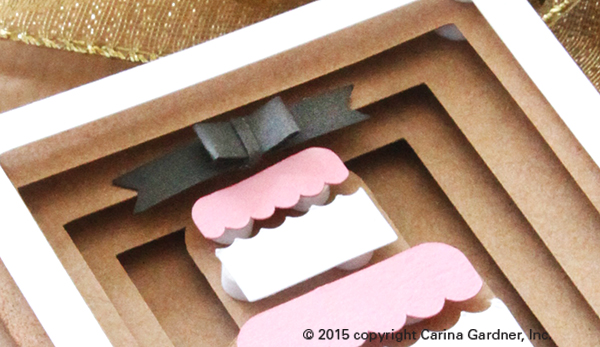
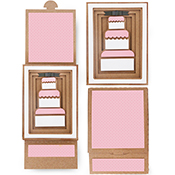
+ The bow on the cake card is not complicated. All you have to do is use the two score lines nearest the ends of the bow and pull them in to match to the middle score line. Use the tiny, thin piece to wrap the center of the bow. I used hot glue to make sure everything dried quickly and held together nicely. I also placed the bow on the second tier of the shadow box.
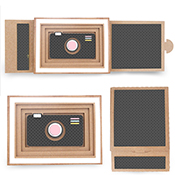
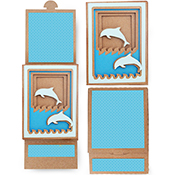
+ You can use any color cardstock for these shadowbox cards. I’ve used kraft paper in all my examples but white, black, gray, and any solid color would work wonderfully for a unique take on these cards.
+ These cards are sized for a gift card. You will need to tape in the gift card or hot glue the sliding card portion to create a pocket.
Hope you have fun making these and have someone special to send them to!
Happy Cutting!—Carina
(Links will be available on March 23, 2015)

Pop Dot Shadow Box Sliding Card for Silhouette Read More »


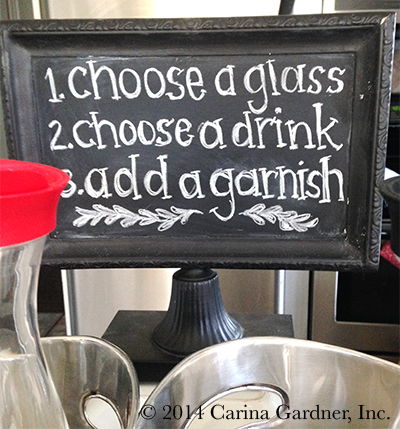 Here are the Mocktail recipes:
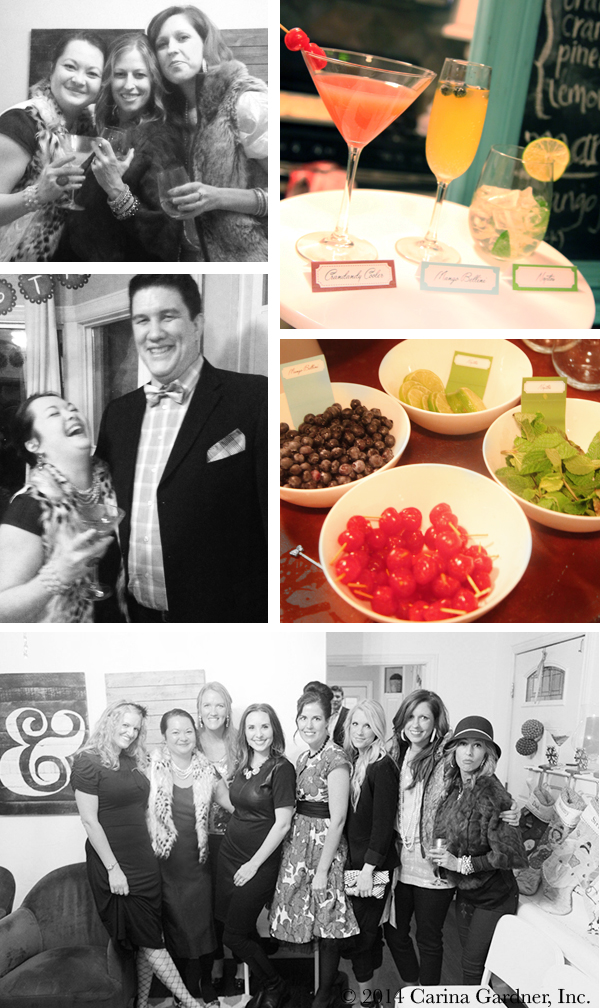


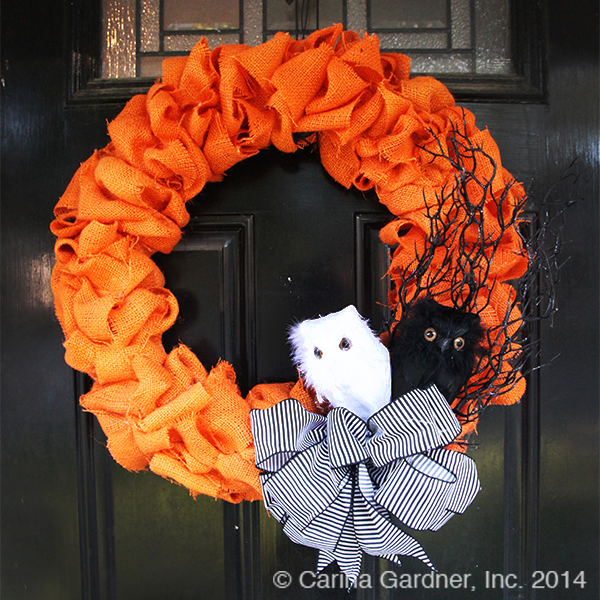
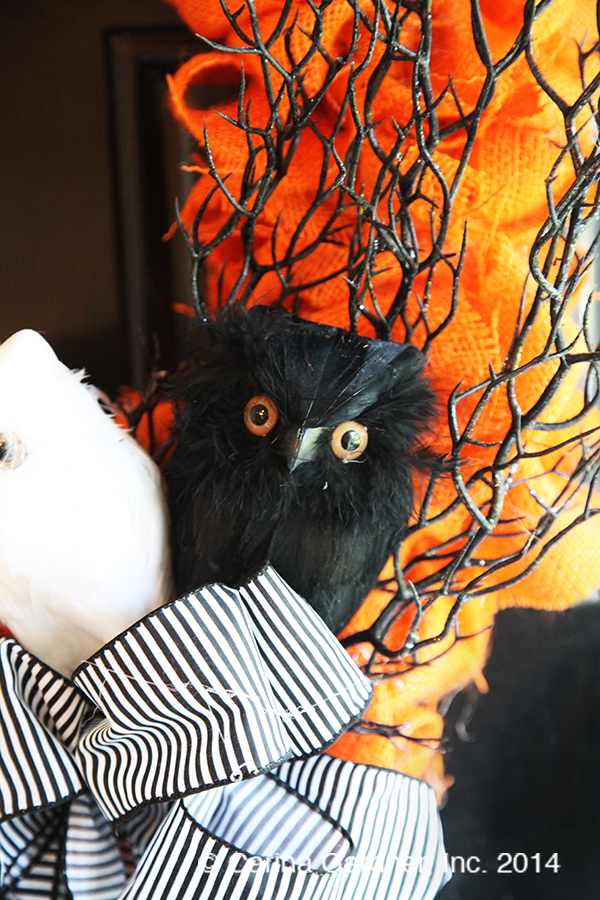 I love Halloween. Just look through the archives of this site, and the love is evident. Two days ago, my next door neighbor Sara said she wanted to make some Halloween wreaths. I was along for the ride and decided to take advantage of the burlap craze to make a new wreath for my door. The end result was the wreath you see above. My kids are obsessed with the owls and I’m obsessed with the way the orange pops on my black door. Win-win!
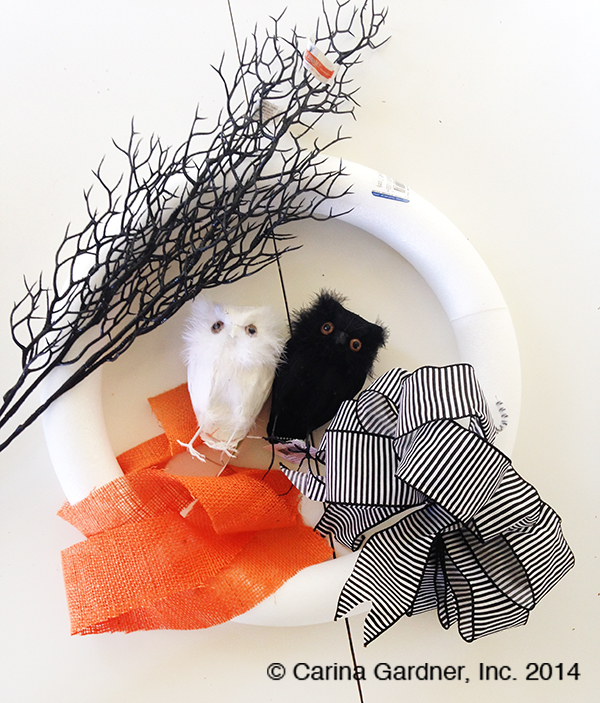
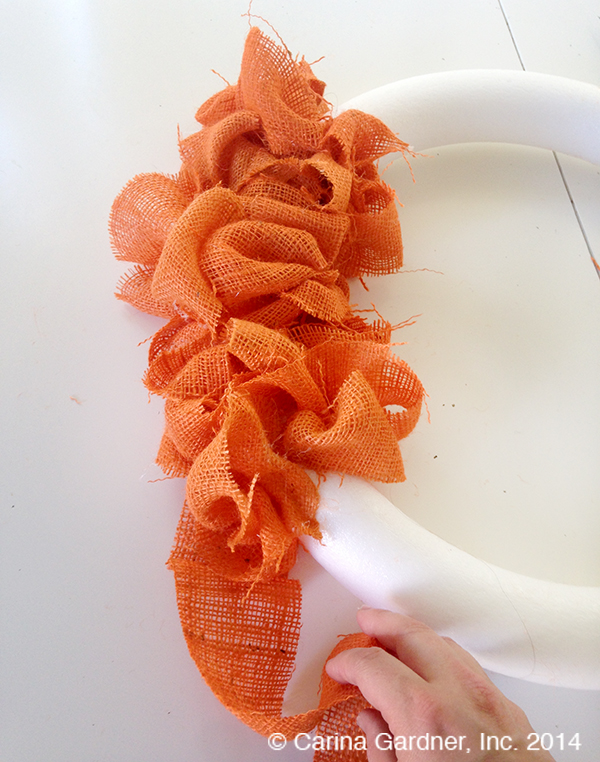 Hot gluing the burlap to the wreath was the longest part of the process. All I did was glue down one end of a burlap strip to the wreath form, make a loop, twist it a little, and glue the next part down. If you buy a wire wreath, you can use a method like this
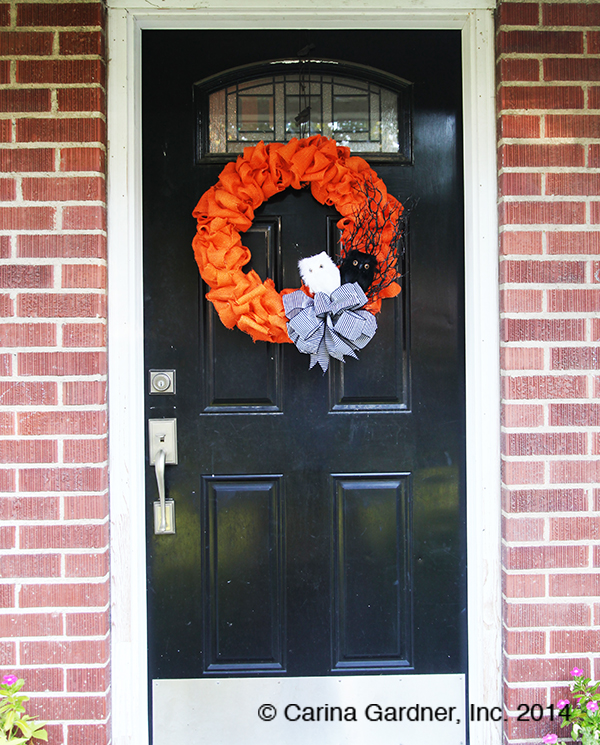 Free Halloween banner download that I hung on my piano:
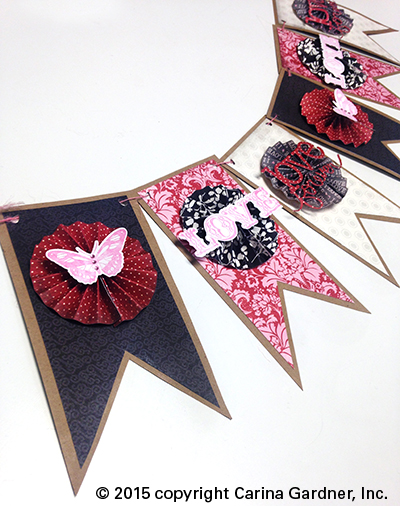
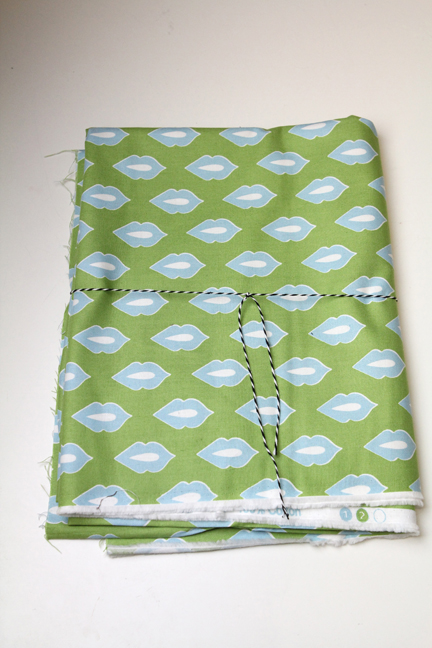

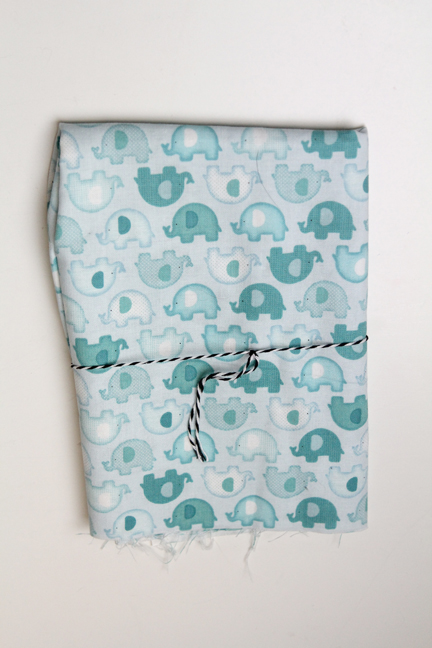
 PINFEATHERS PINK BIRD ON A WIRE 1 1/4 yards, $2 per yard = $2.50 + shipping ($5)
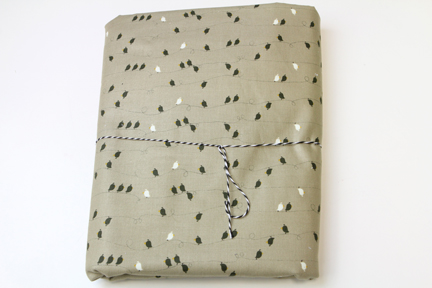
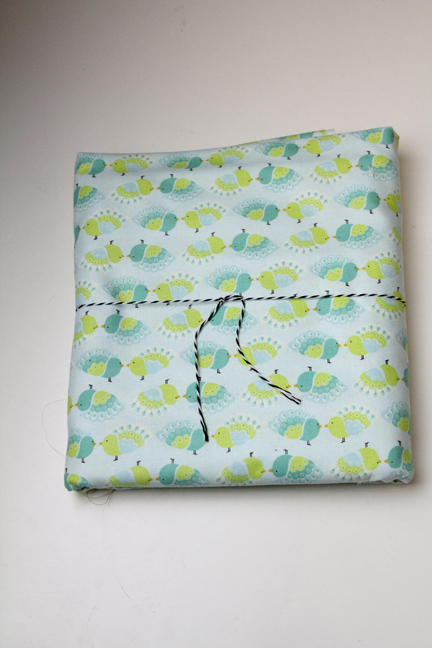

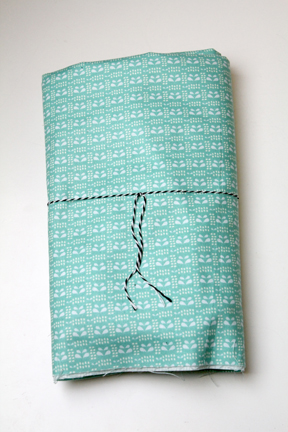
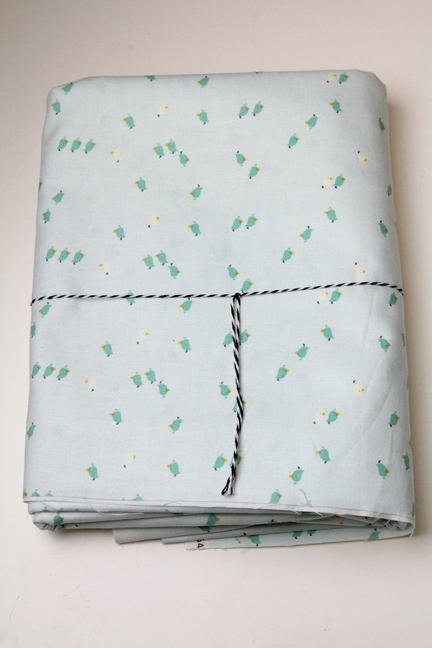
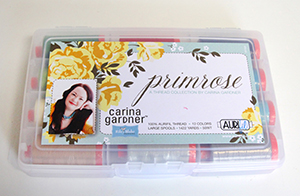
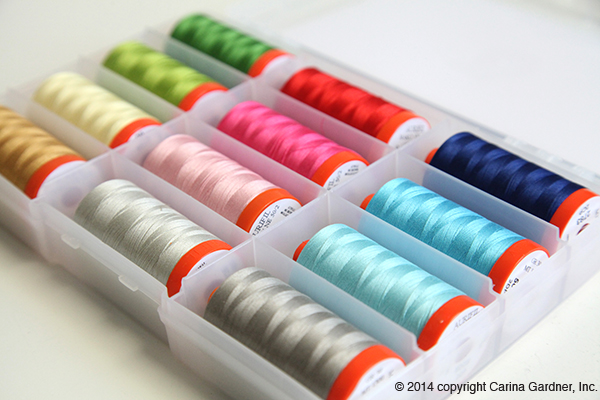
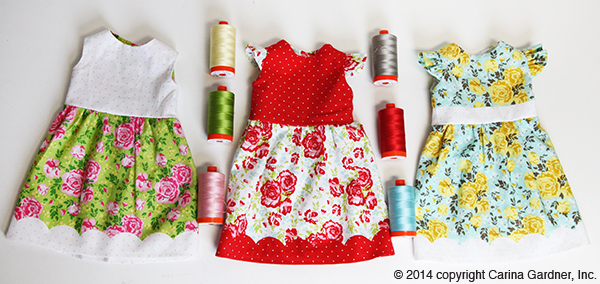
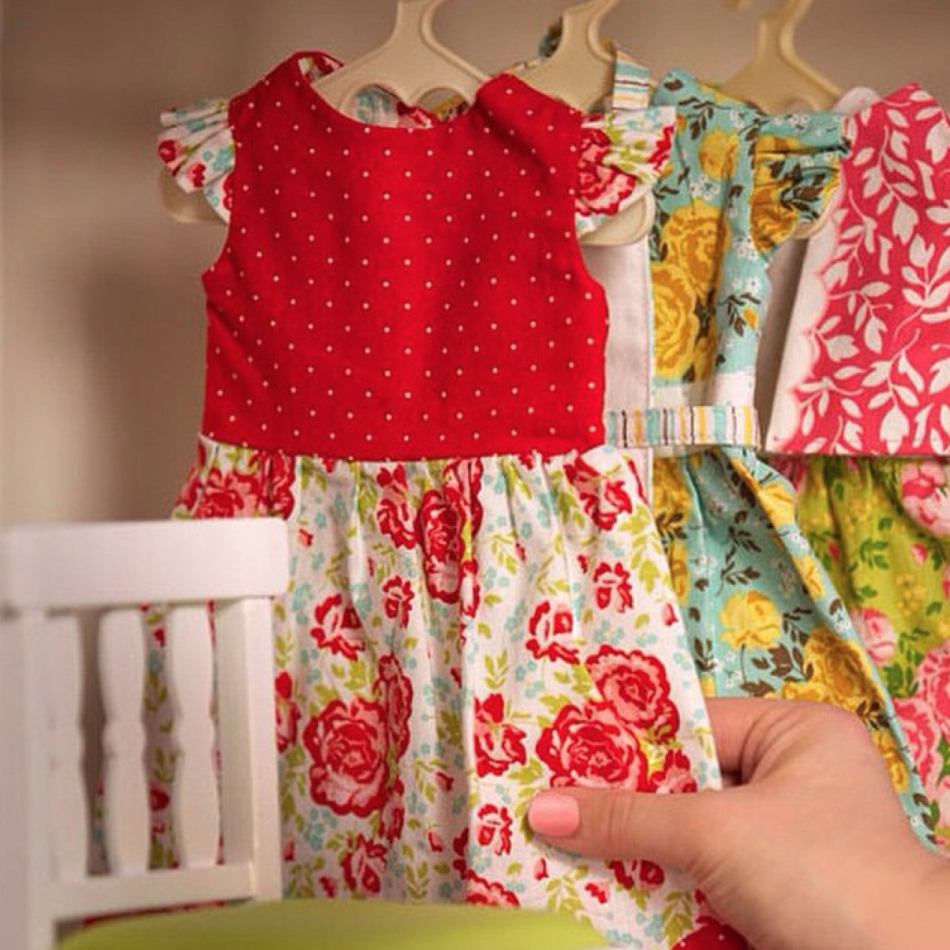
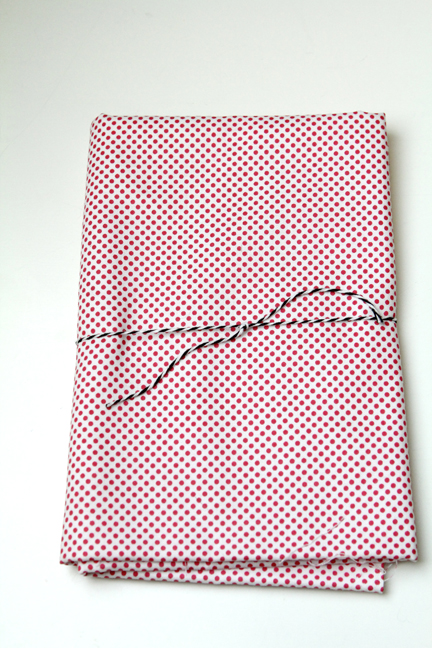
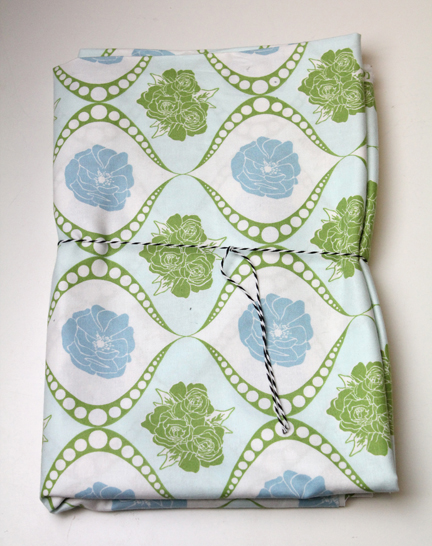
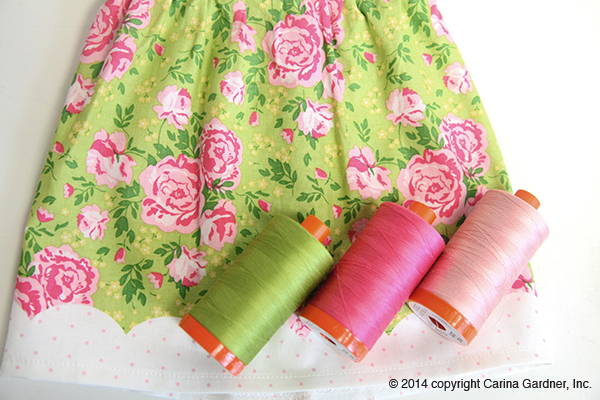
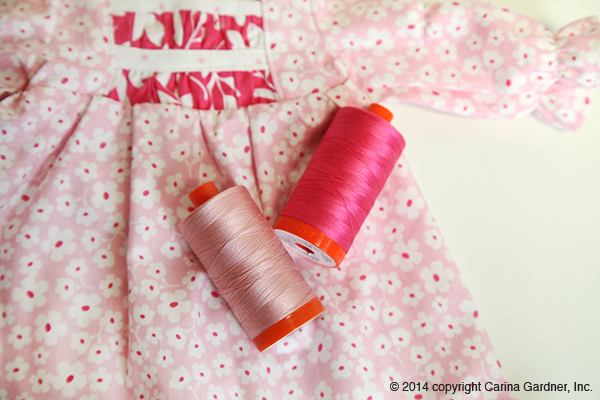
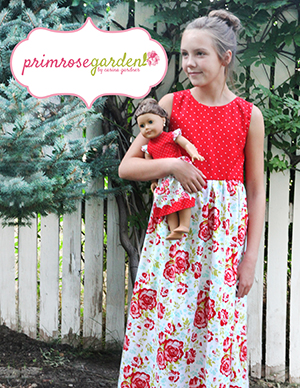
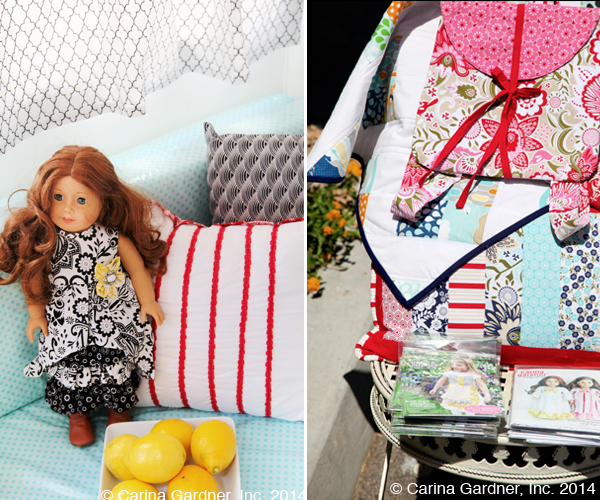
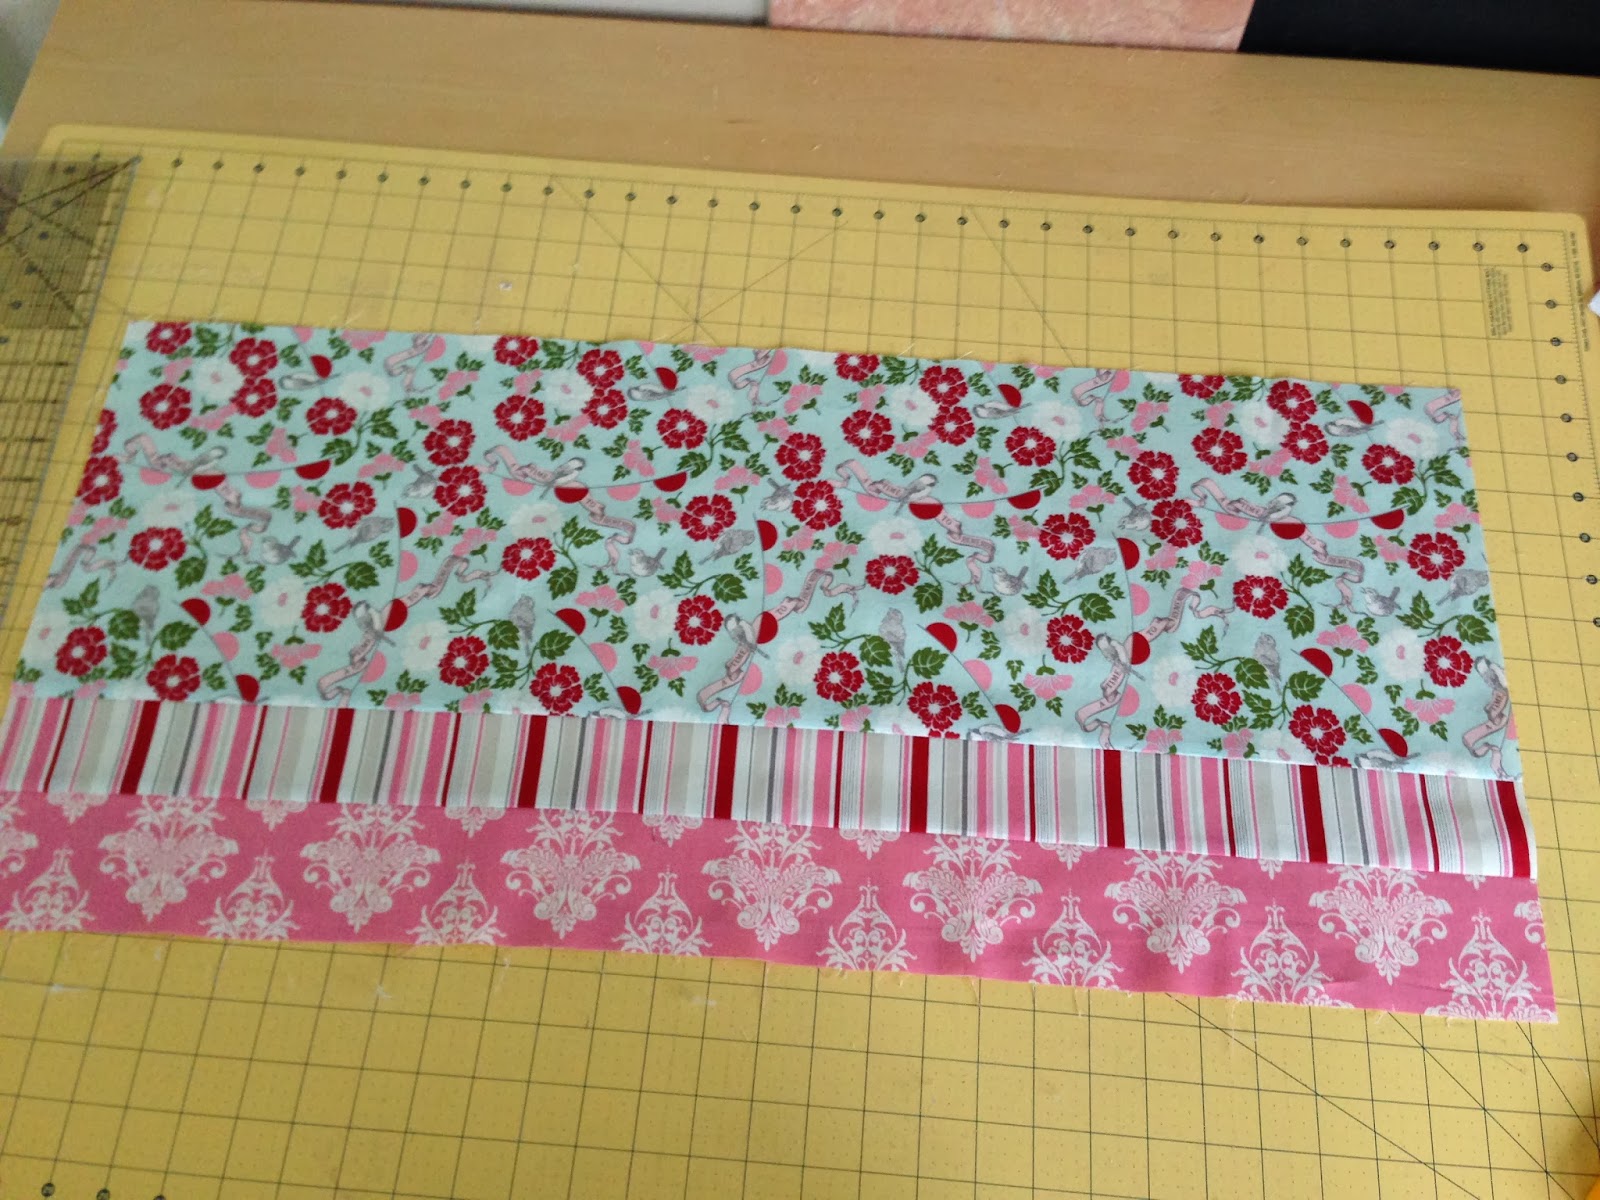
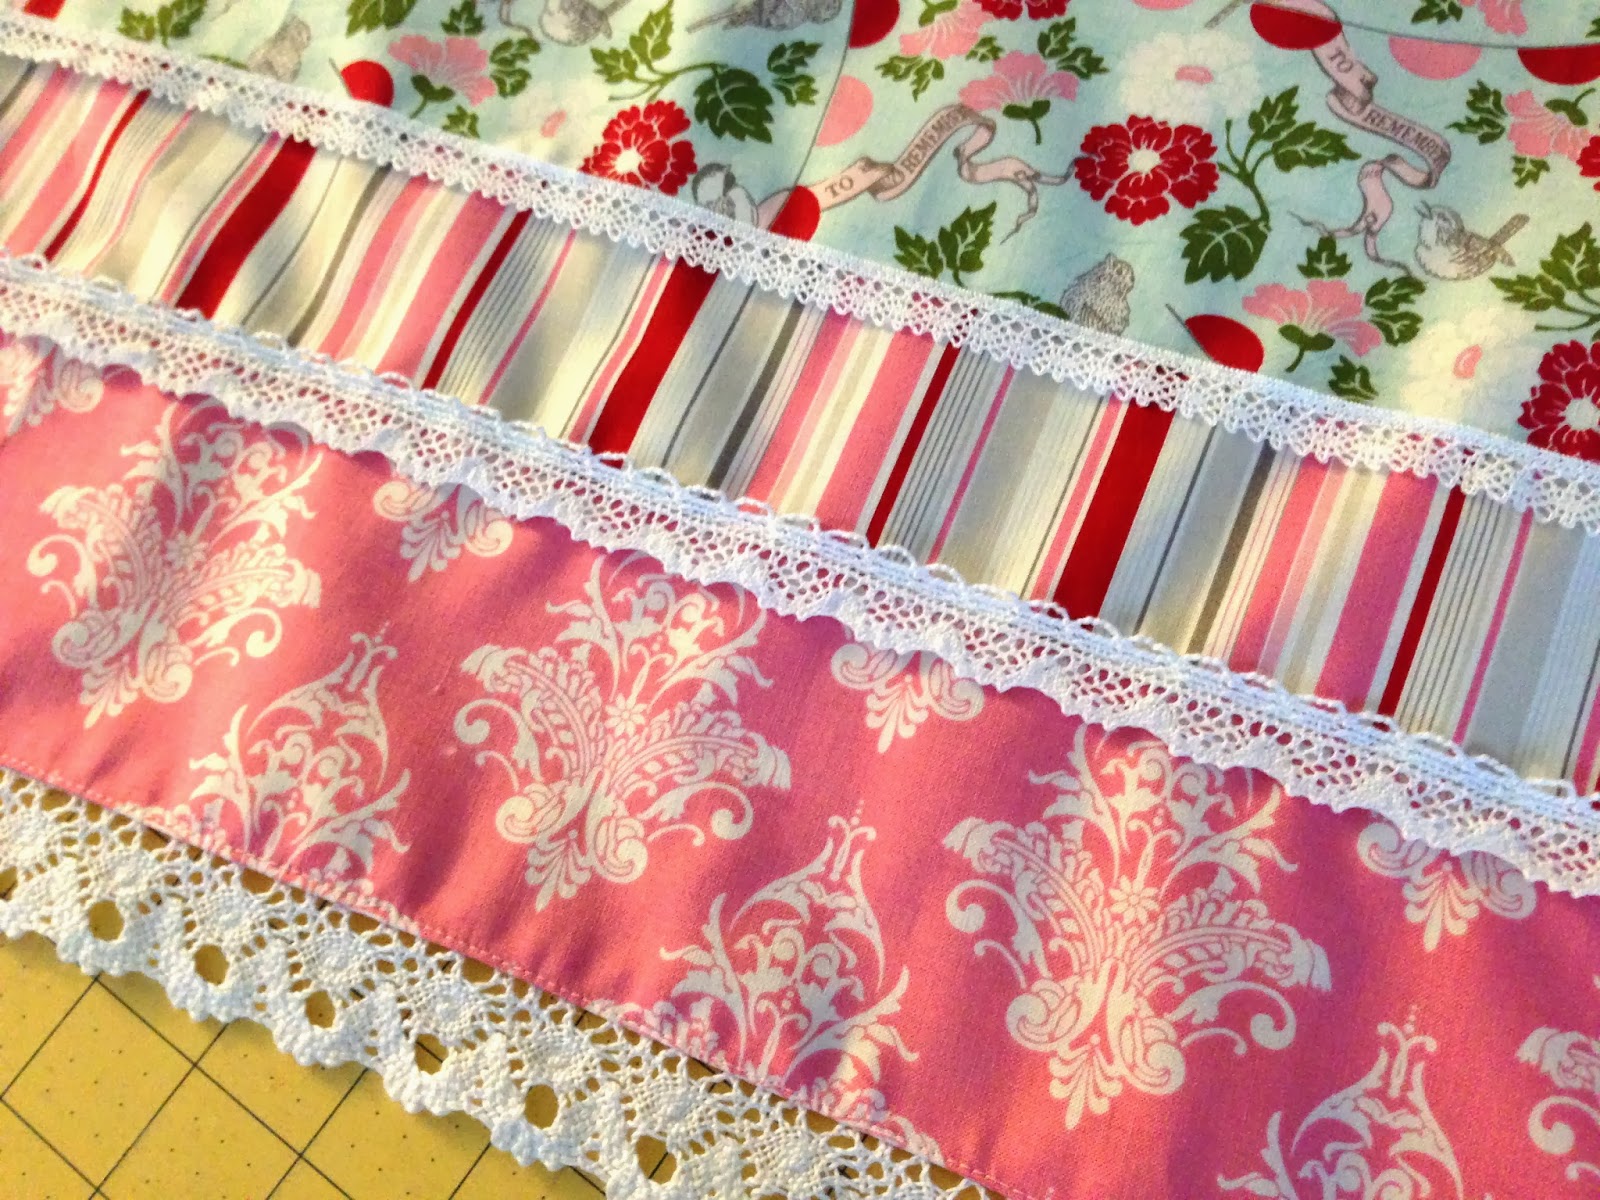
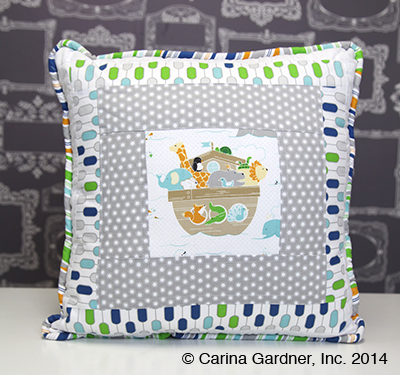
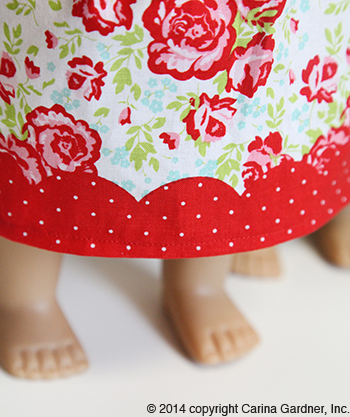 You’ll notice that I have chosen several variations of blue, red, and green. I find that these are my go to colors and the shades help me choose the exact color I need for a project (Photo to the left is the Red 2265 from my collection sewn on the hem of the doll panel for my
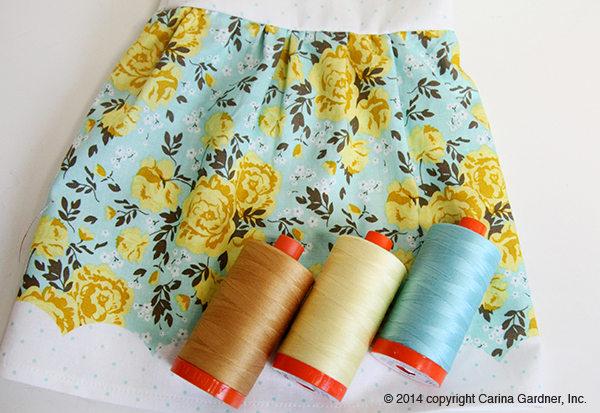


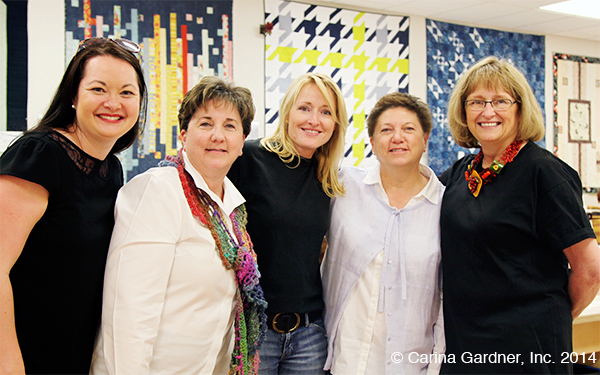
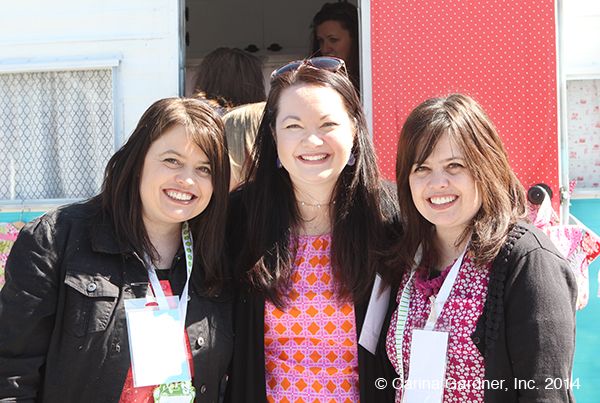
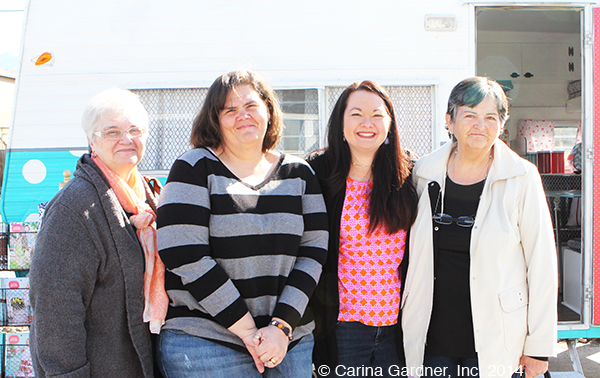
 So there it is in a nutshell. It was a wonderful business/pleasure trip and it especially made me excited for


 The
The  For now, I’m kicked into high gear to finish out the last few remaining items that need to be taken care of. You’ll notice my extra emphasis on
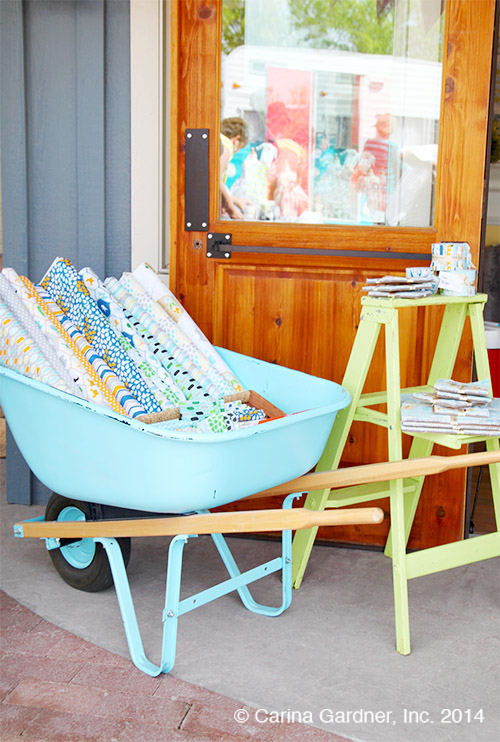
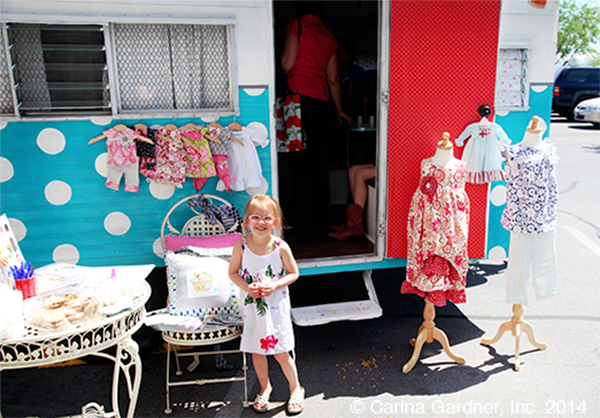

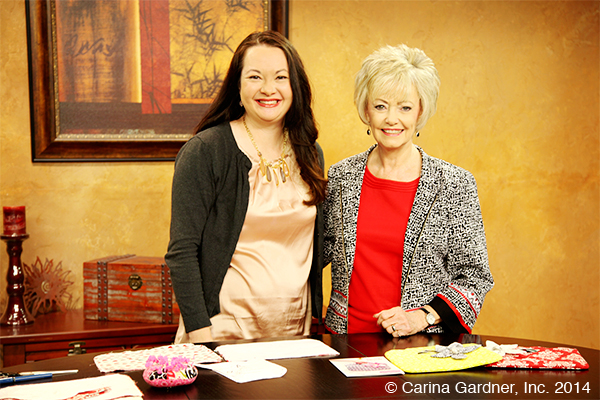
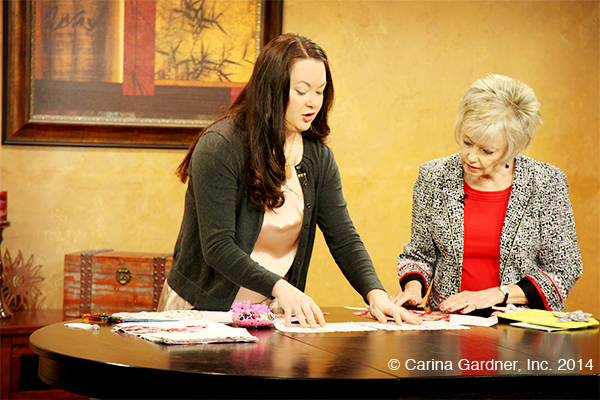
 I’m back from our


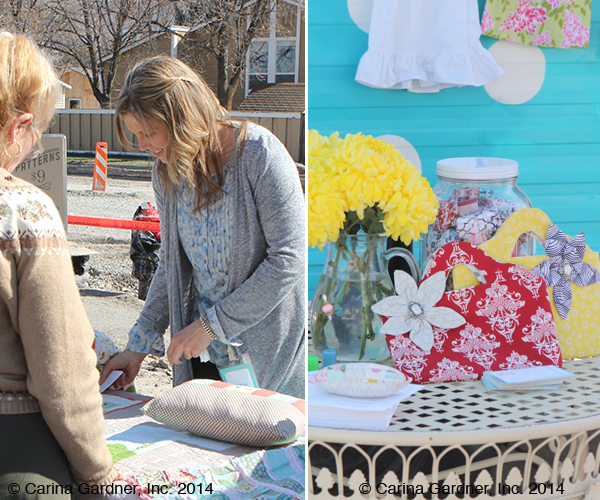
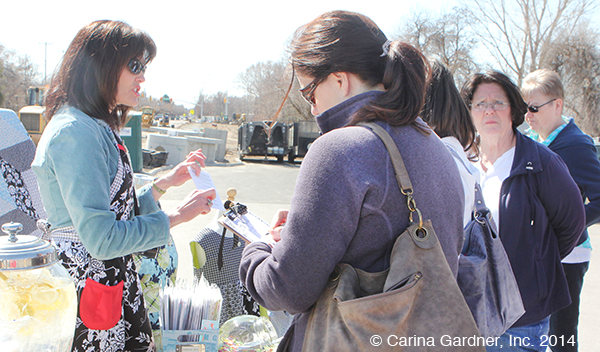

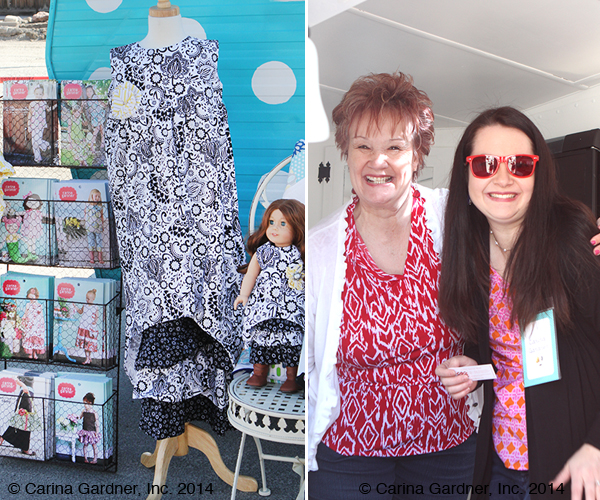

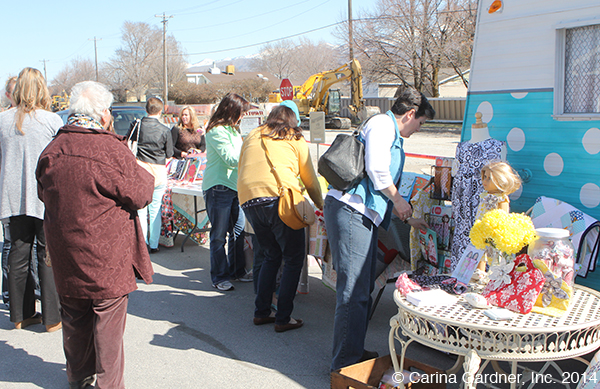
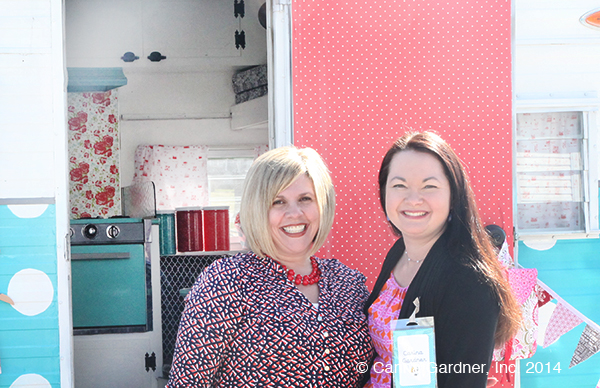


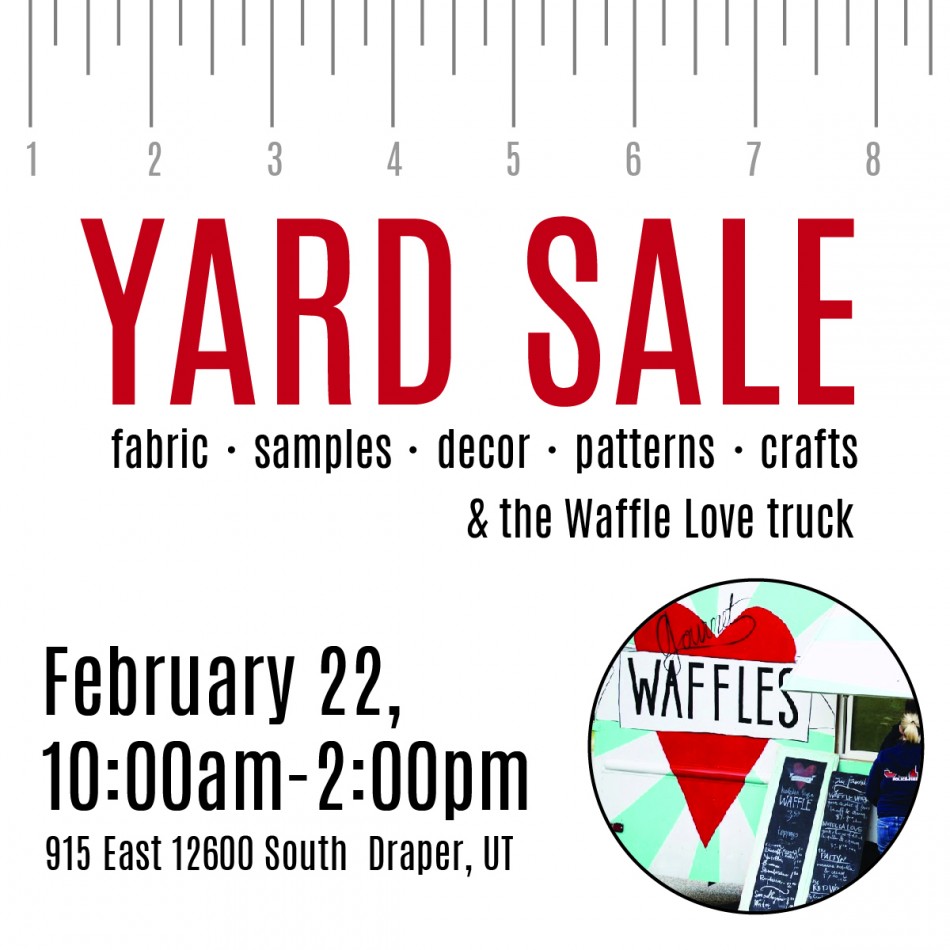
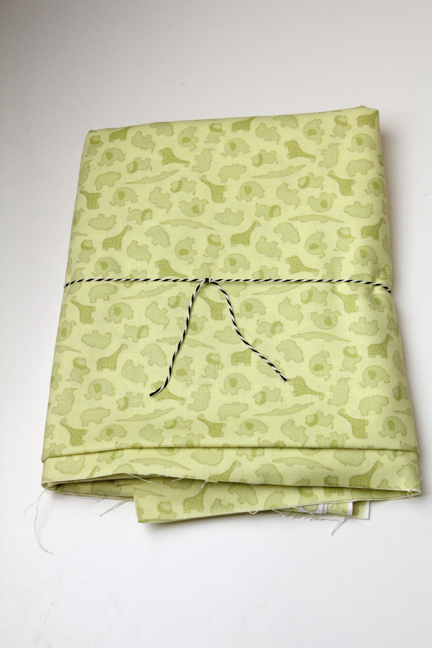
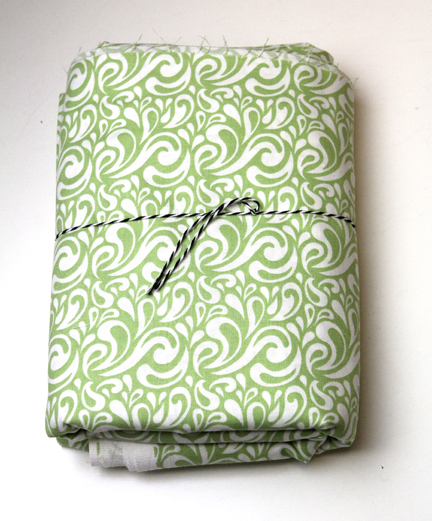
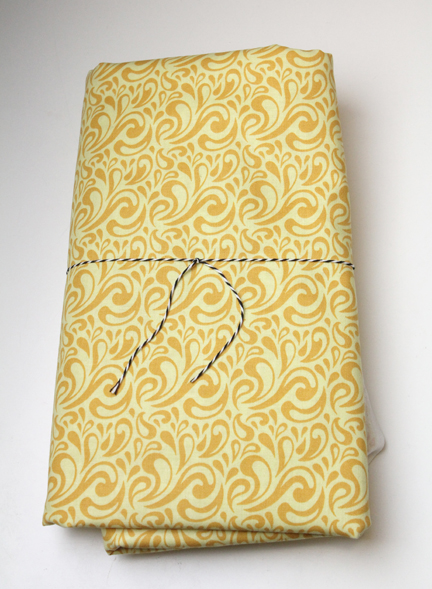
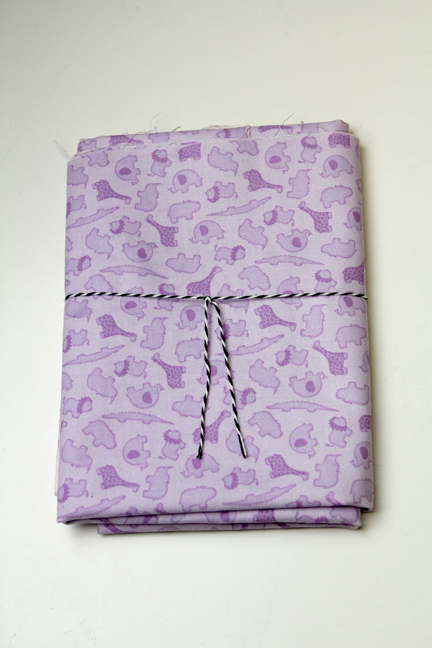
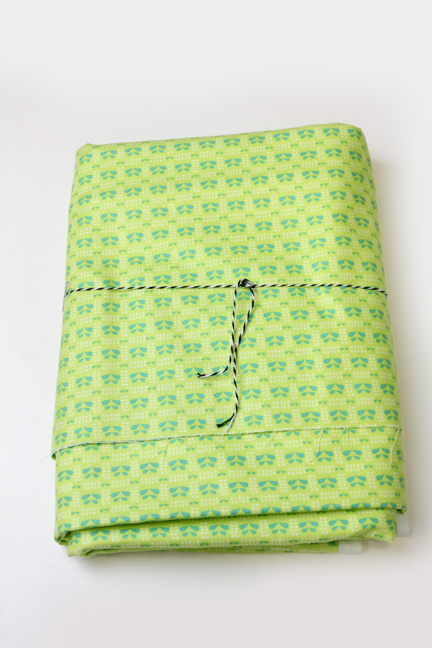
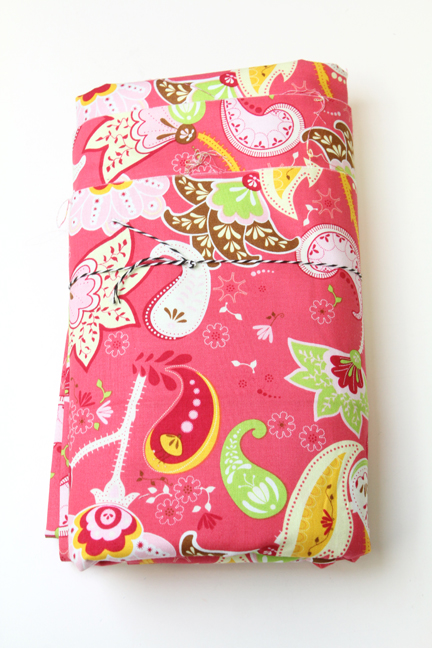
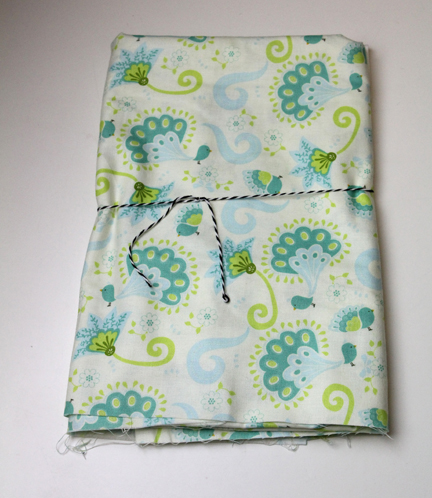
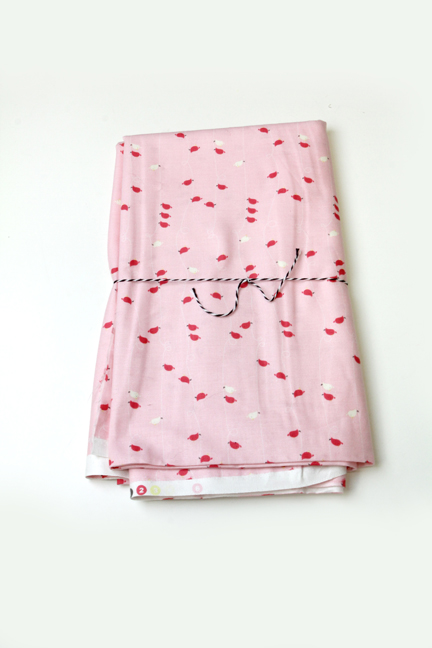
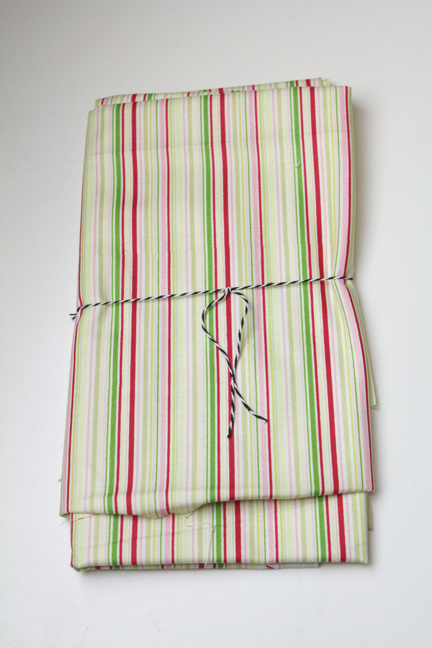
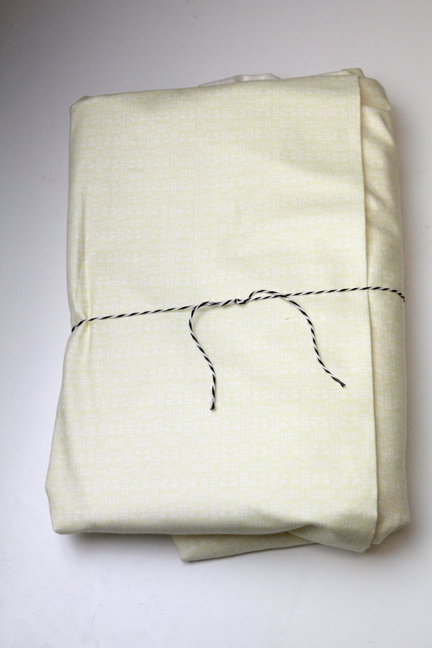
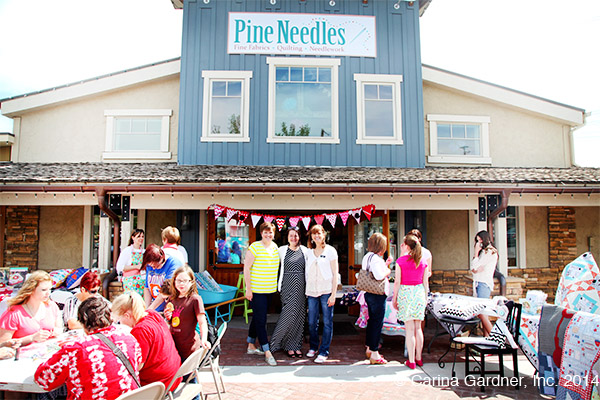
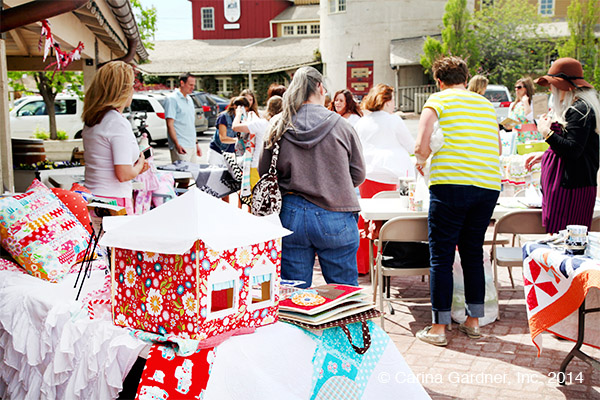
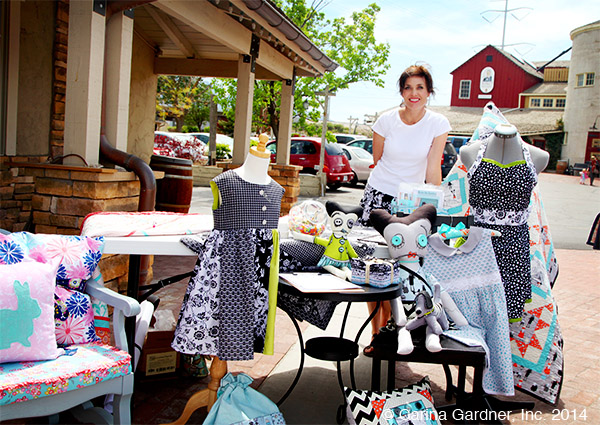
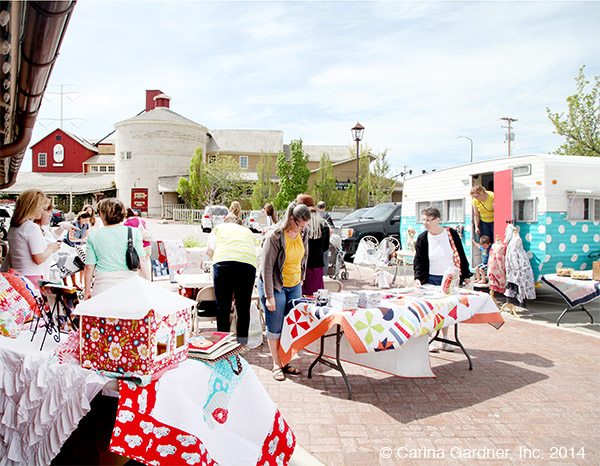
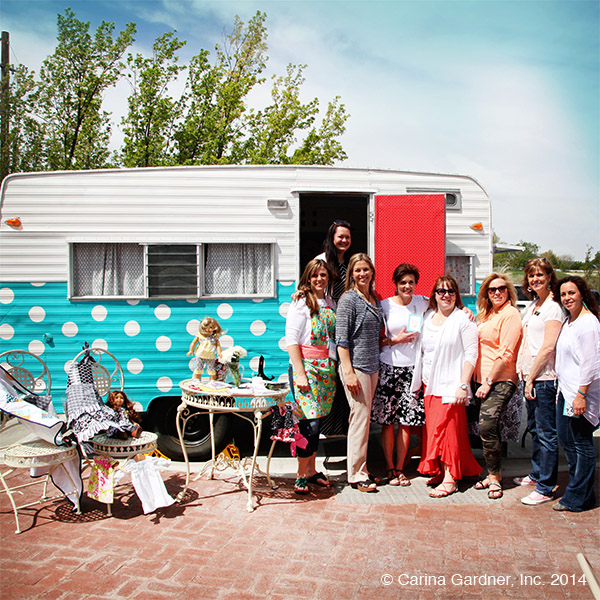
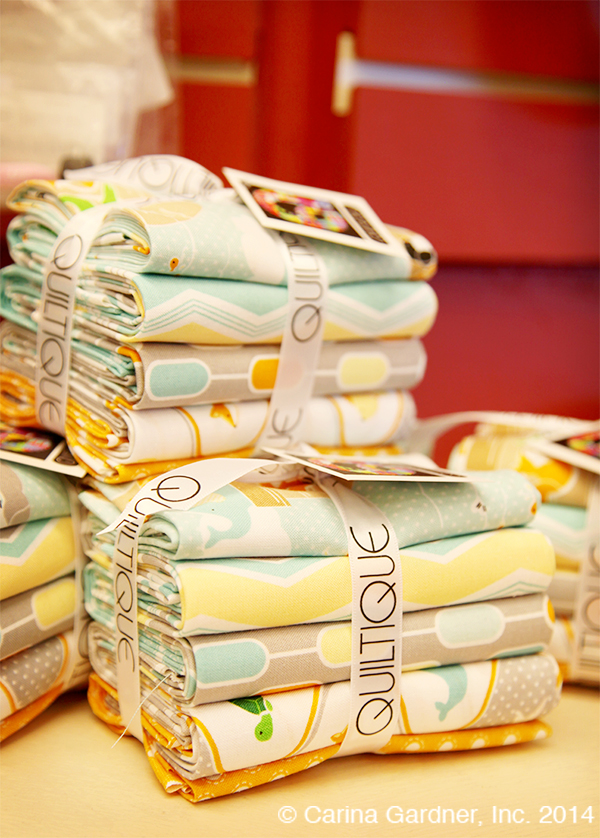
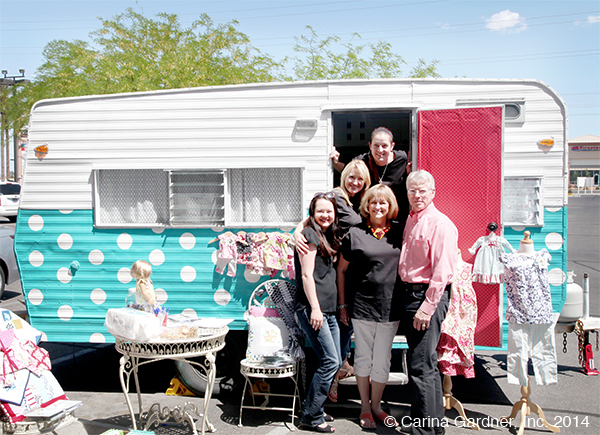
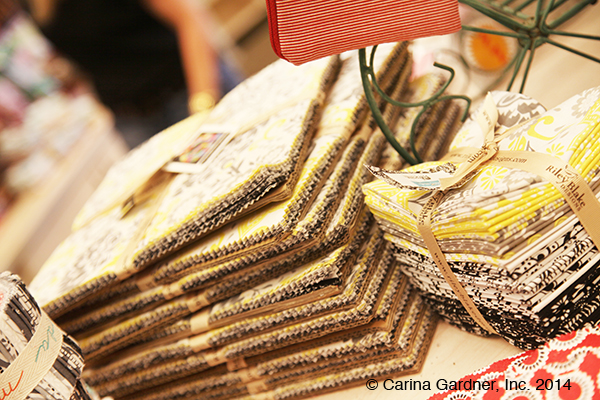
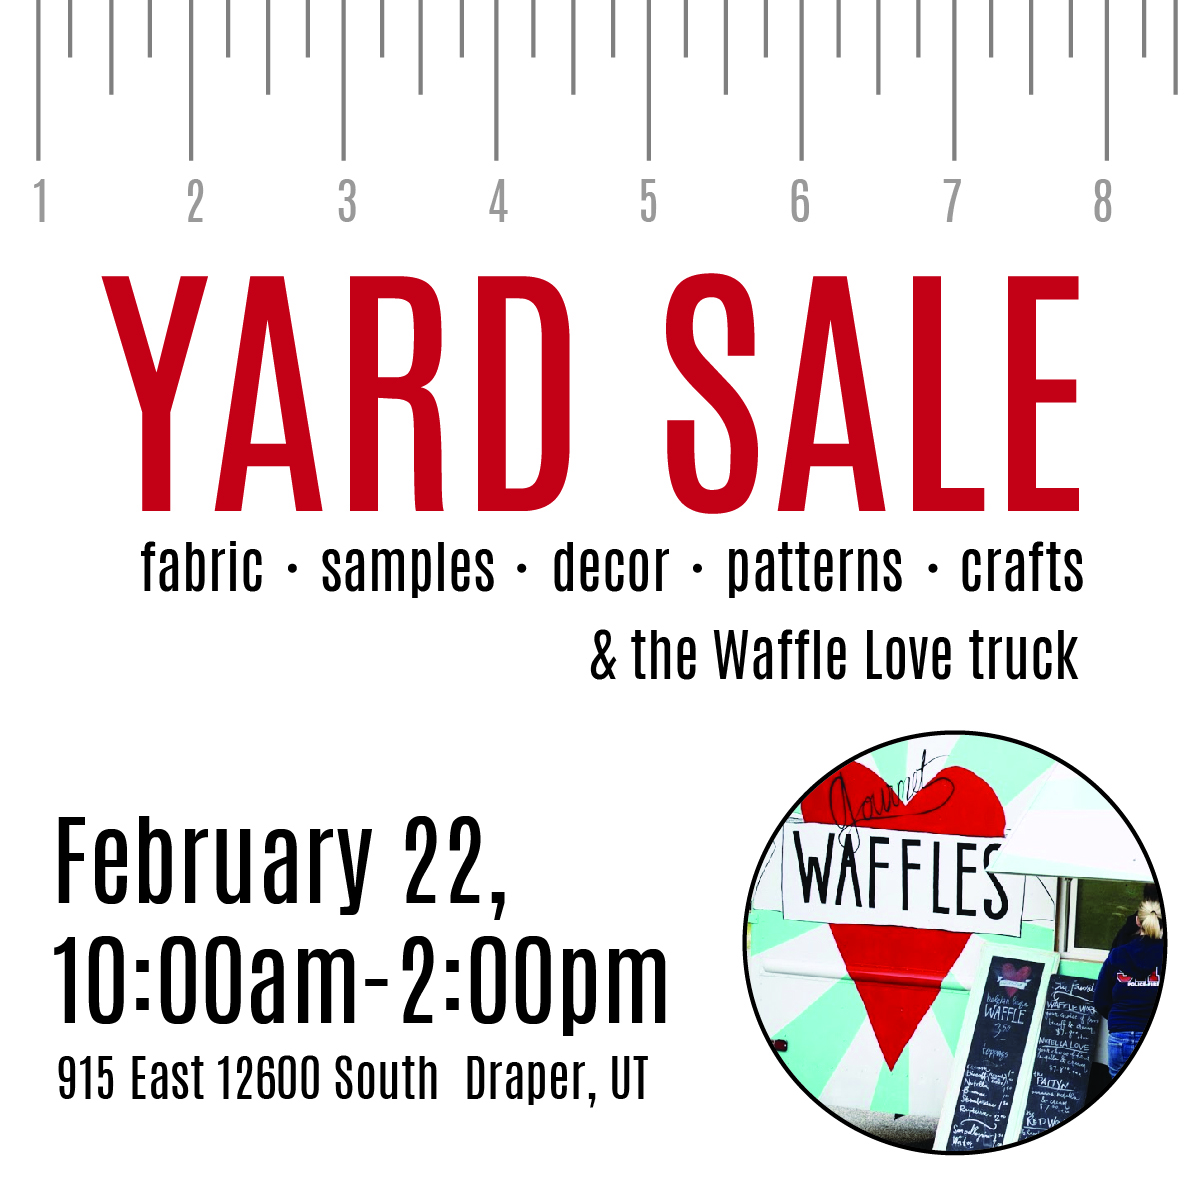 Susan and I have been getting ready for this “destash” sale this week. I’ve been needing to clear out some of the stuff from our warehouse for several months now. I hope you have a chance to come and grab some of the good stuff. And when I say sale, I really mean it. All of our cuts of fabric are highly discounted. Most are from past lines (all the way back to Coquette!) that you will never be able to purchase or find. Containers, home decor, samples, fabric, sewing patterns, and precuts are heavily discounted from products I have made over the last 5 years. You’ll notice it’s only a 3 hour sale so hurry in to get the best stuff!